|
F-15E EAGLE
Tamiya 1/32 Scale
PAGE 1
HOME -
PAGE 1 -
PAGE 2 -
PAGE 3 -
PAGE 4
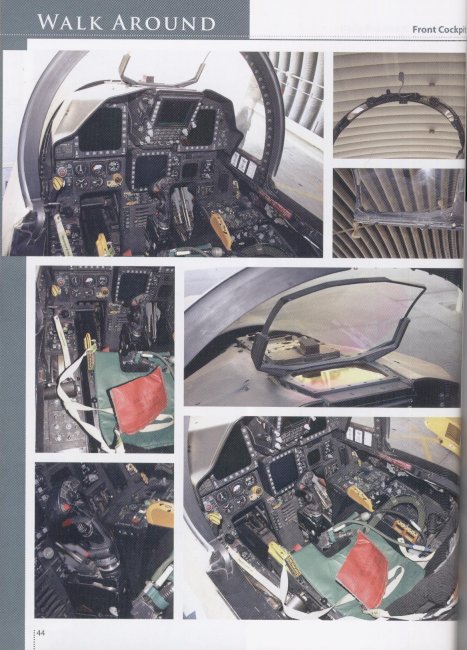
Most aircraft models start with the cockpit
and Tamiya's F-15 is no exception. My first step was to remove all the
detail from the control surfaces since I am using the Eduard interior set.
It was a little nerve wracking since the details on the kit parts and the Black
Box set are so nice. Also, the BB kit only comes with a rear control panel
so if I screwed up on the front one I did not have a spare.
At this point I checked my
references and discovered that the F-15I has an all black
interior while the USAF version (and the Eduard photo etch set)
have a grey interior.
| |
 USAF Version
 IAF Version
My first thought was to use the
Eduard set anyway since it looks so good (and since the control
panels were now detail free), then I thought "maybe I can paint
the photo etch panels." I thinned down some Vallejo Flat
Black to somewhere between a wash and airbrush thin and flowed
it along the edges of the raised details. After two coats
it came out looking quite nice. The colors are still a
touch off but not too bad.
  
    |
|
All the cockpit tubs and control panels are
complete and ready for assembly. After the yare assembled
there will be a little more weathering but all in all I think
that they turned out quite well. The Eduard photo etch kit
was fantastic. I love the detail on the resin cockpit kit
but there were a lot of things that could be improved - most
notably the instructions. There was a large pour plug on
the bottom of each tub that needed to be removed but I obviously
did not test fit things sufficiently because my last test fit
revealed that the front landing gear bay would not fit under the
cockpit. With everything painted and all the fine detail
in place using the Dremel was a less than exciting prospect, and
washing off the resulting dust also removed most of the
weathering pastels. Oh well, live and learn.
With the cockpit mostly done
it was time to move on to the front wheel well. The kit
had little detail and what was there is mostly wrong.
Before finishing the front of the plane I
wanted to get the radar put together. I scraped off the
detail and am going to rebuild it. Here are a few pictures
of the process.
| |
This is before any detail was
removed
 
This is scraped and primed
 
Here it is with a base color ready for the details to be
added. Notice the addition to the round bulkhead
section. This is the hinge for the nose cone.
The kit was designed so you could open and close it but
it looked terrible. It will look much more like
the real thing when I am finished.

Added some grab handles, wires,
connectors and a little paint and hopefully it stands up
to the expanded scrutiny of the camera lens. It
has actually been a month since I finished the wiring.
Right now it is sealed up for painting the main body of
the plane but when I get the chance I am going to
revisit it. Of course it looks better in actual
life size than zoomed way in for these pictures.


   |
|
I spent quite a bit of time trying to get the
paint colors just right. I really think the color of green
and tan used makes this F-15 paint job really pop.
See the inspiration picture at the top of the page. Note
that the colors are a little different that other IAF paint
jobs.
| |
These are the samples I used to
check the camouflage colors
 
The view of my workbench and all the colors I tried and
mixed together for just the grey.

This is my green test on an old tank kit. I am
amazed how different the pictures taken with a flash
look from the ones without. Neither are very
close to how the color actually looks.
   
Here is the test model with all the
camouflage colors applied. Looks good I think.
 |
|
While I was testing camouflage colors I was
also finishing the cockpit, front wheel well and putting it all
in the front fuselage.
| |
Here
are all the parts squeezed into the front fuselage.
I had to do quite a bit of grinding on the bottom of the
Resin cockpit bottoms because the would not allow the
wheel well to fit. Not a real pleasant job since
everything was painted and finished. I had to do a
lot of touch up work after cleaning up all the dust, and
it was all caused because I did not test fit everything
before hand.
     |
|
I did a little extra labor to finish the
intakes
| |
Eduard photo etch grills on the
intake ramps looked much nicer than the kit parts.
I just needed to keep from clogging up the small holes
with paint.
 
The intake trunk assembled with no way to paint the
straight edge boundary between the white intake duct and
the grey area at the front of the duct. Most
planes I have seen are white all the way.

To solve the problem I just cut the intakes at the
demarcation line. I then painted the front grey
and the rest white. I have definitely lost my fear
of cutting expensive kit parts to pieces. When I
glue the pieces back together there will be a little
seam that I will not be able to fill but it should not
be noticeable to any but the most thorough of
examinations.
 
Seamless resin intakes are popular for modern jet models
but there were none available for the F-15 in 32nd scale
so I had to sand the seam myself. Not too bad
considering that my finger barely fits in the pipe.
   
Here are some pictures of everything put back together.
 
And a view down the pipe.
    
     |
|
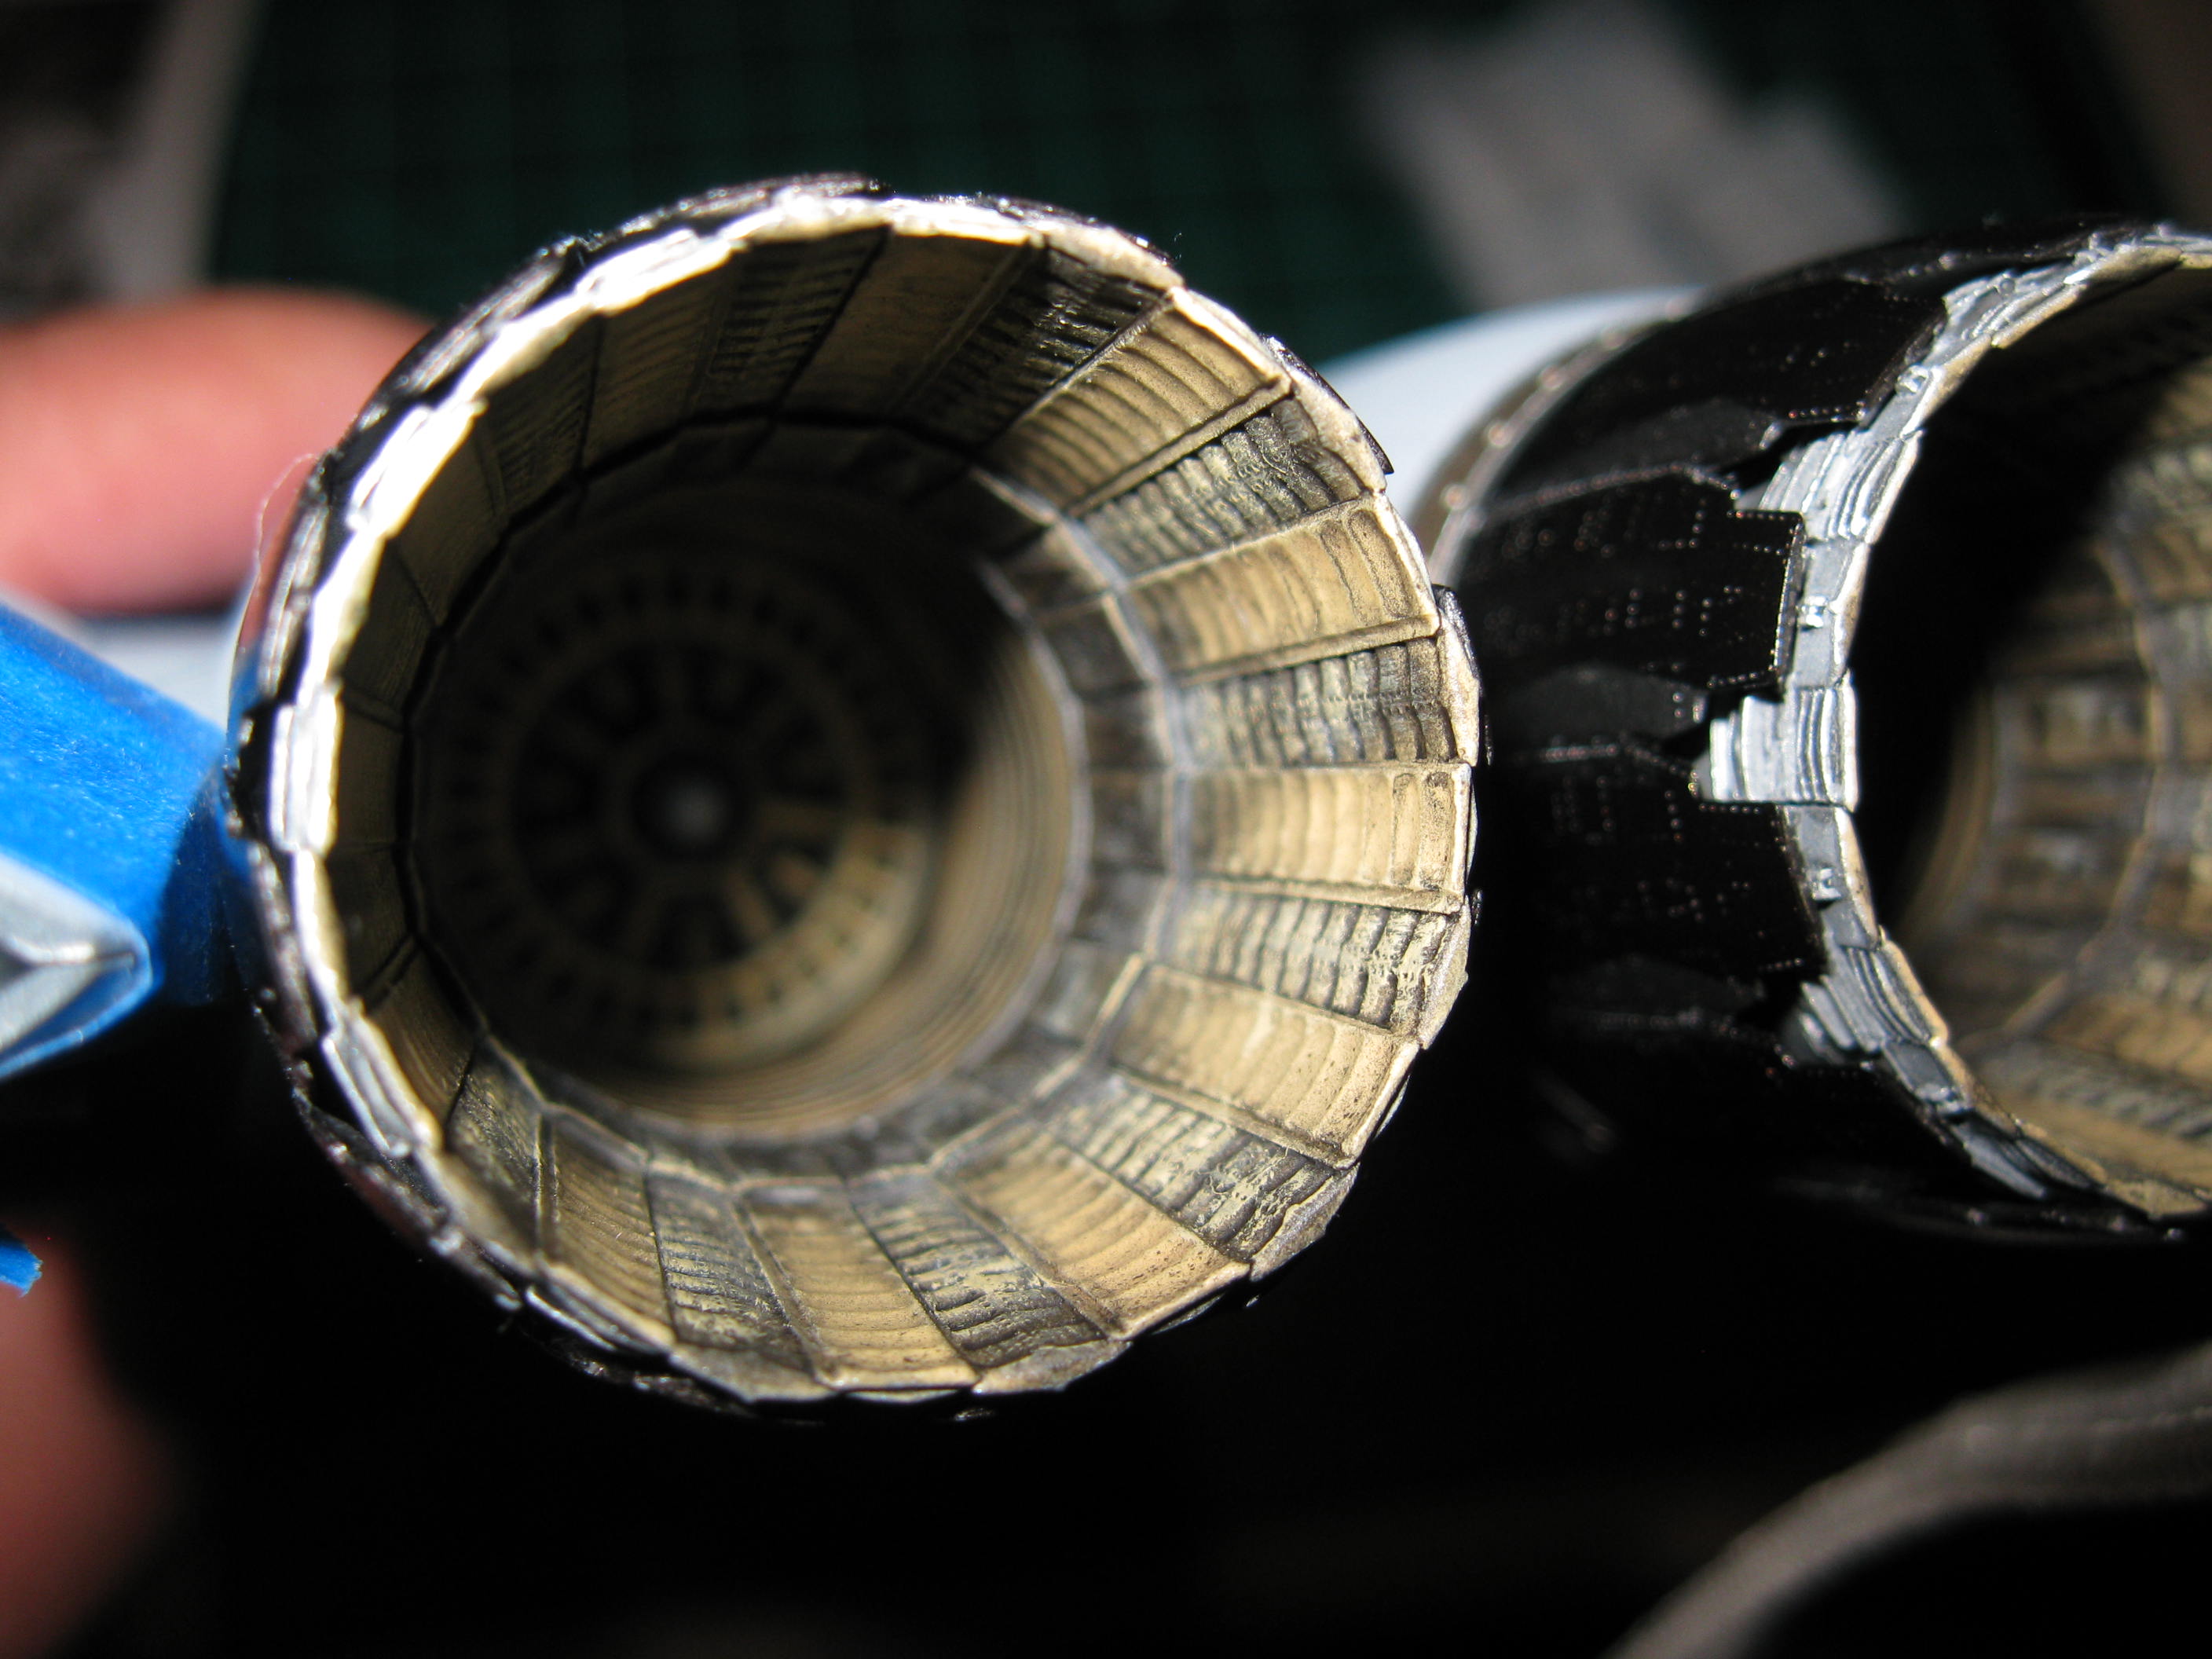
I finished one of the things I was most
excited about - The Aires Exhaust kit. I got the kit
because the F-15I has the turkey feathers in place where as the
US F-15s do not. The Tamiya kit did not have the correct
exhaust nozzles.
| |
Here are the parts of the kit laid out with the resin
plugs cut off.
  
Here are some of my reference pictures to compare.
 
After examining my references and looking at the back
end of the turbine blades on the kit parts vs. the Aires
parts I decided that the kit parts were the best.
In fact the resin and PE part did not look anything like
the inside of the exhaust.
    
I painted and detailed the inside of the exhausts first.
These pictures were taken during the beginning phases of
the process.
    
Then masked the inside and sprayed Alclad II lacquers on
the outside. Jet Exhaust went on the turkey
feathers then I masked and added dark aluminum where
they iris over each other.
     
The exterior portion of the inside was sprayed Alclad
aluminum, washed with black and dry brushed with Tamiya
Flat Aluminum
  
This was sprayed with Alclad Pale Burnt Metal overall
then masked and a ring of Duraluminum was sprayed on the
top and a ring of Pale Burnt Metal shaded a bit with a
darker color (you cant really see this in the picture).
 

After removing the ridges that the kit exhaust attached
to I test fit the exhausts into the fuselage. They
wont be glued in till the painting is done on the rest
of the plane. I have to say that I am very pleased
with how they turned out. Maybe the best looking
part of the plane so far. The down side is that I
should probably distress the outside of them some but
the Alclad looks so nice that I don't really want too.
       |
|
The rear wheel wells were
not devoid of detail like the front one was, but there was still
room for a few added details.
| |
Here are the wheel wells without any detail added.
 
I added a few wires and some styrene pieces.
   
Primed everything.
   
And painted them white. The pictures without the
flash look more grey but rest assured that they are in
fact white.
    
Finally some color followed by a black wash and white
dry brushing. I may have to do some touching up
but the errors that are so obvious in the pictures are
not even noticeable on the actual thing. To give
you an idea, zoom out on the pictures till each wheel
bay is an inch square and you will get a good idea how
it looks.


   |
|
BACK
-
PAGE 2
-
PAGE 3
|