|
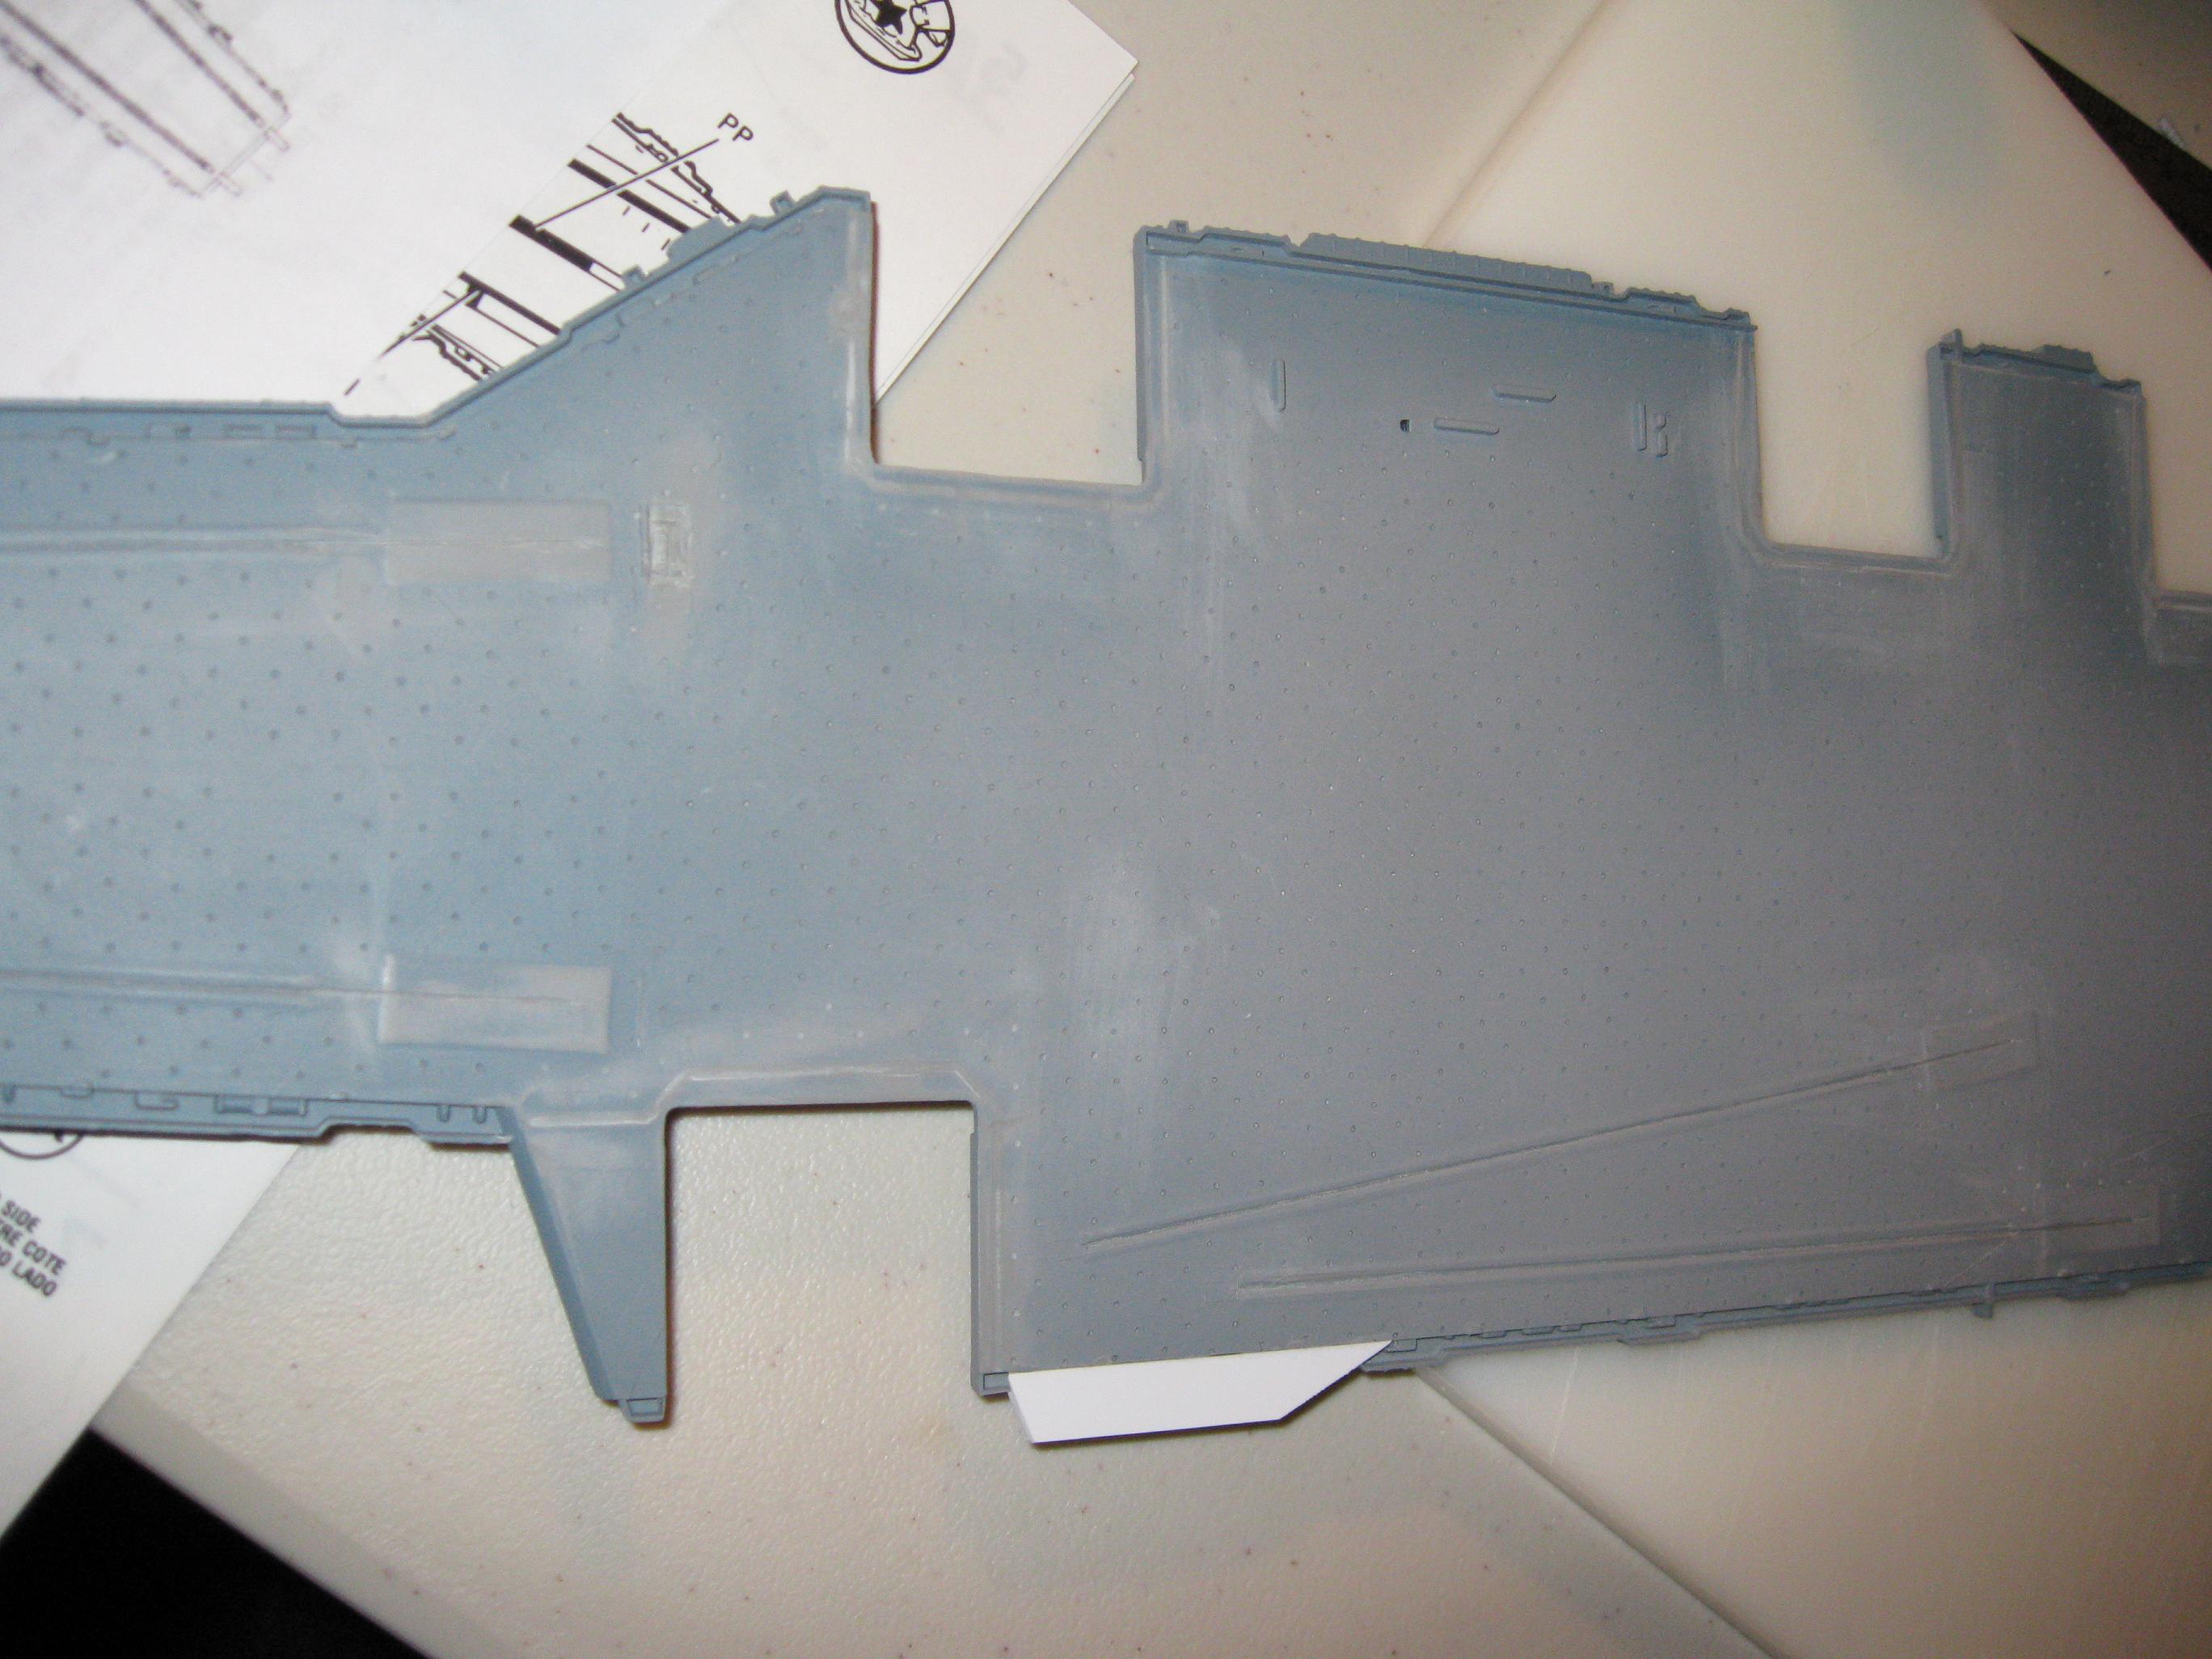
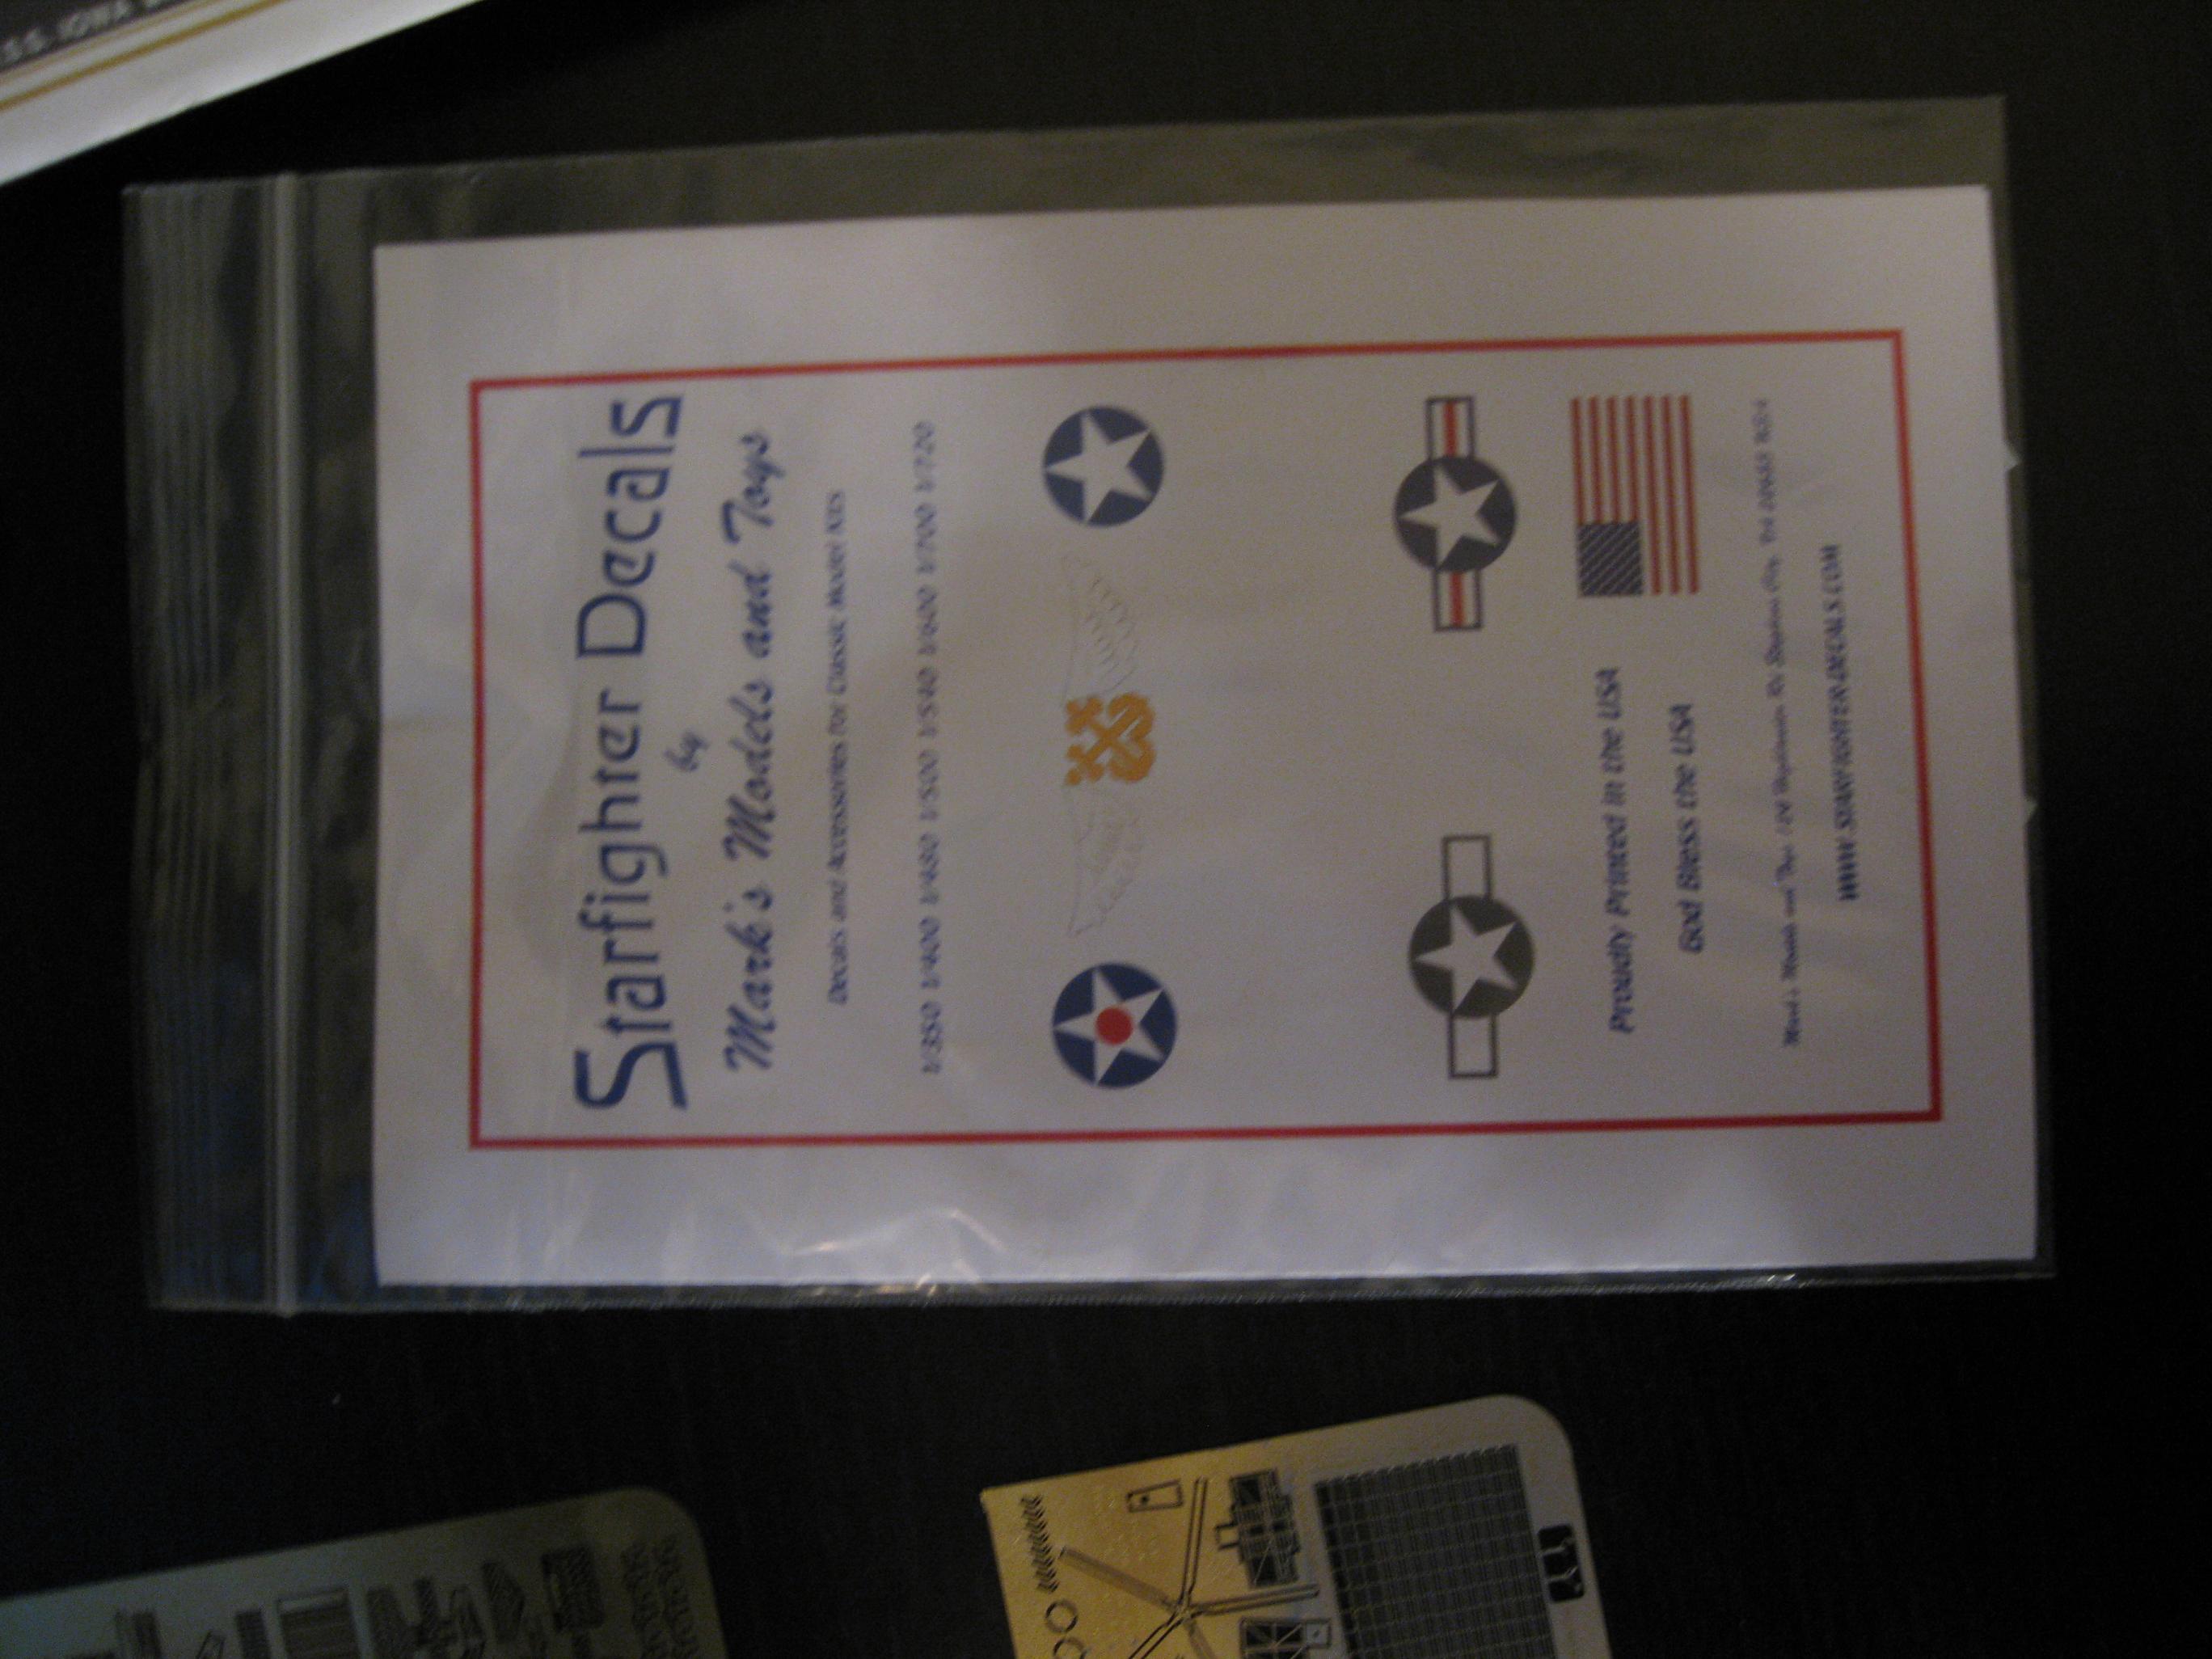
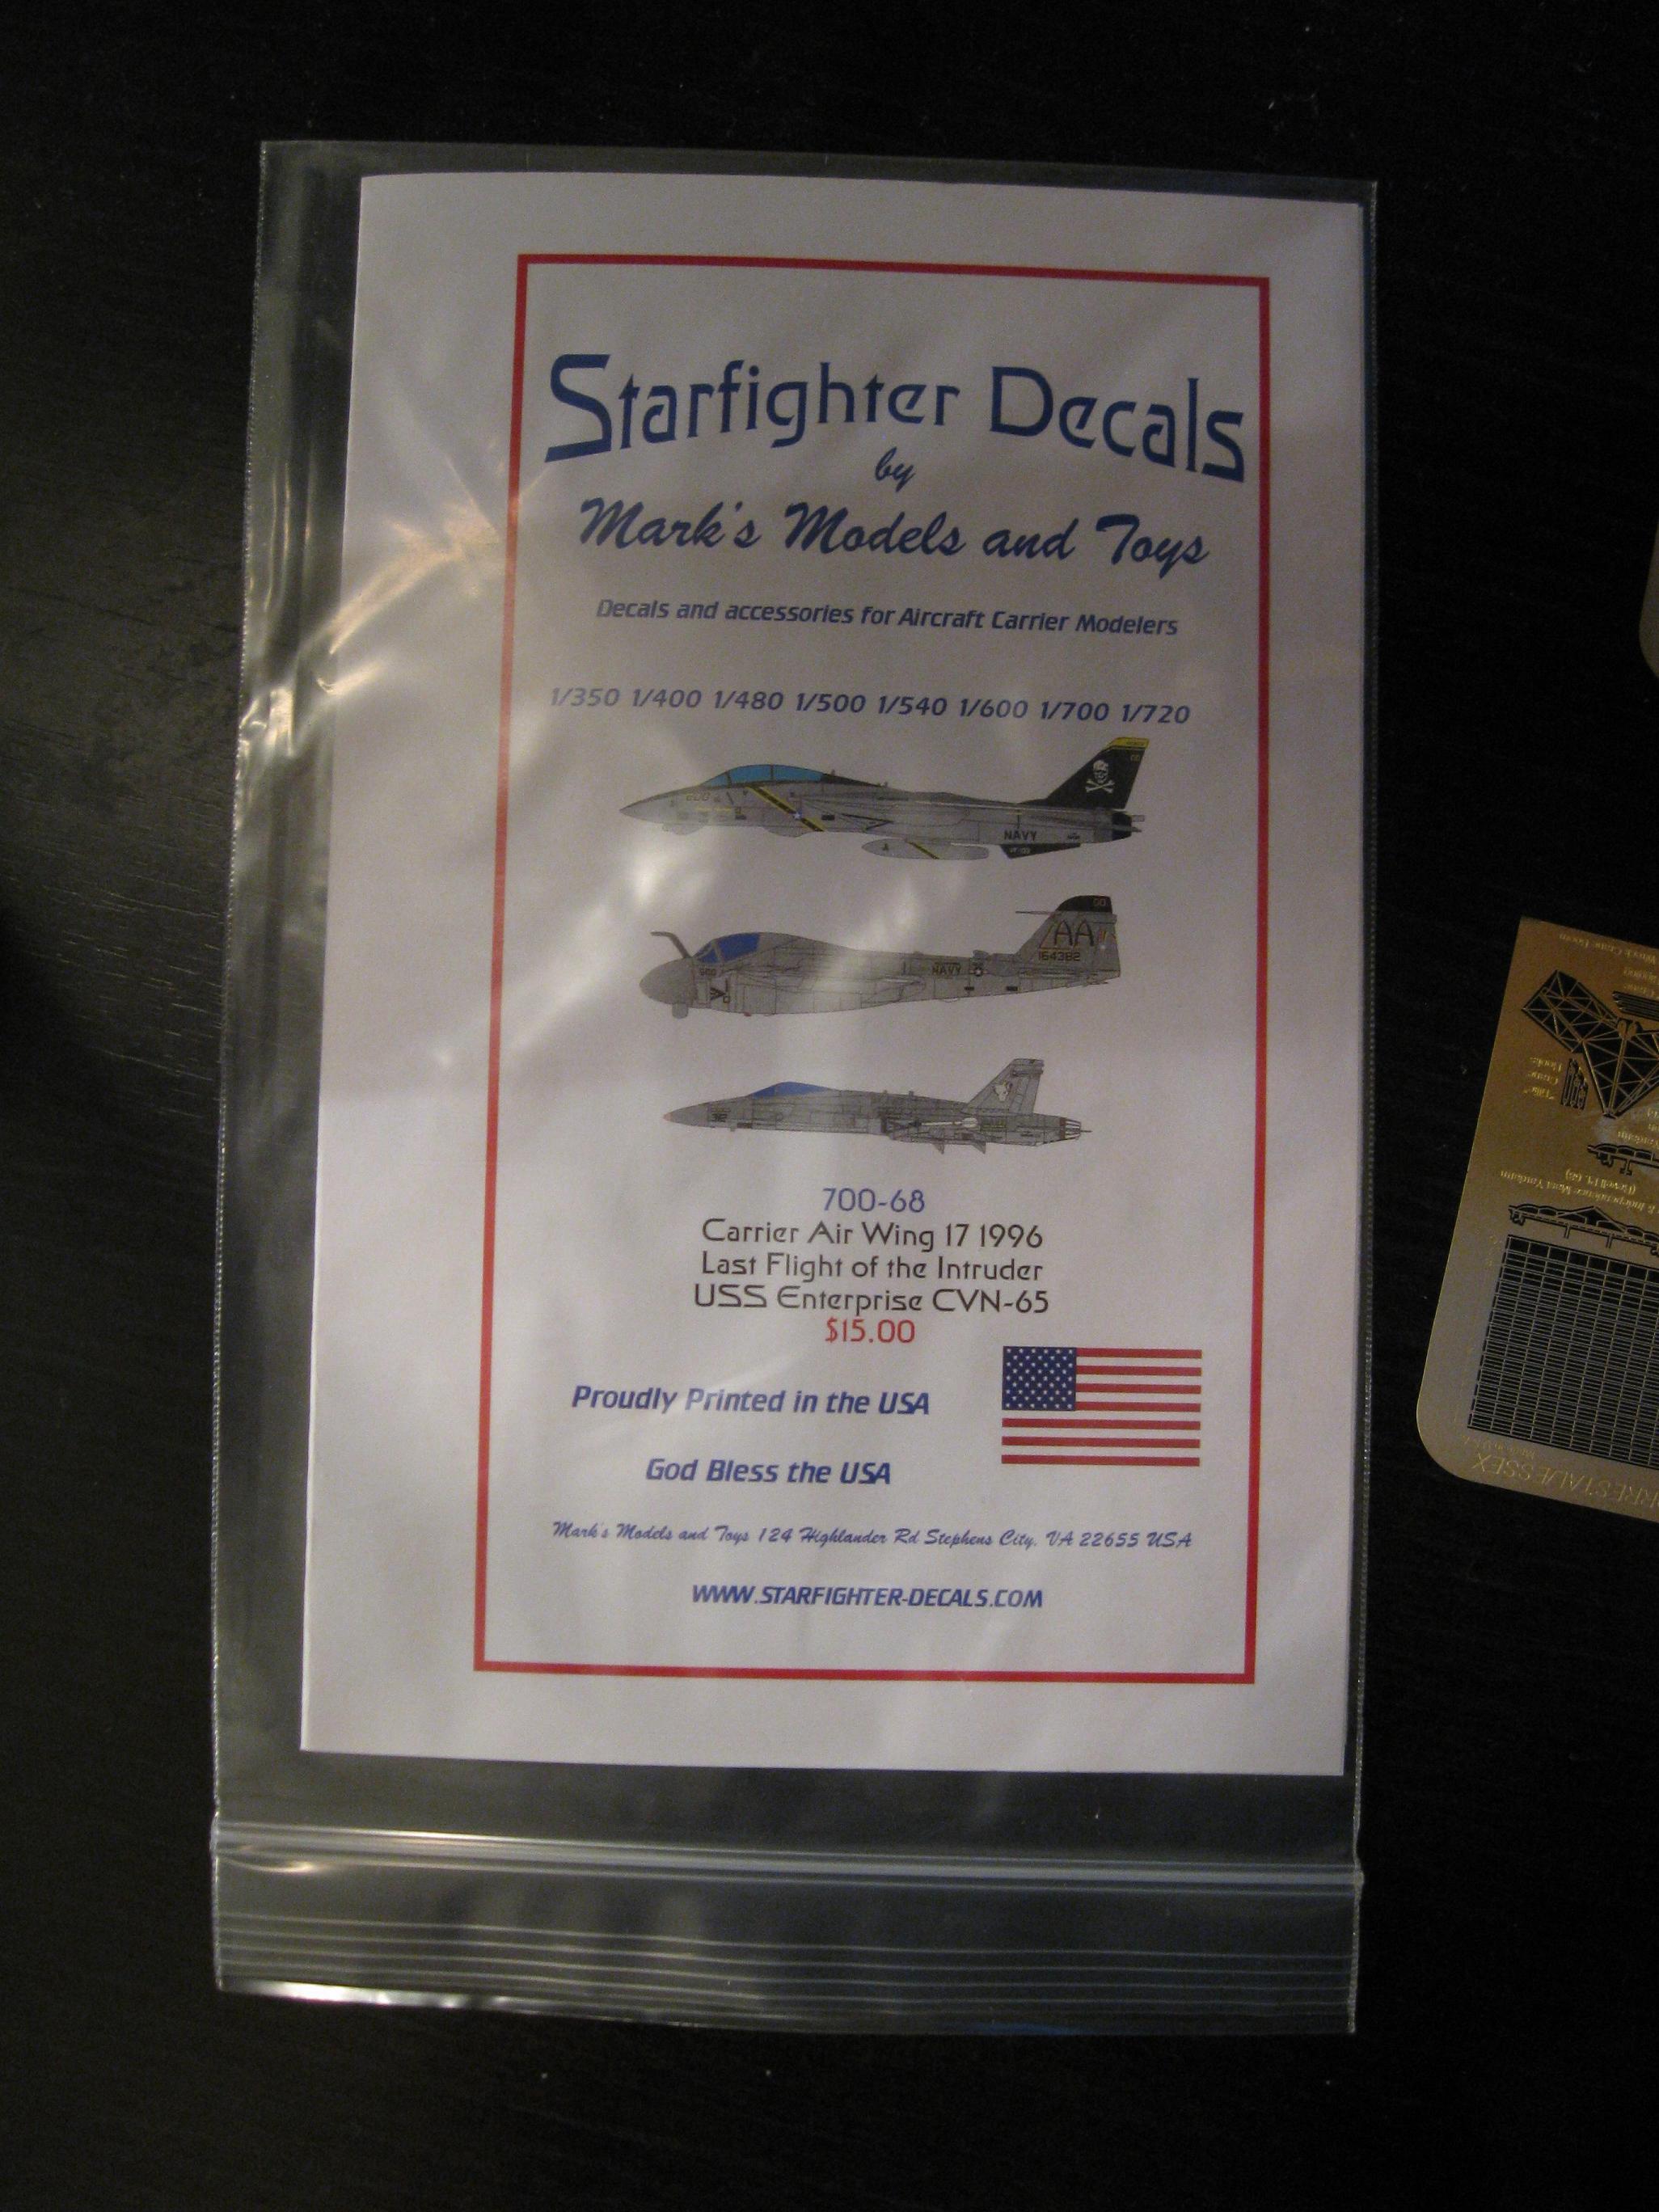
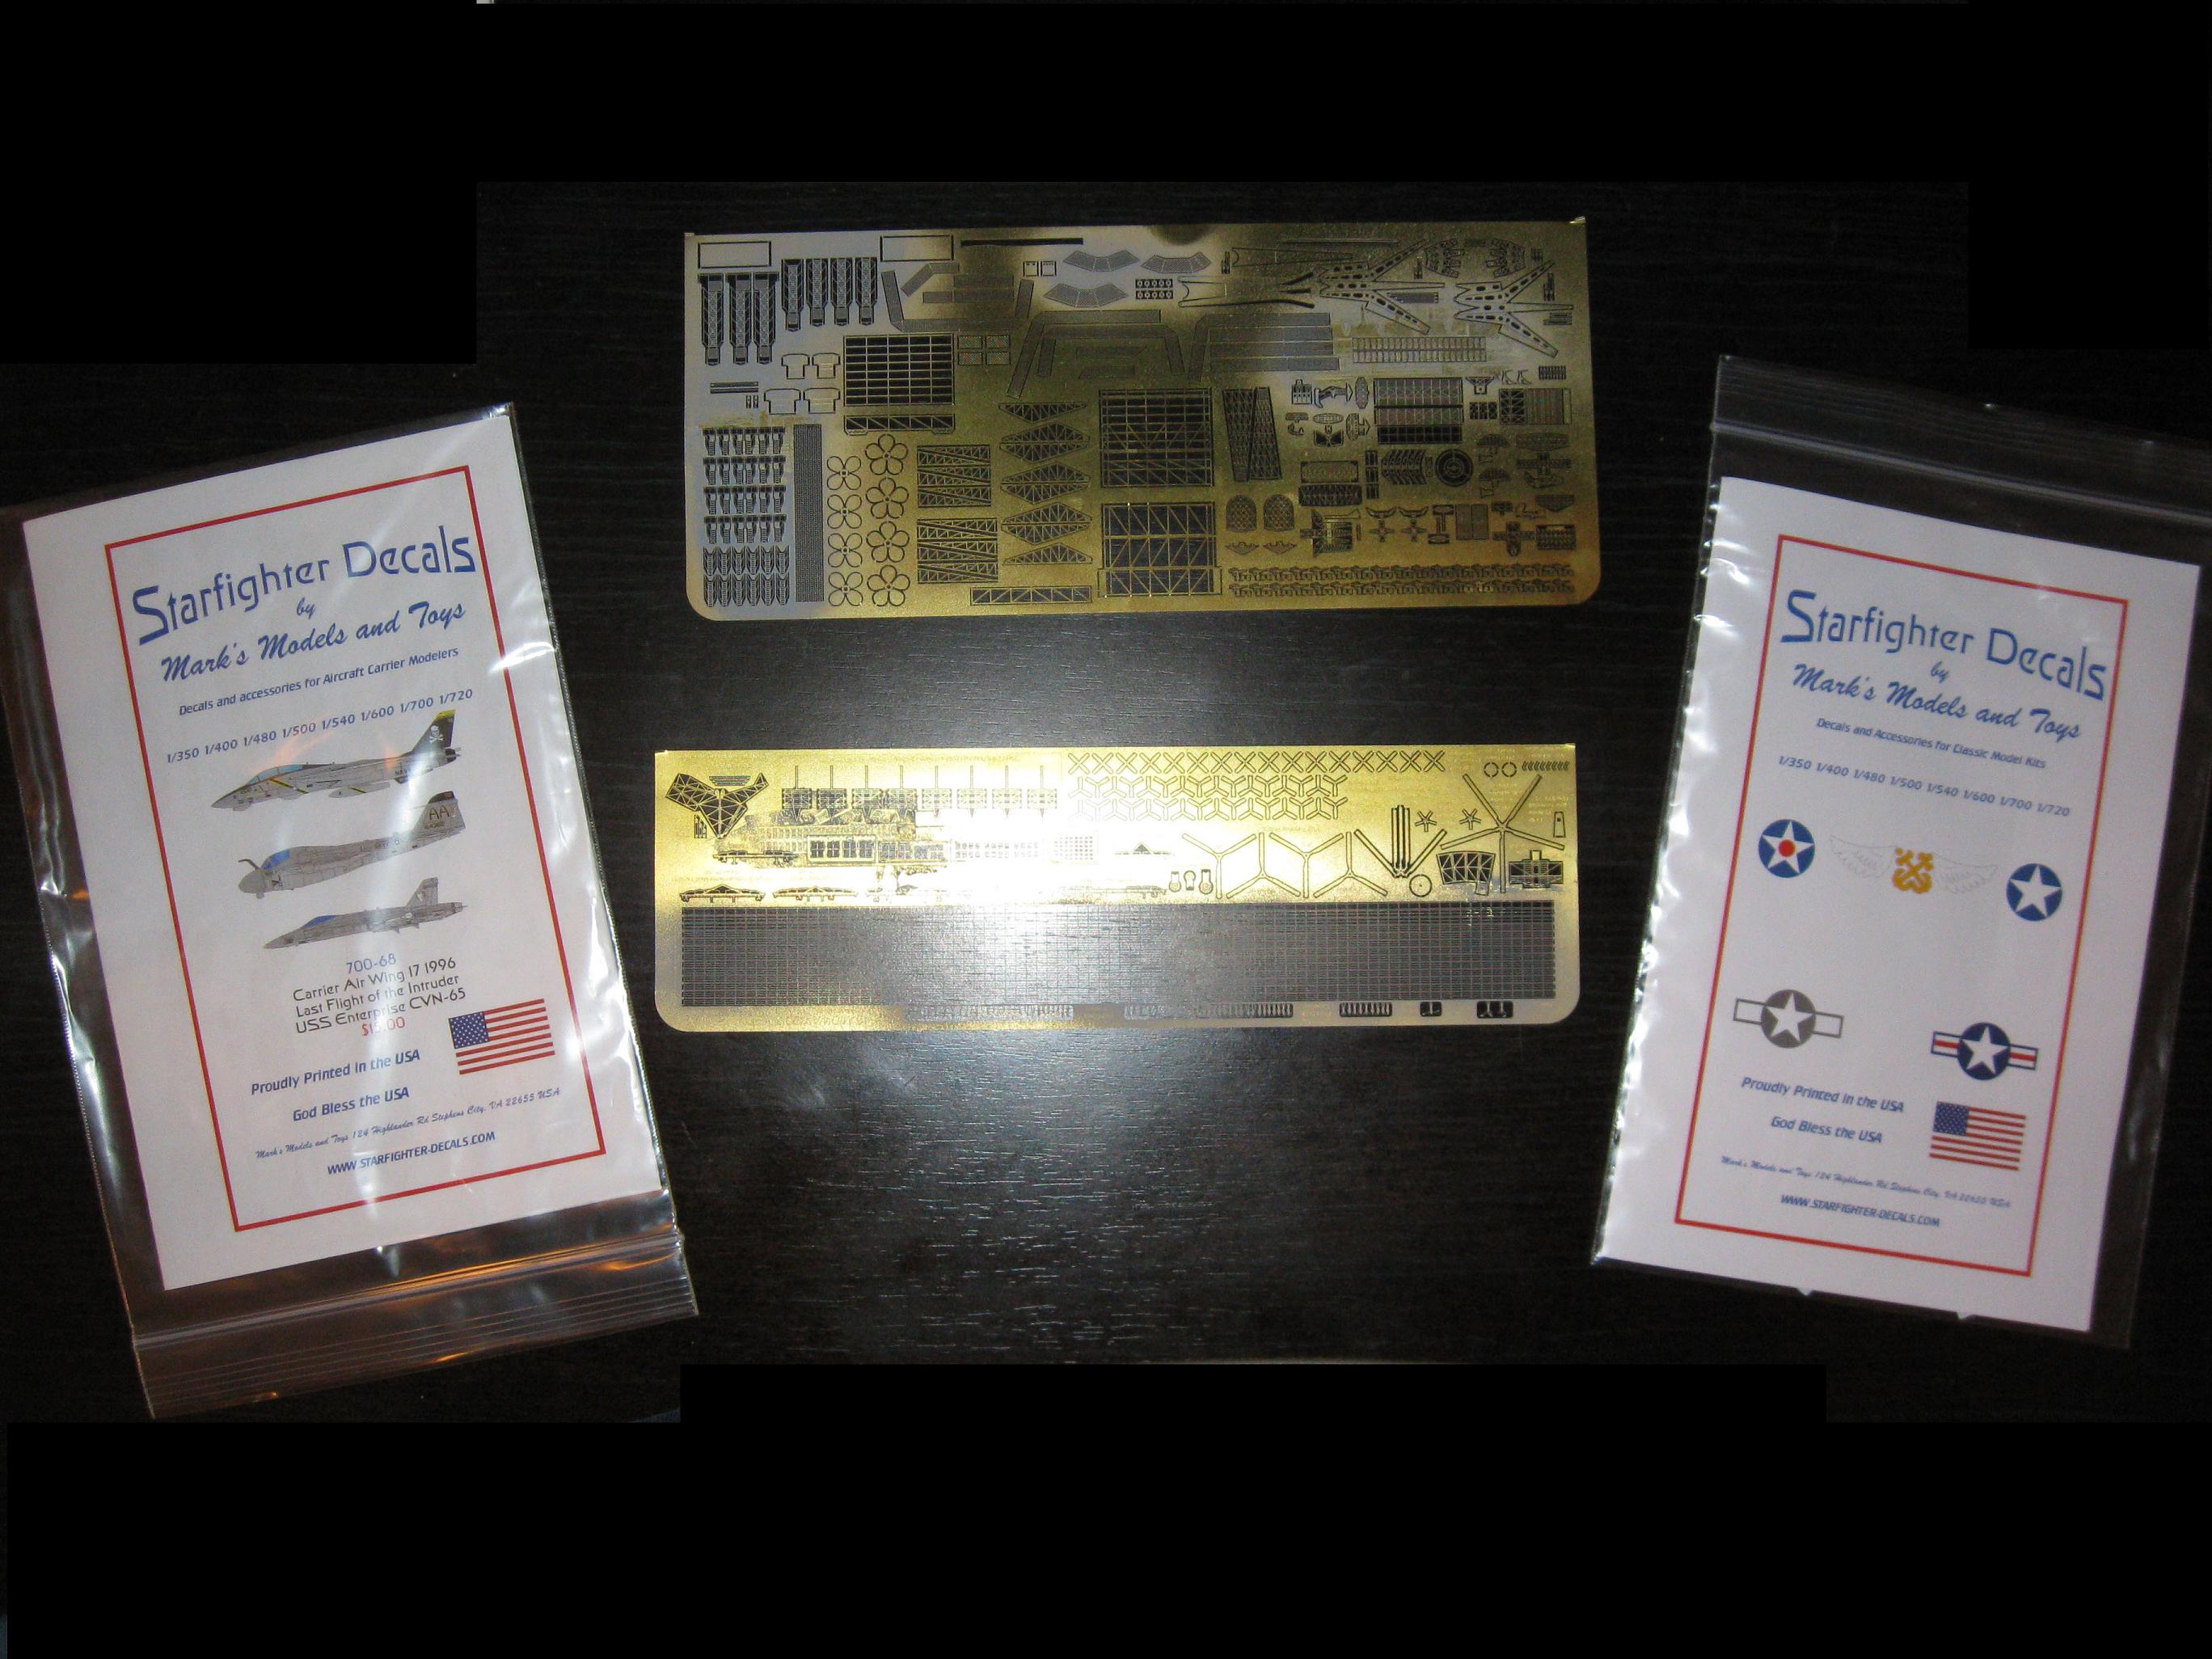
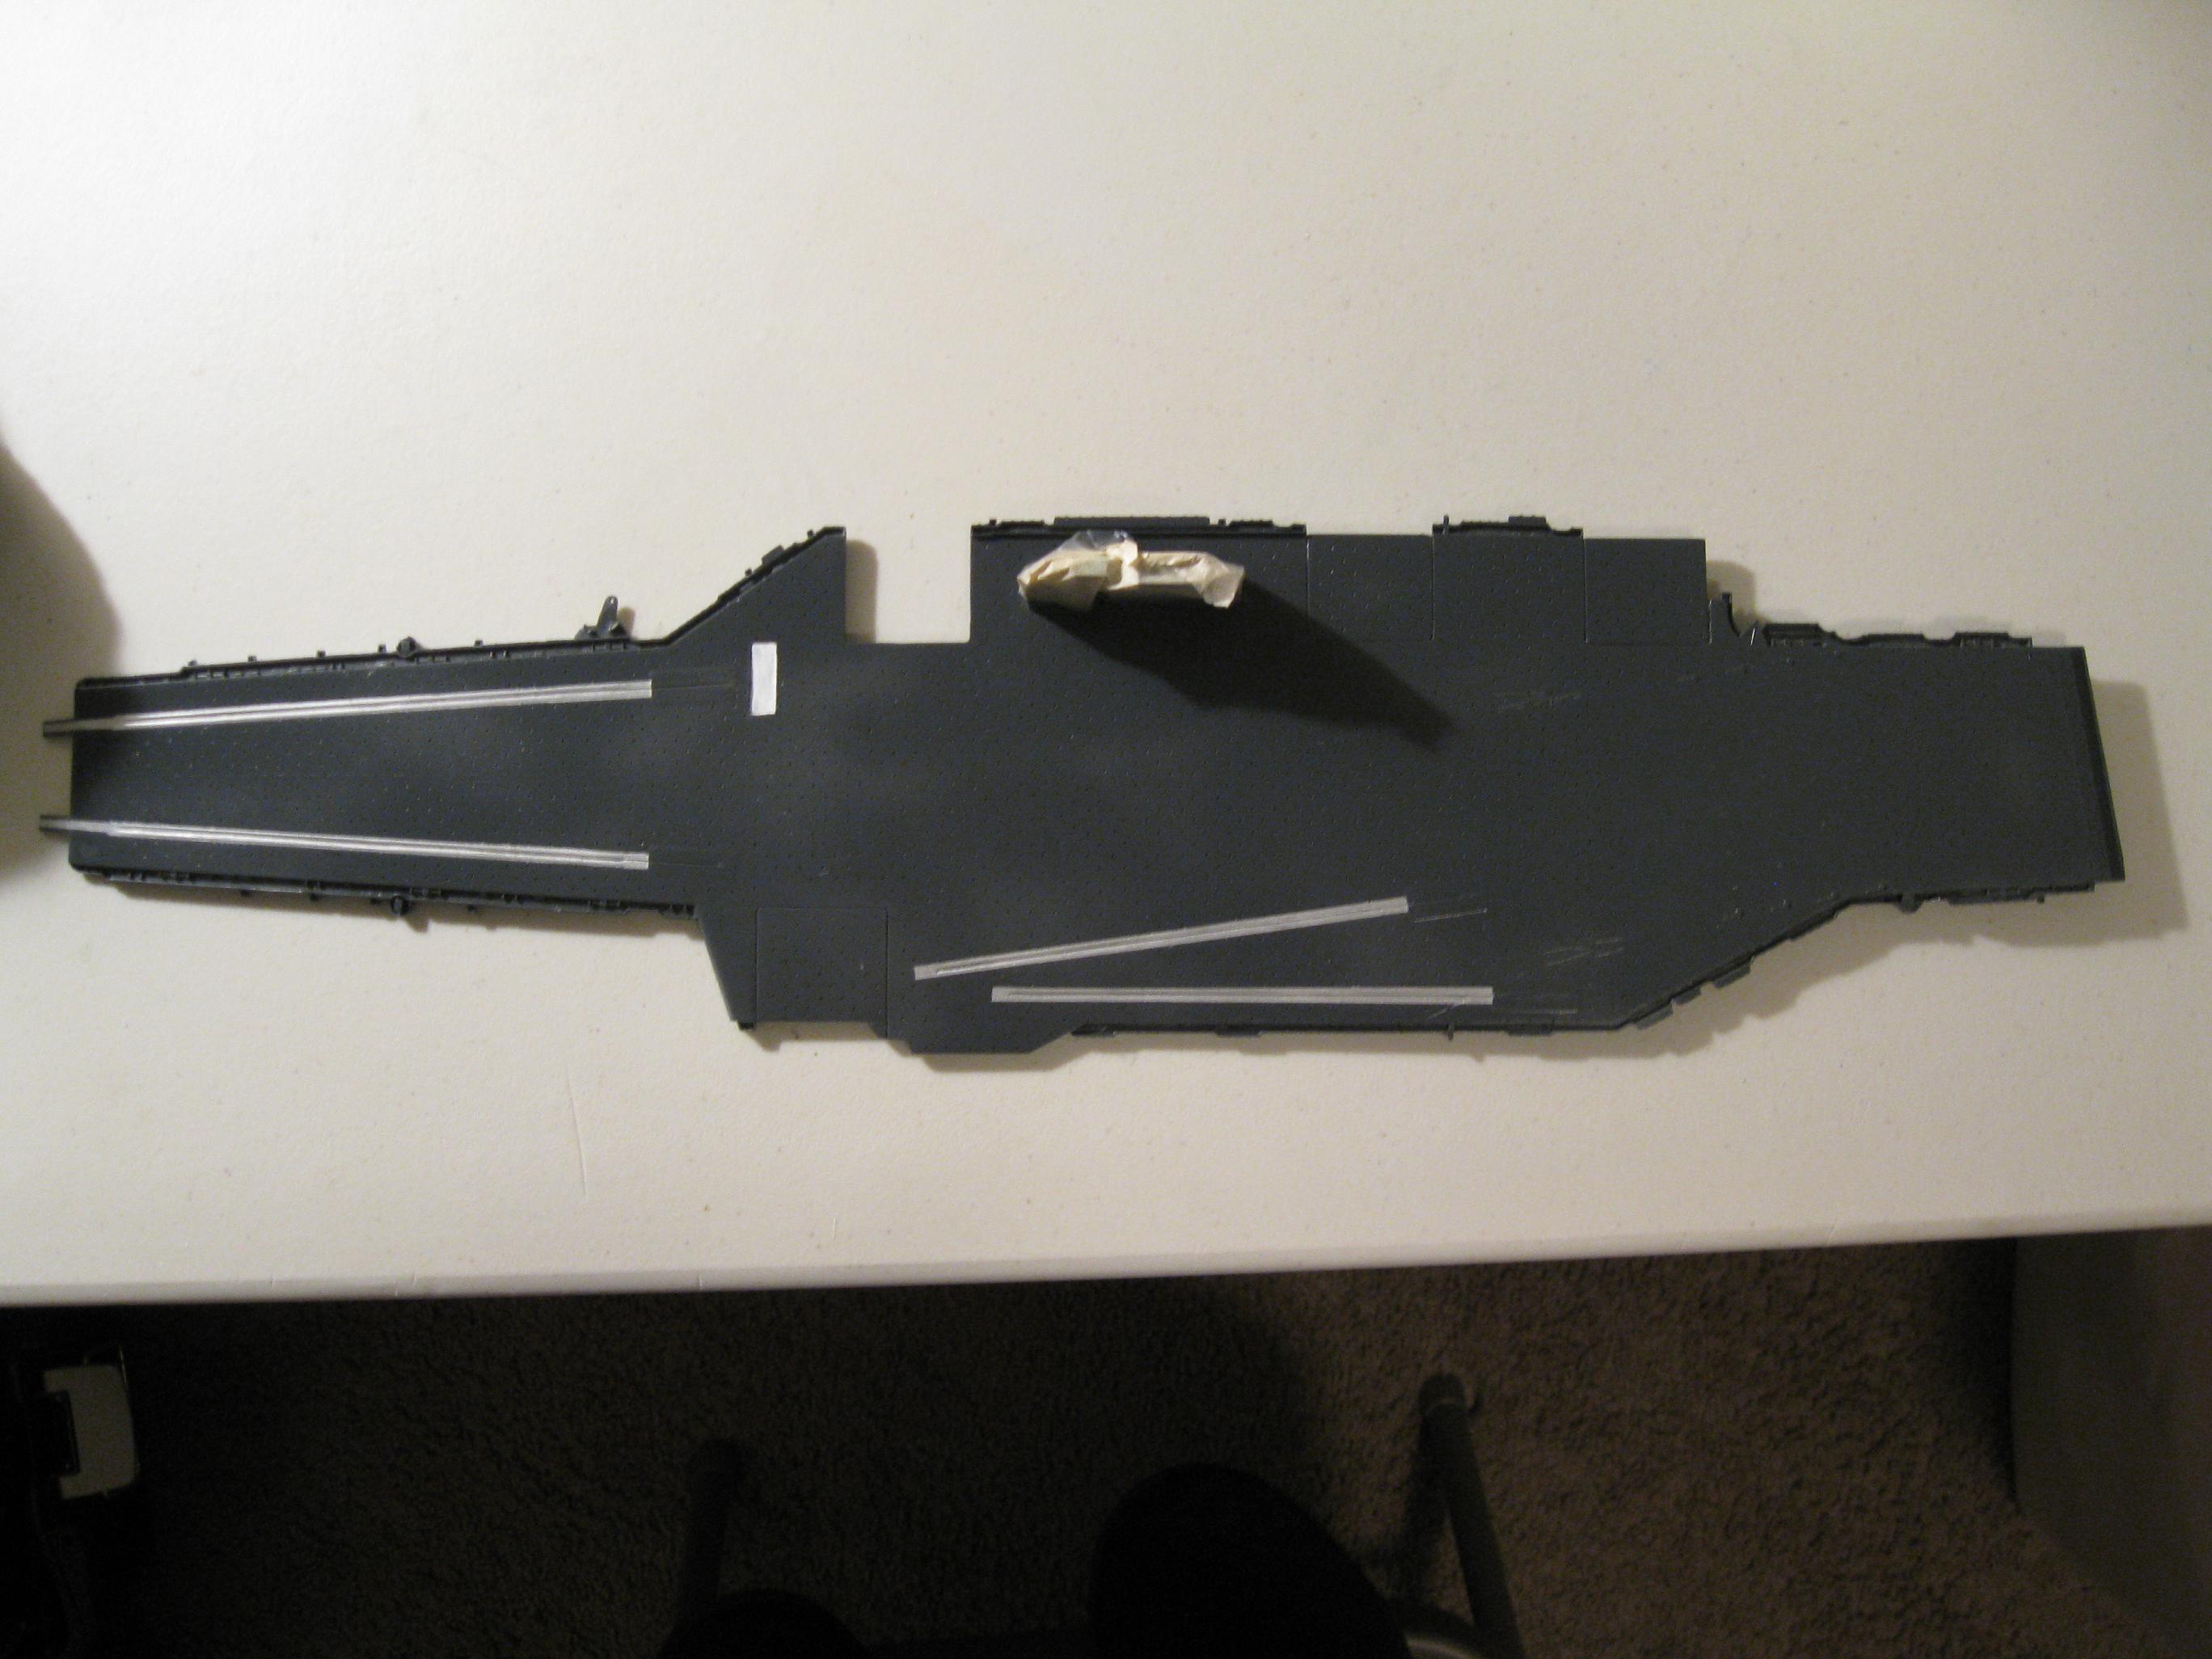
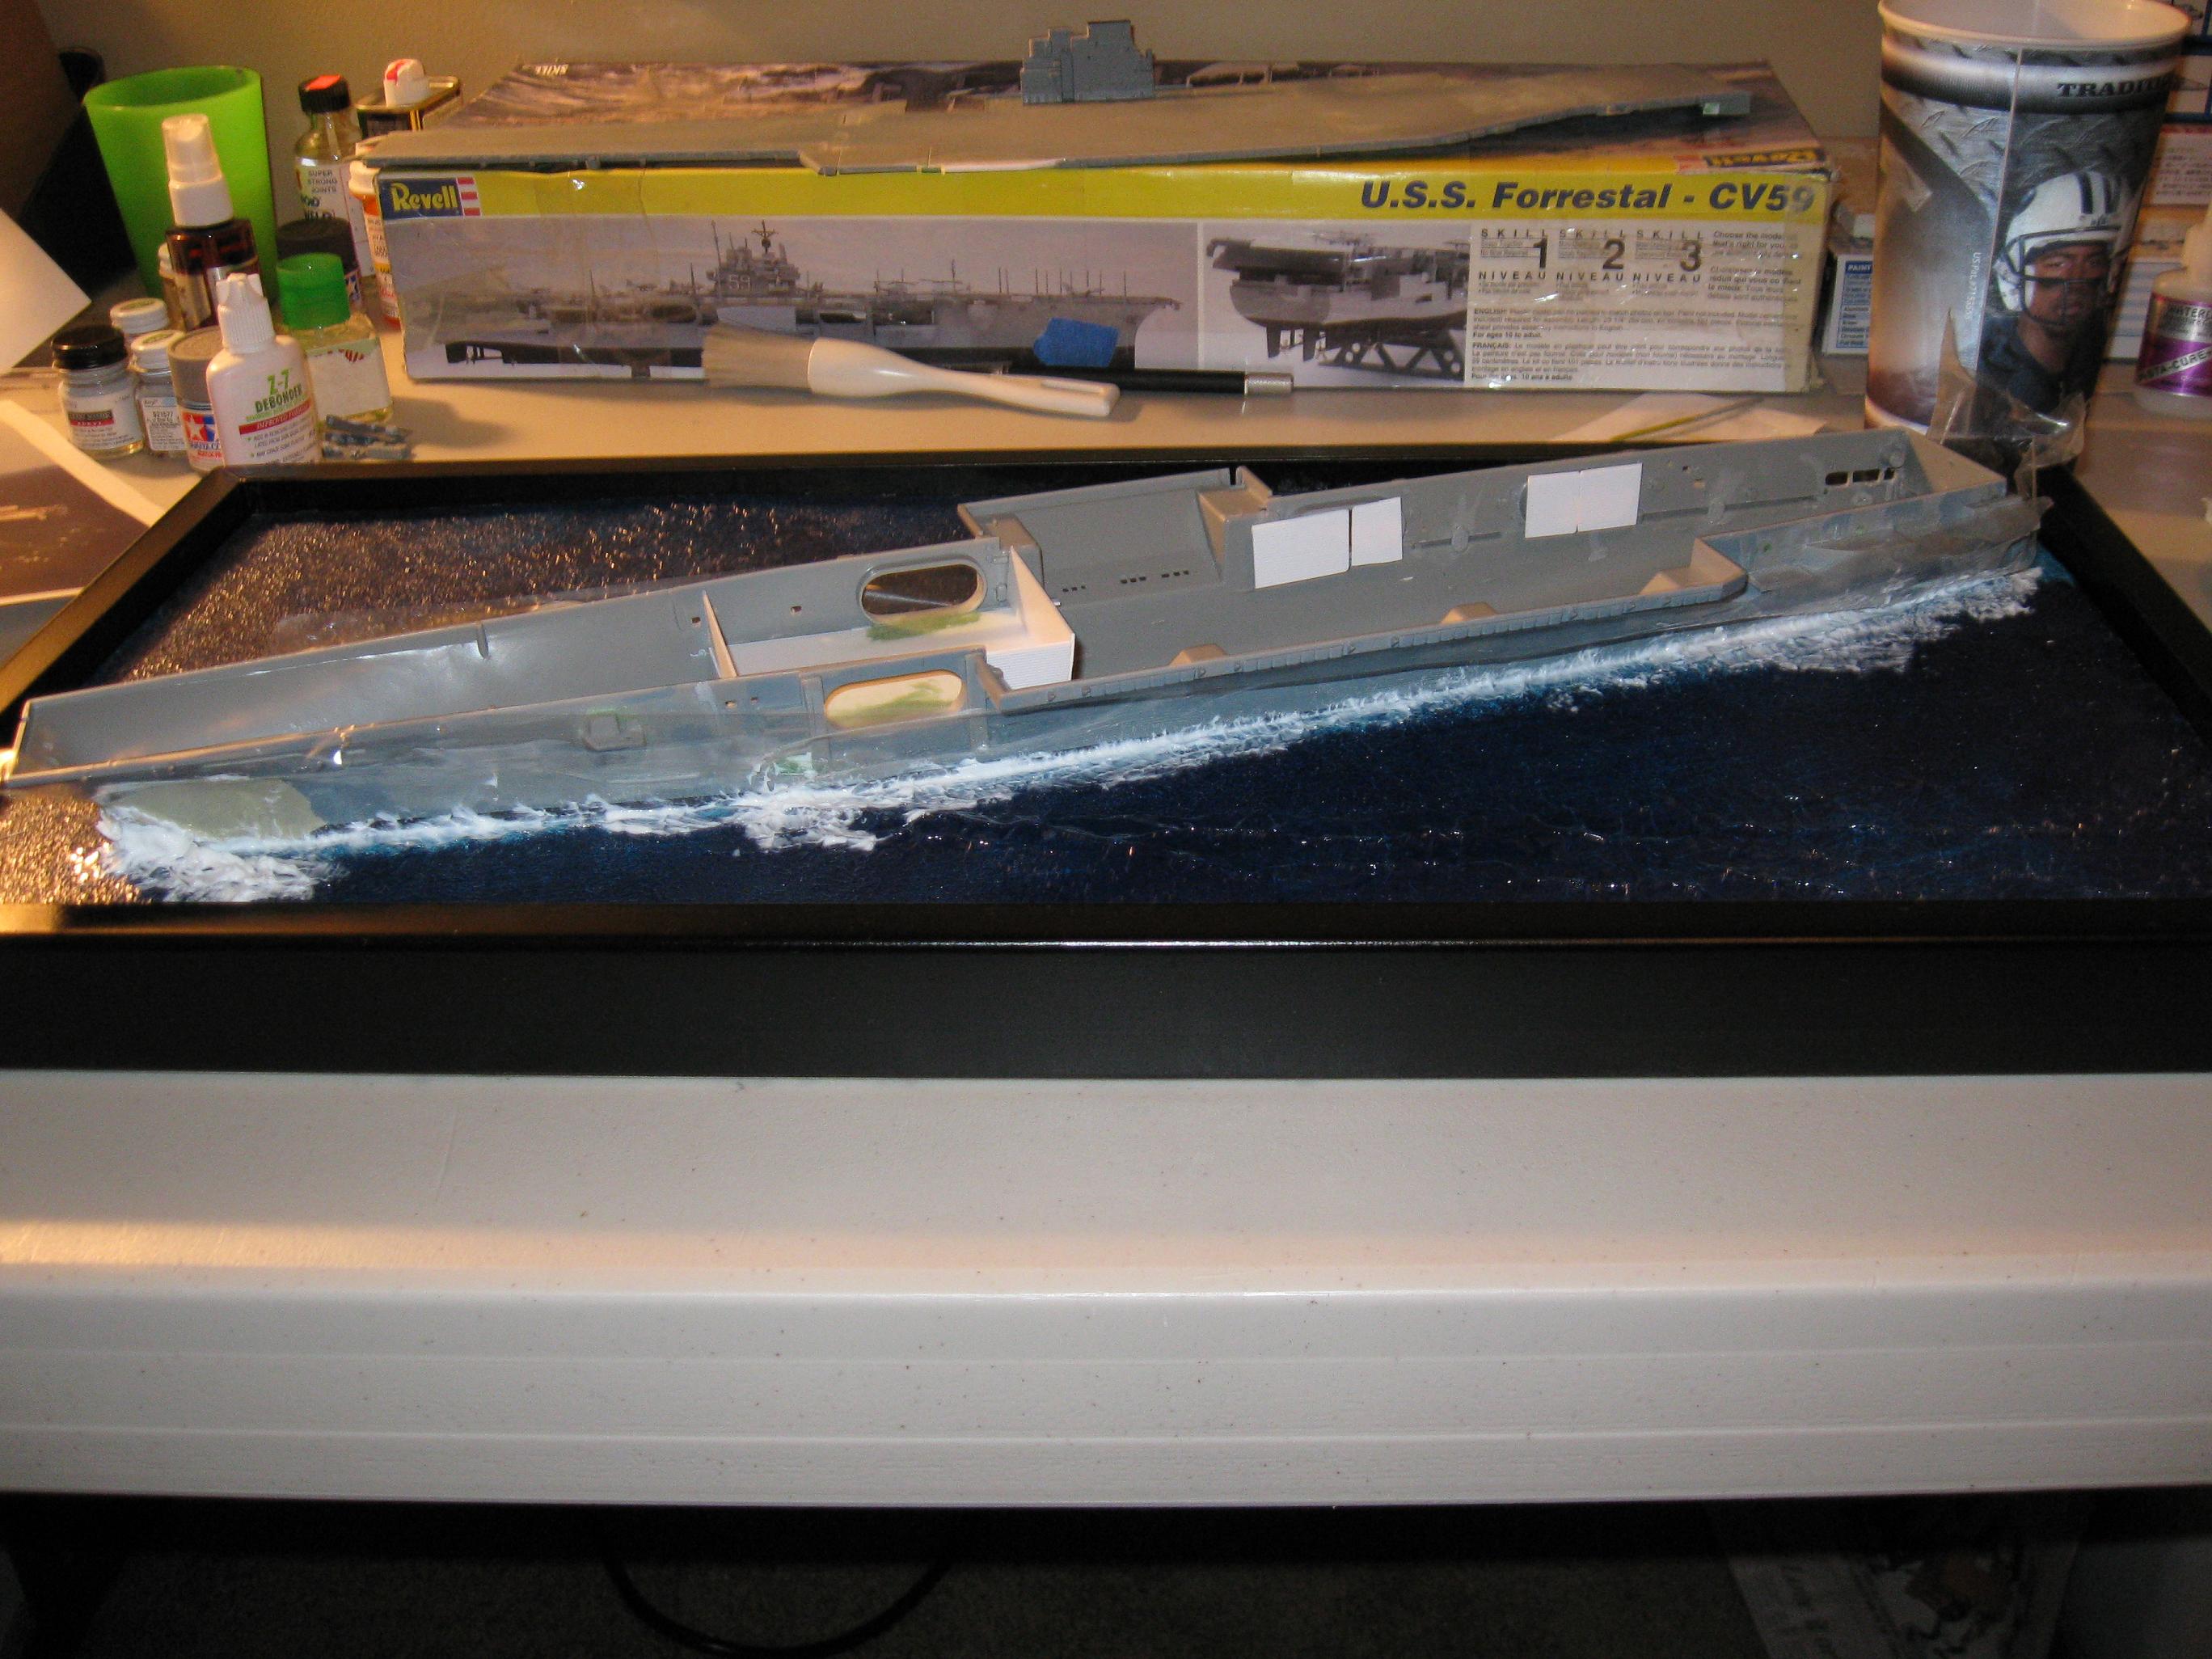
USS SARATOGA This model was supposed to be my practice "return to modeling" model, but I seem to have decided to make it a show piece if I can. I have purchased the Gold Medal Models photoetch set, Starfighter Decals markings for the Saratoga and another set for the attached air wing embarked on "Sara's" last cruise, and various modeling accessories that I was going to build up "over time". Over time turned out to be about a month which made my wife quite happy. The kit was actually Revell's Forrestal but since I could get the decals for the air wing I decided to transform it into the Saratoga. This required some modifications to the sponsons but everything else seems to be the same.I started in the middle of February
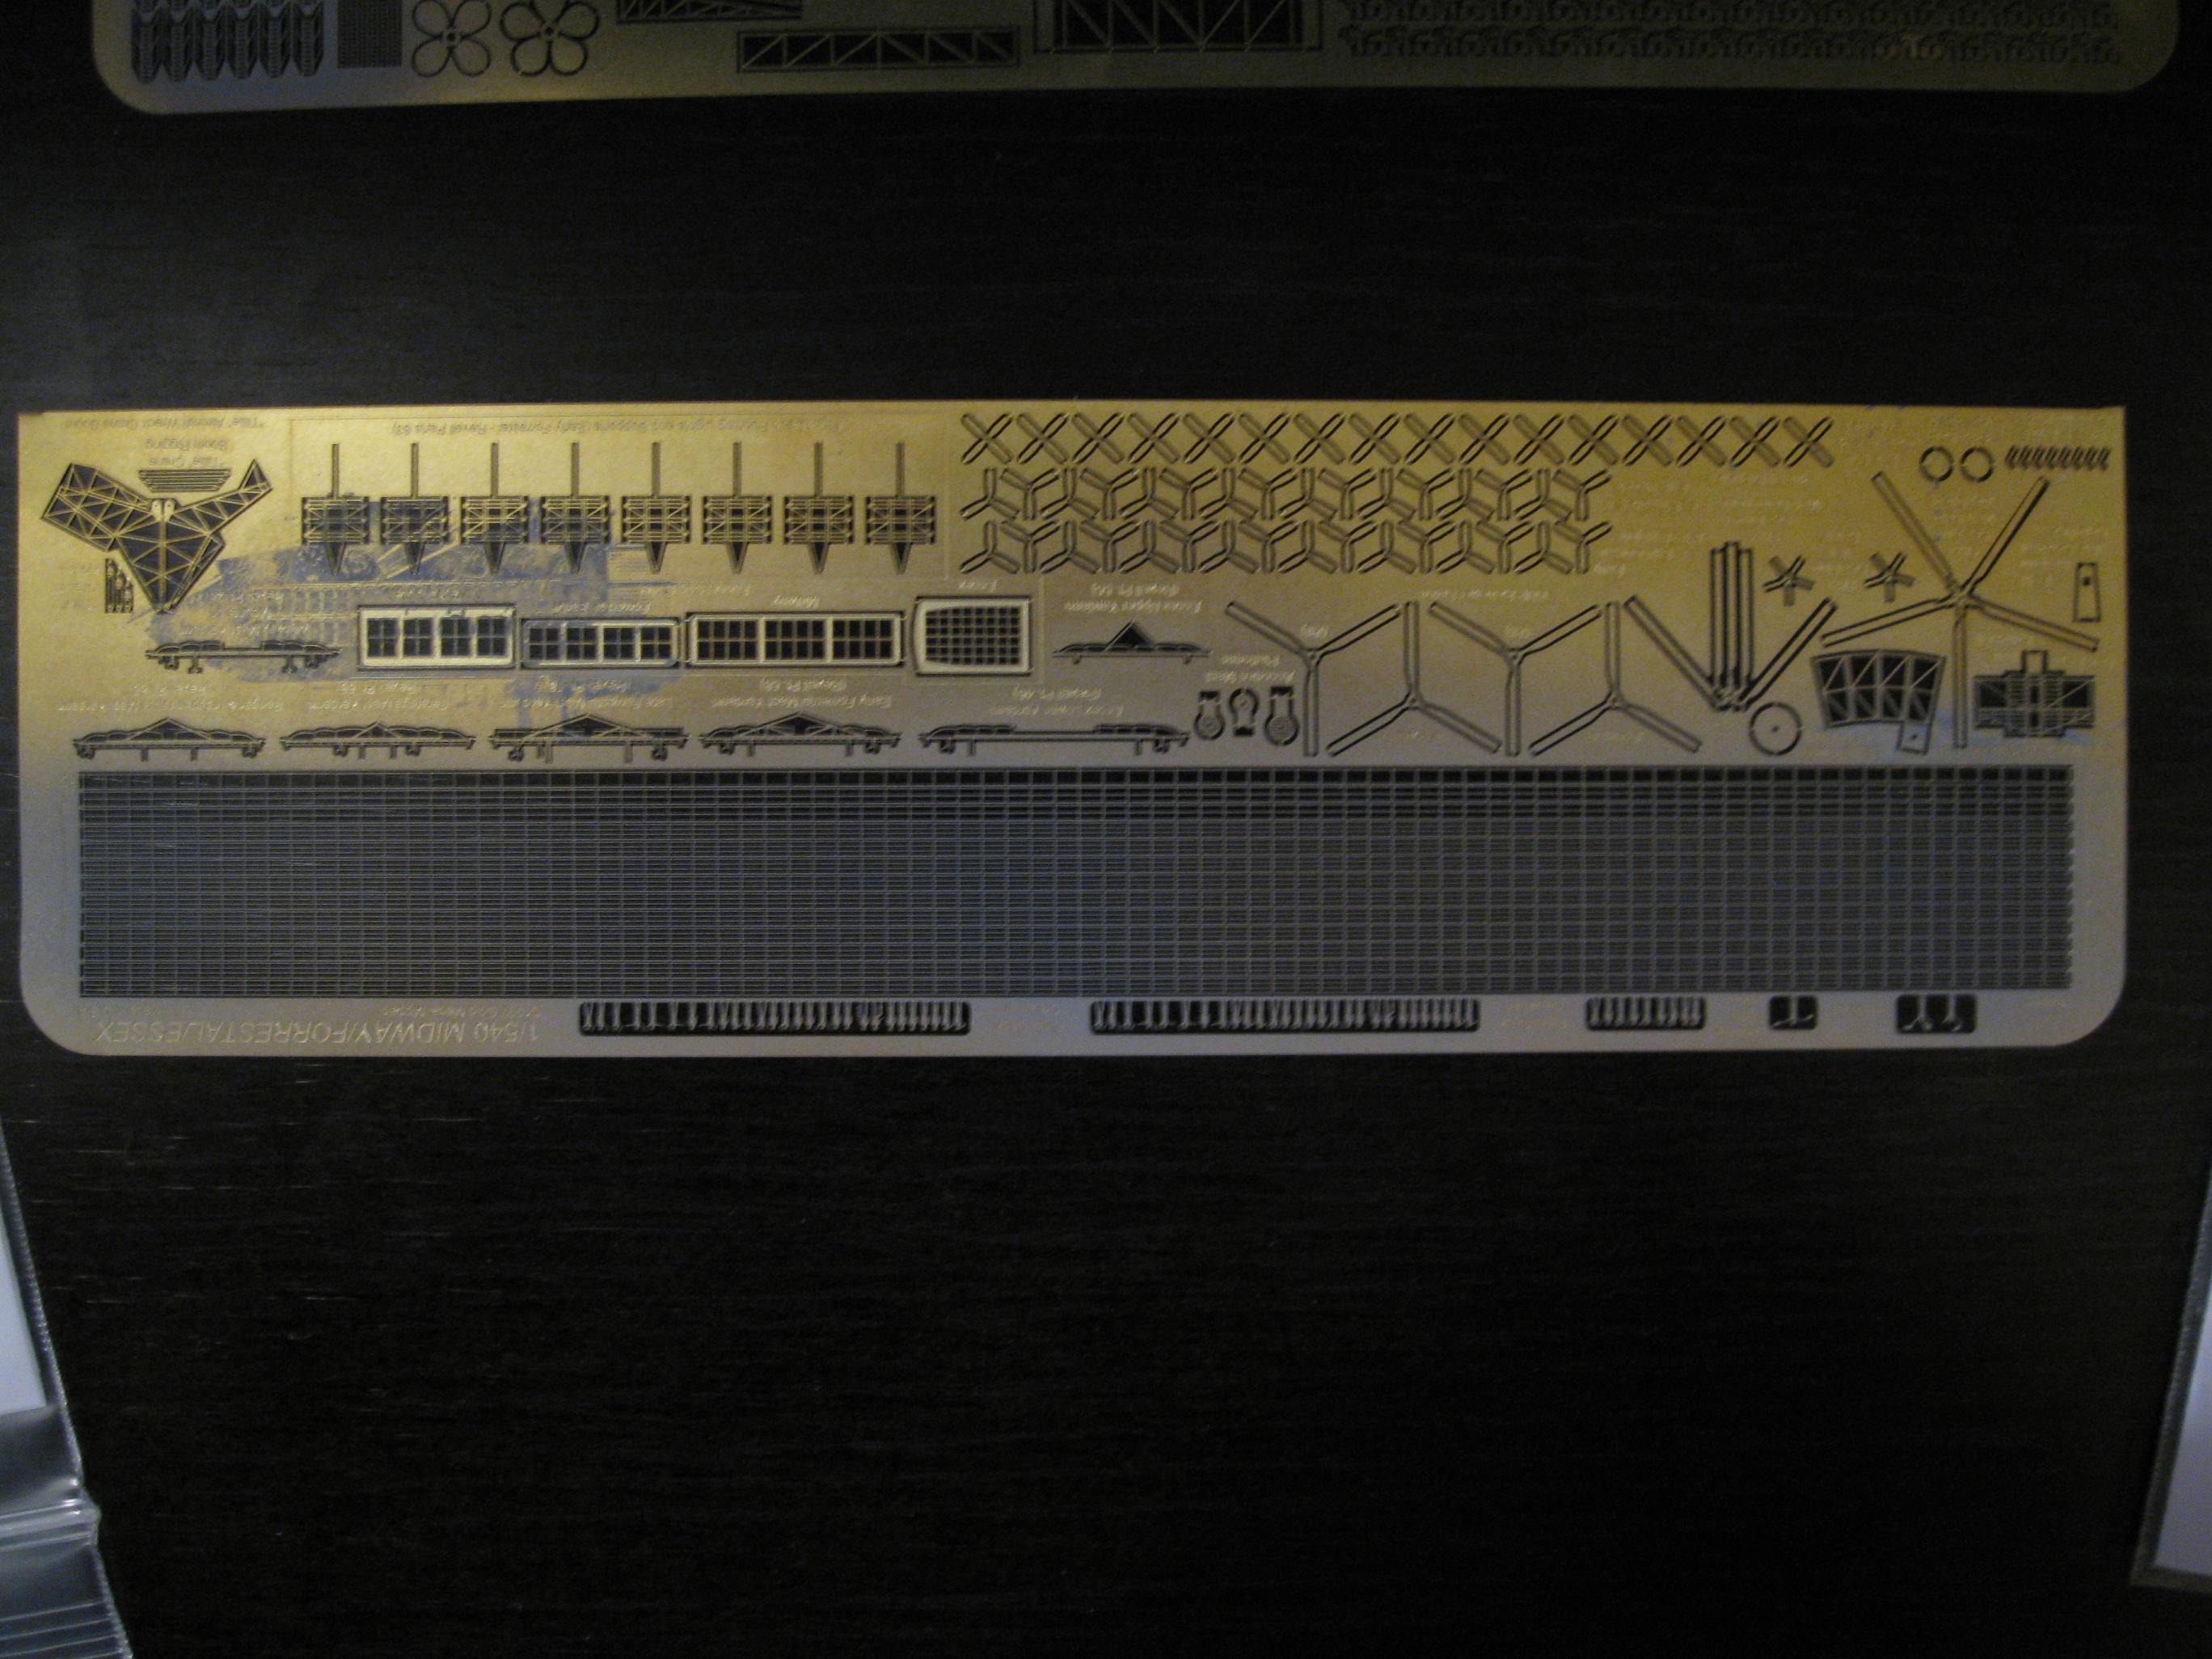
2009. New Decals and
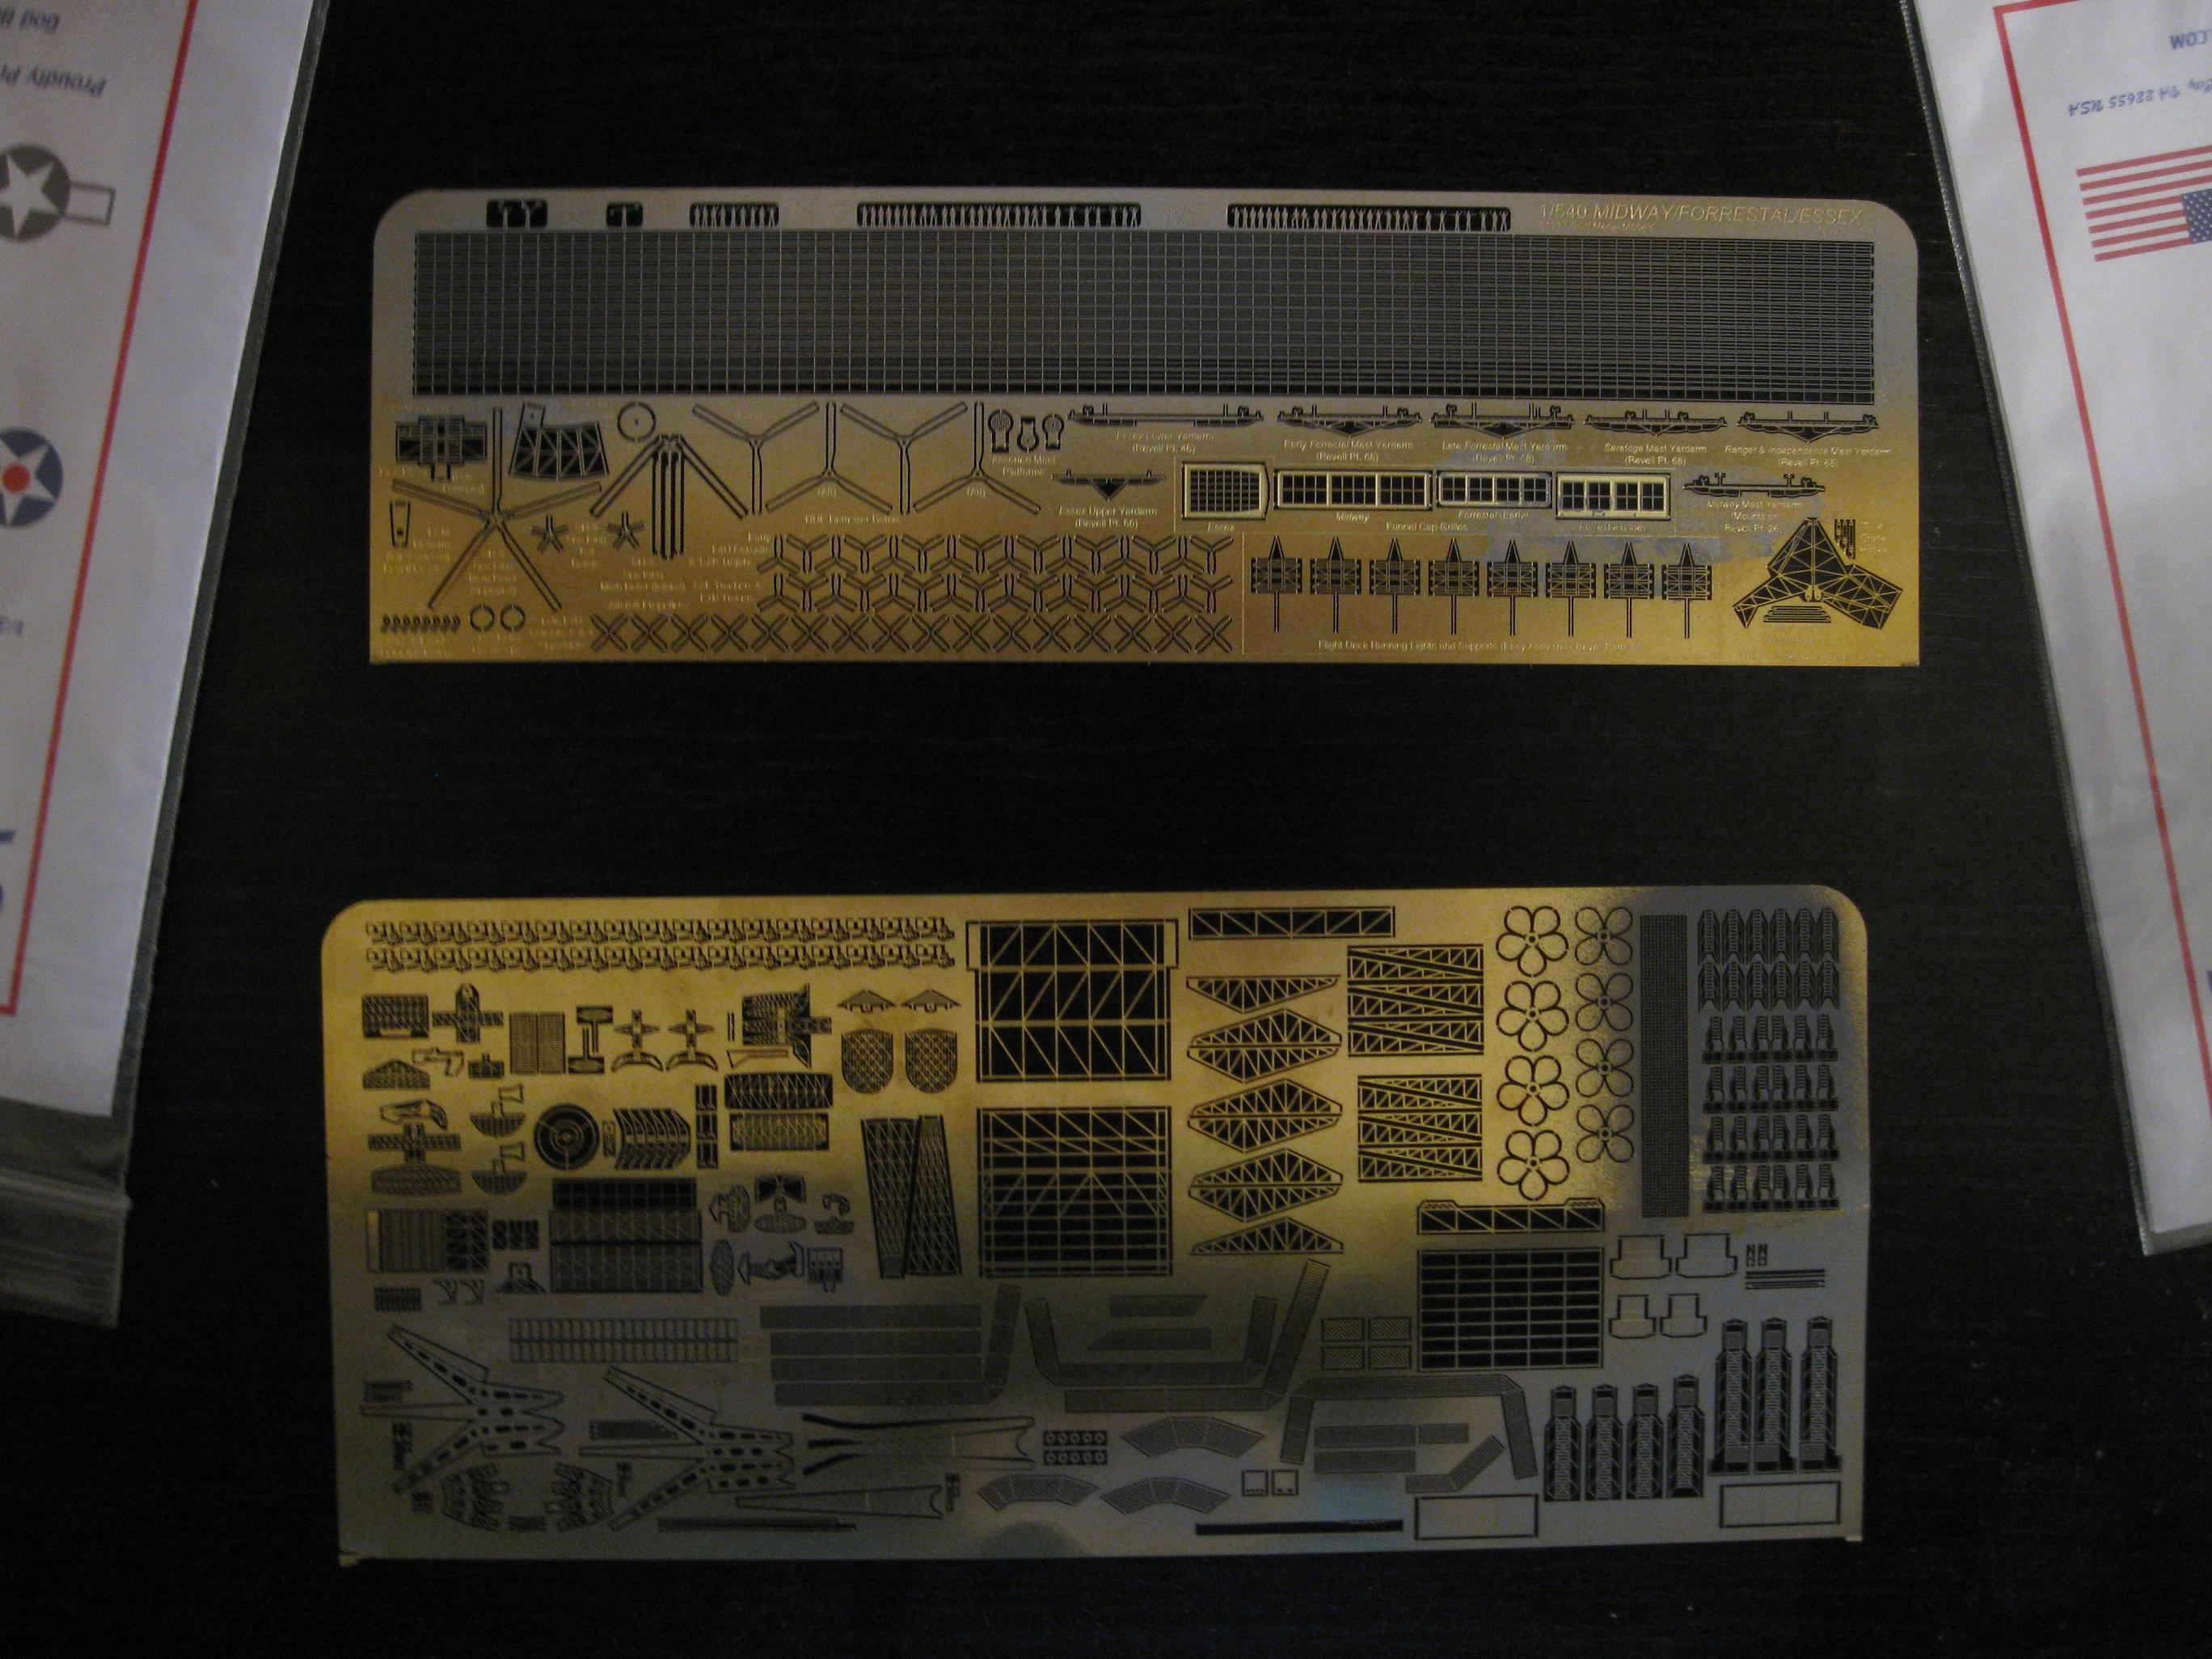
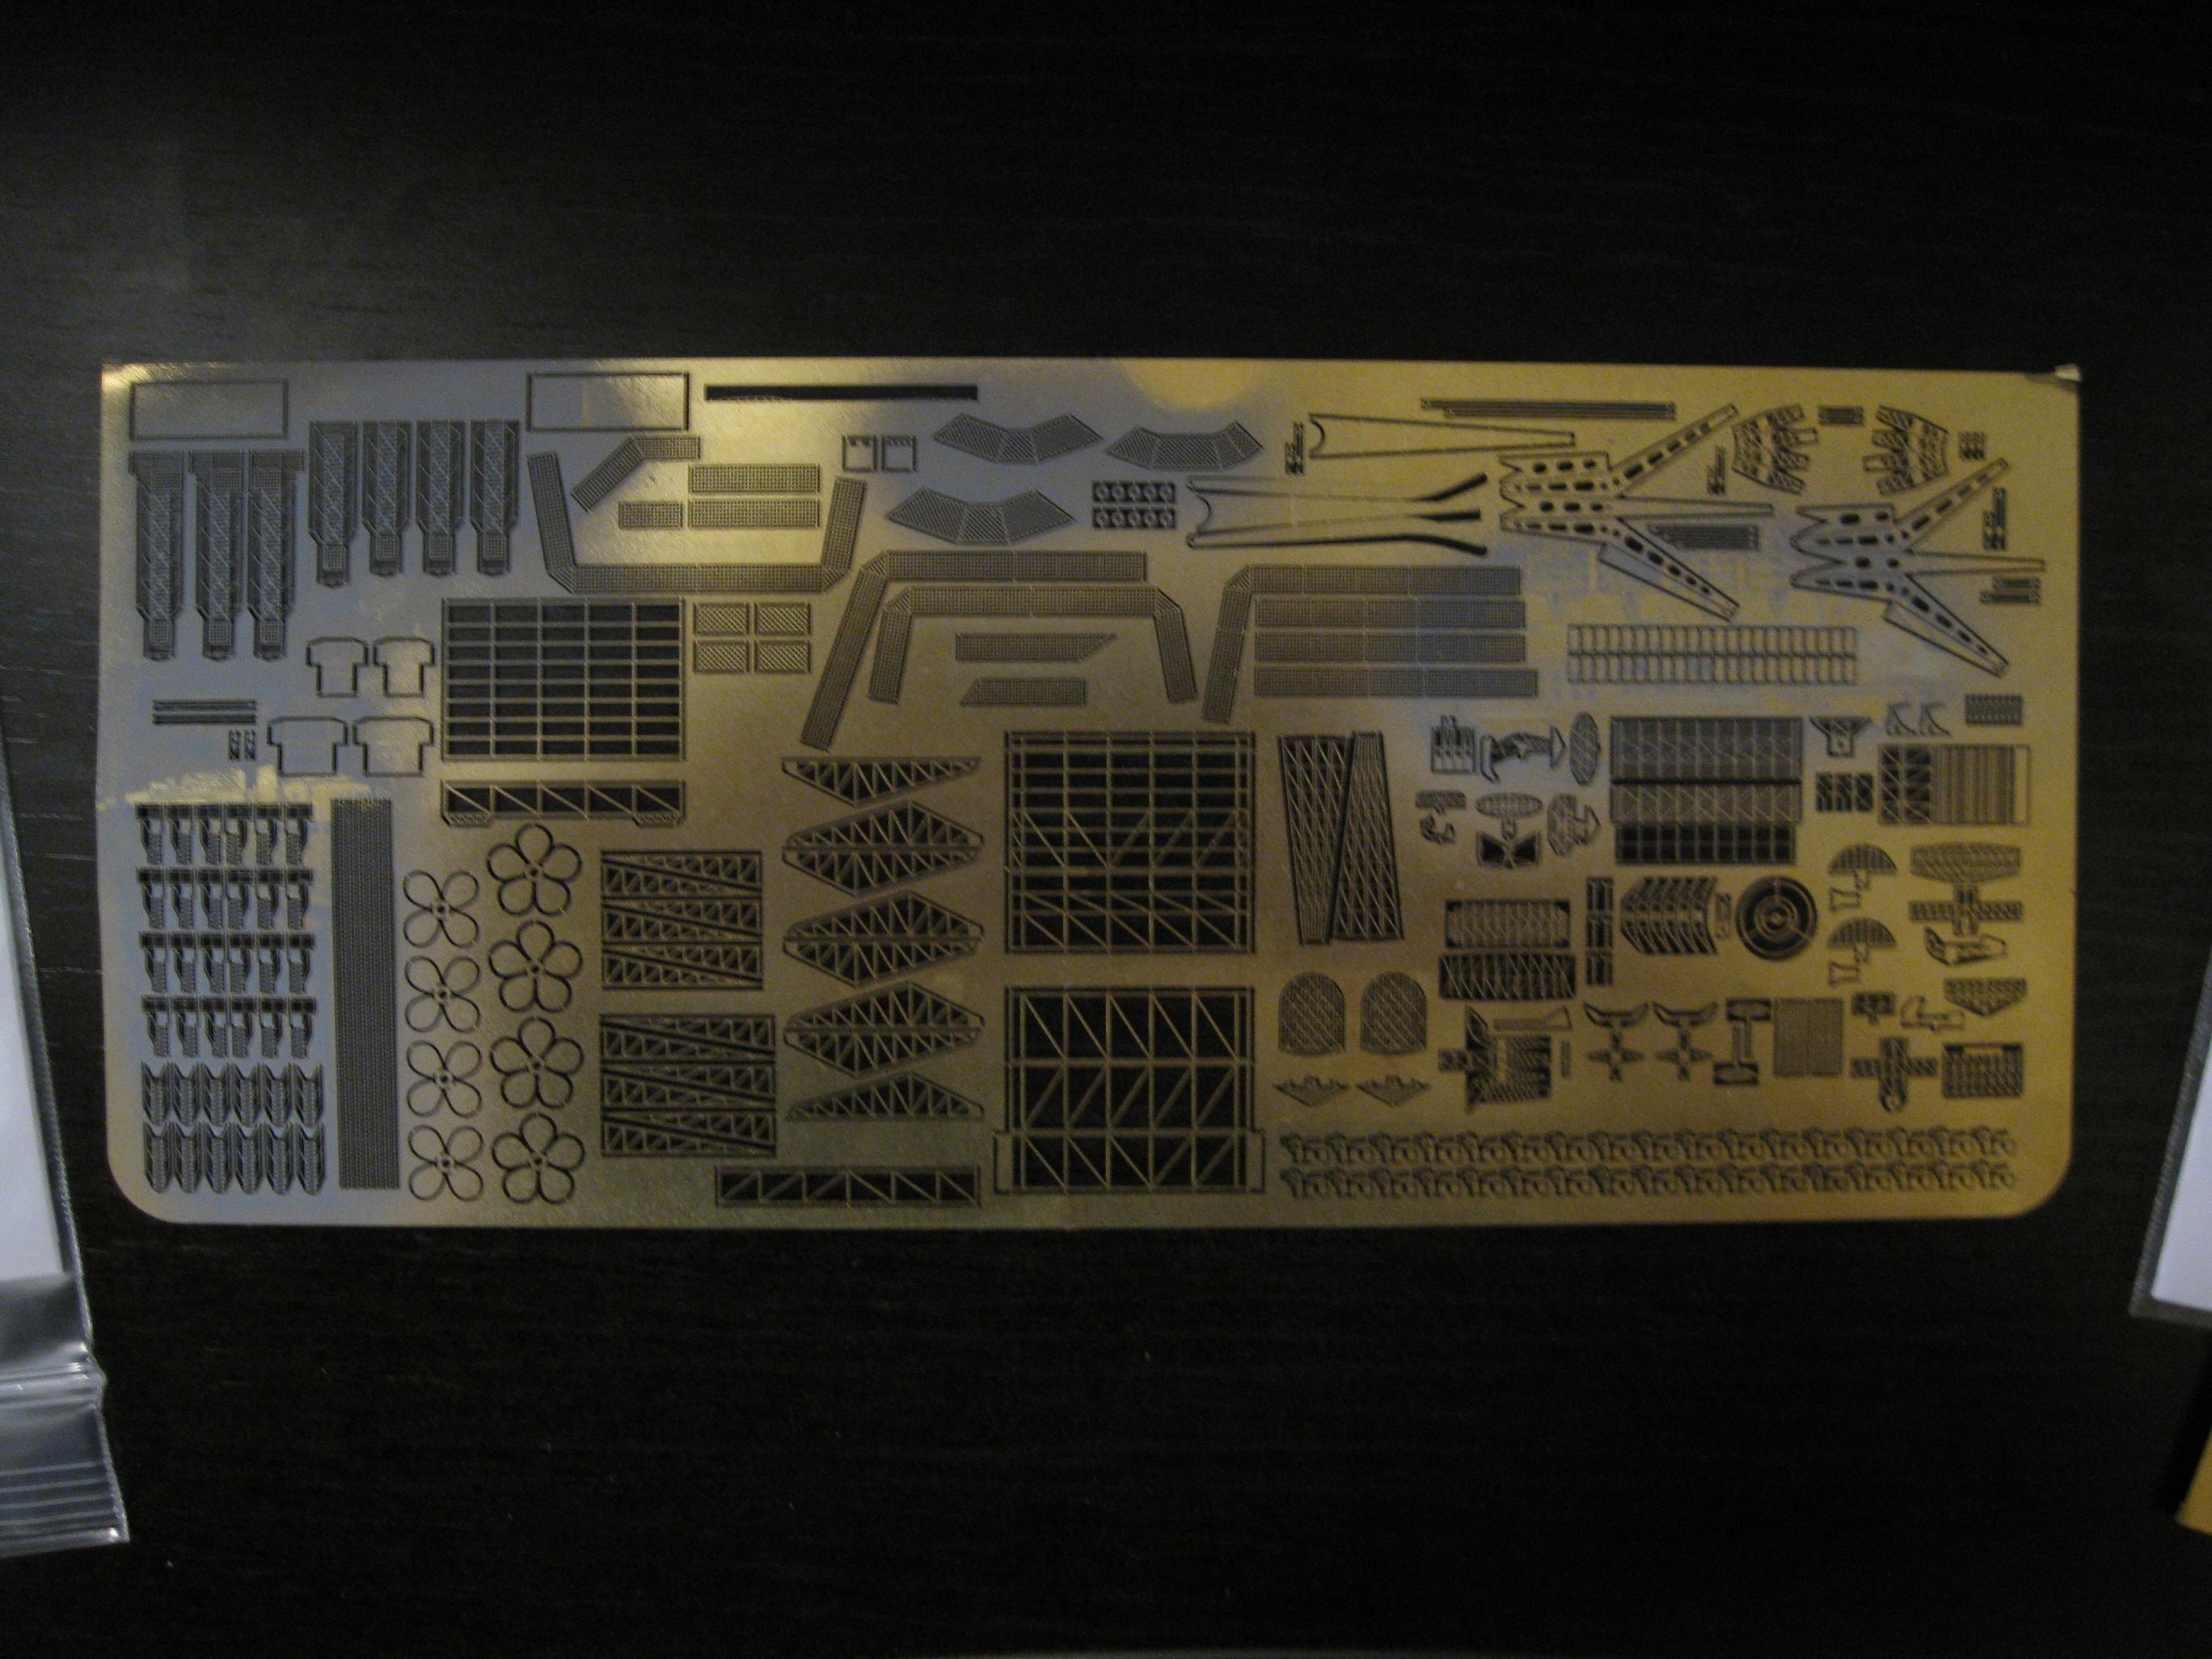
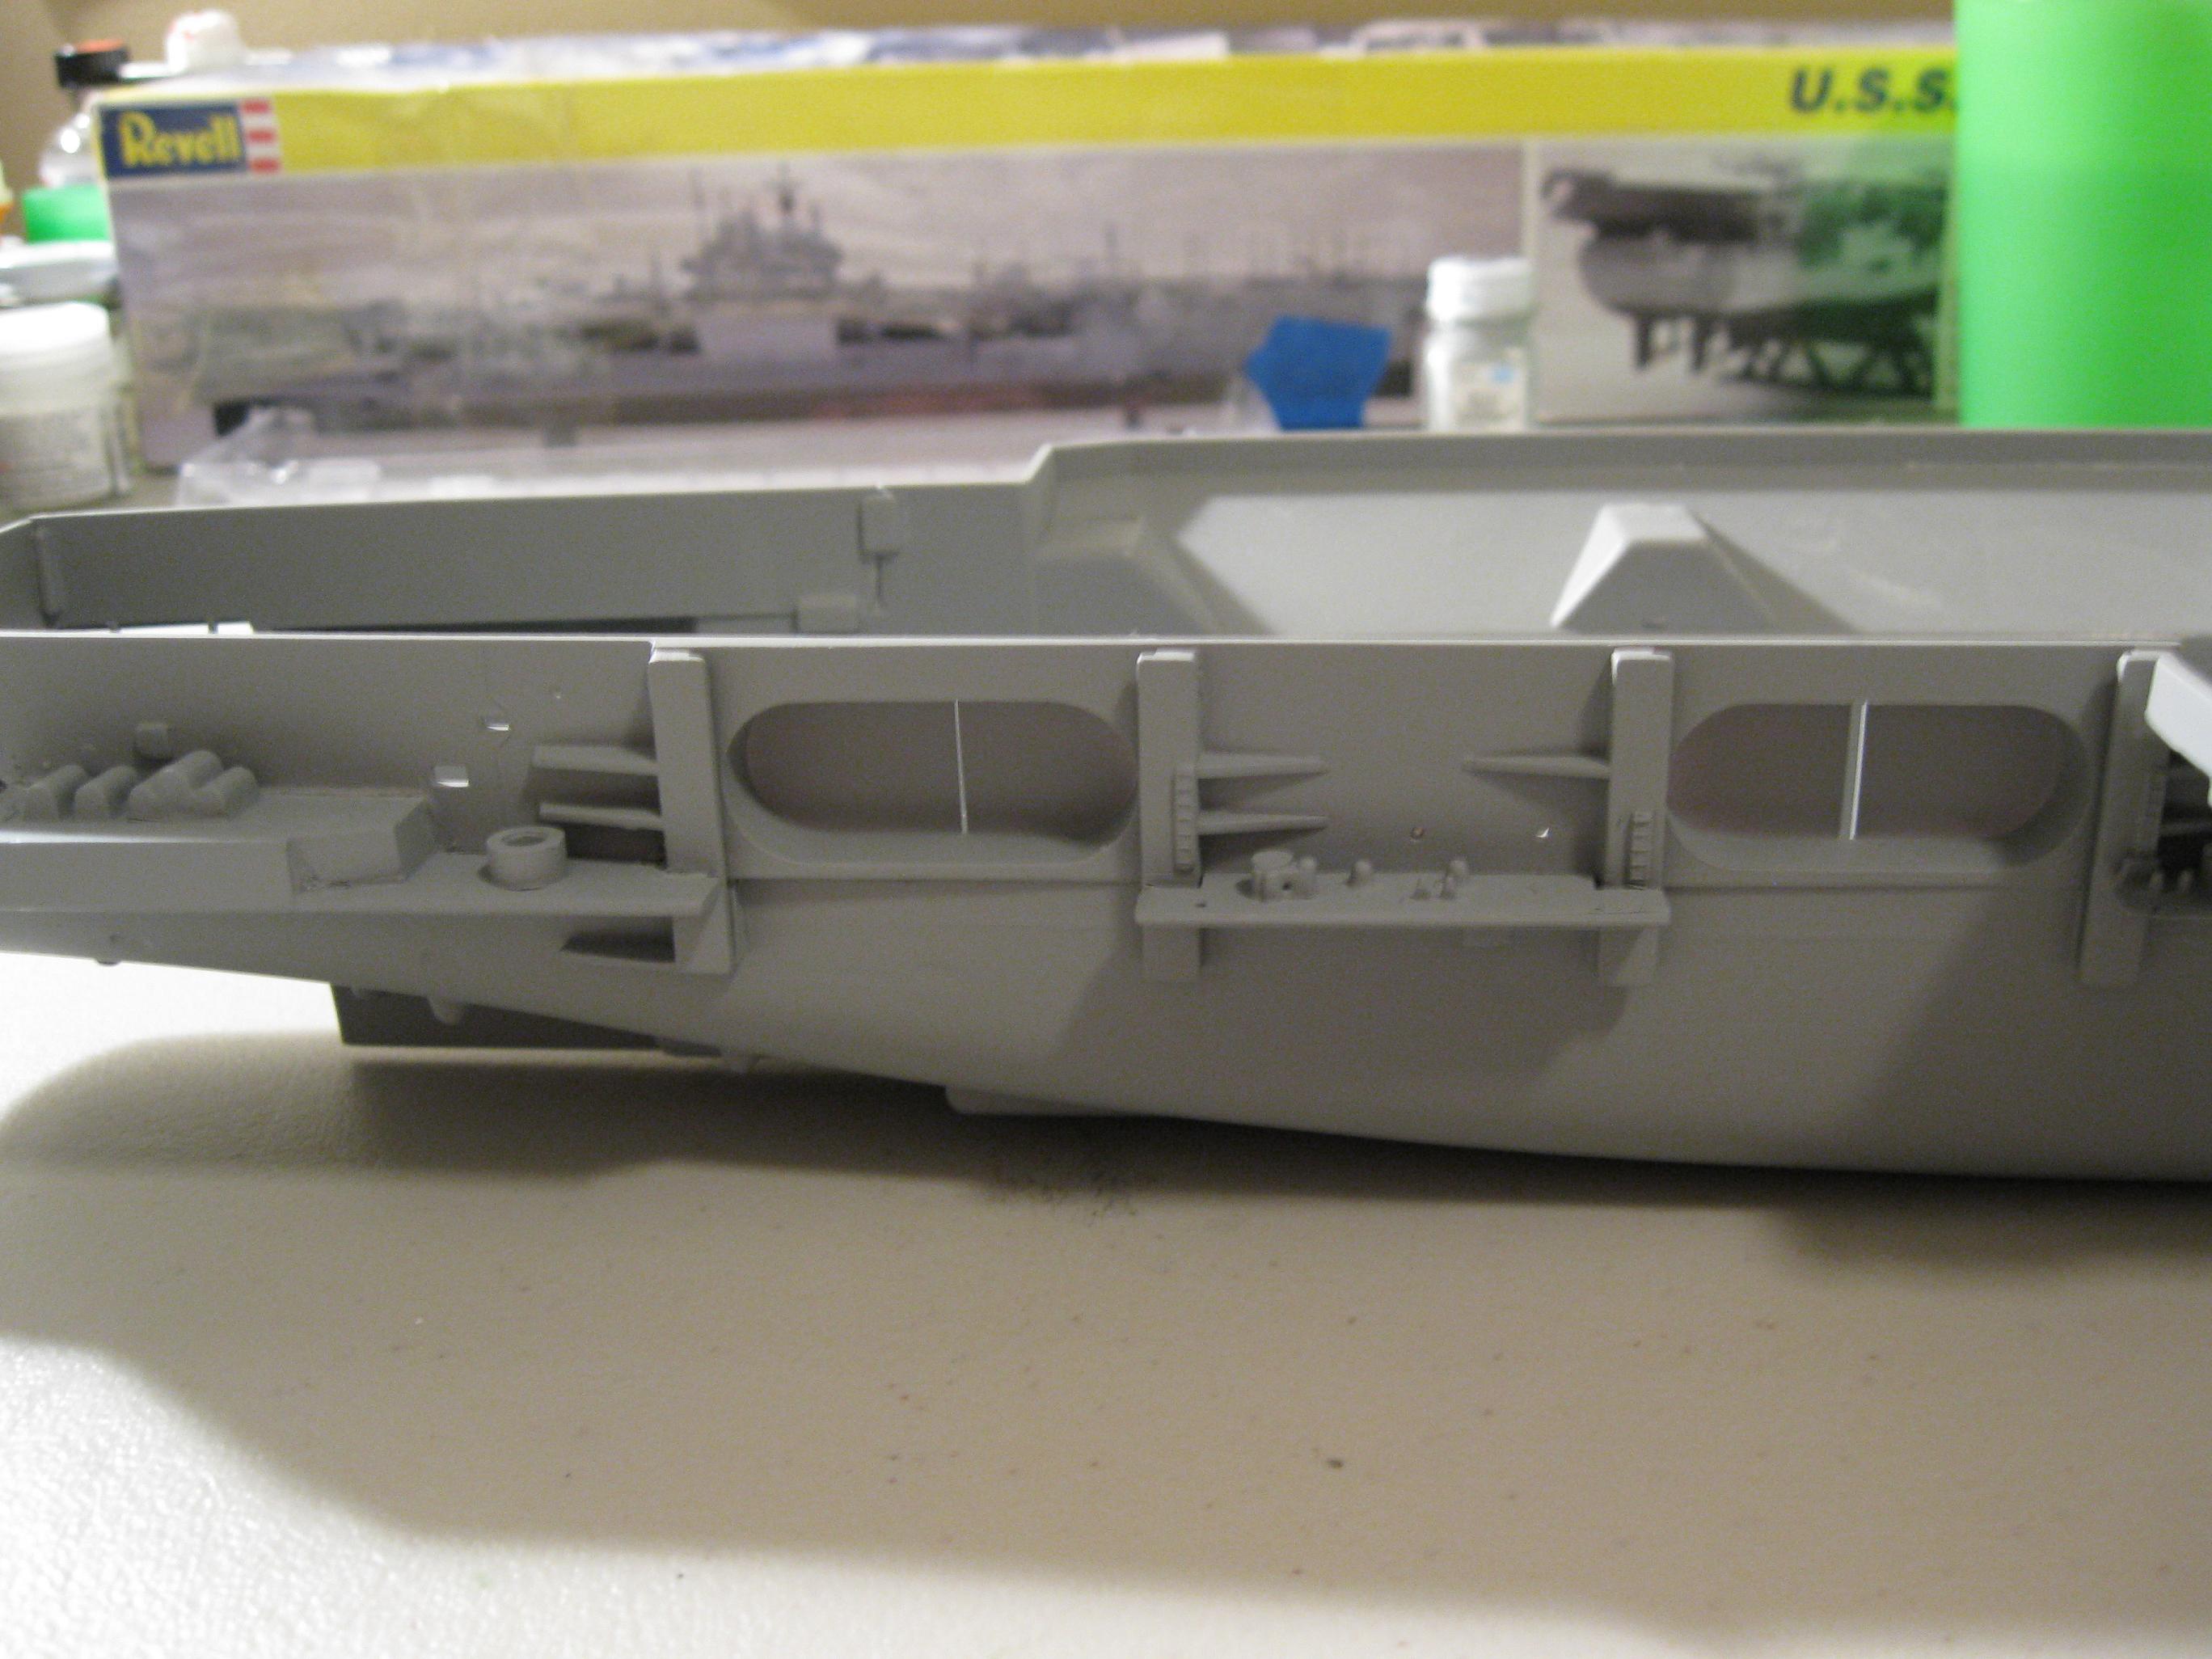
Gold Medal Photoetch Replaced molded
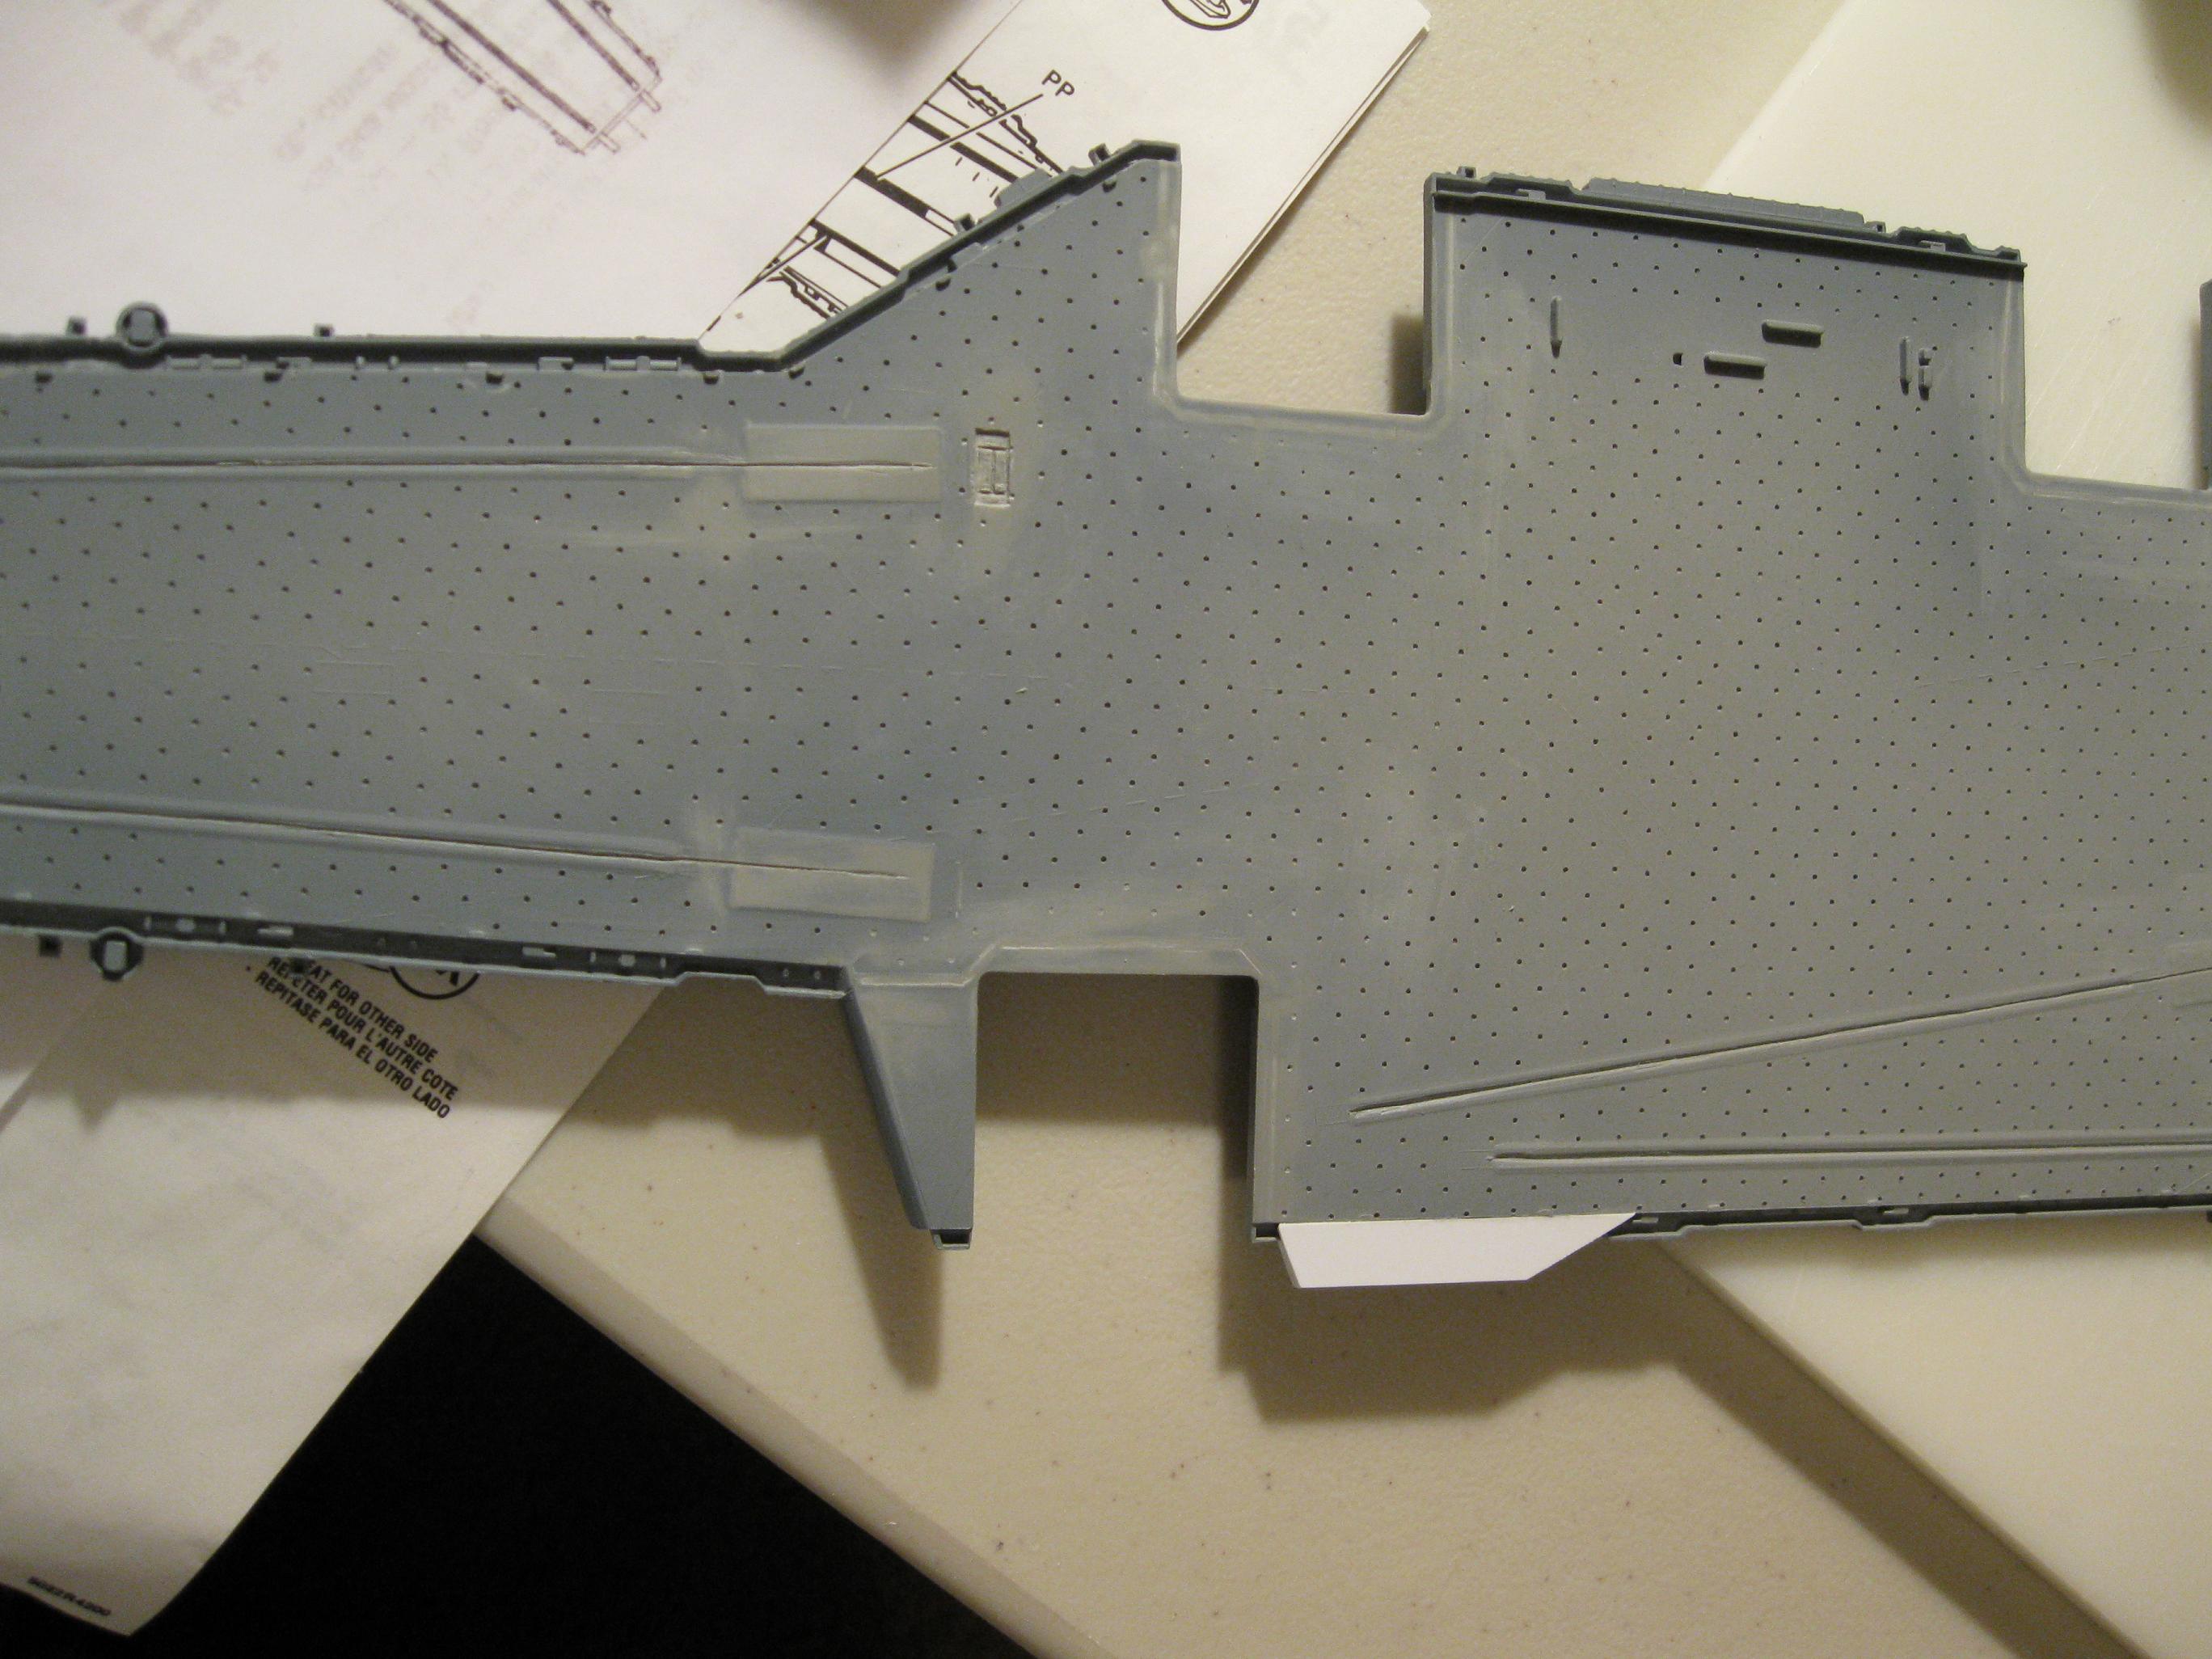
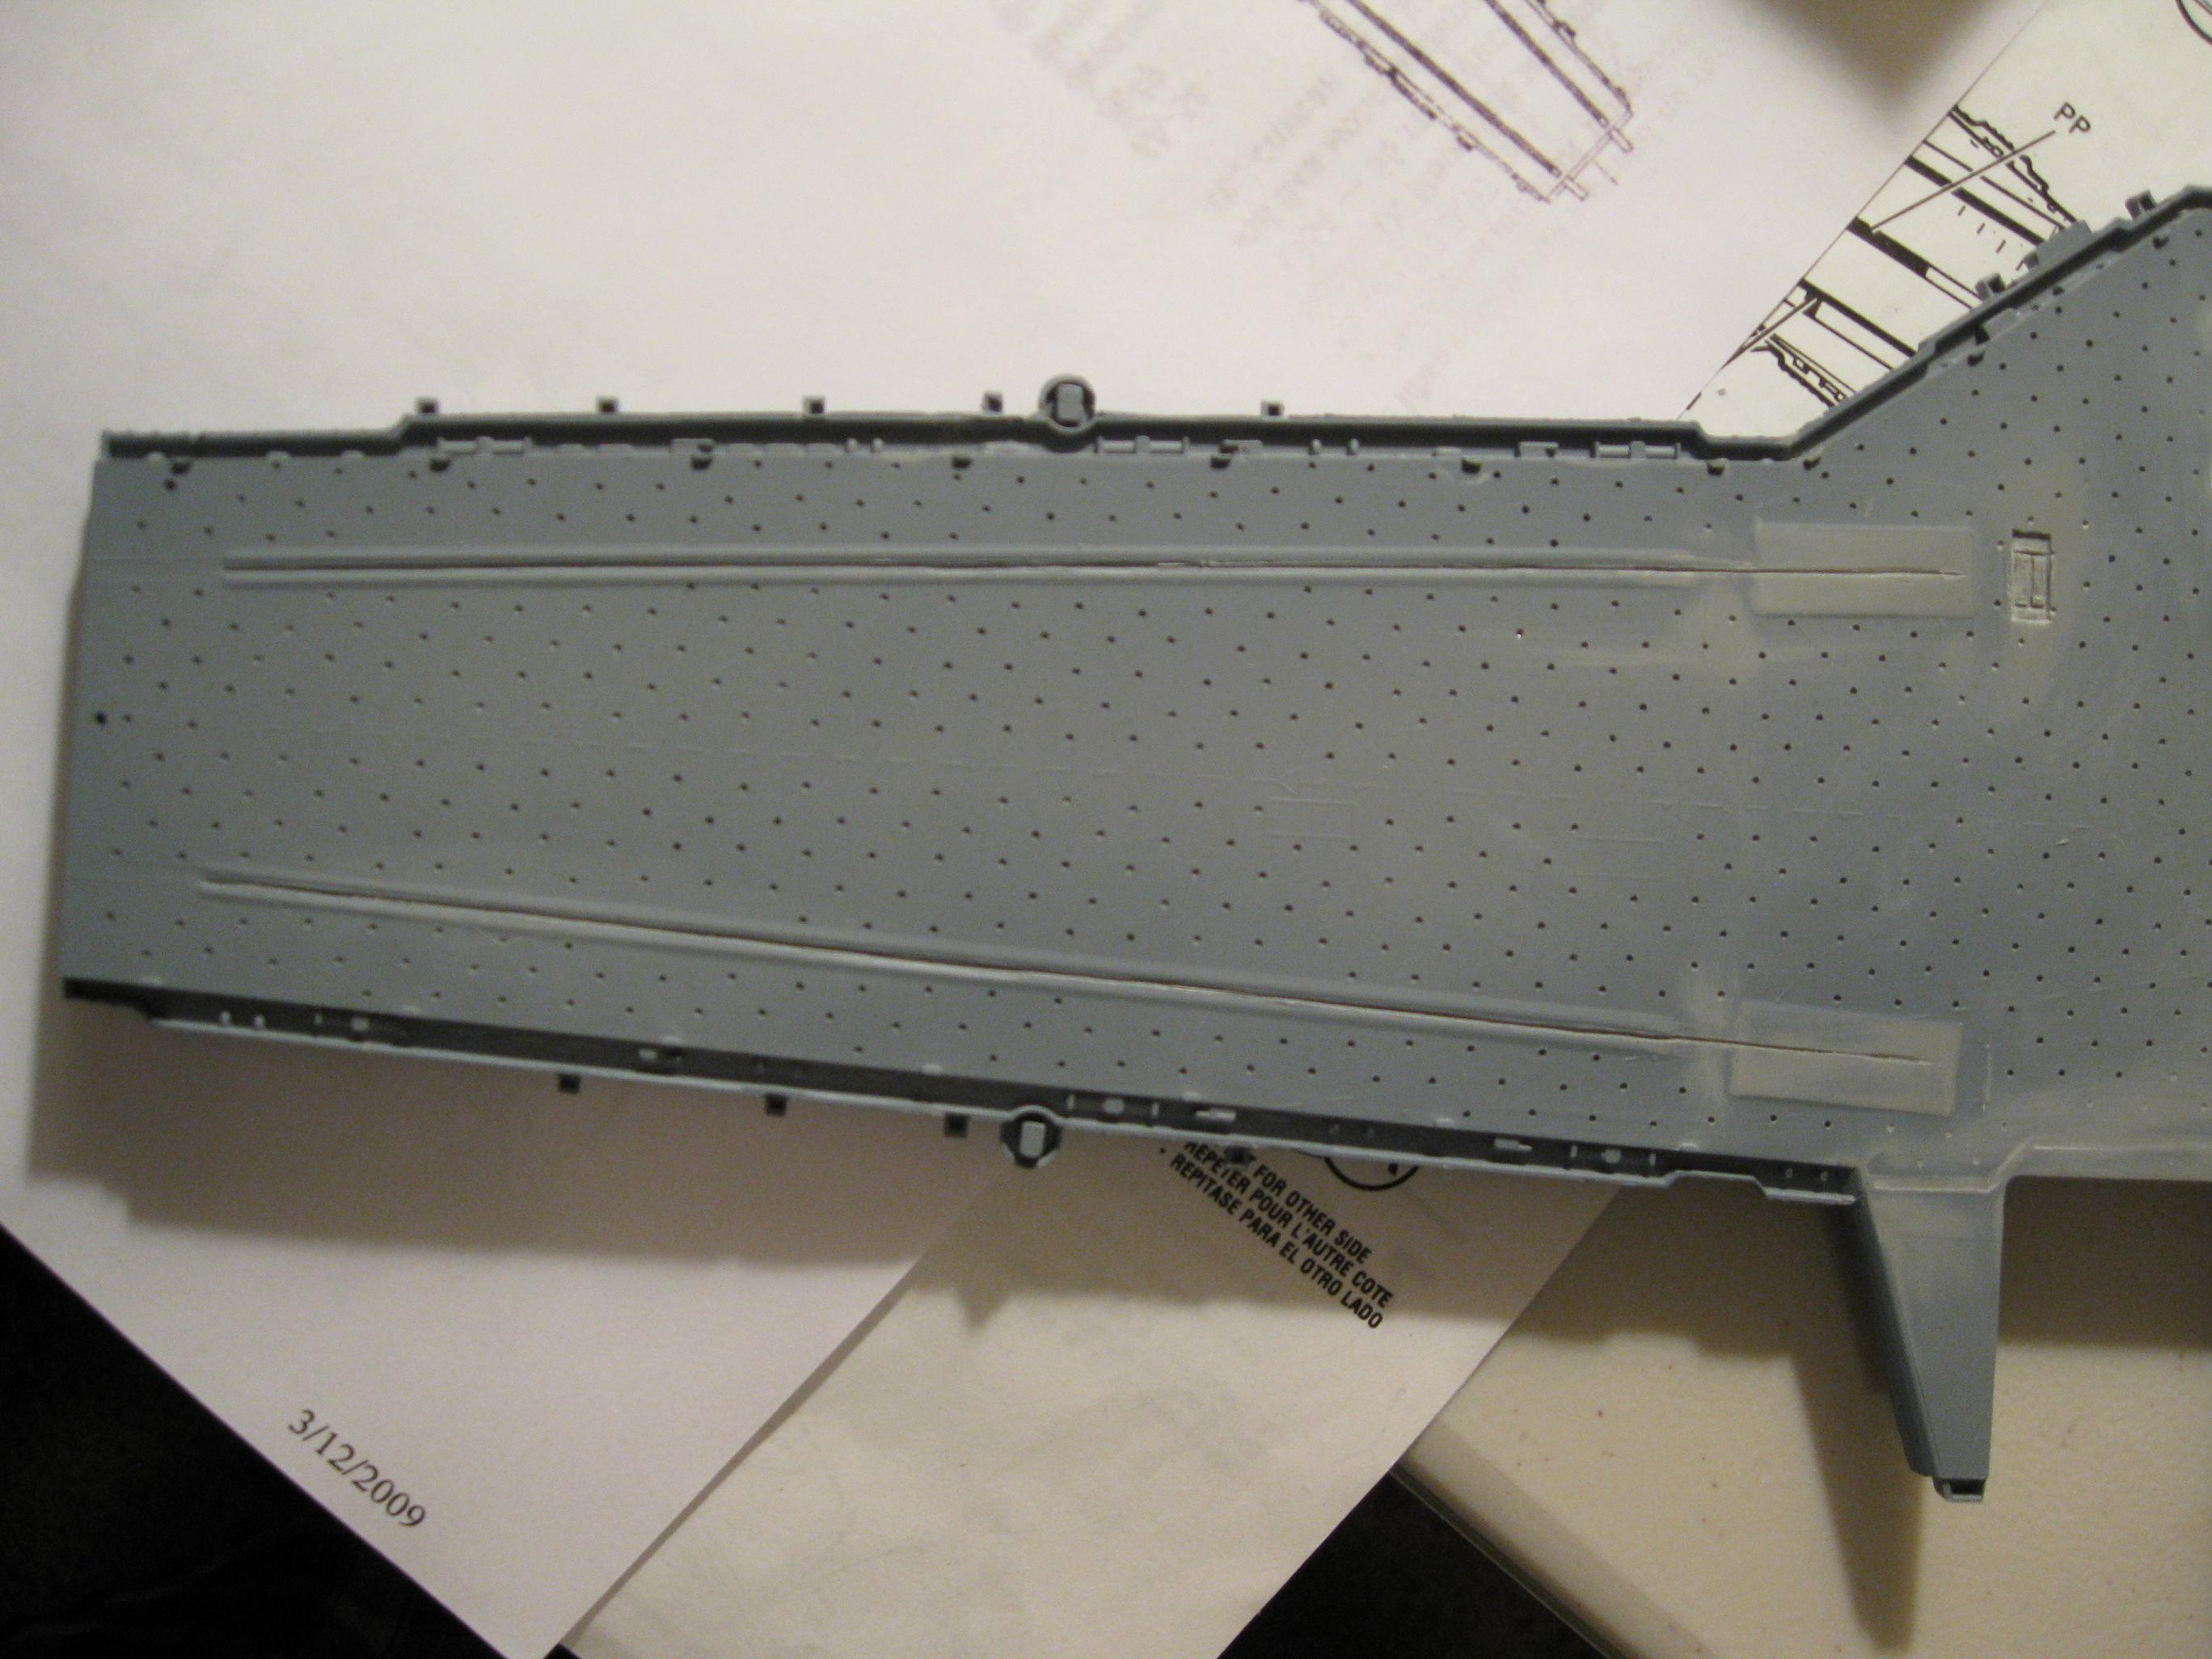
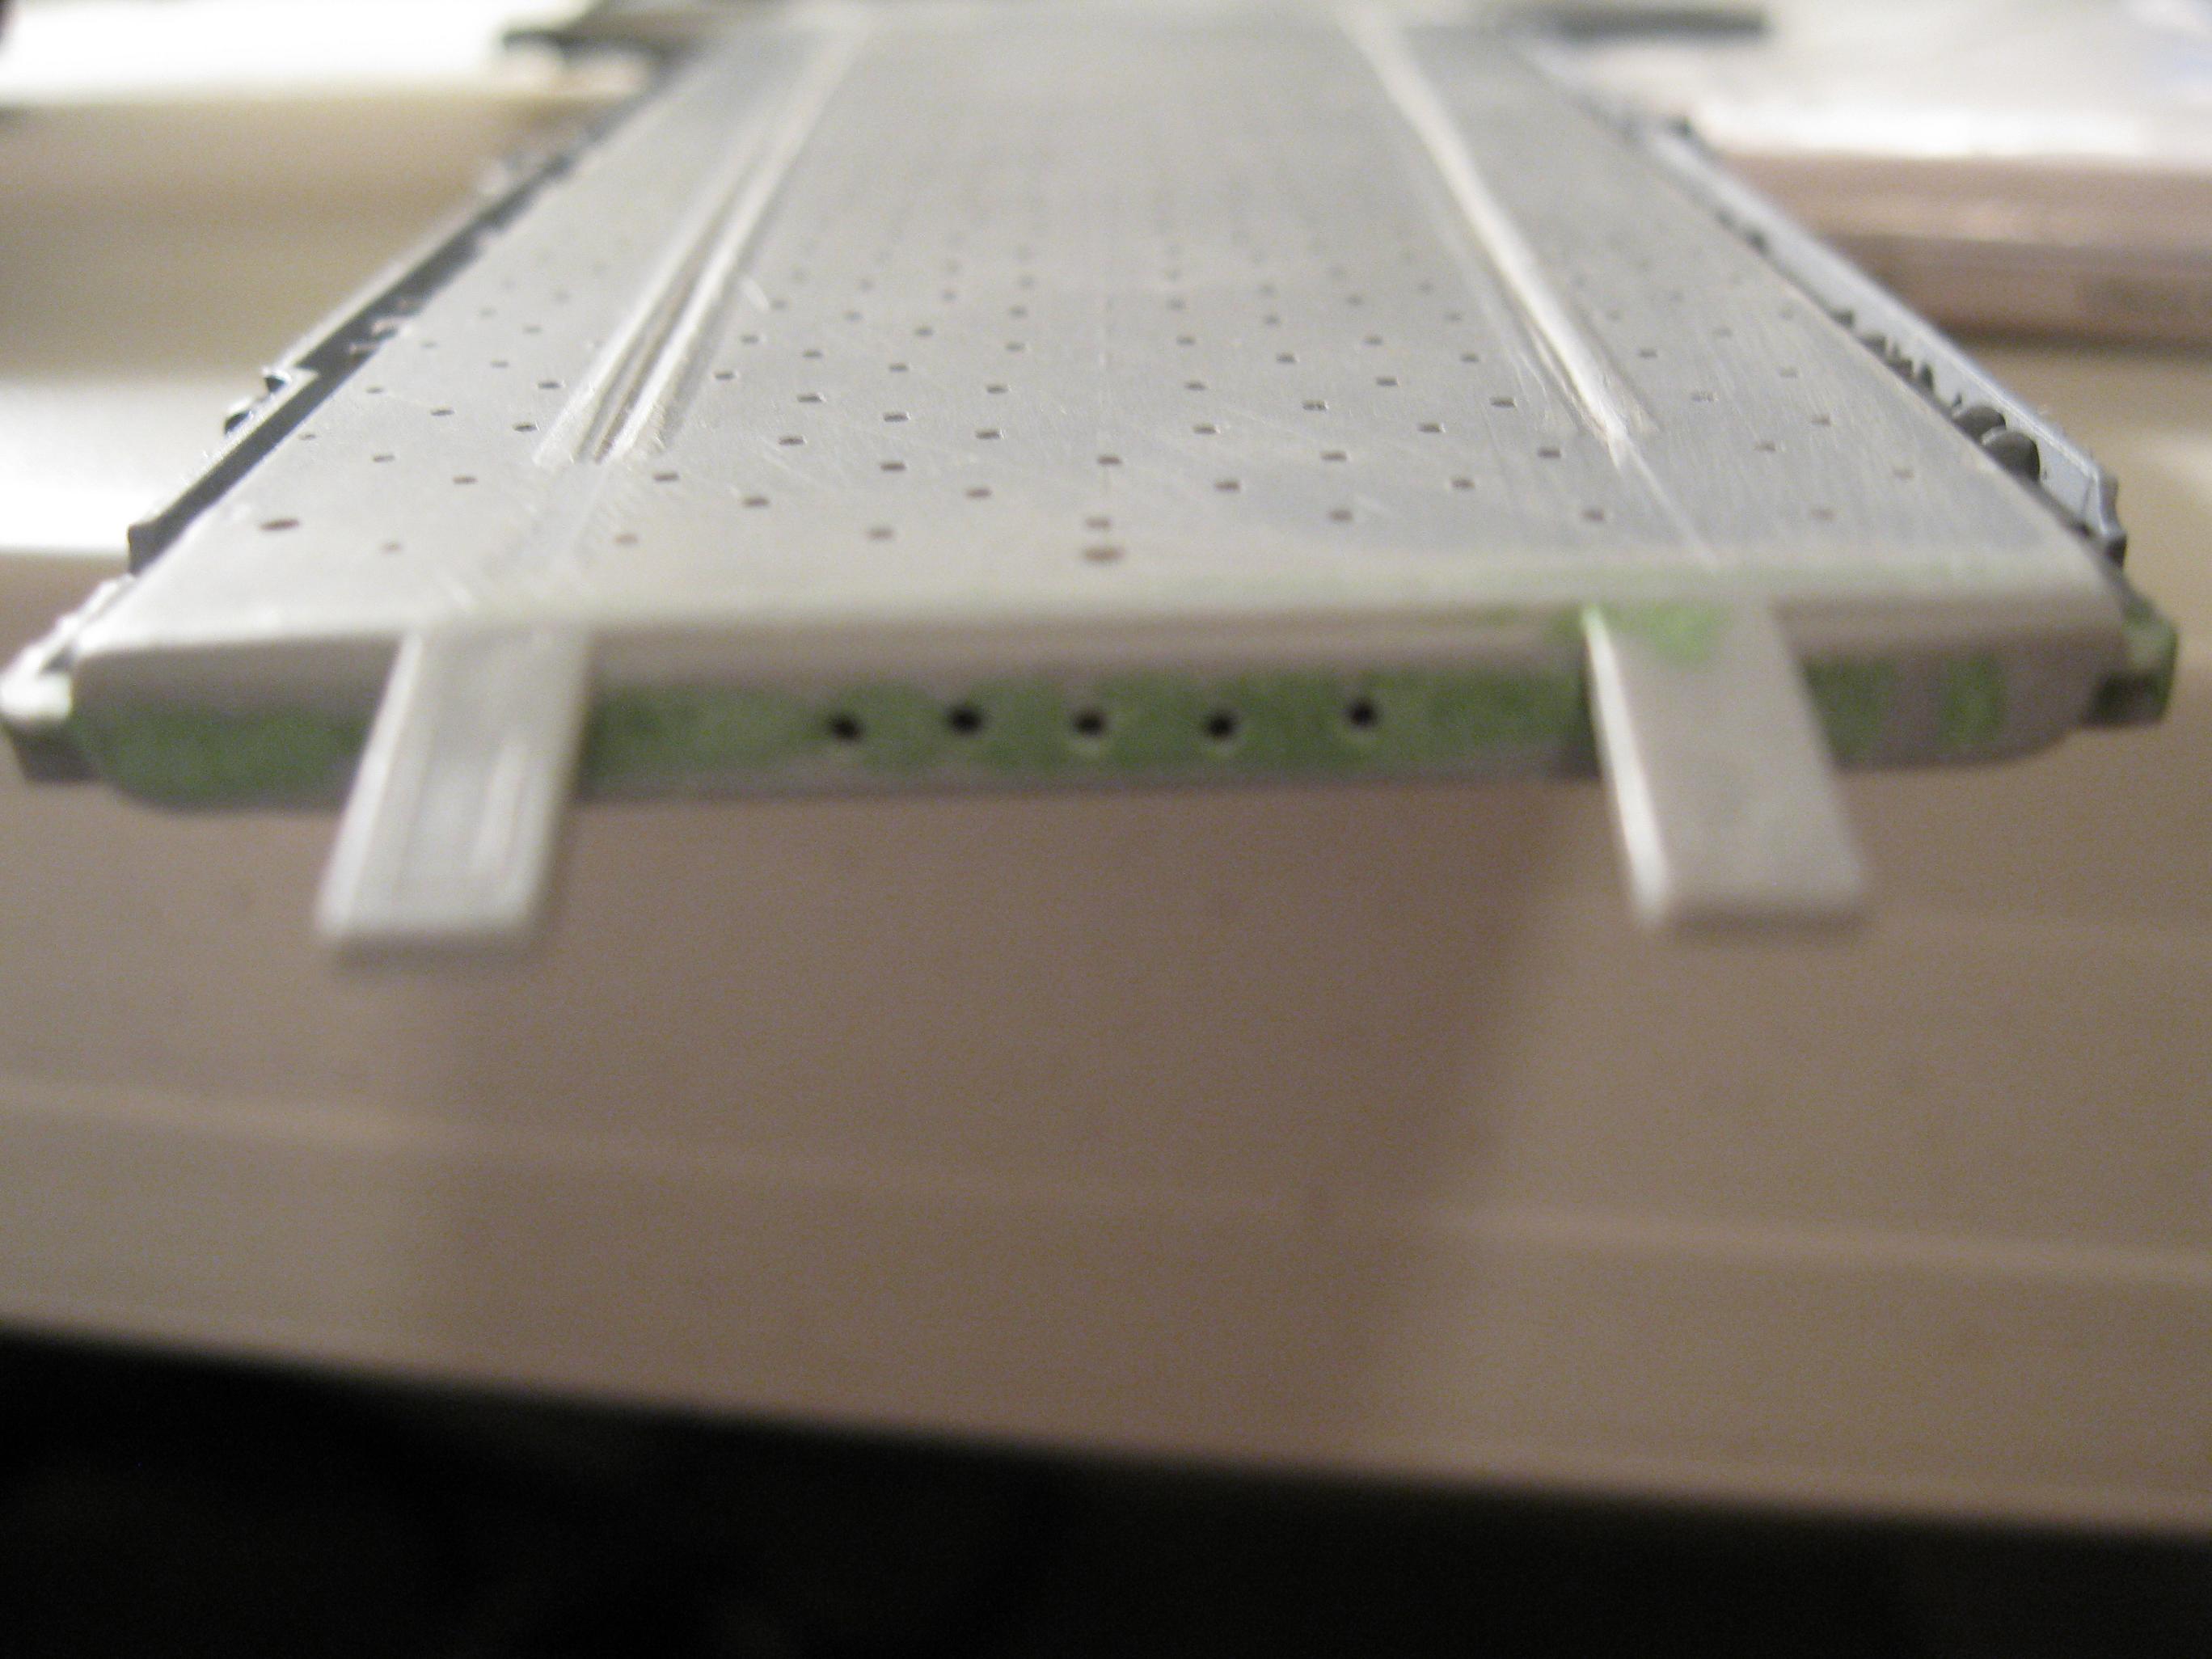
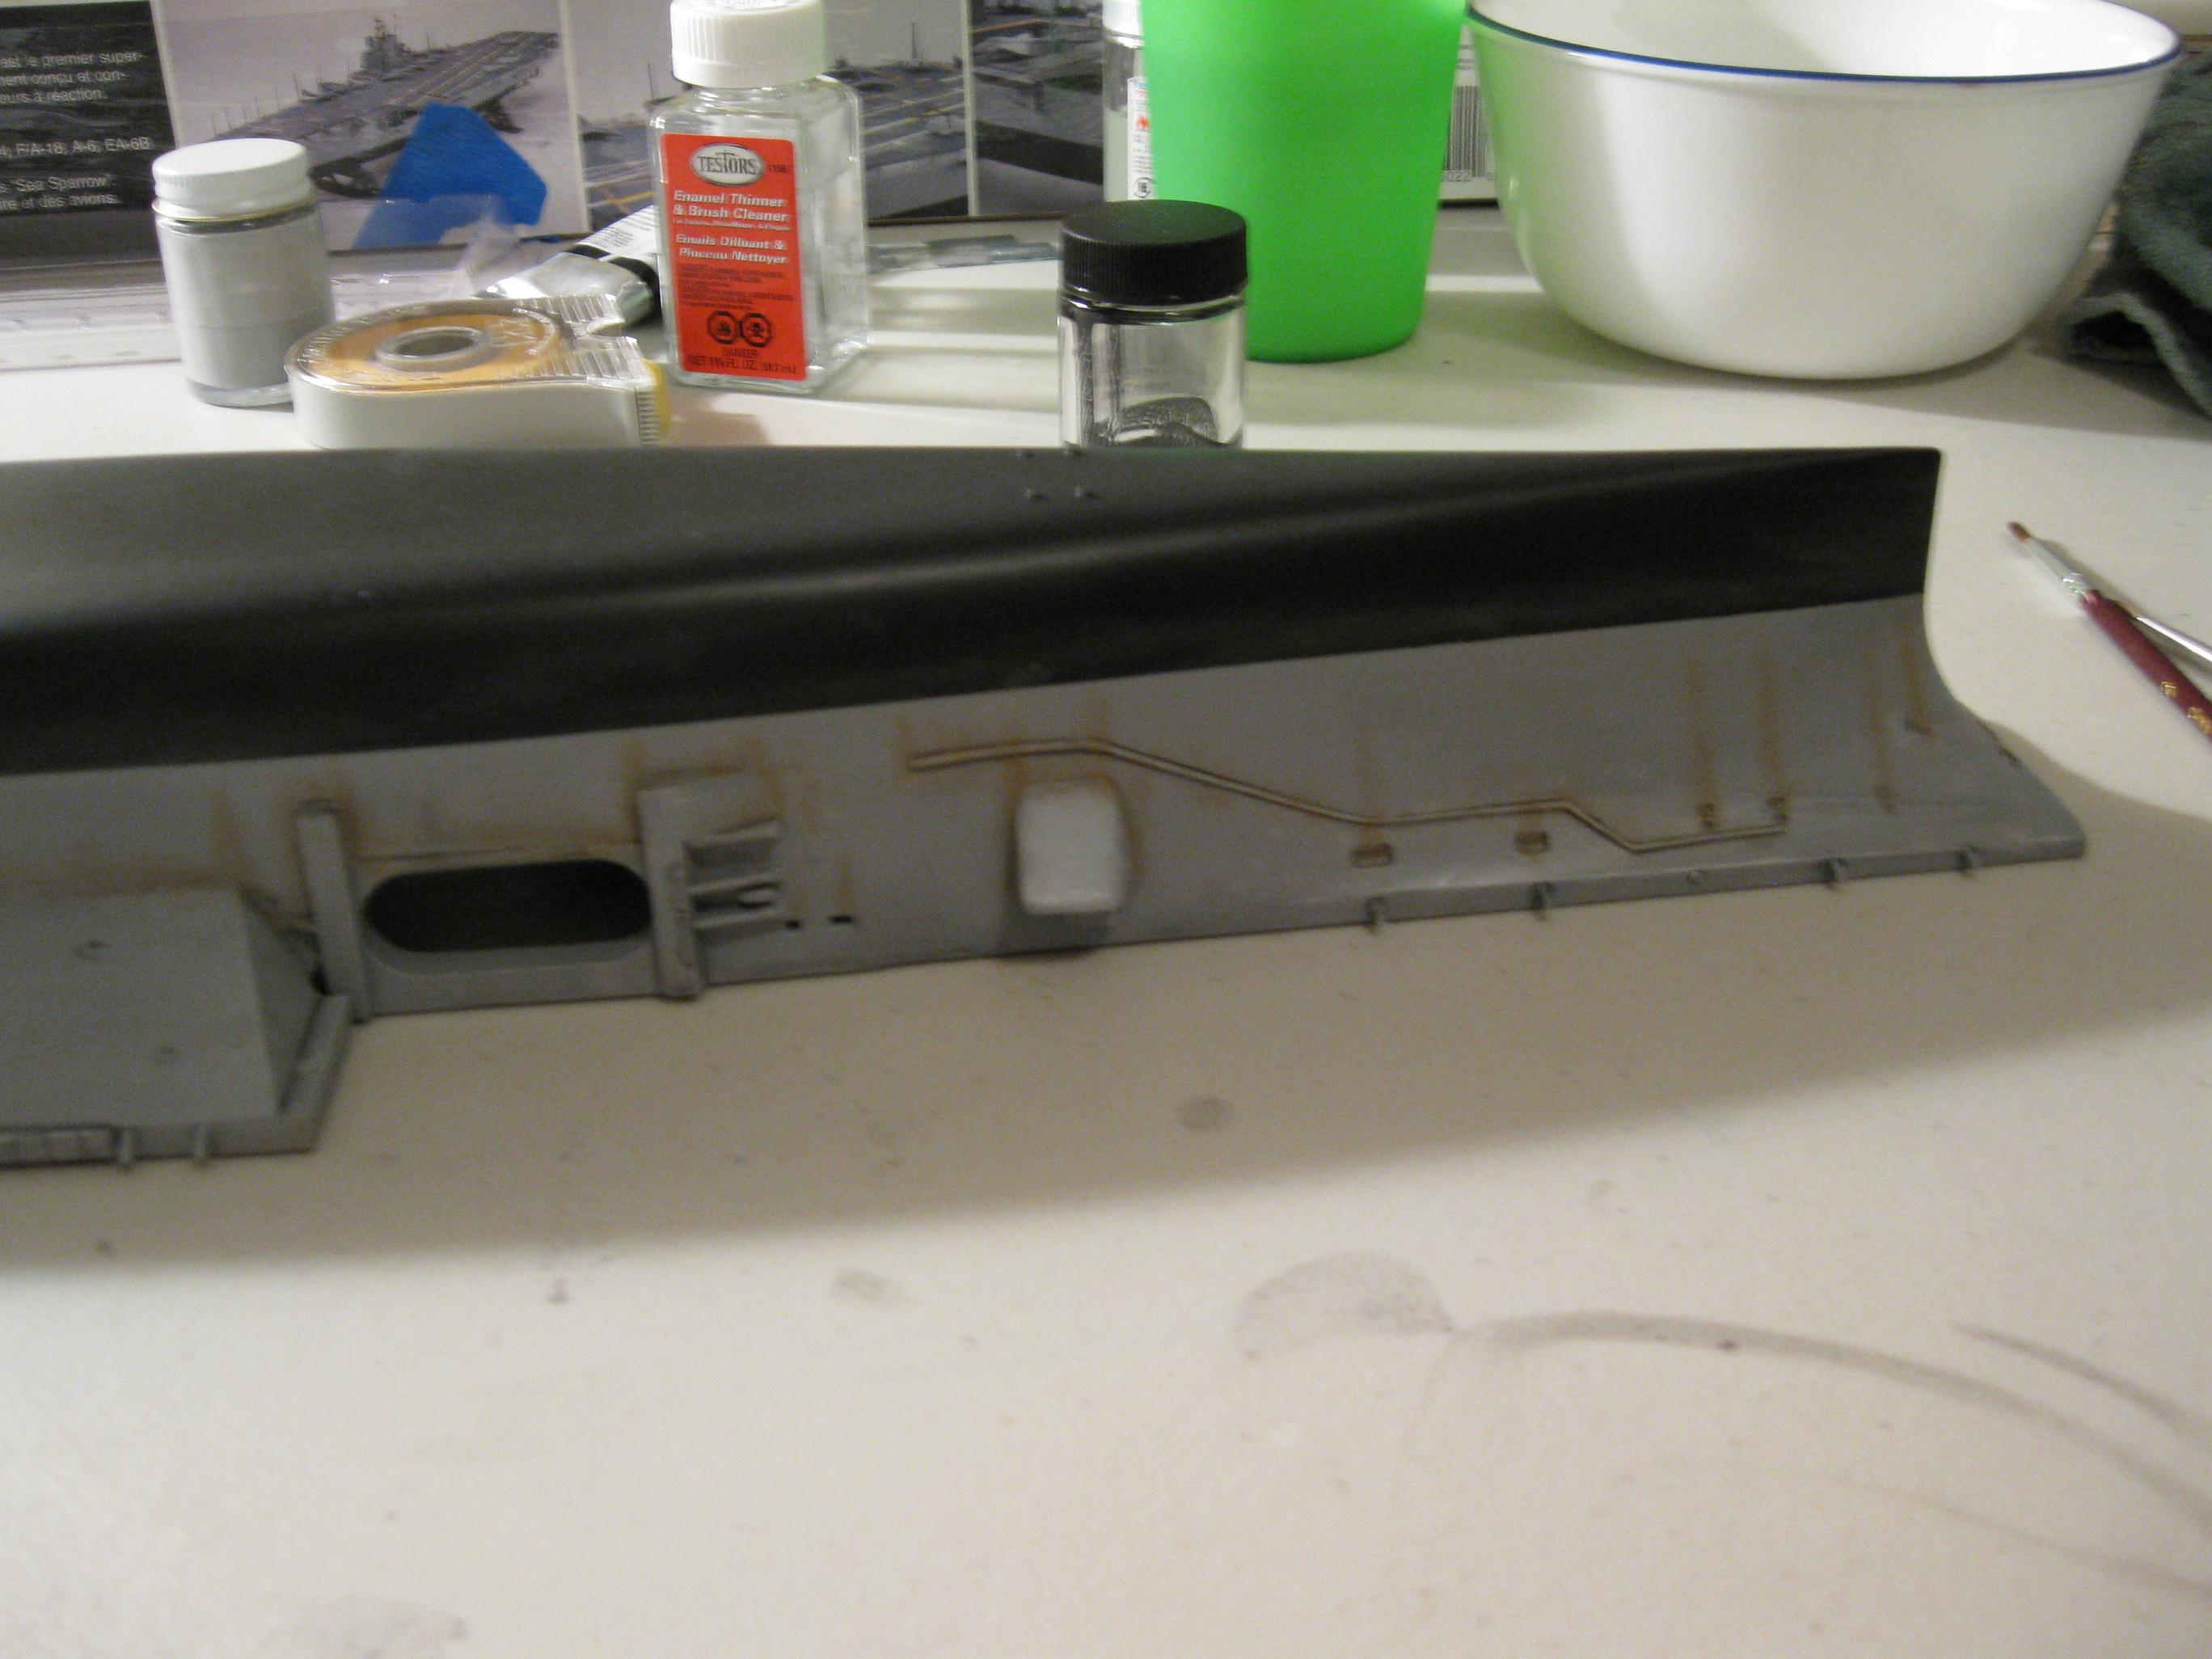
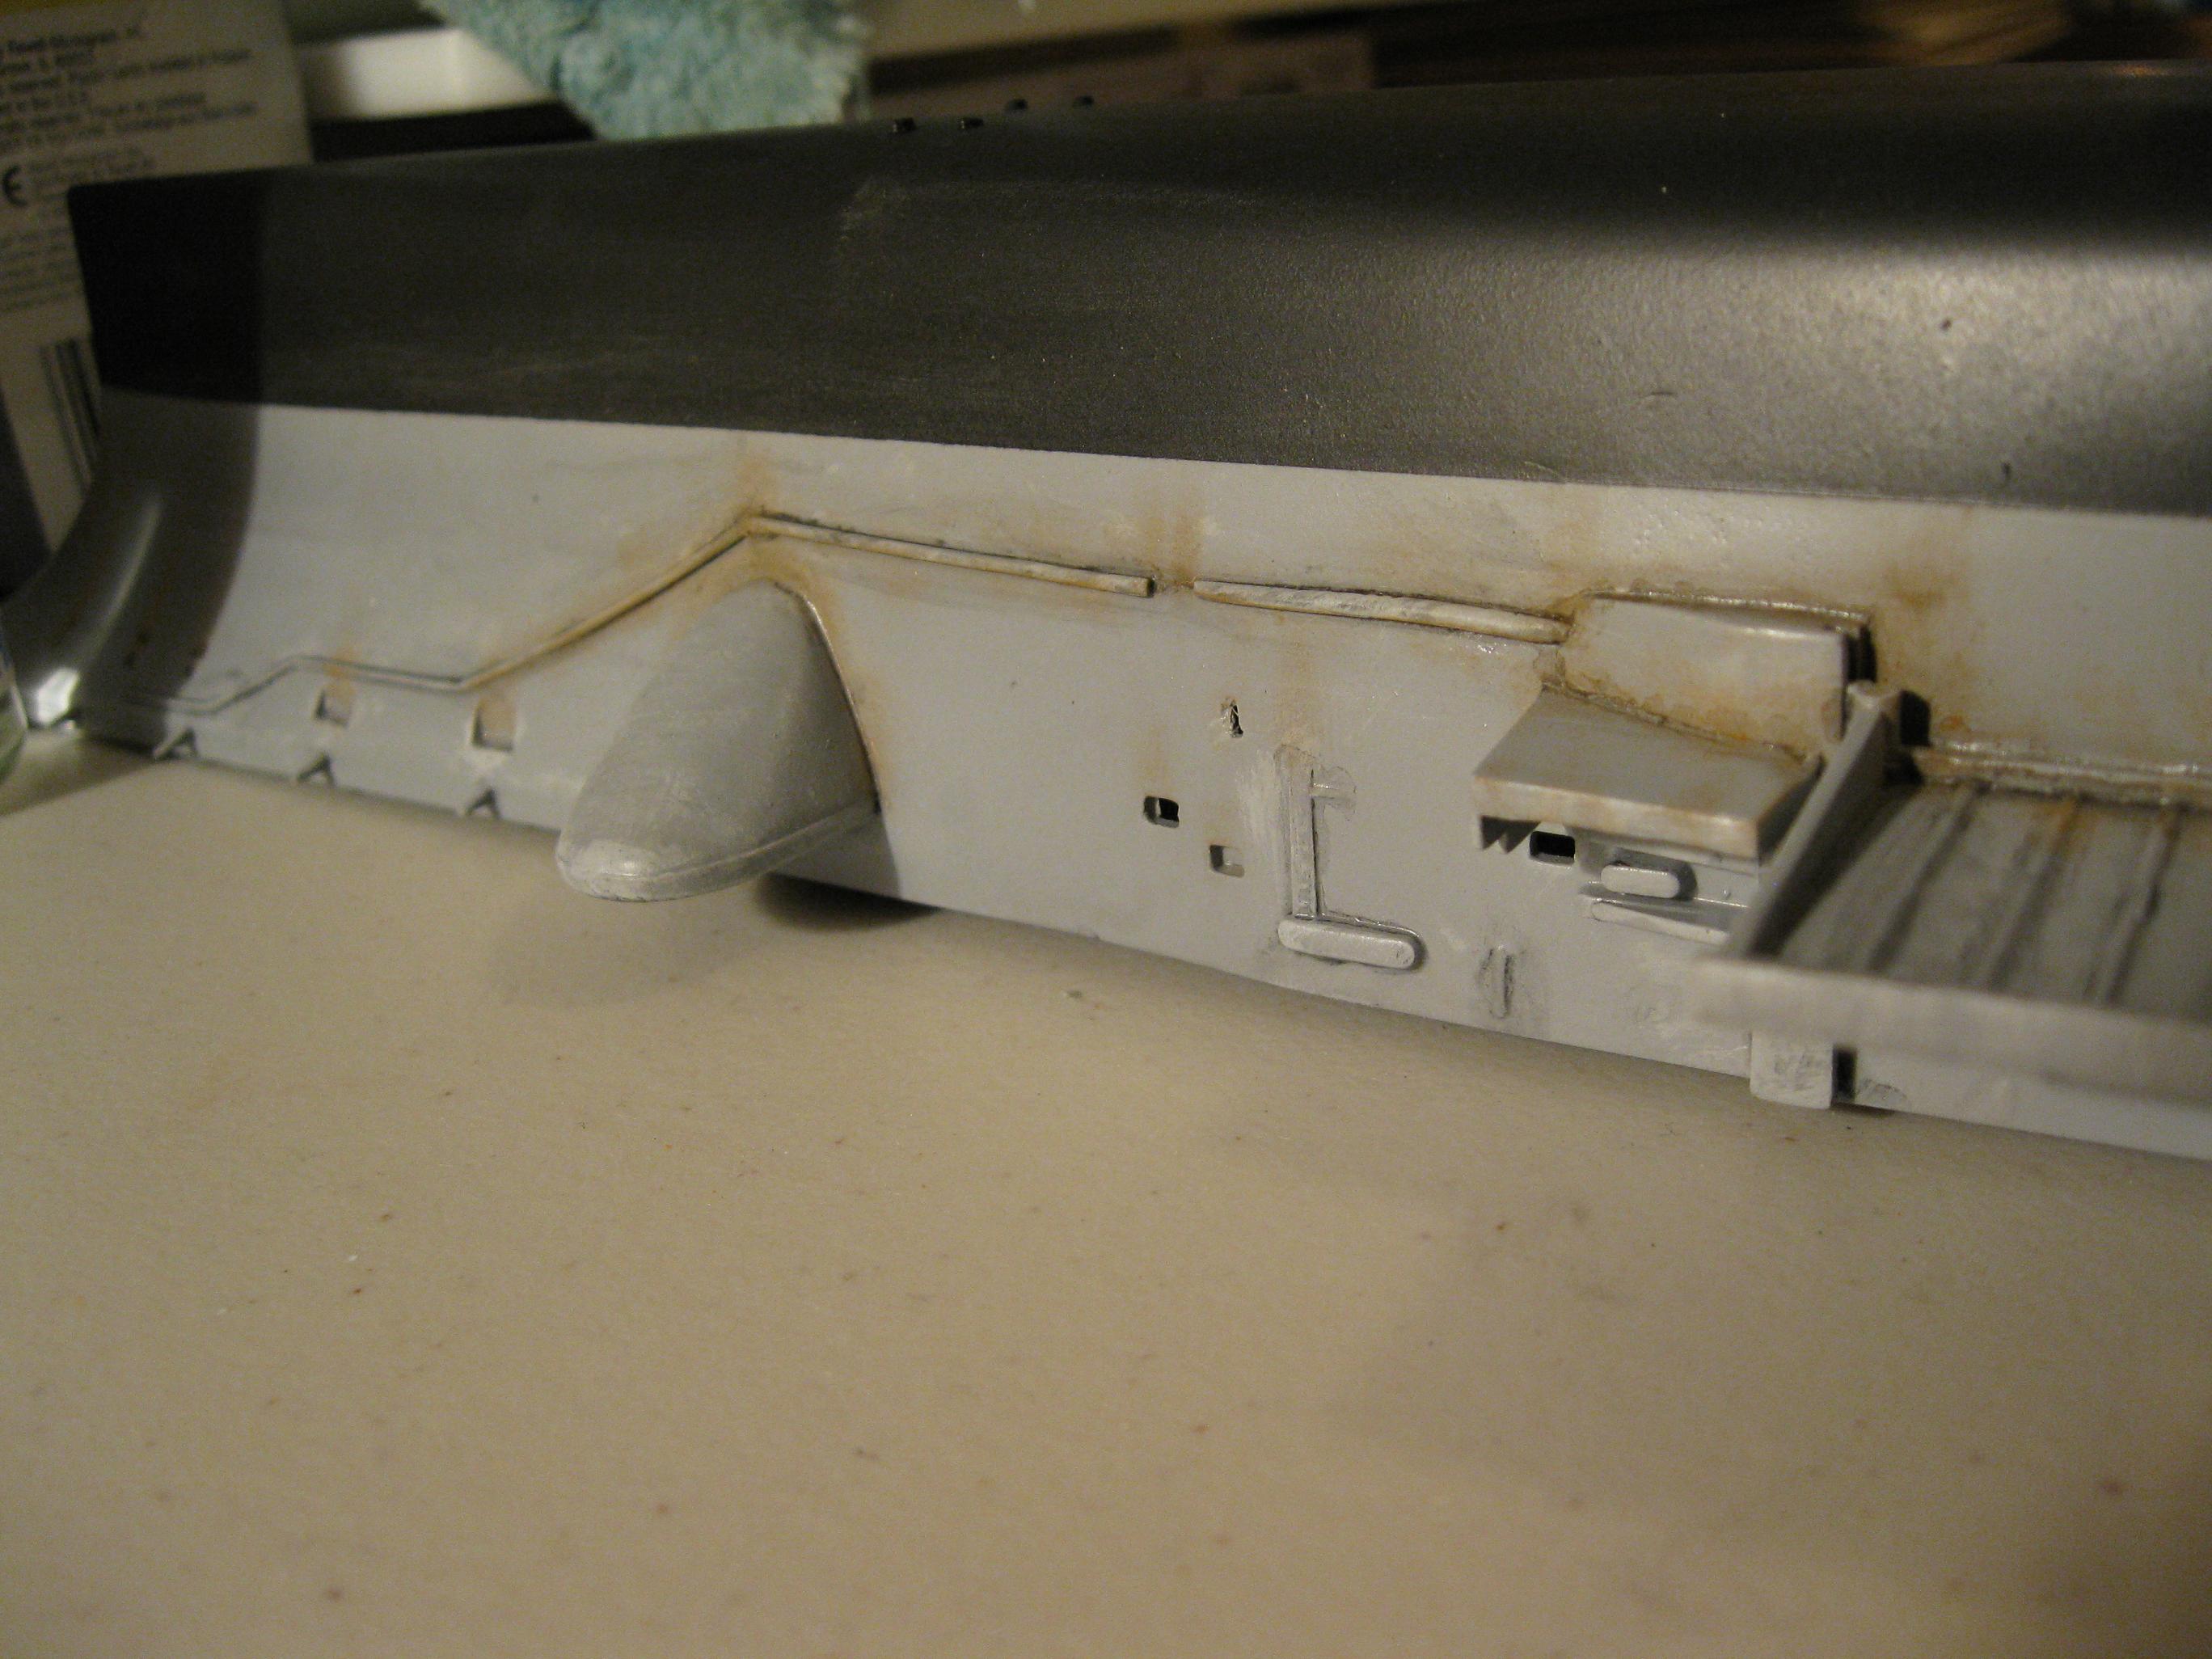
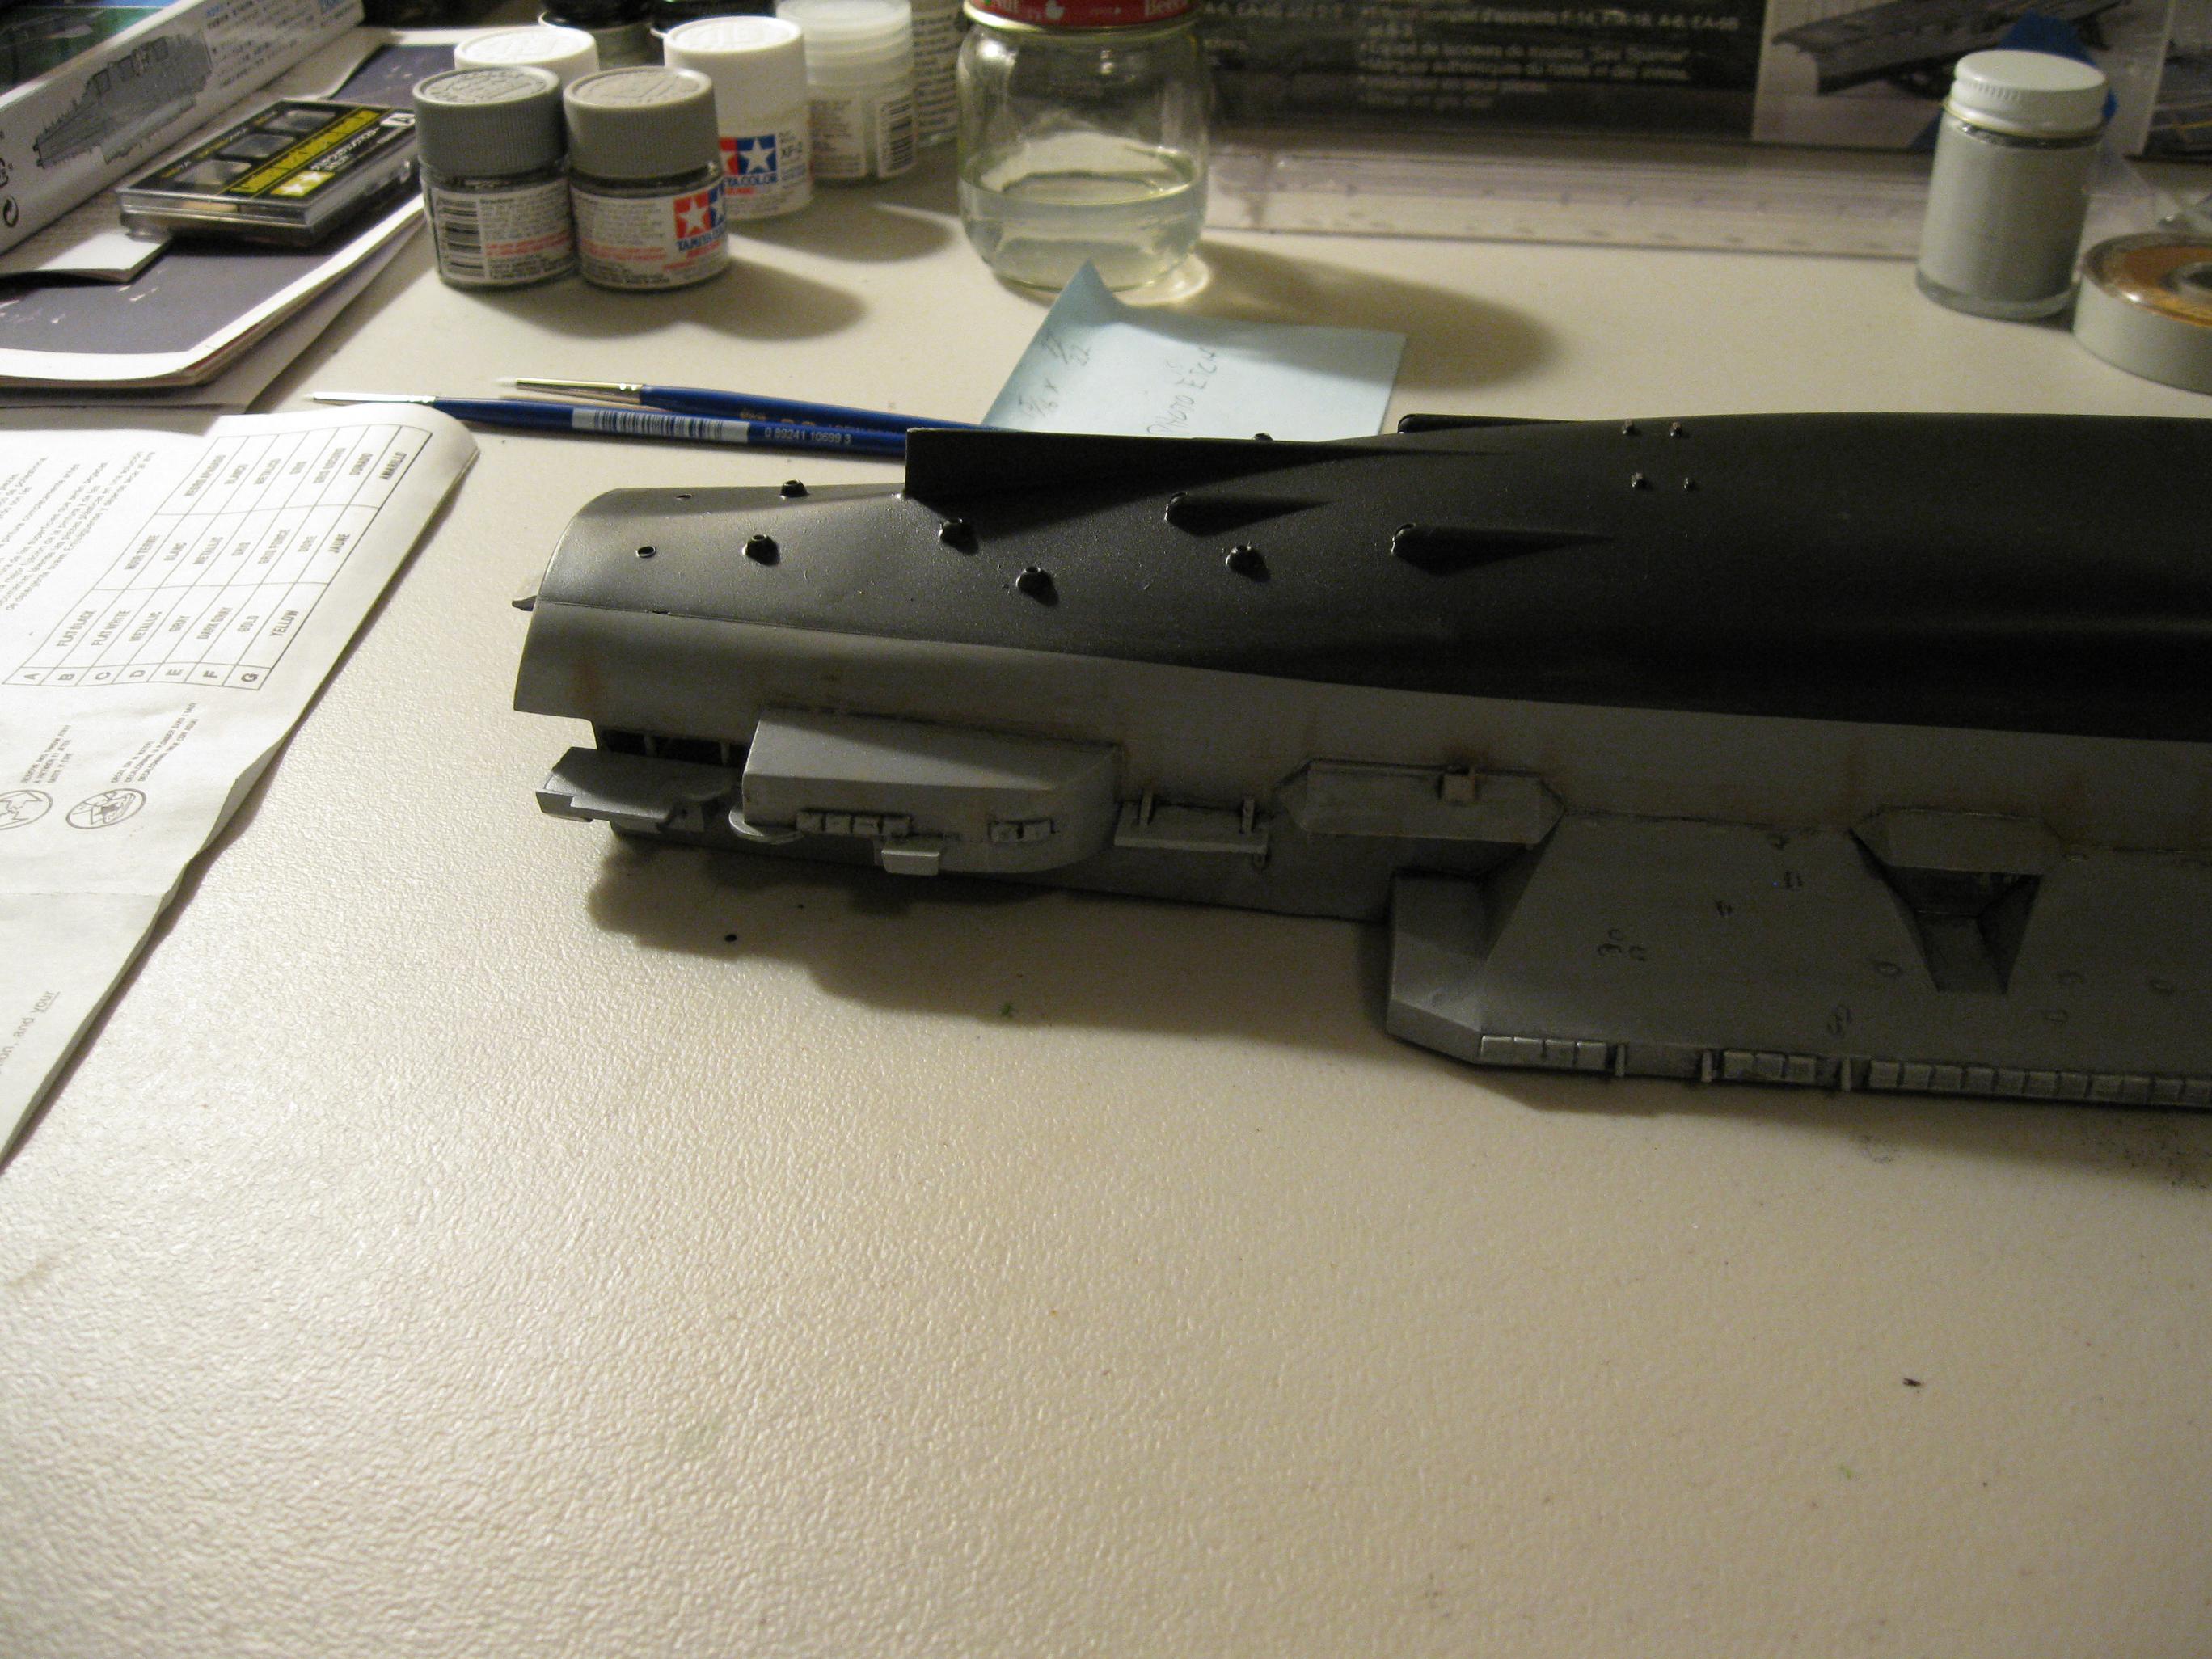
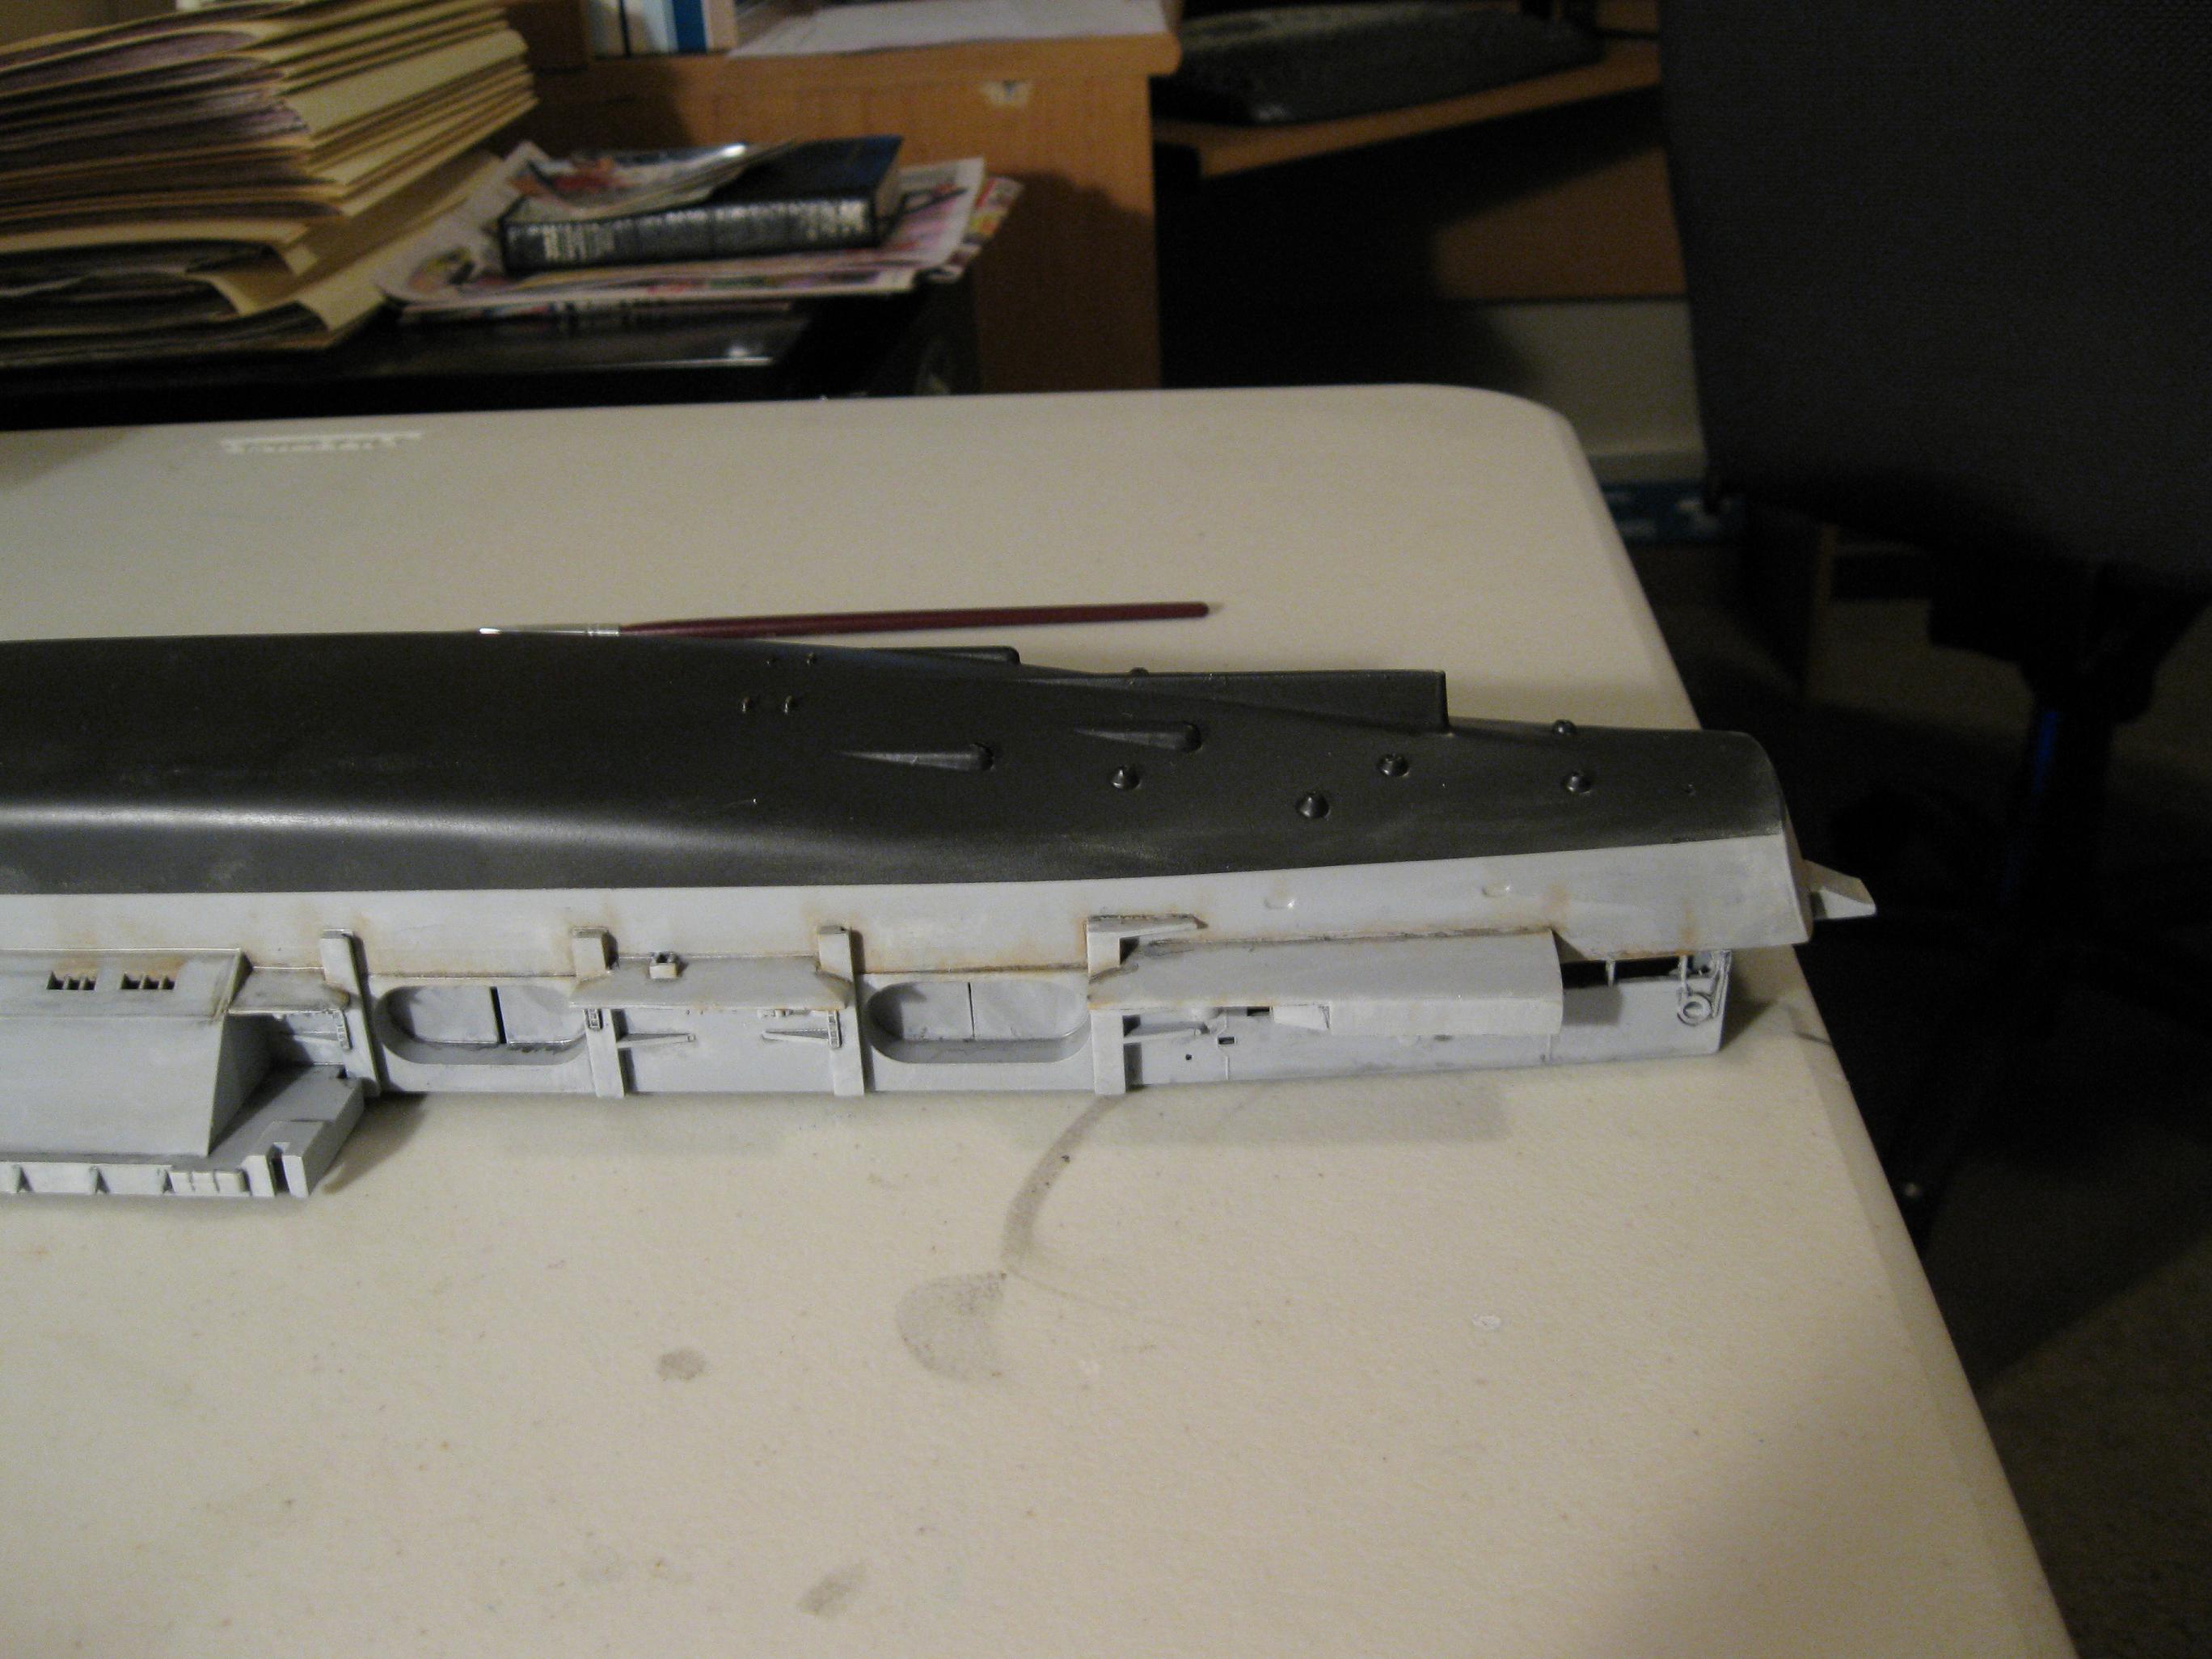
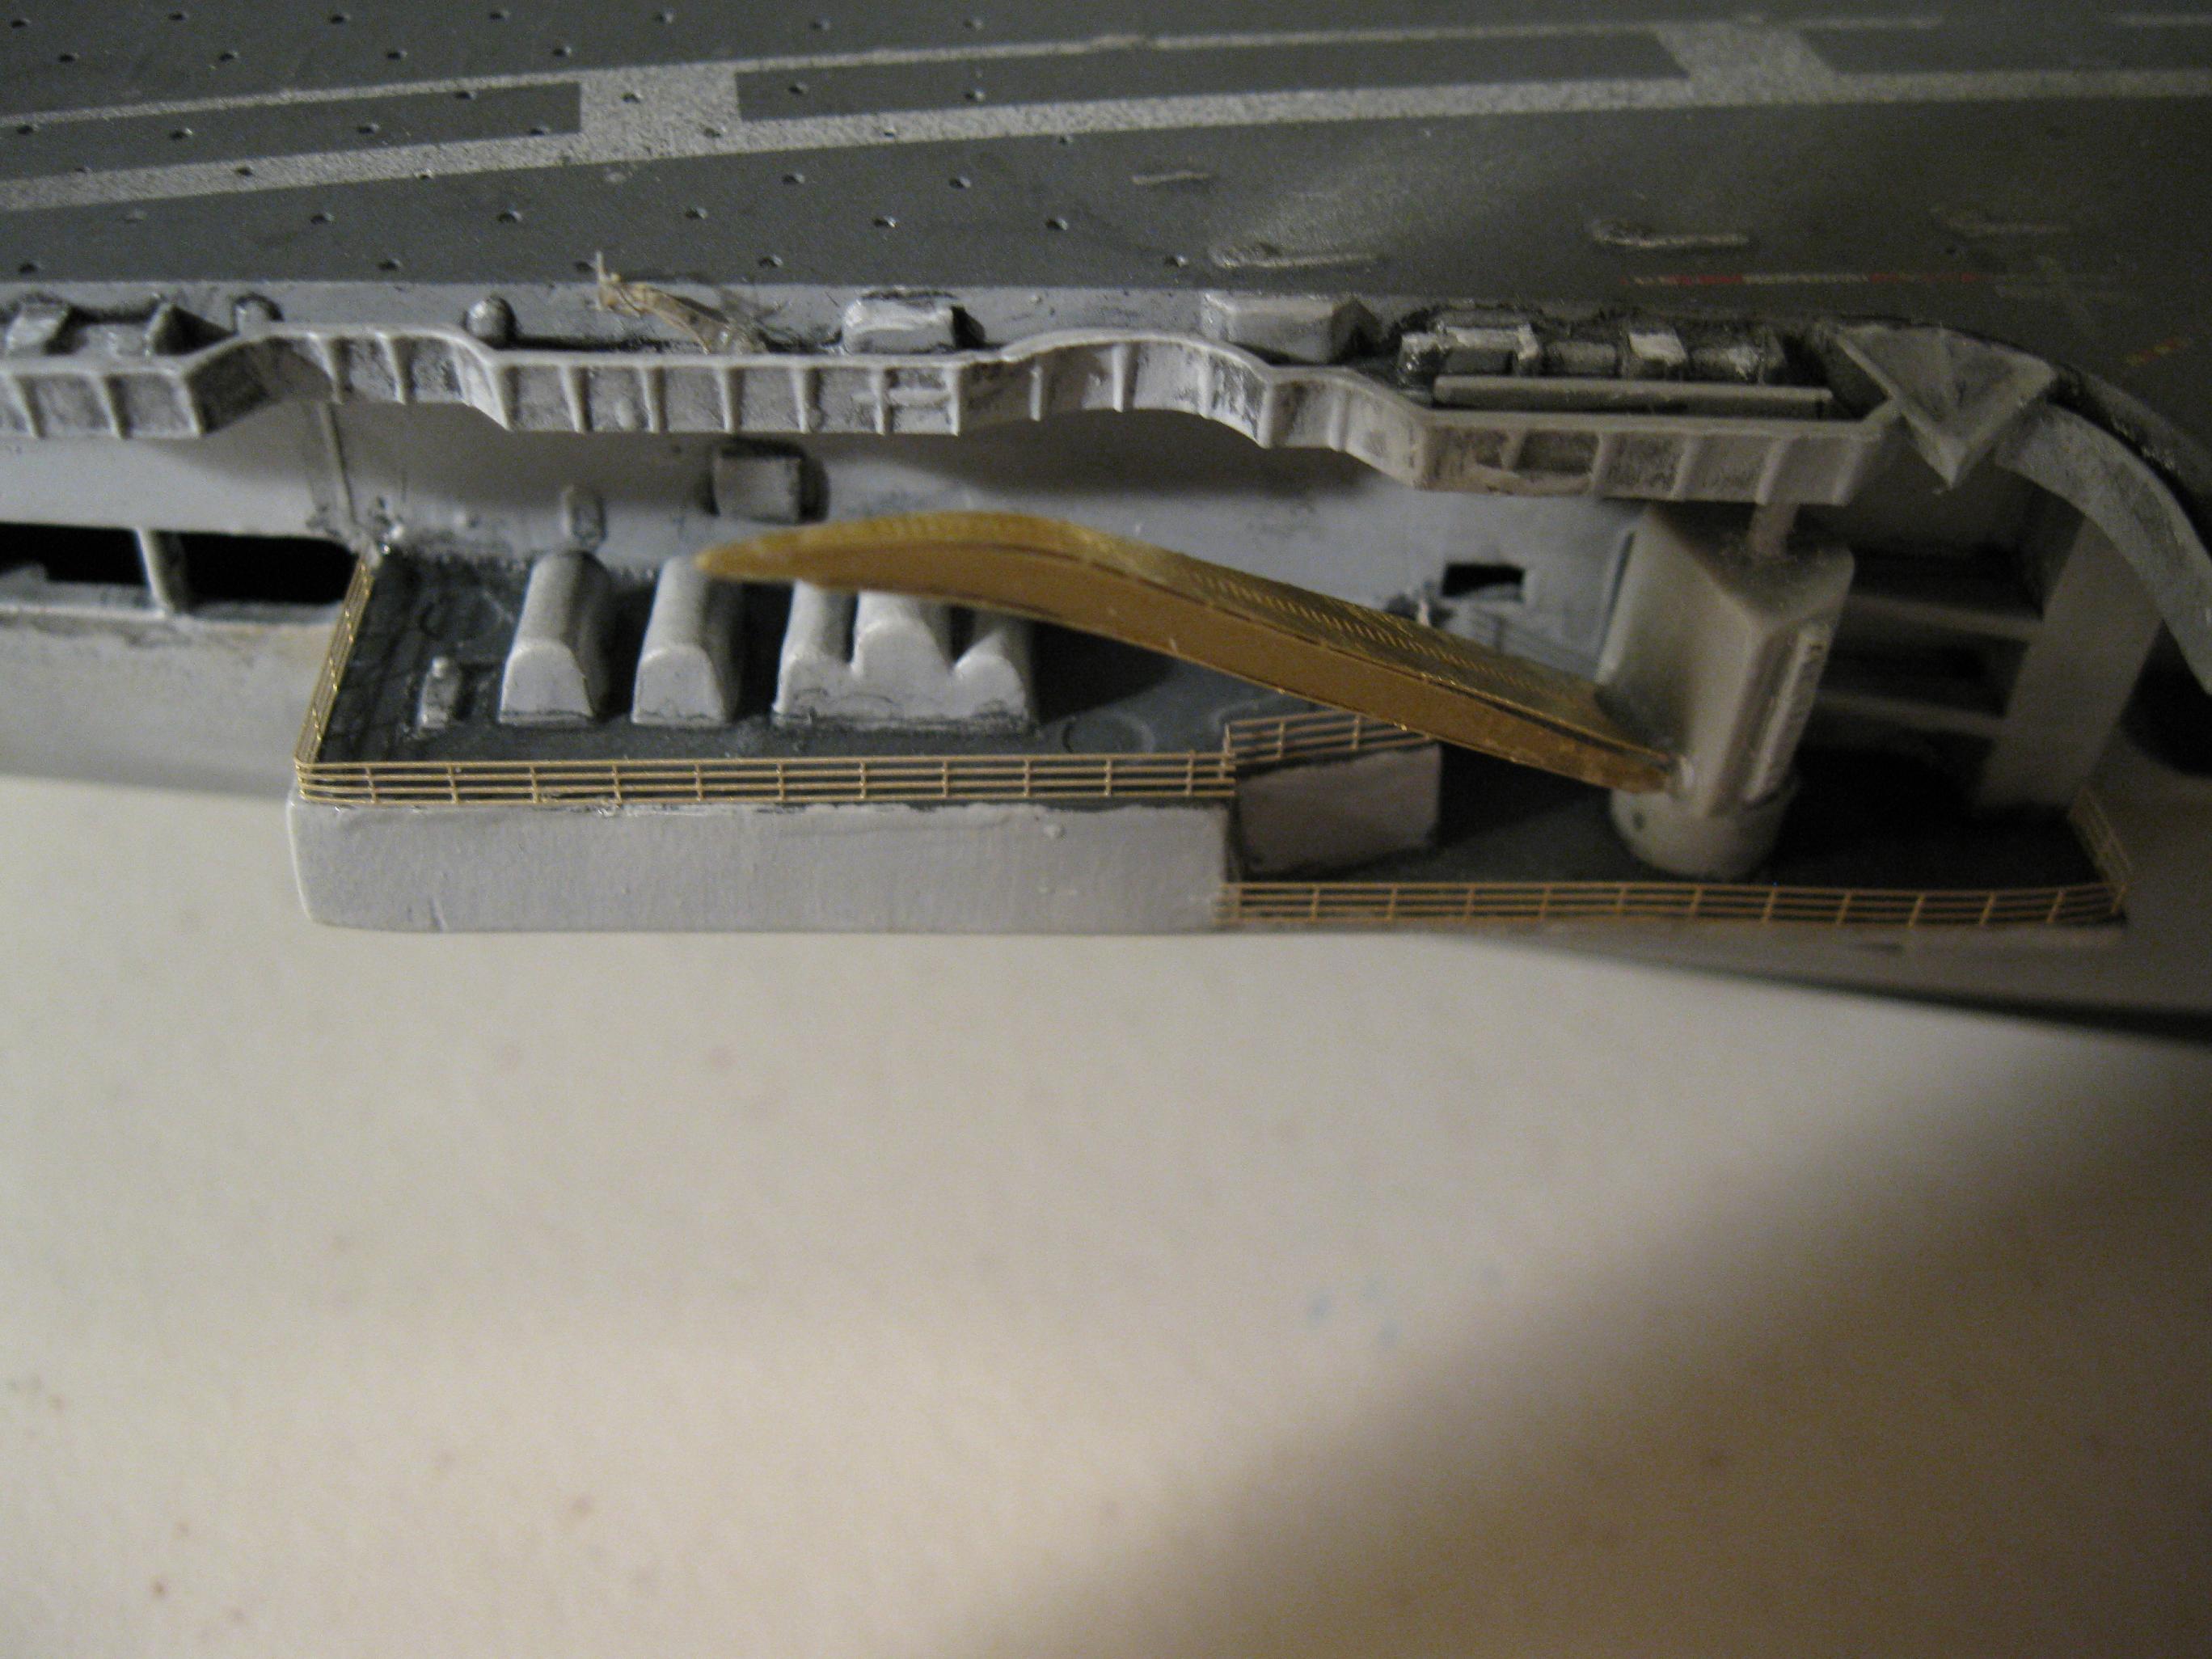
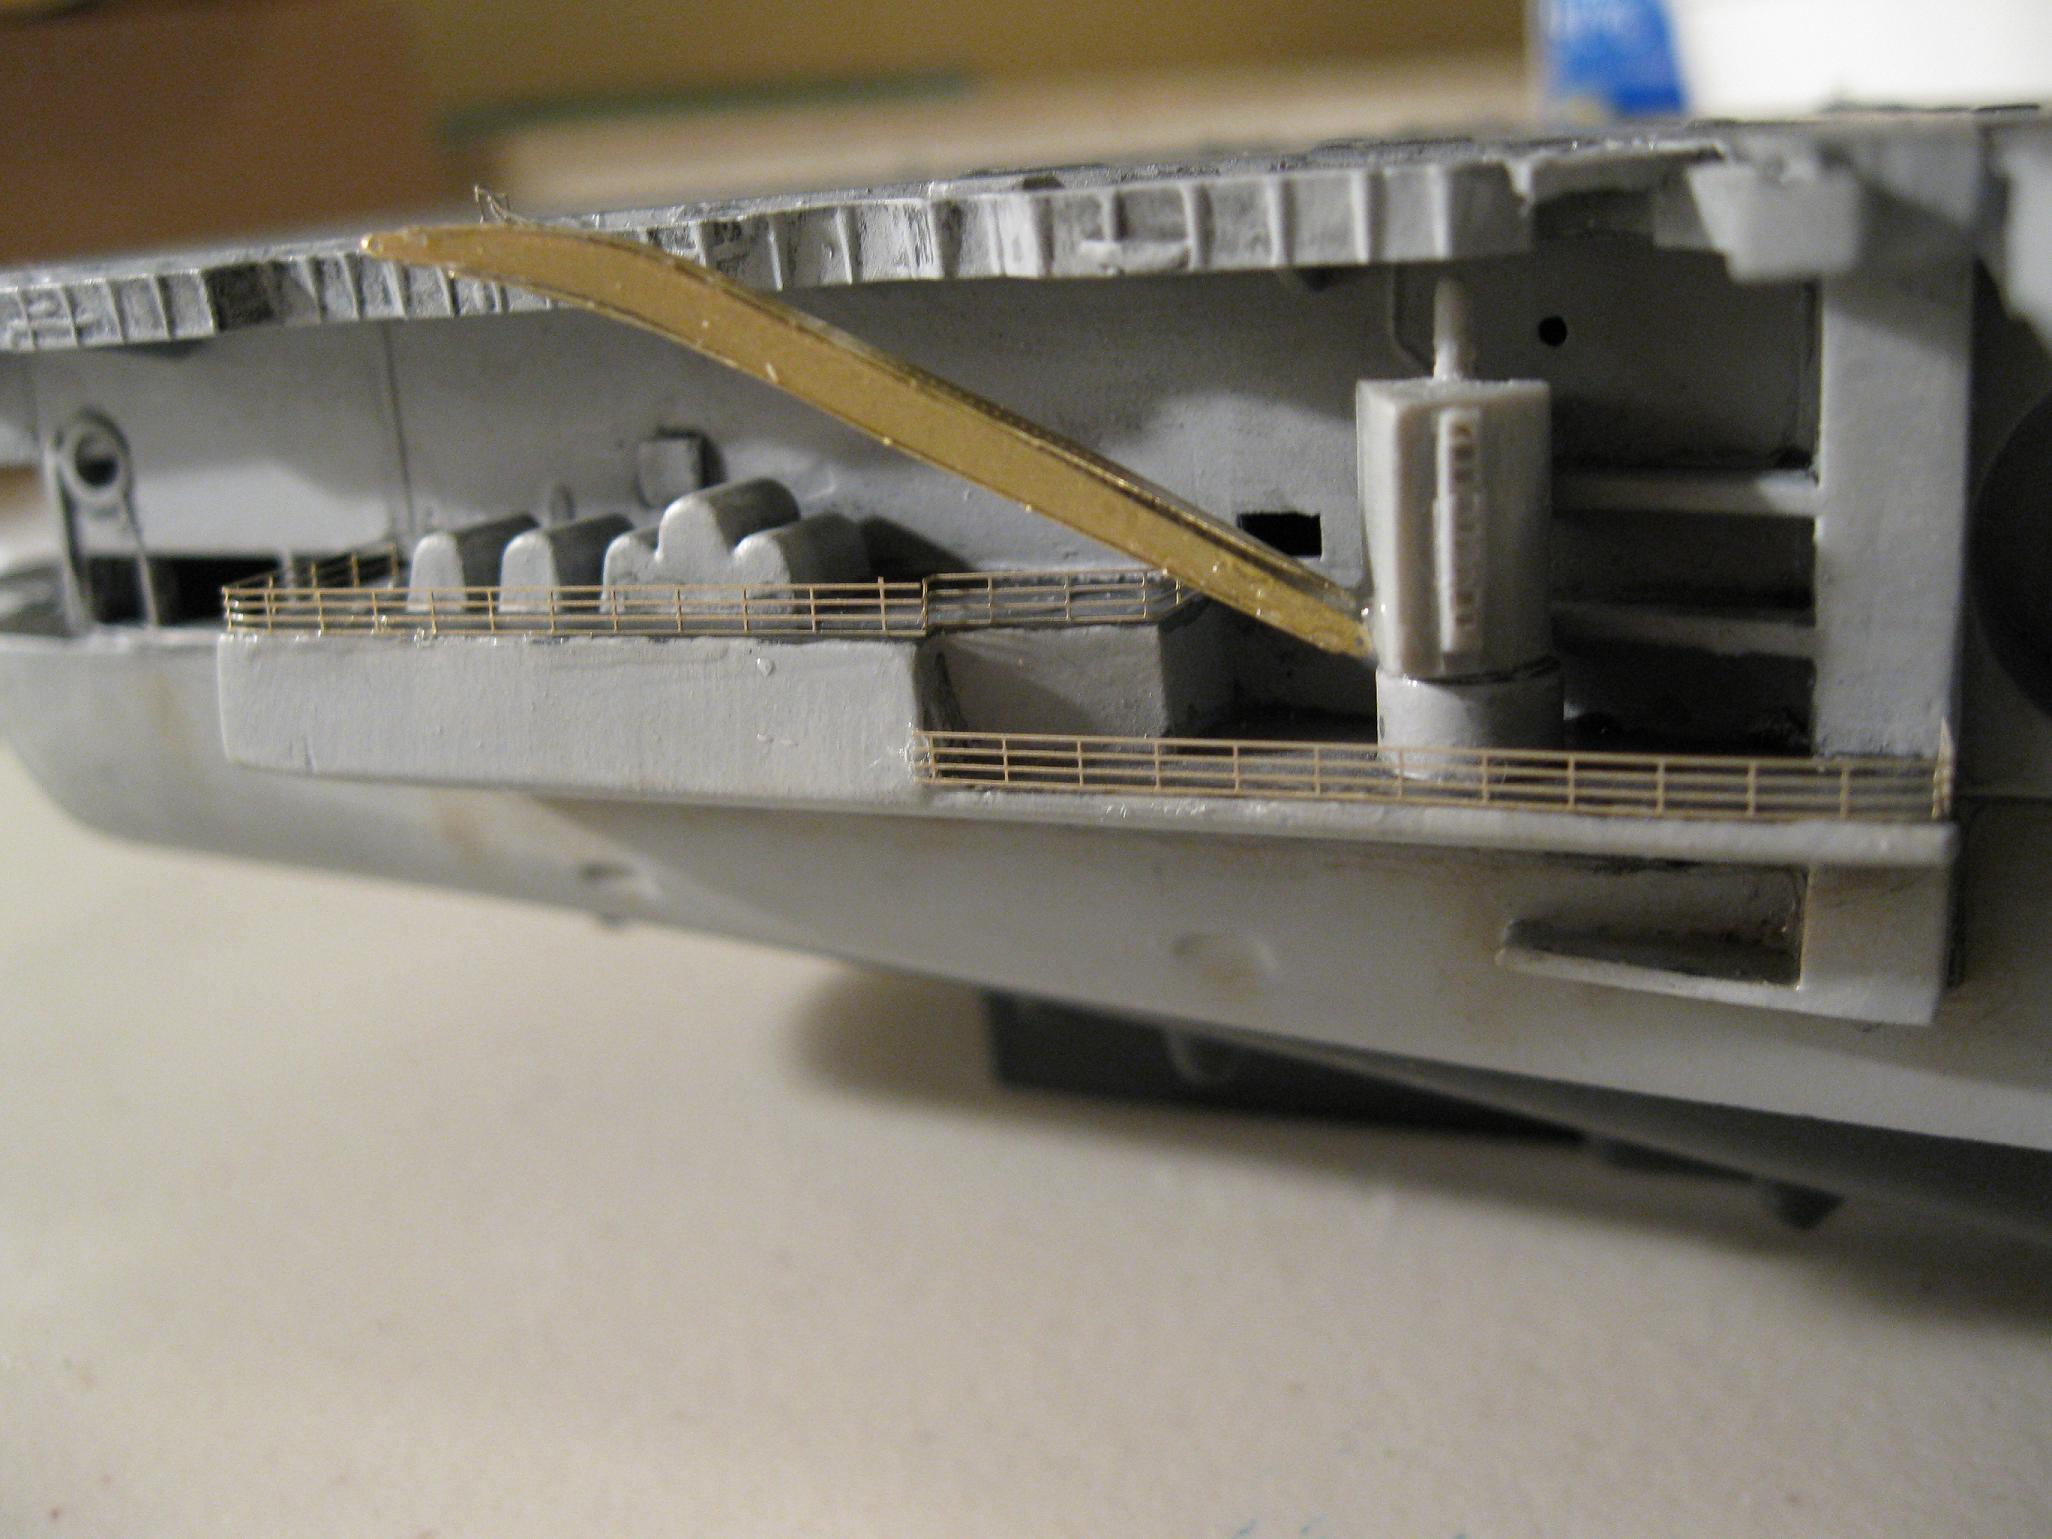
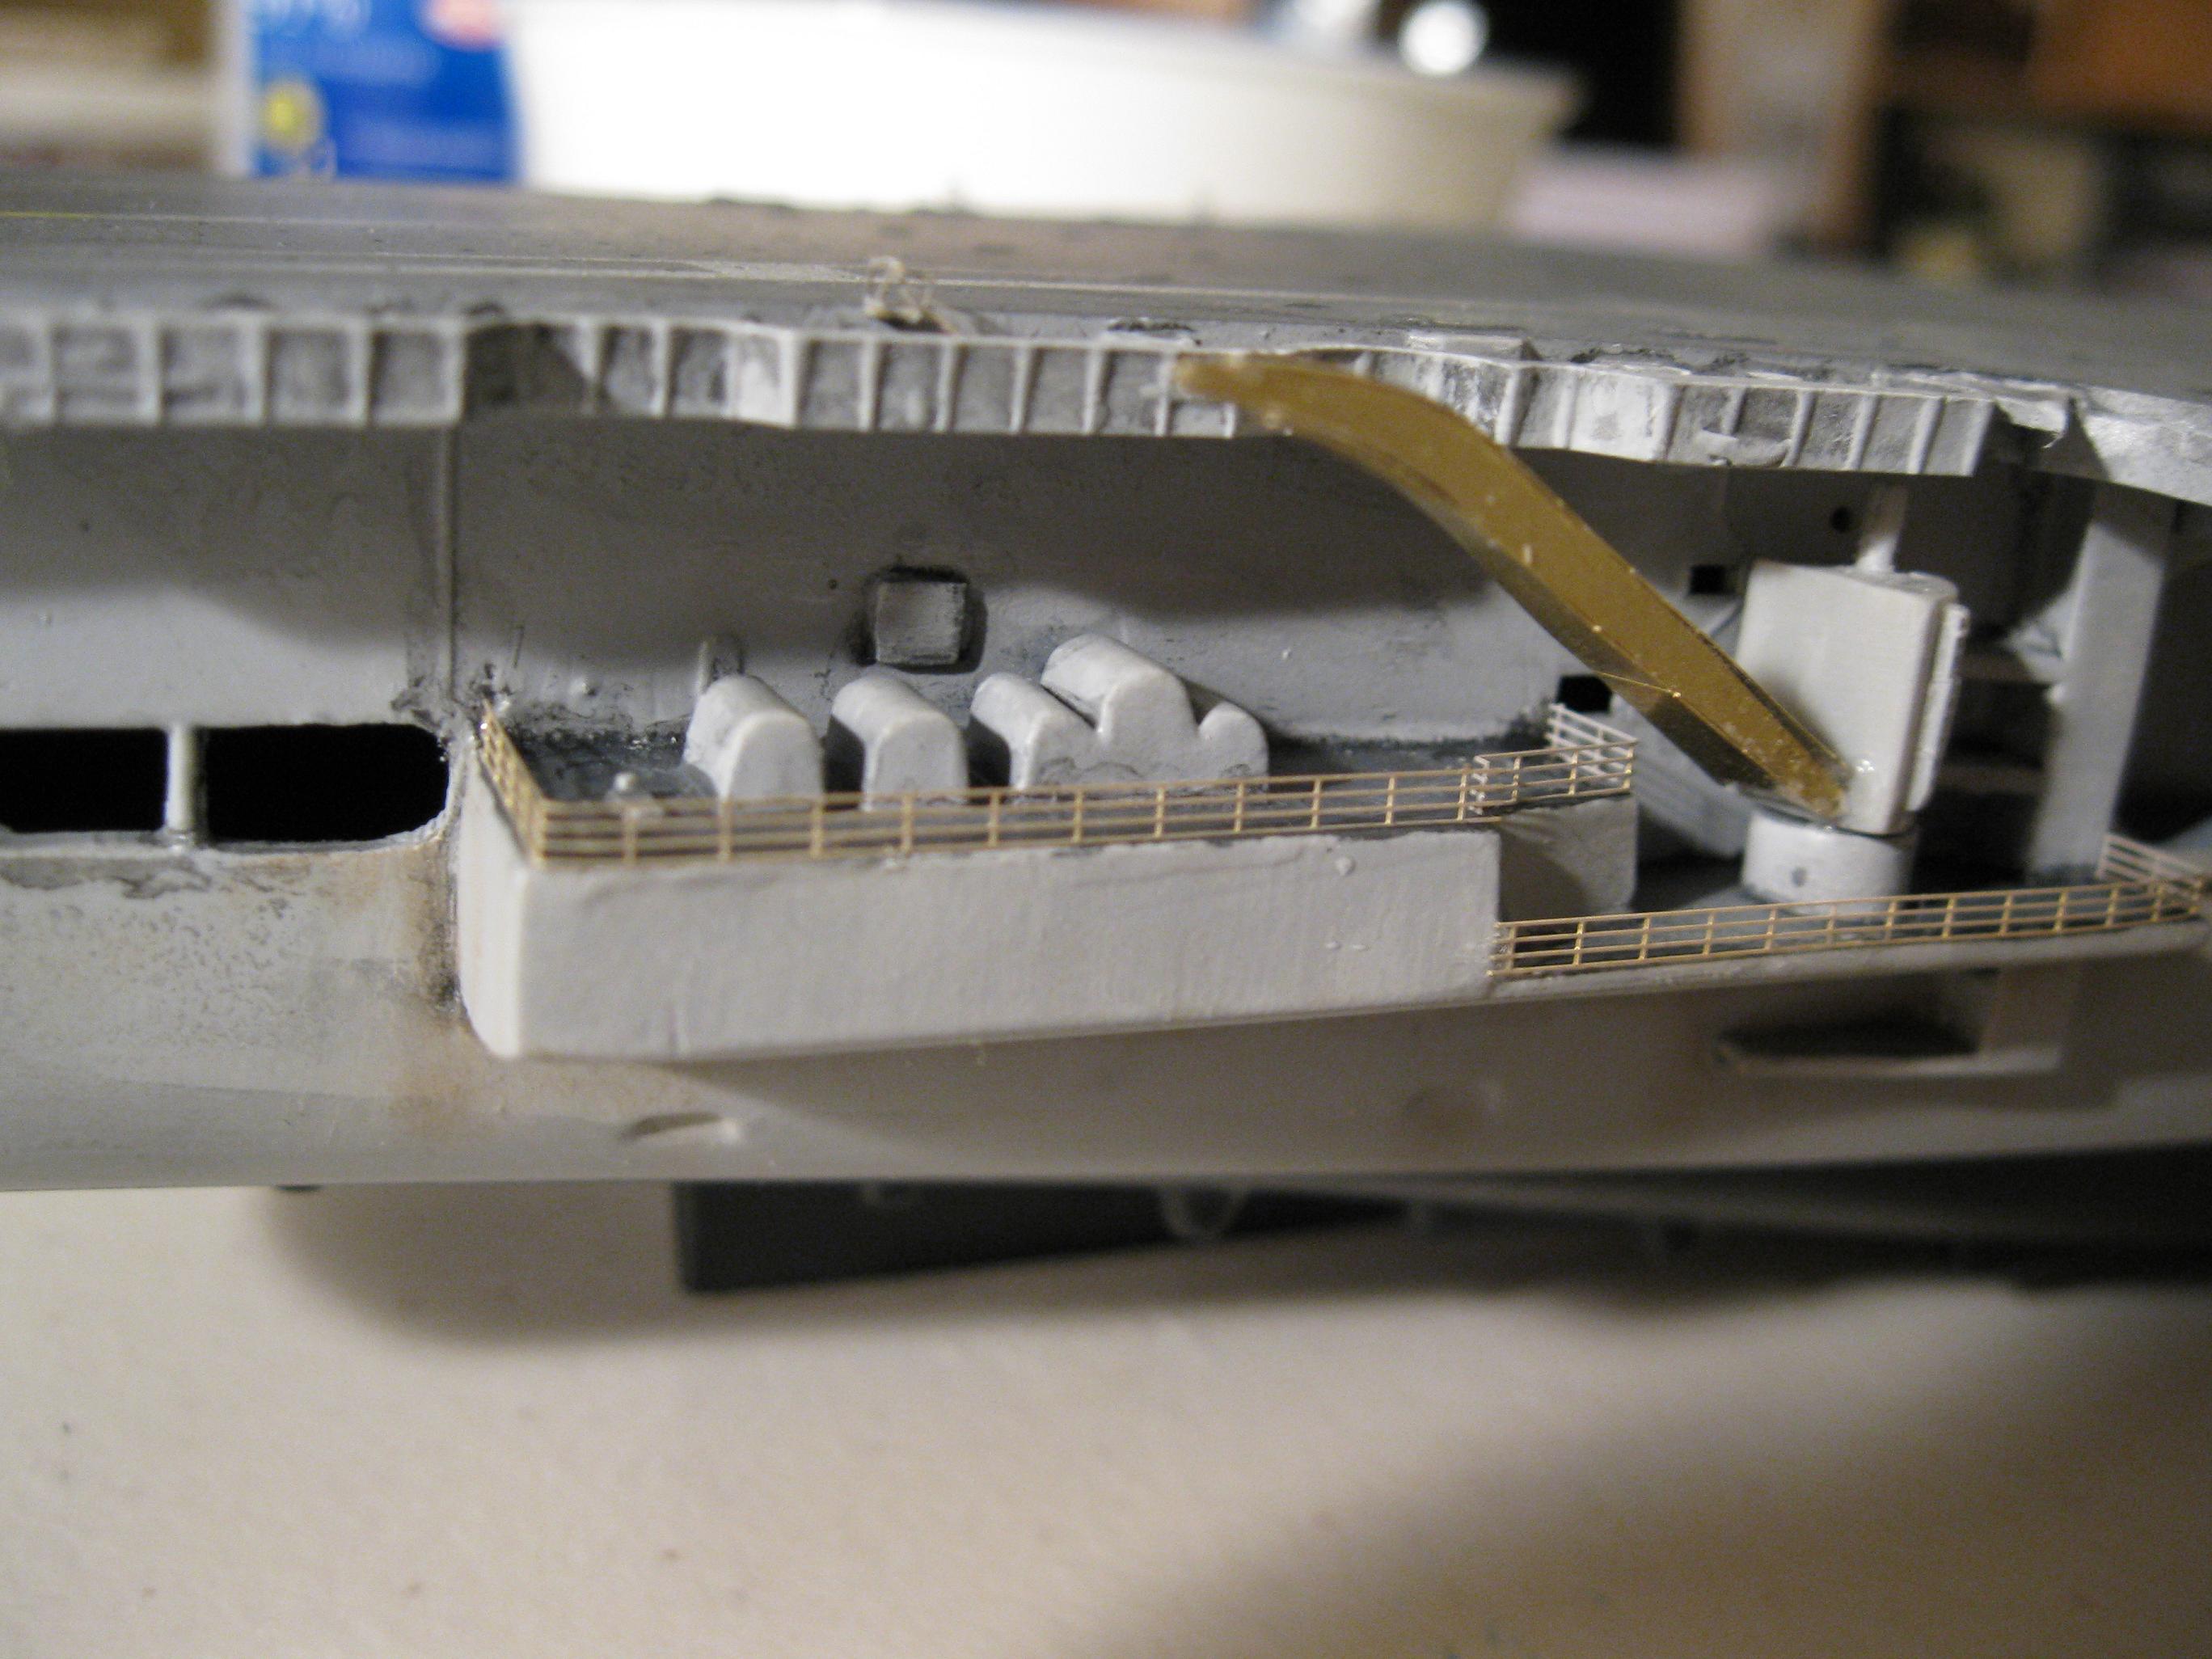
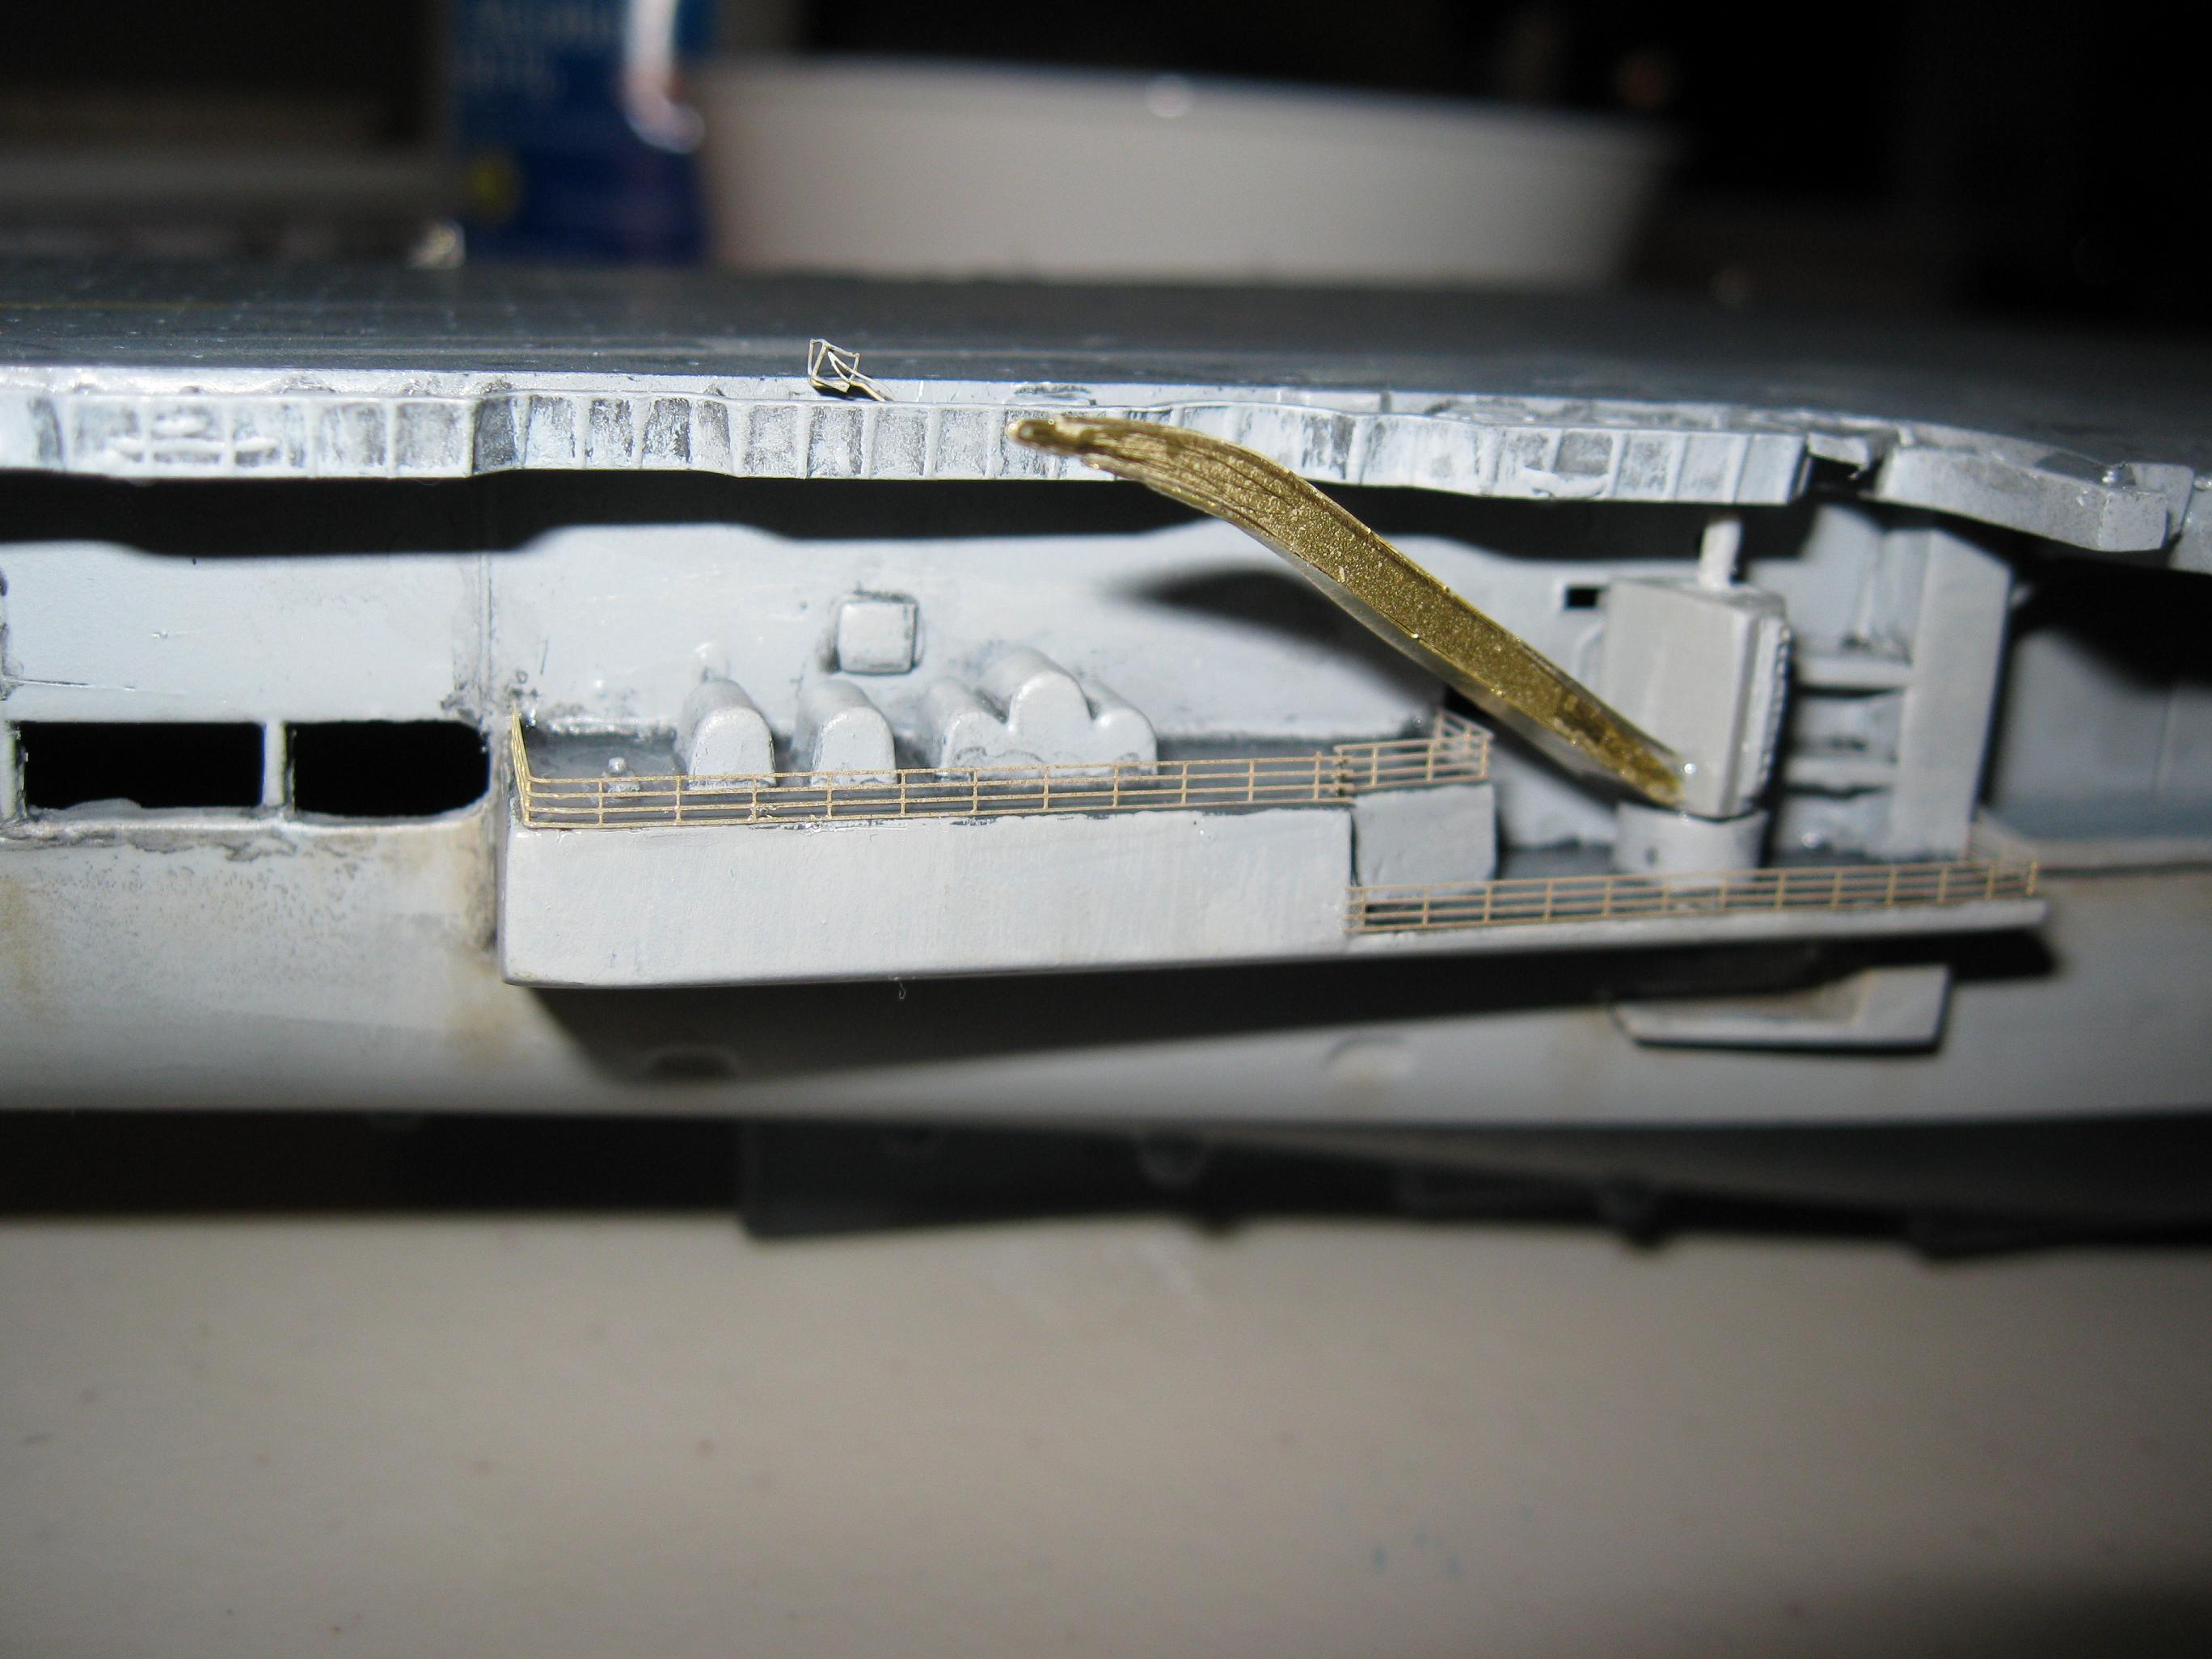
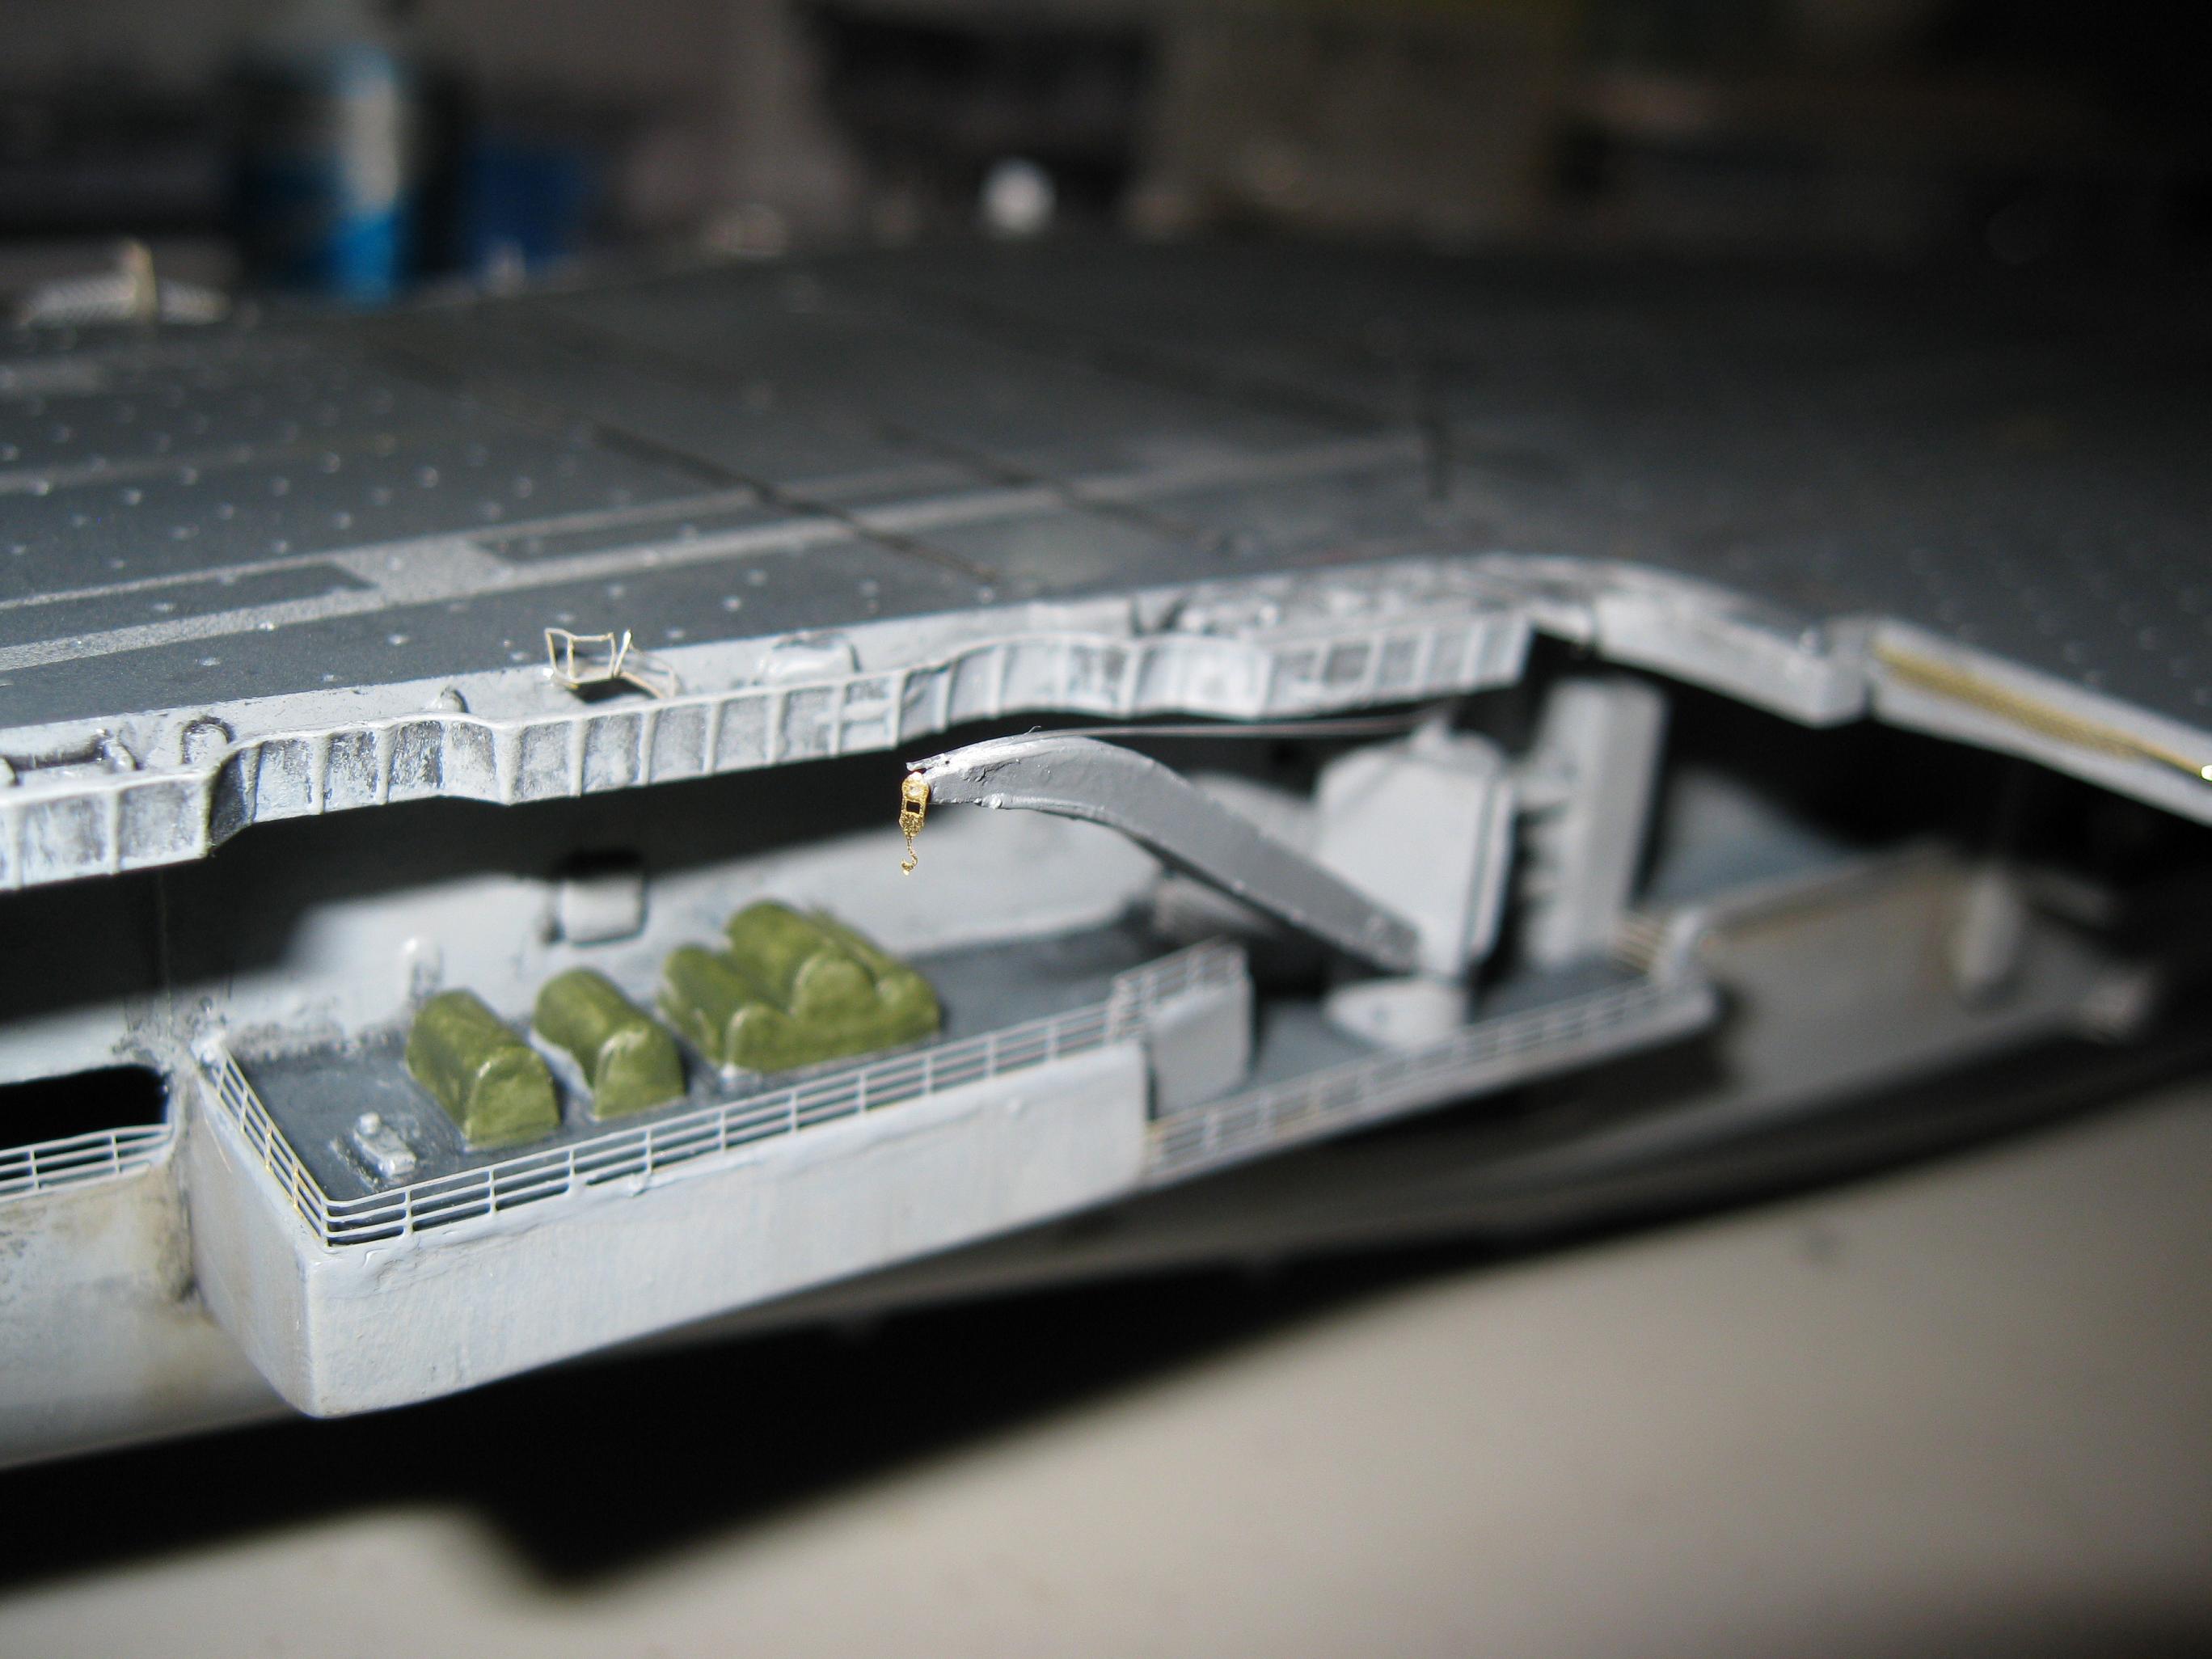
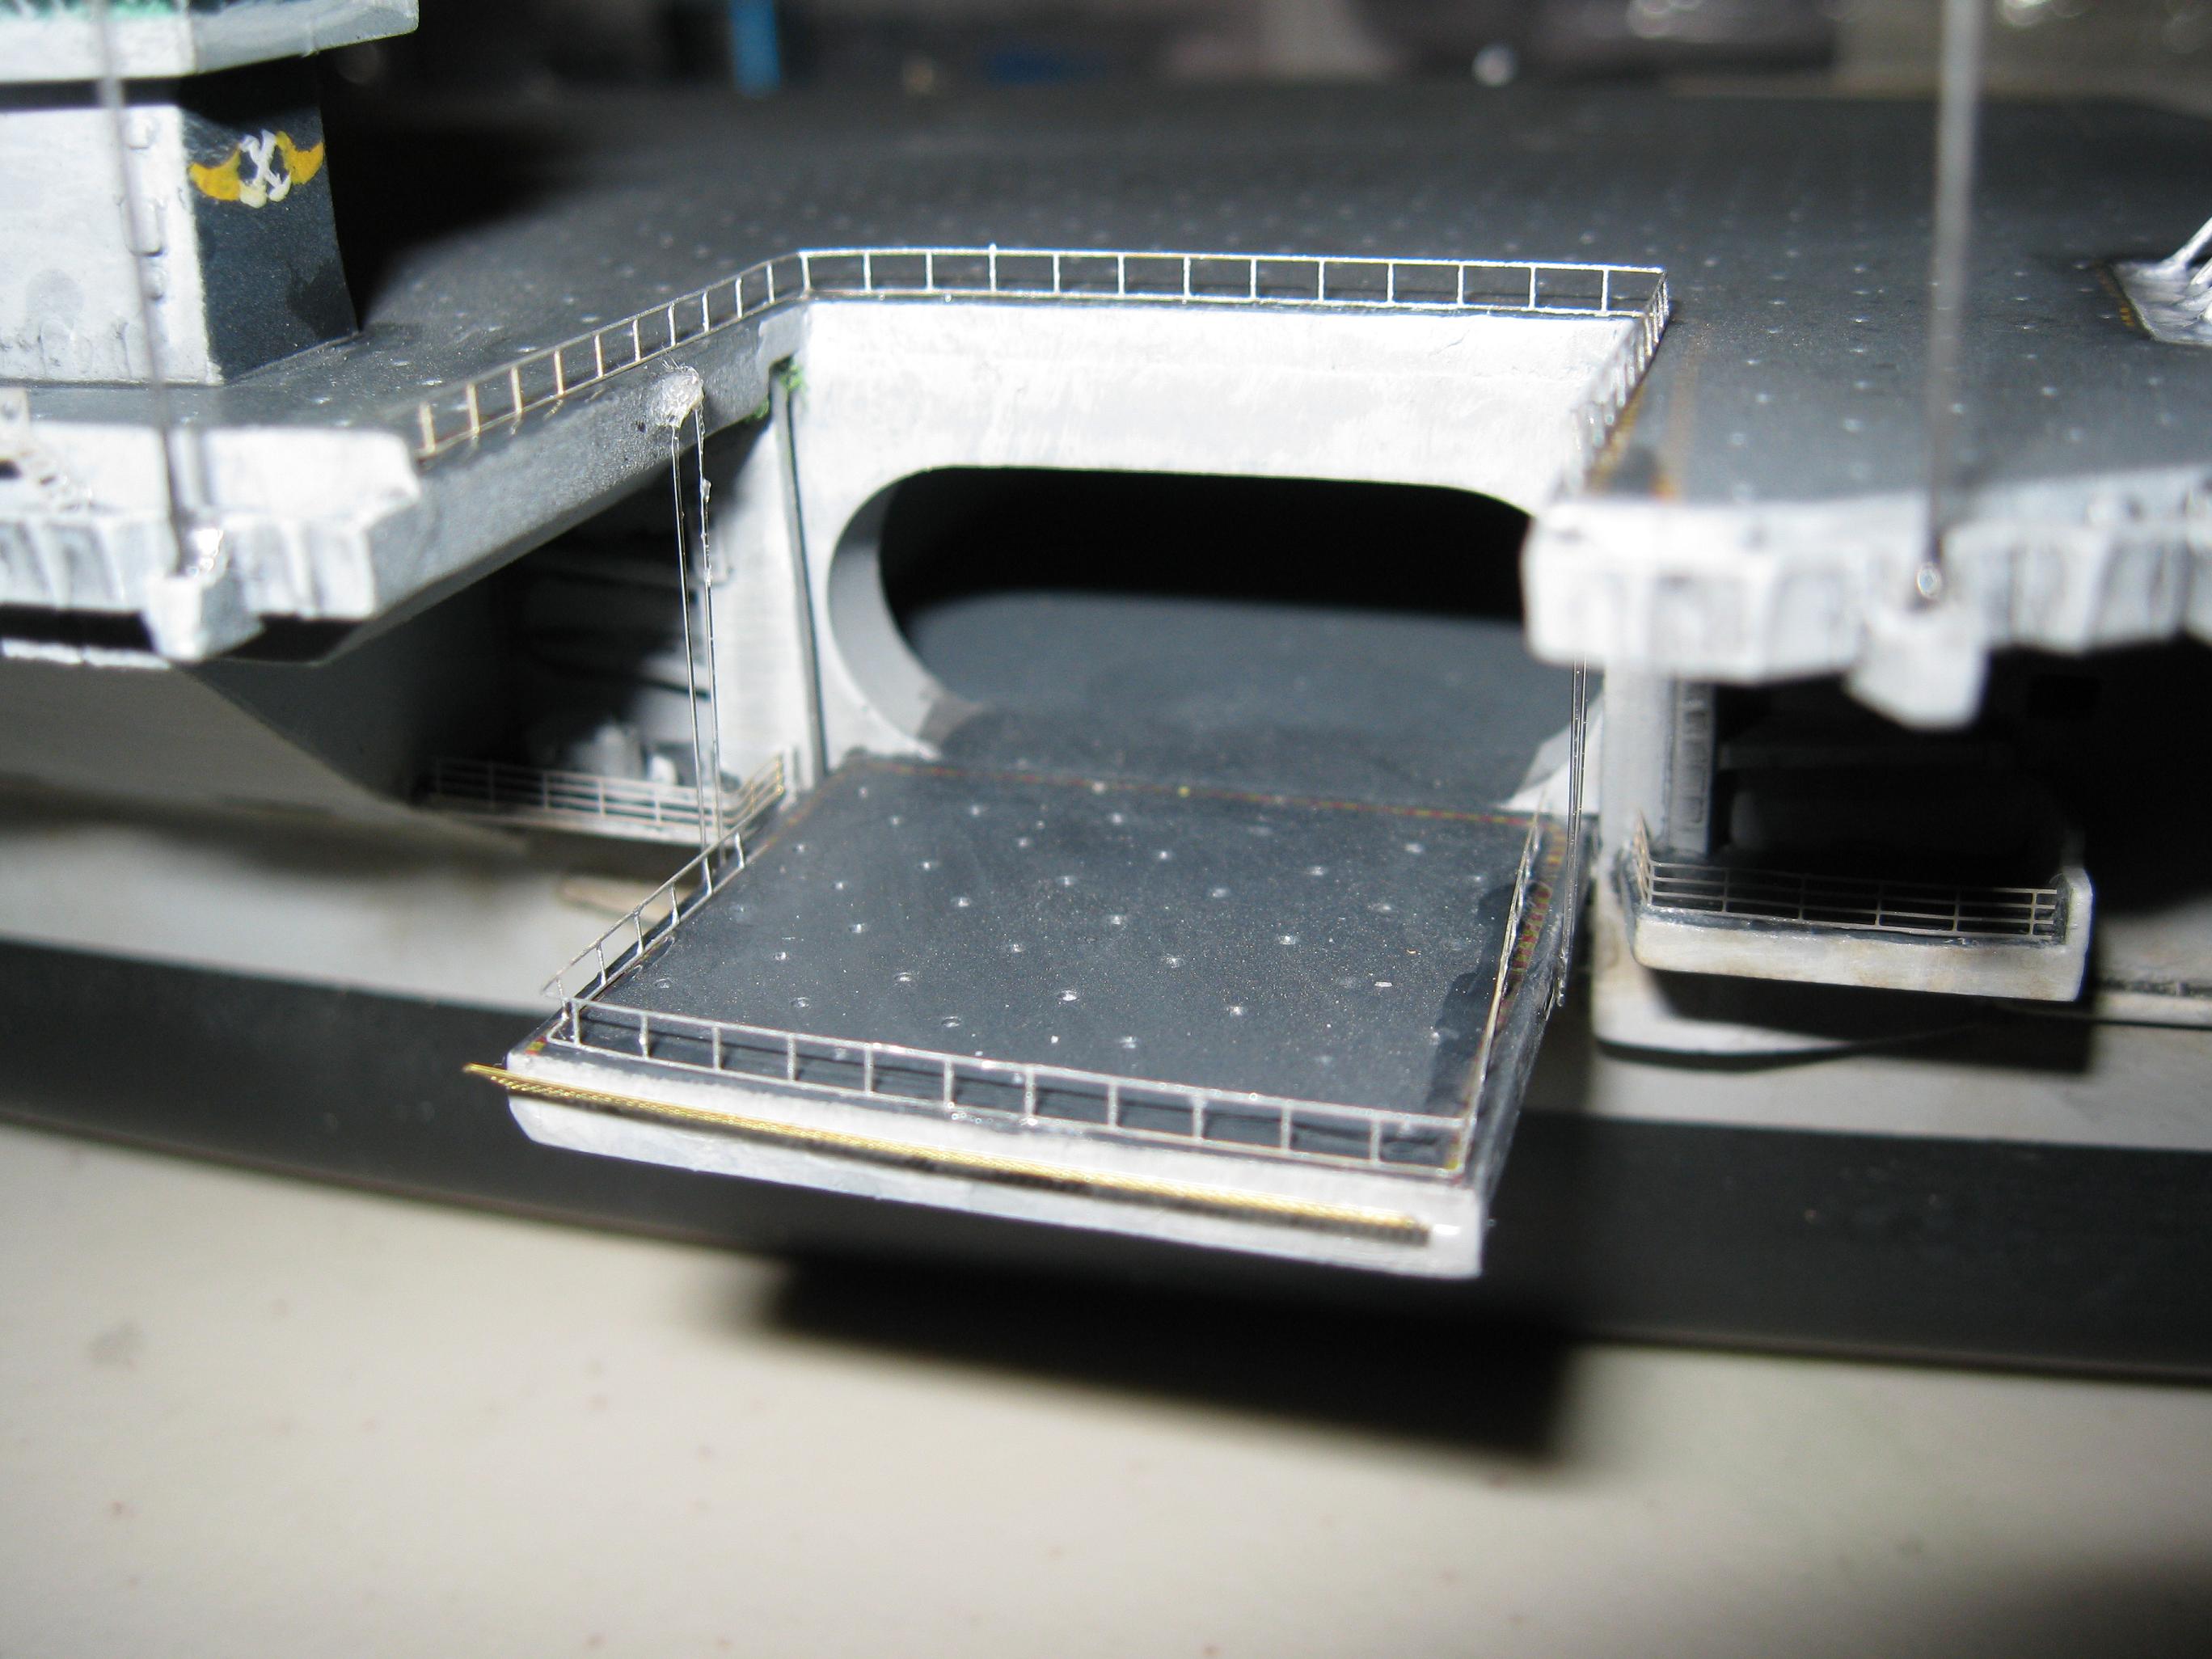
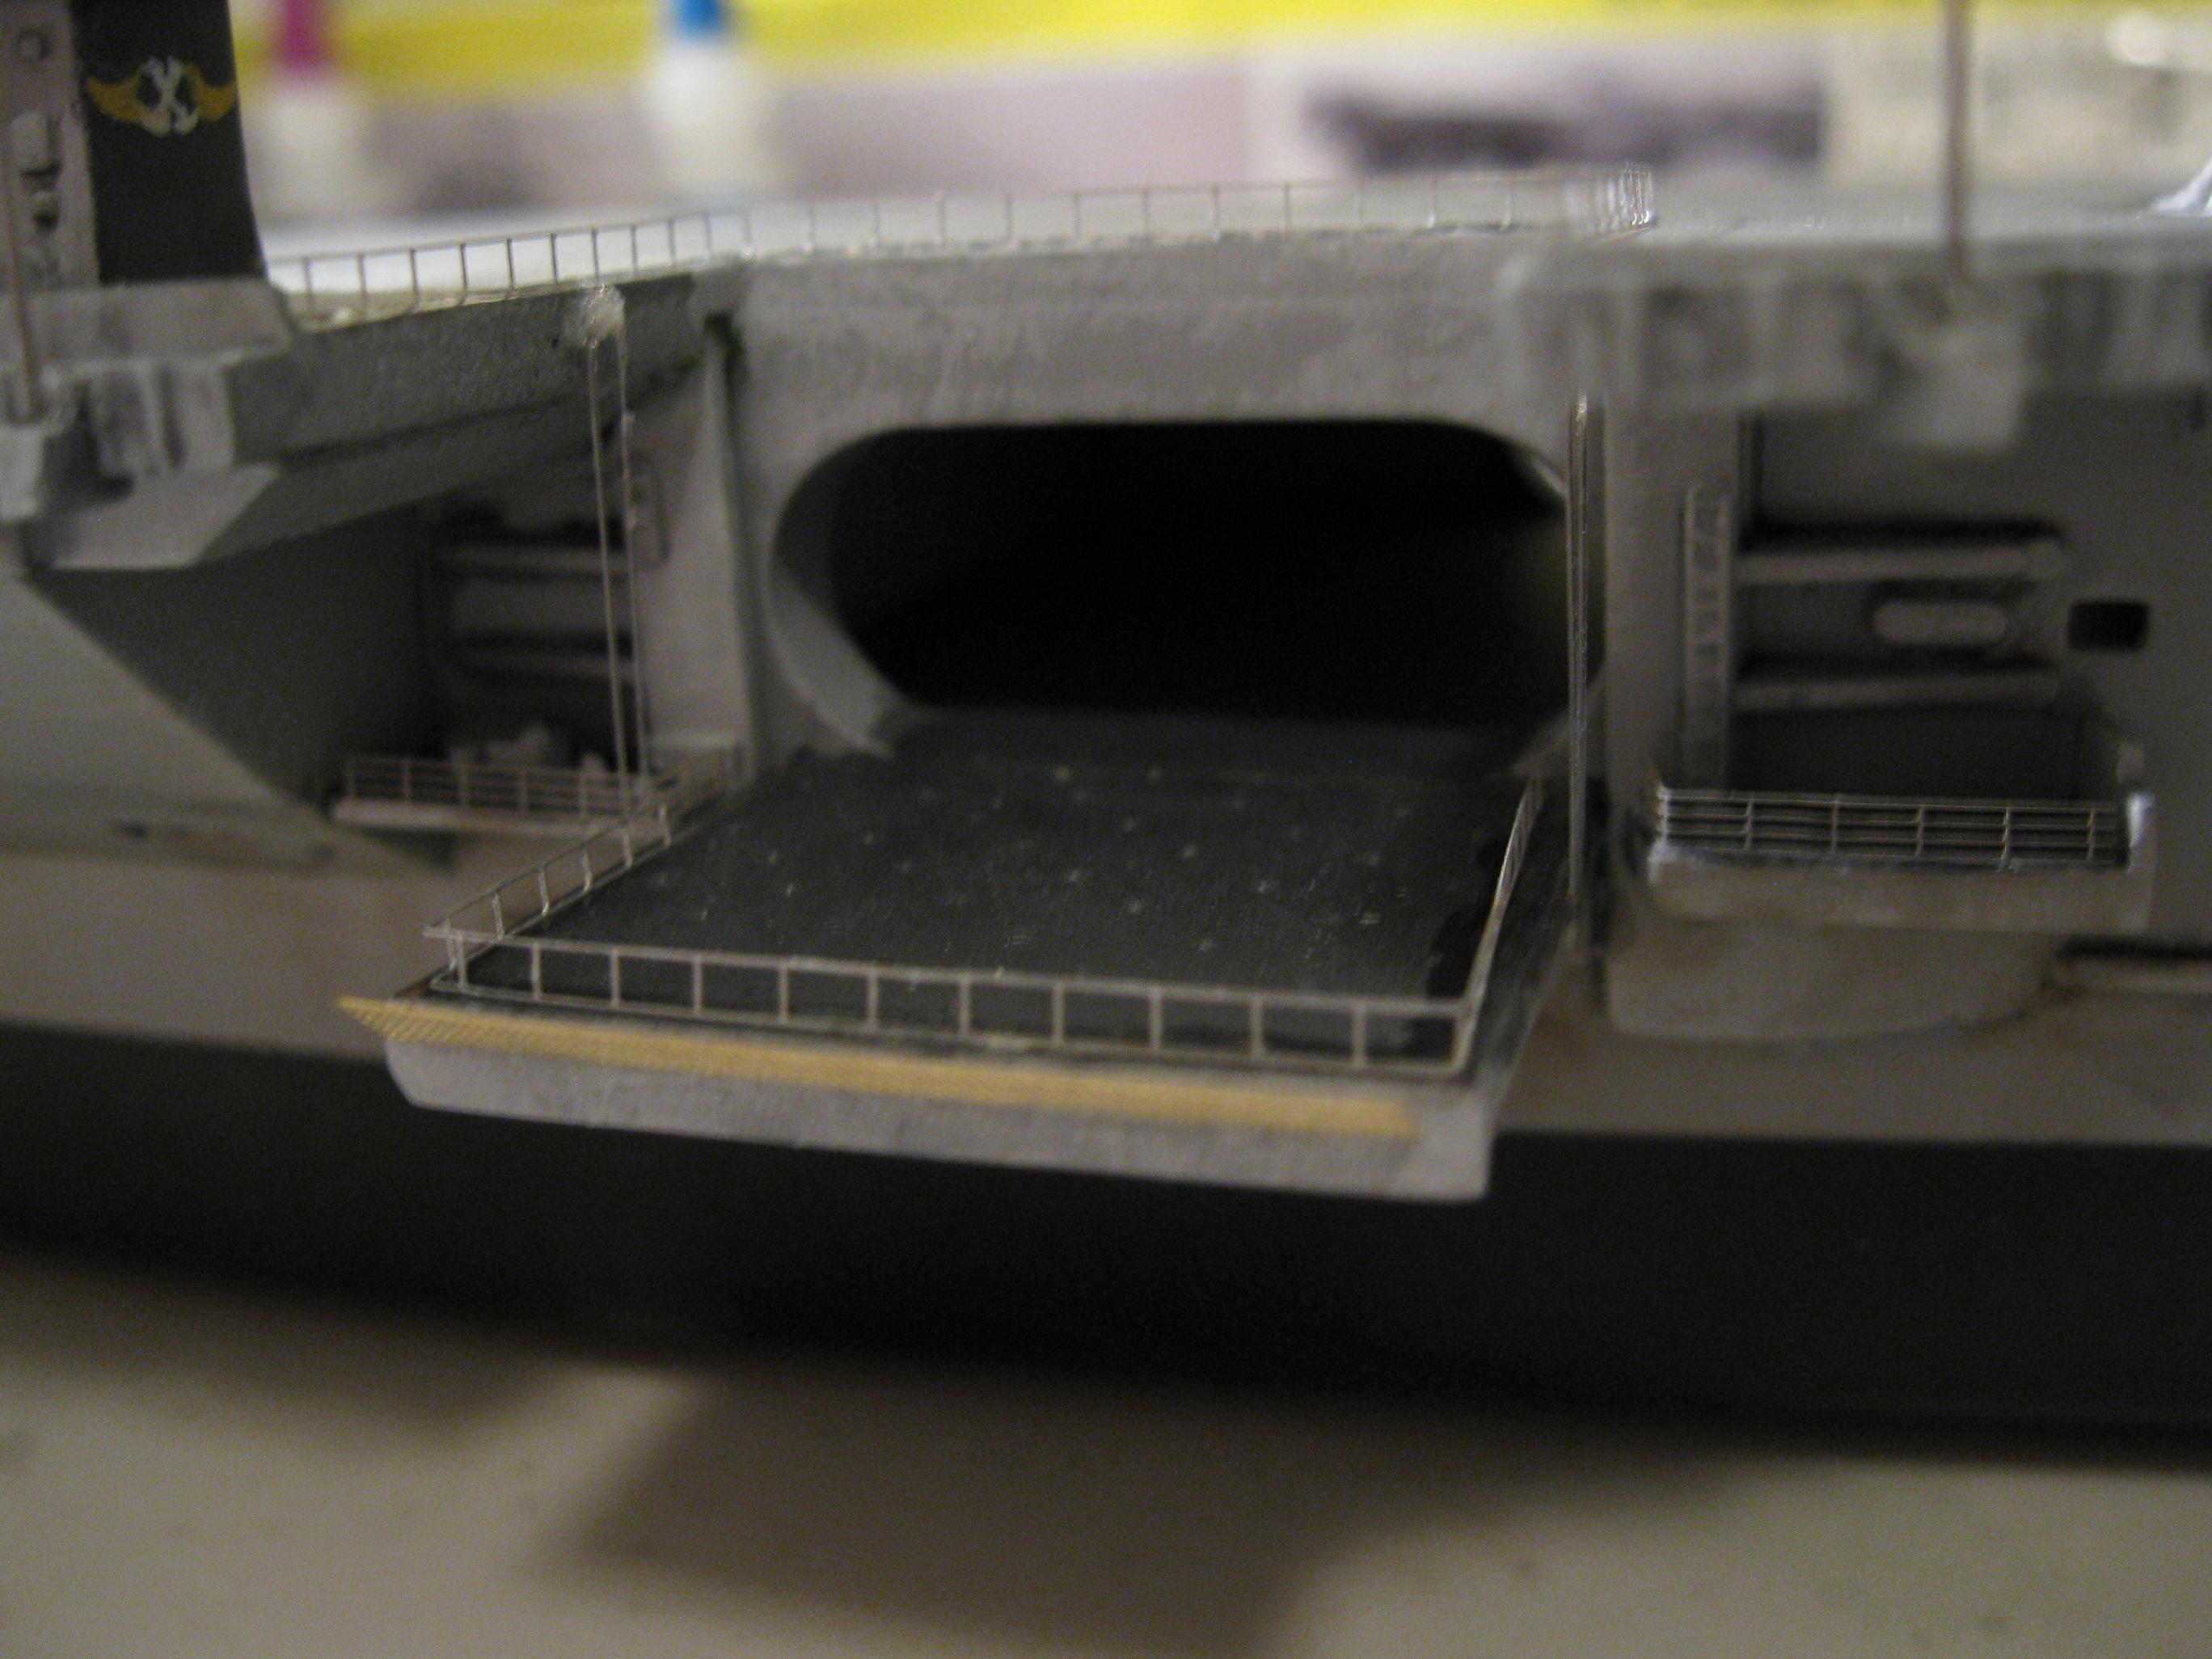
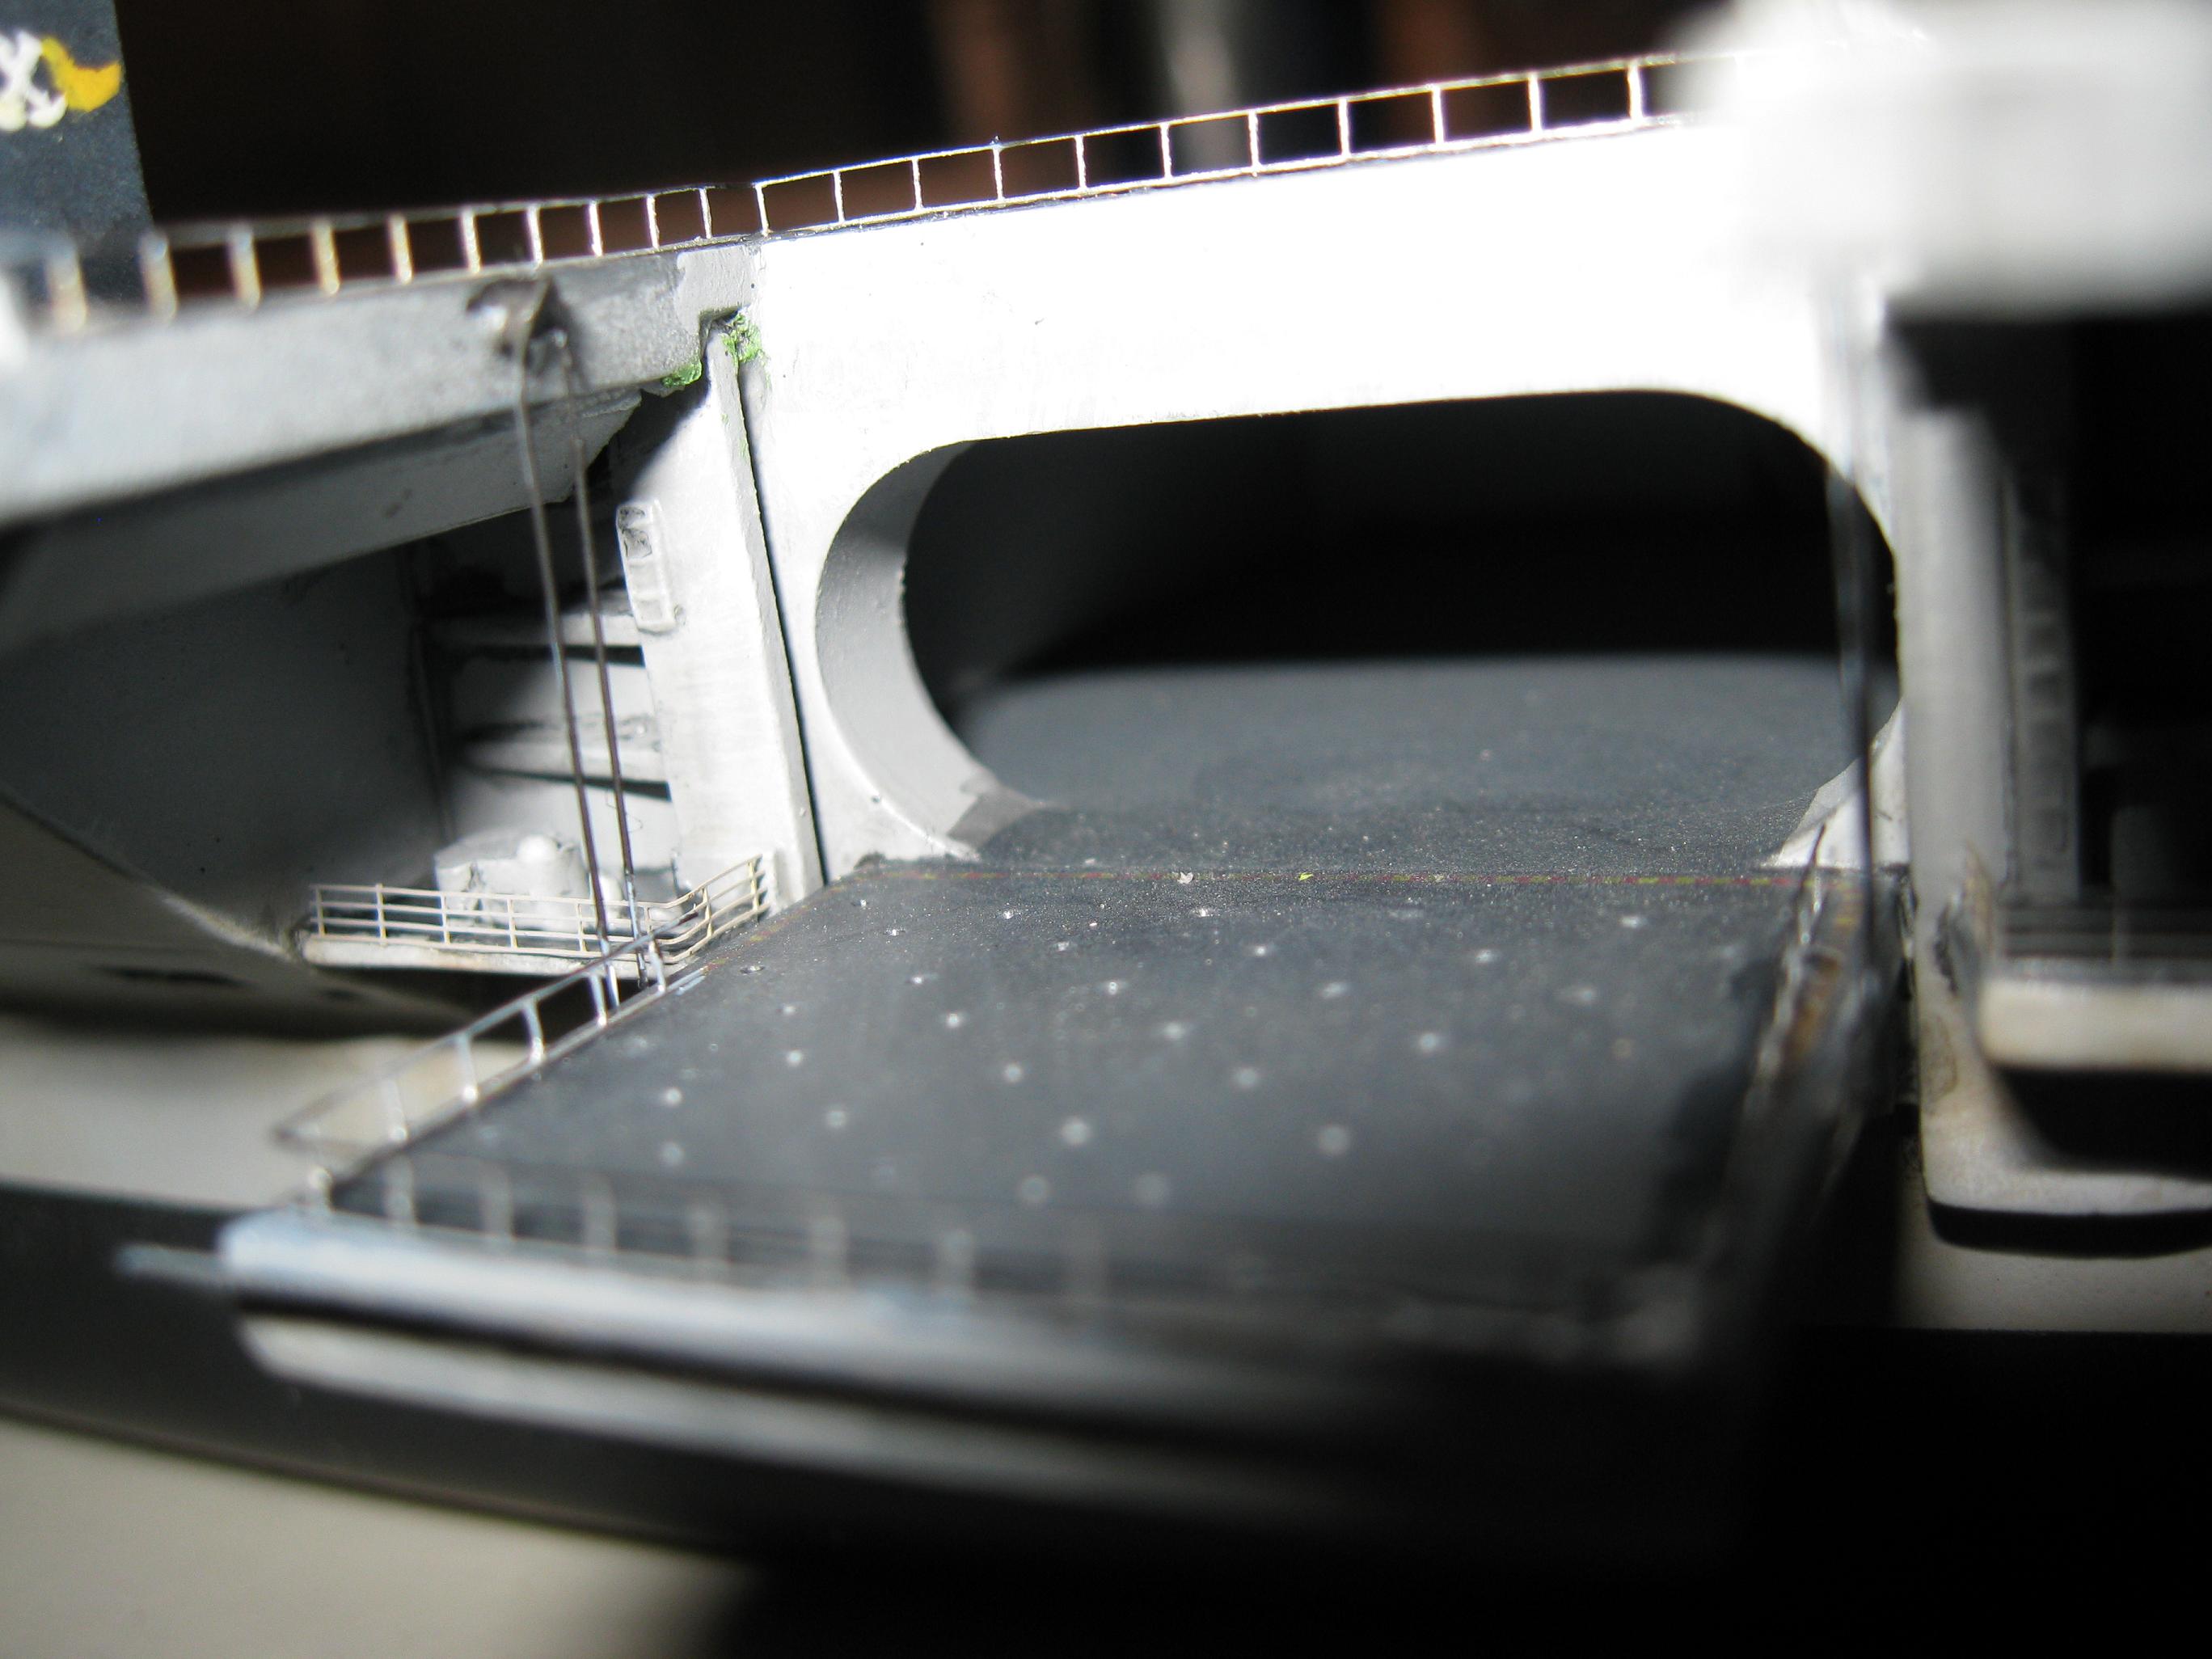
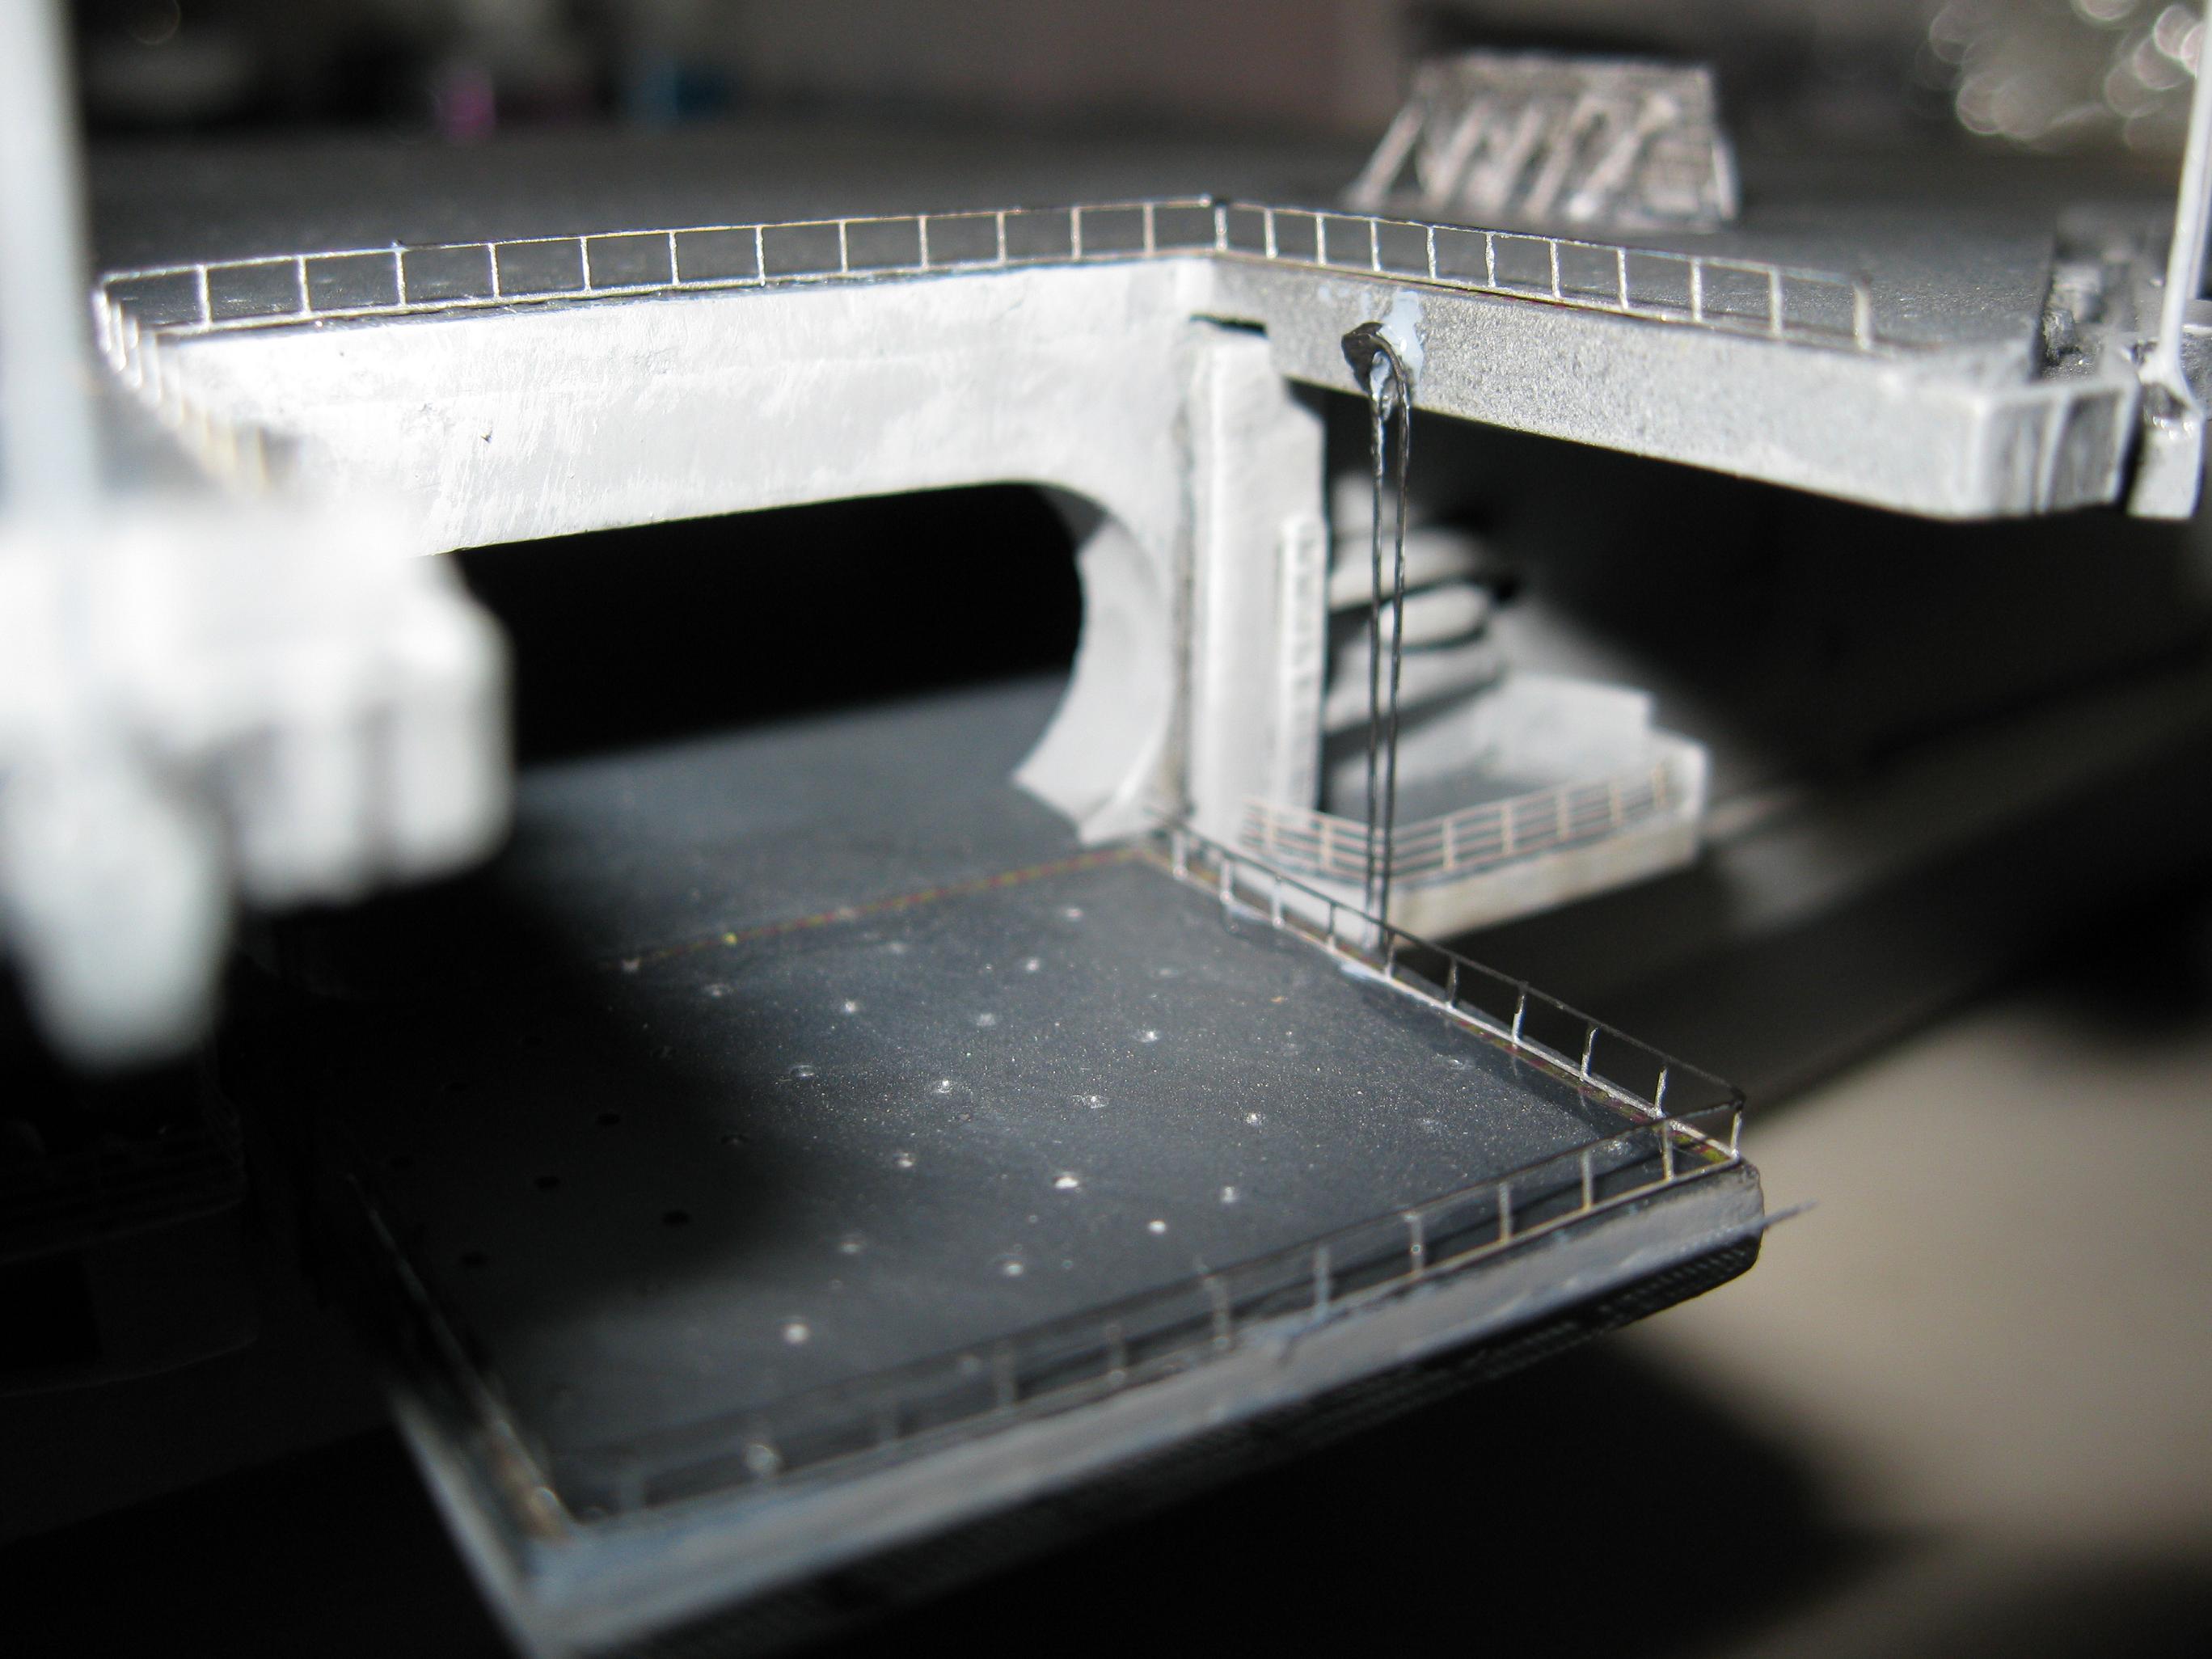
pipes with stretched sprue and remodeled elevator
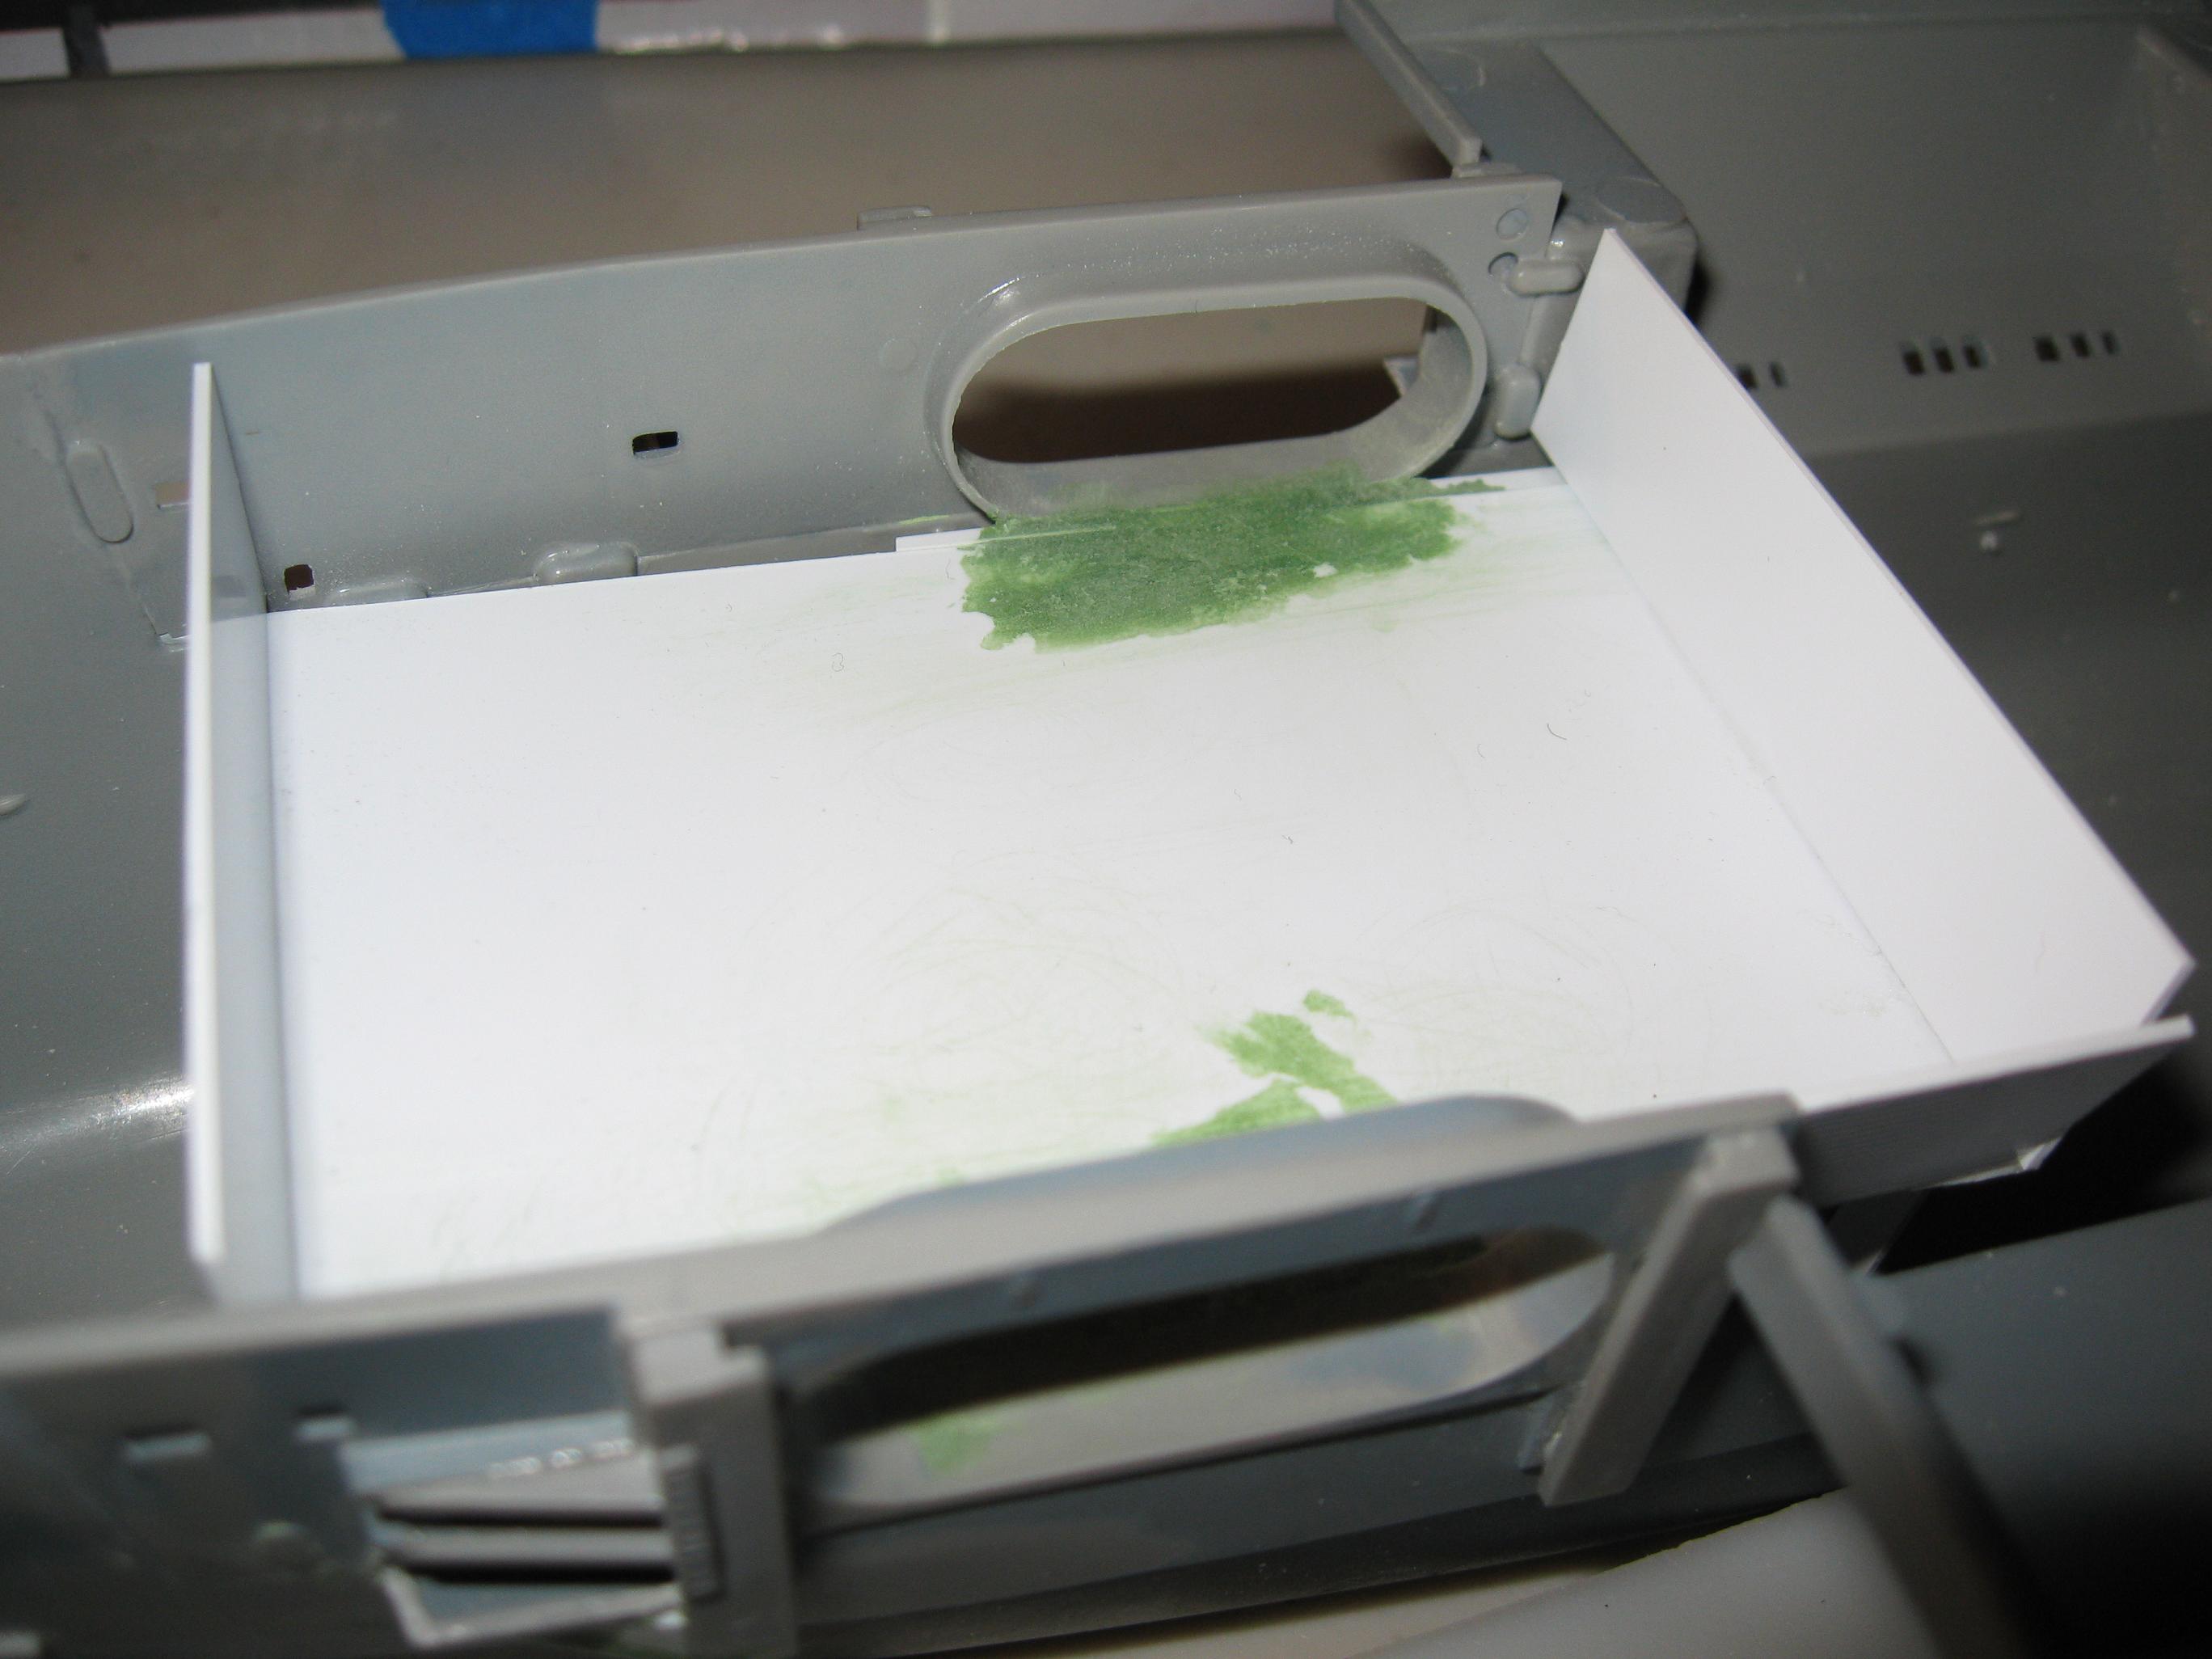
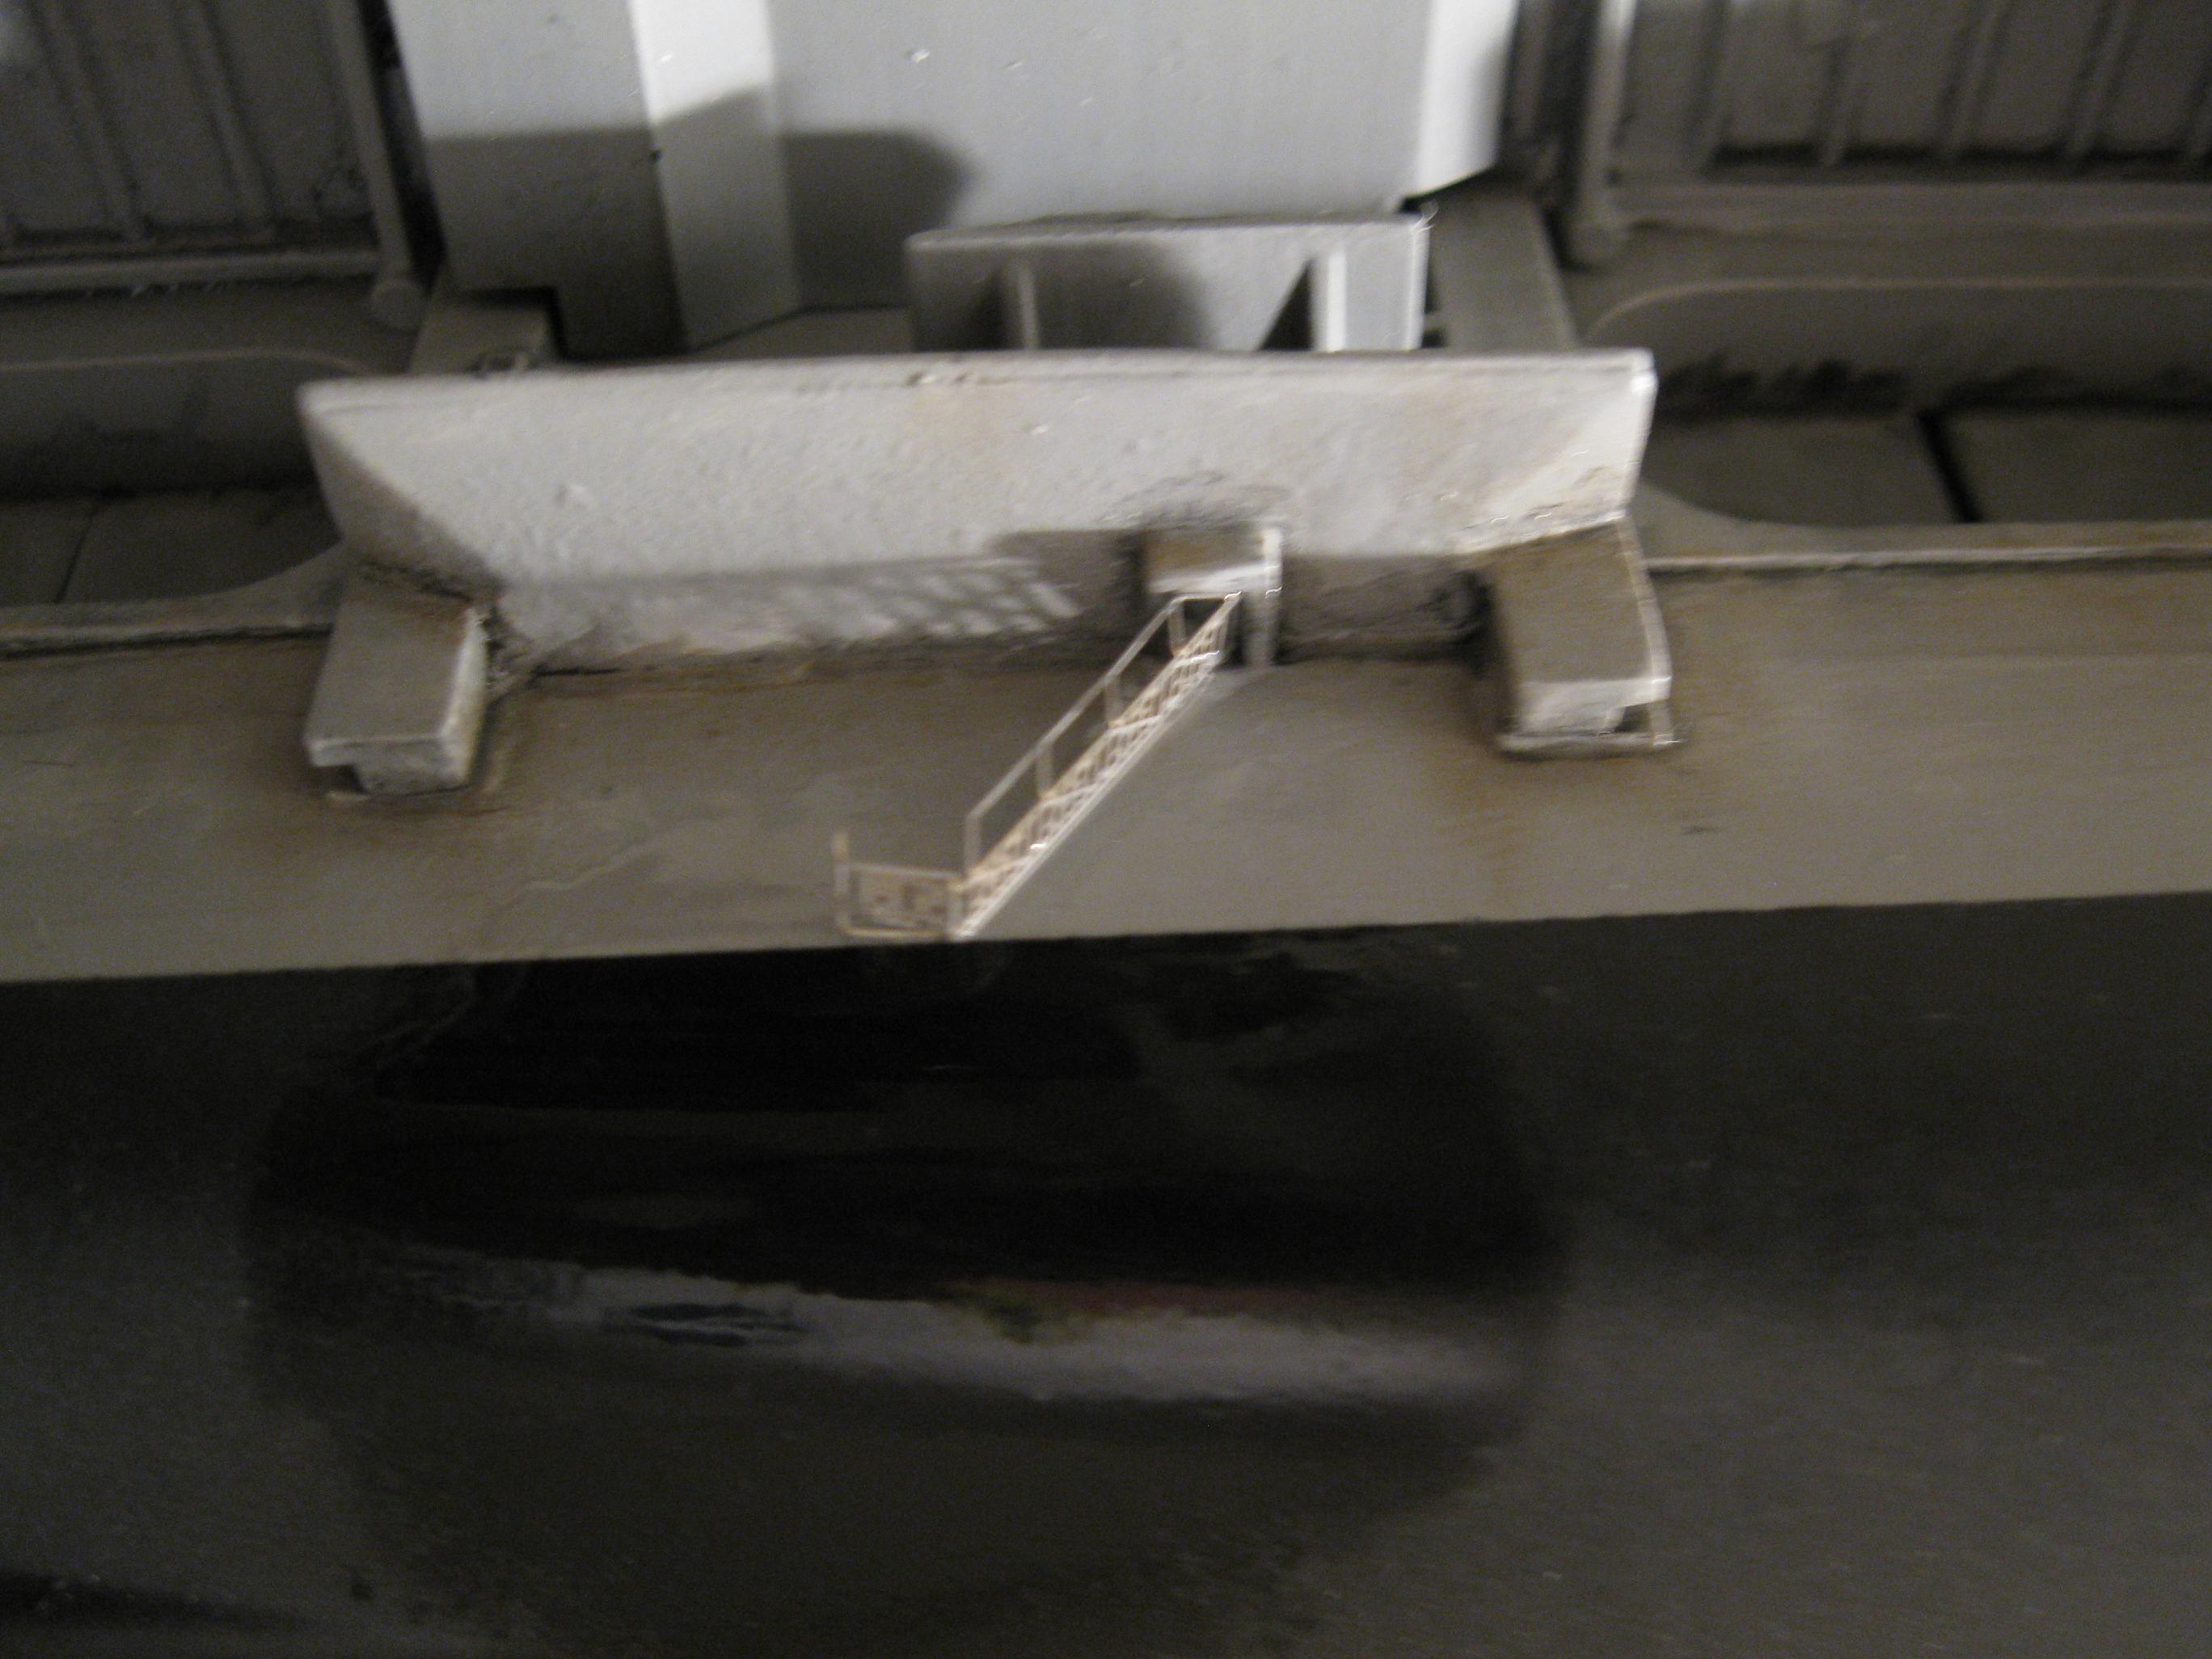
supports with styrene. Also added a small hangar deck so a
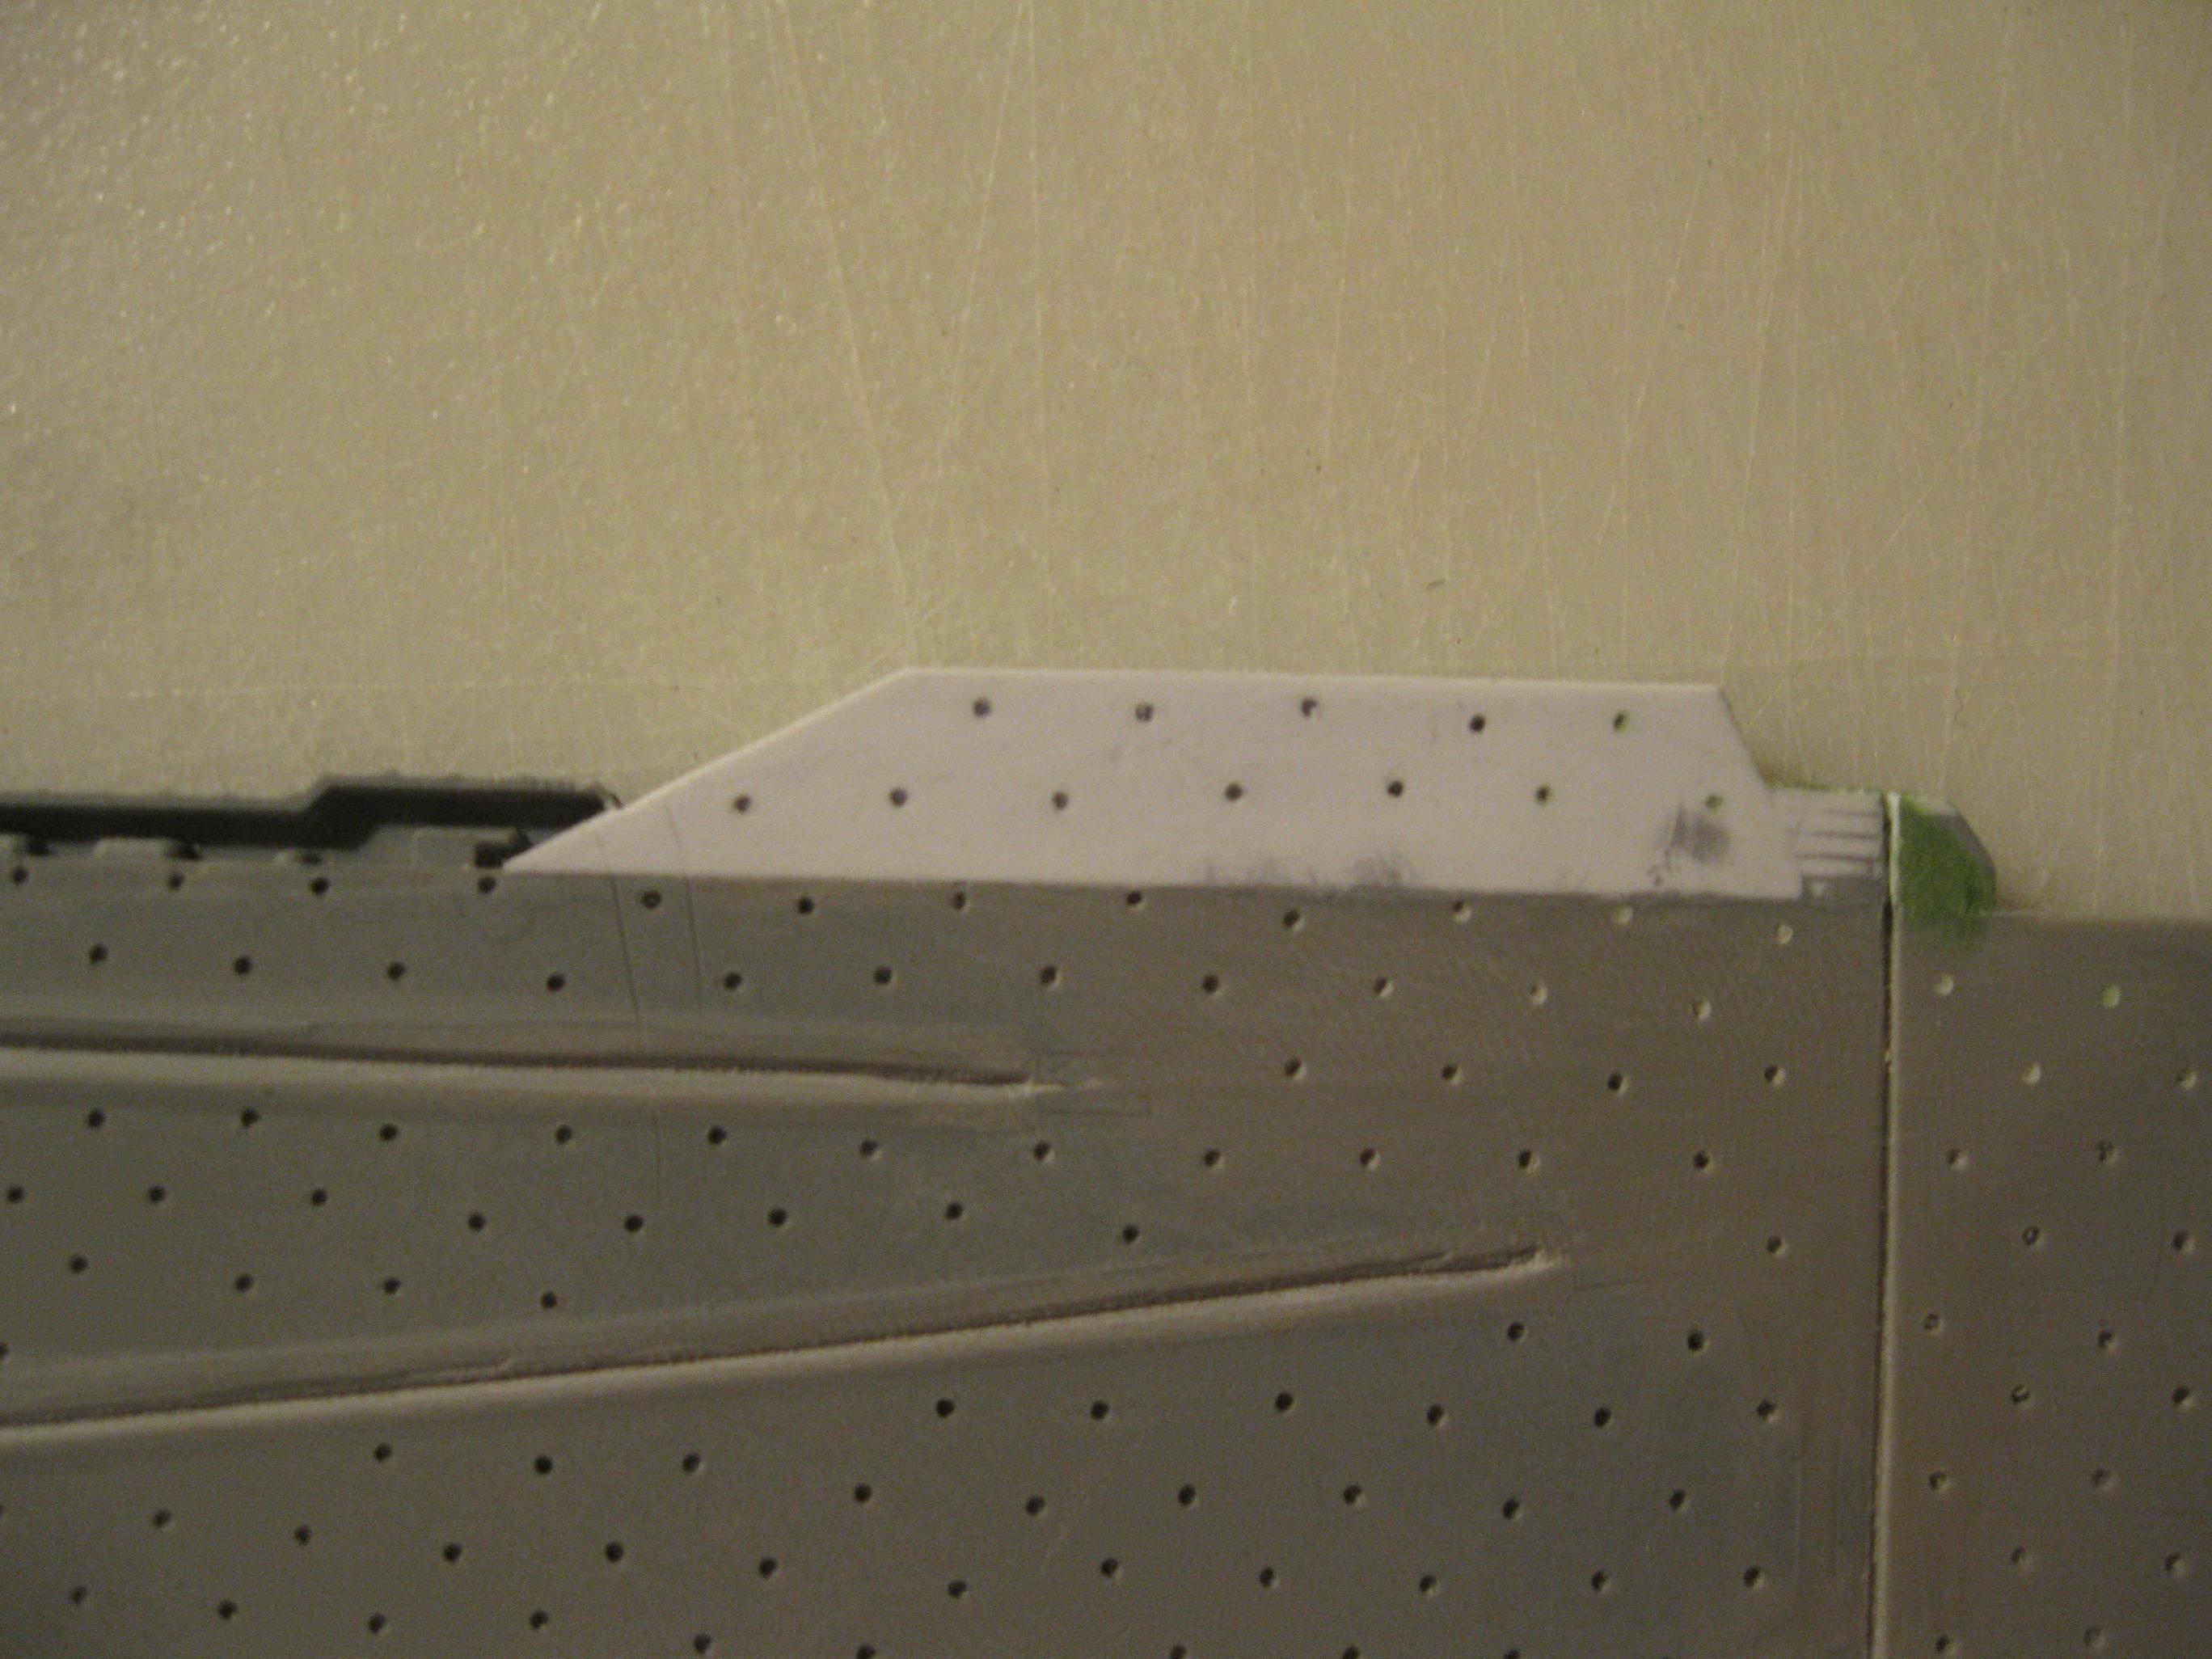
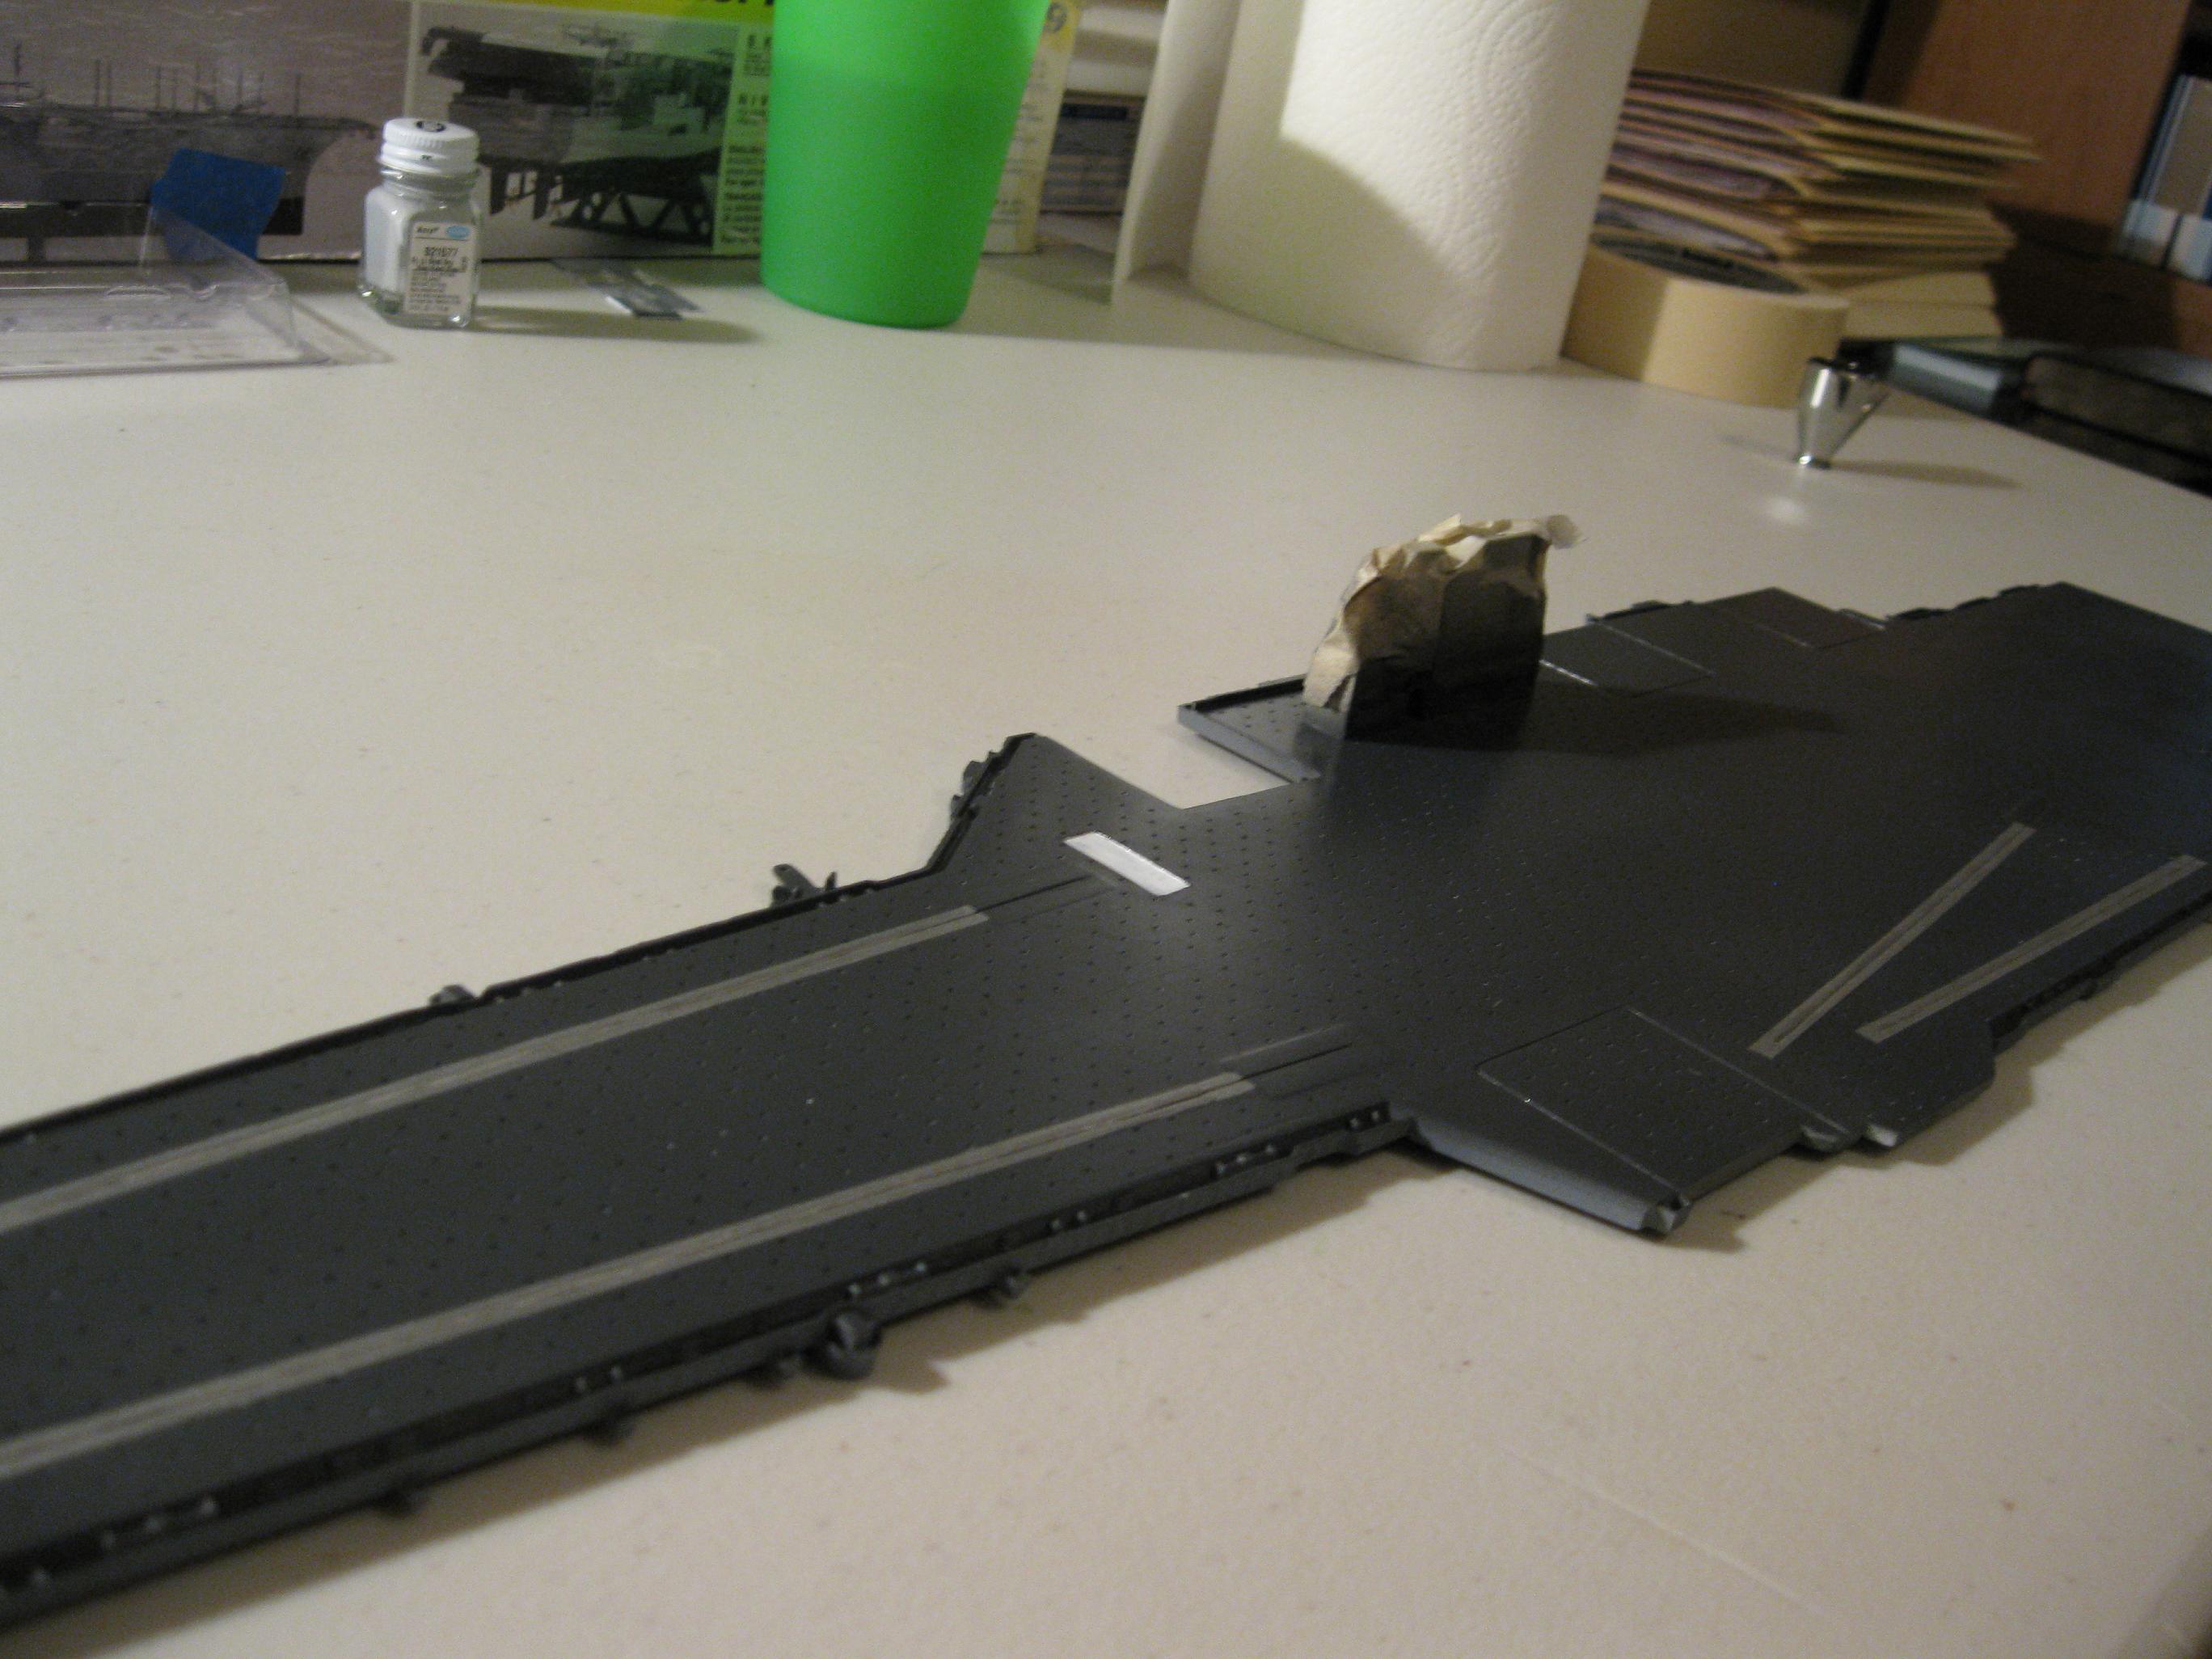
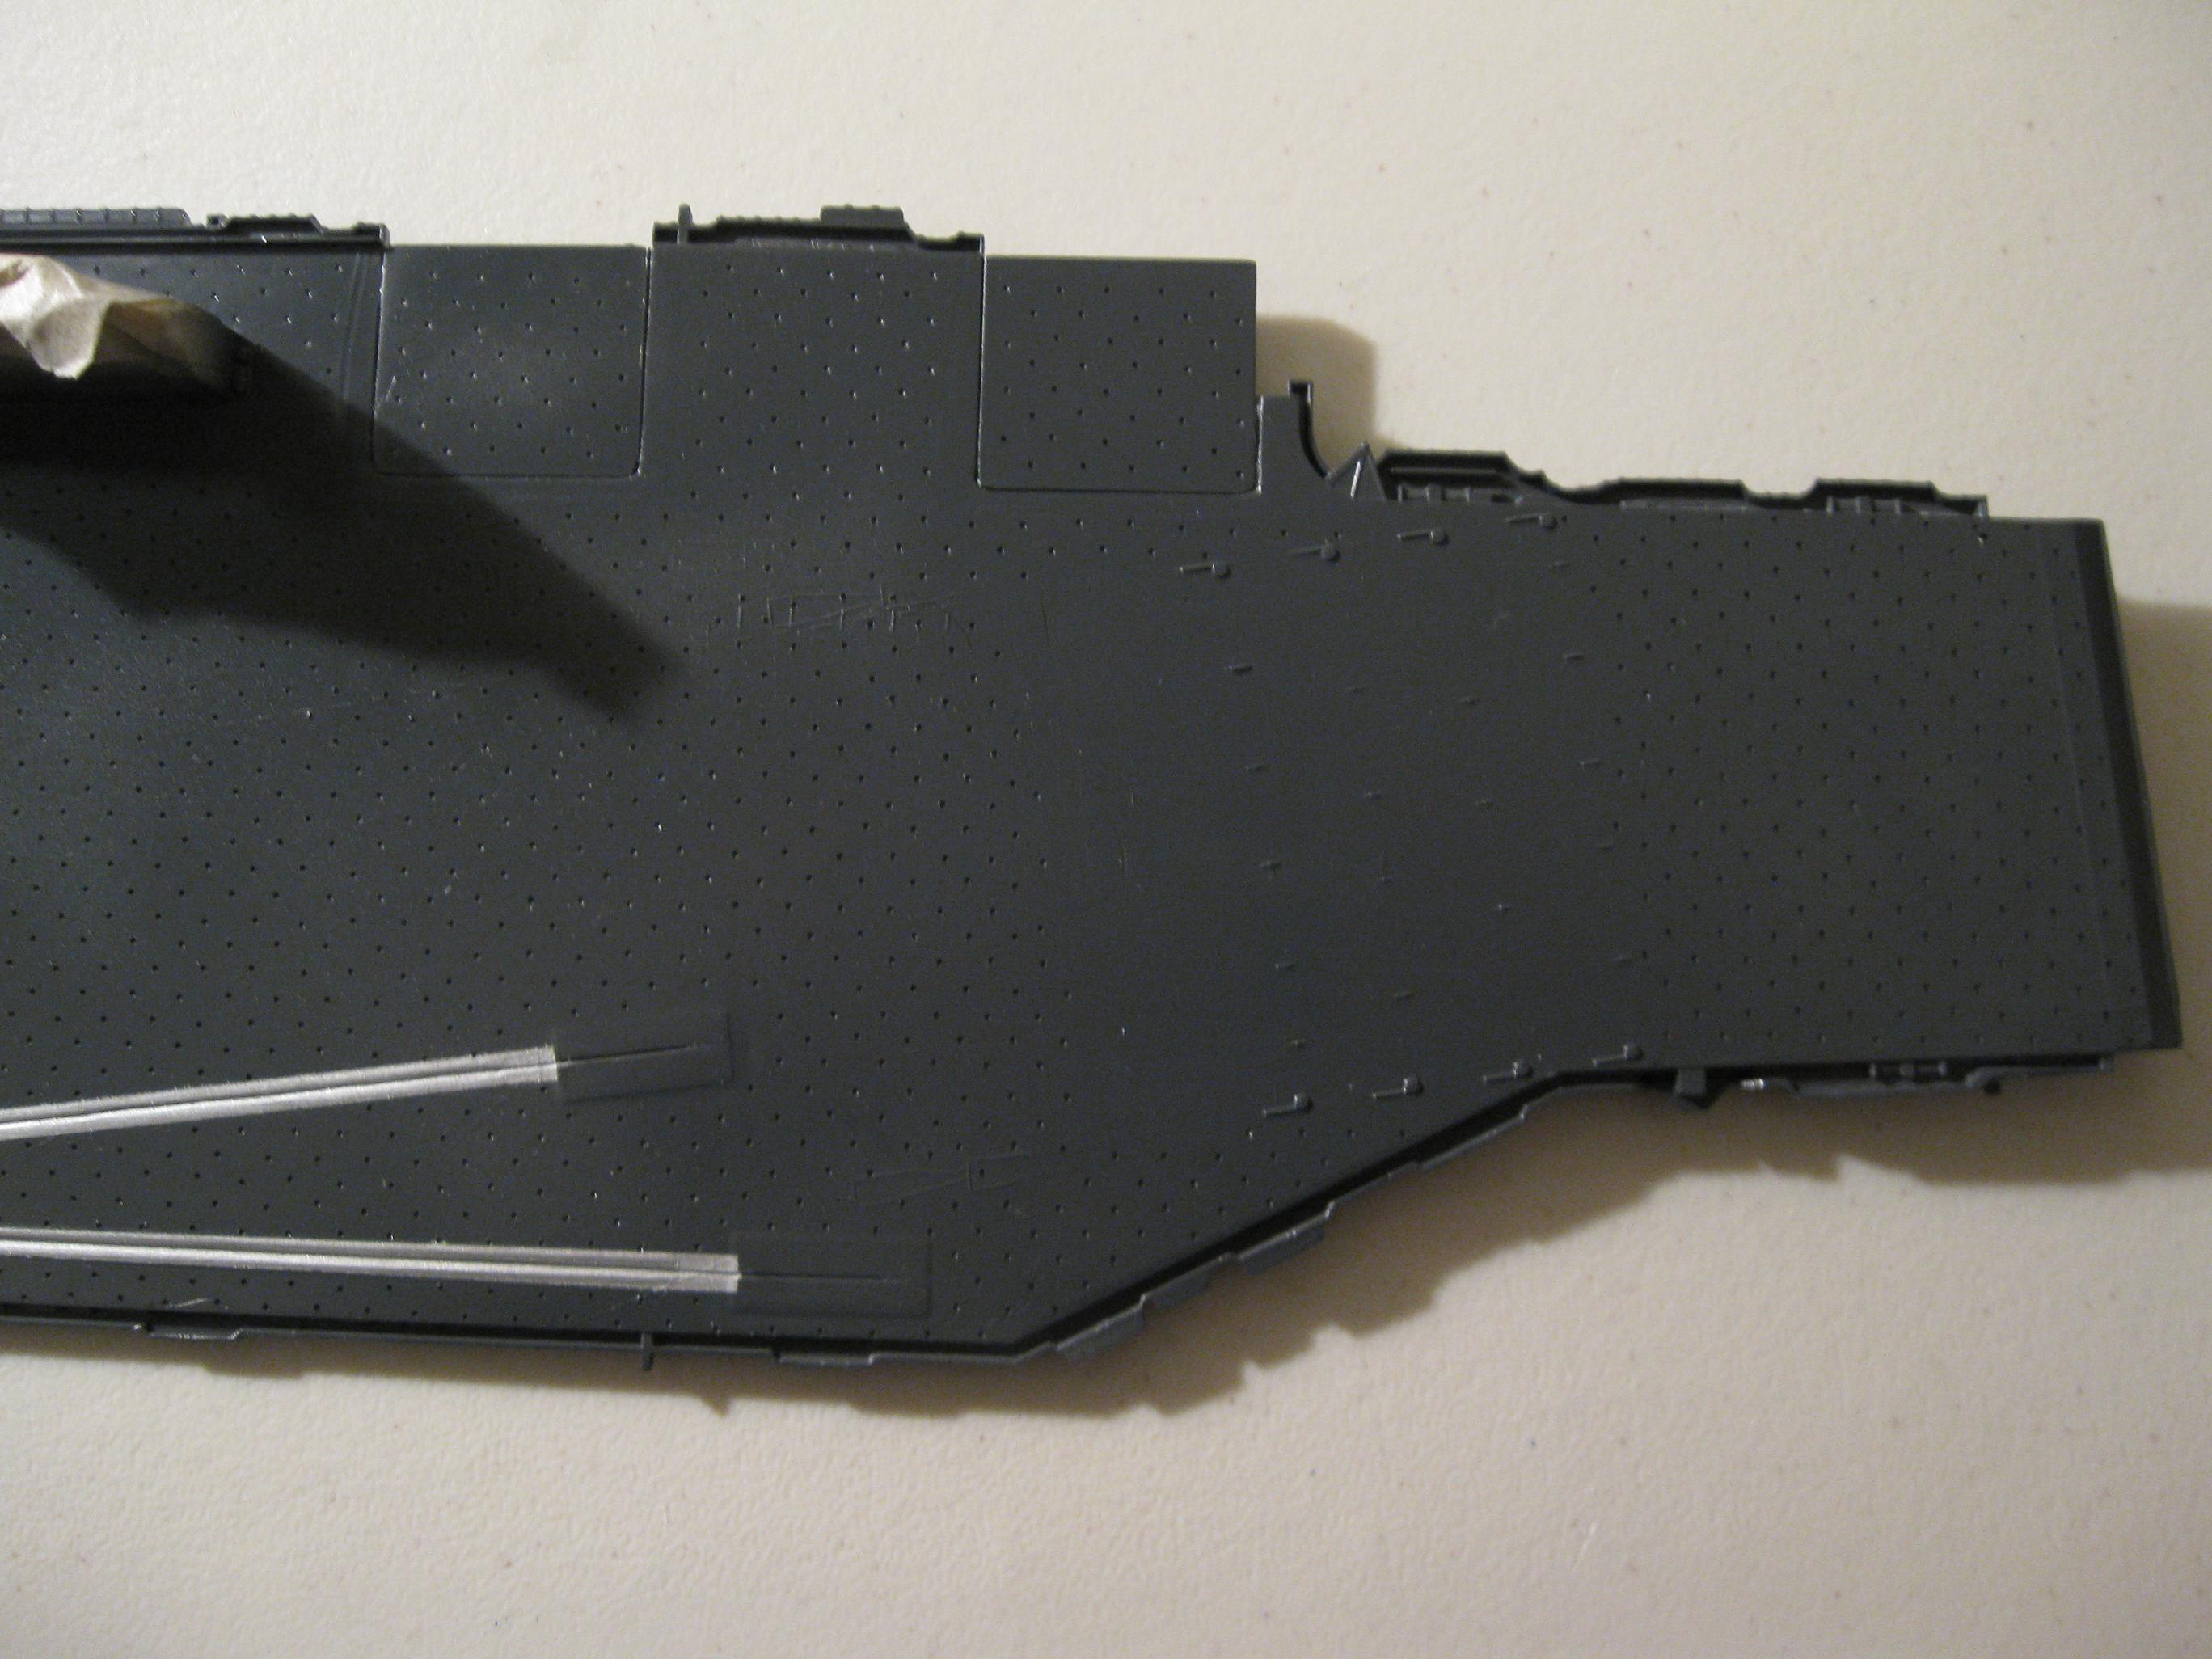
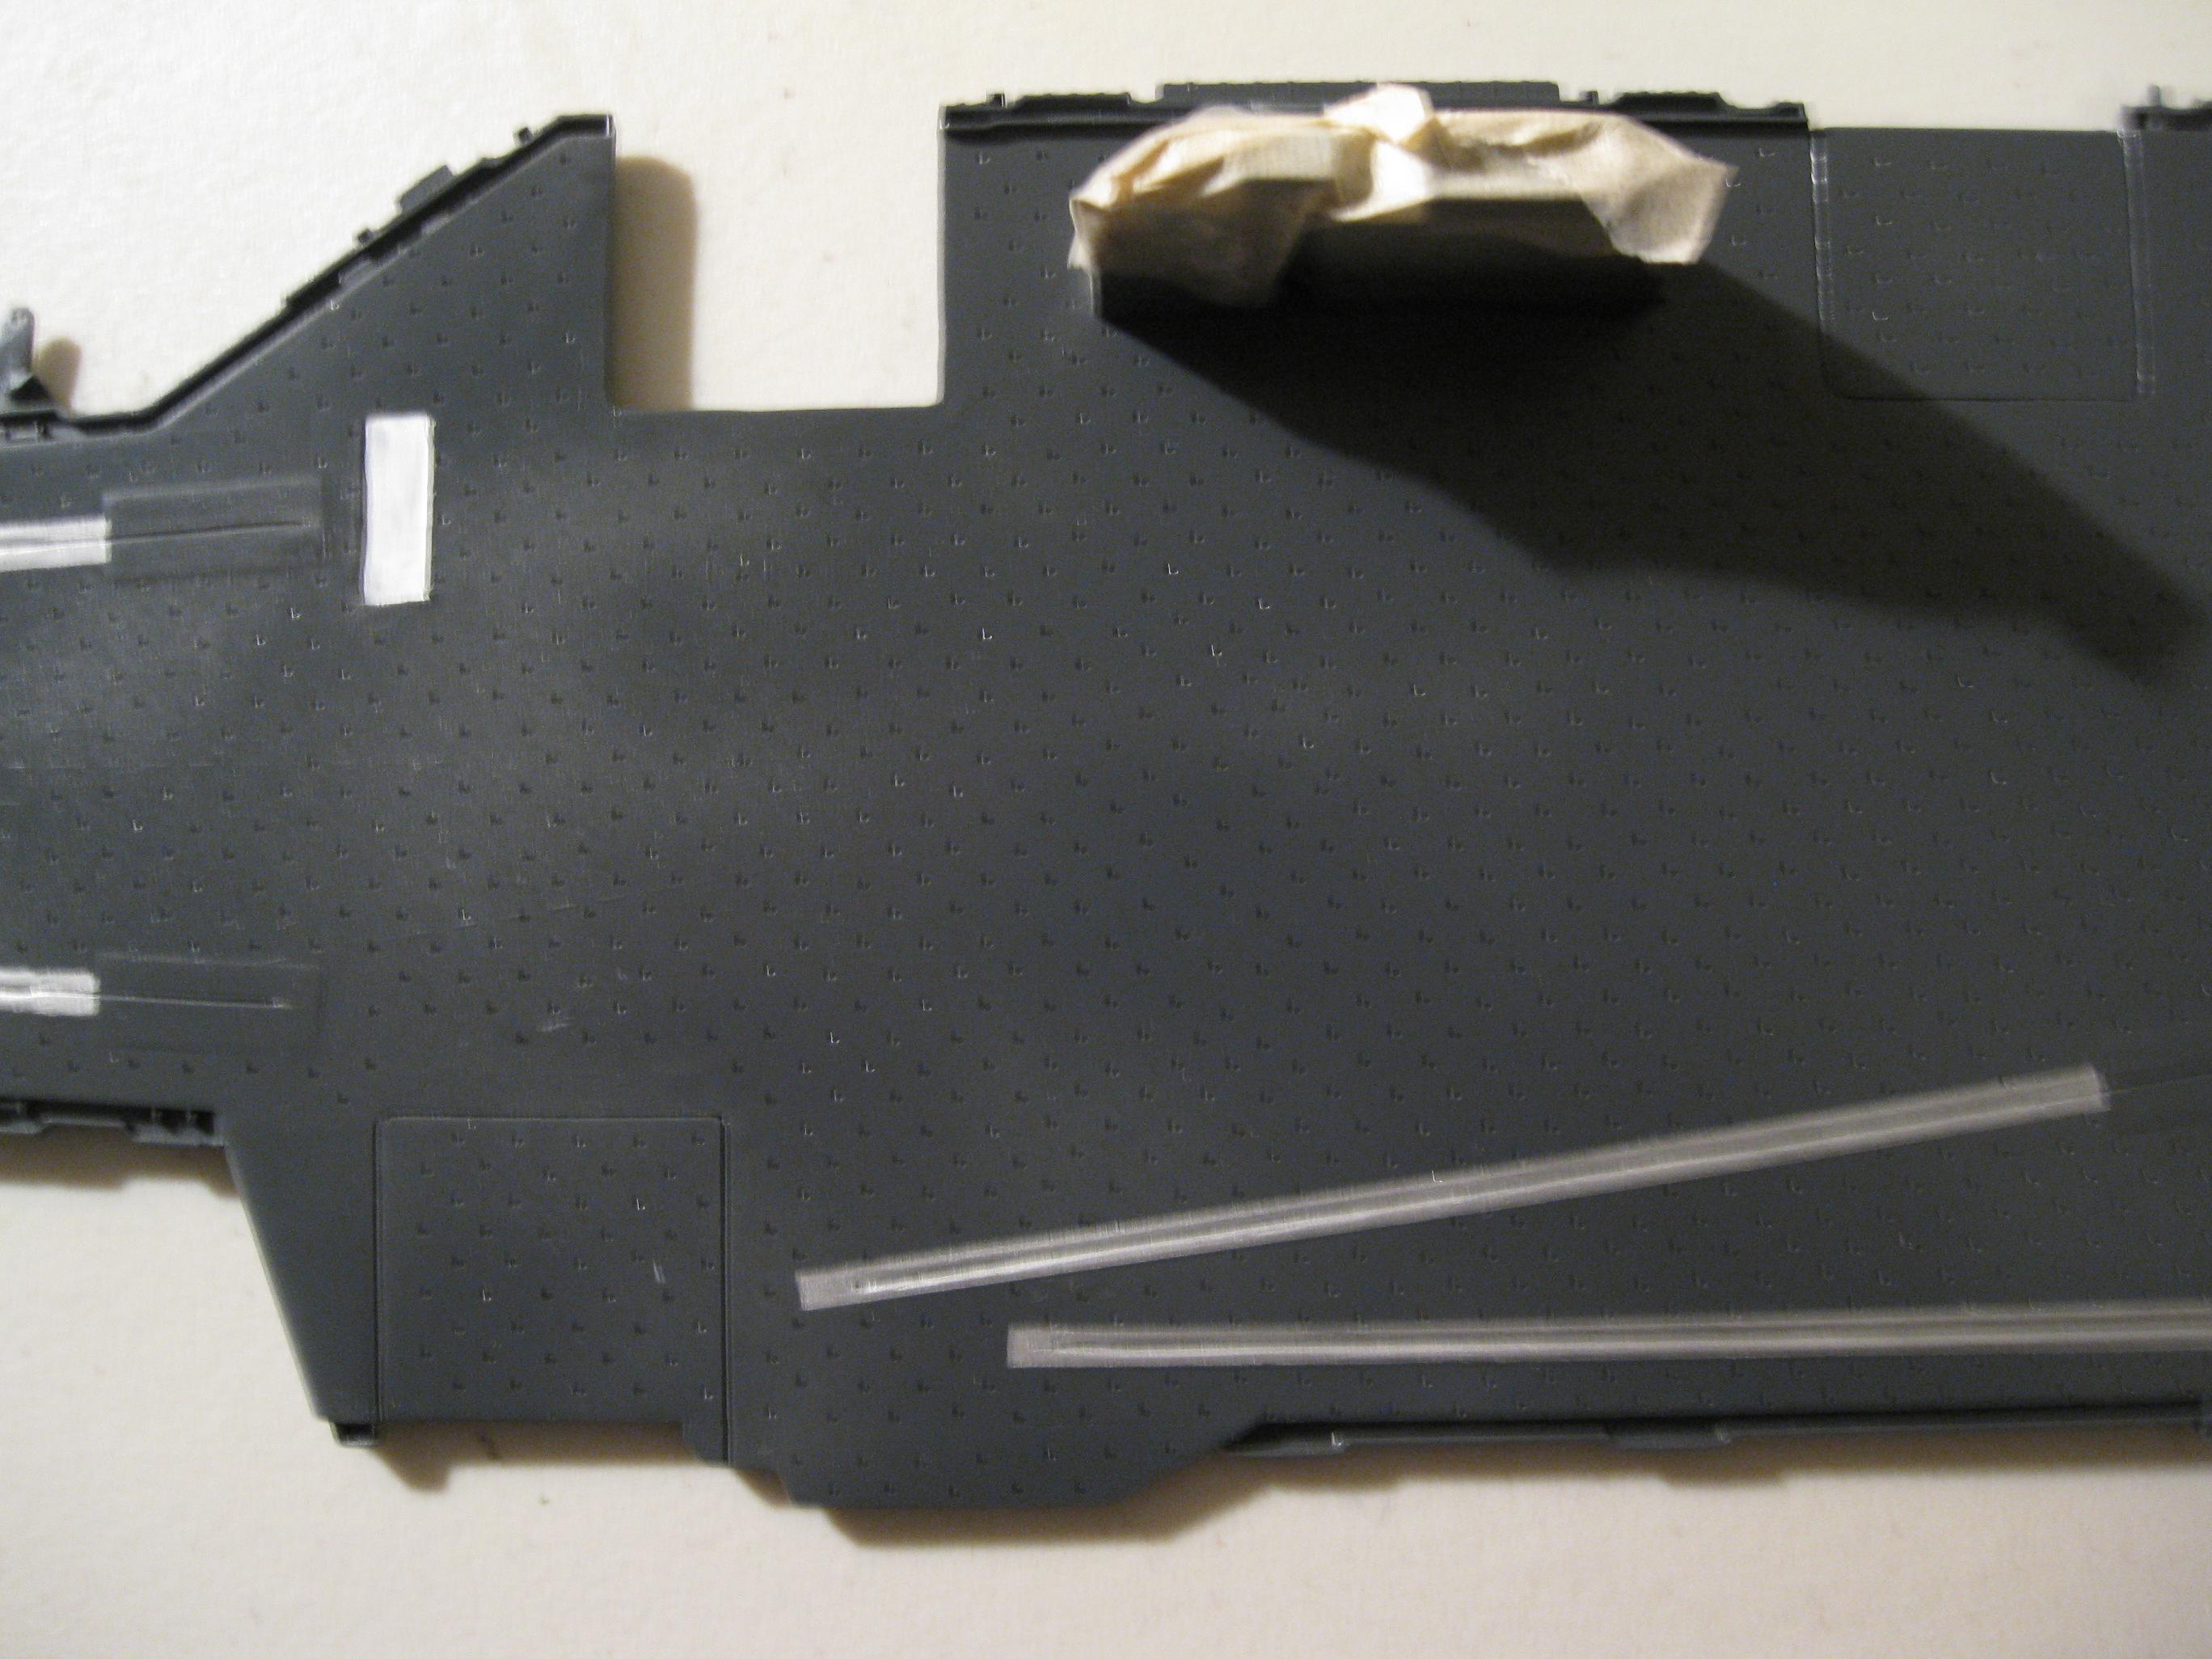
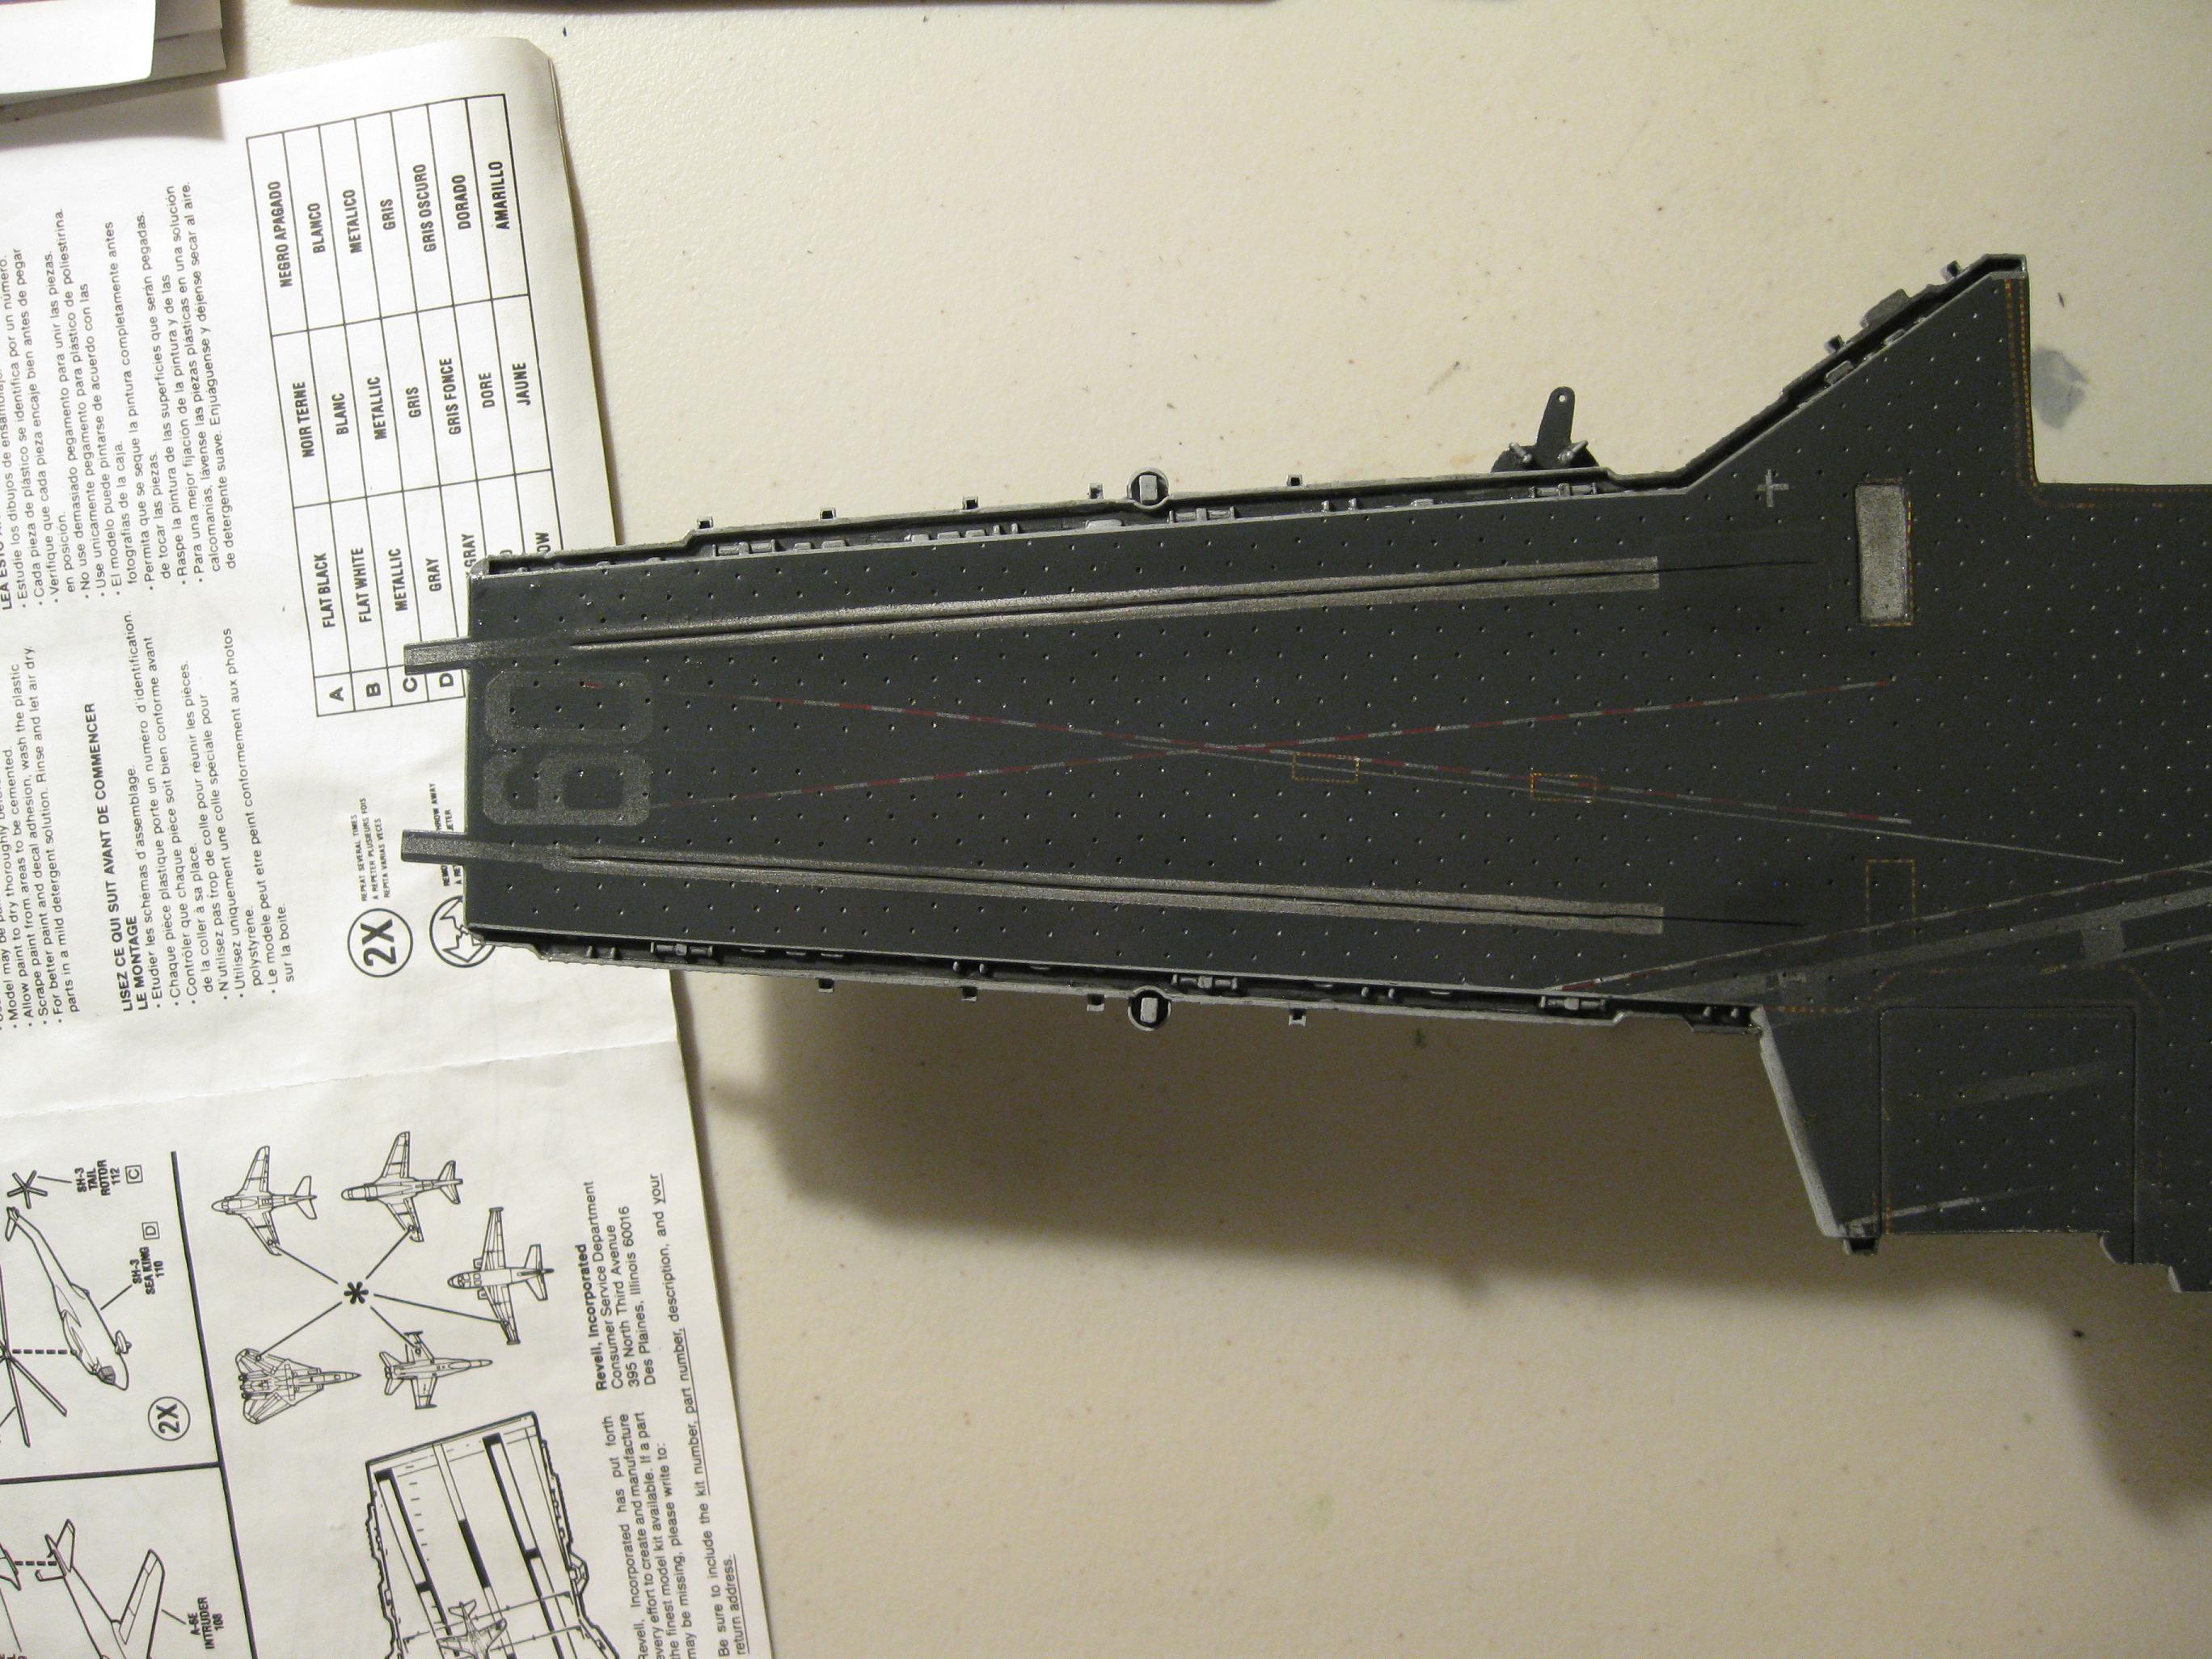
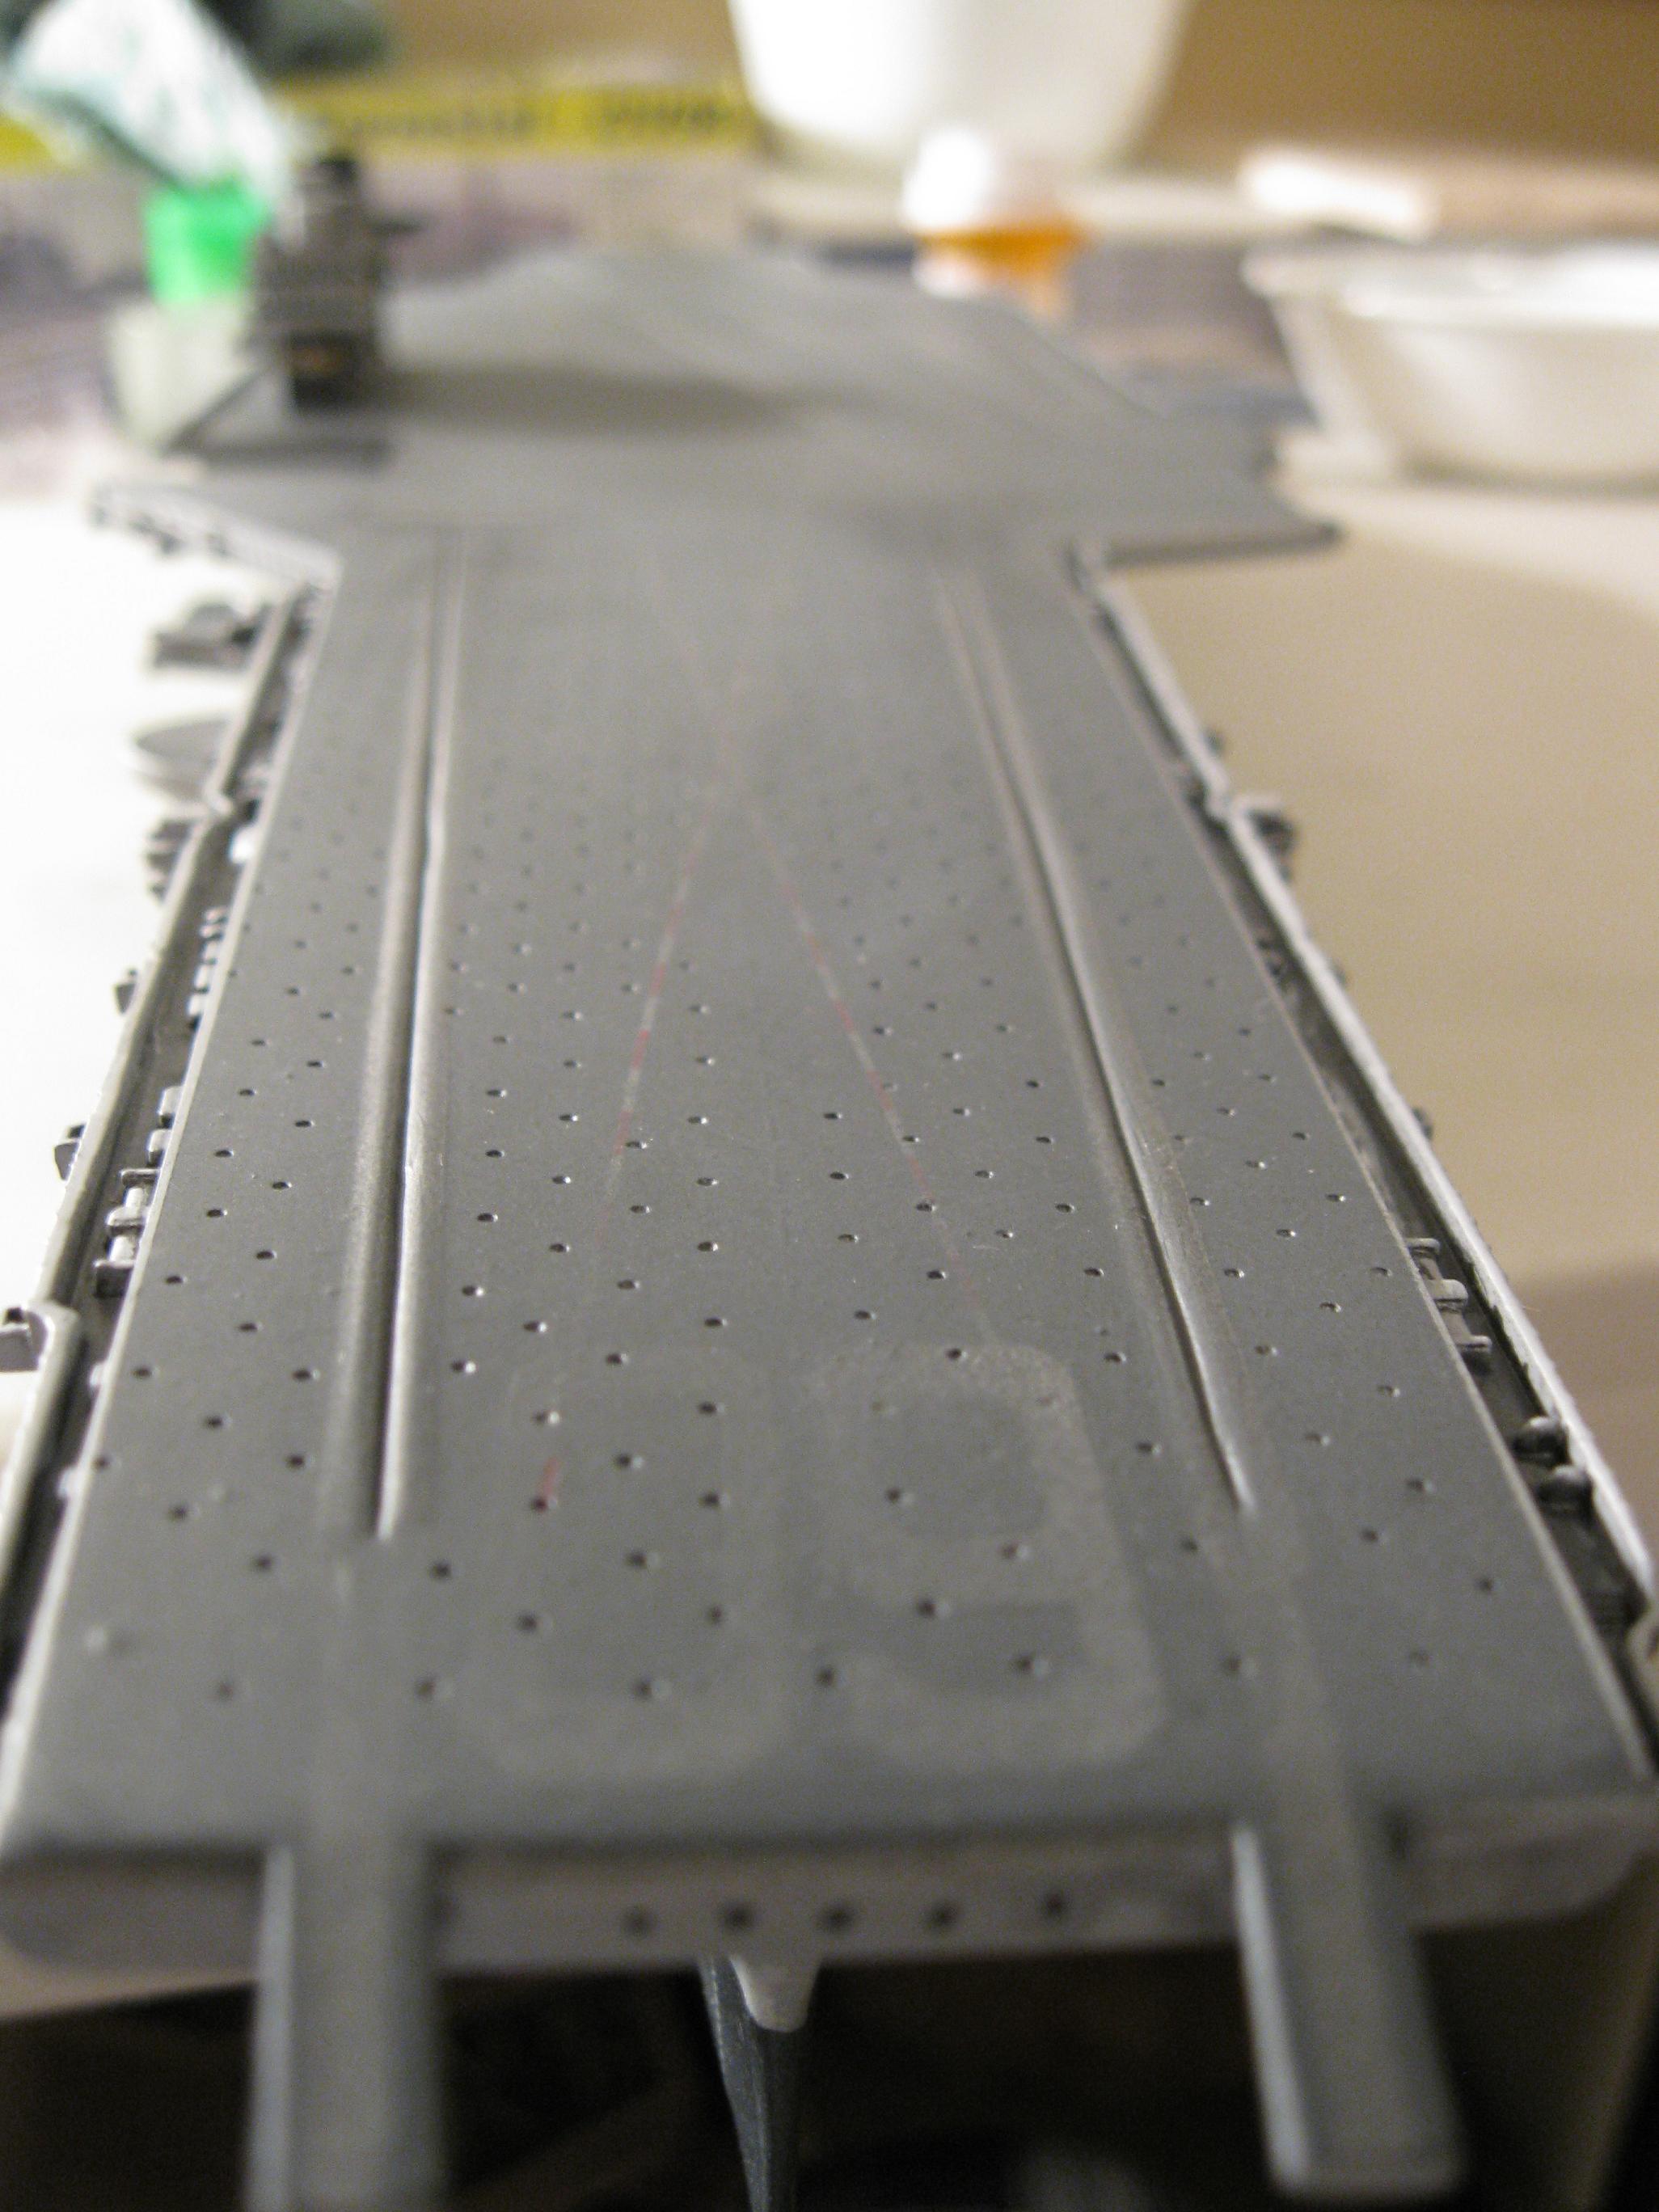
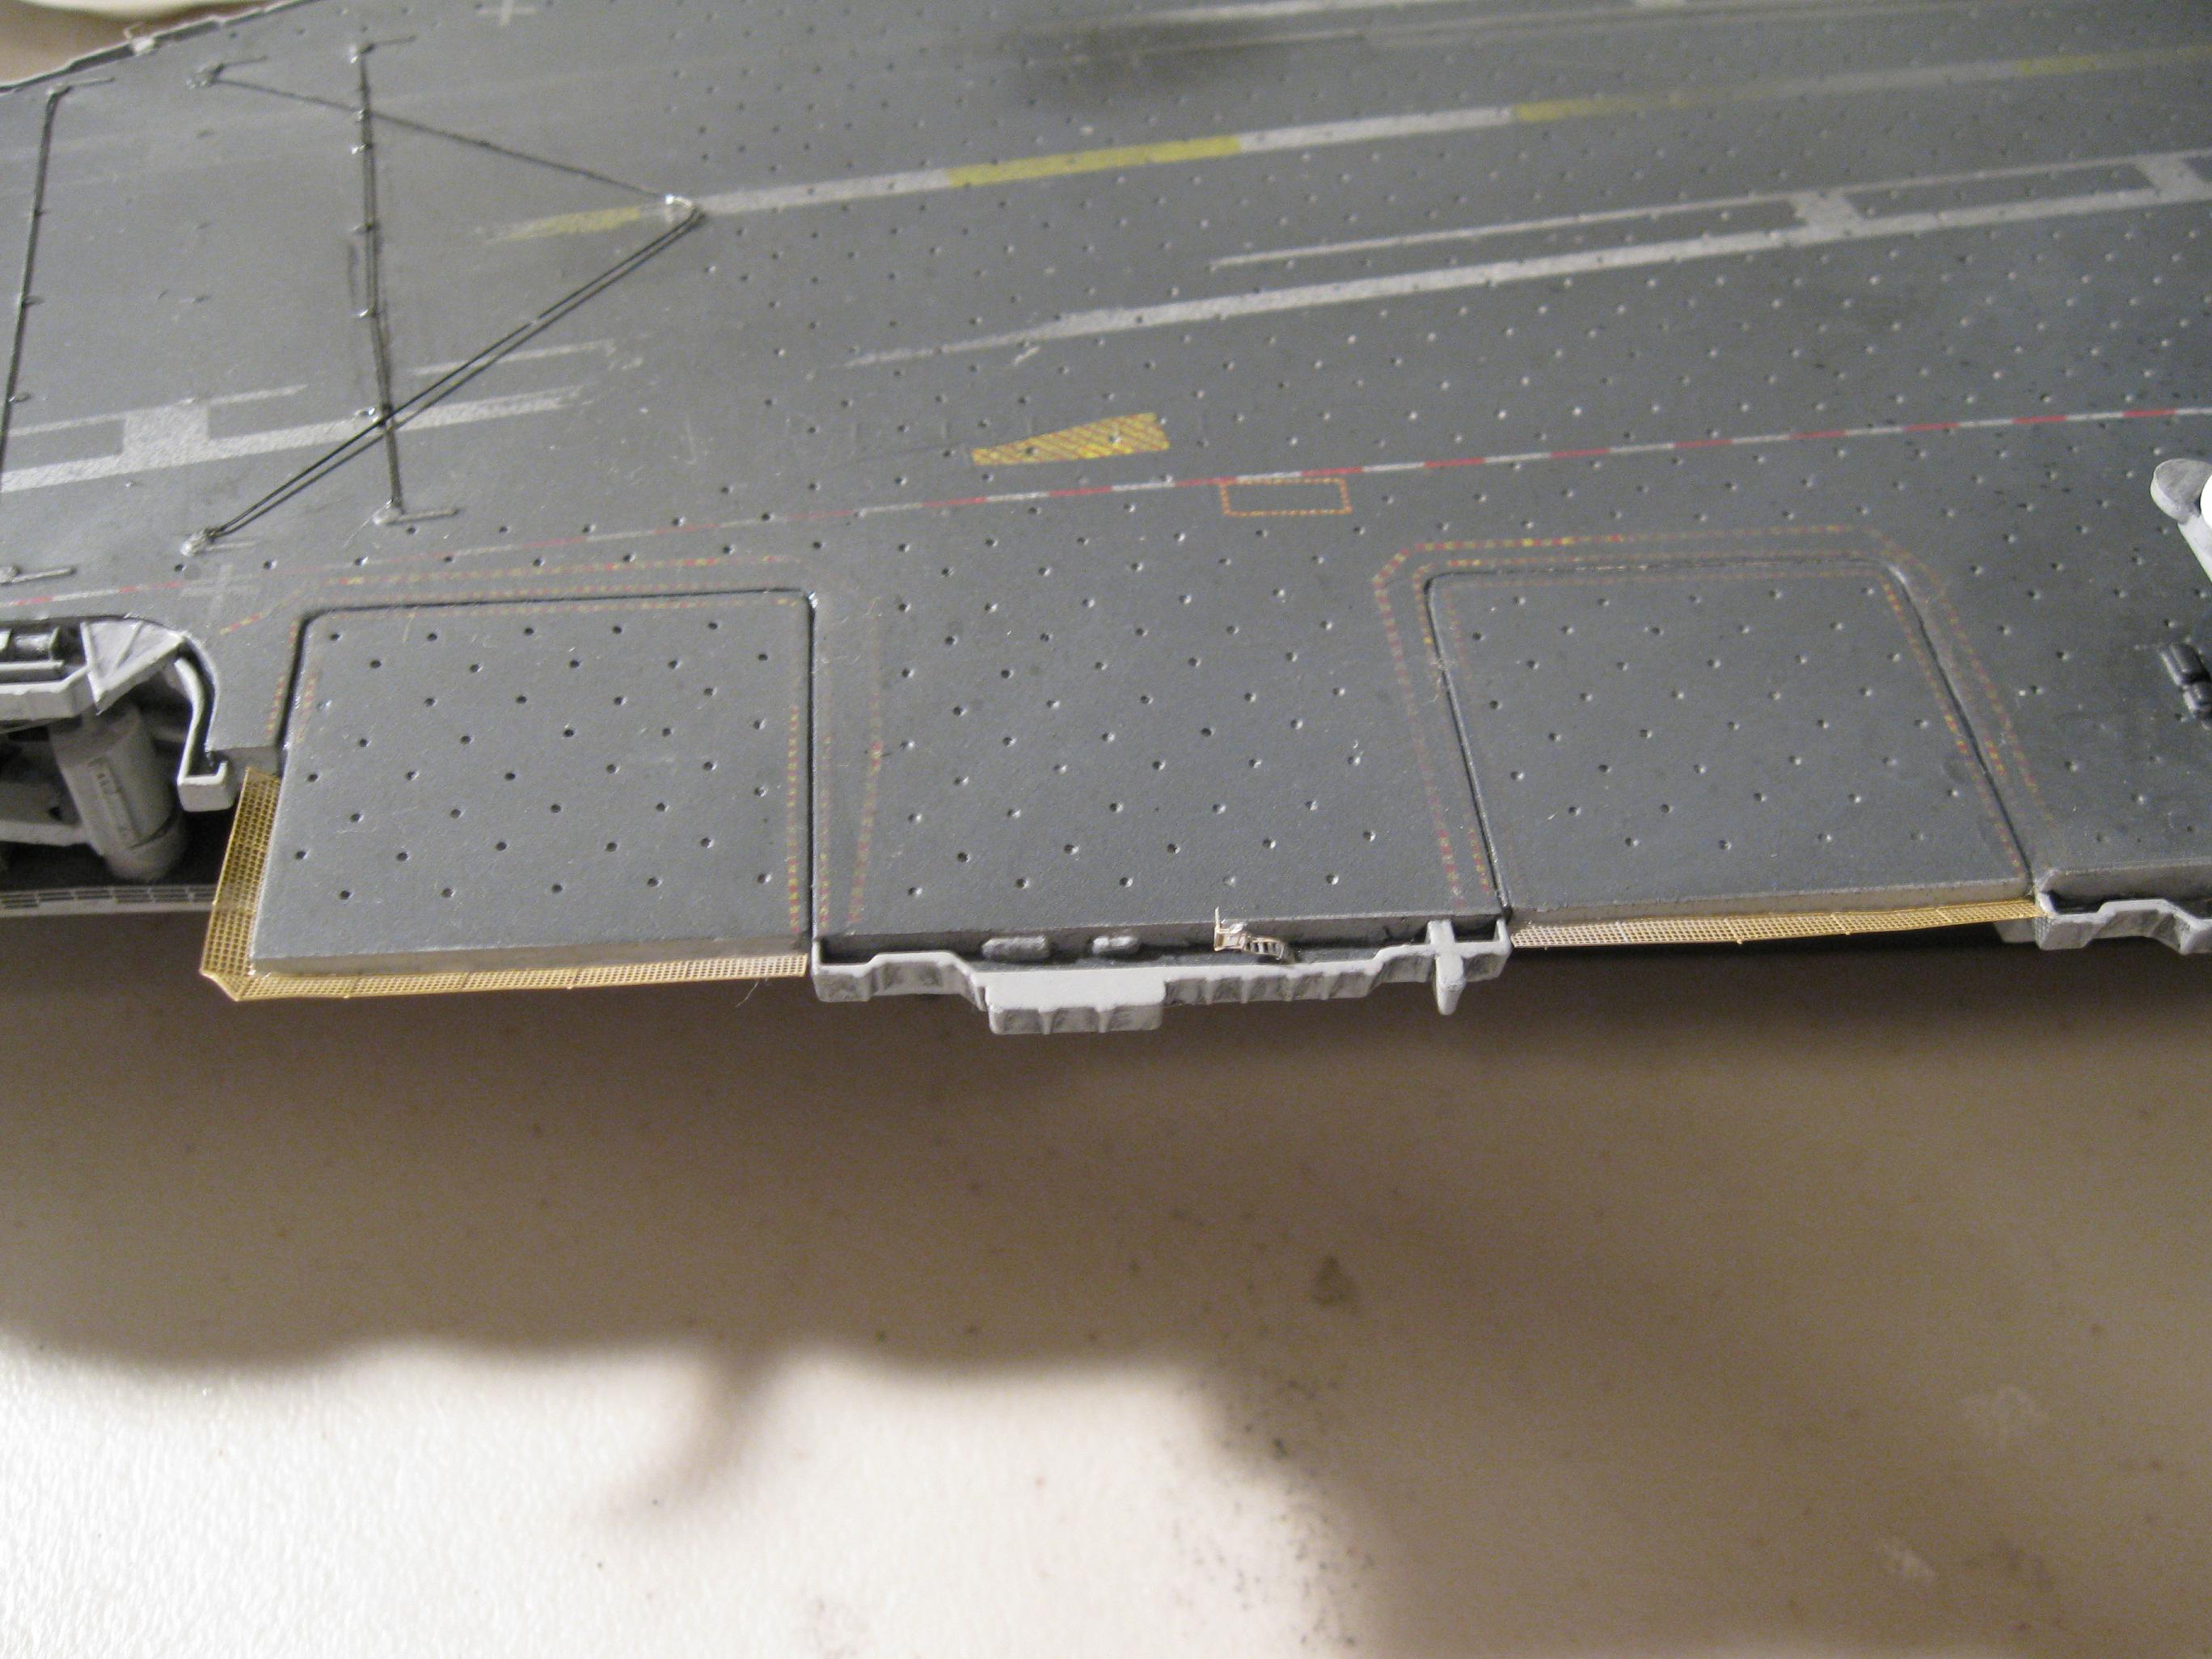
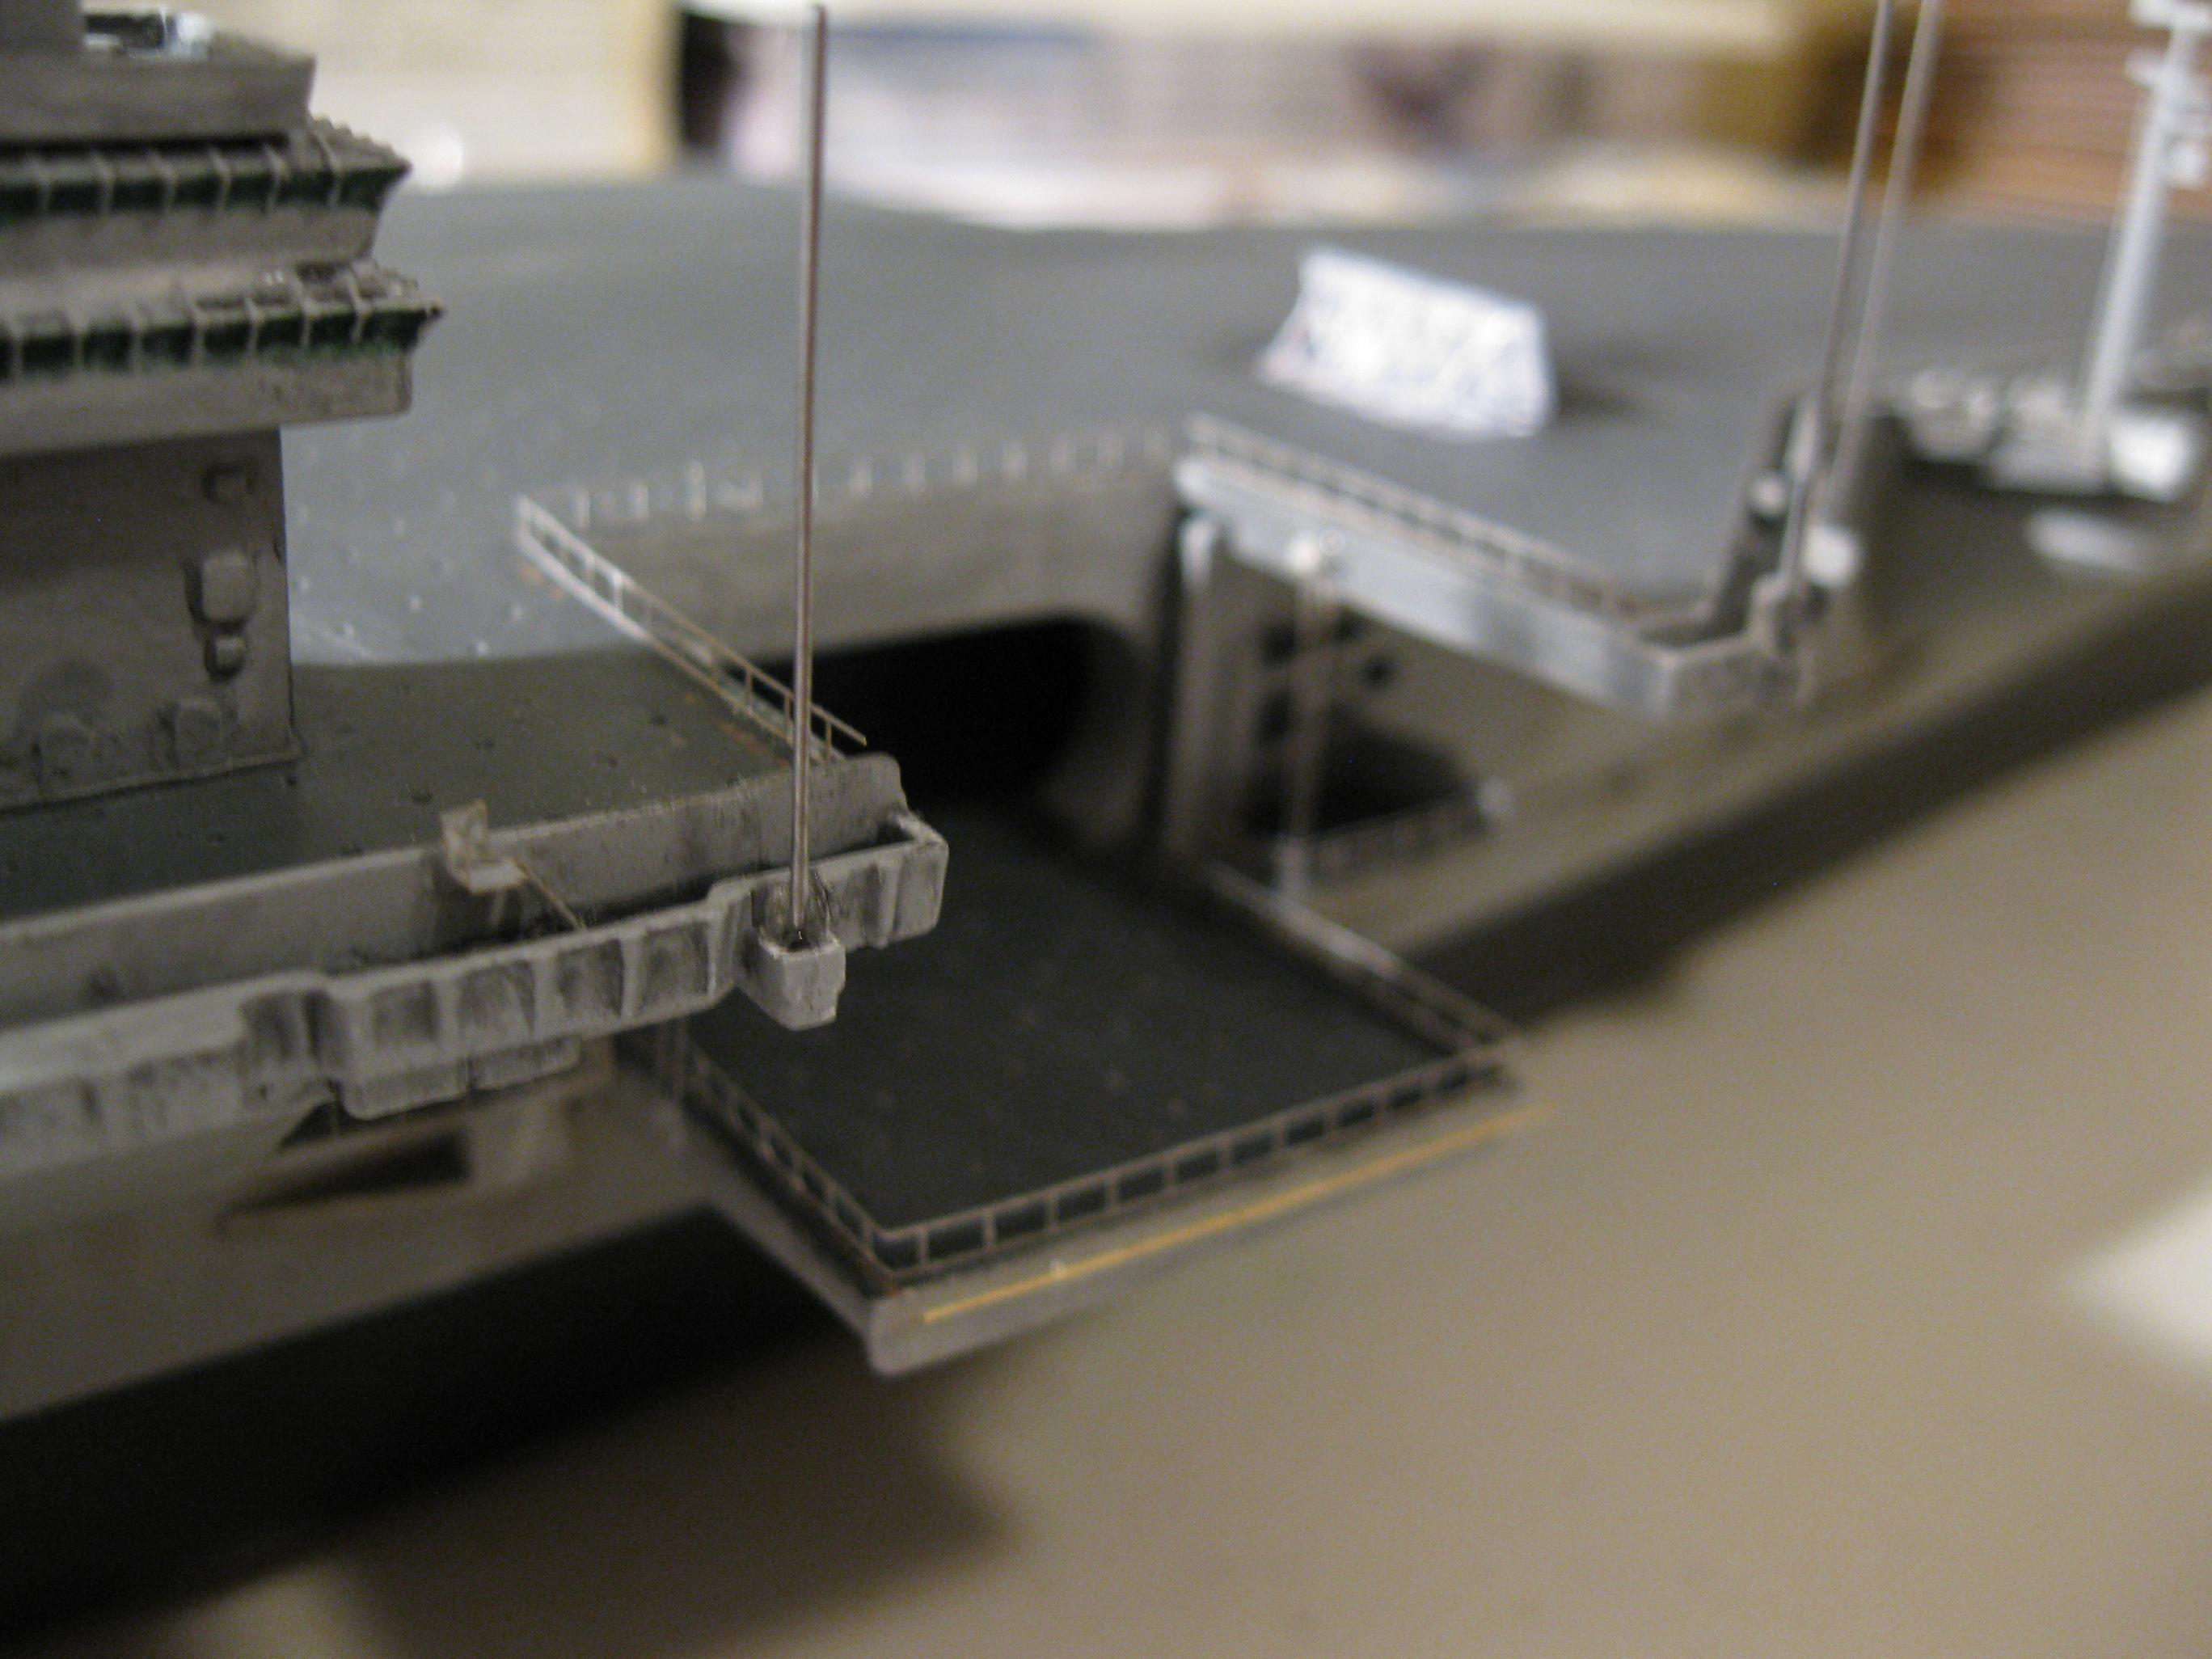
plane can be coming out onto the lowered elevator. Notice
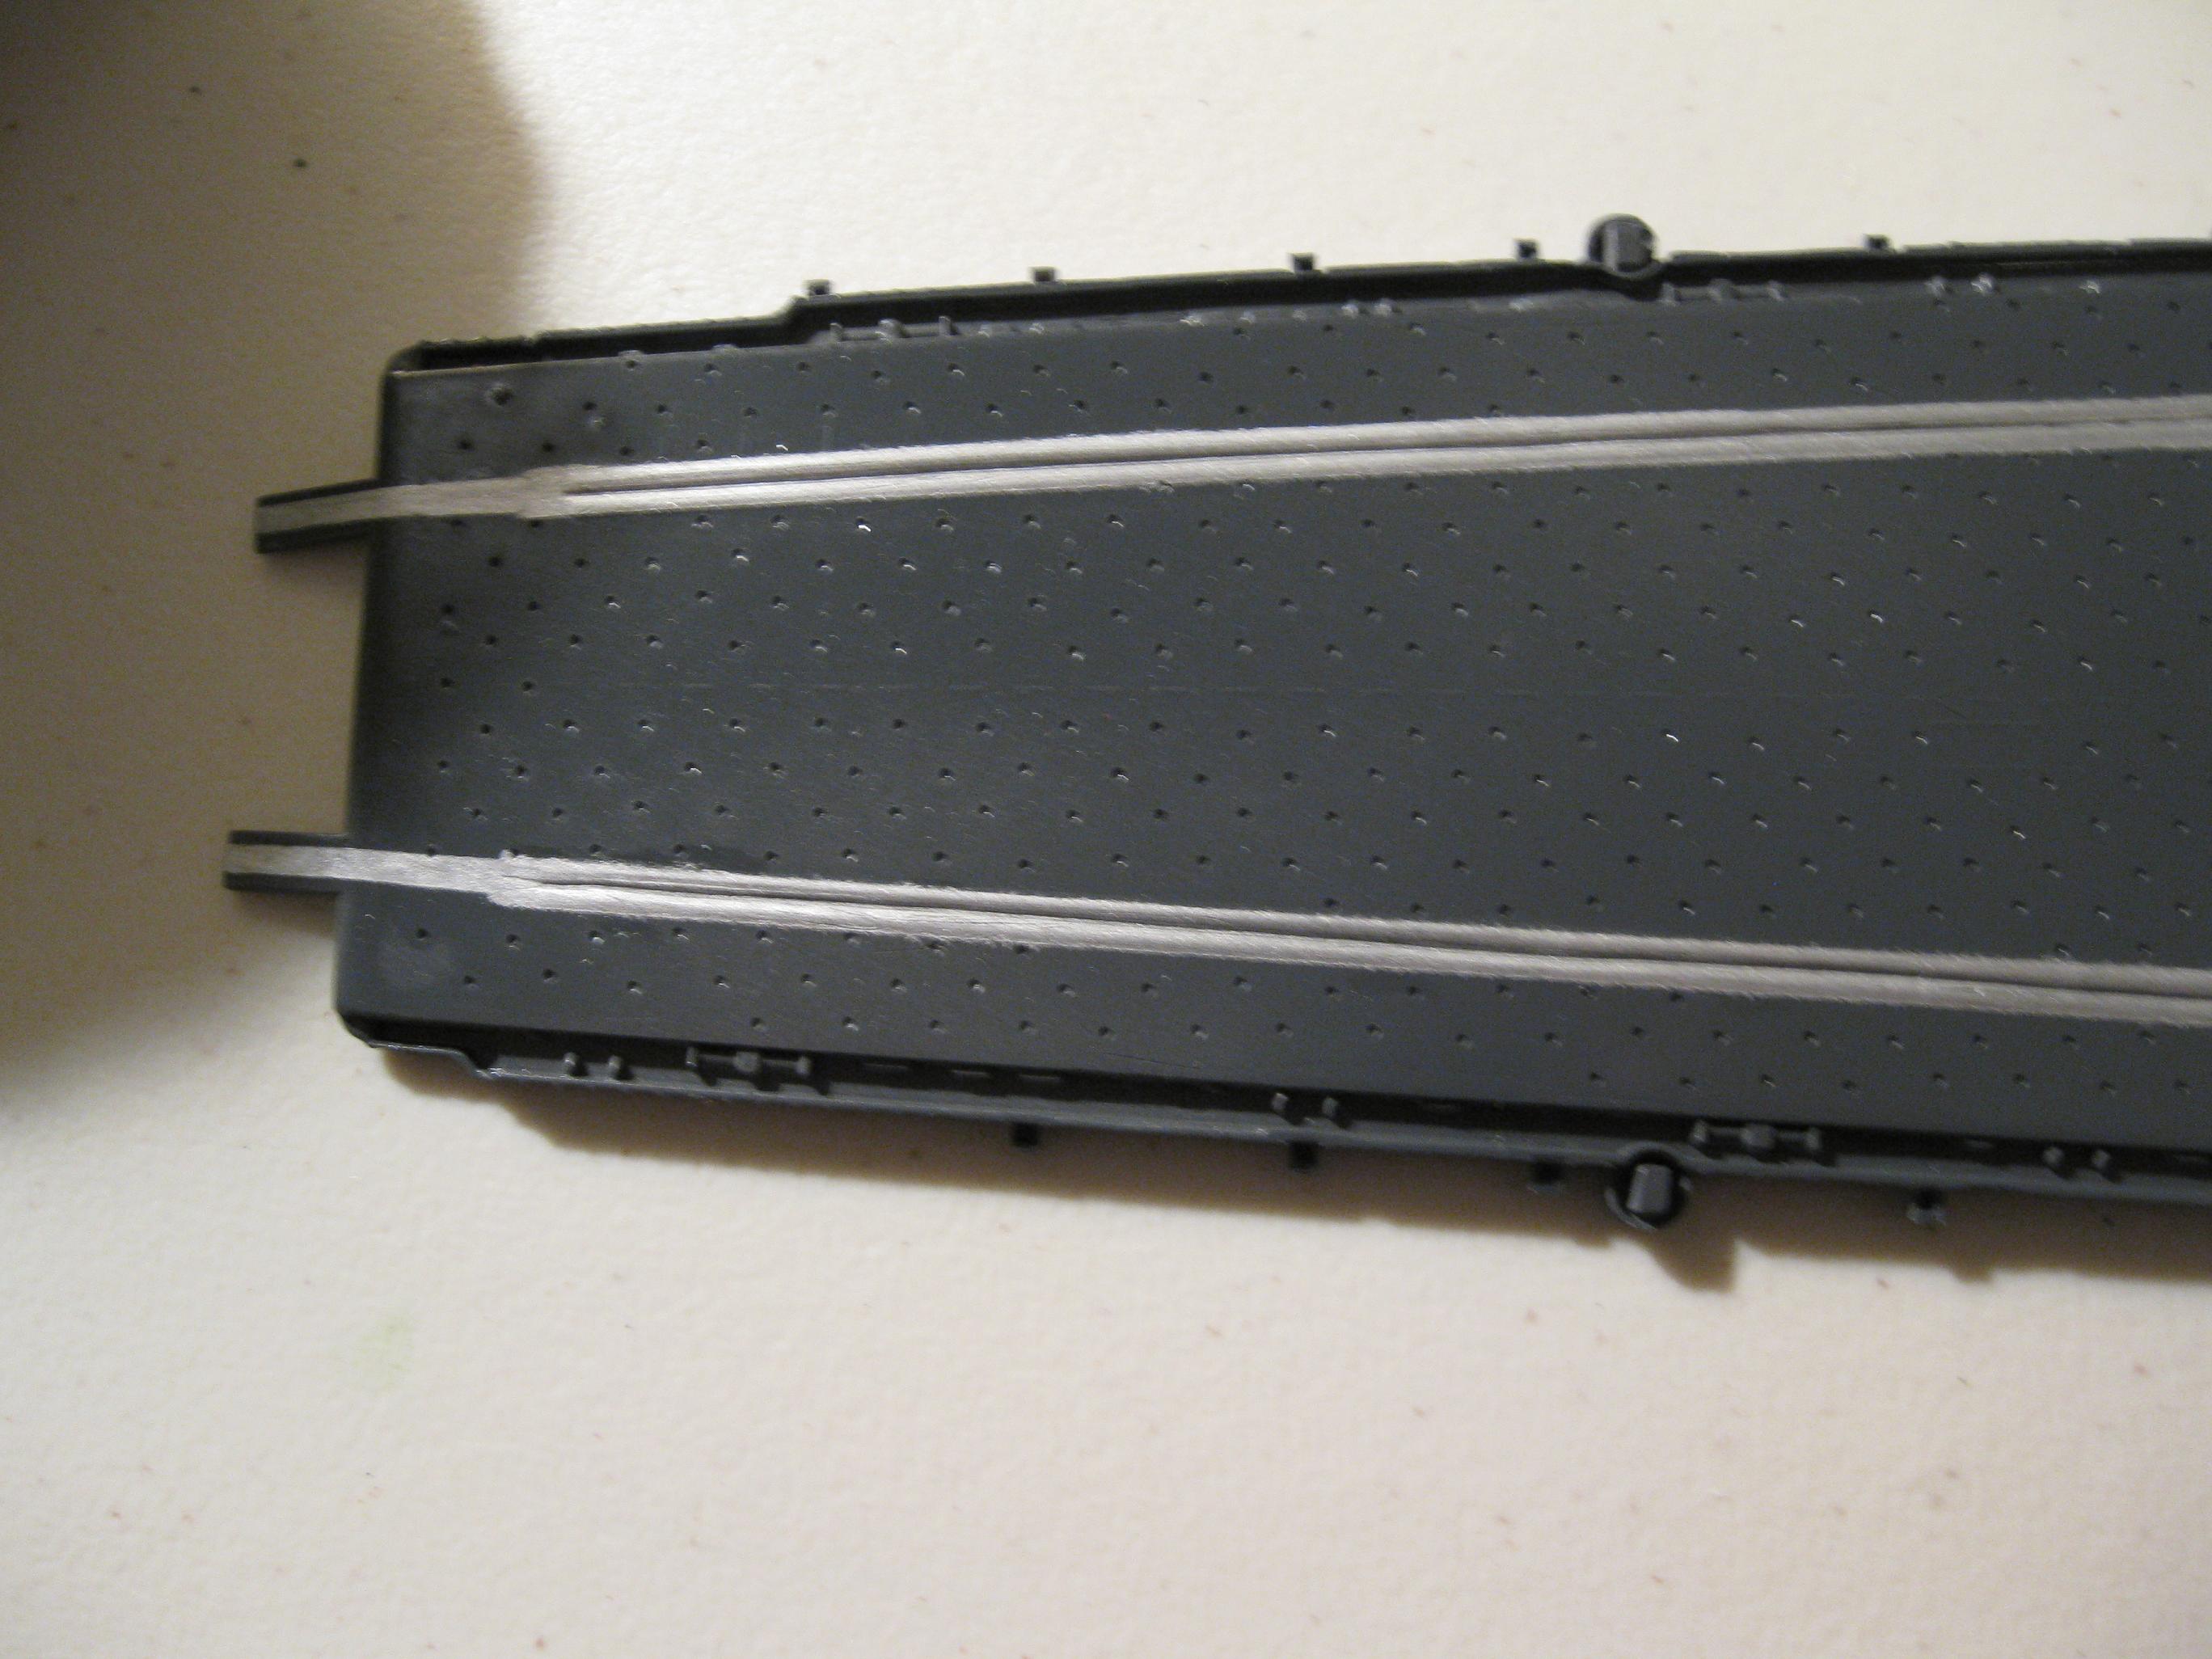
in some pictures the molded rails are trimmed off to accommodate
the PE rails. I decided that even without the PE removing
the rails looks more realistic than with them. From a
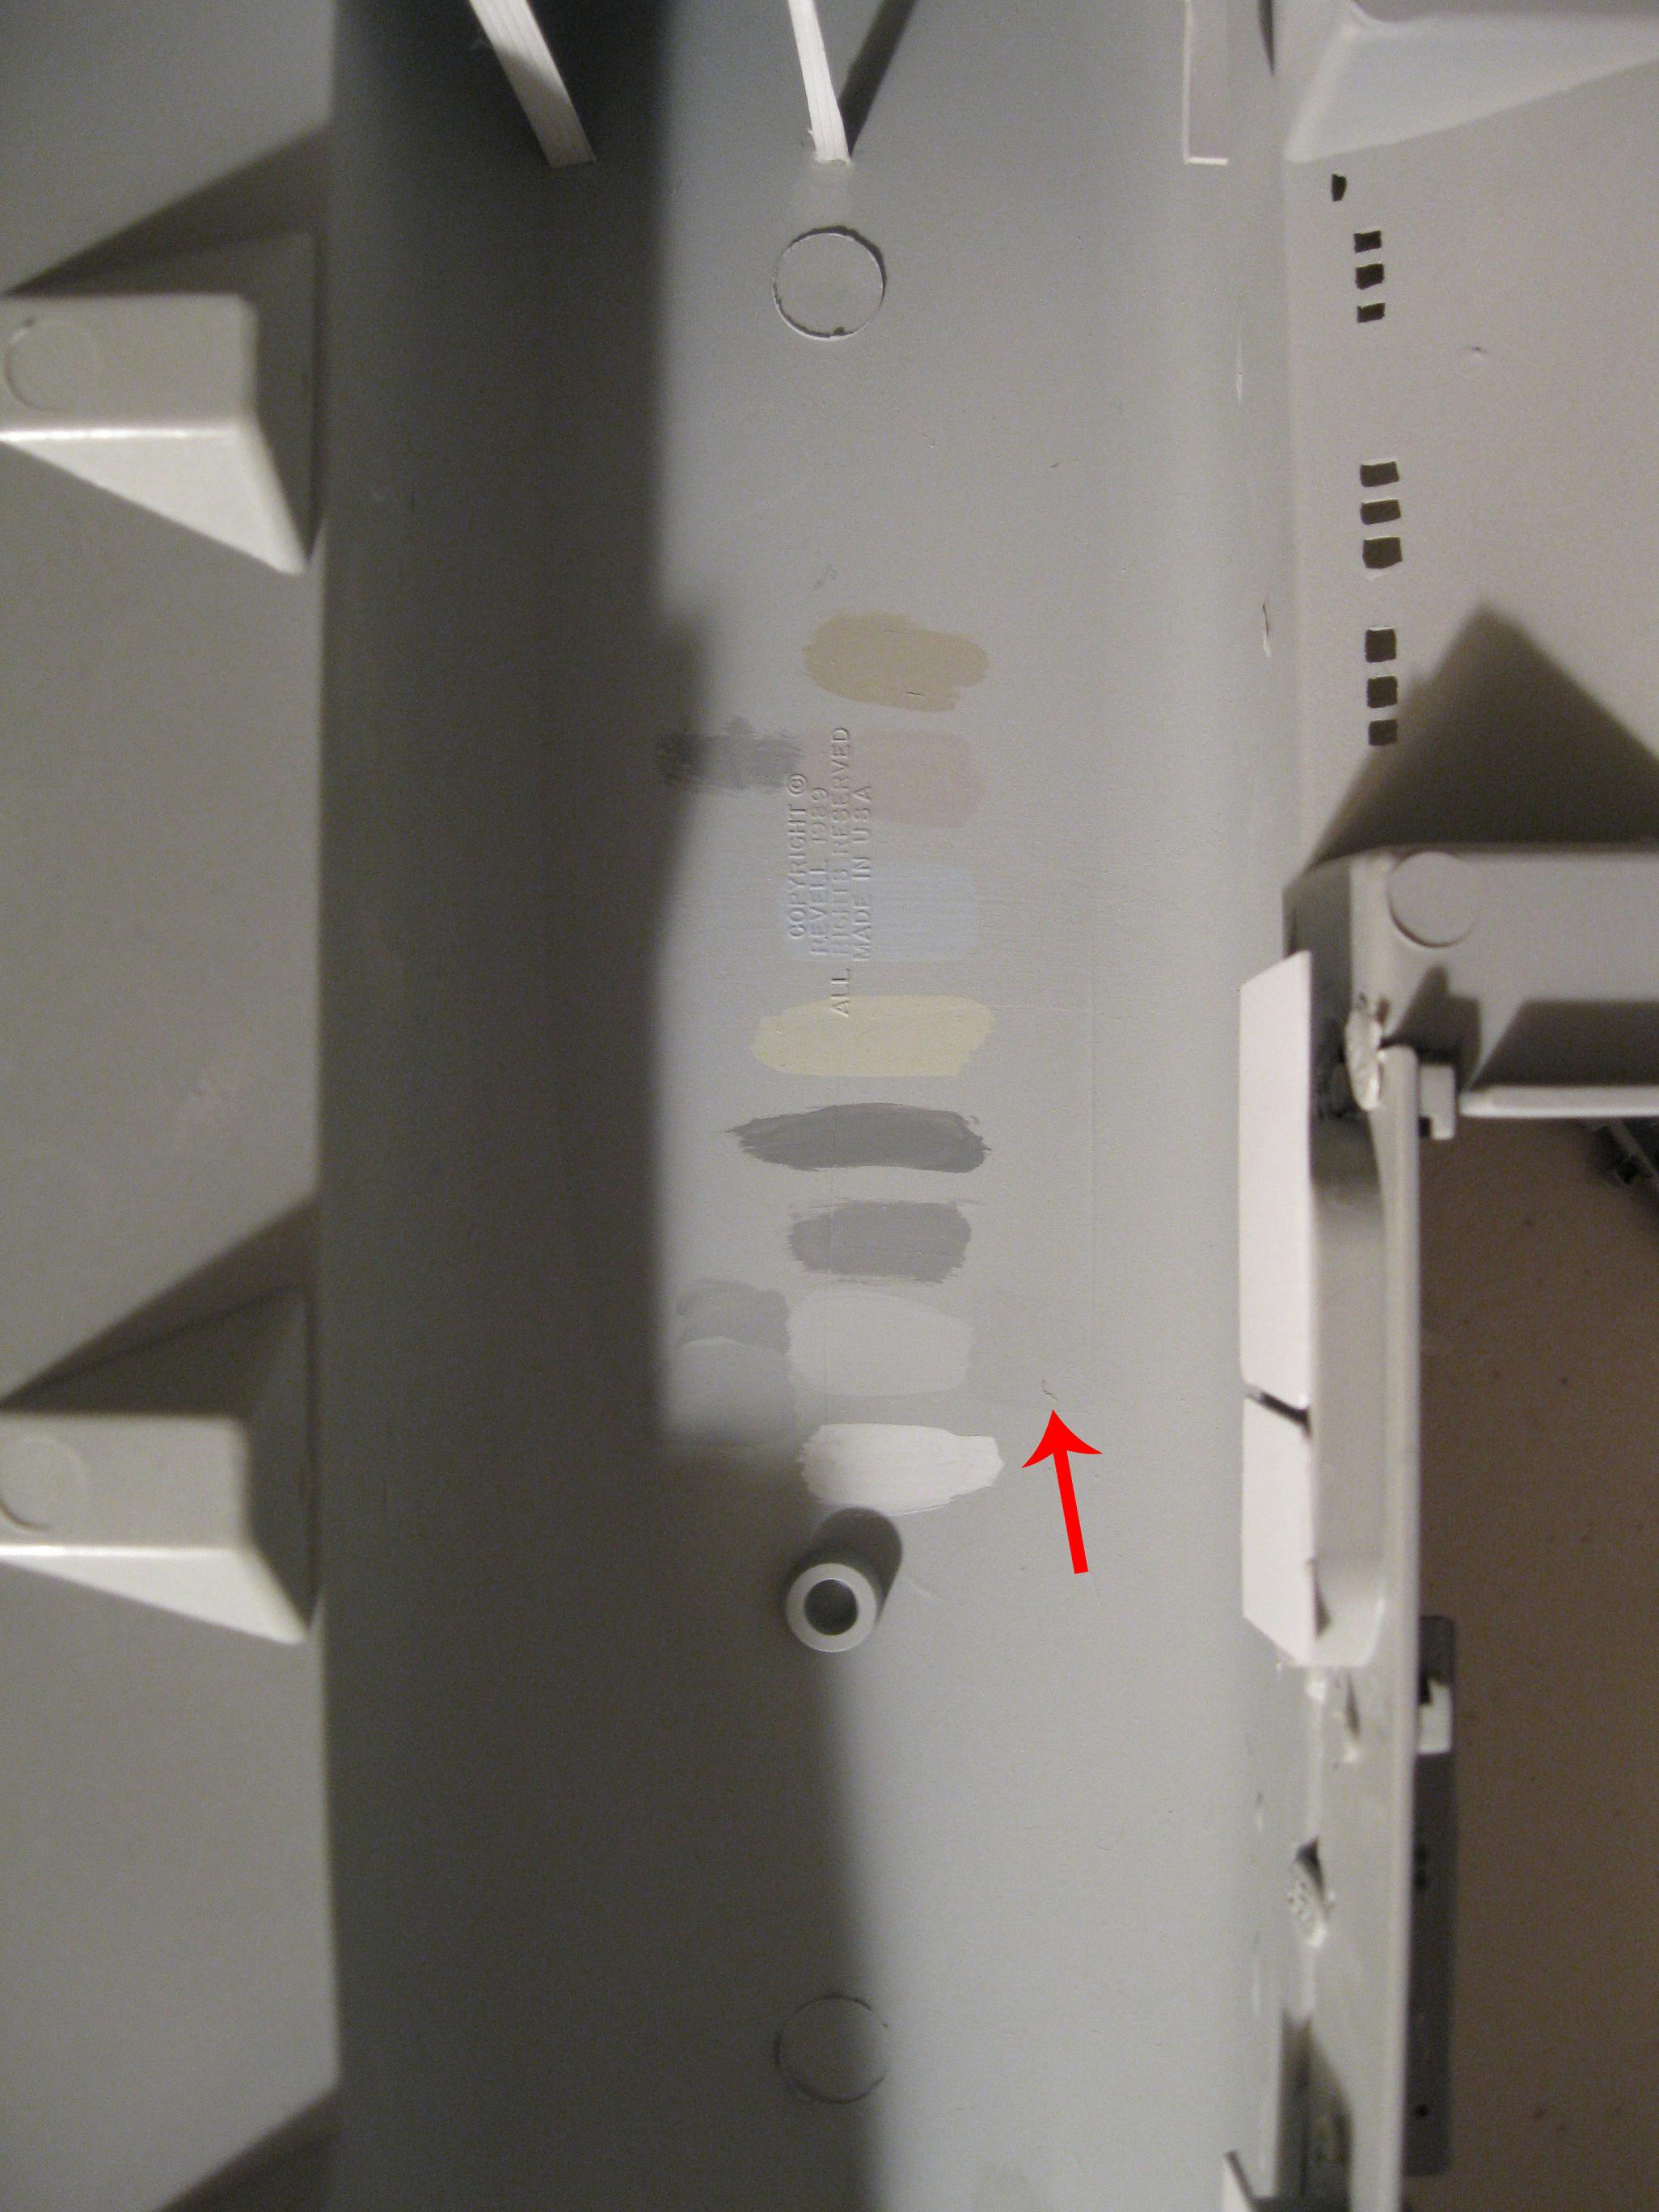
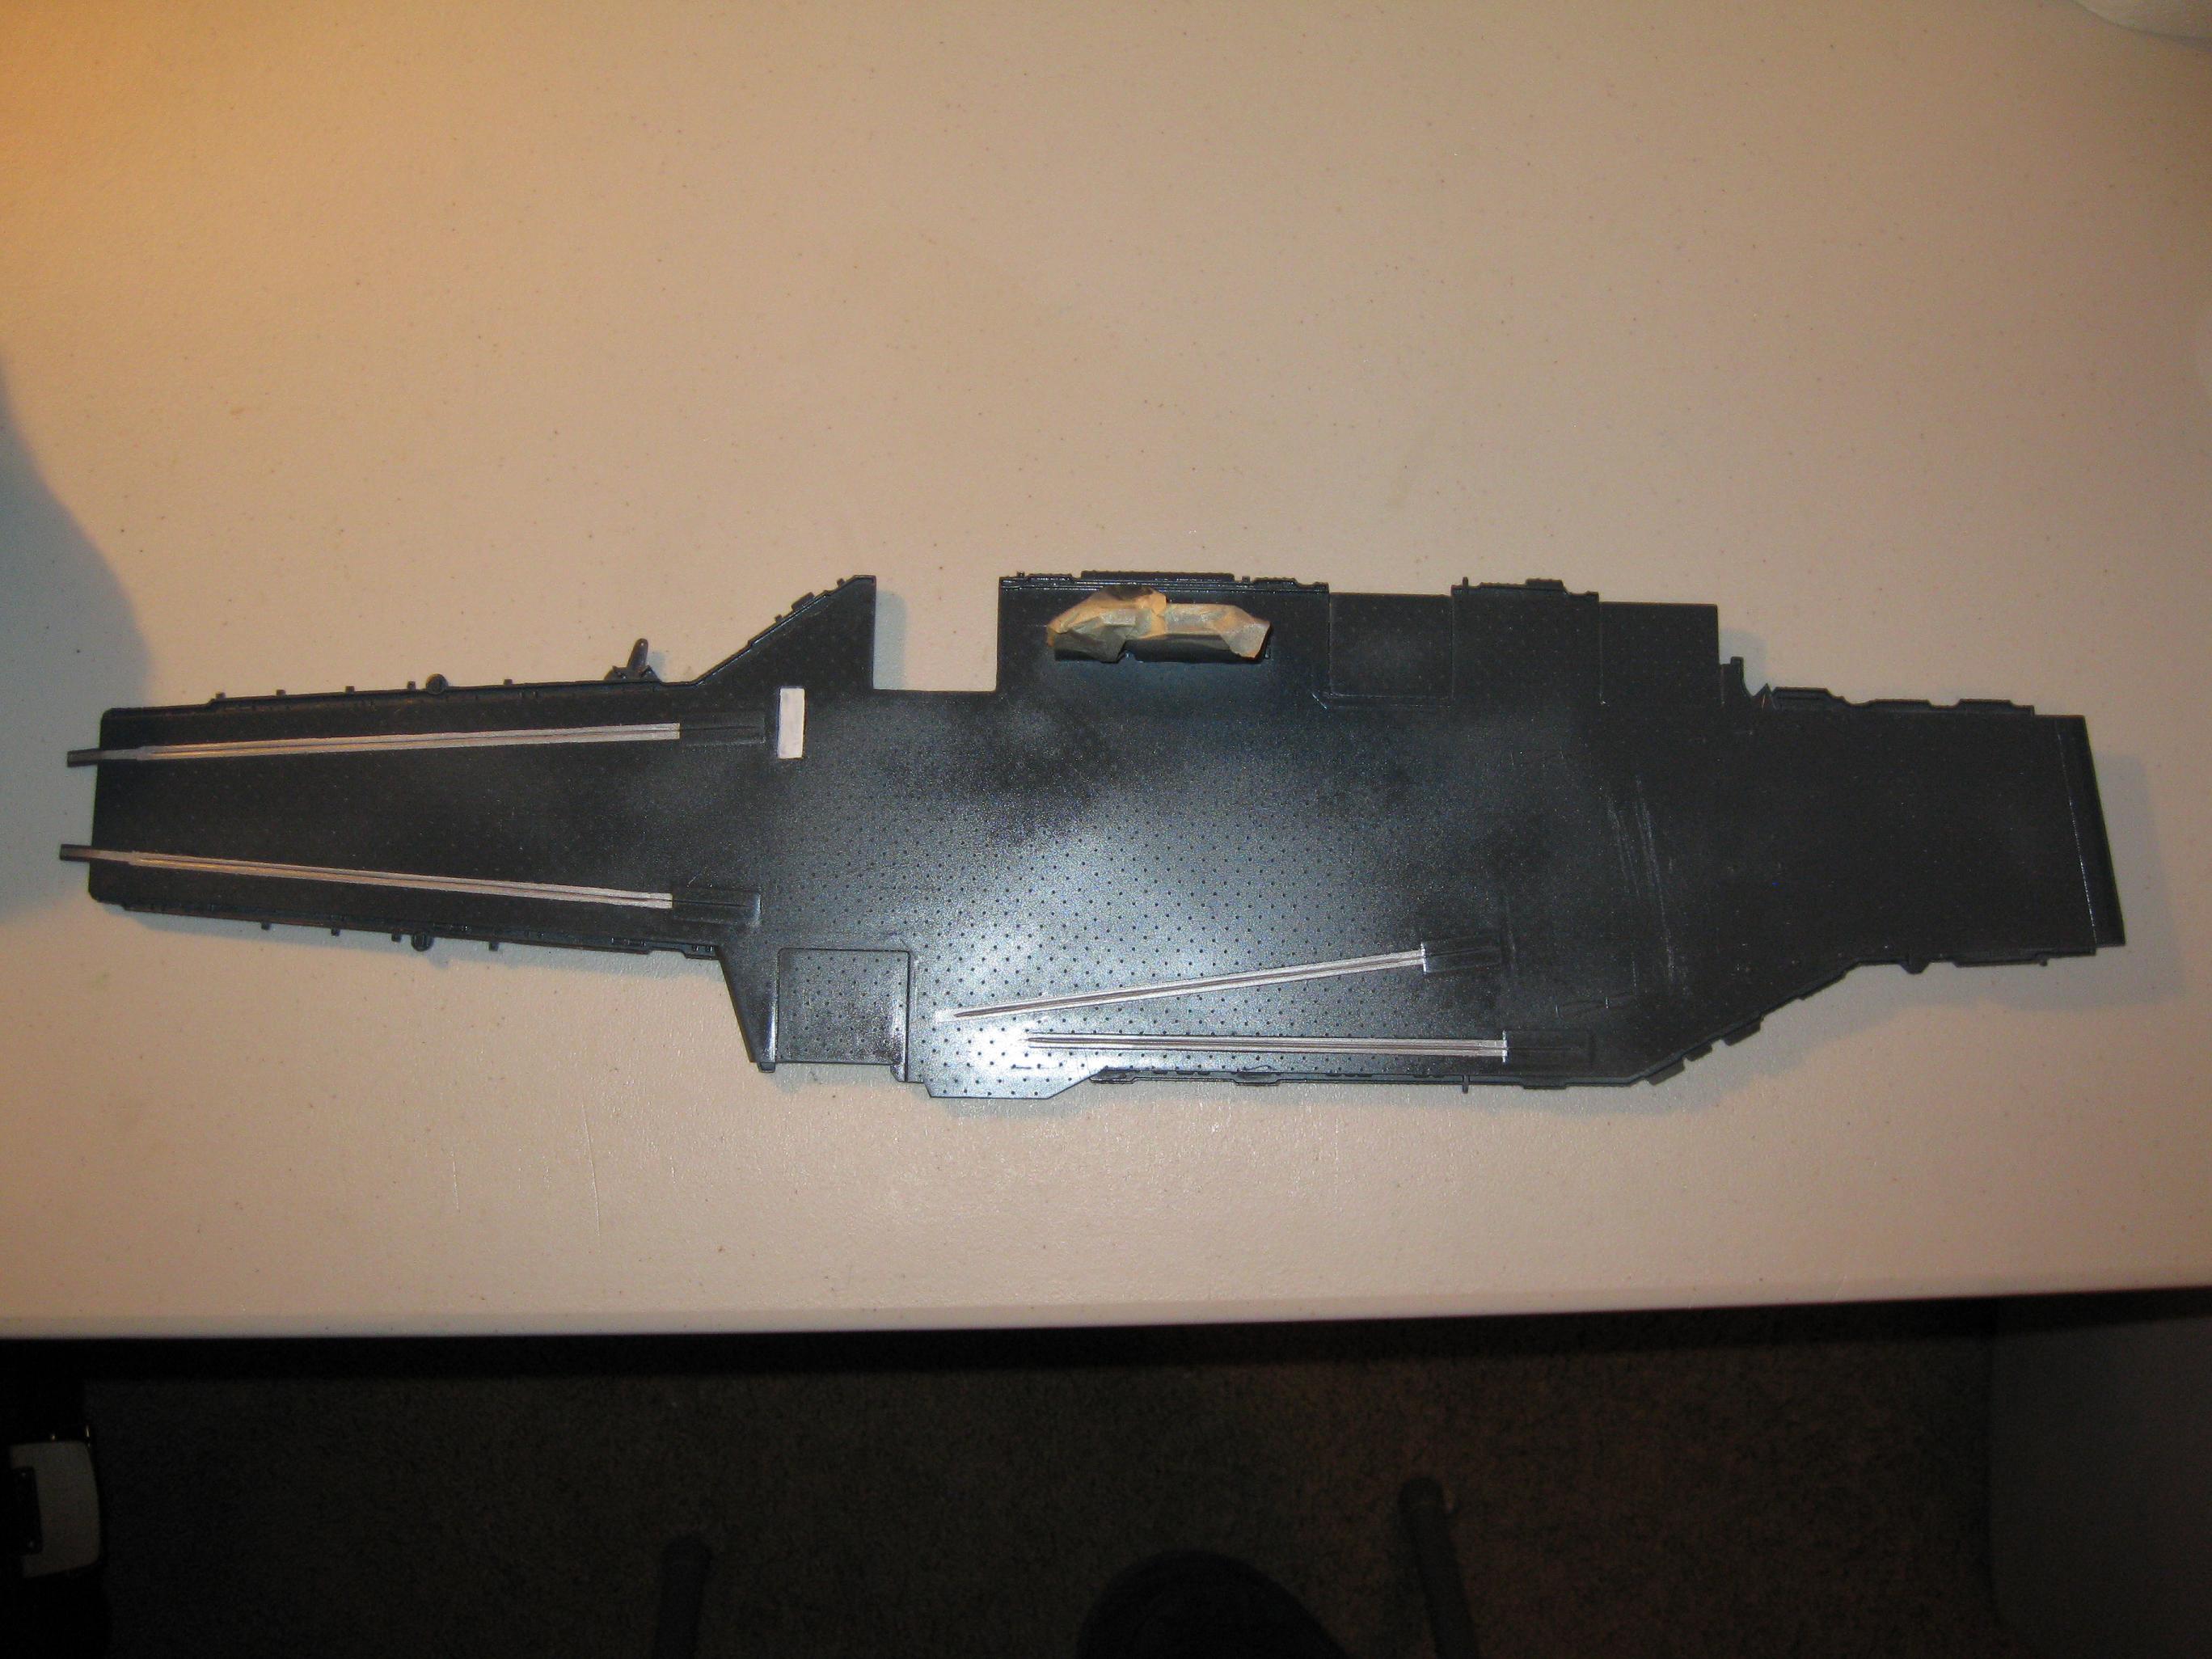
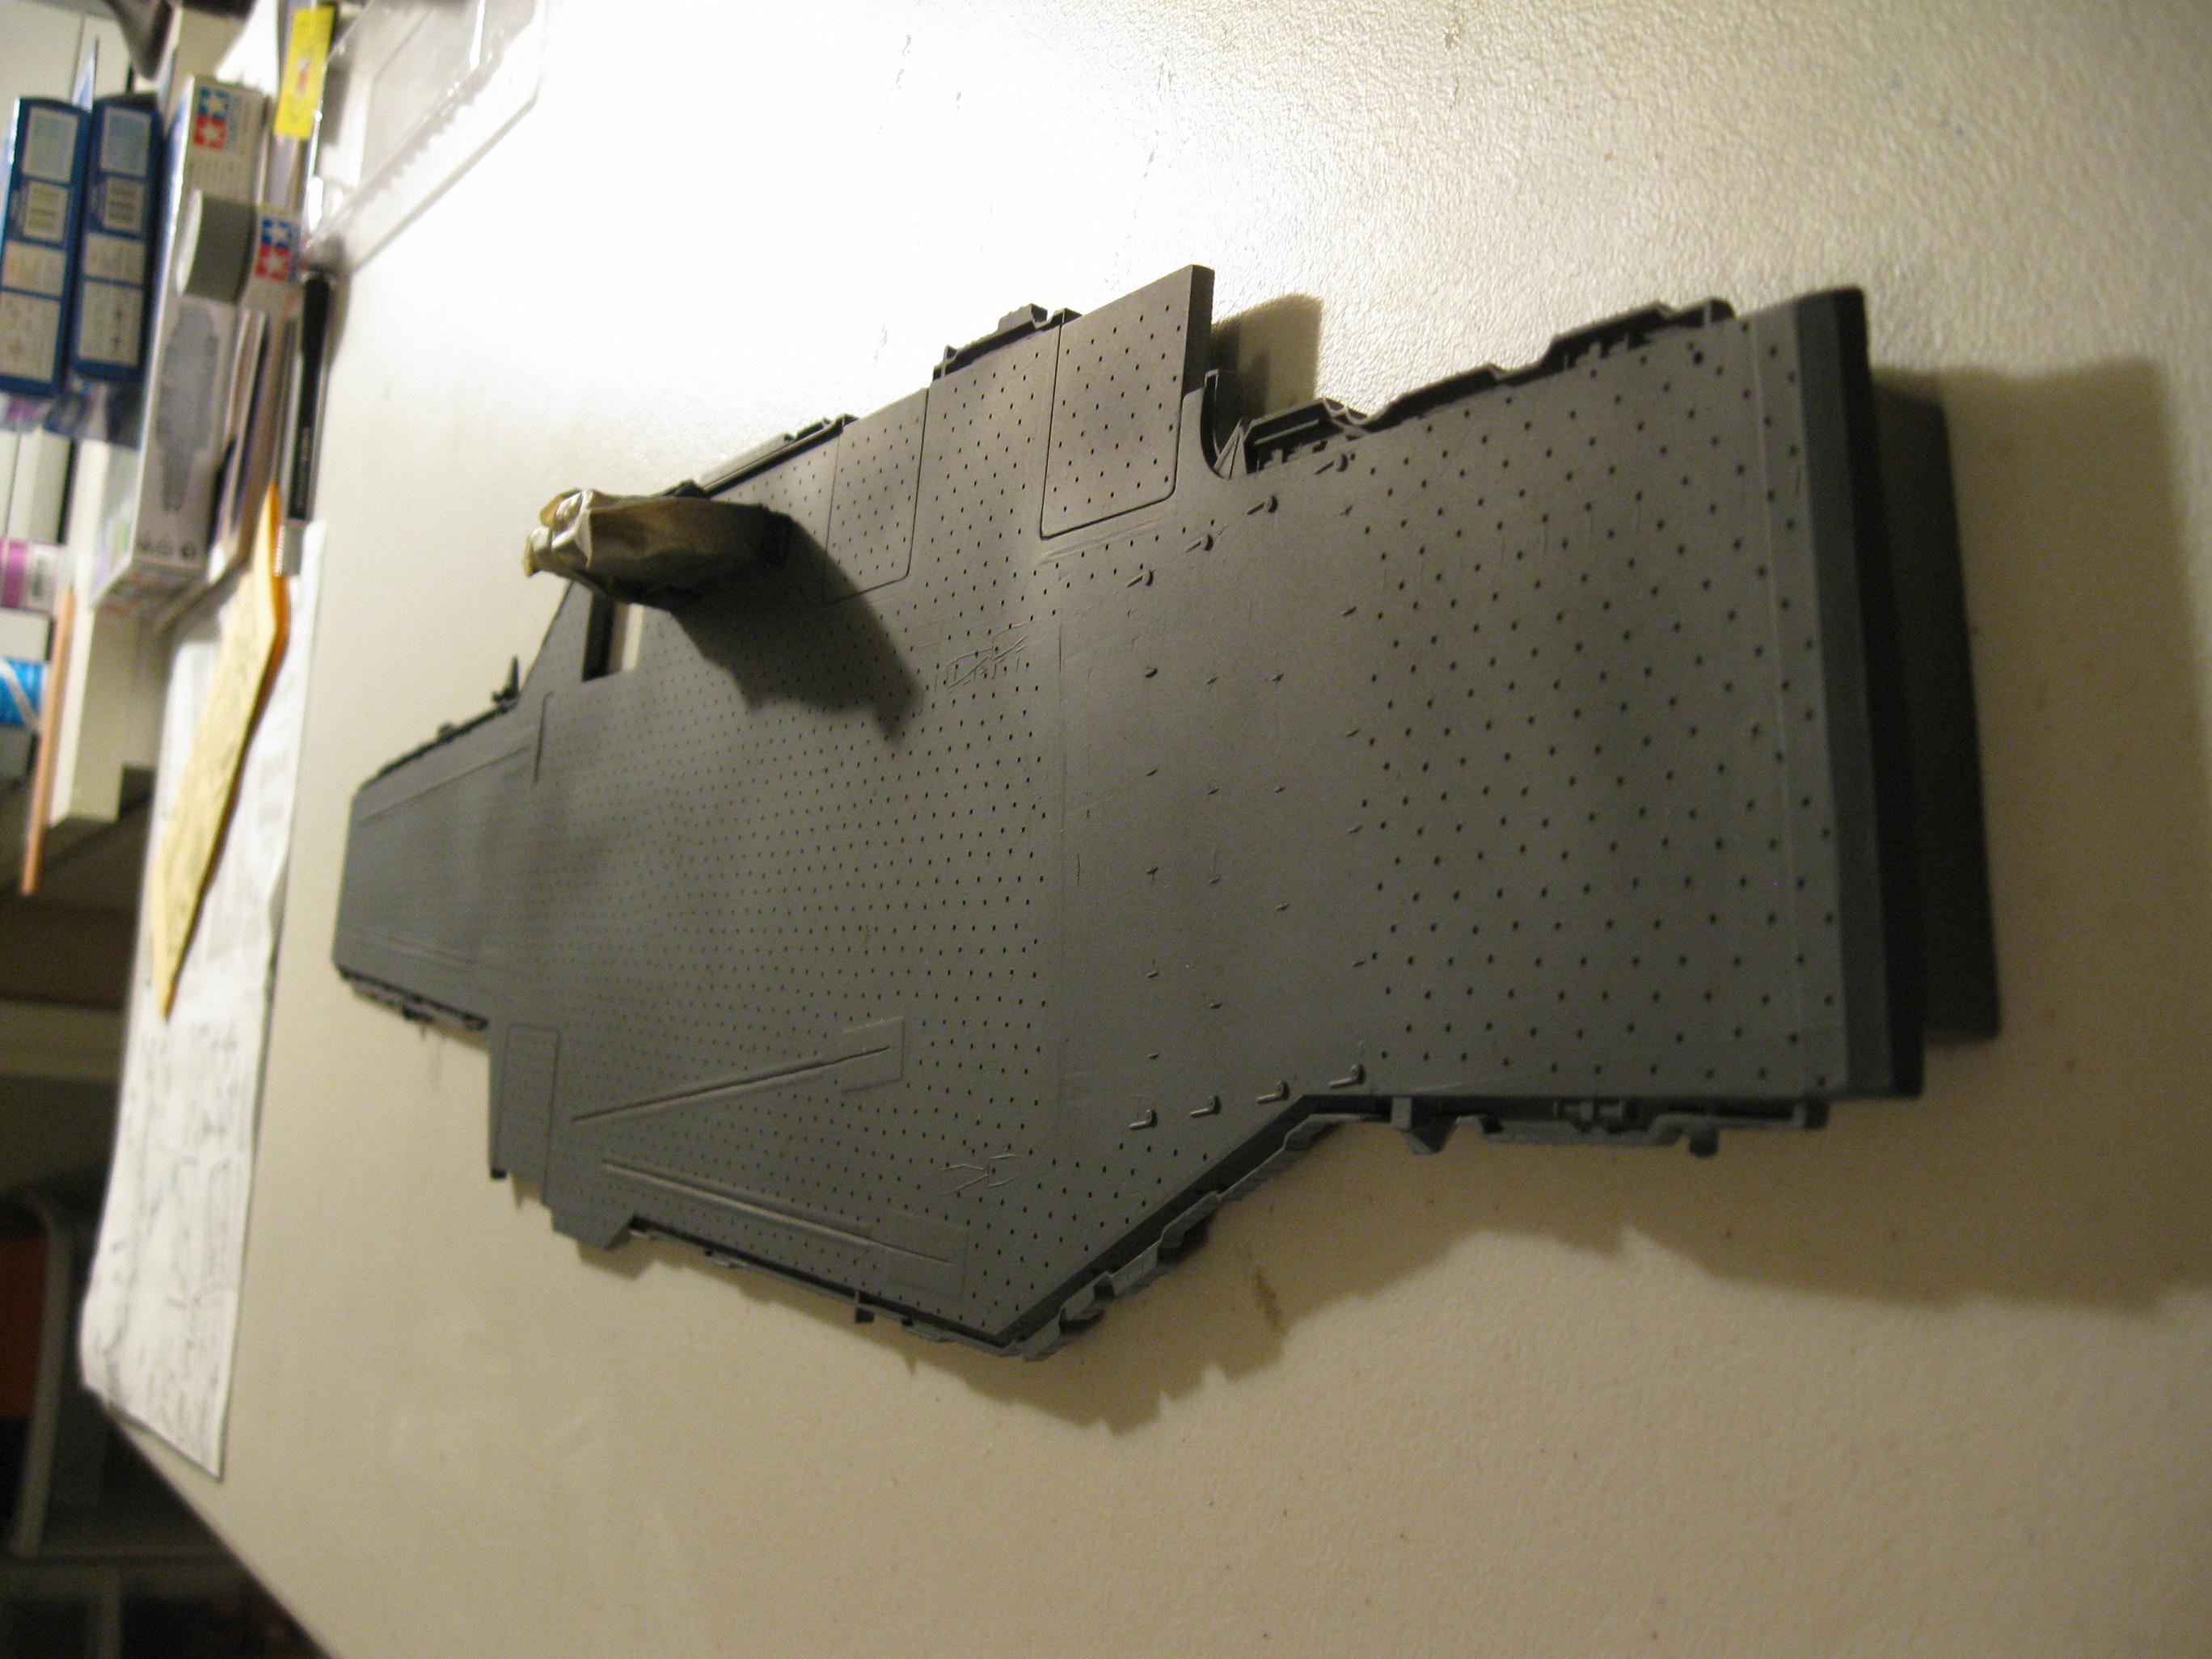
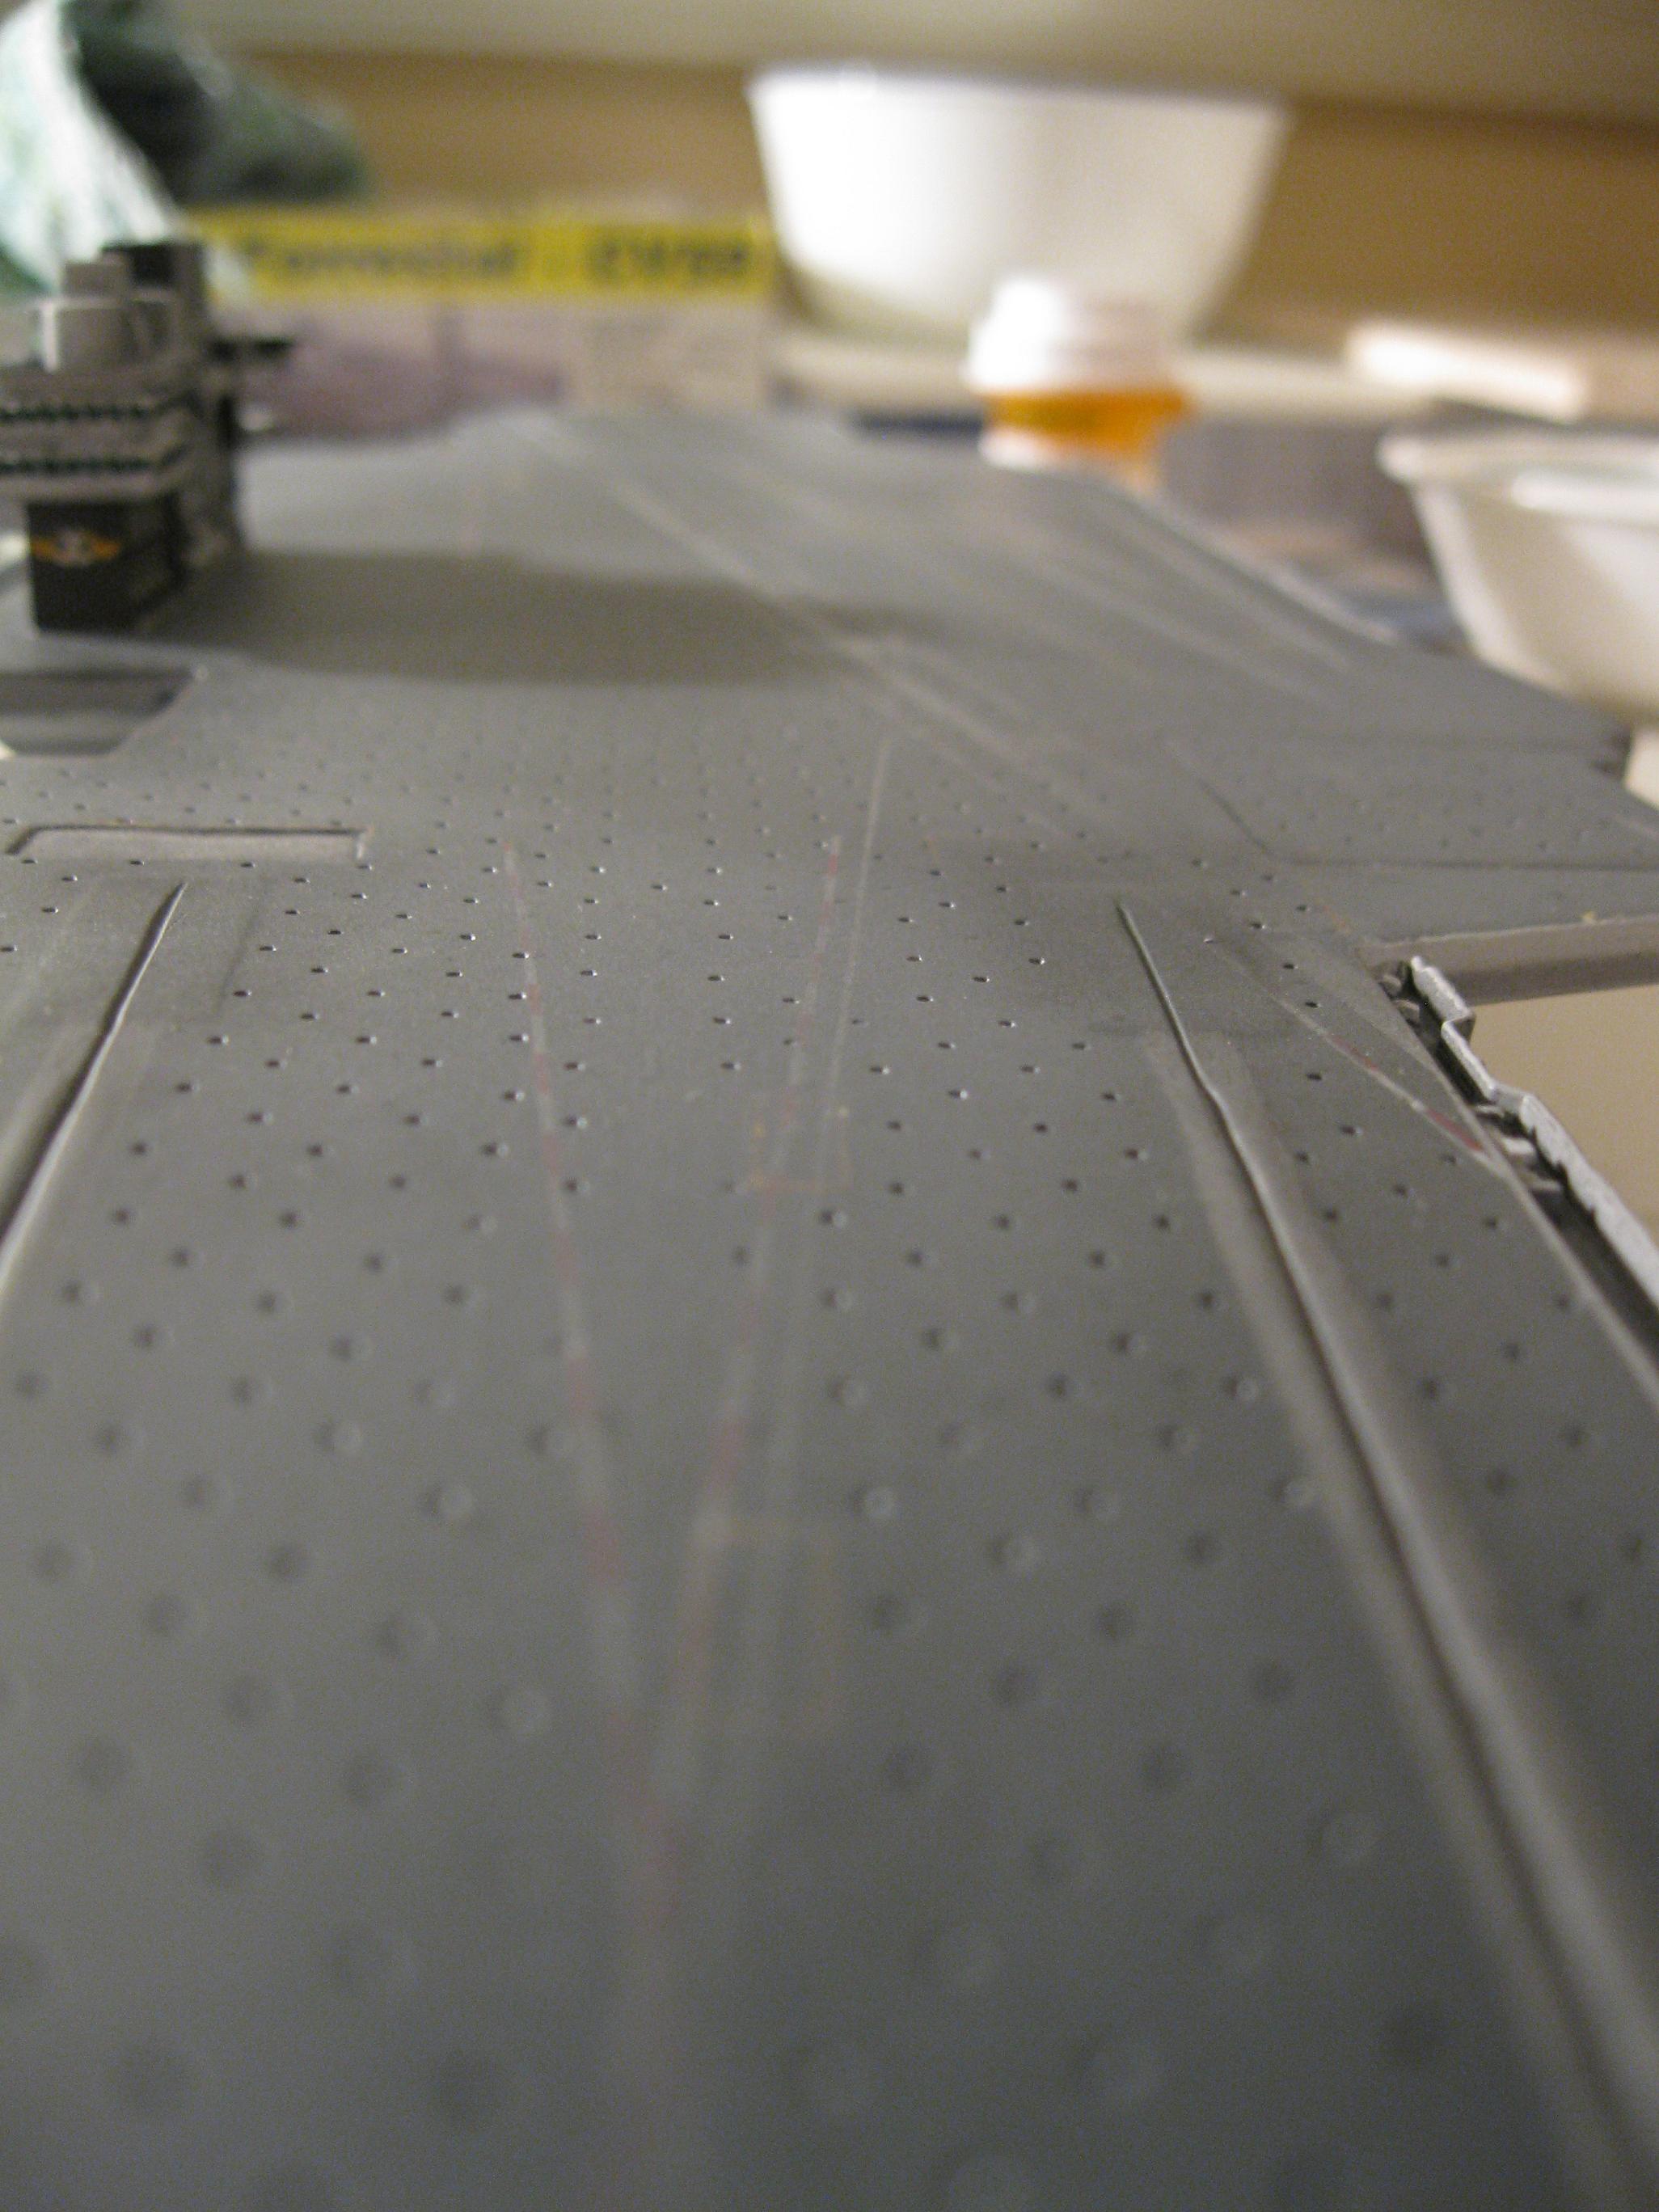
scale distance you cant see the rails anyway. Selecting proper
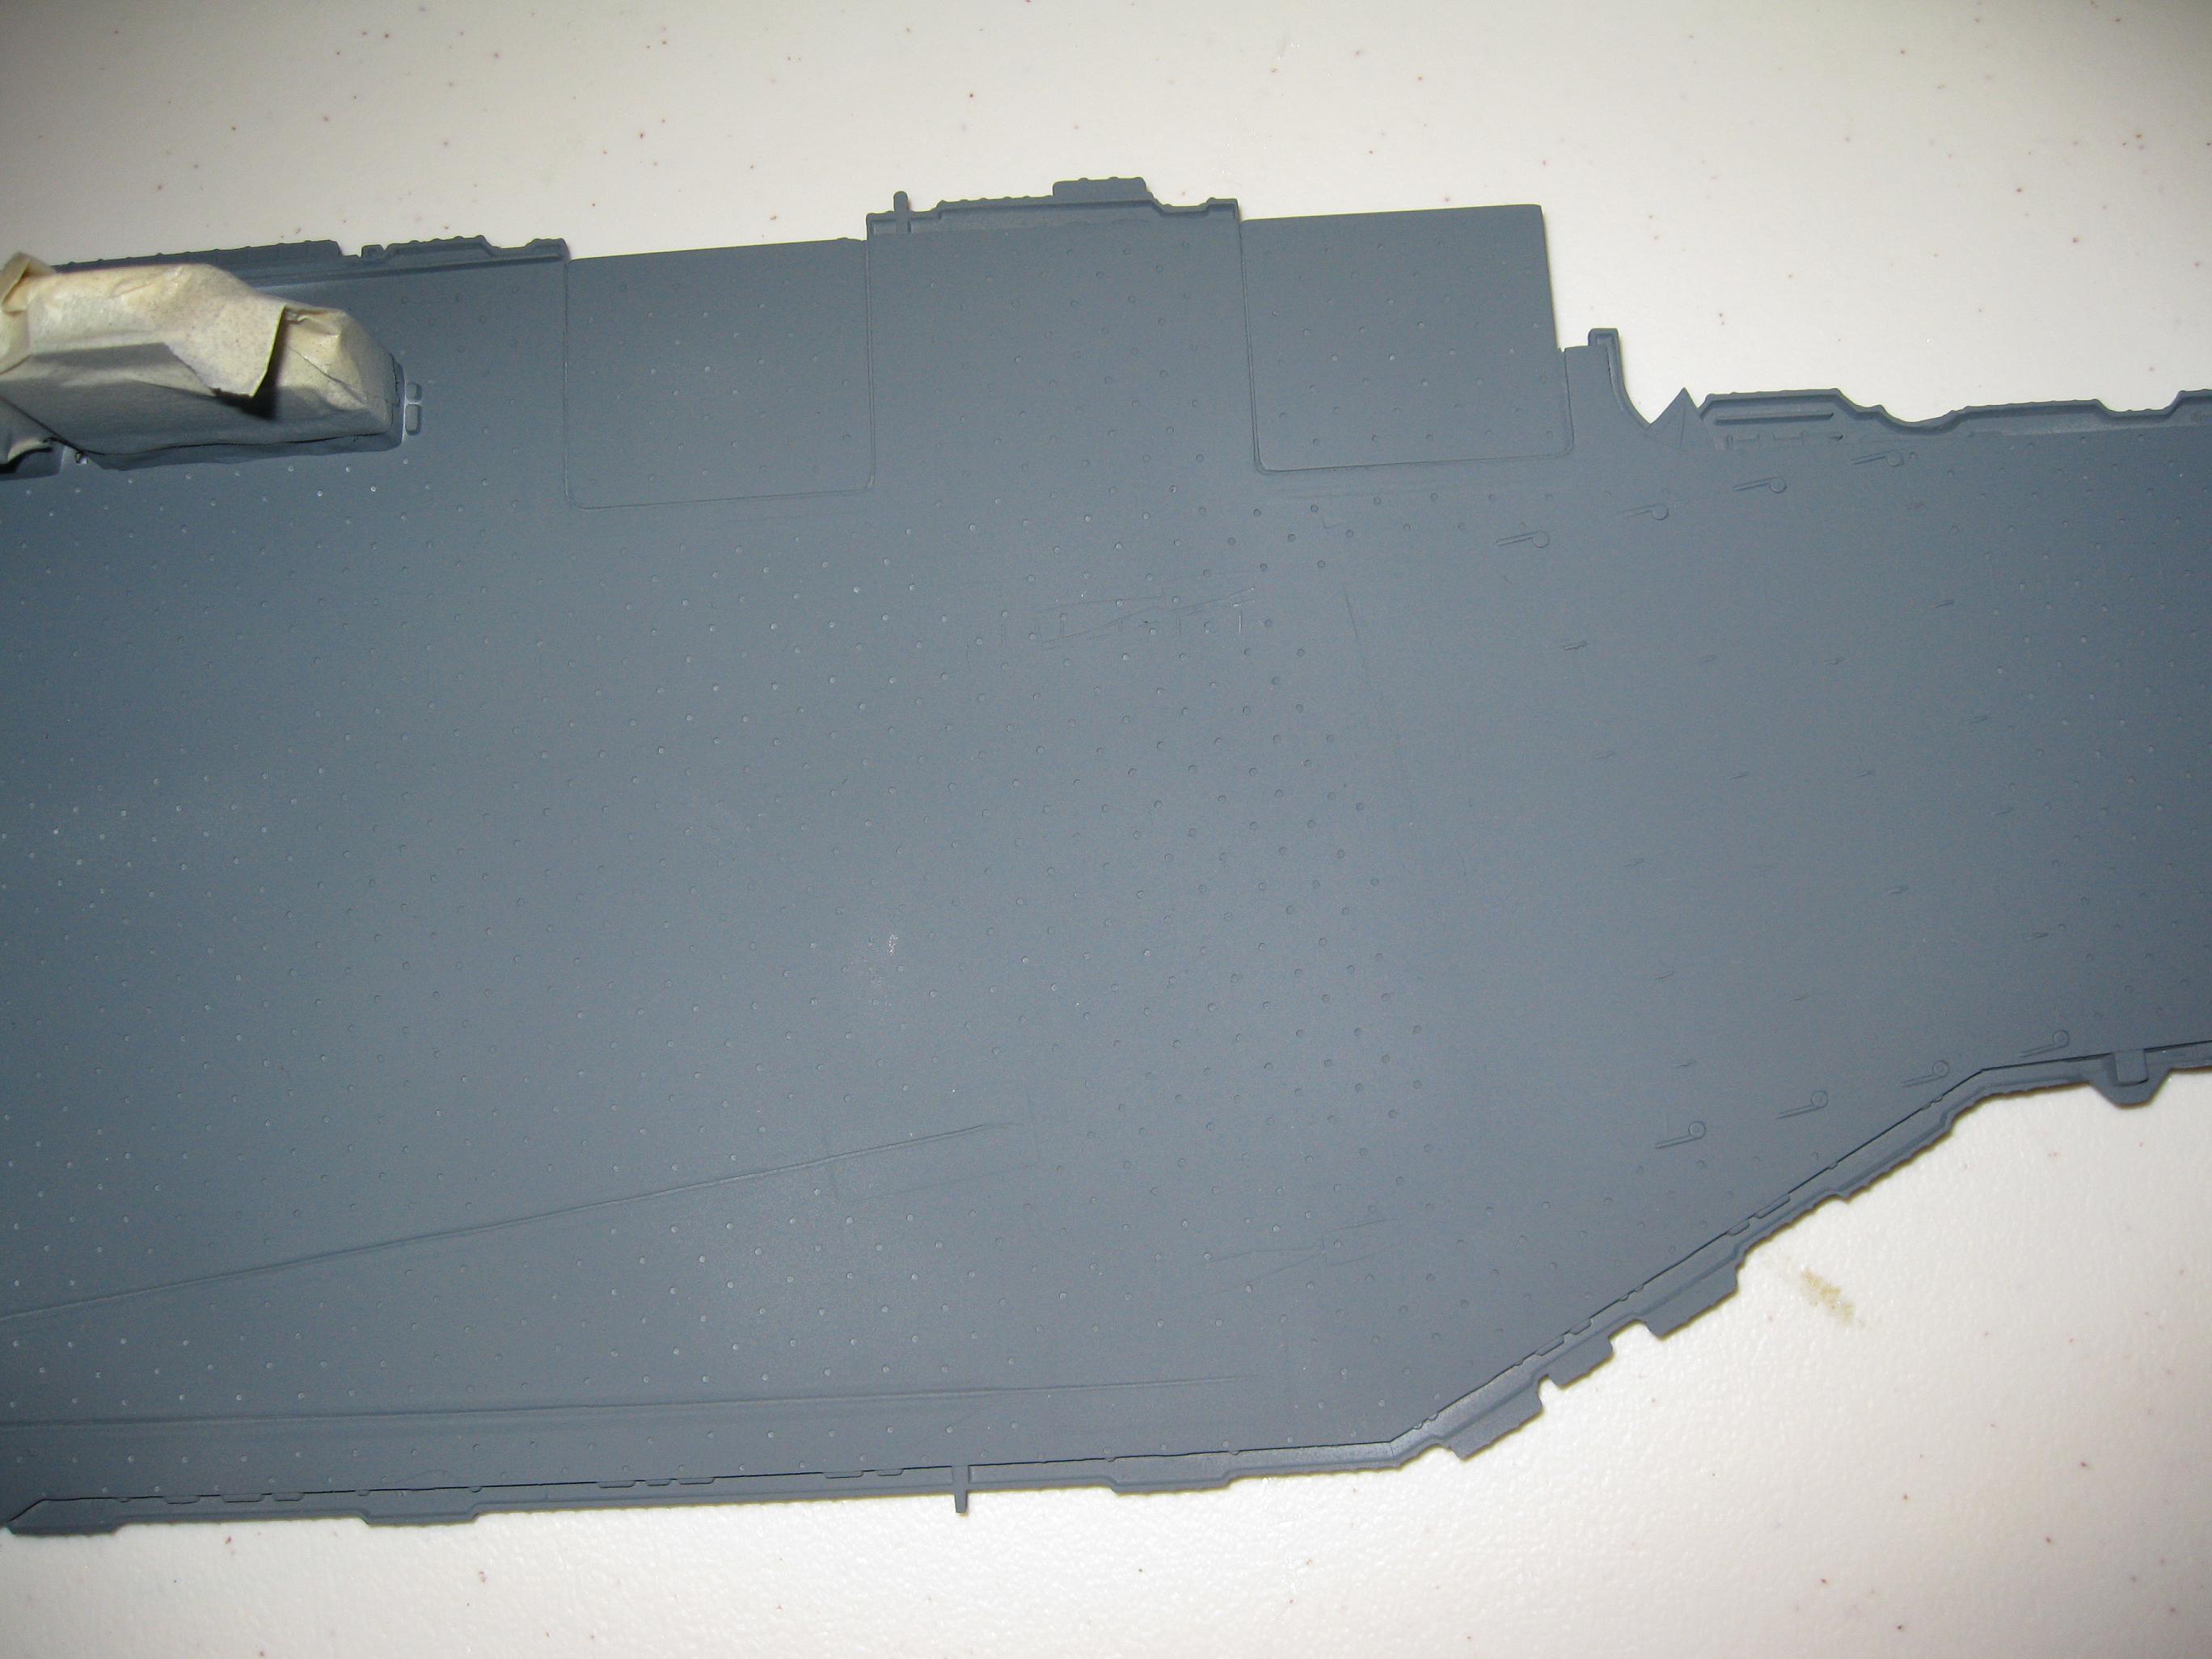
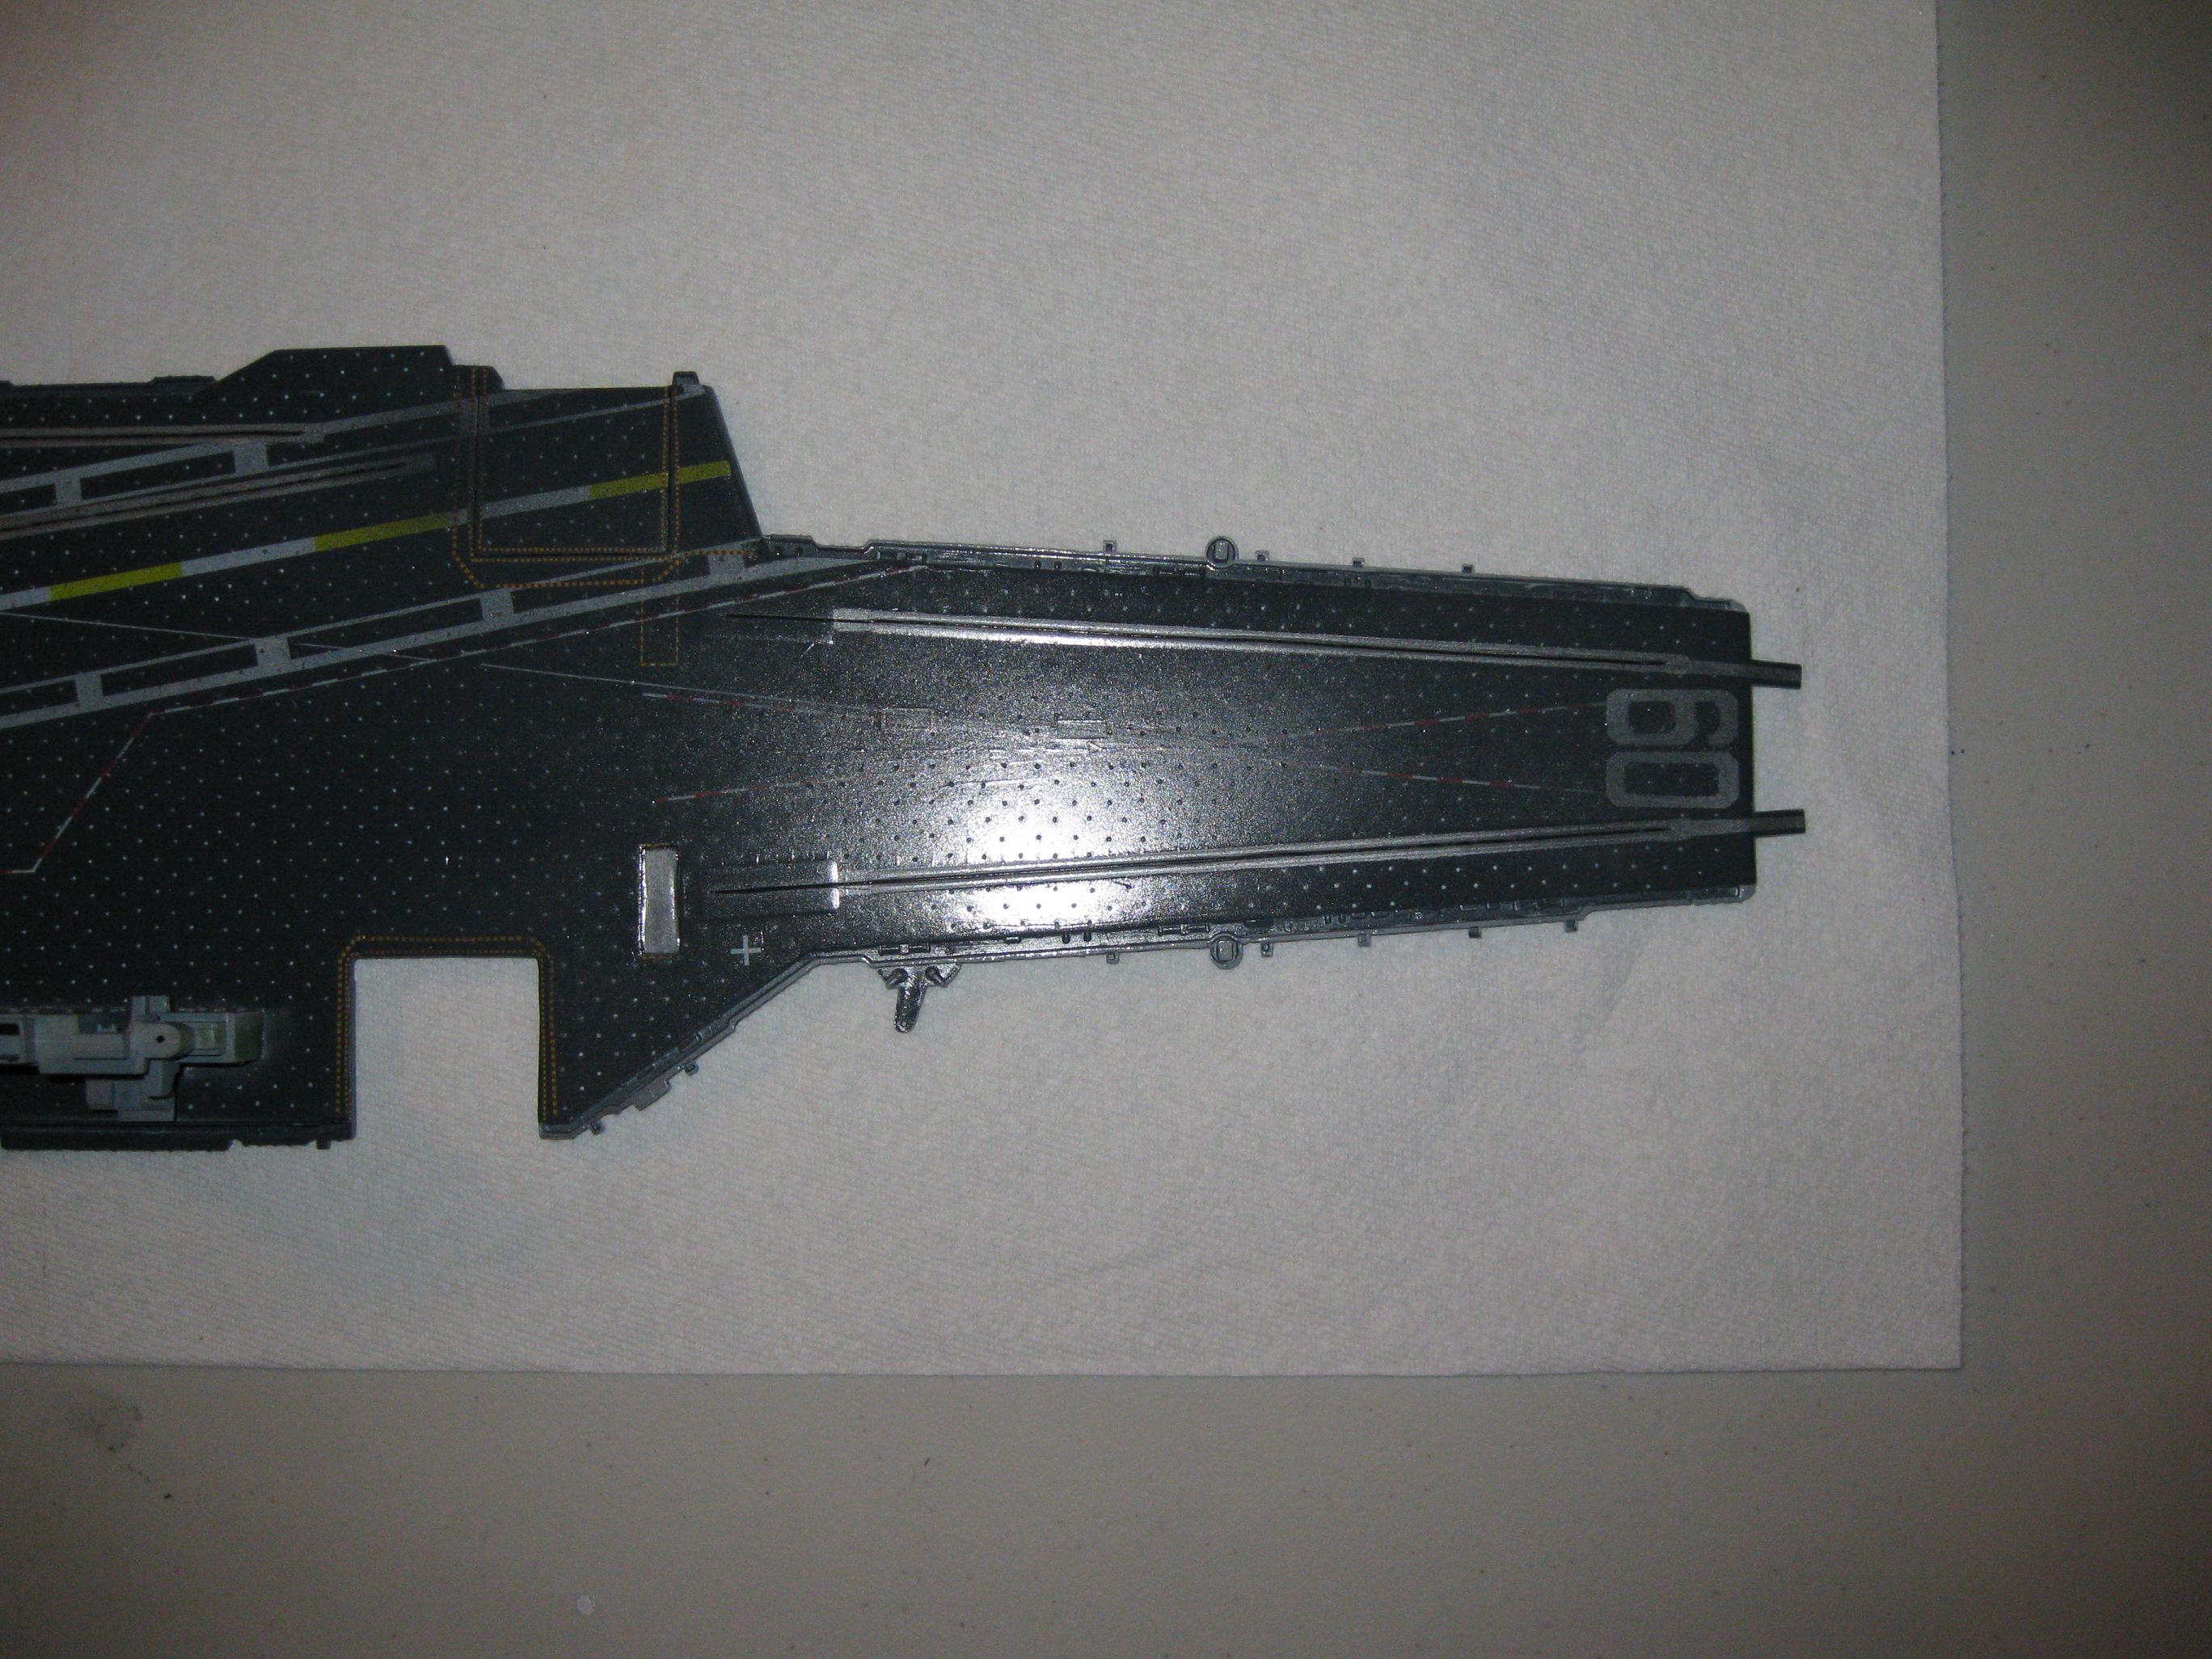
color for "Haze Gray". Tamiya spray can of
haze gray was way too dark and blue. After testing several
brands and shades of gray I decided that primer was the best
color. However, I discovered that if you hand paint primer
over primer it removes the dry primer and makes a mess.
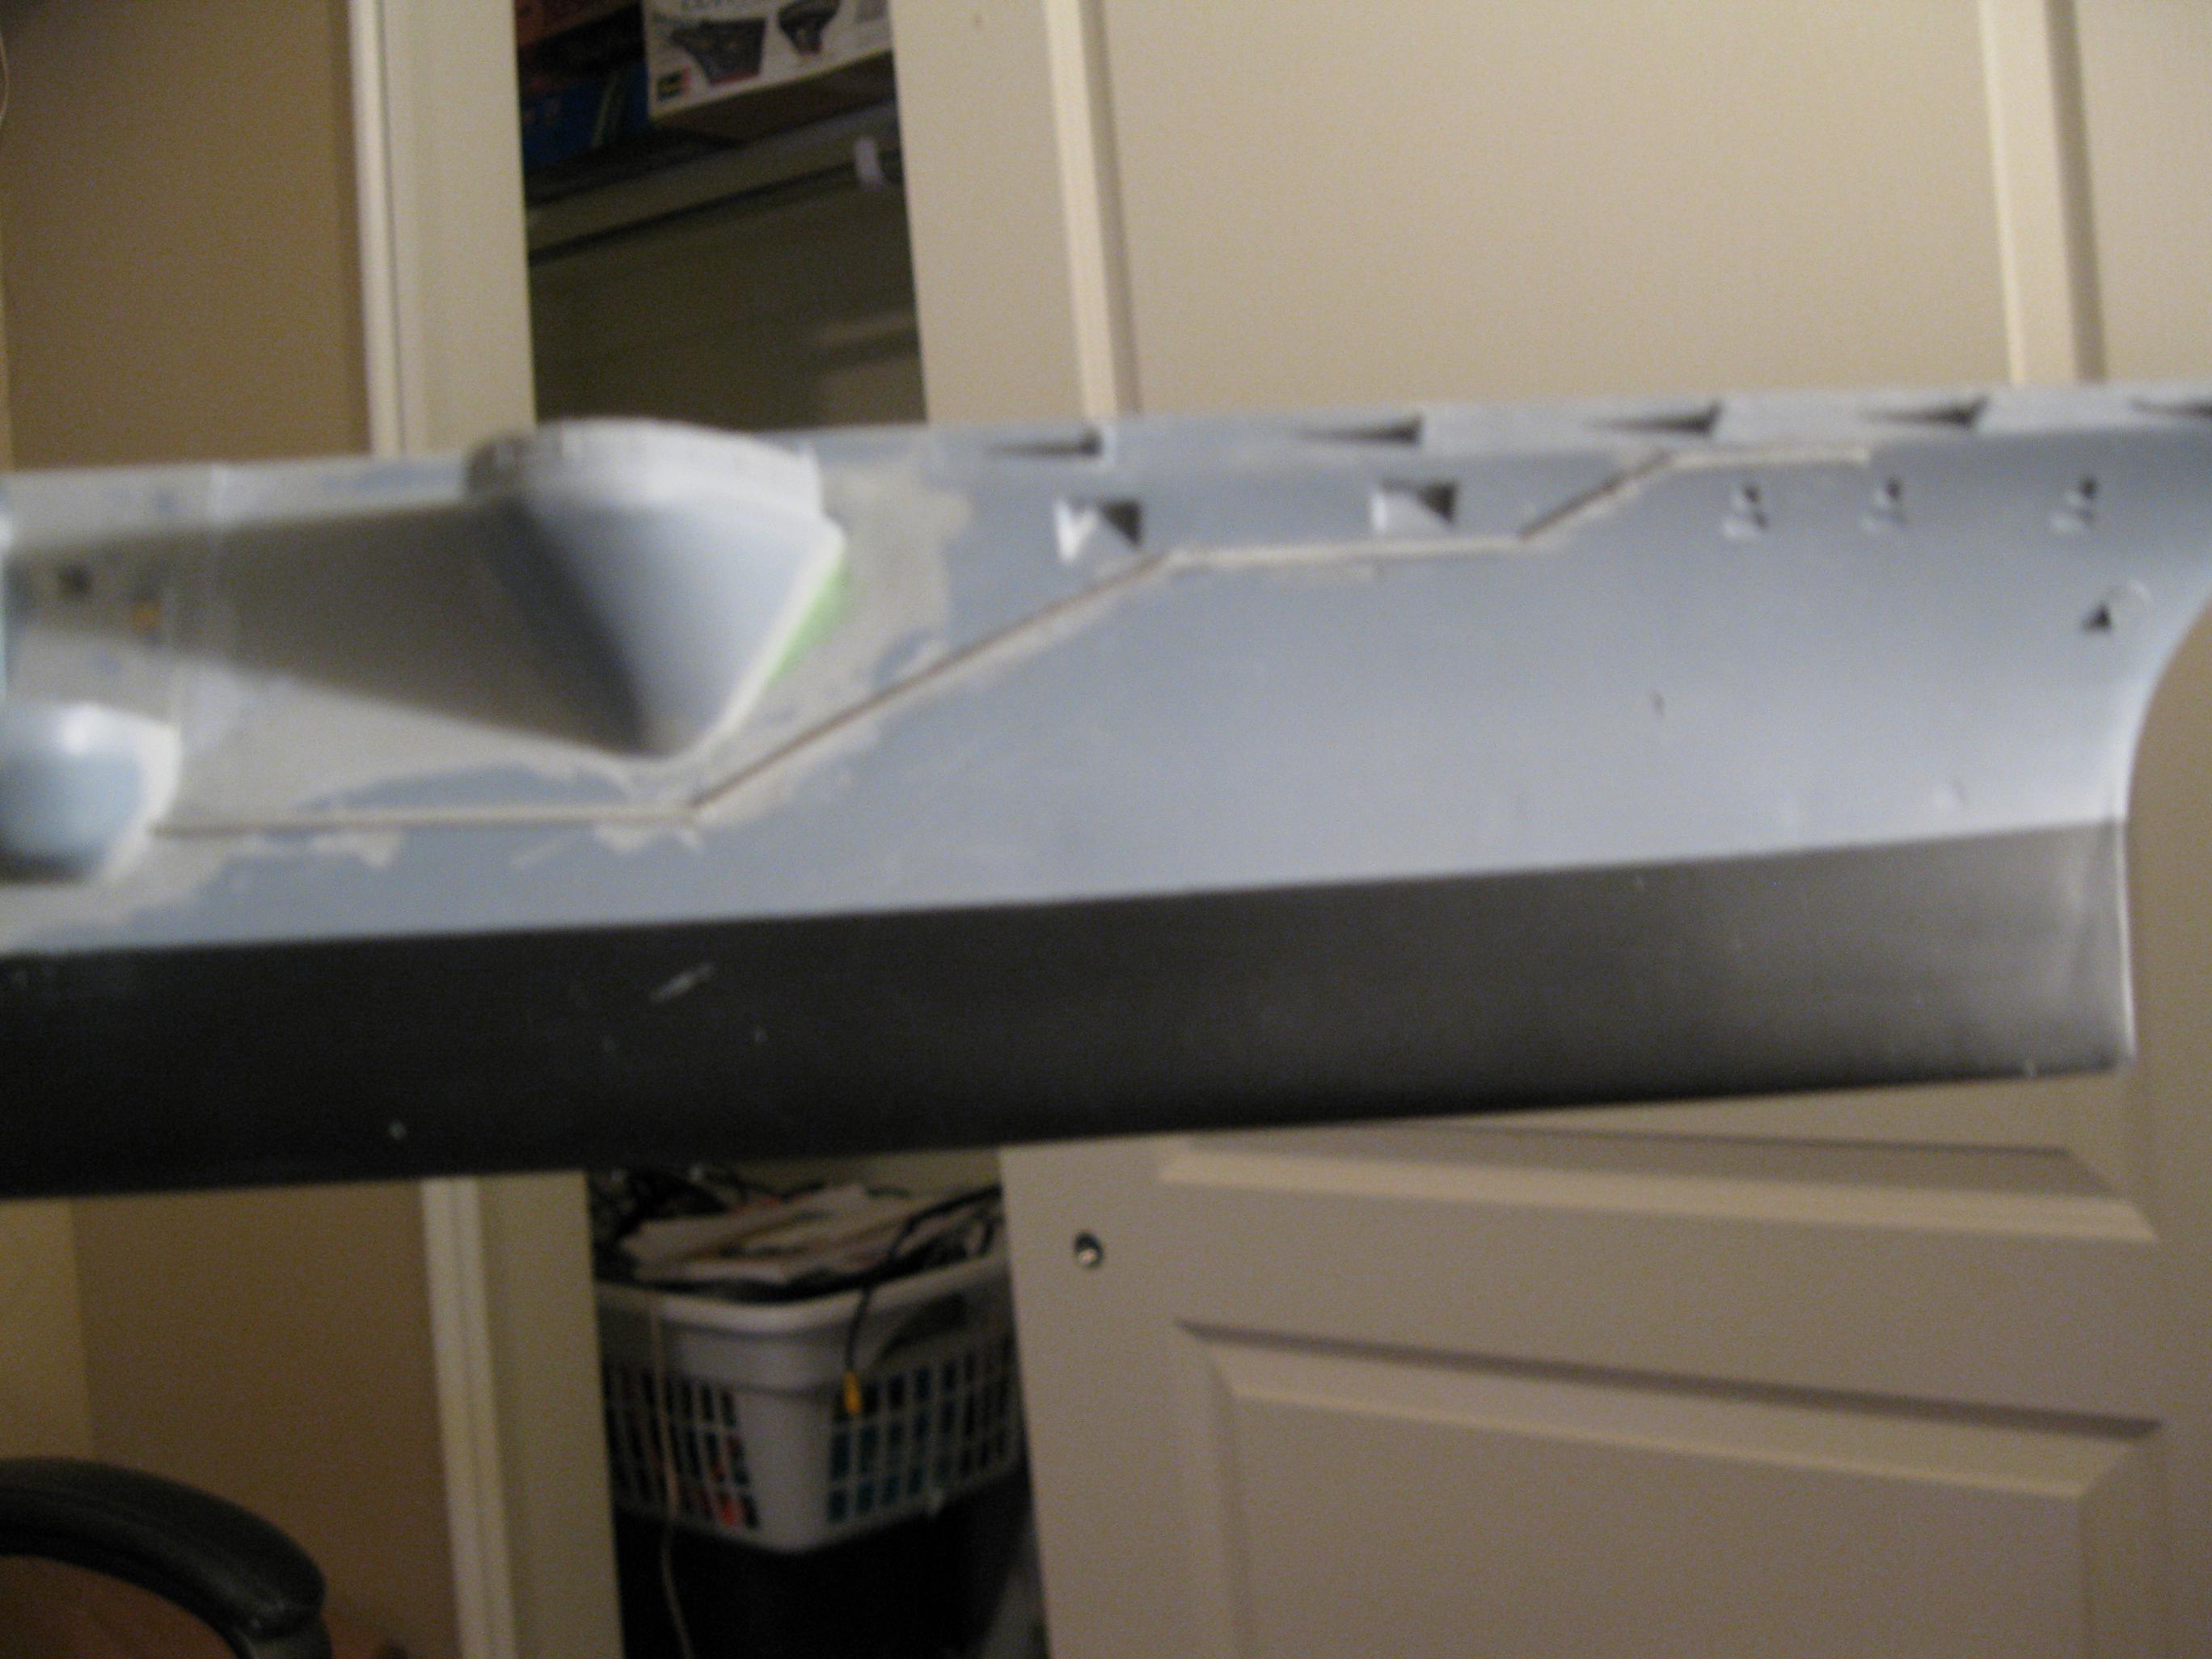
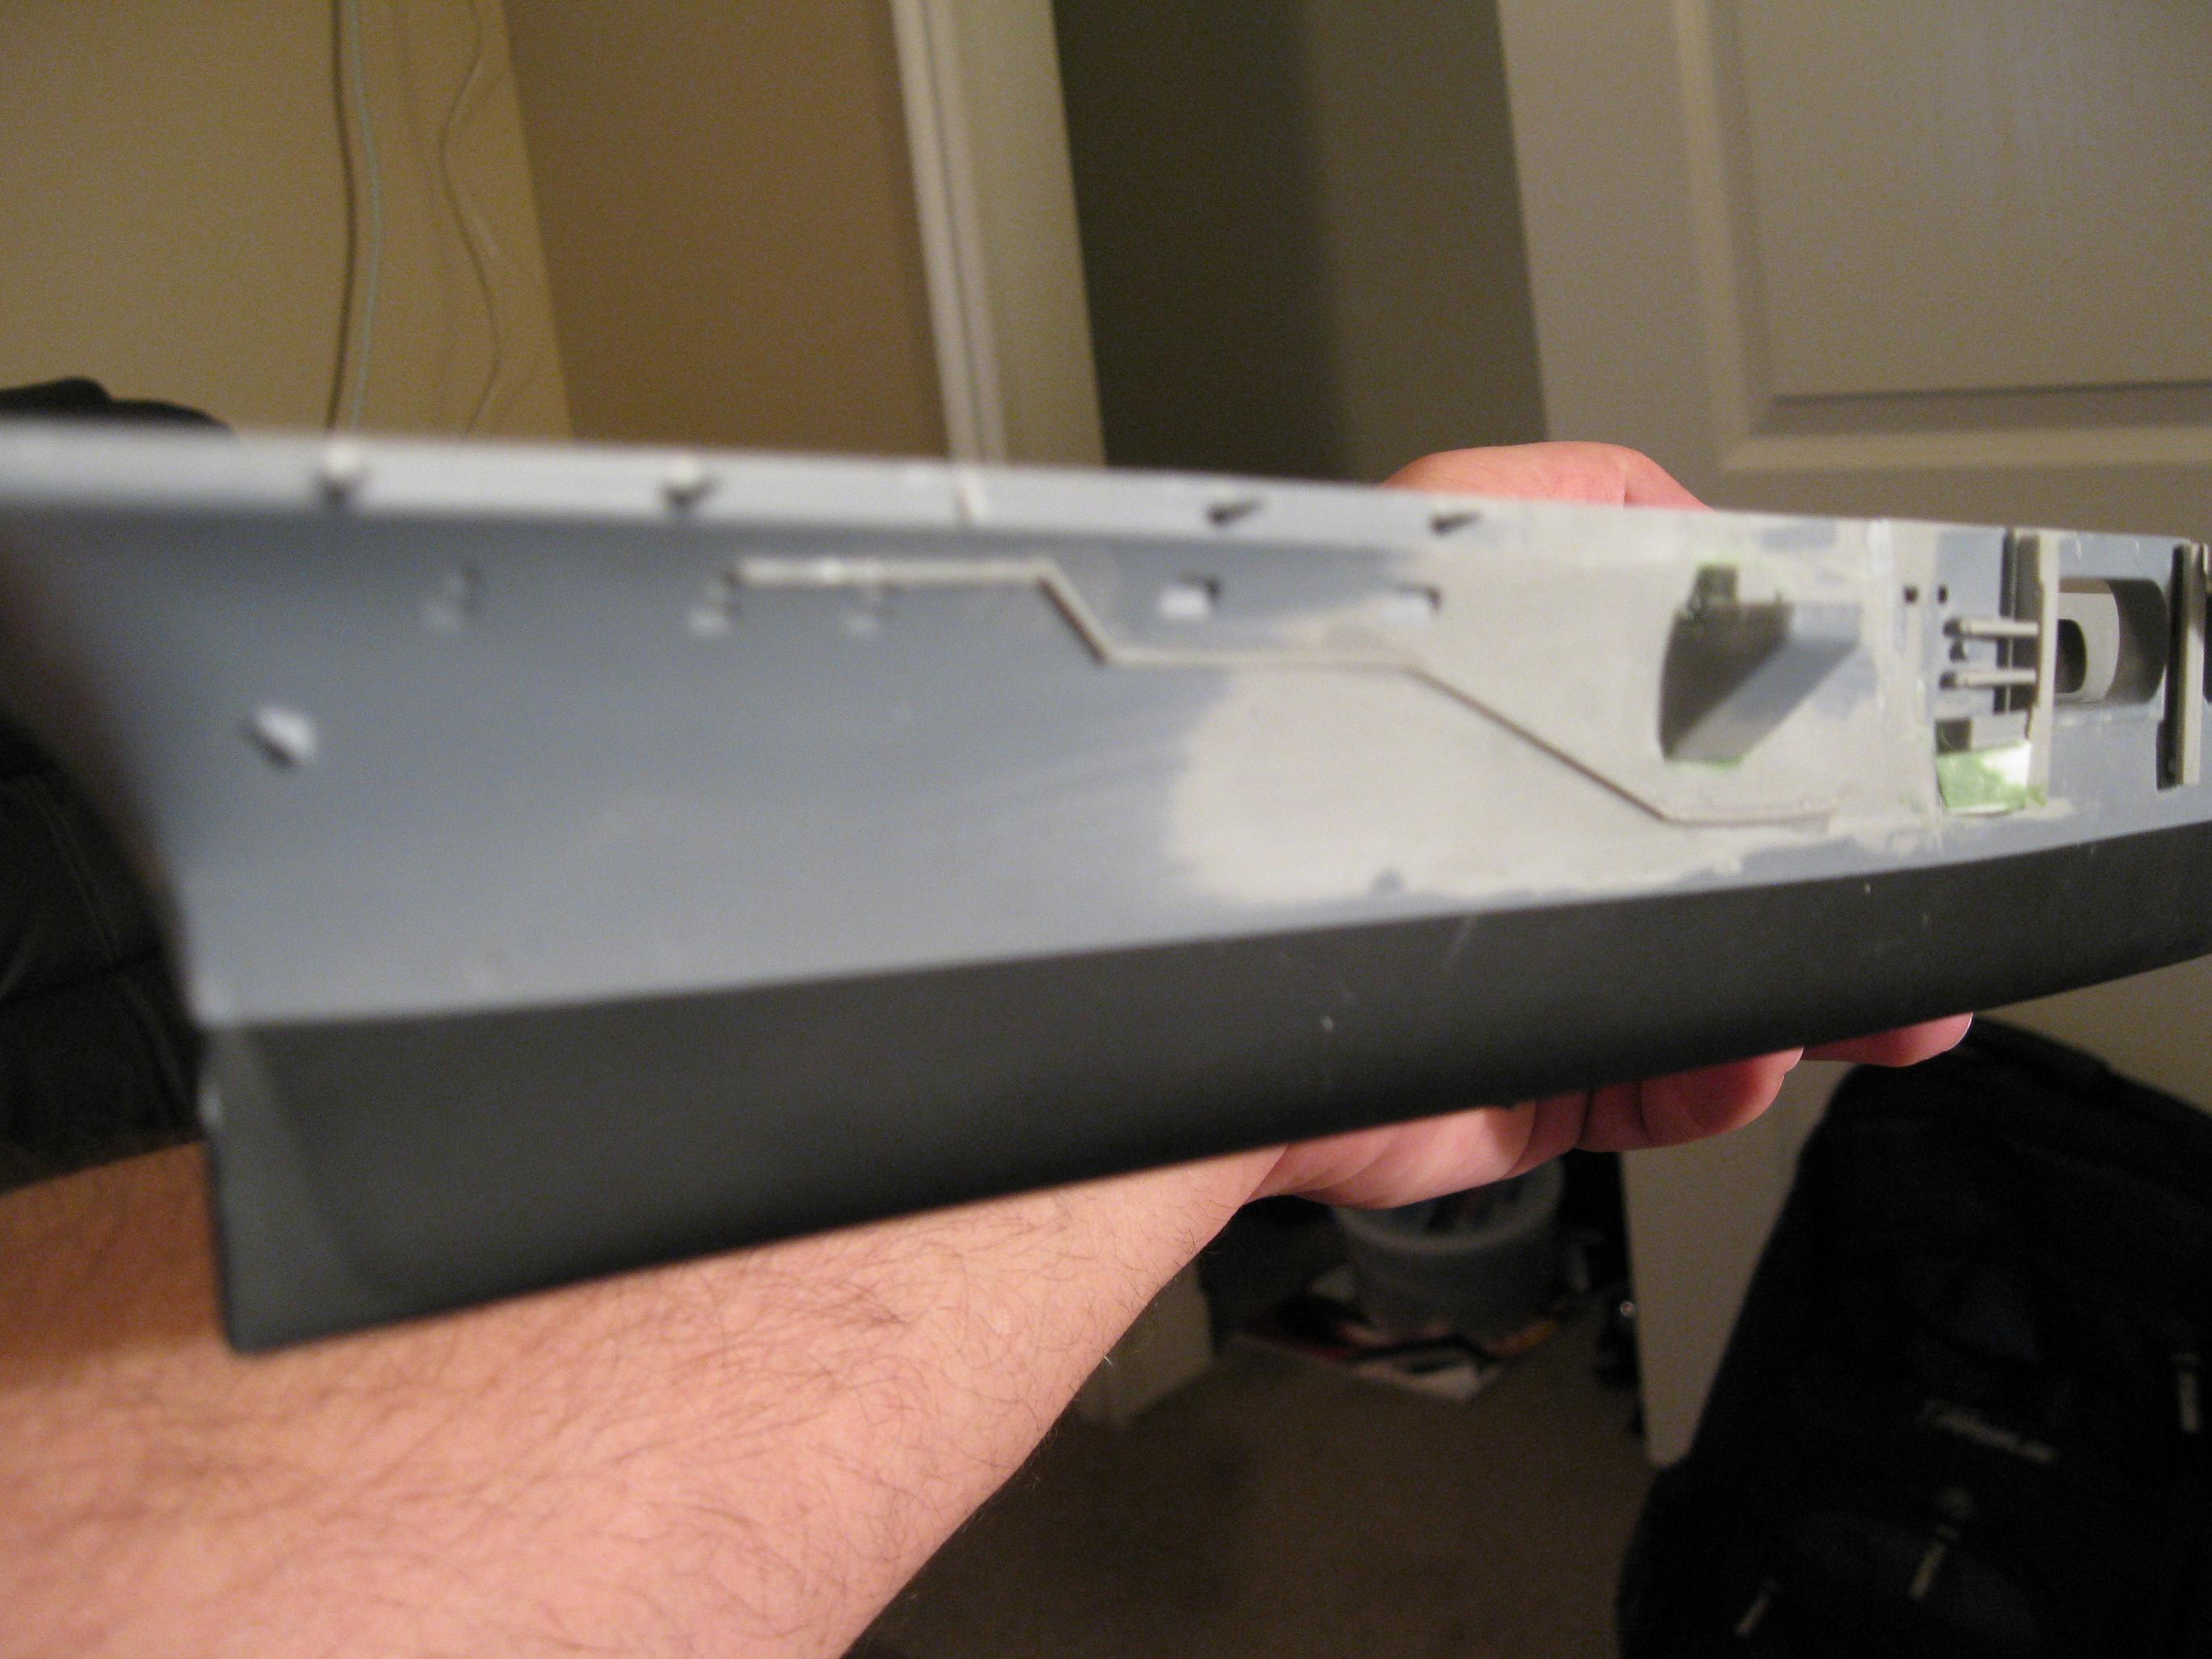
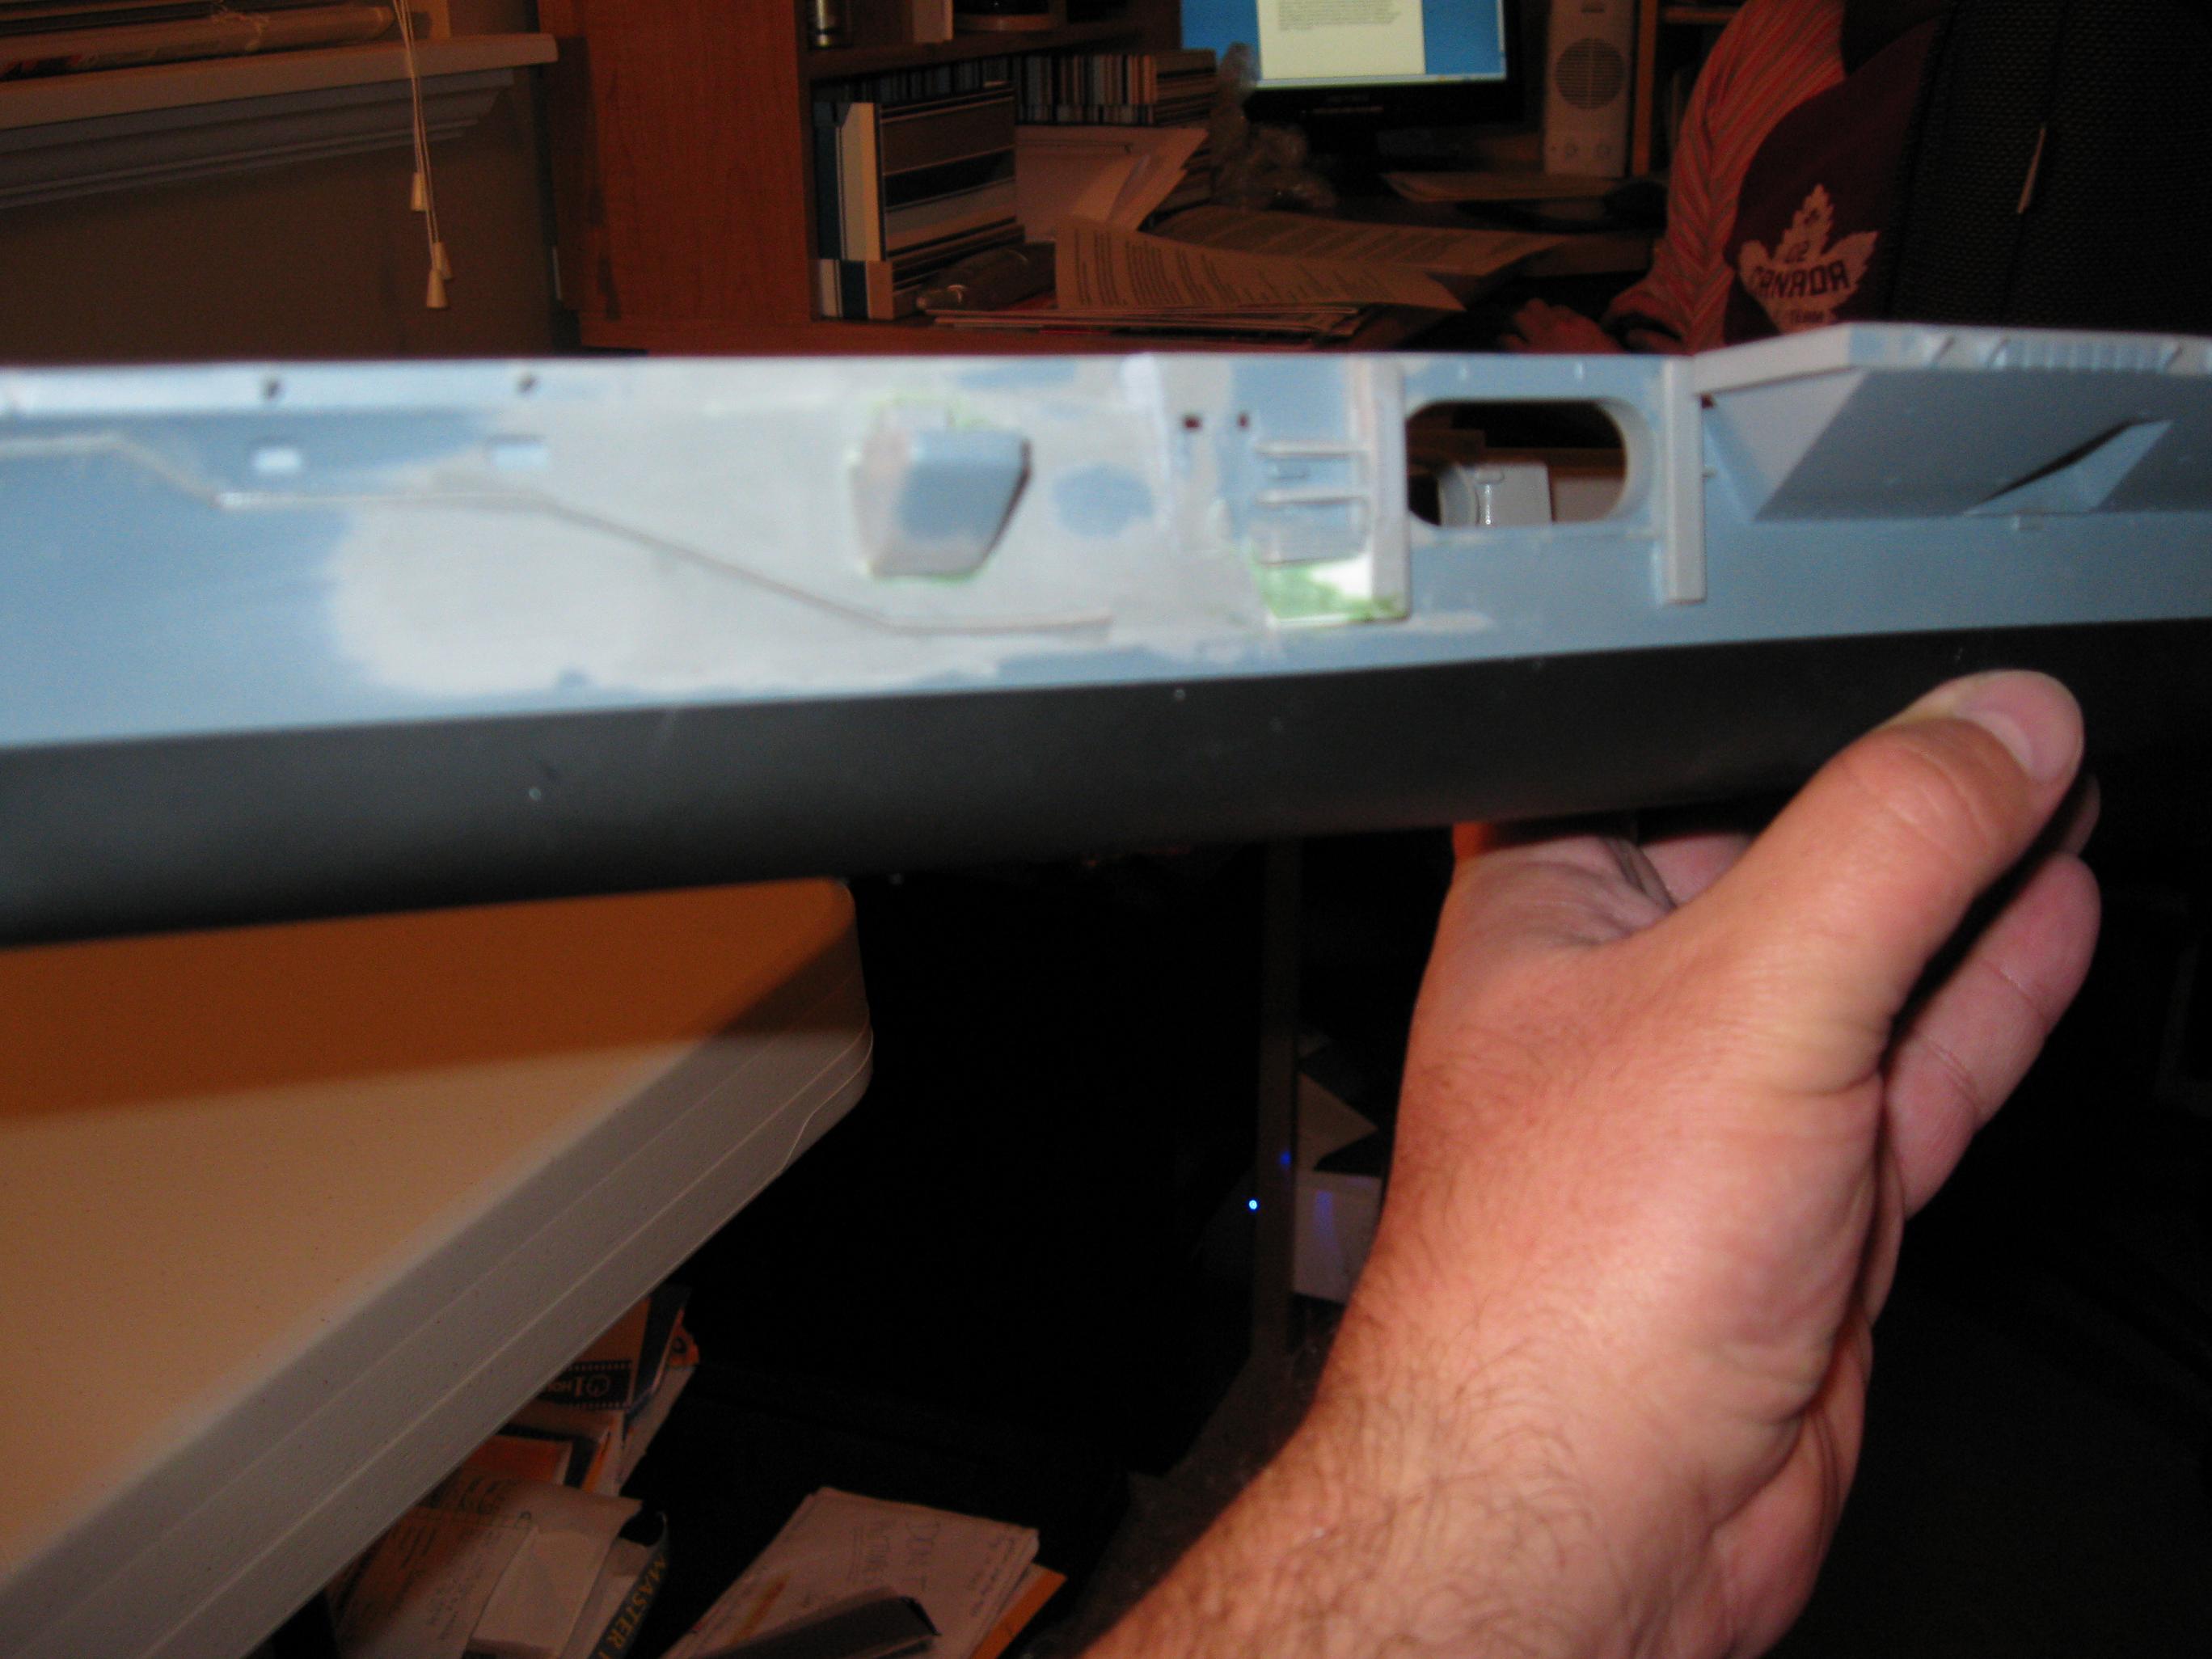
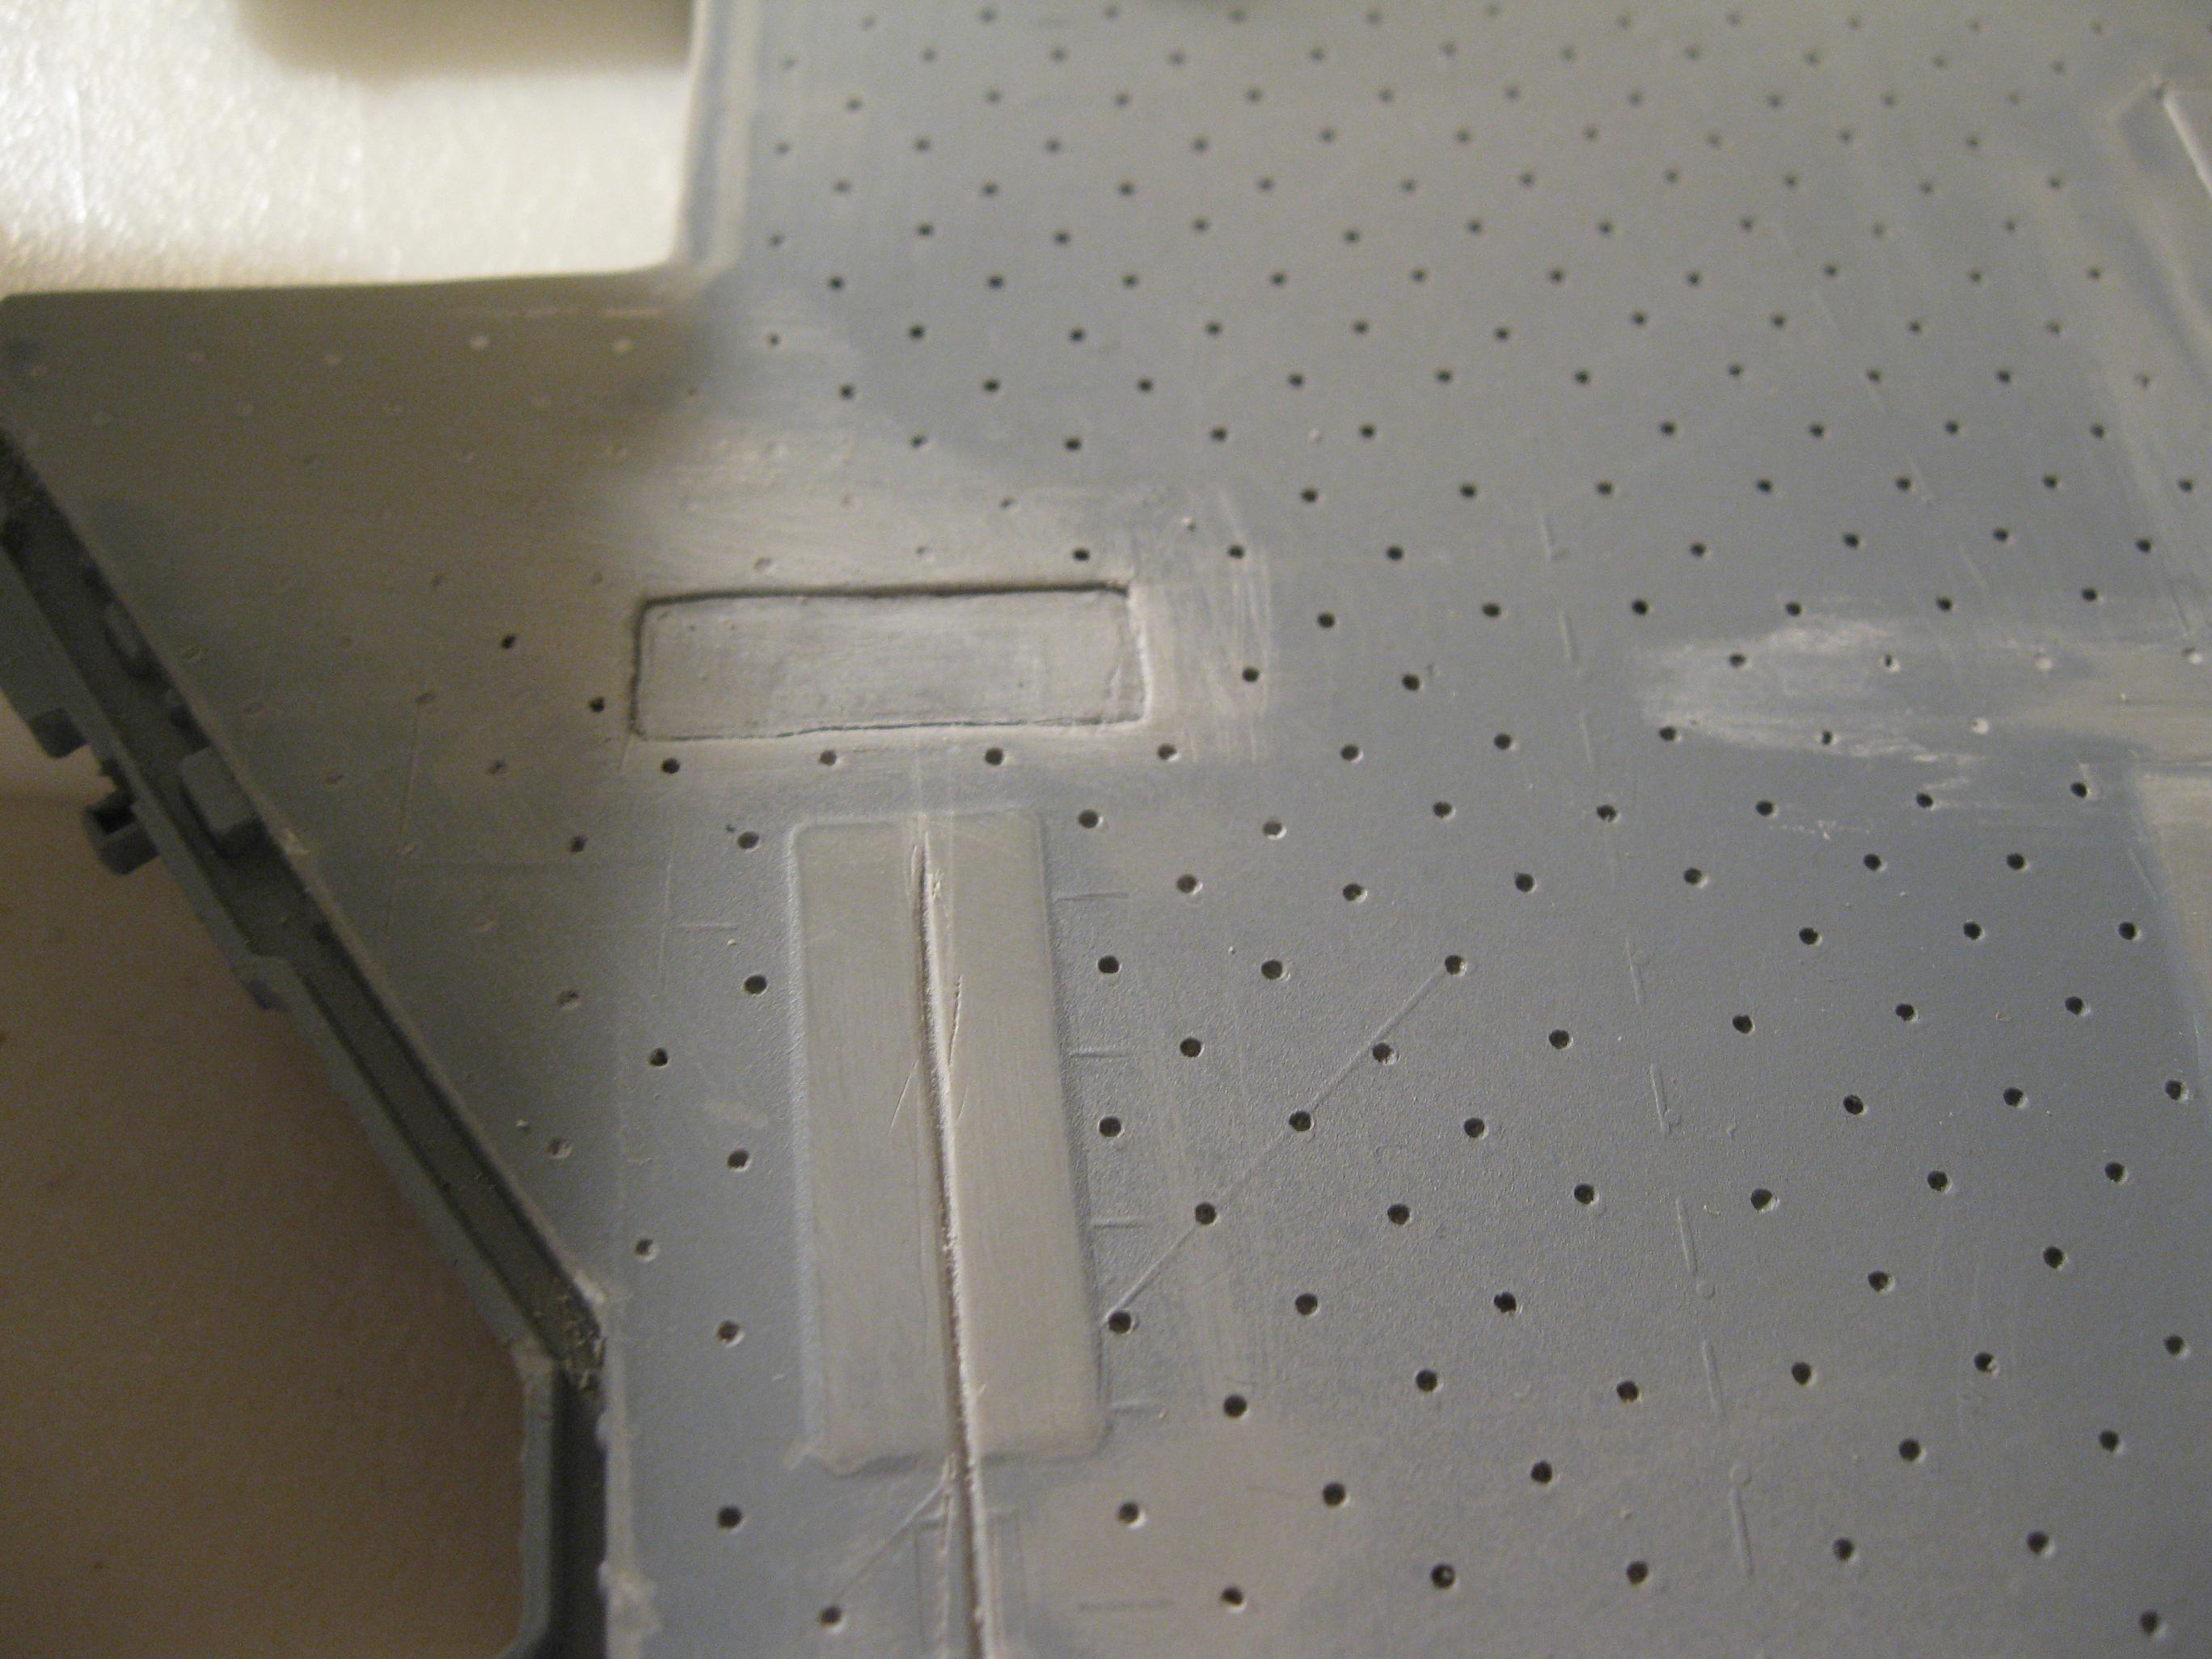
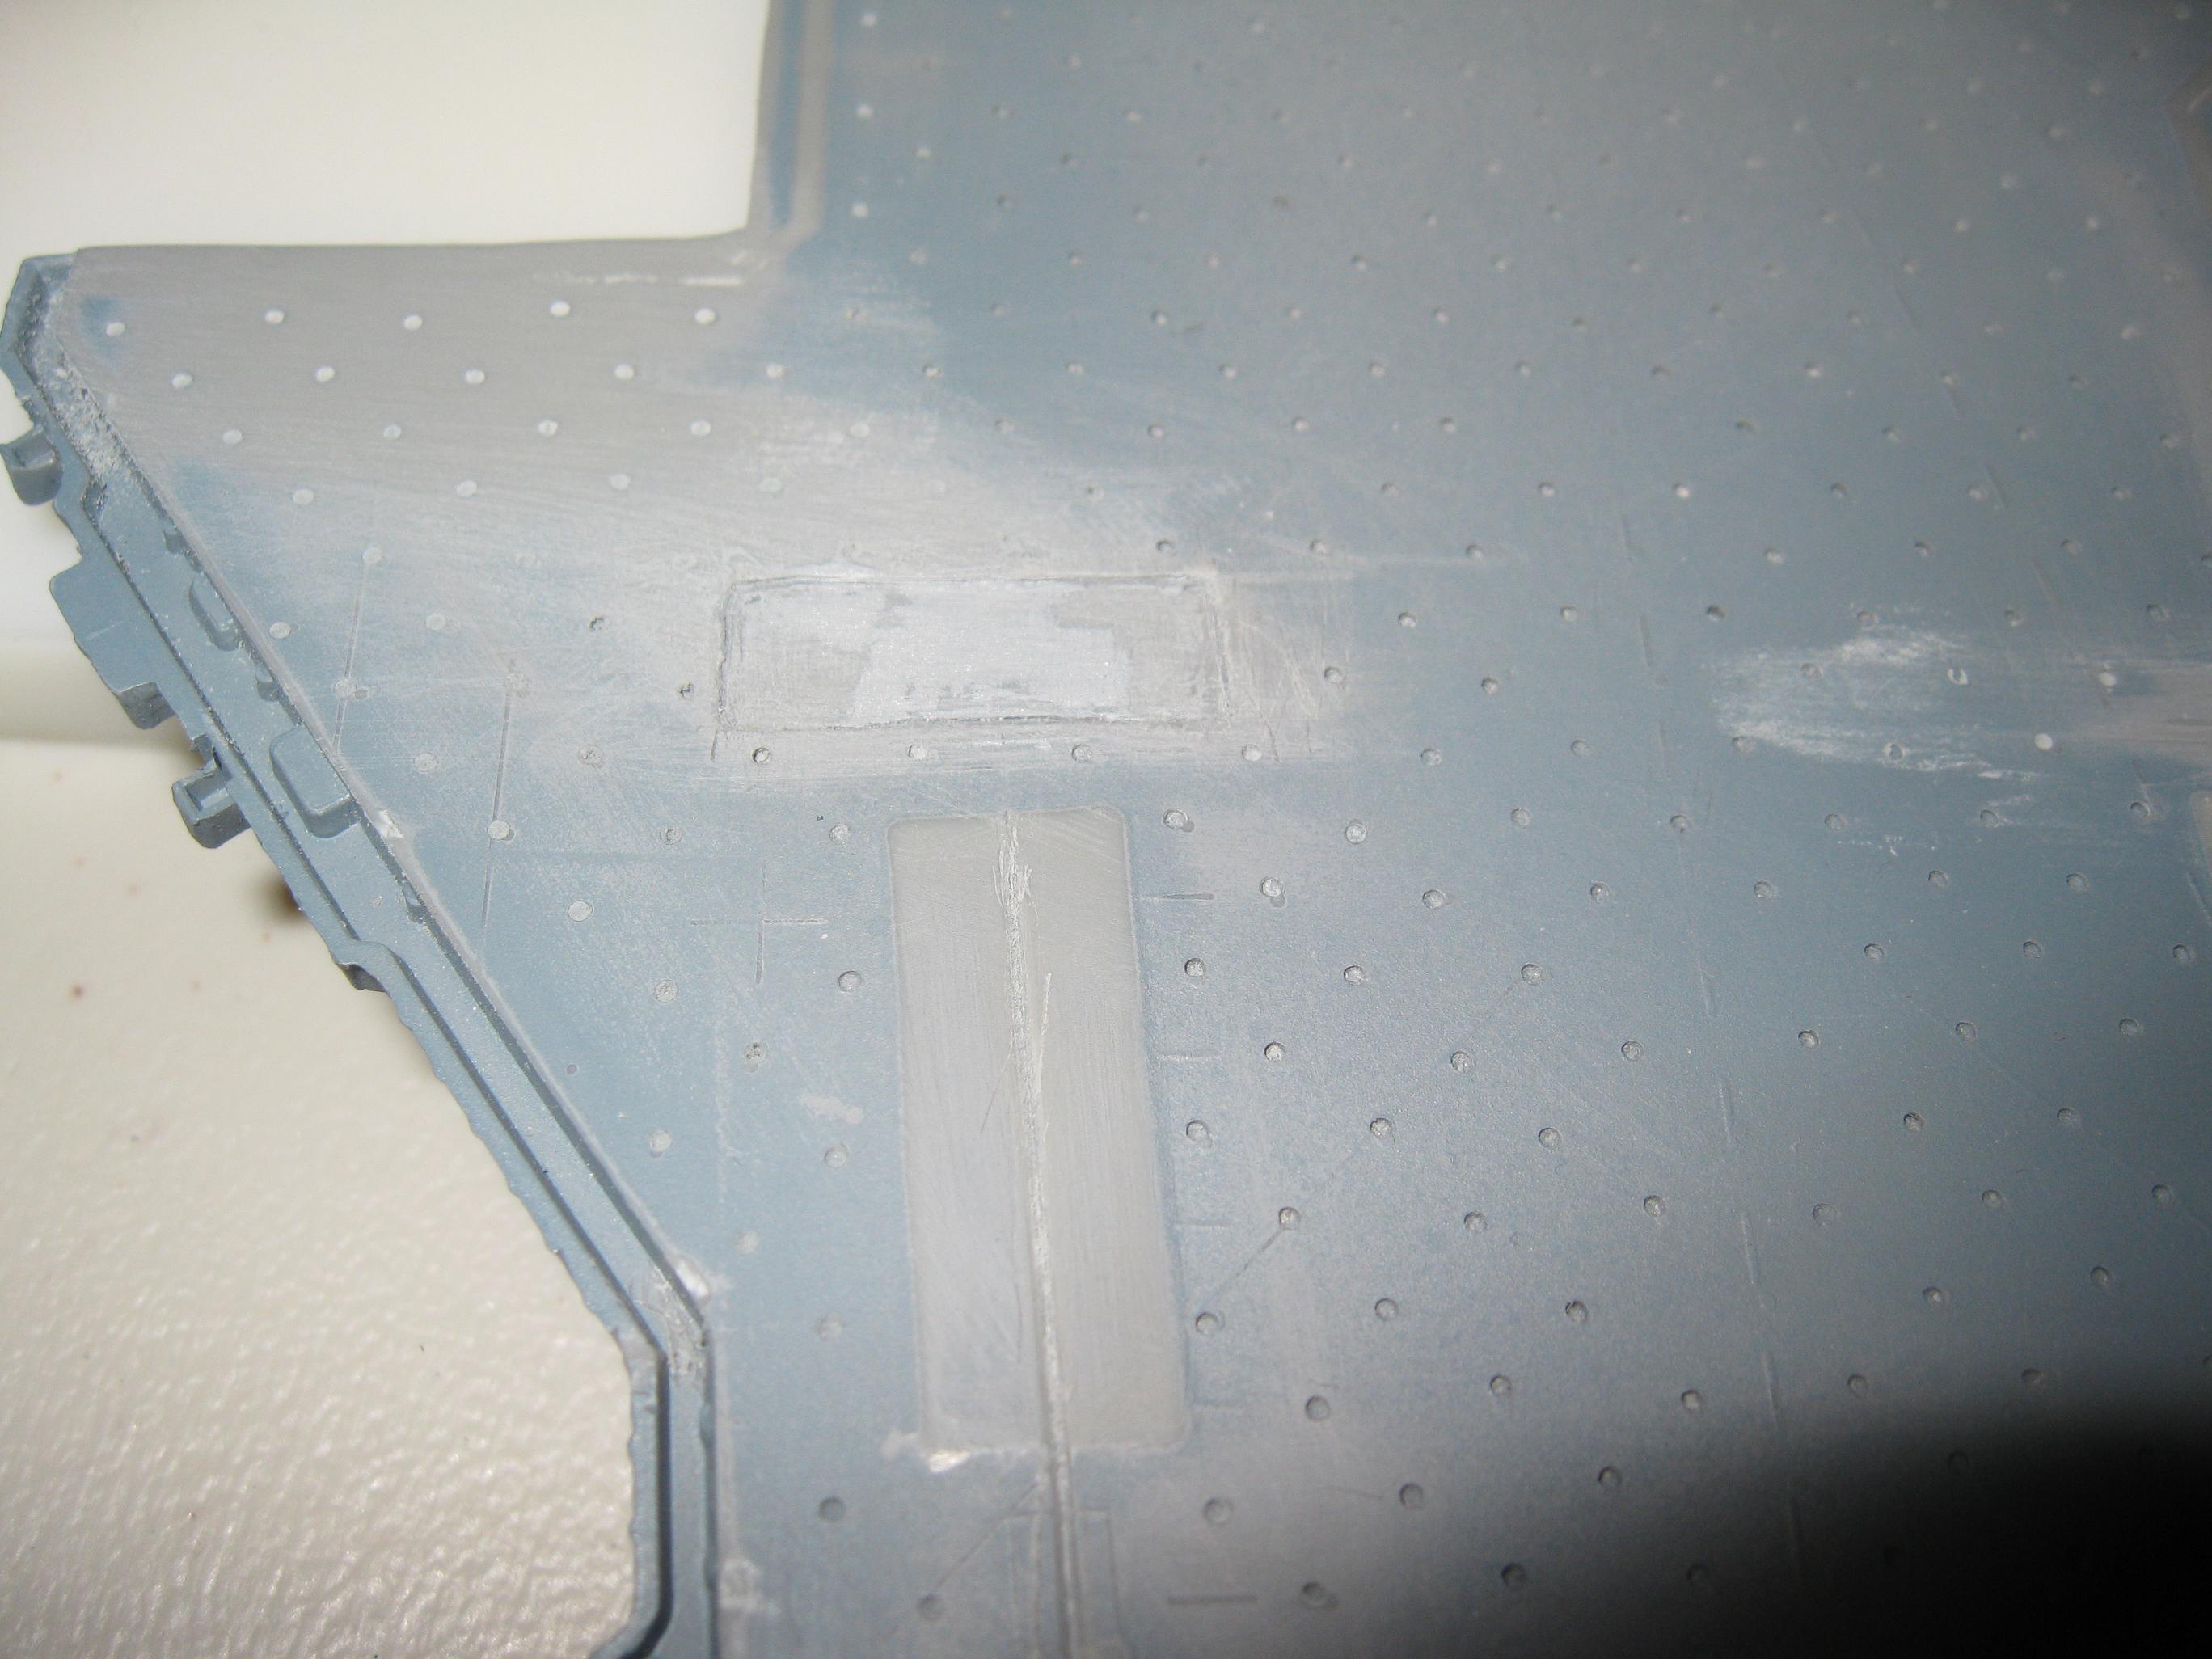
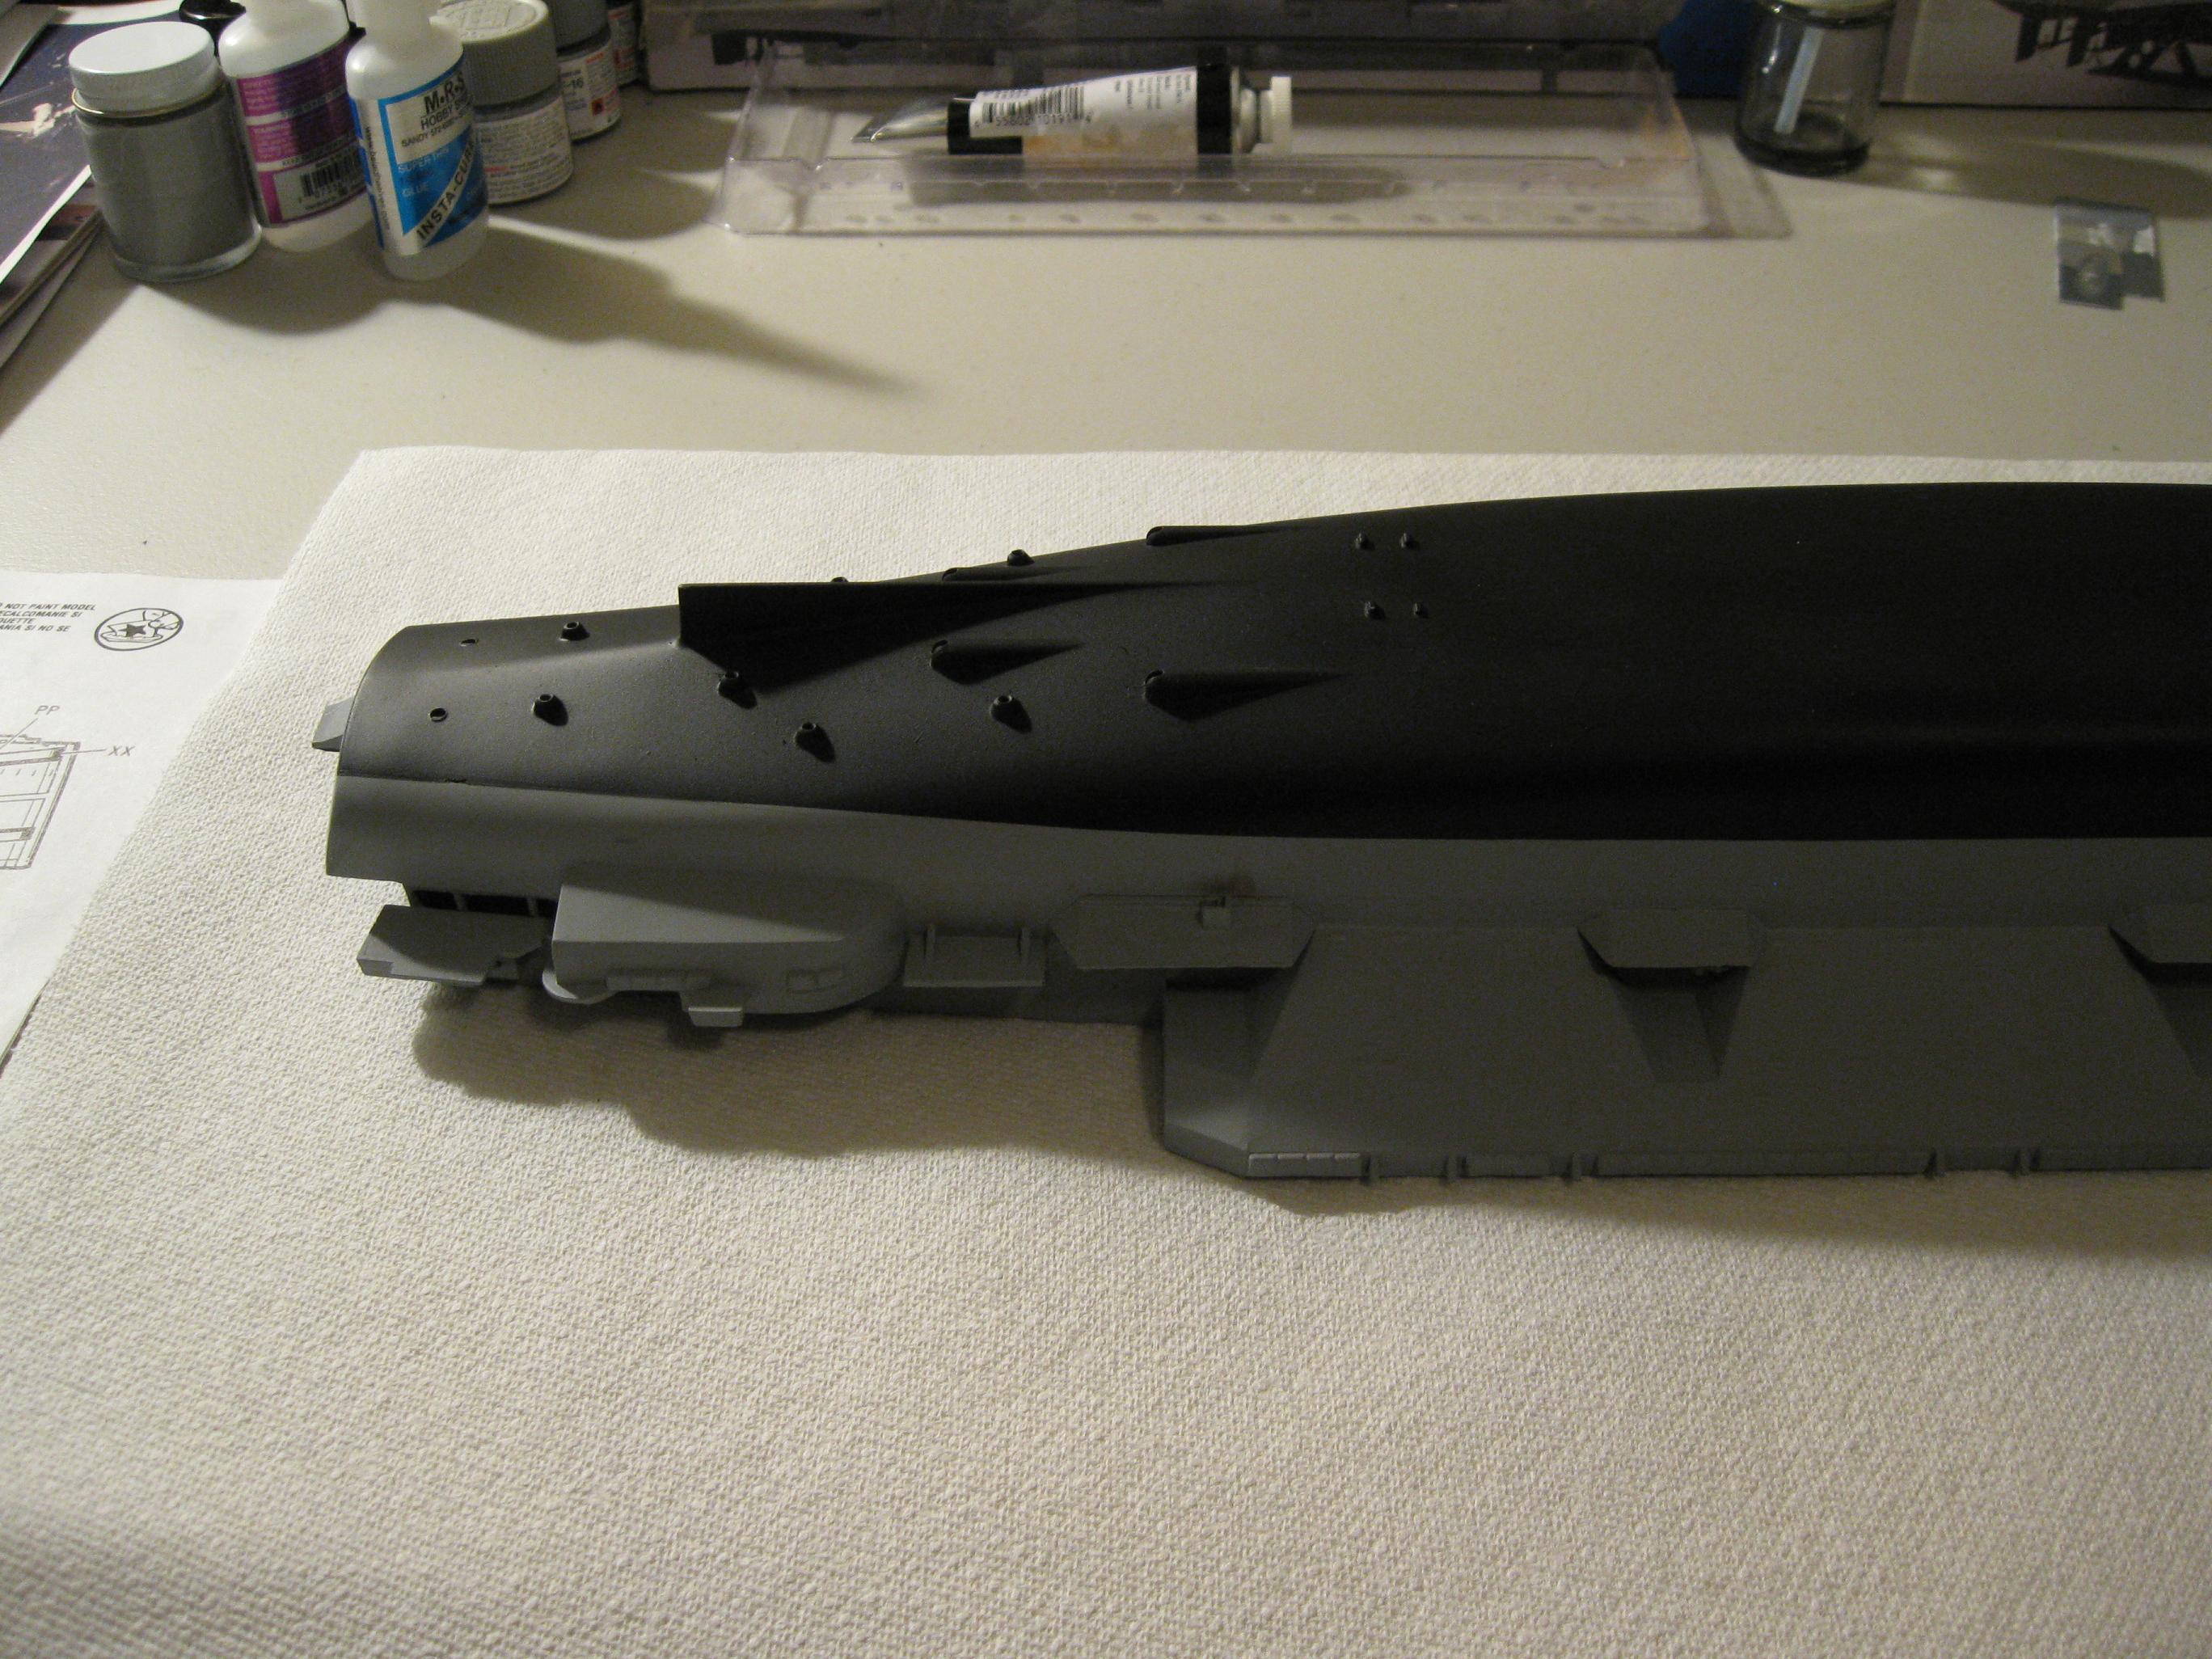
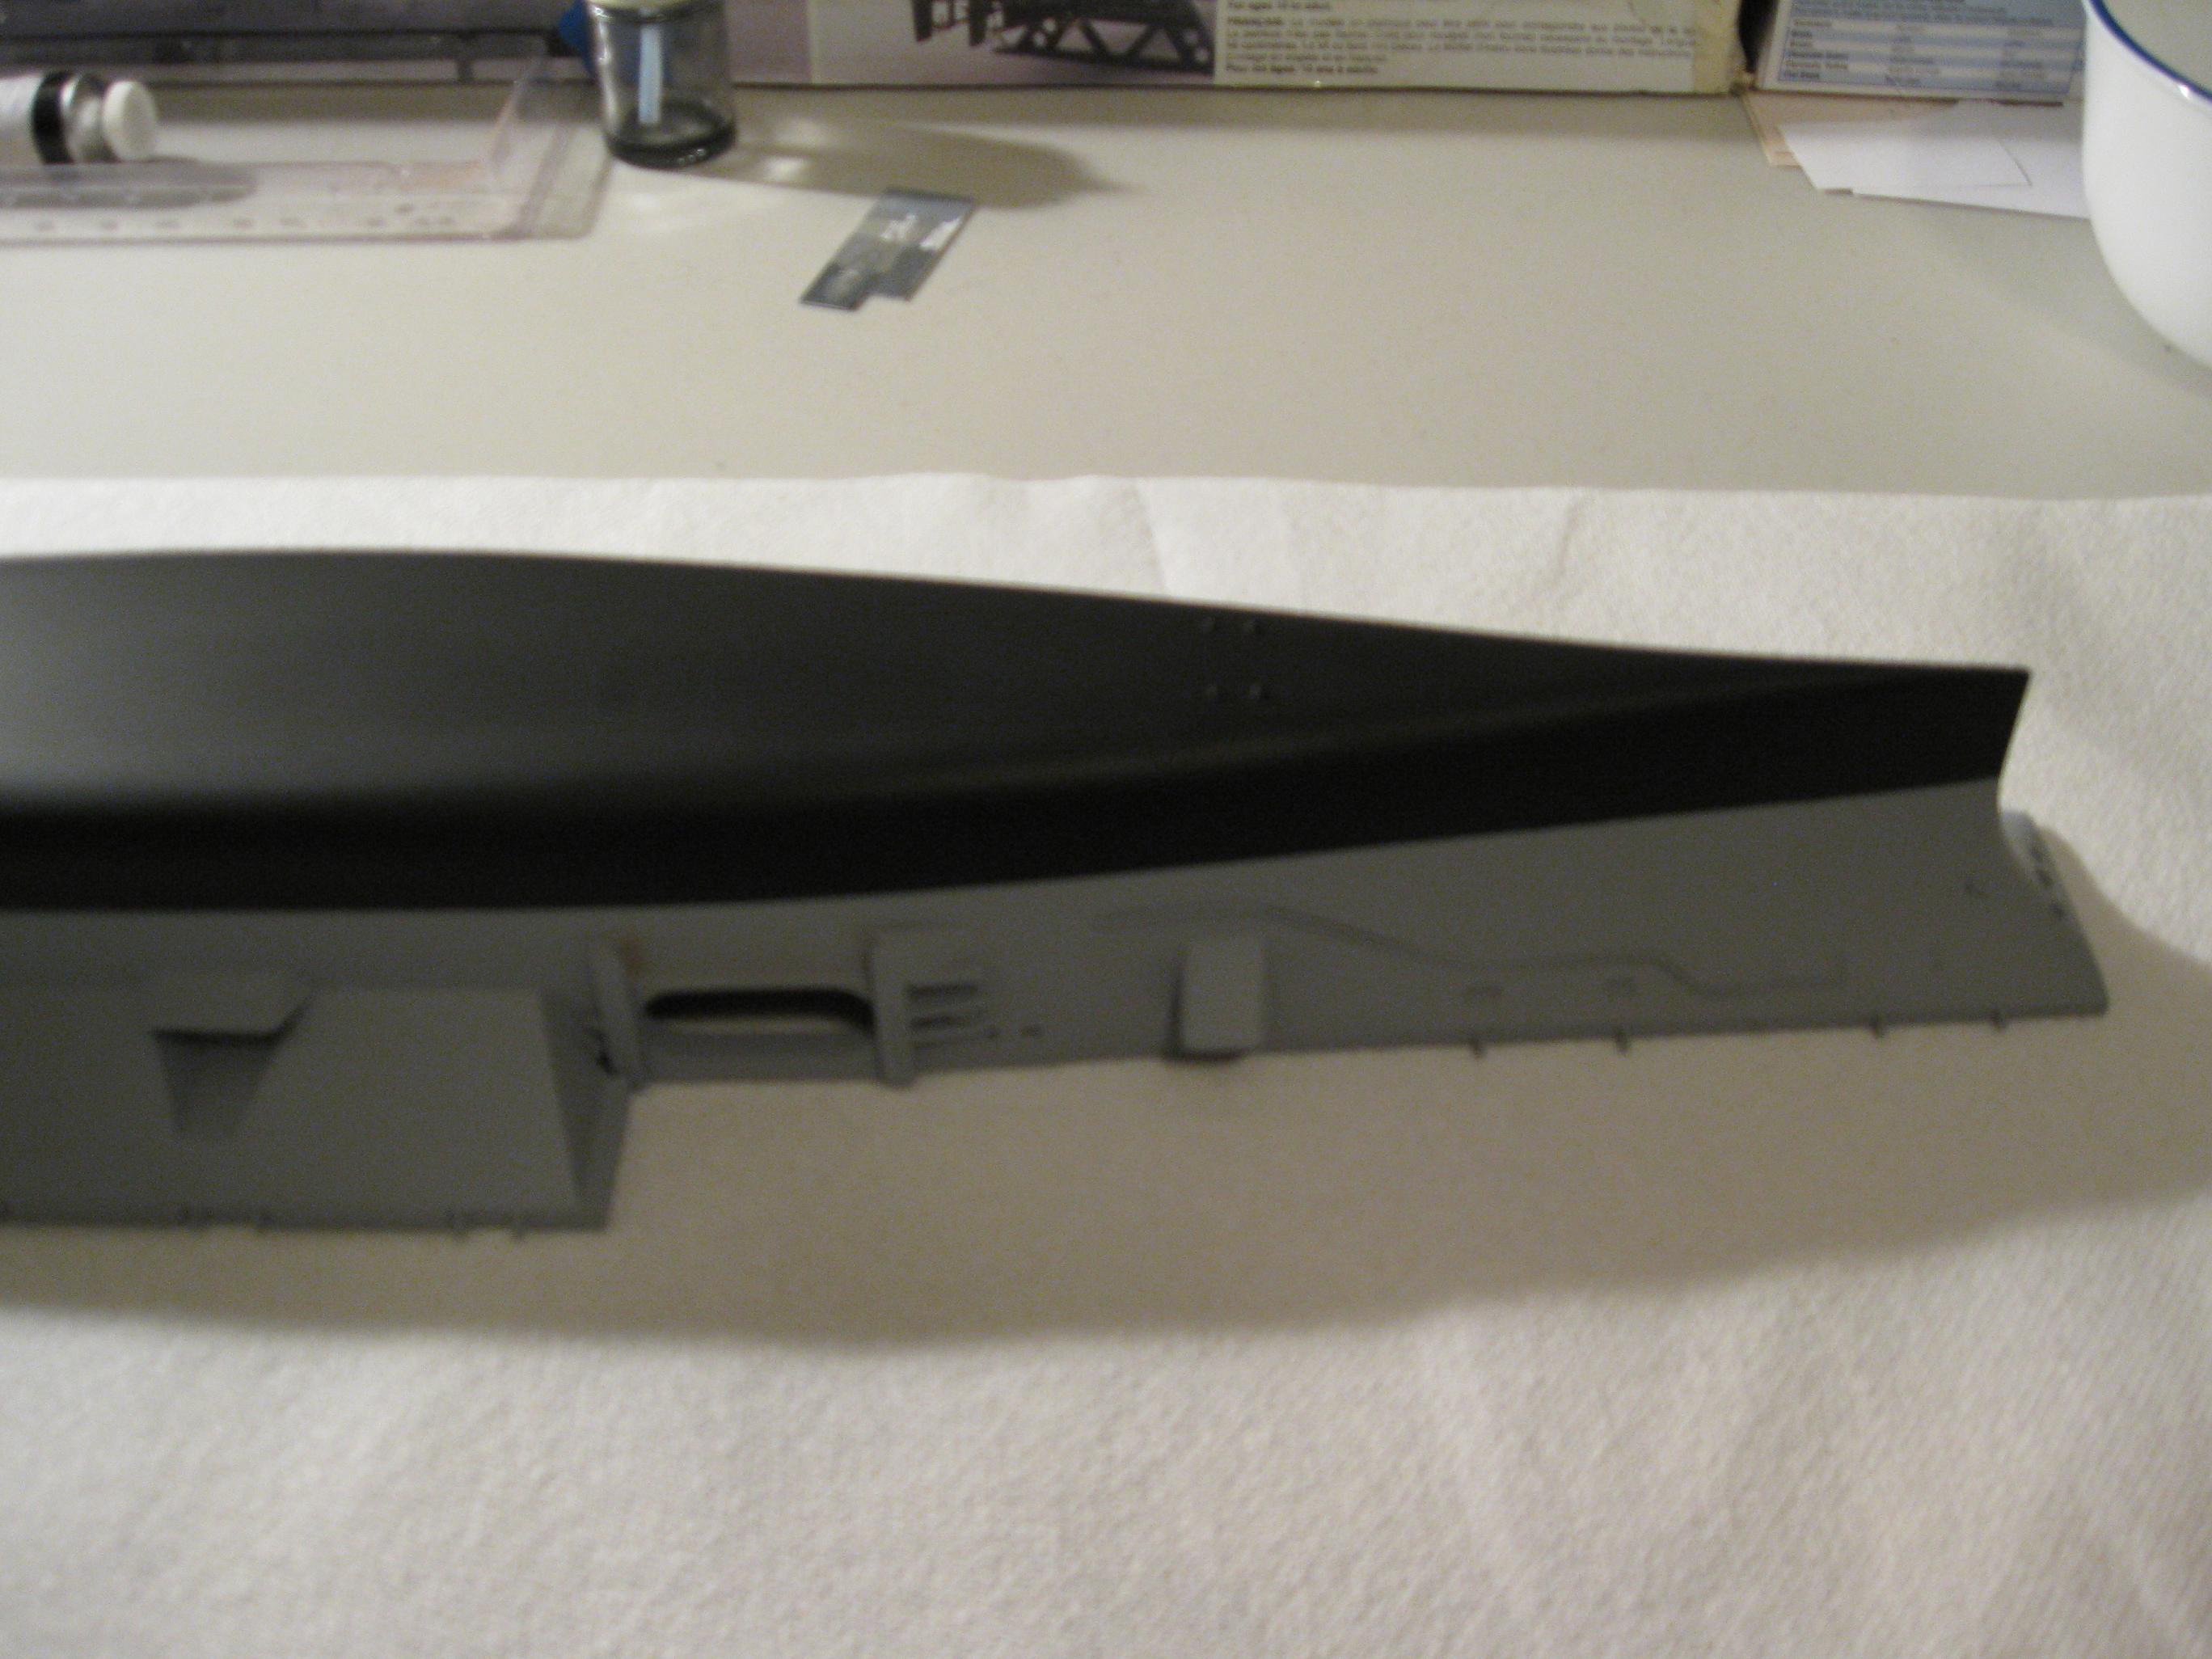
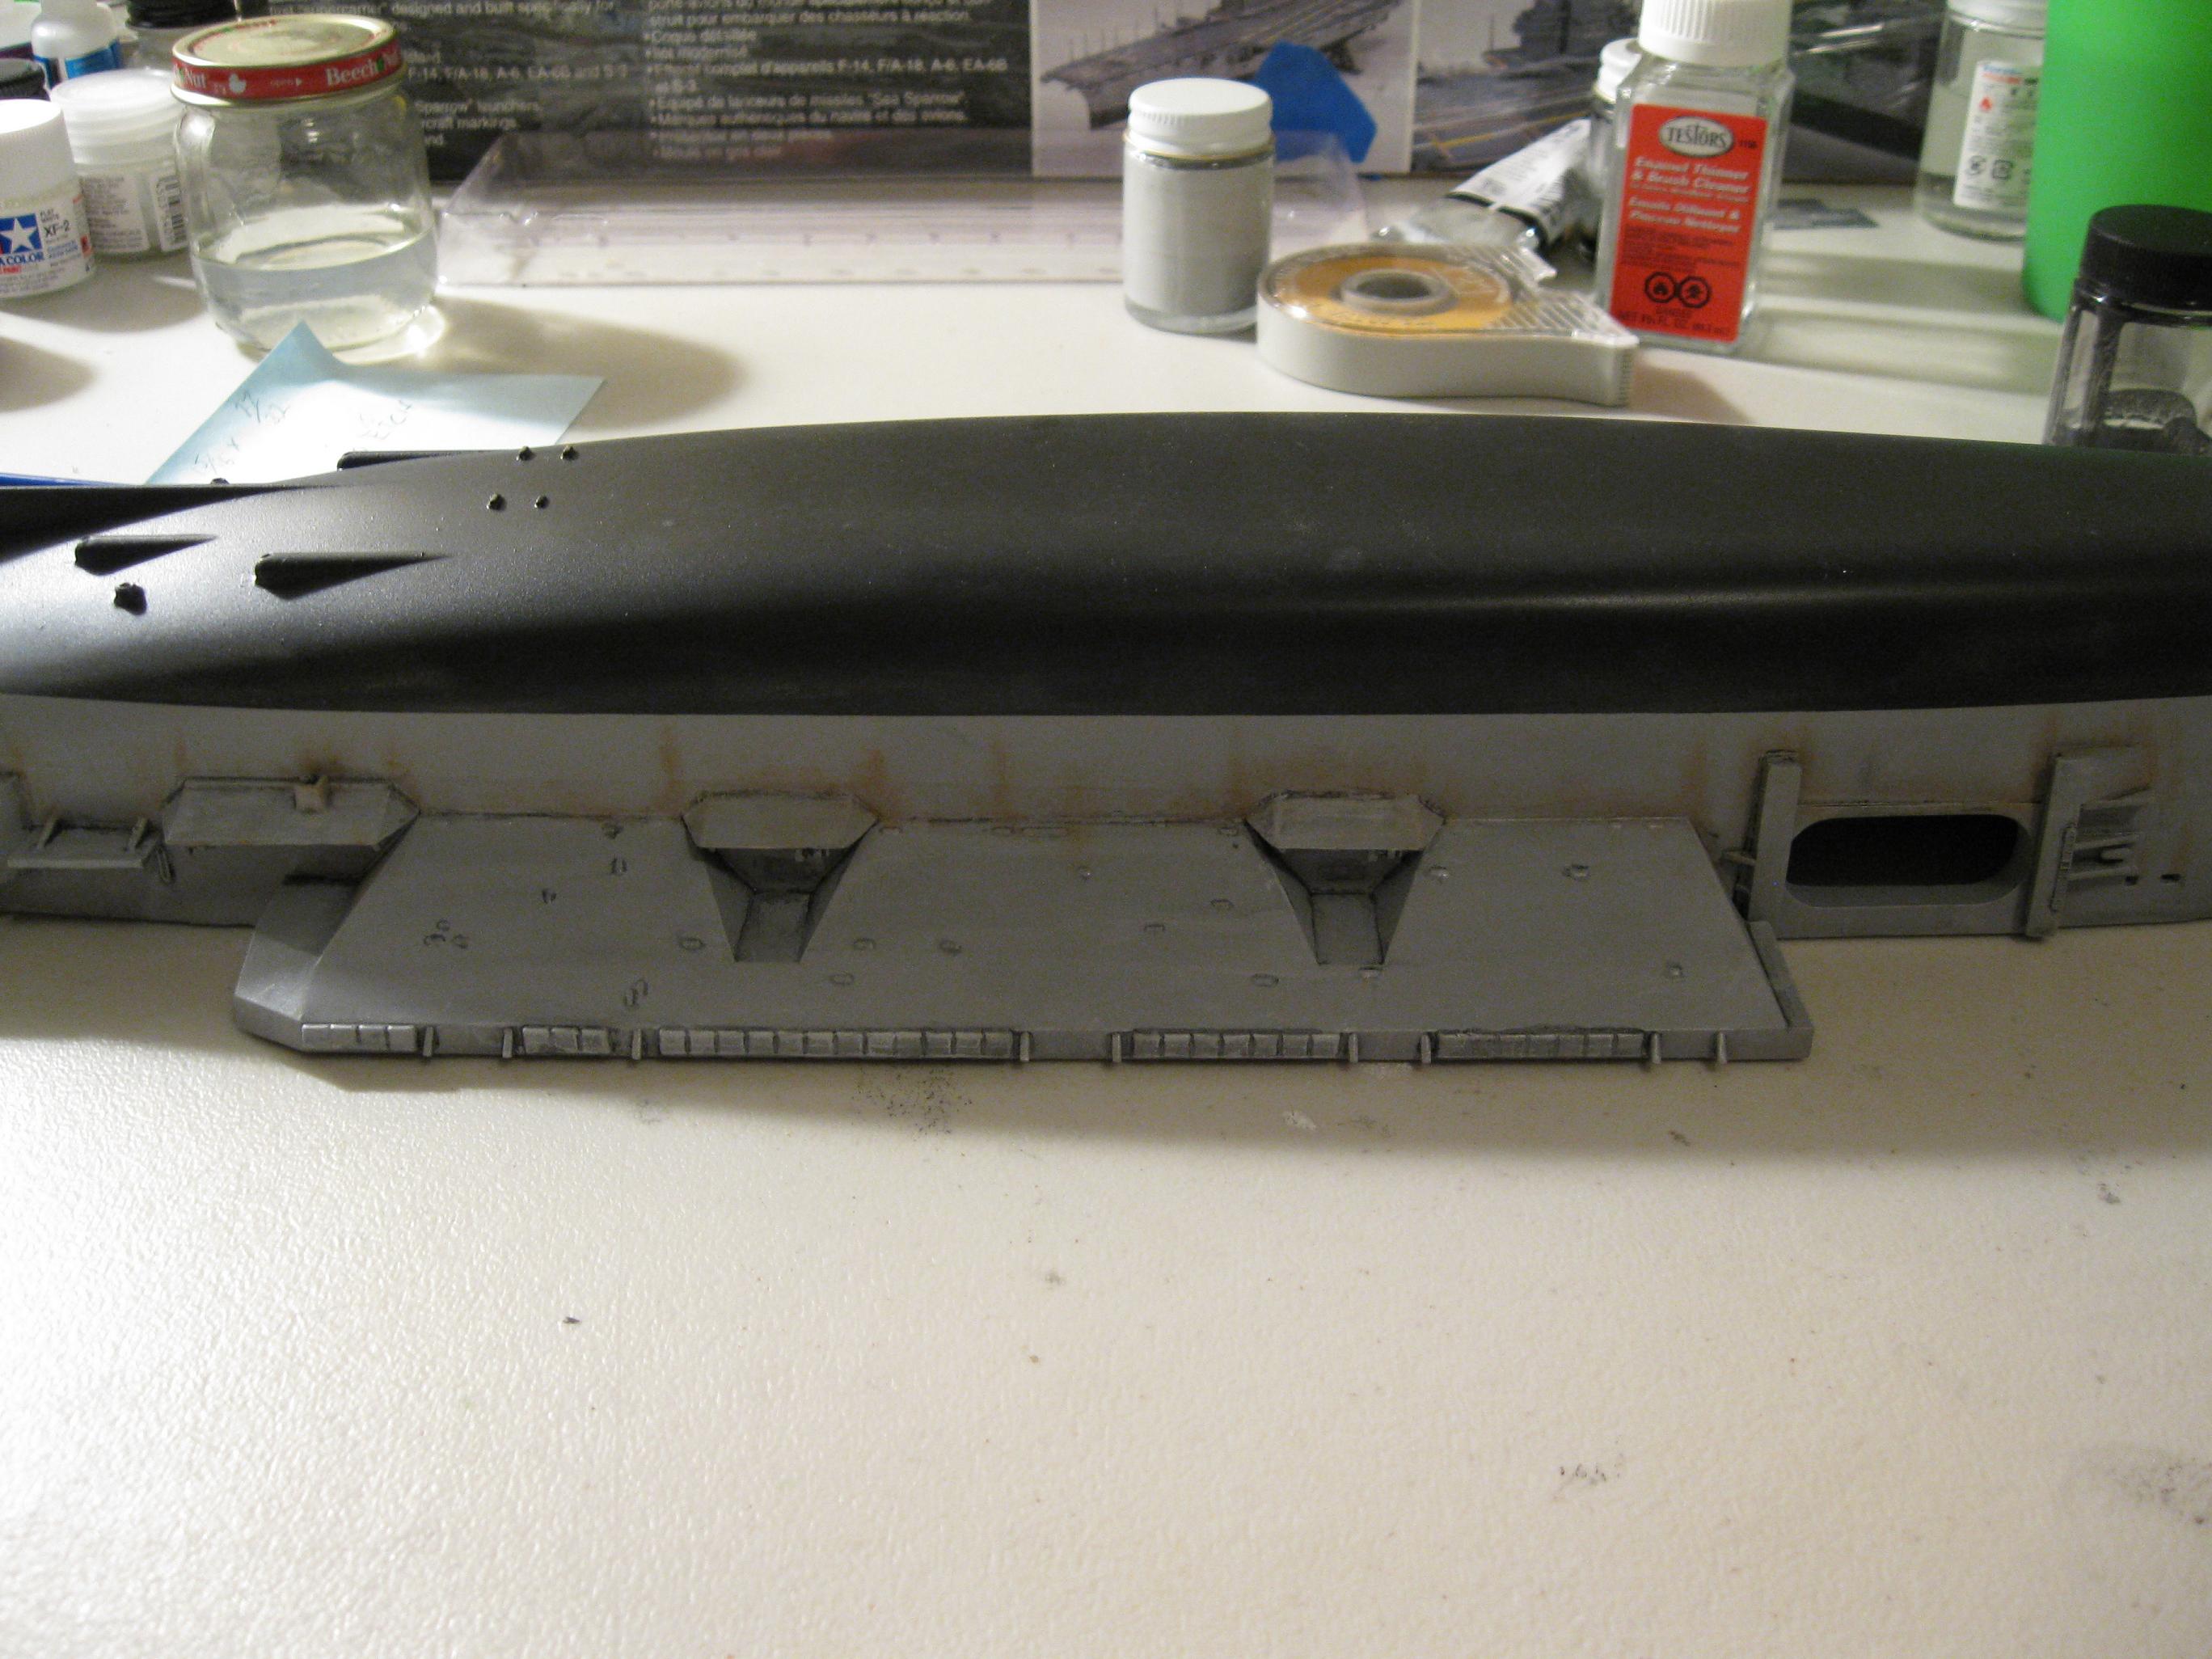
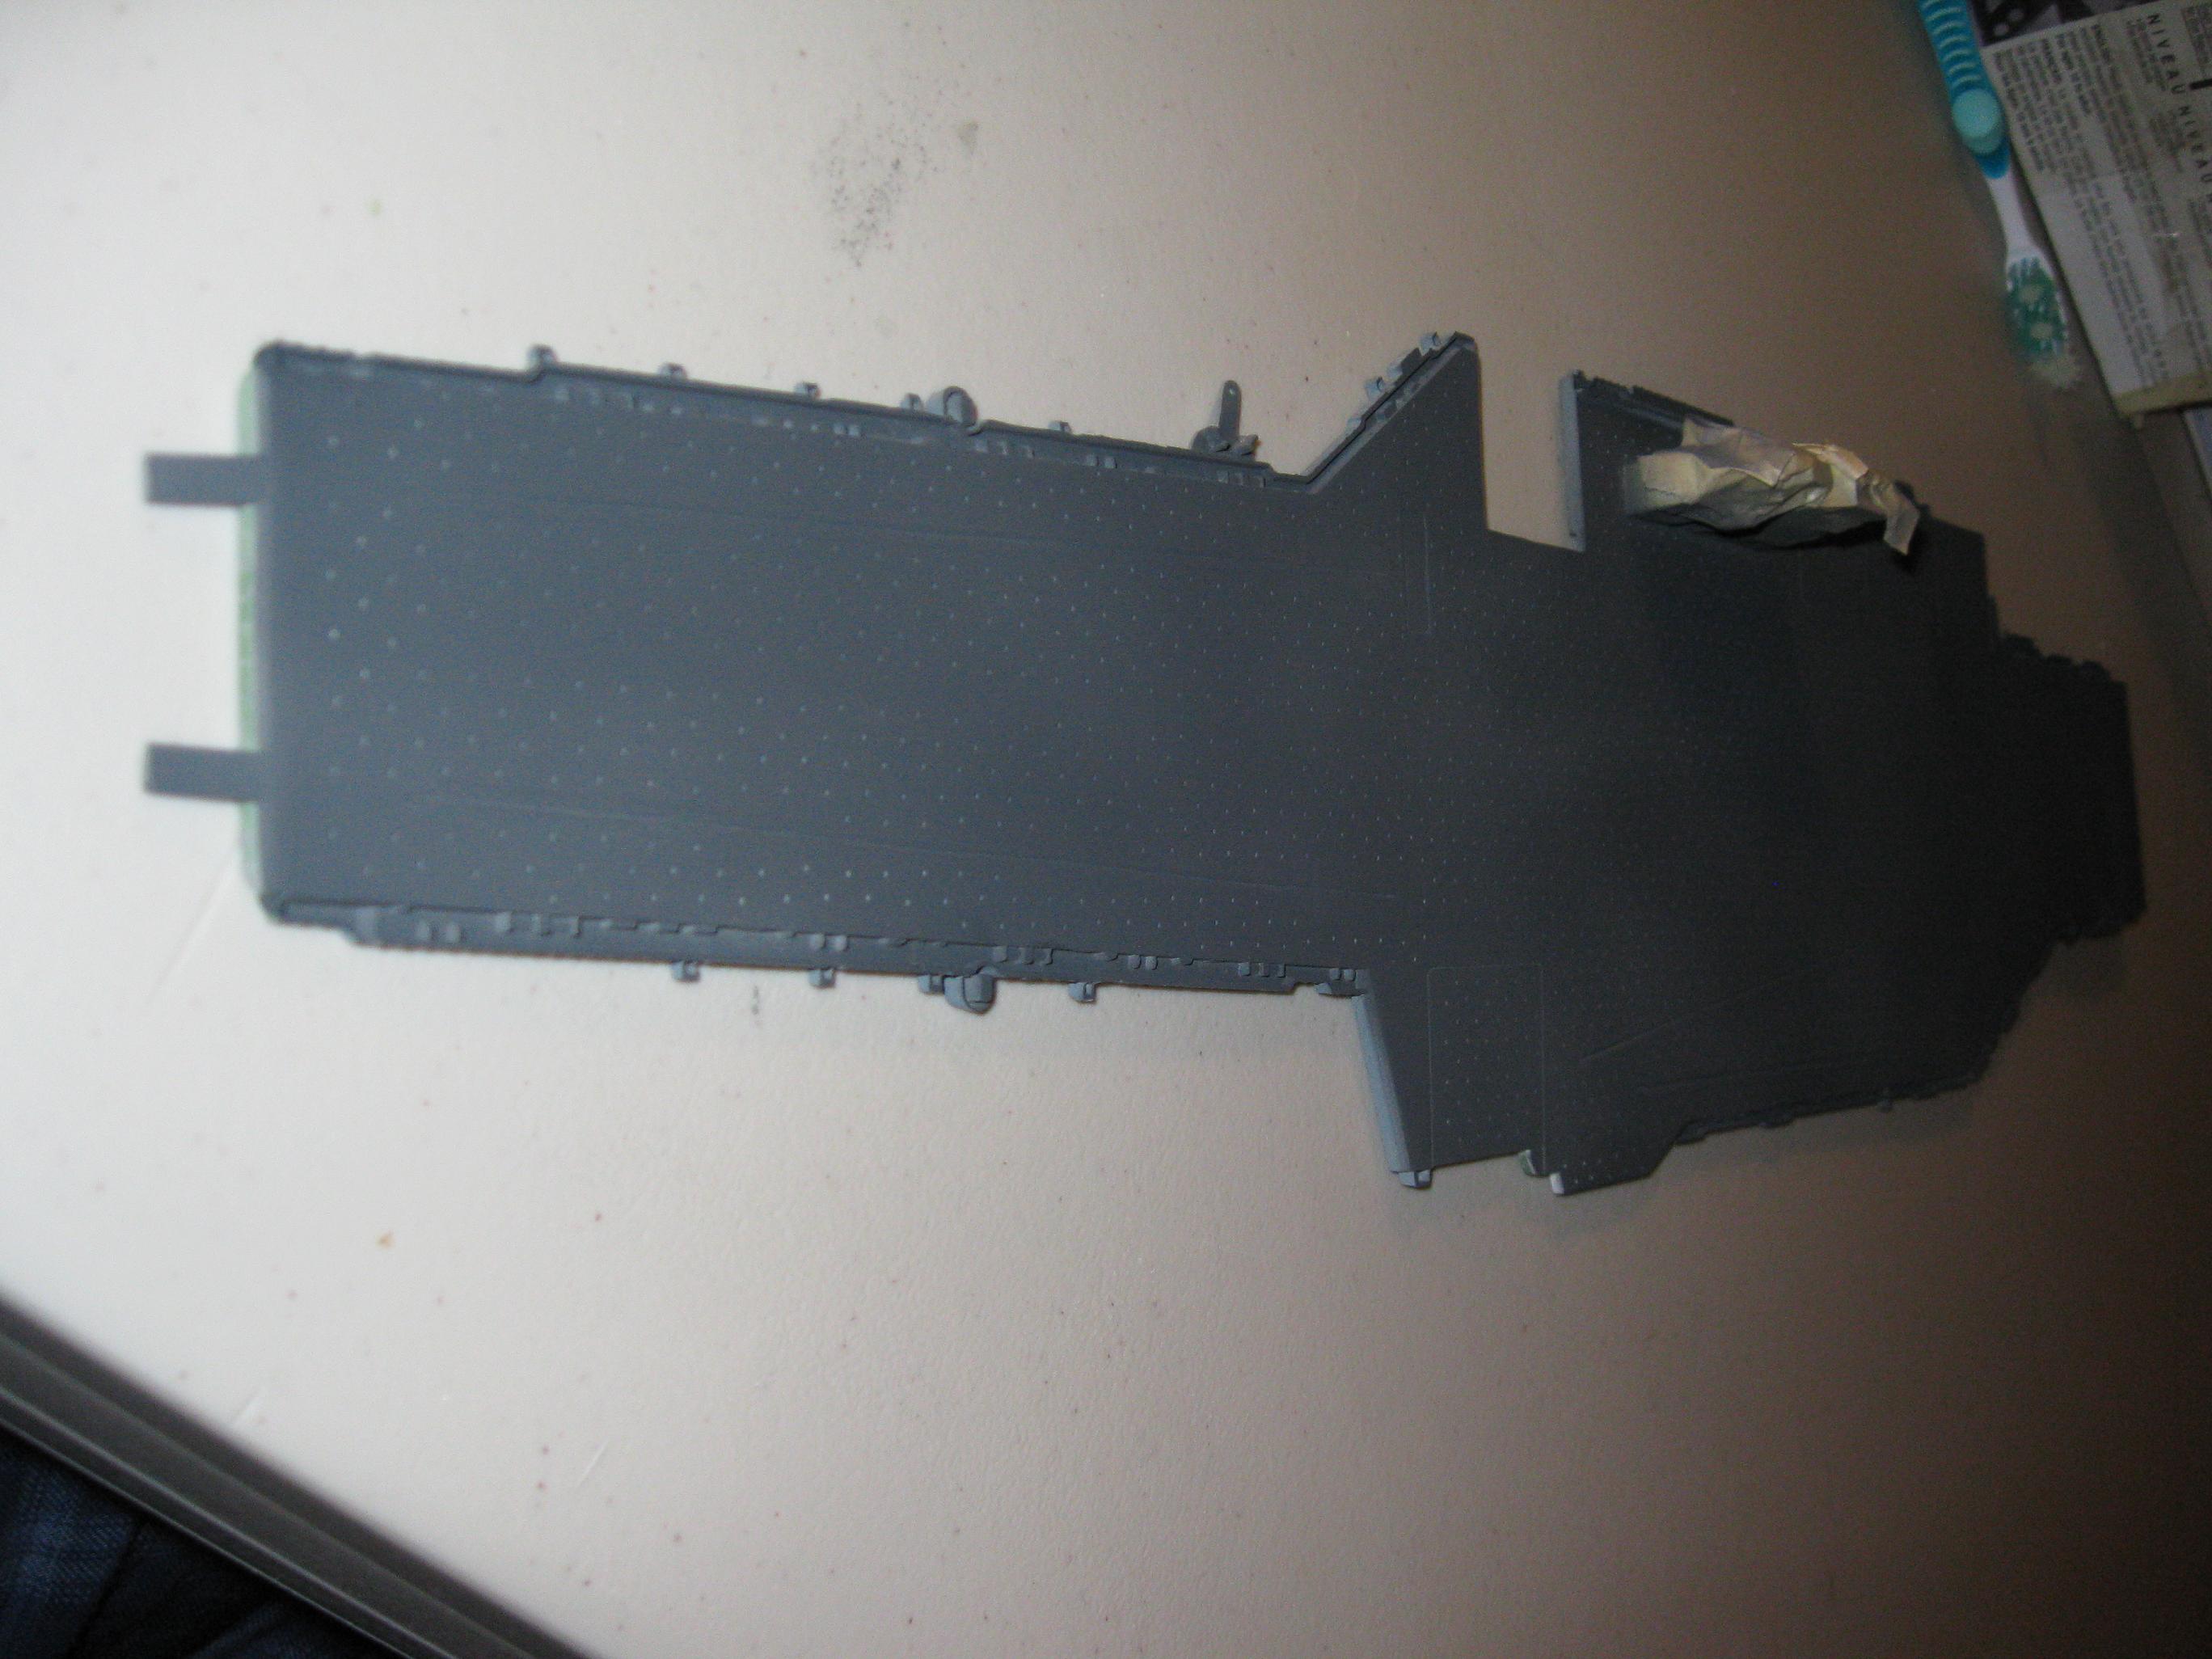
I mixed a few paints to try and get close
to primer gray and painted them on the primed inside of the
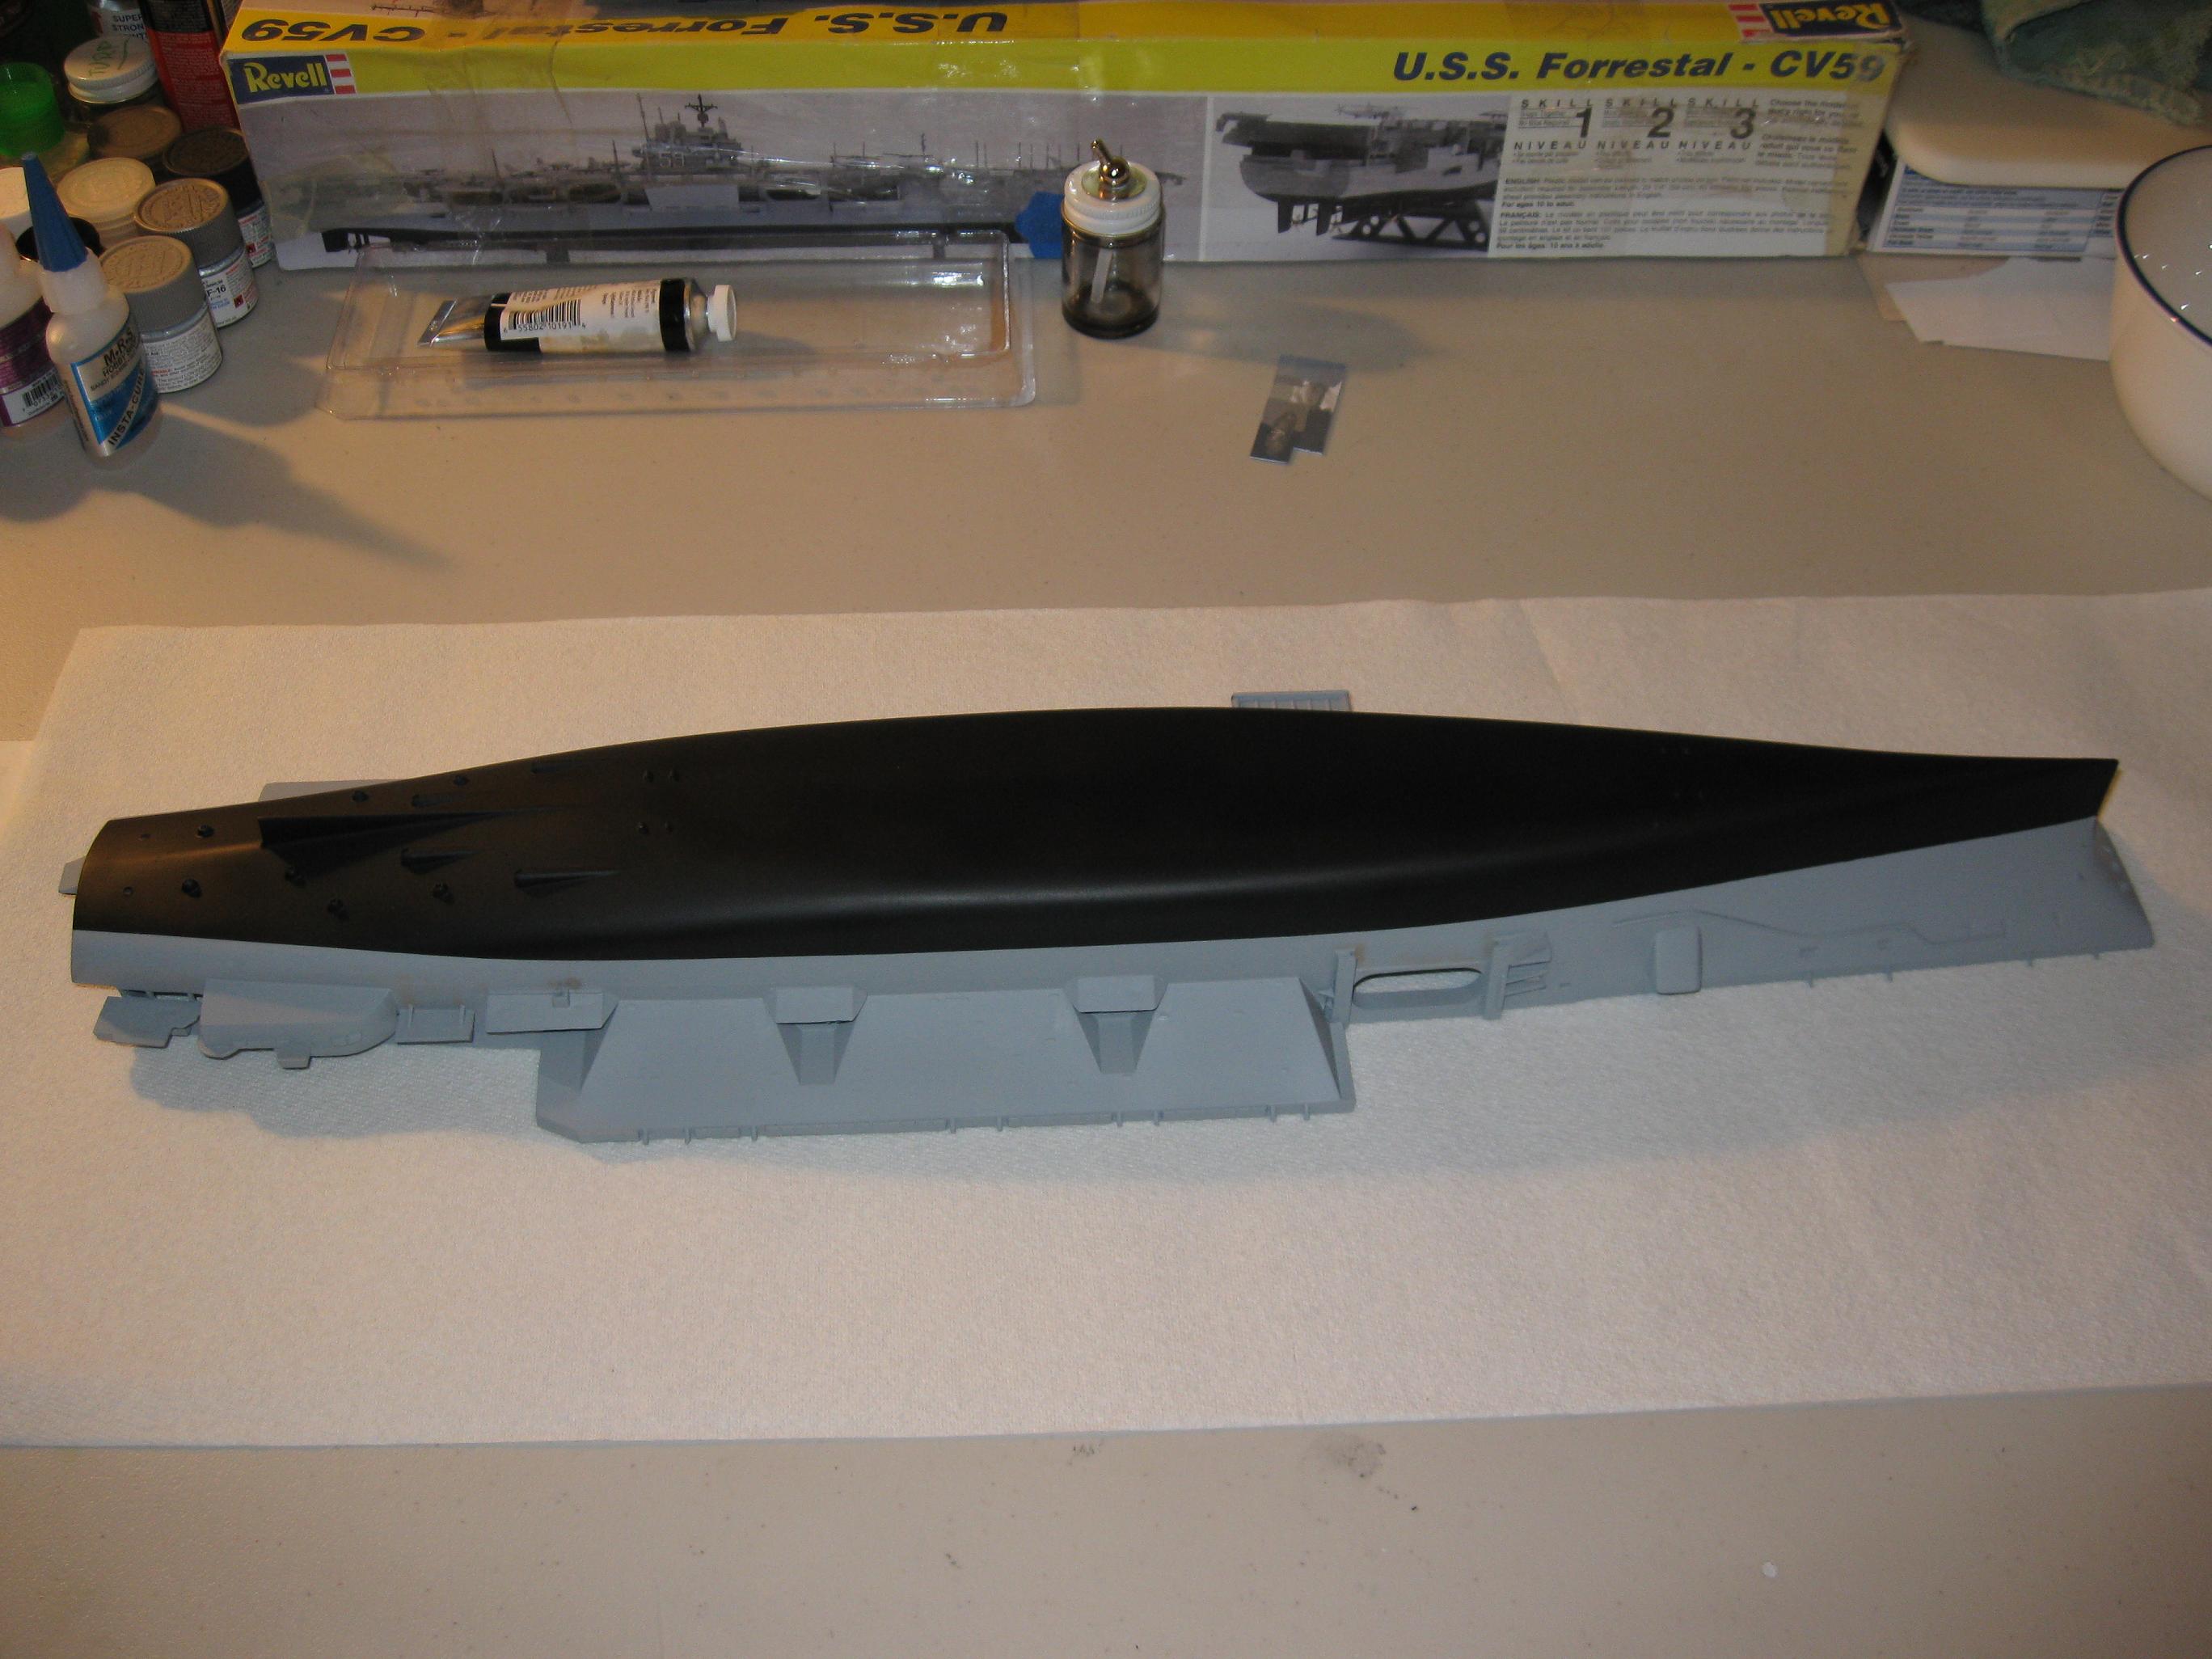
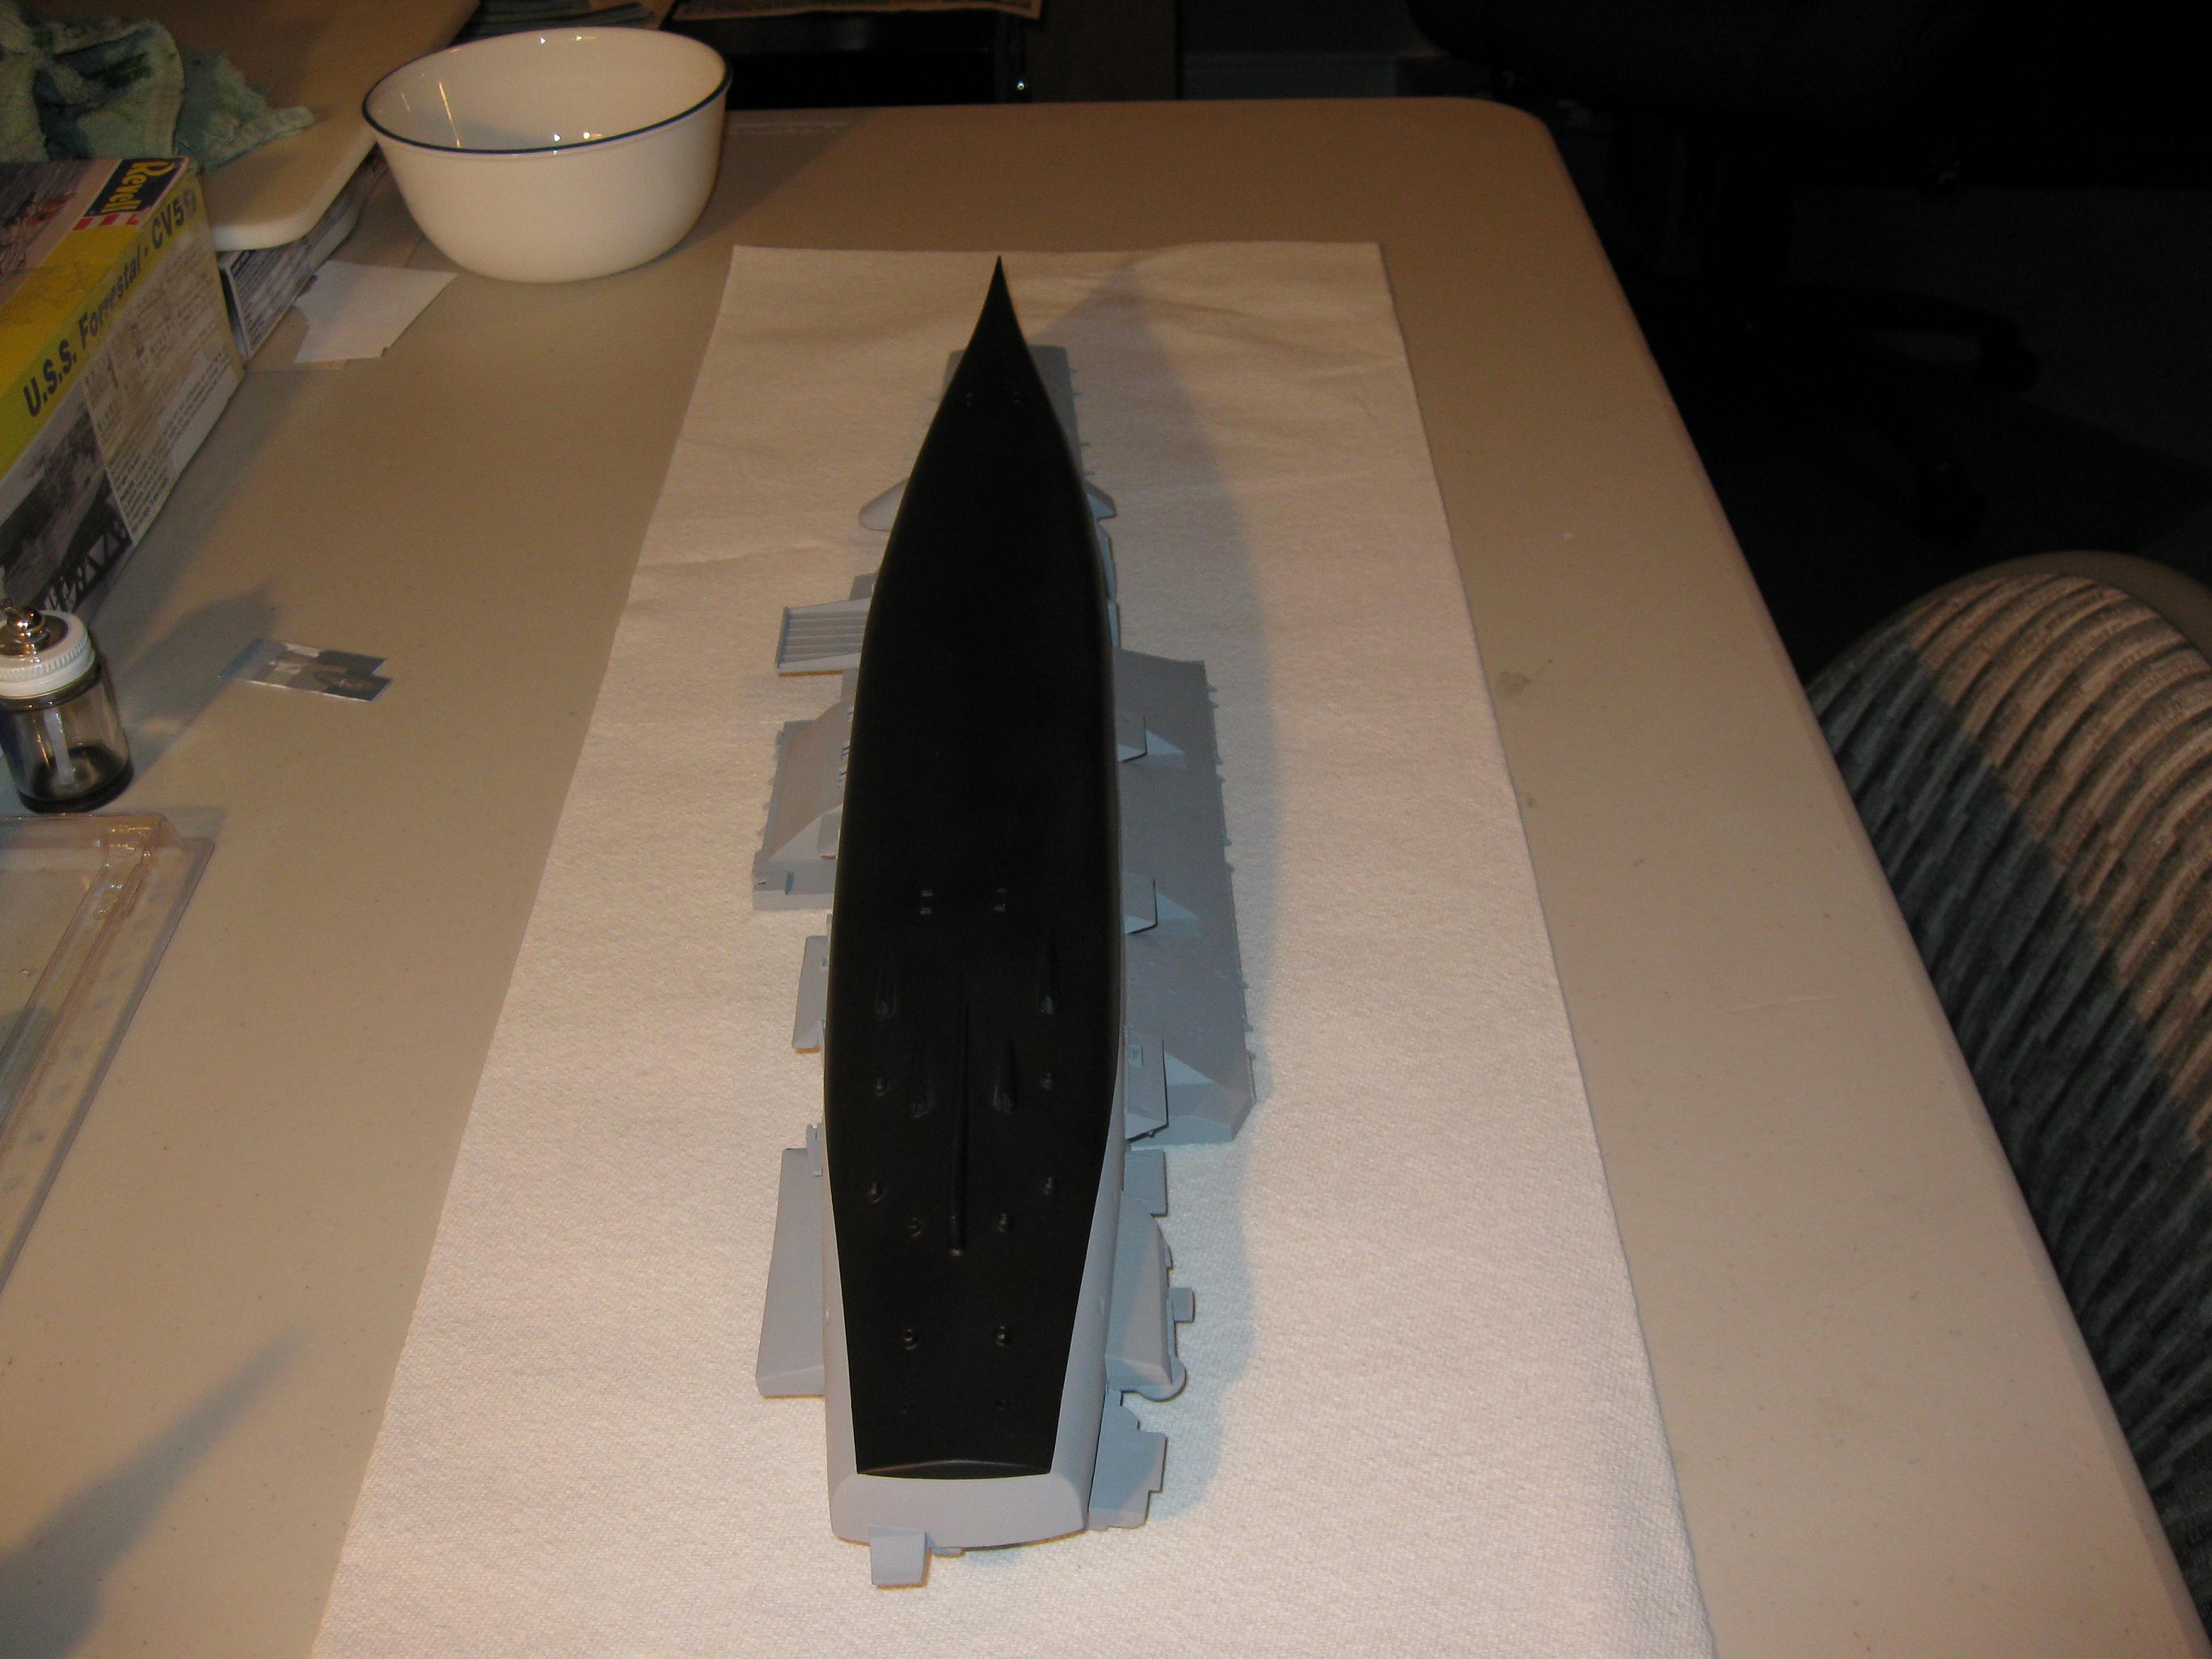
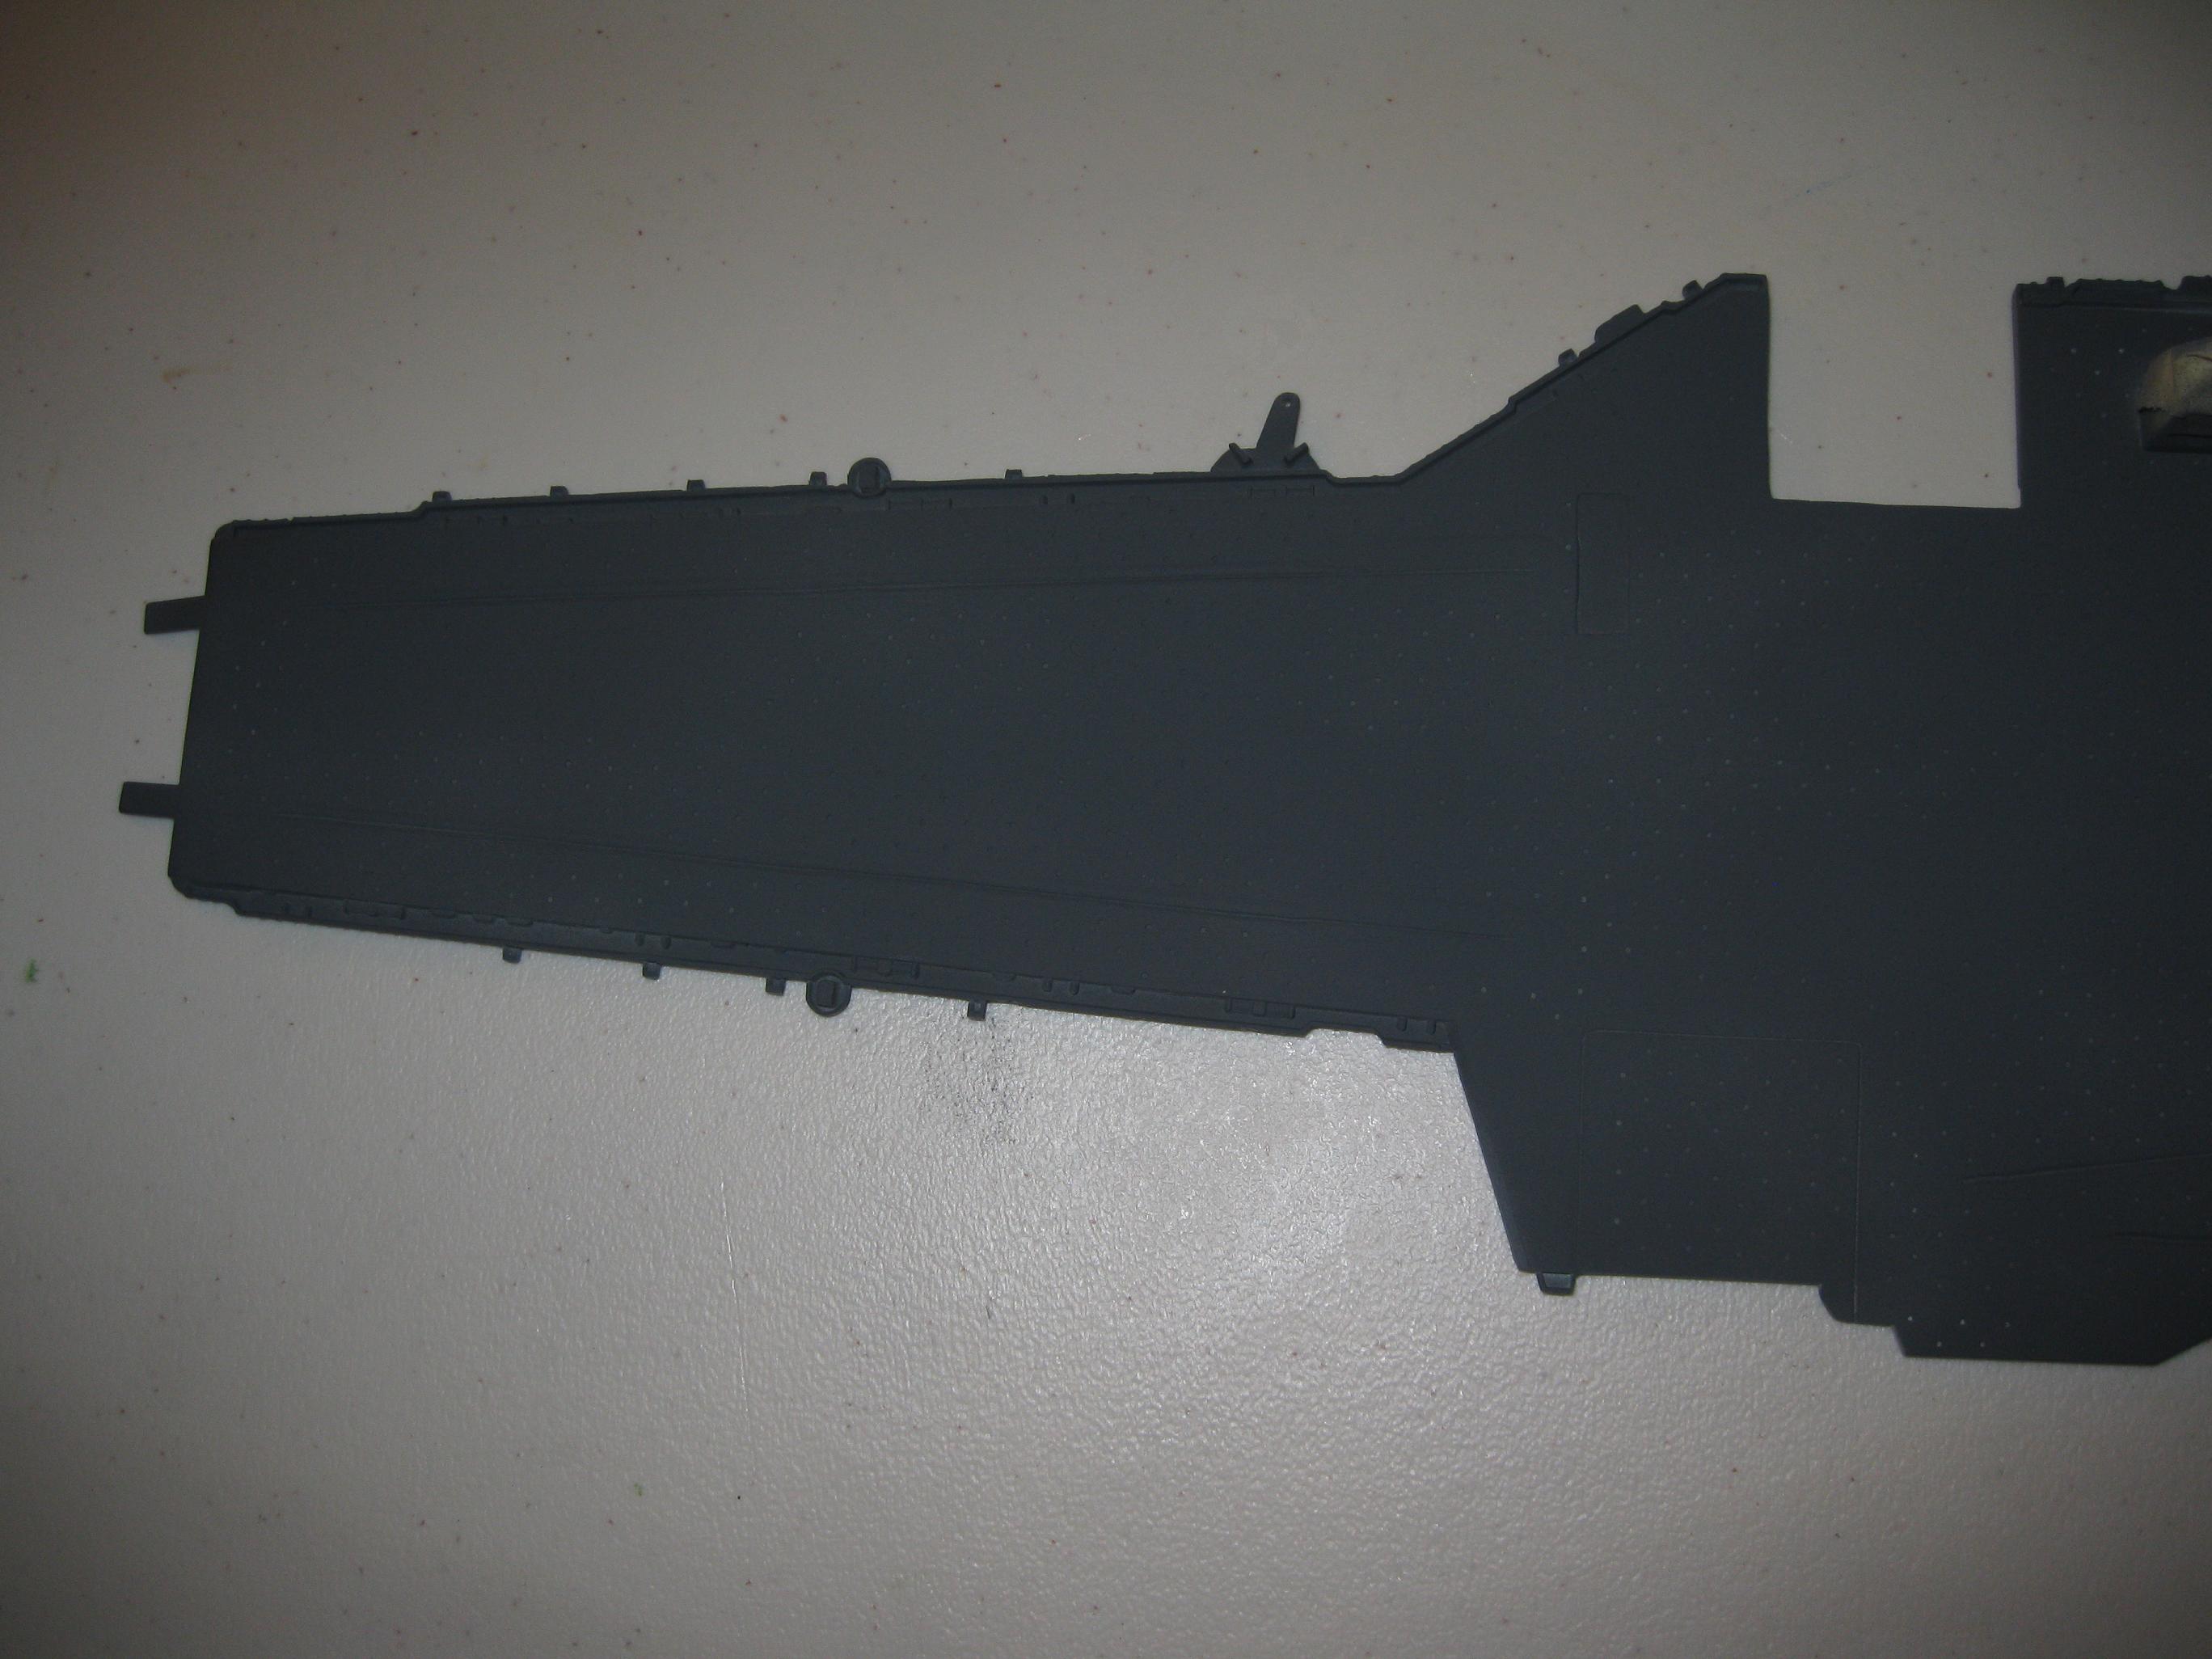
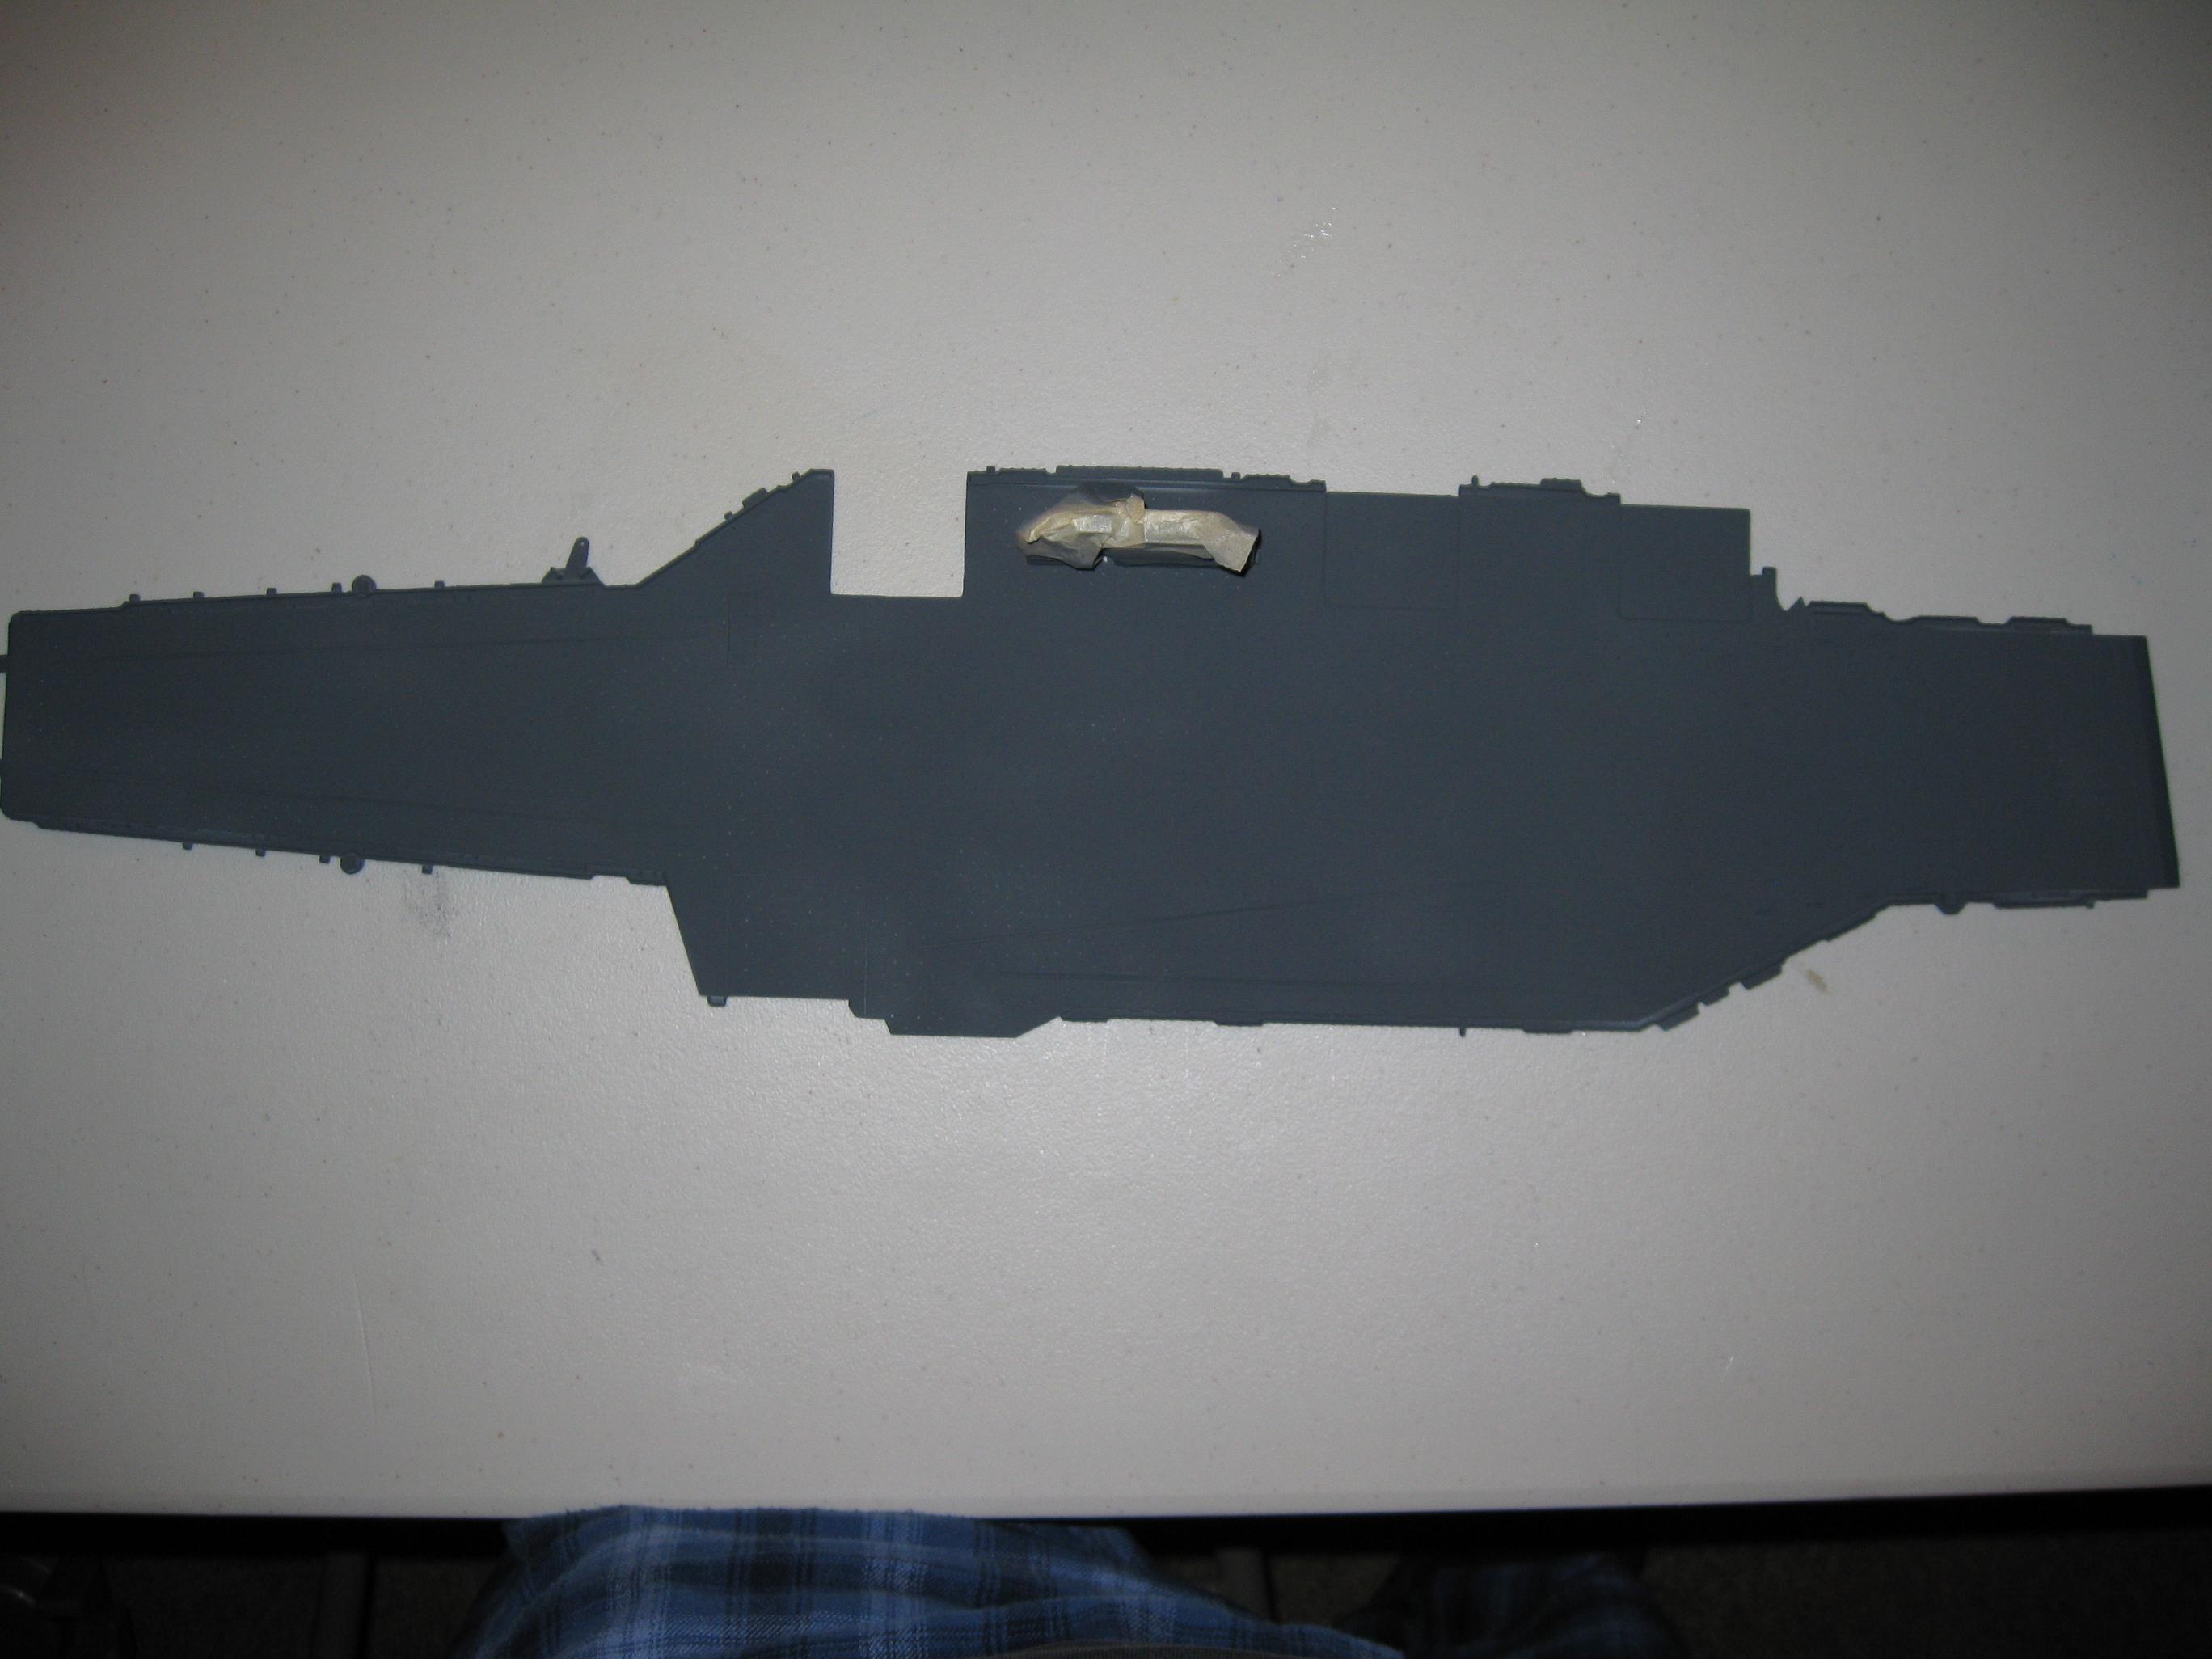
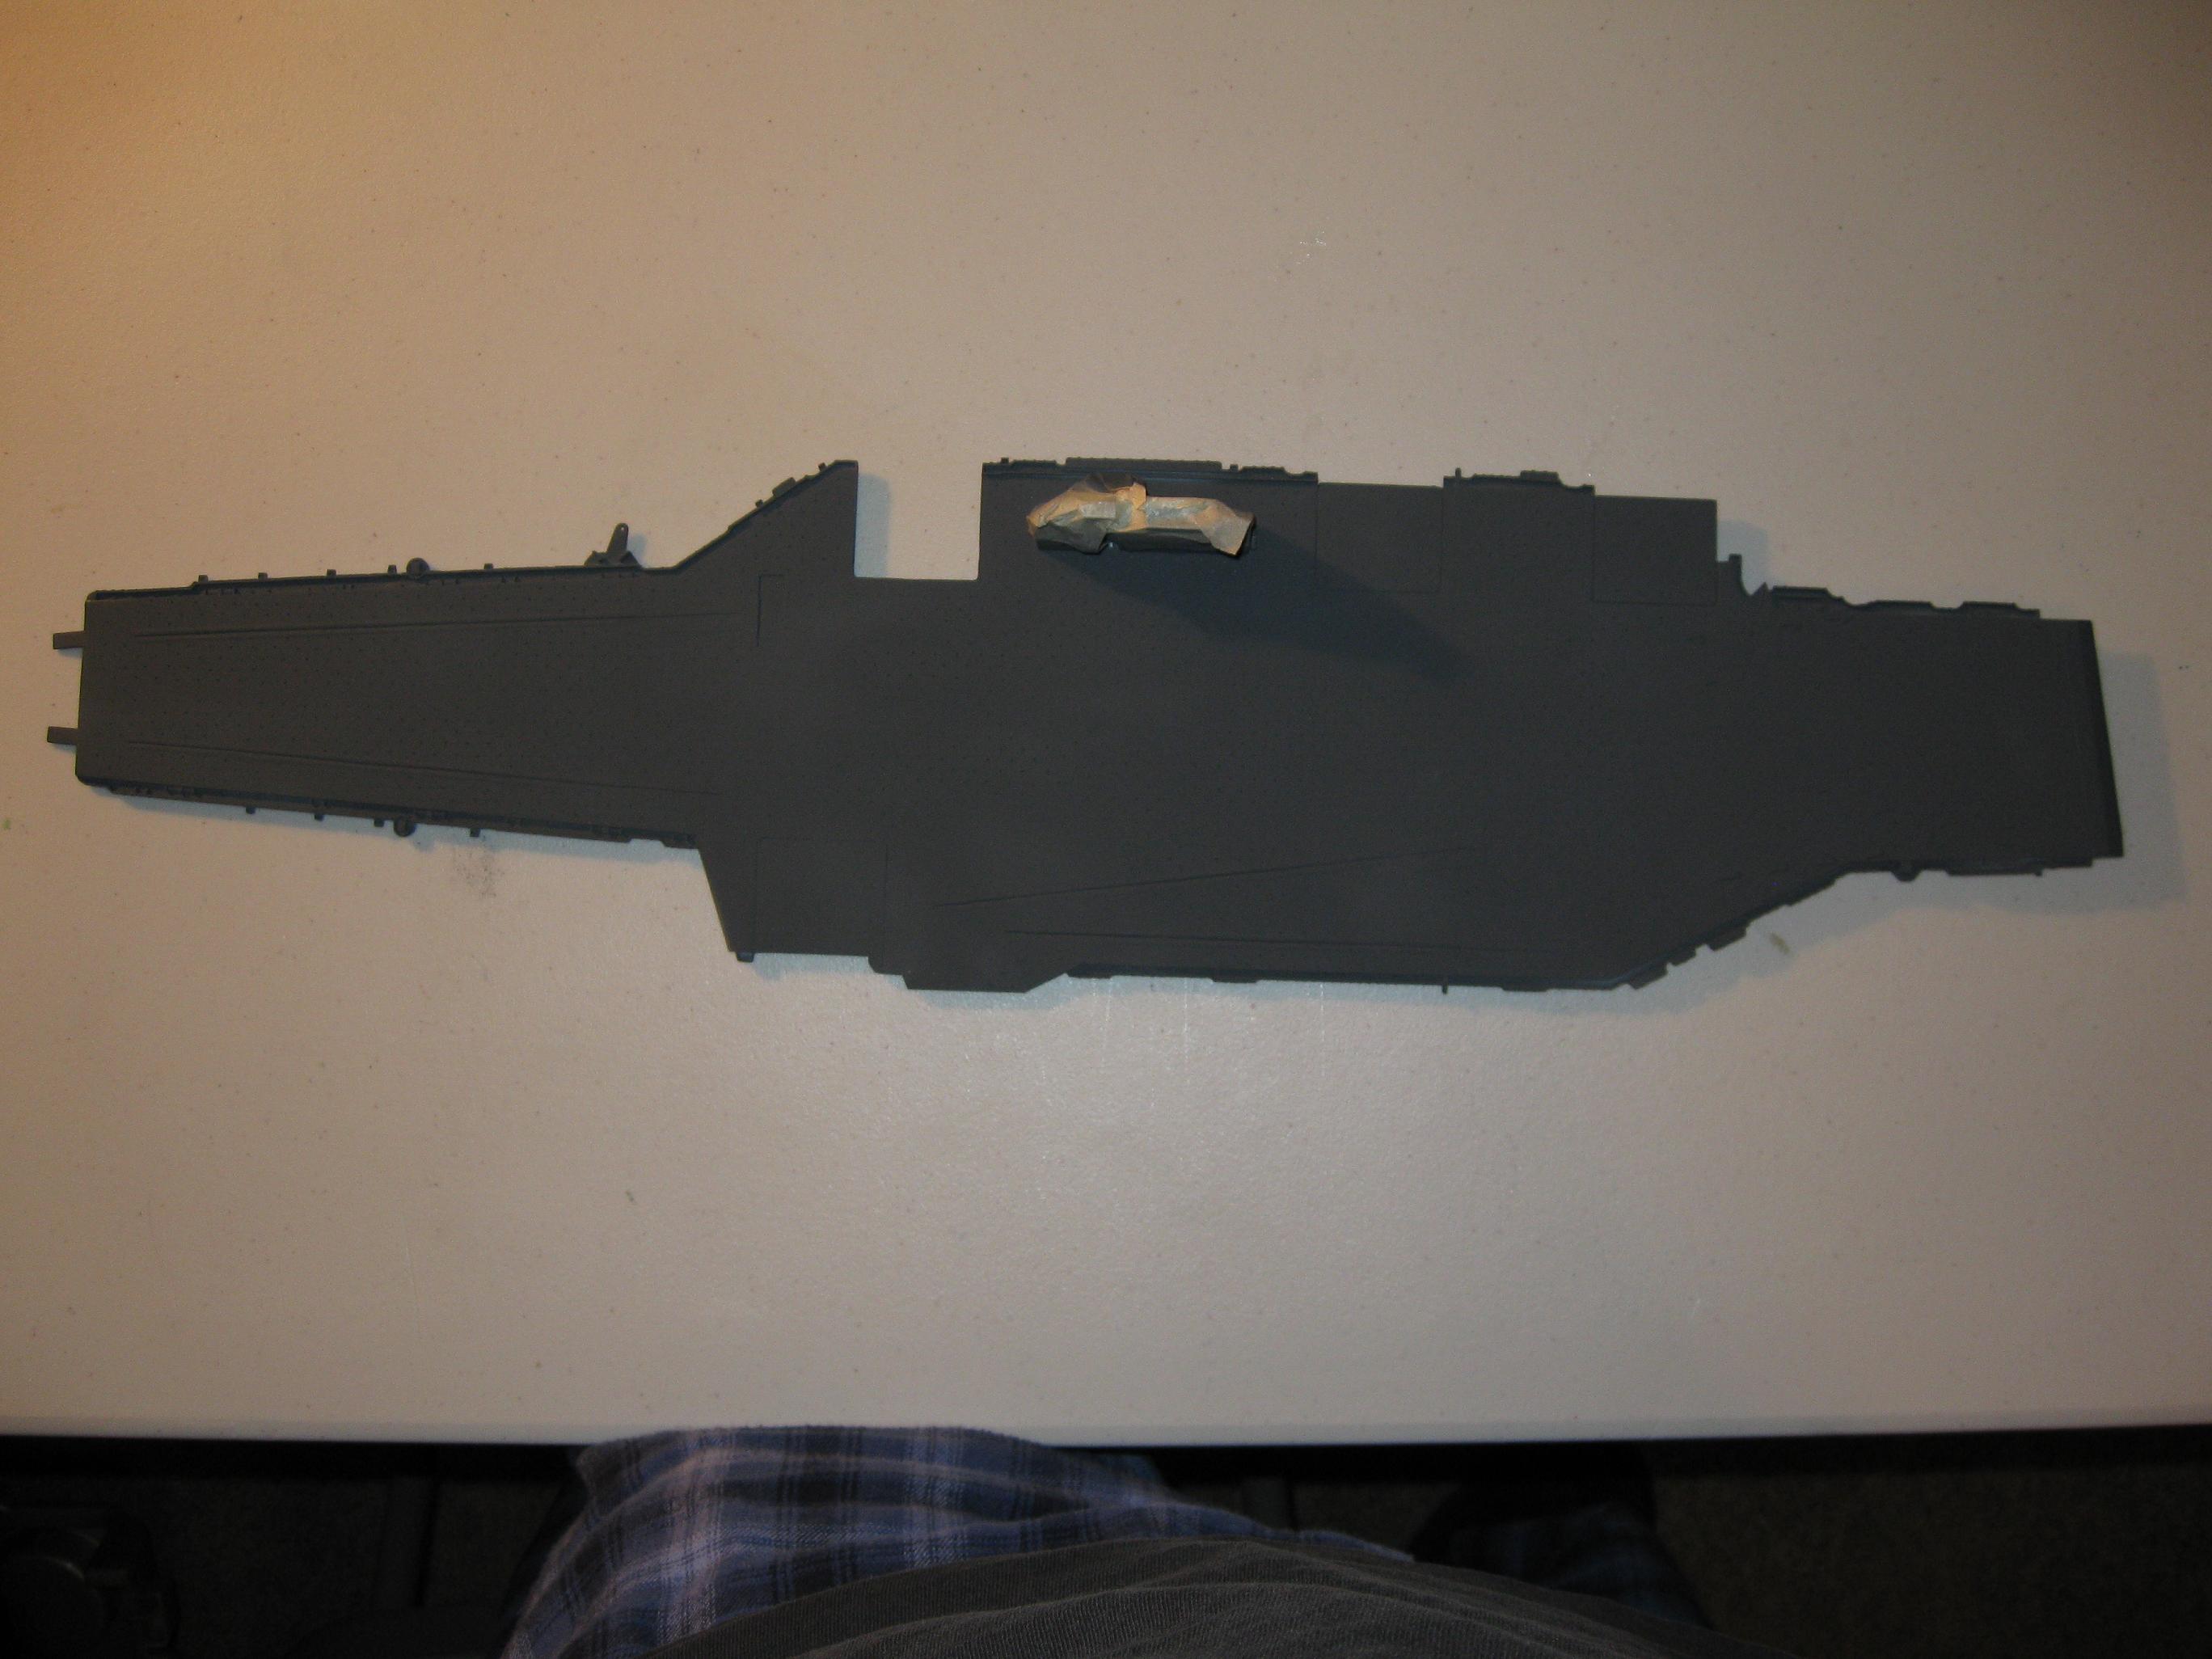
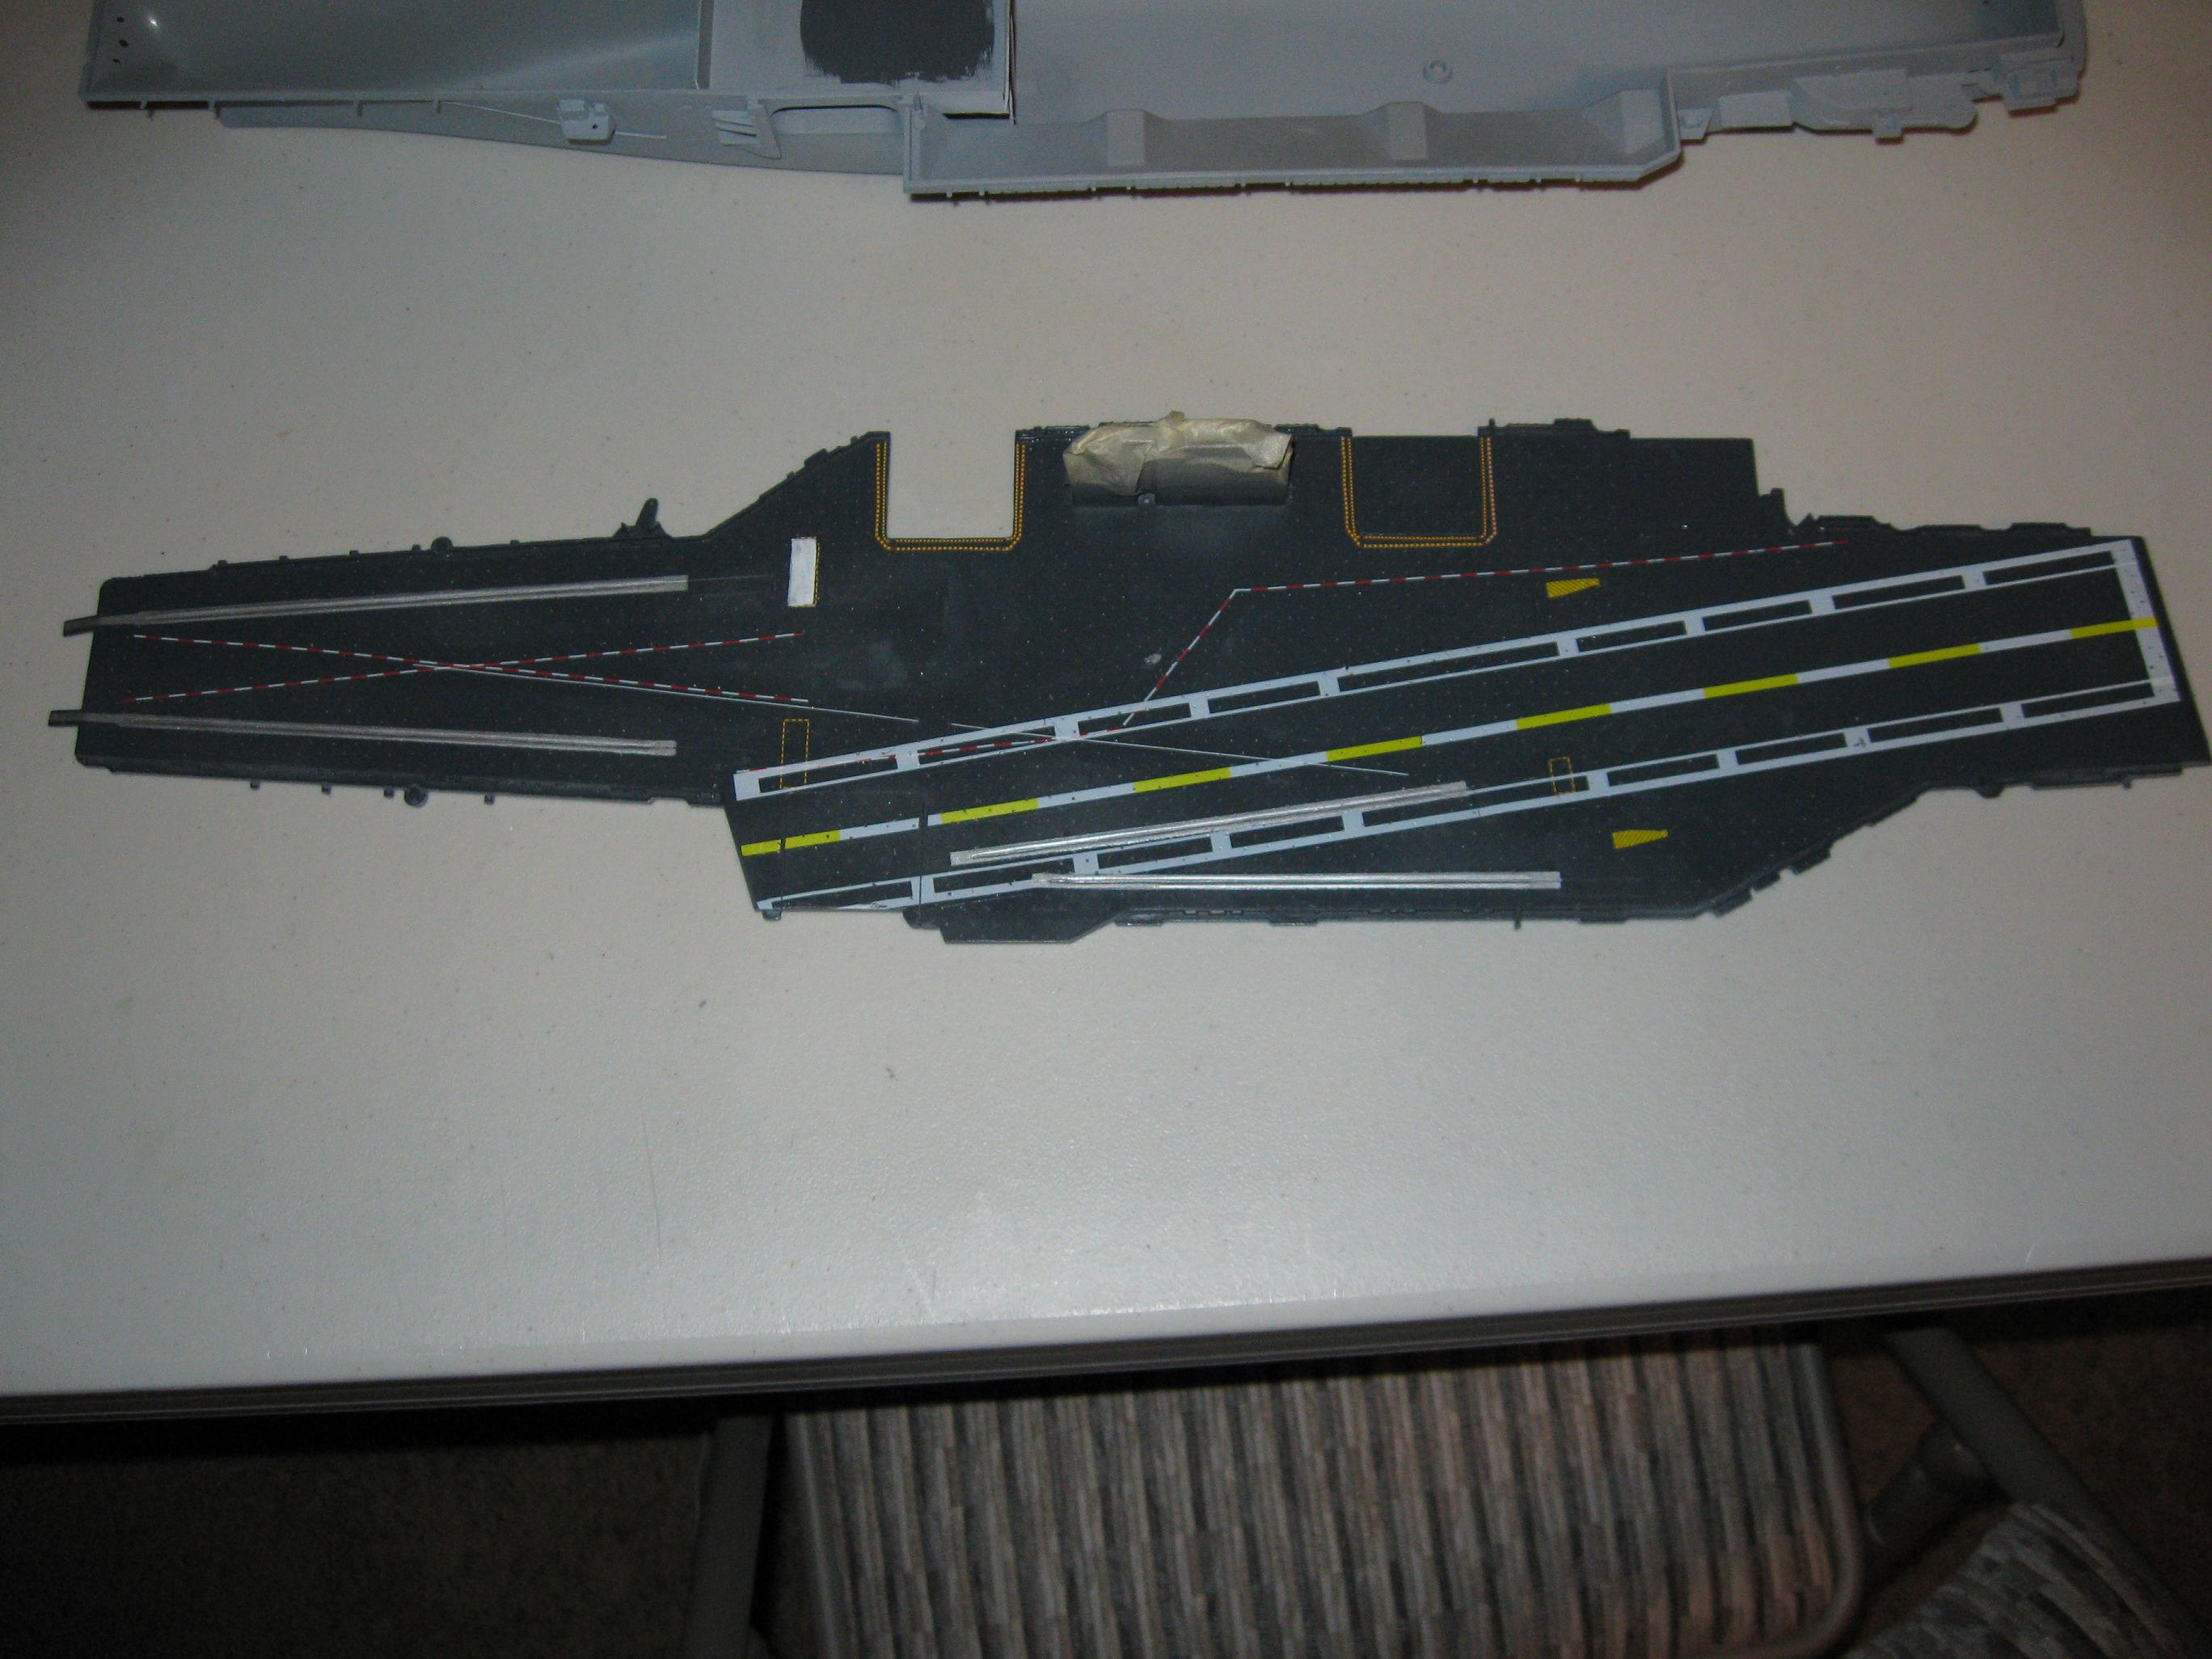
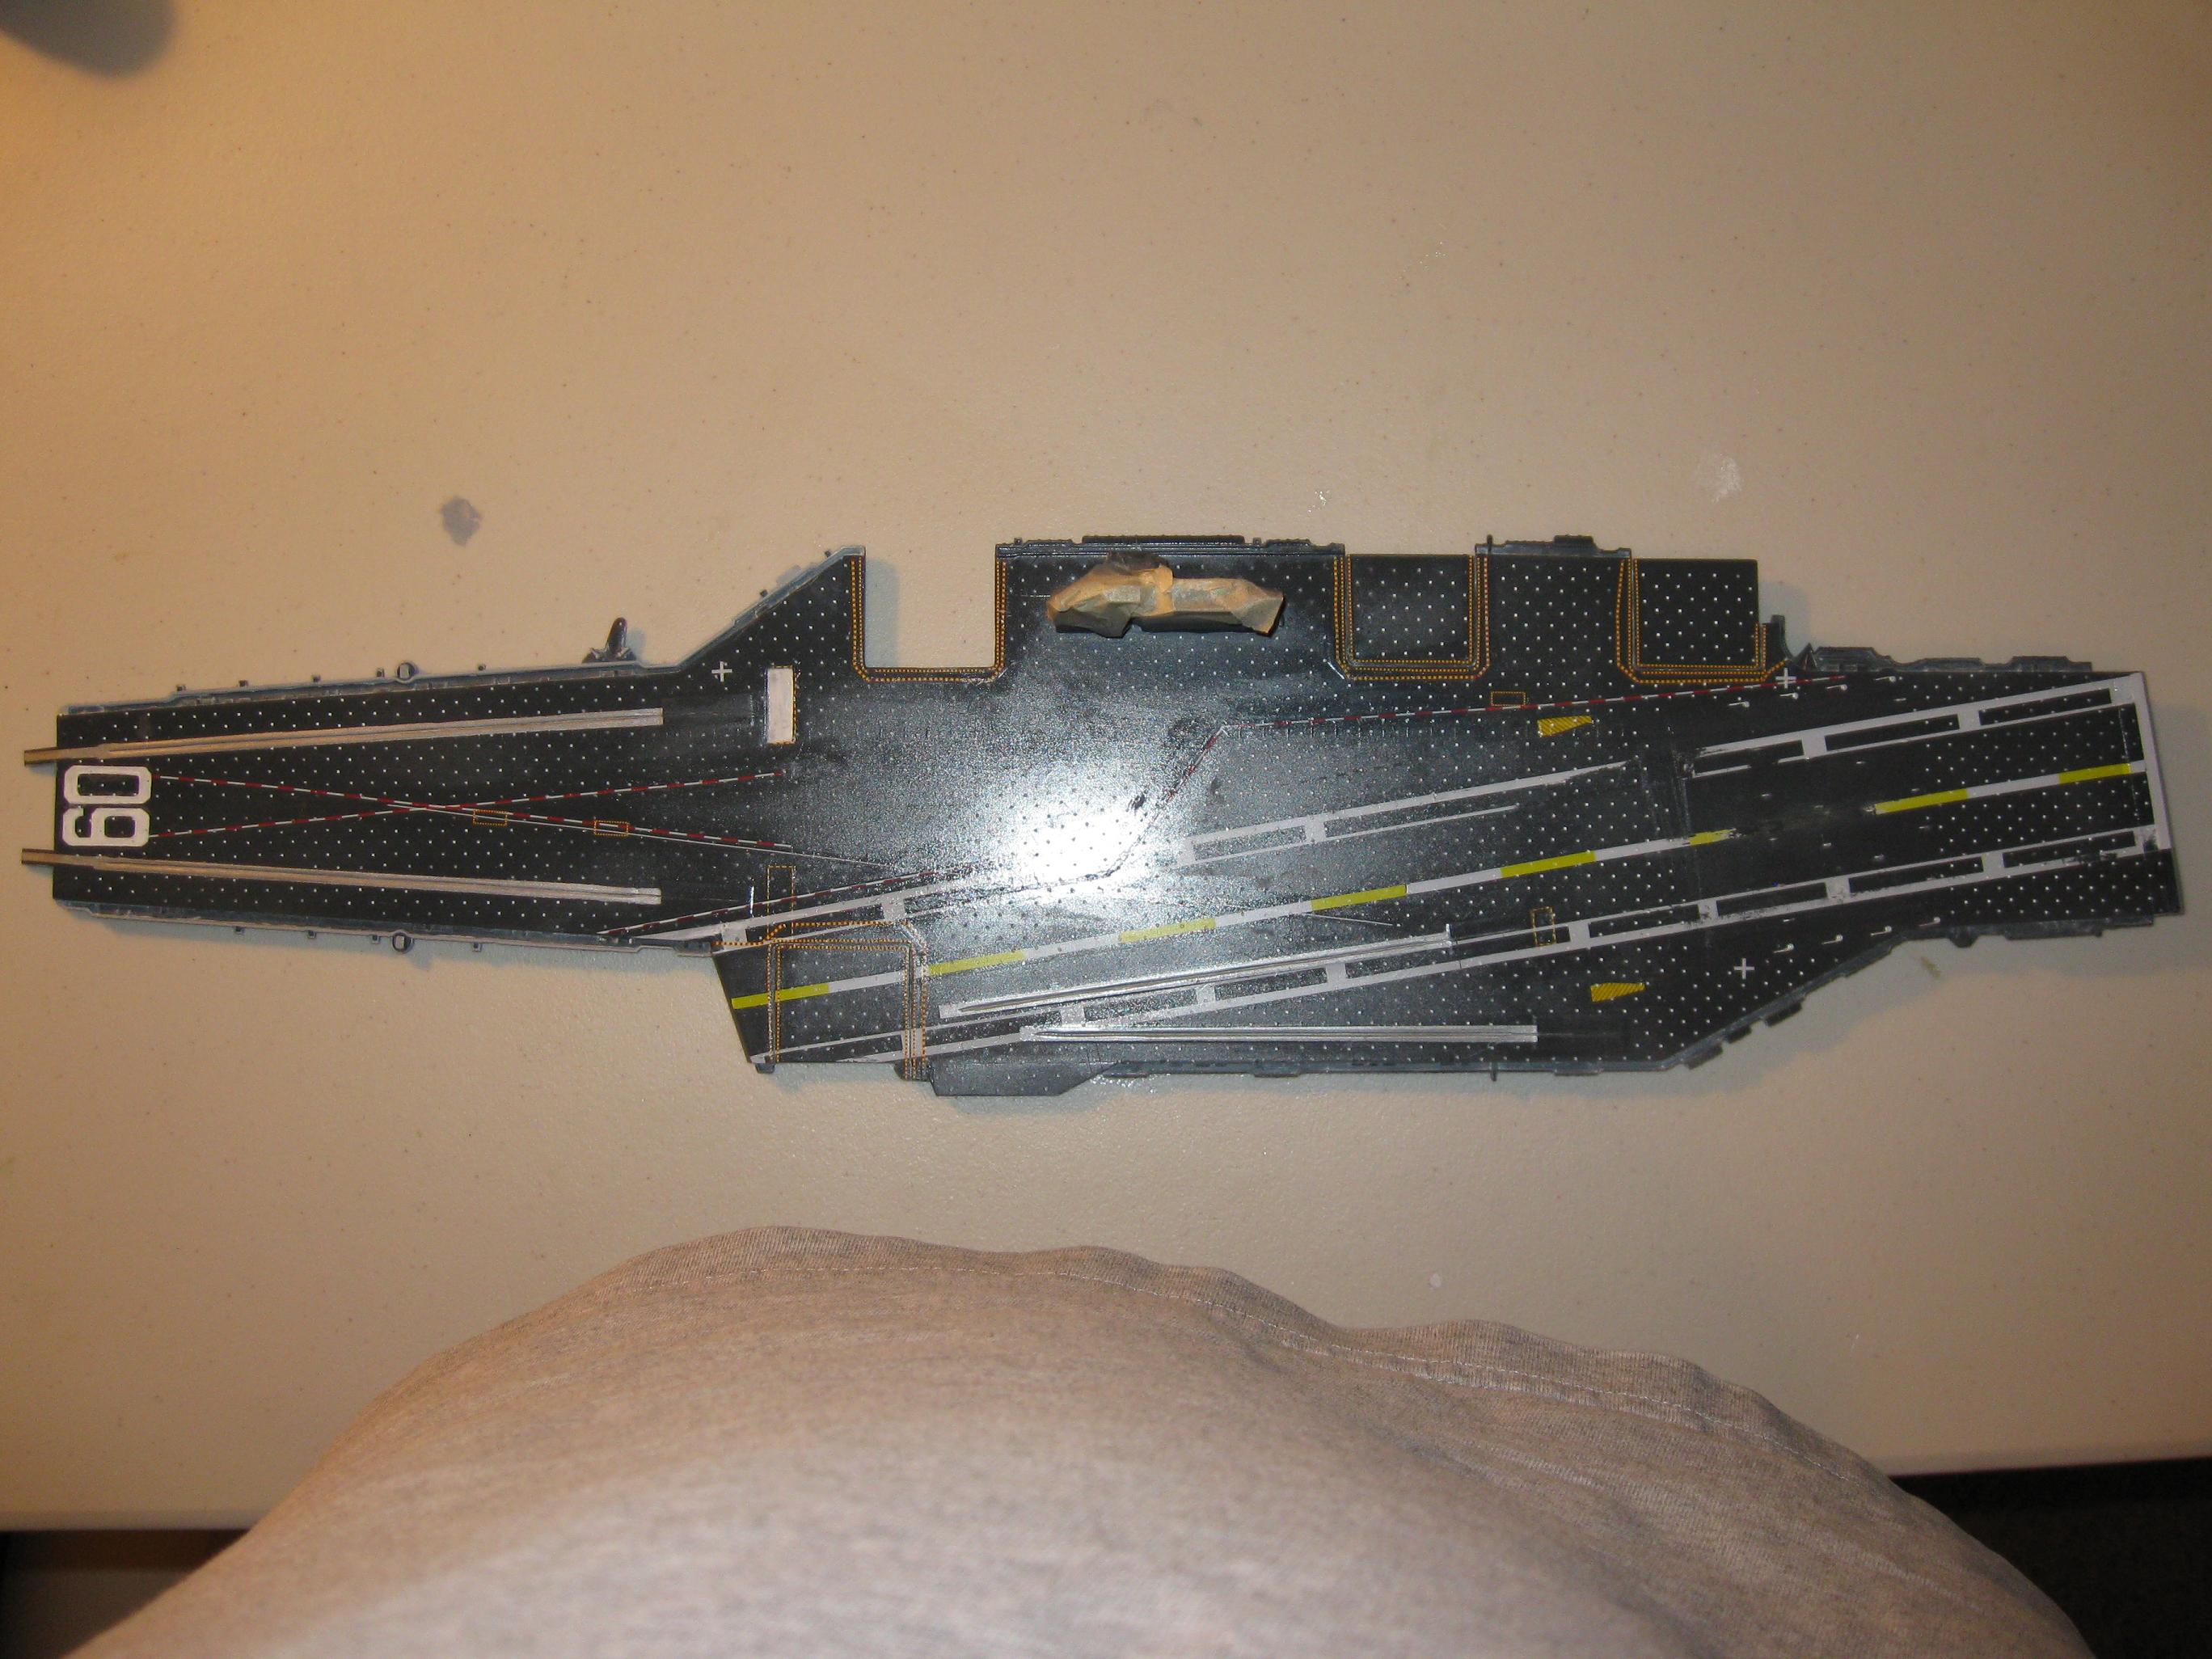
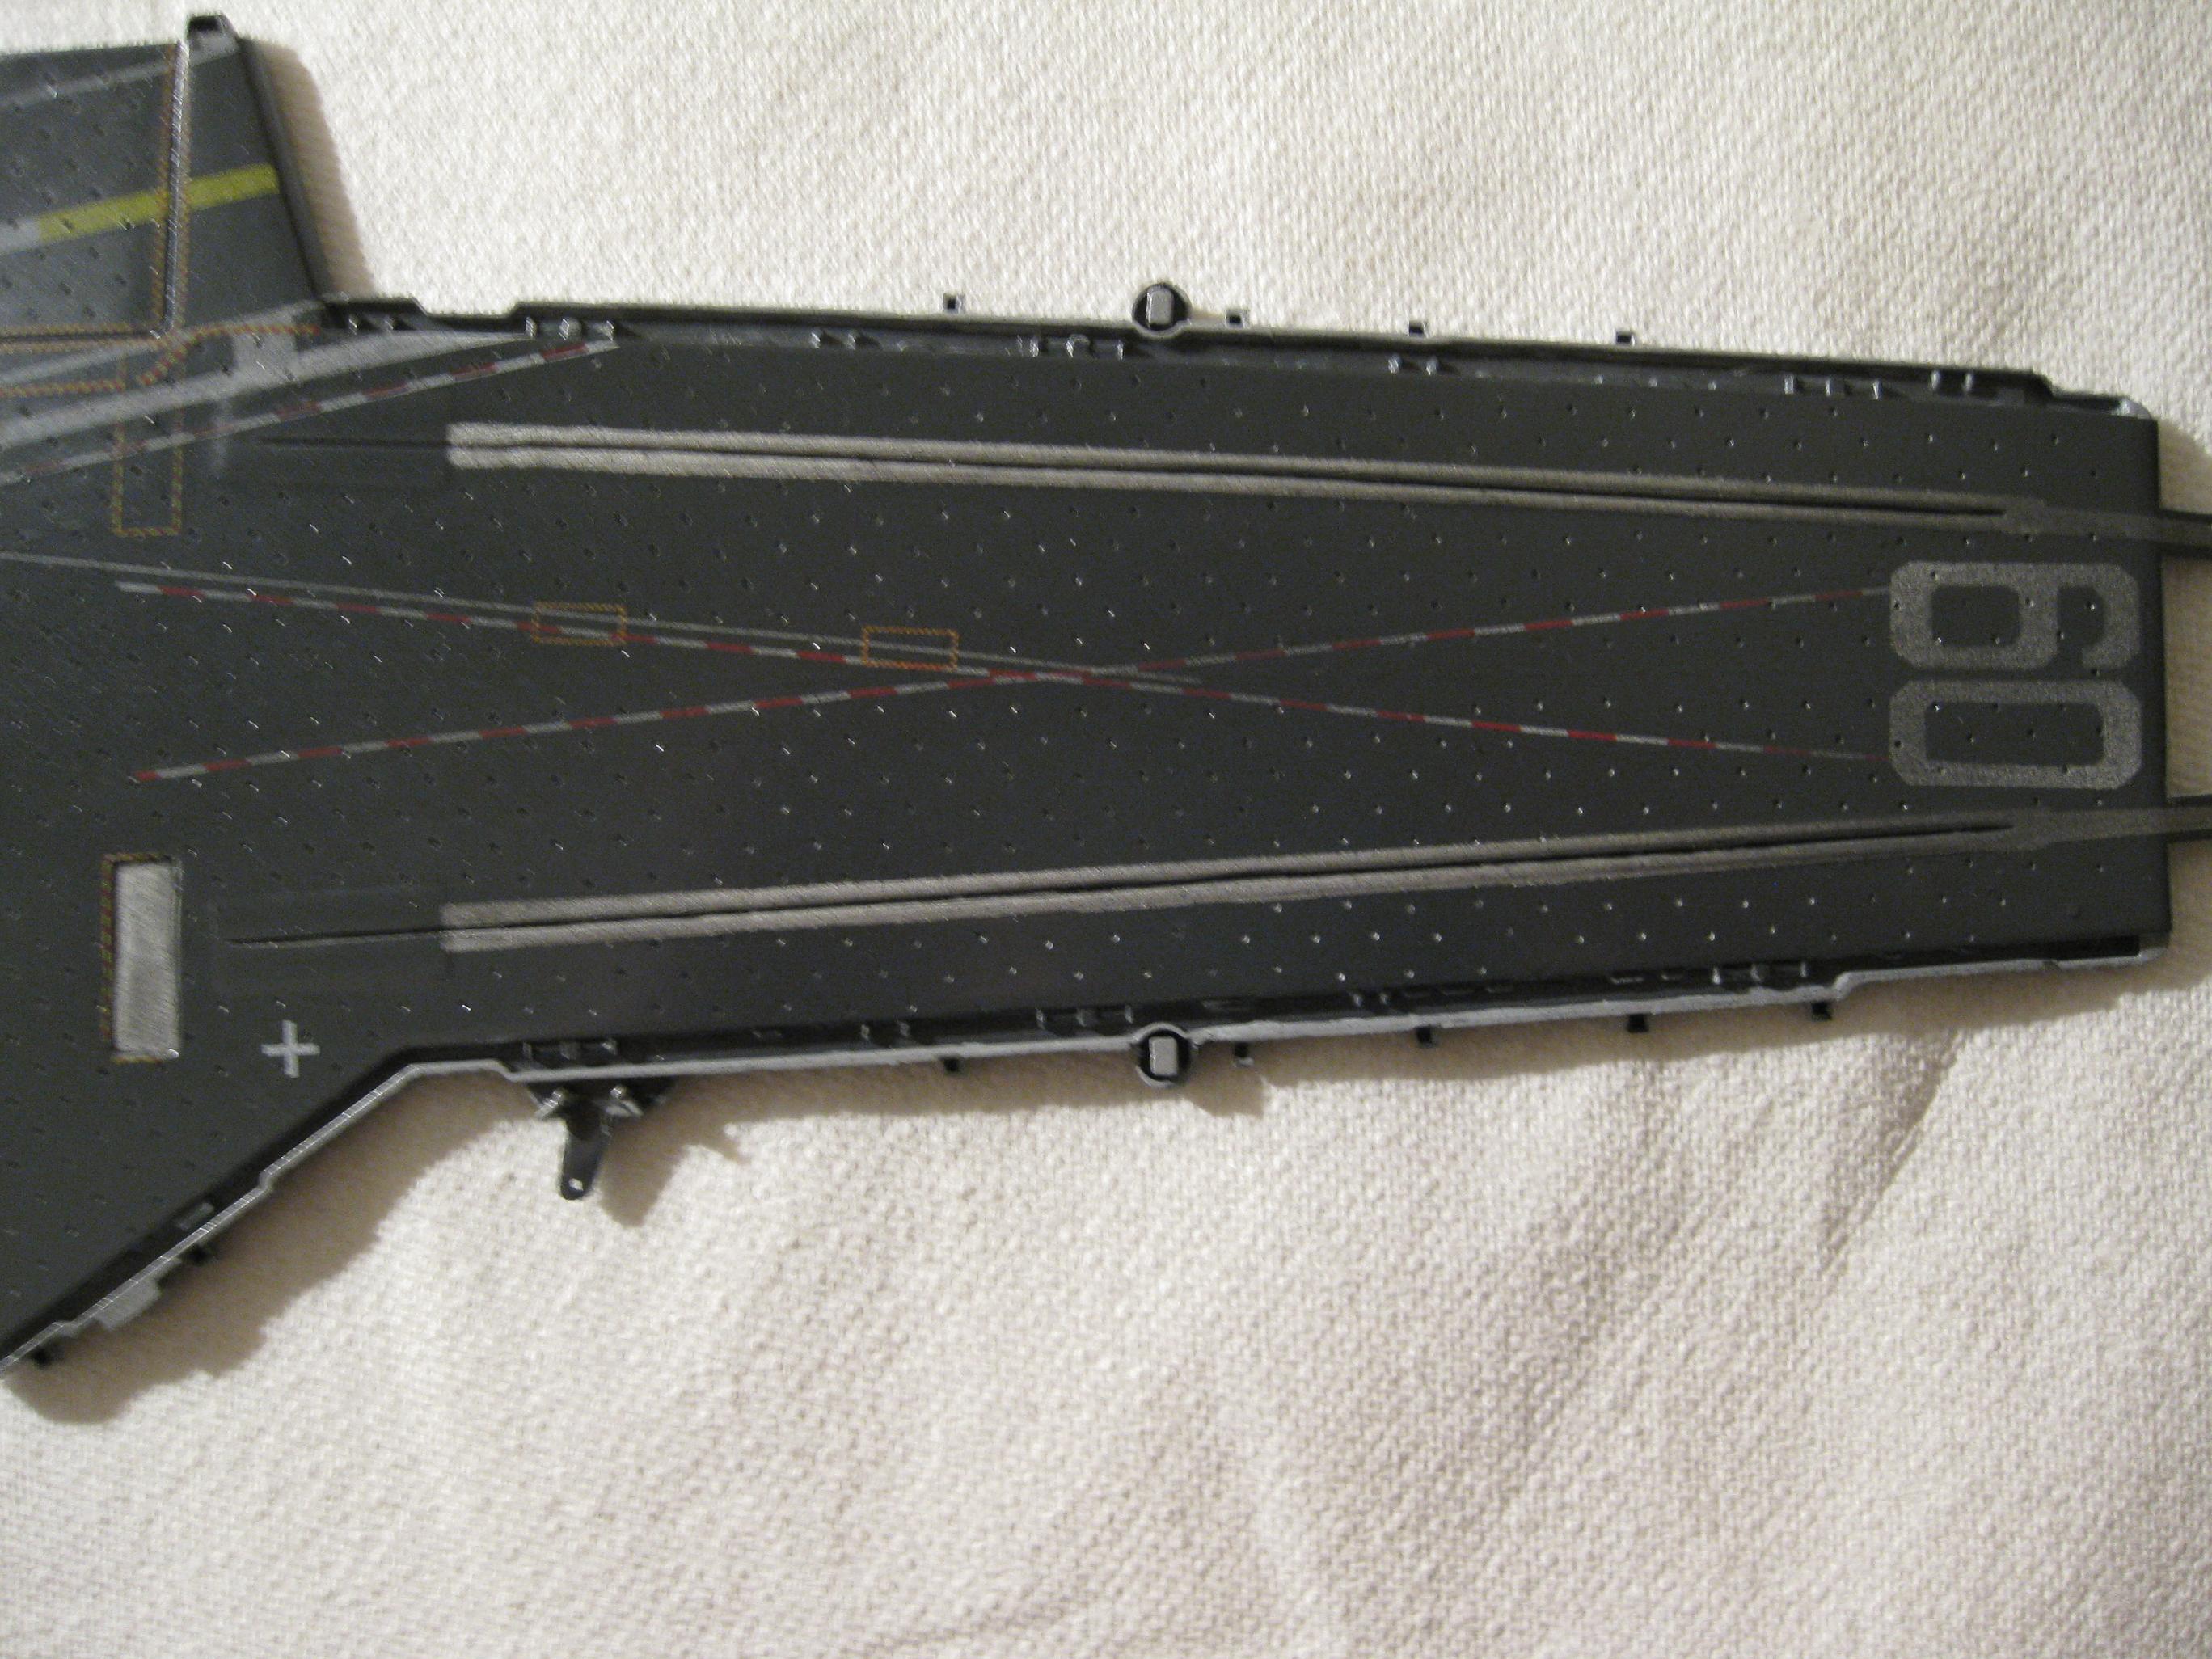
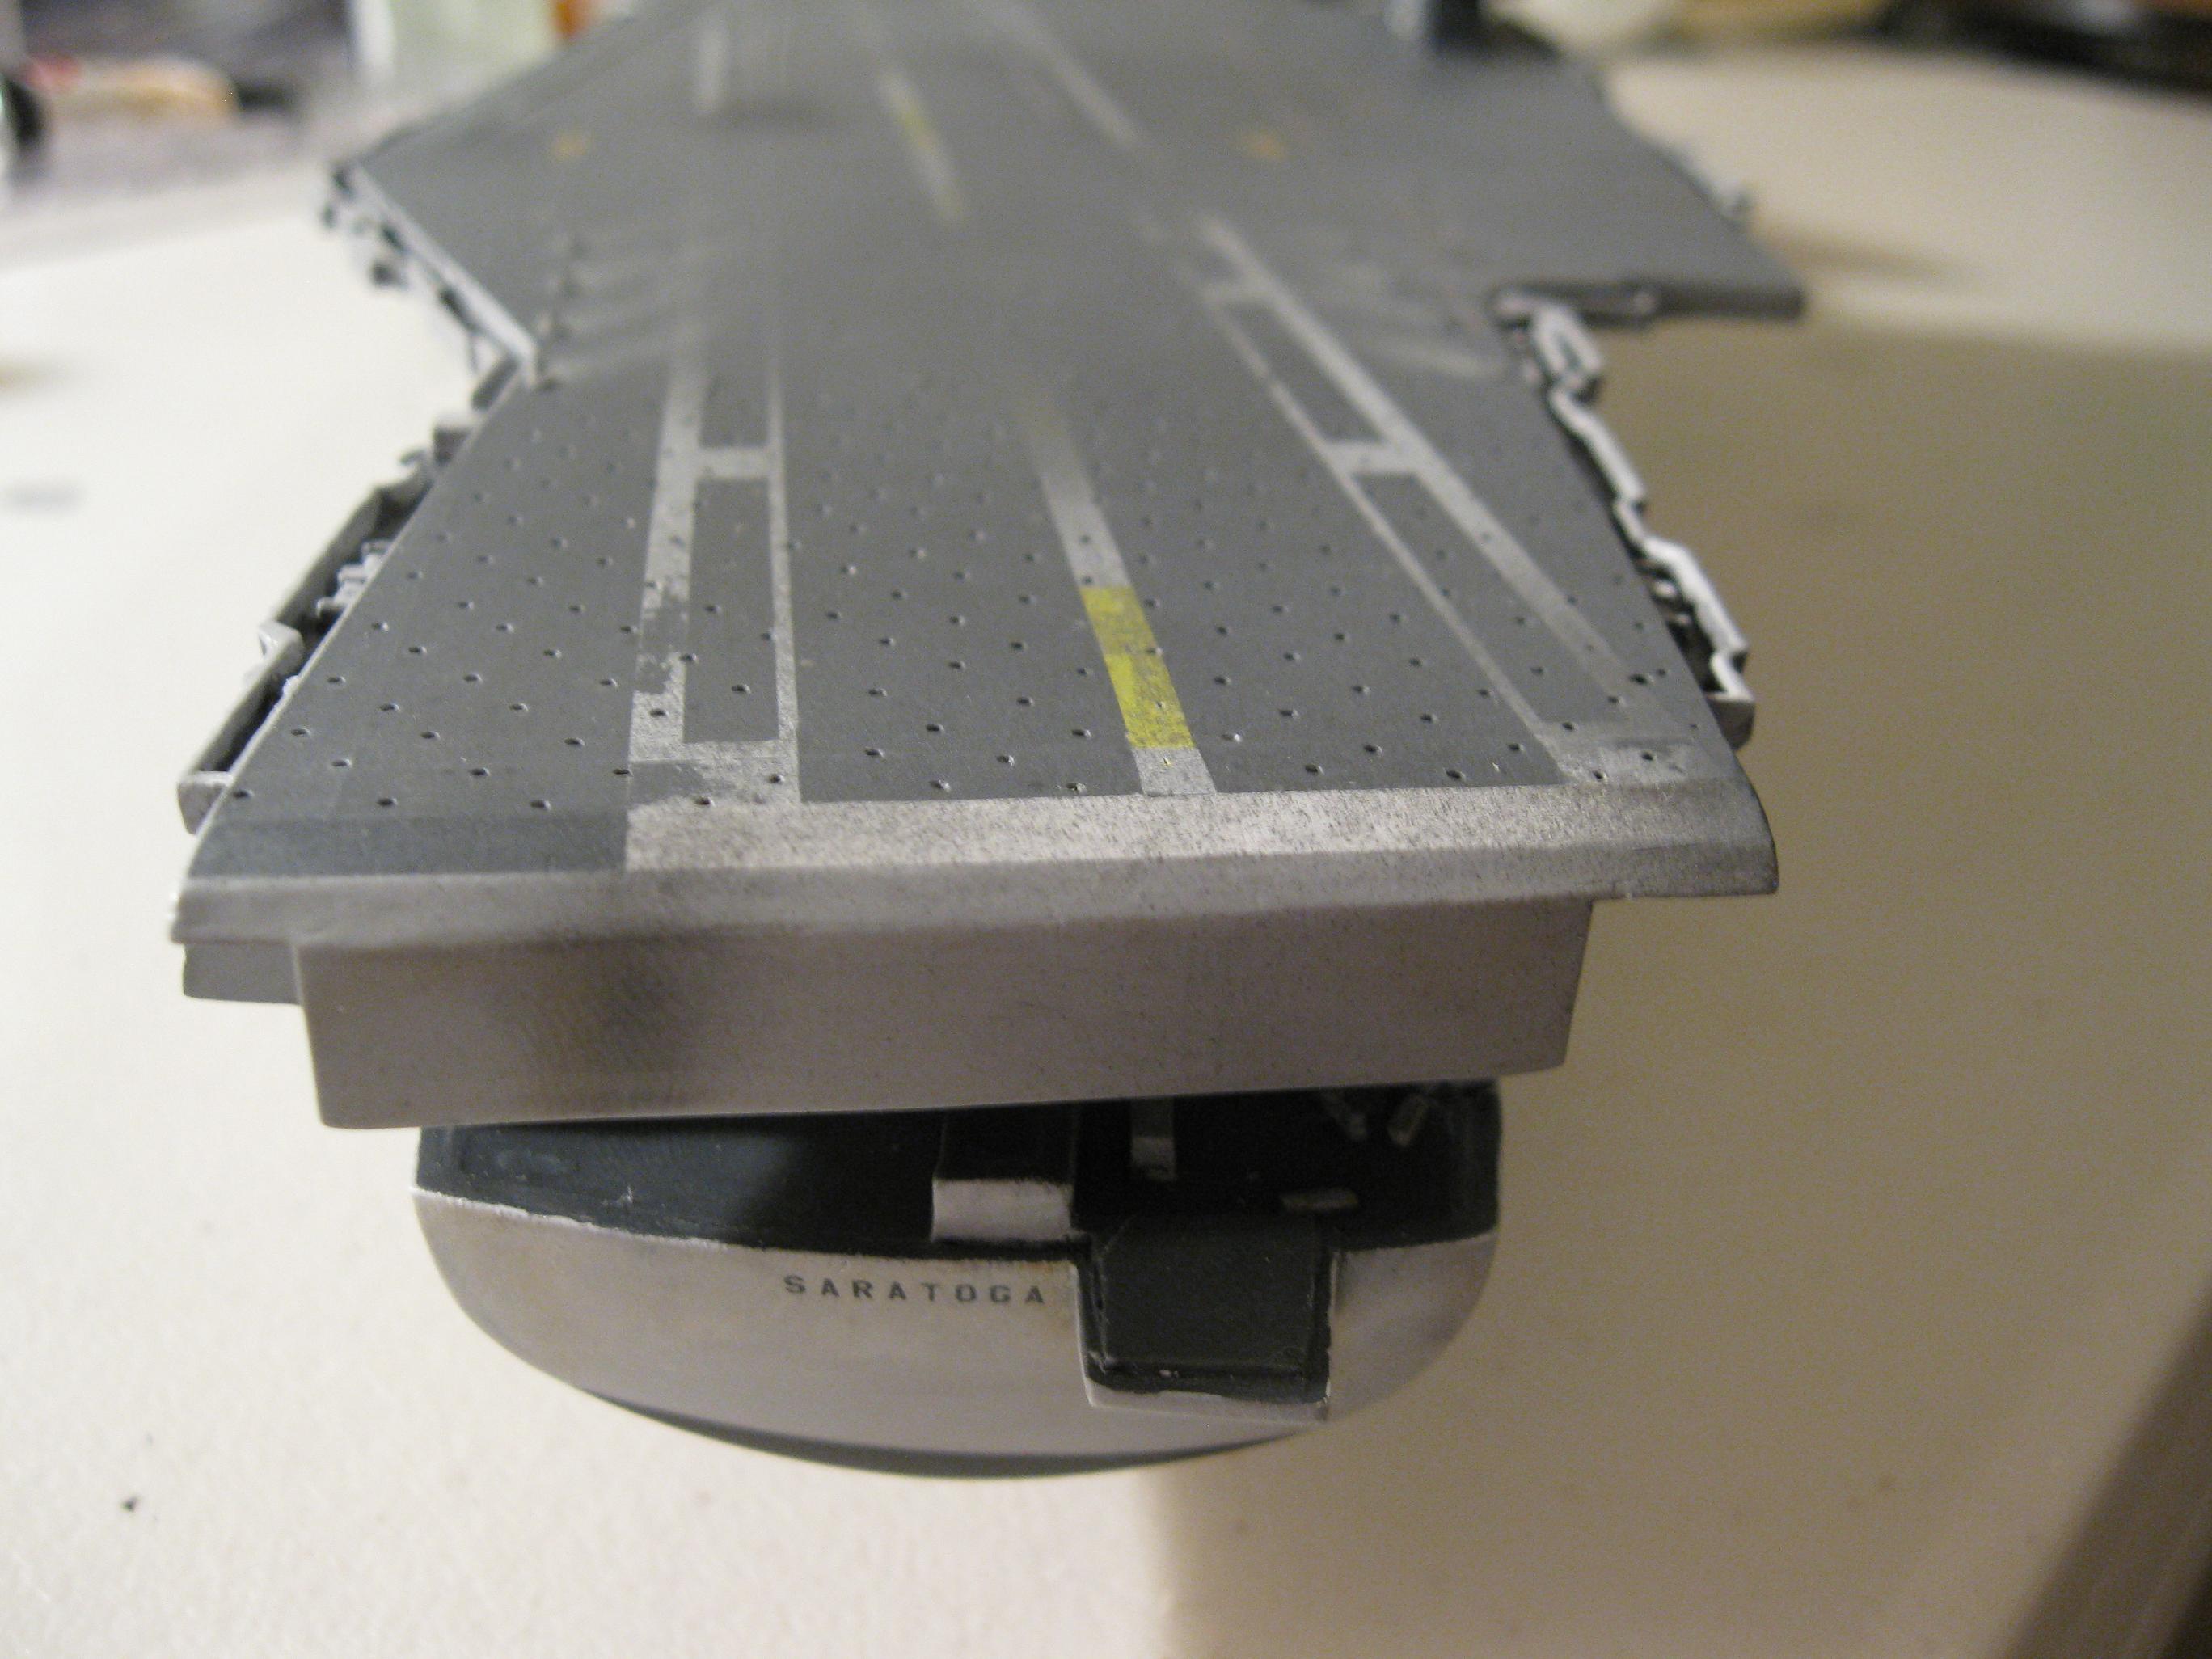
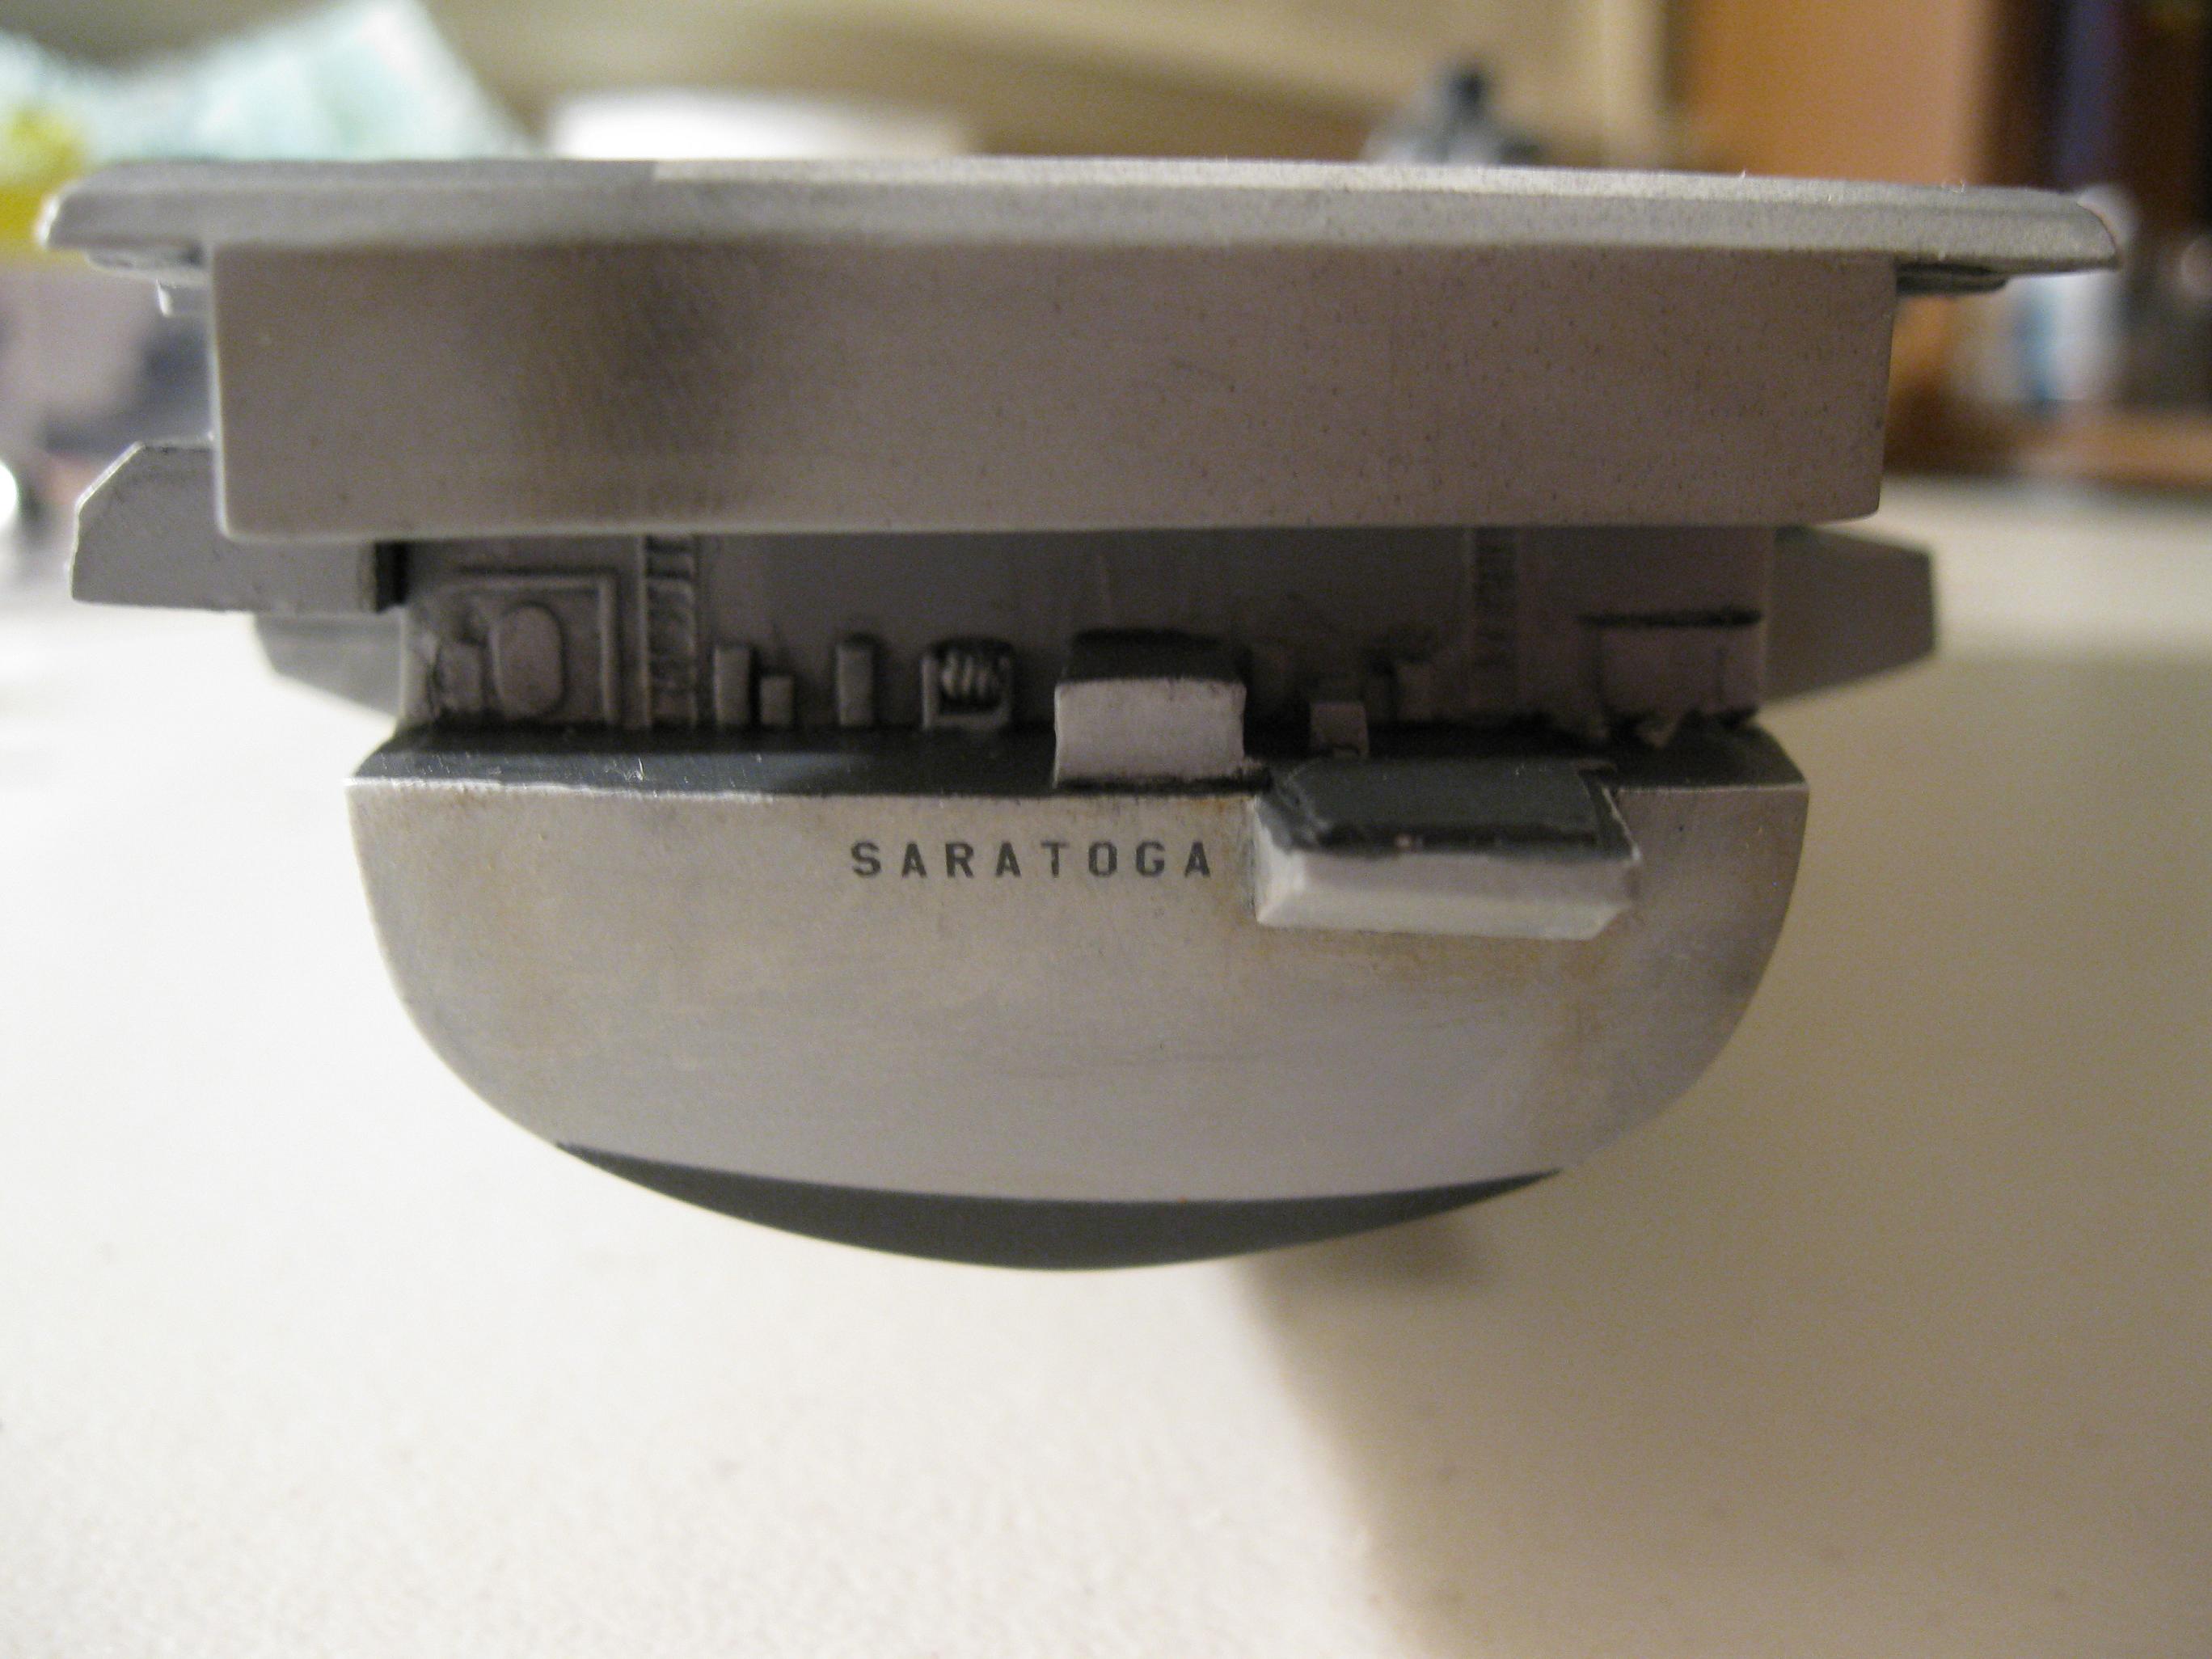
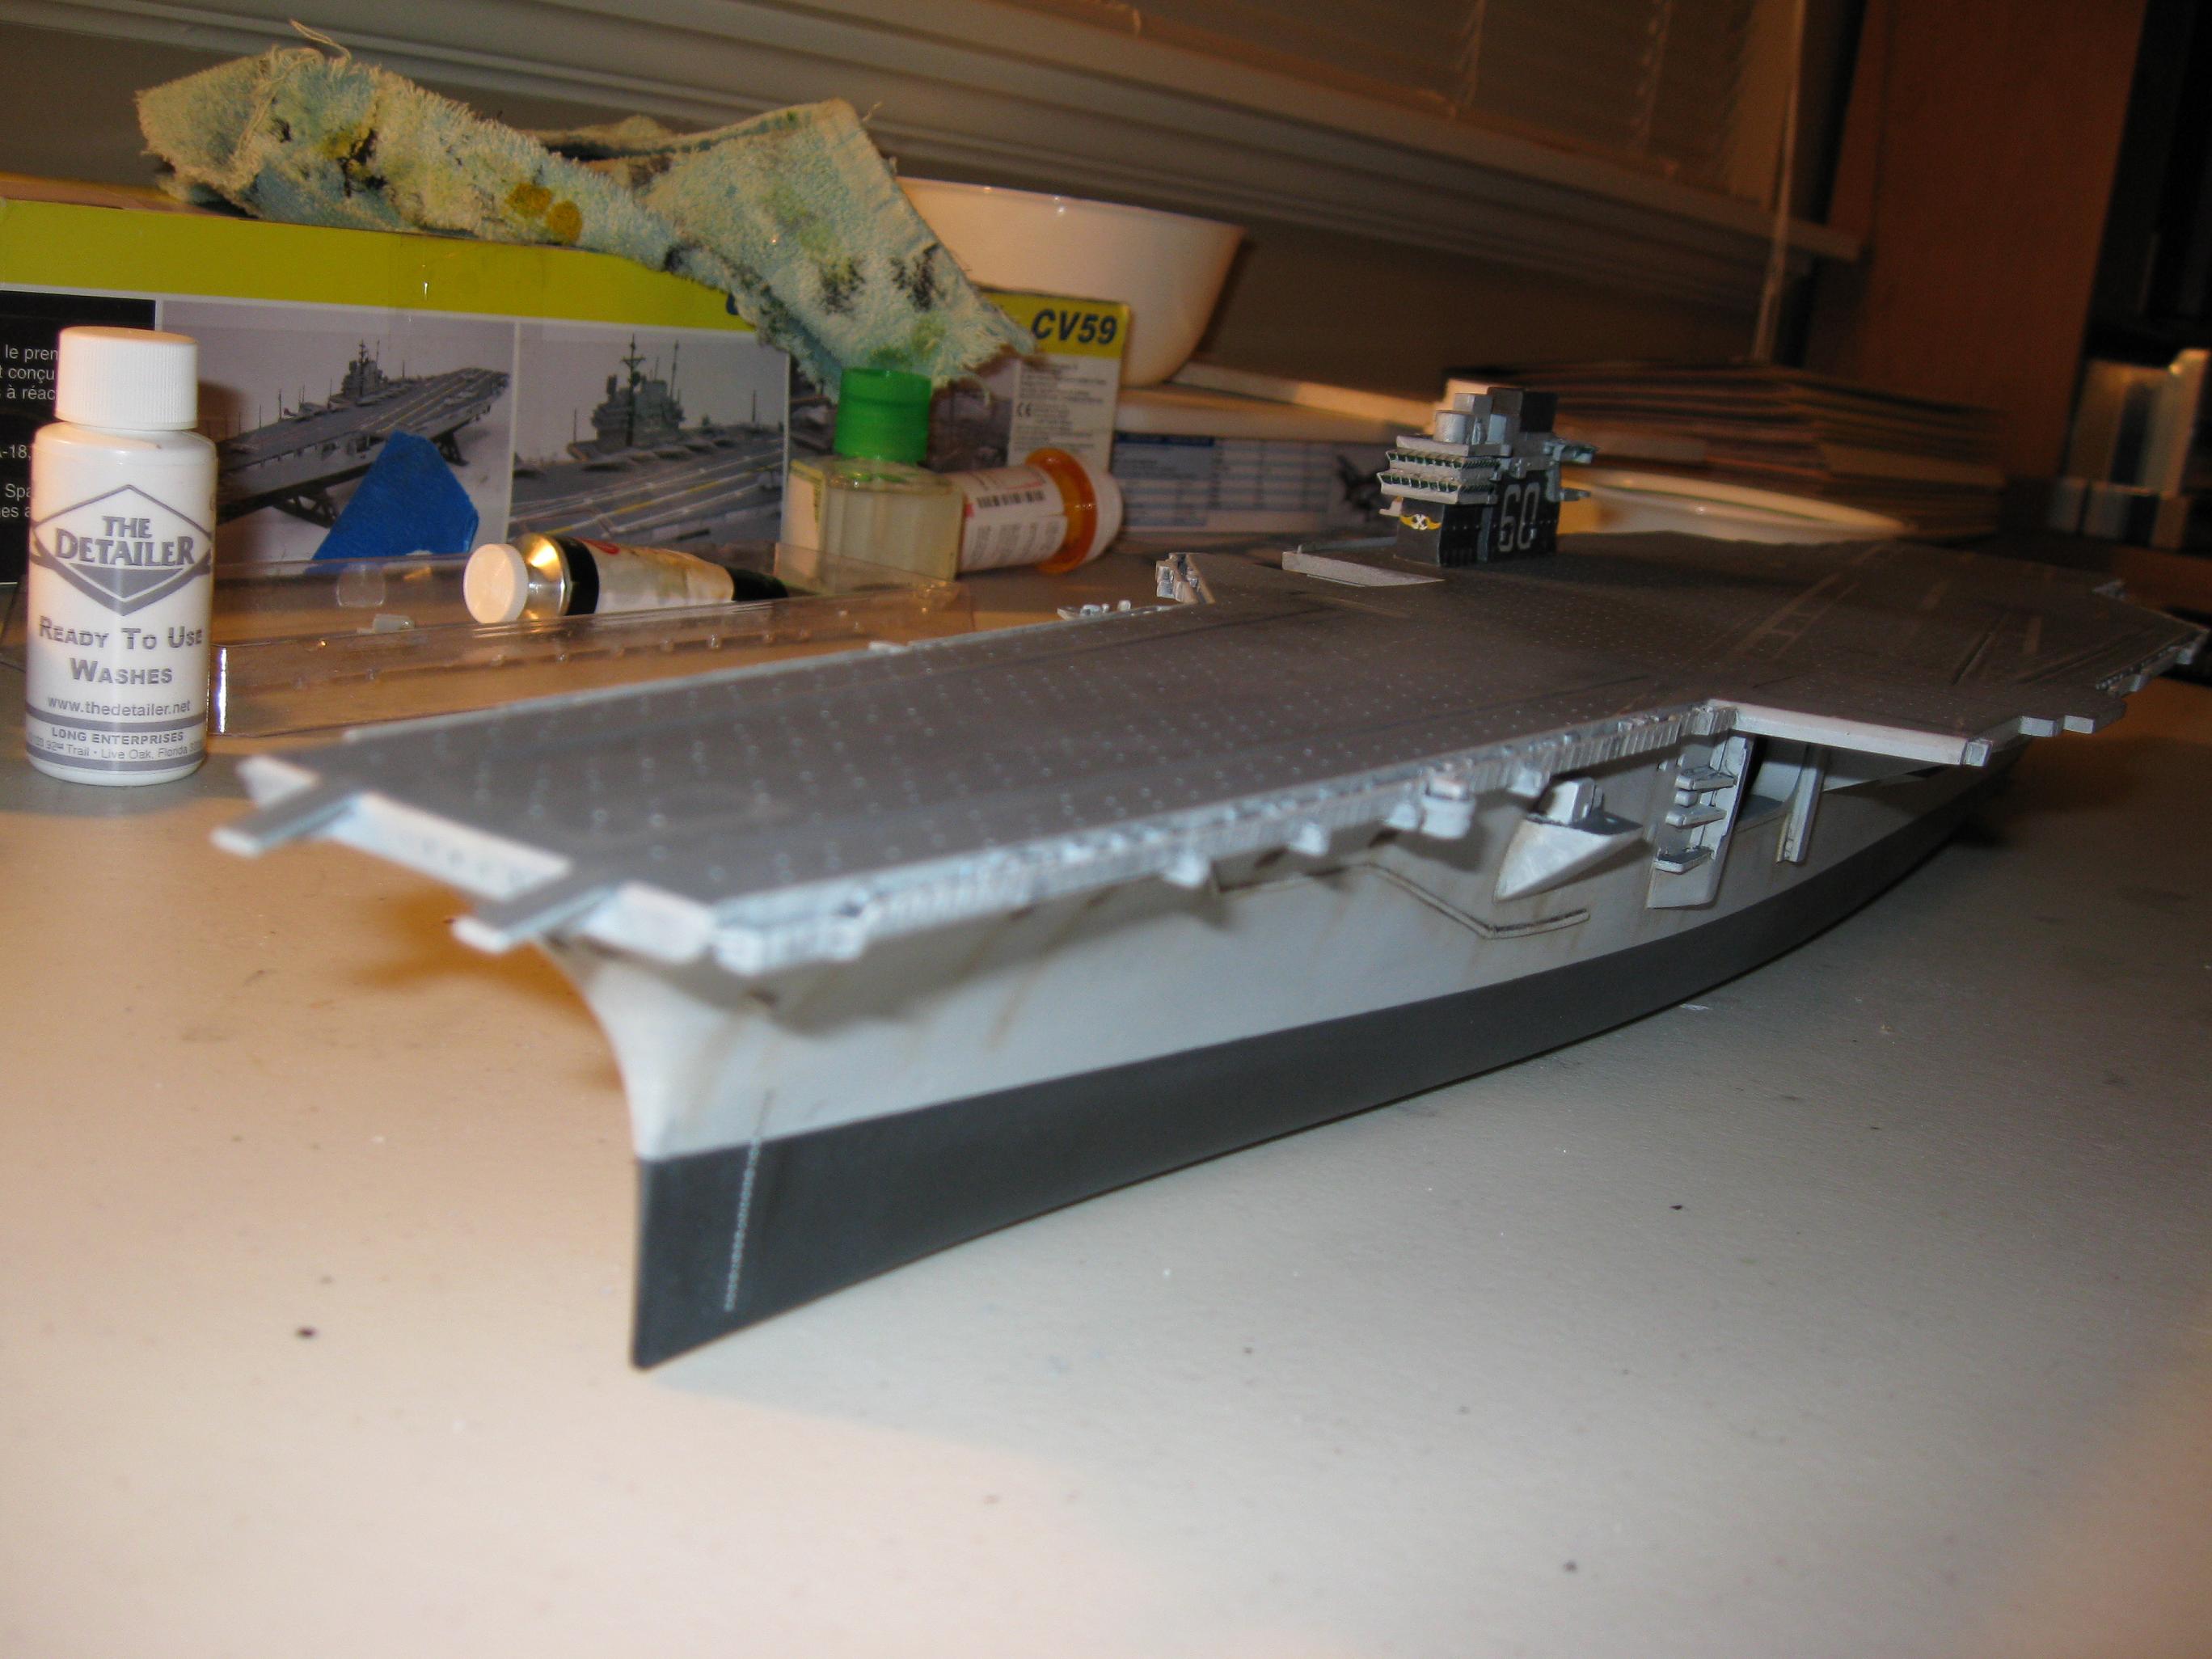
hull. Look what happened (red arrow). Hull airbrushed
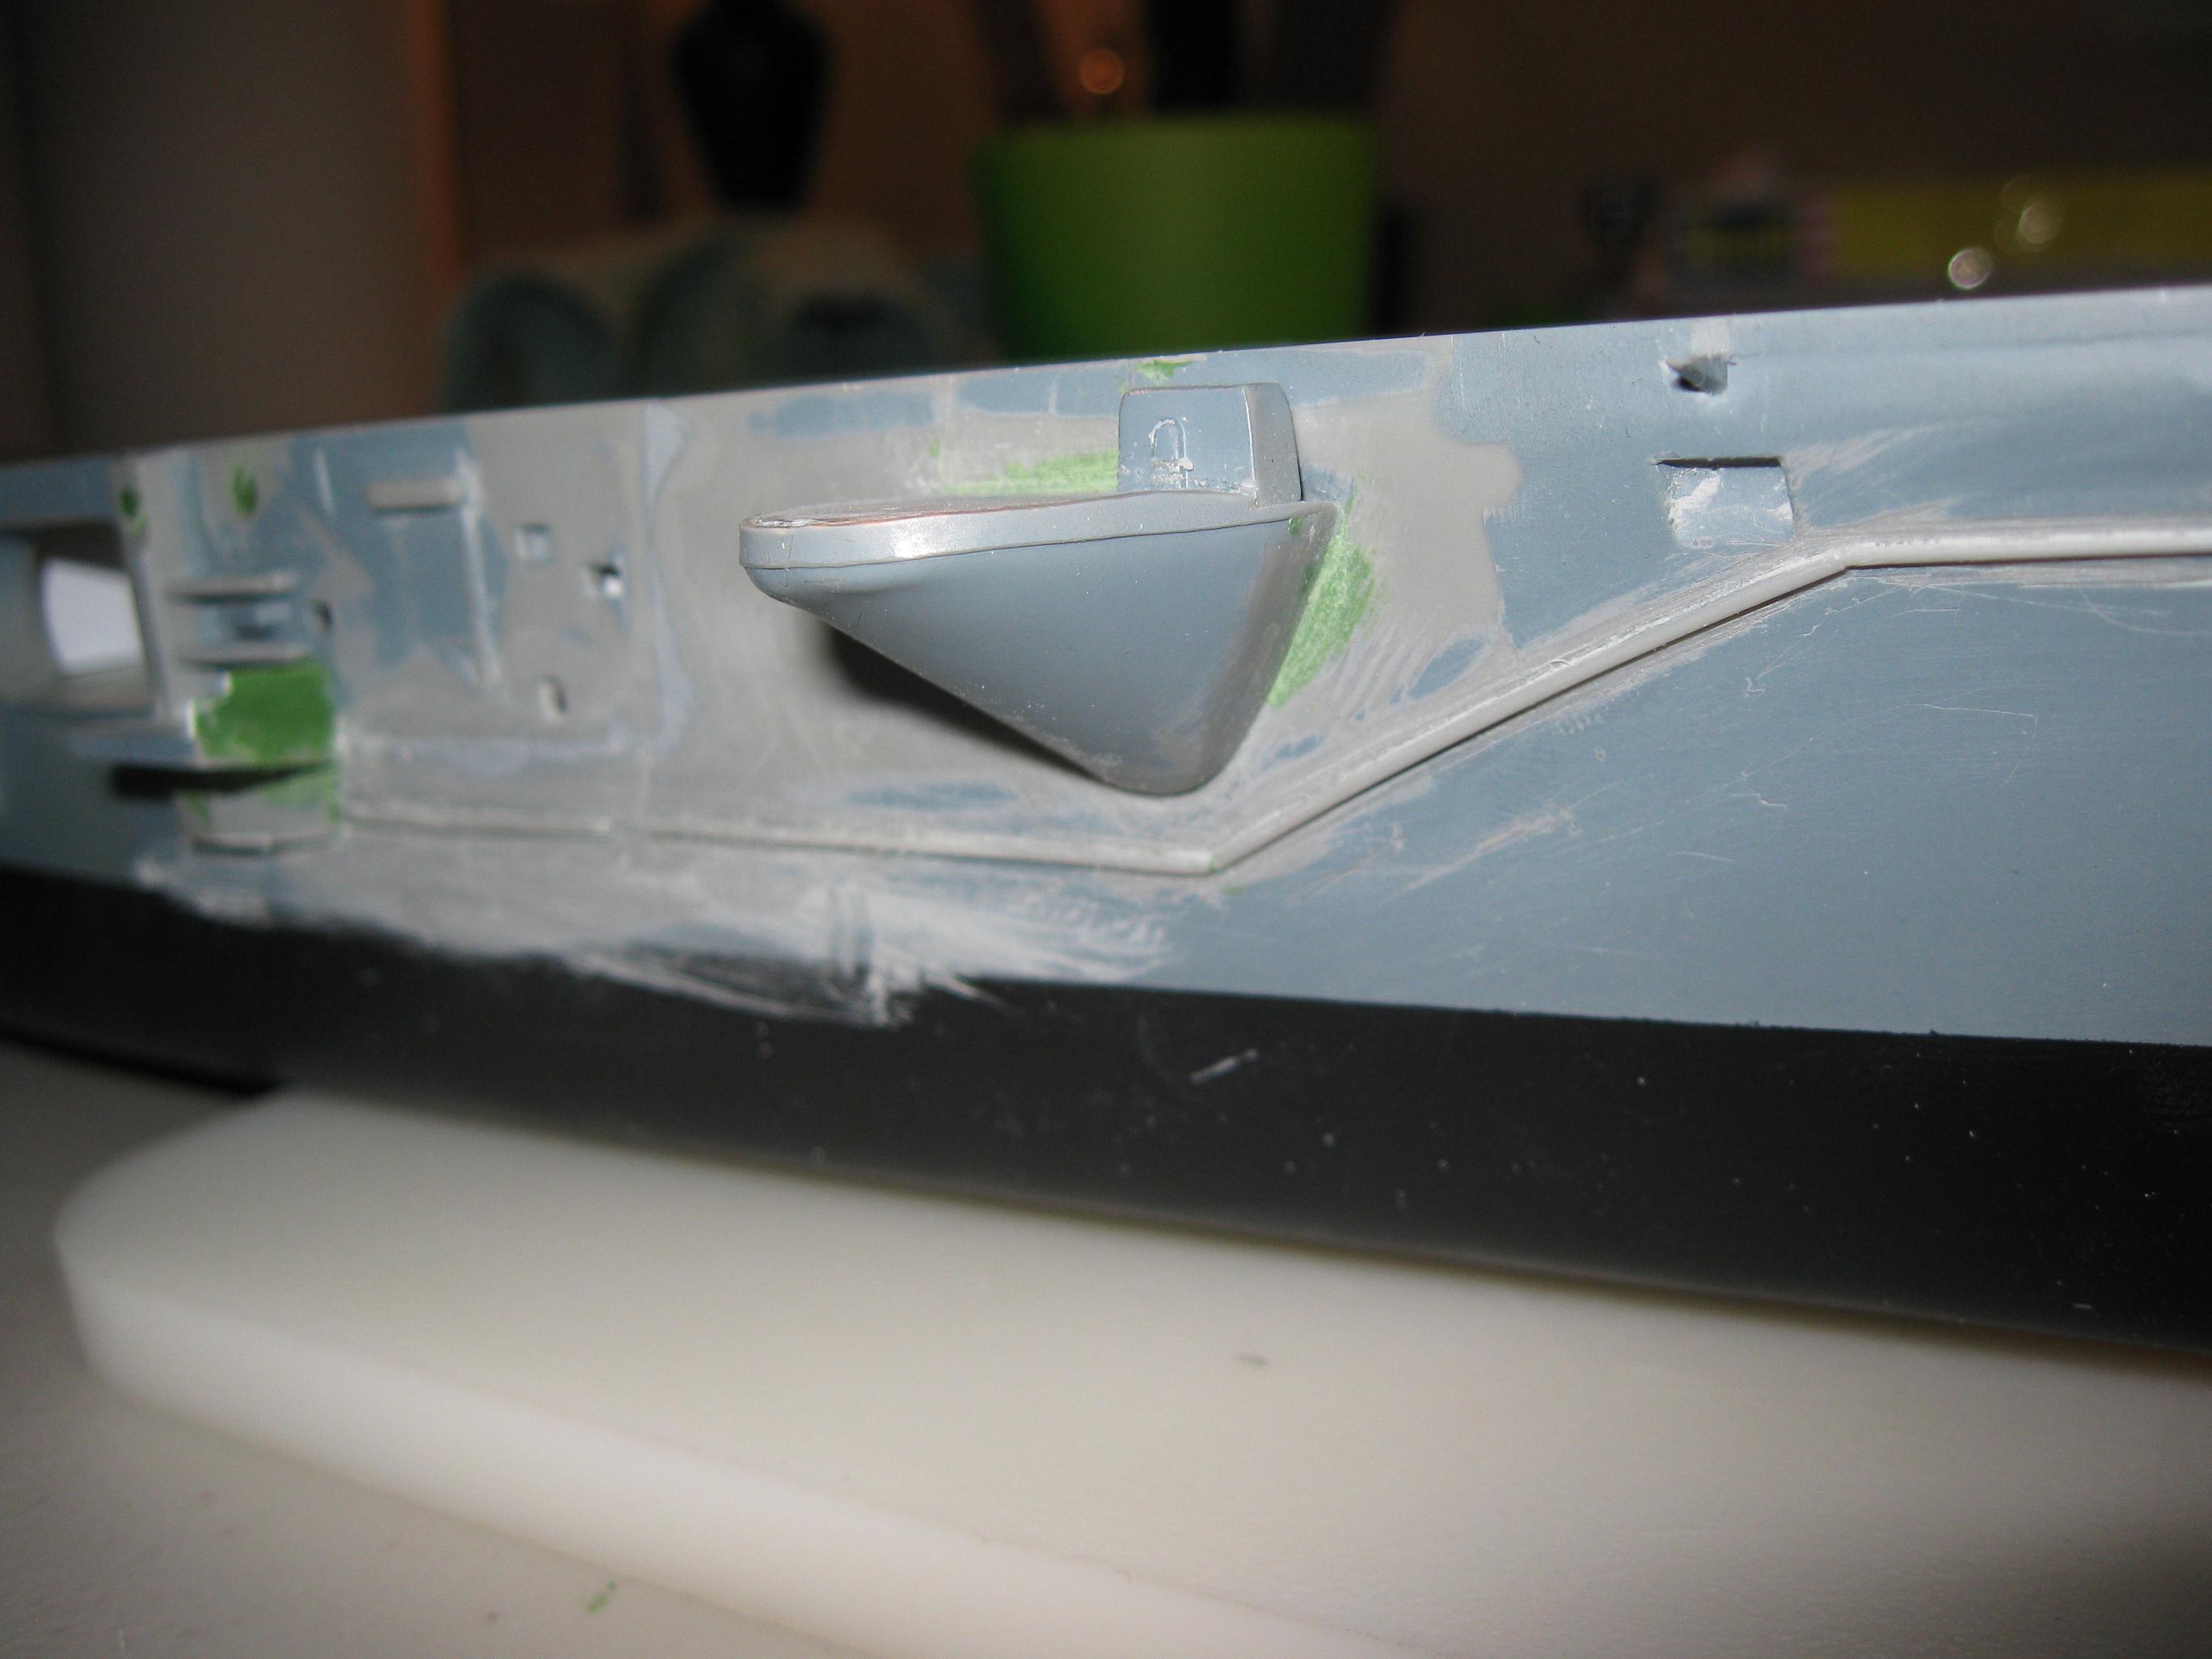
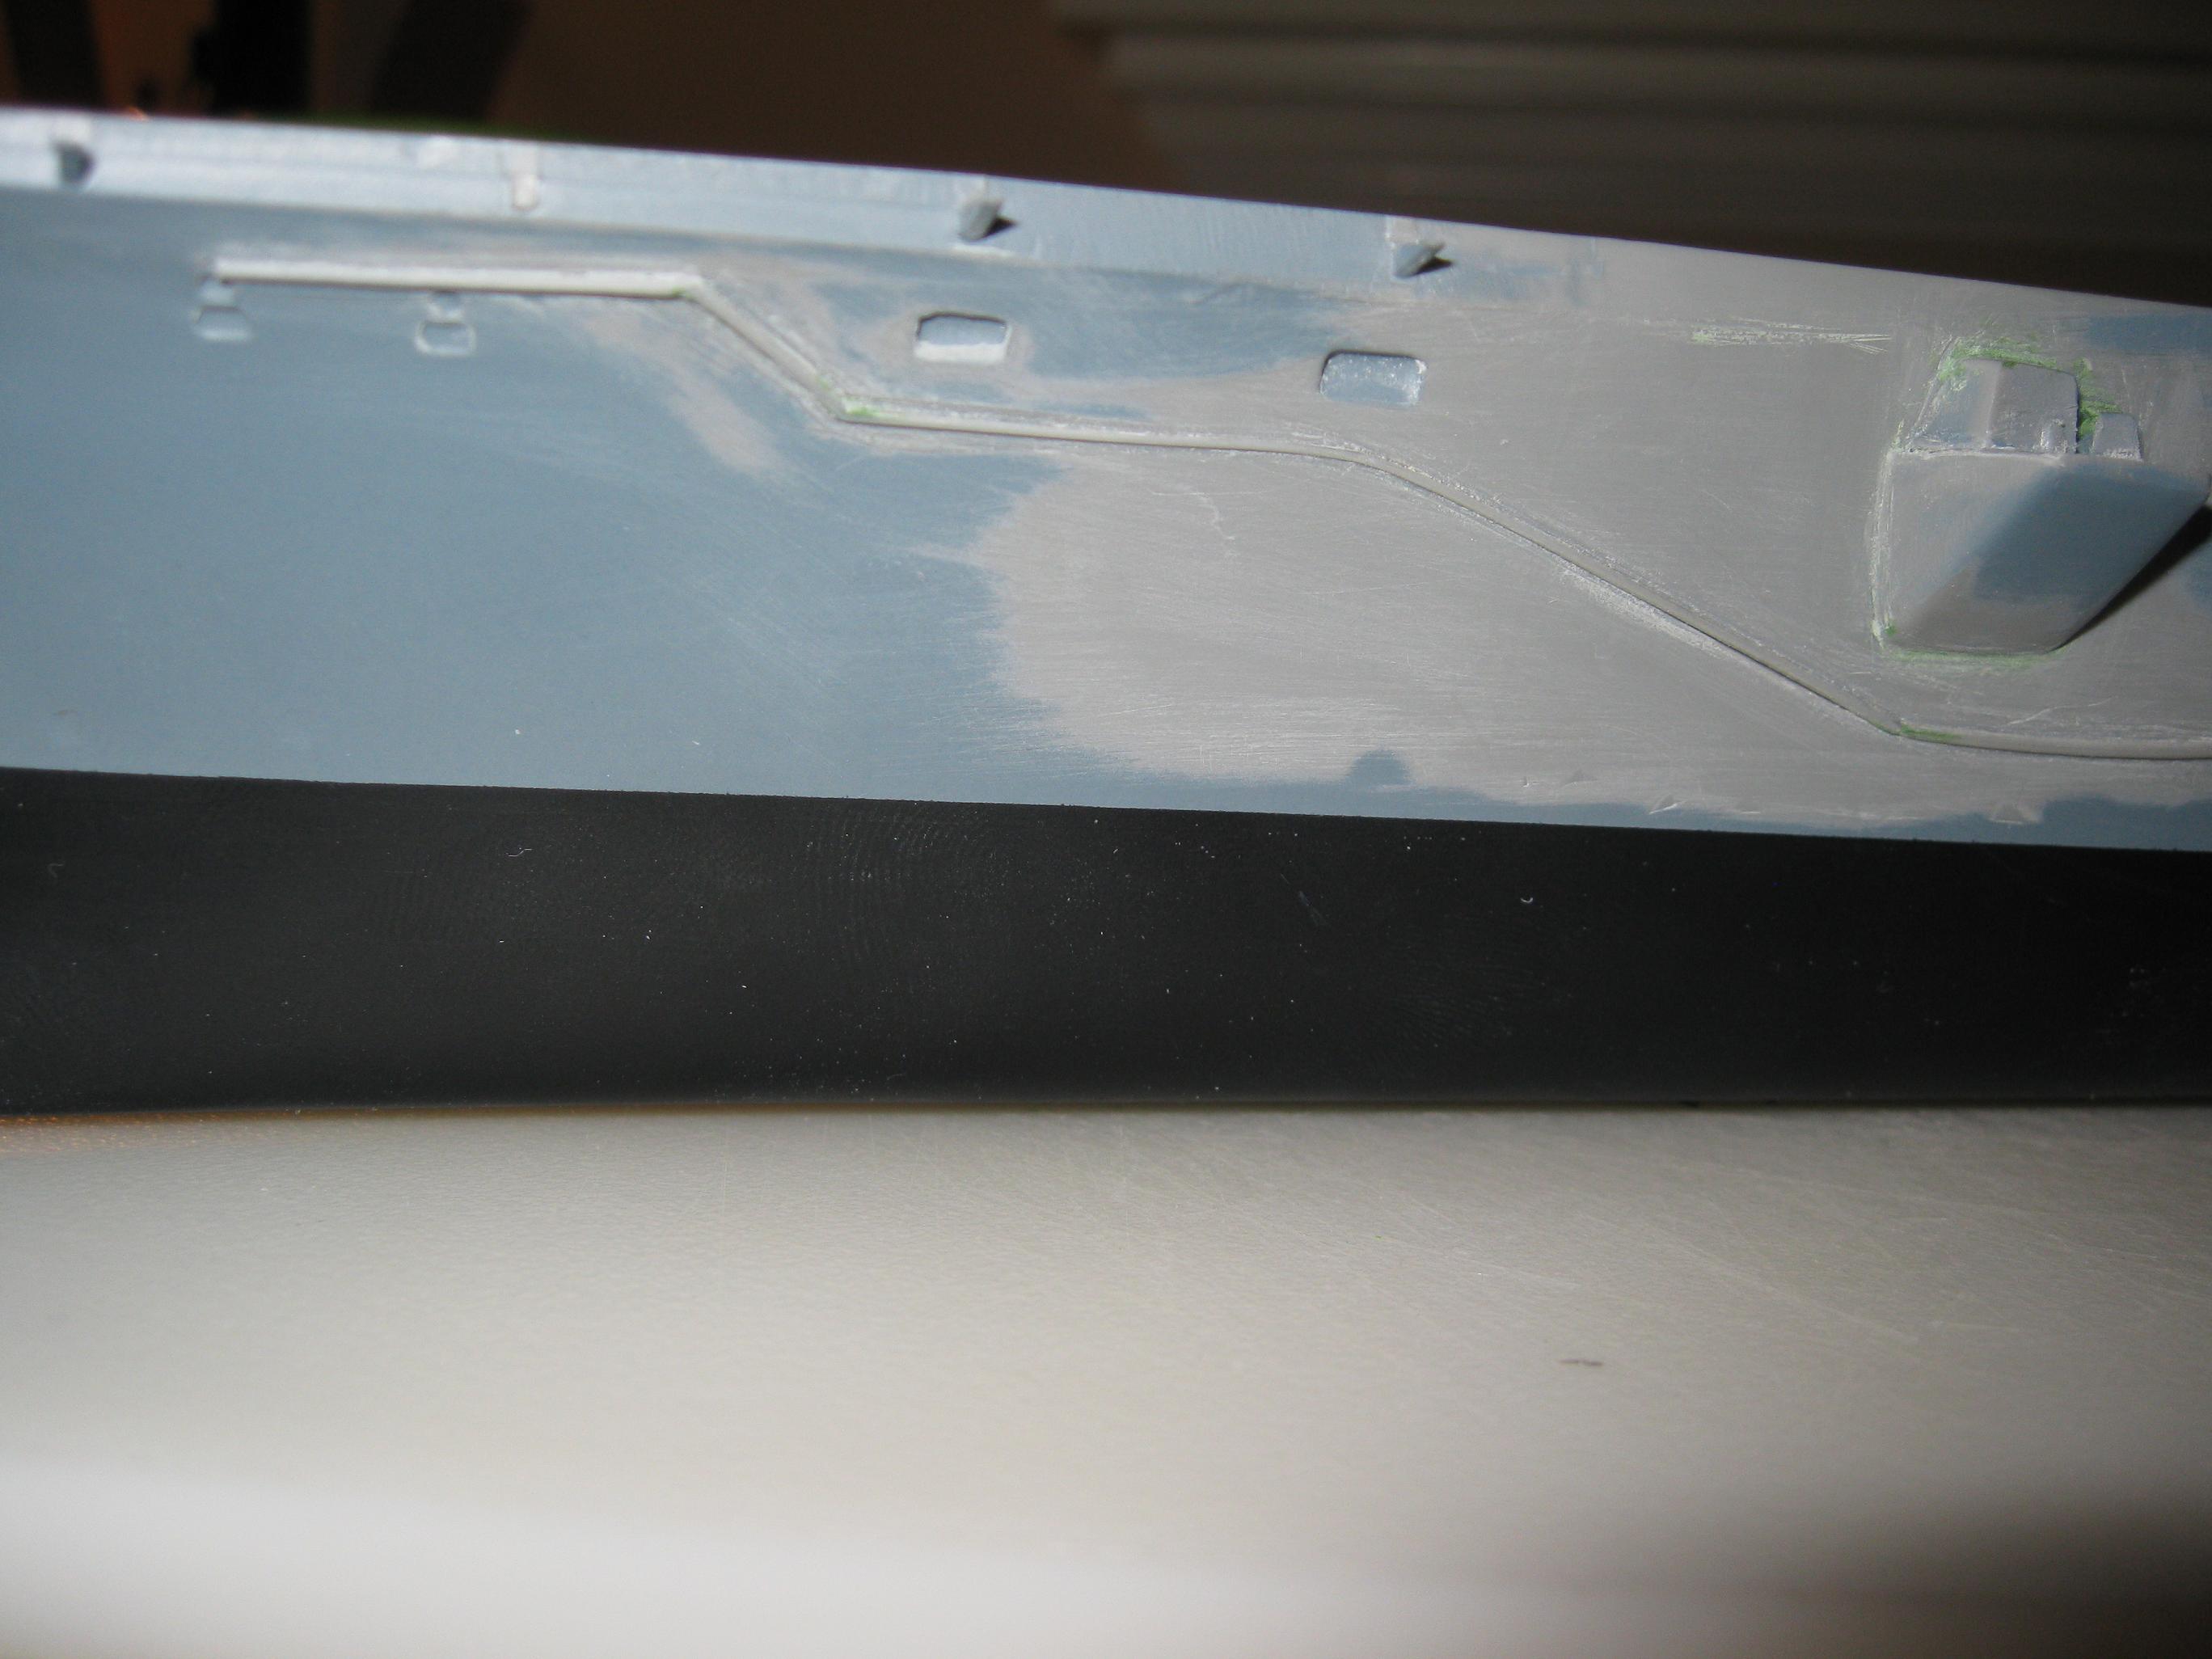
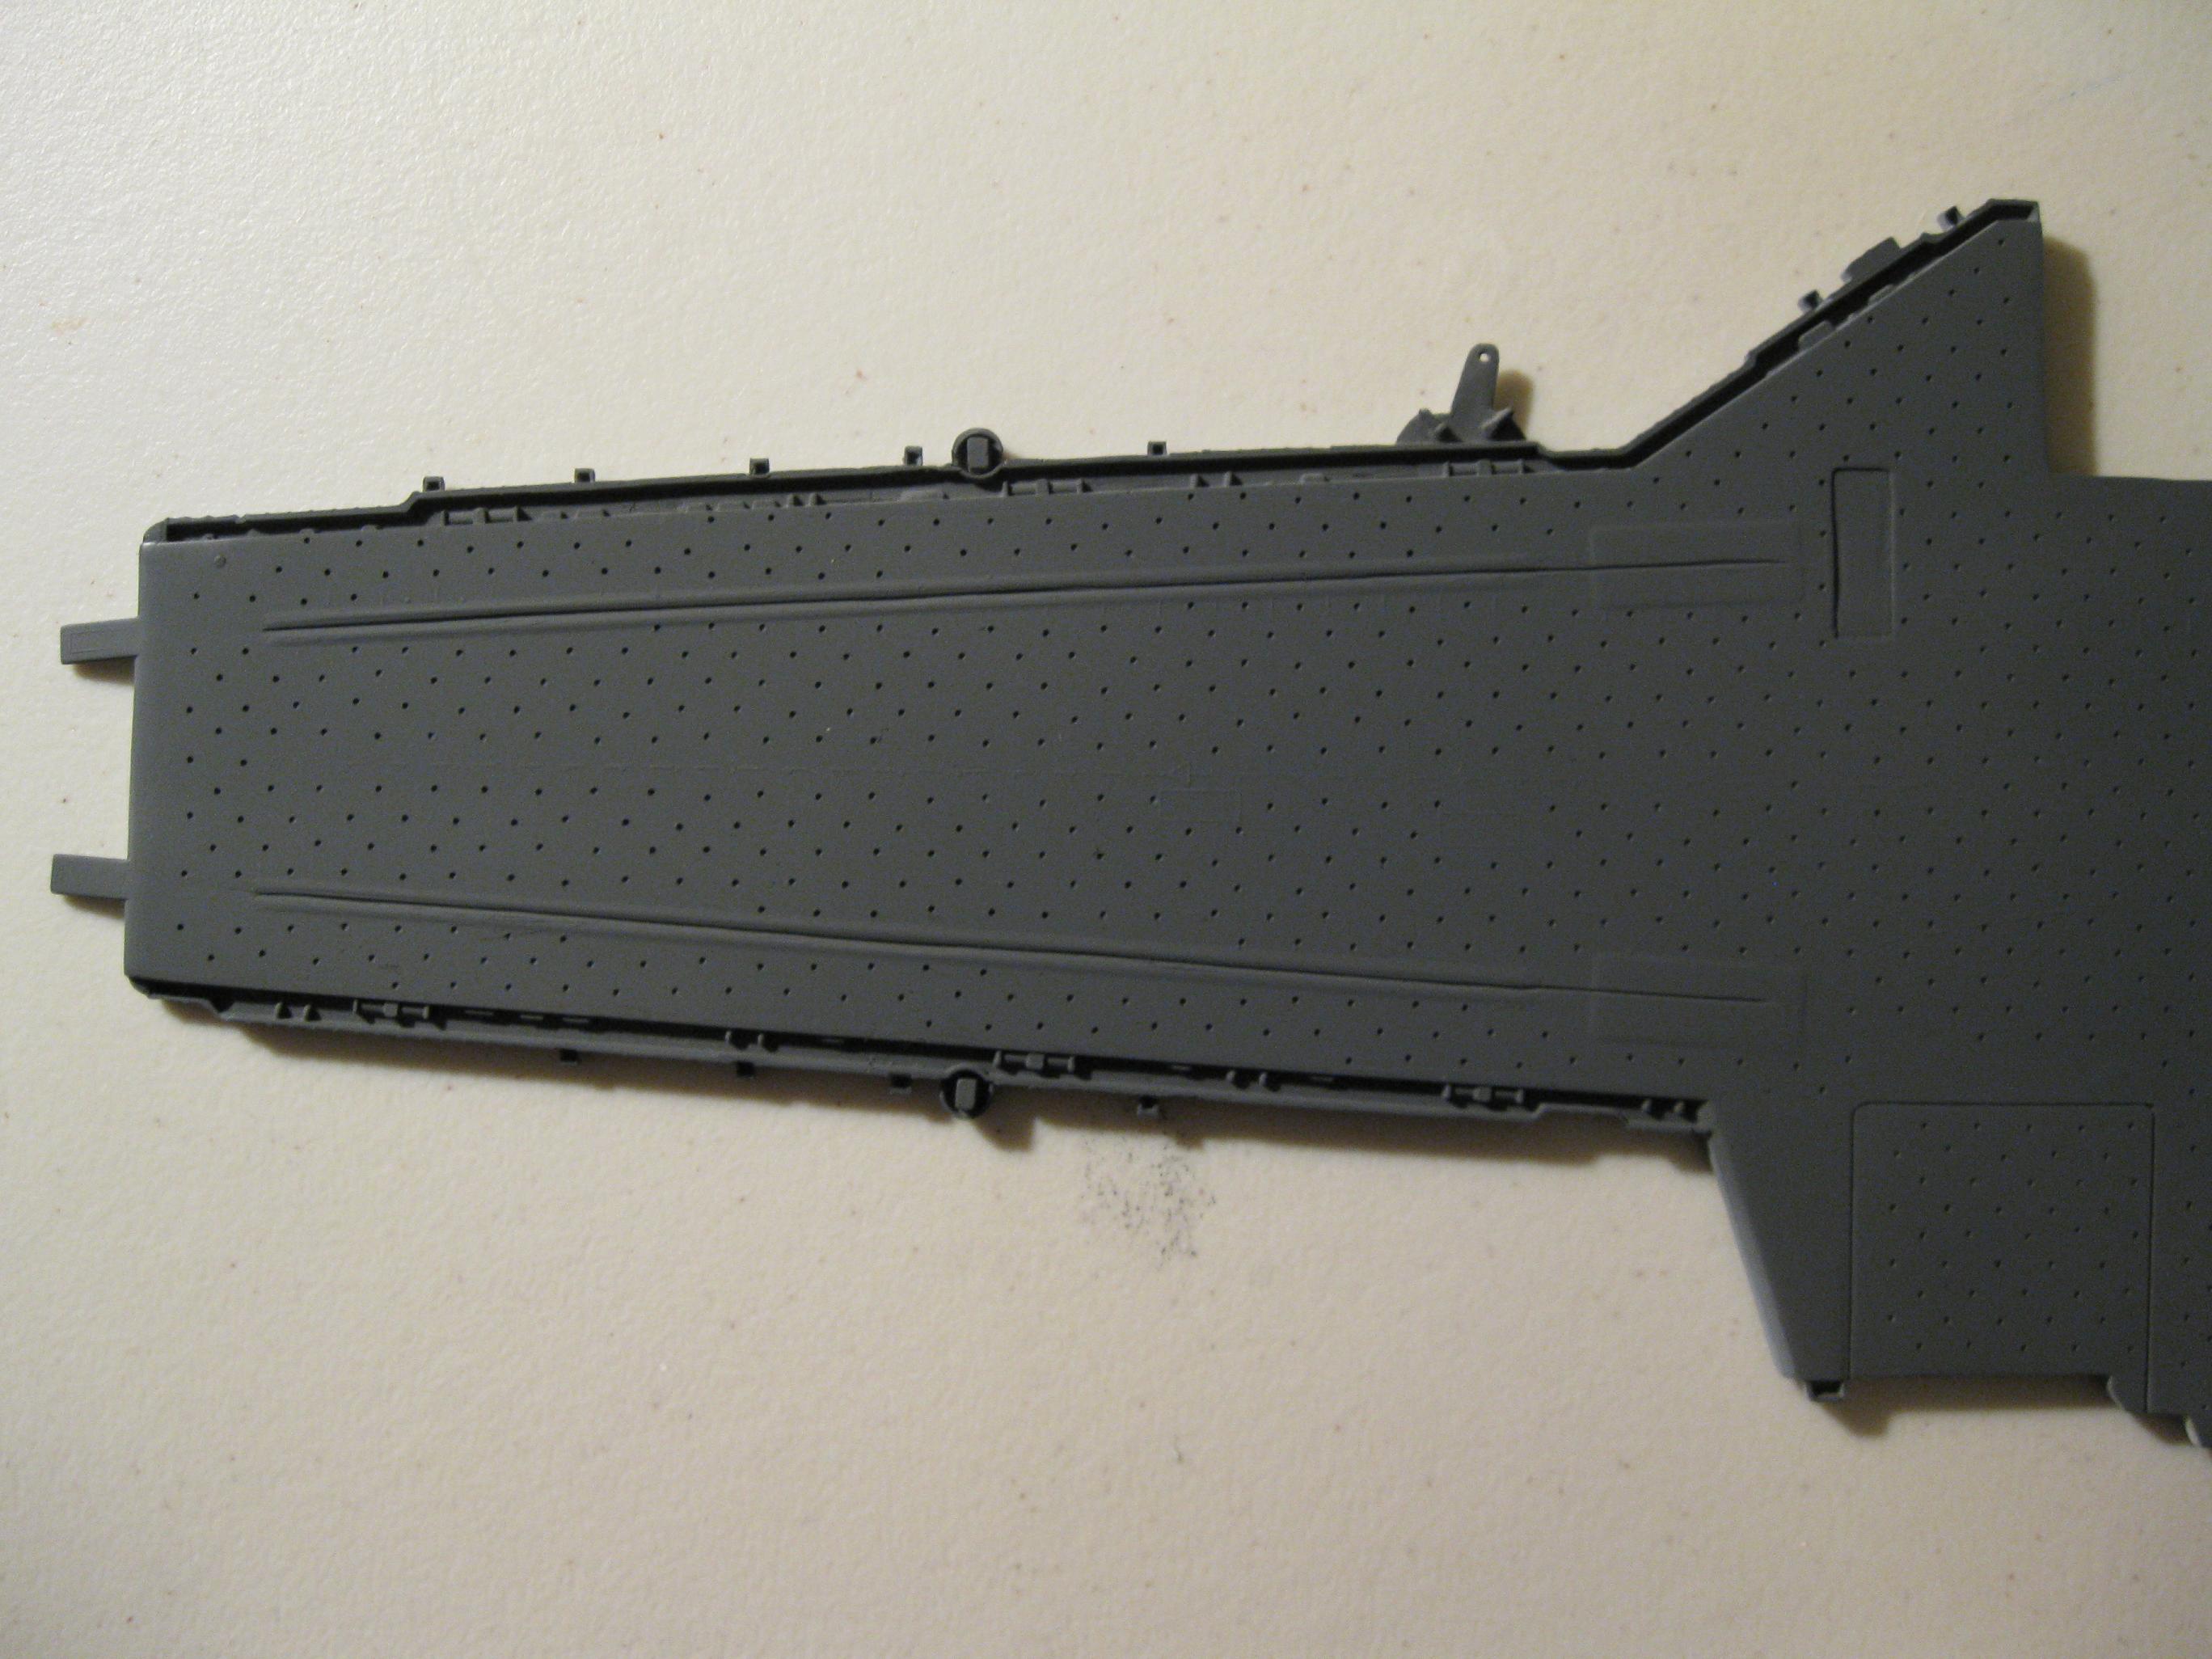
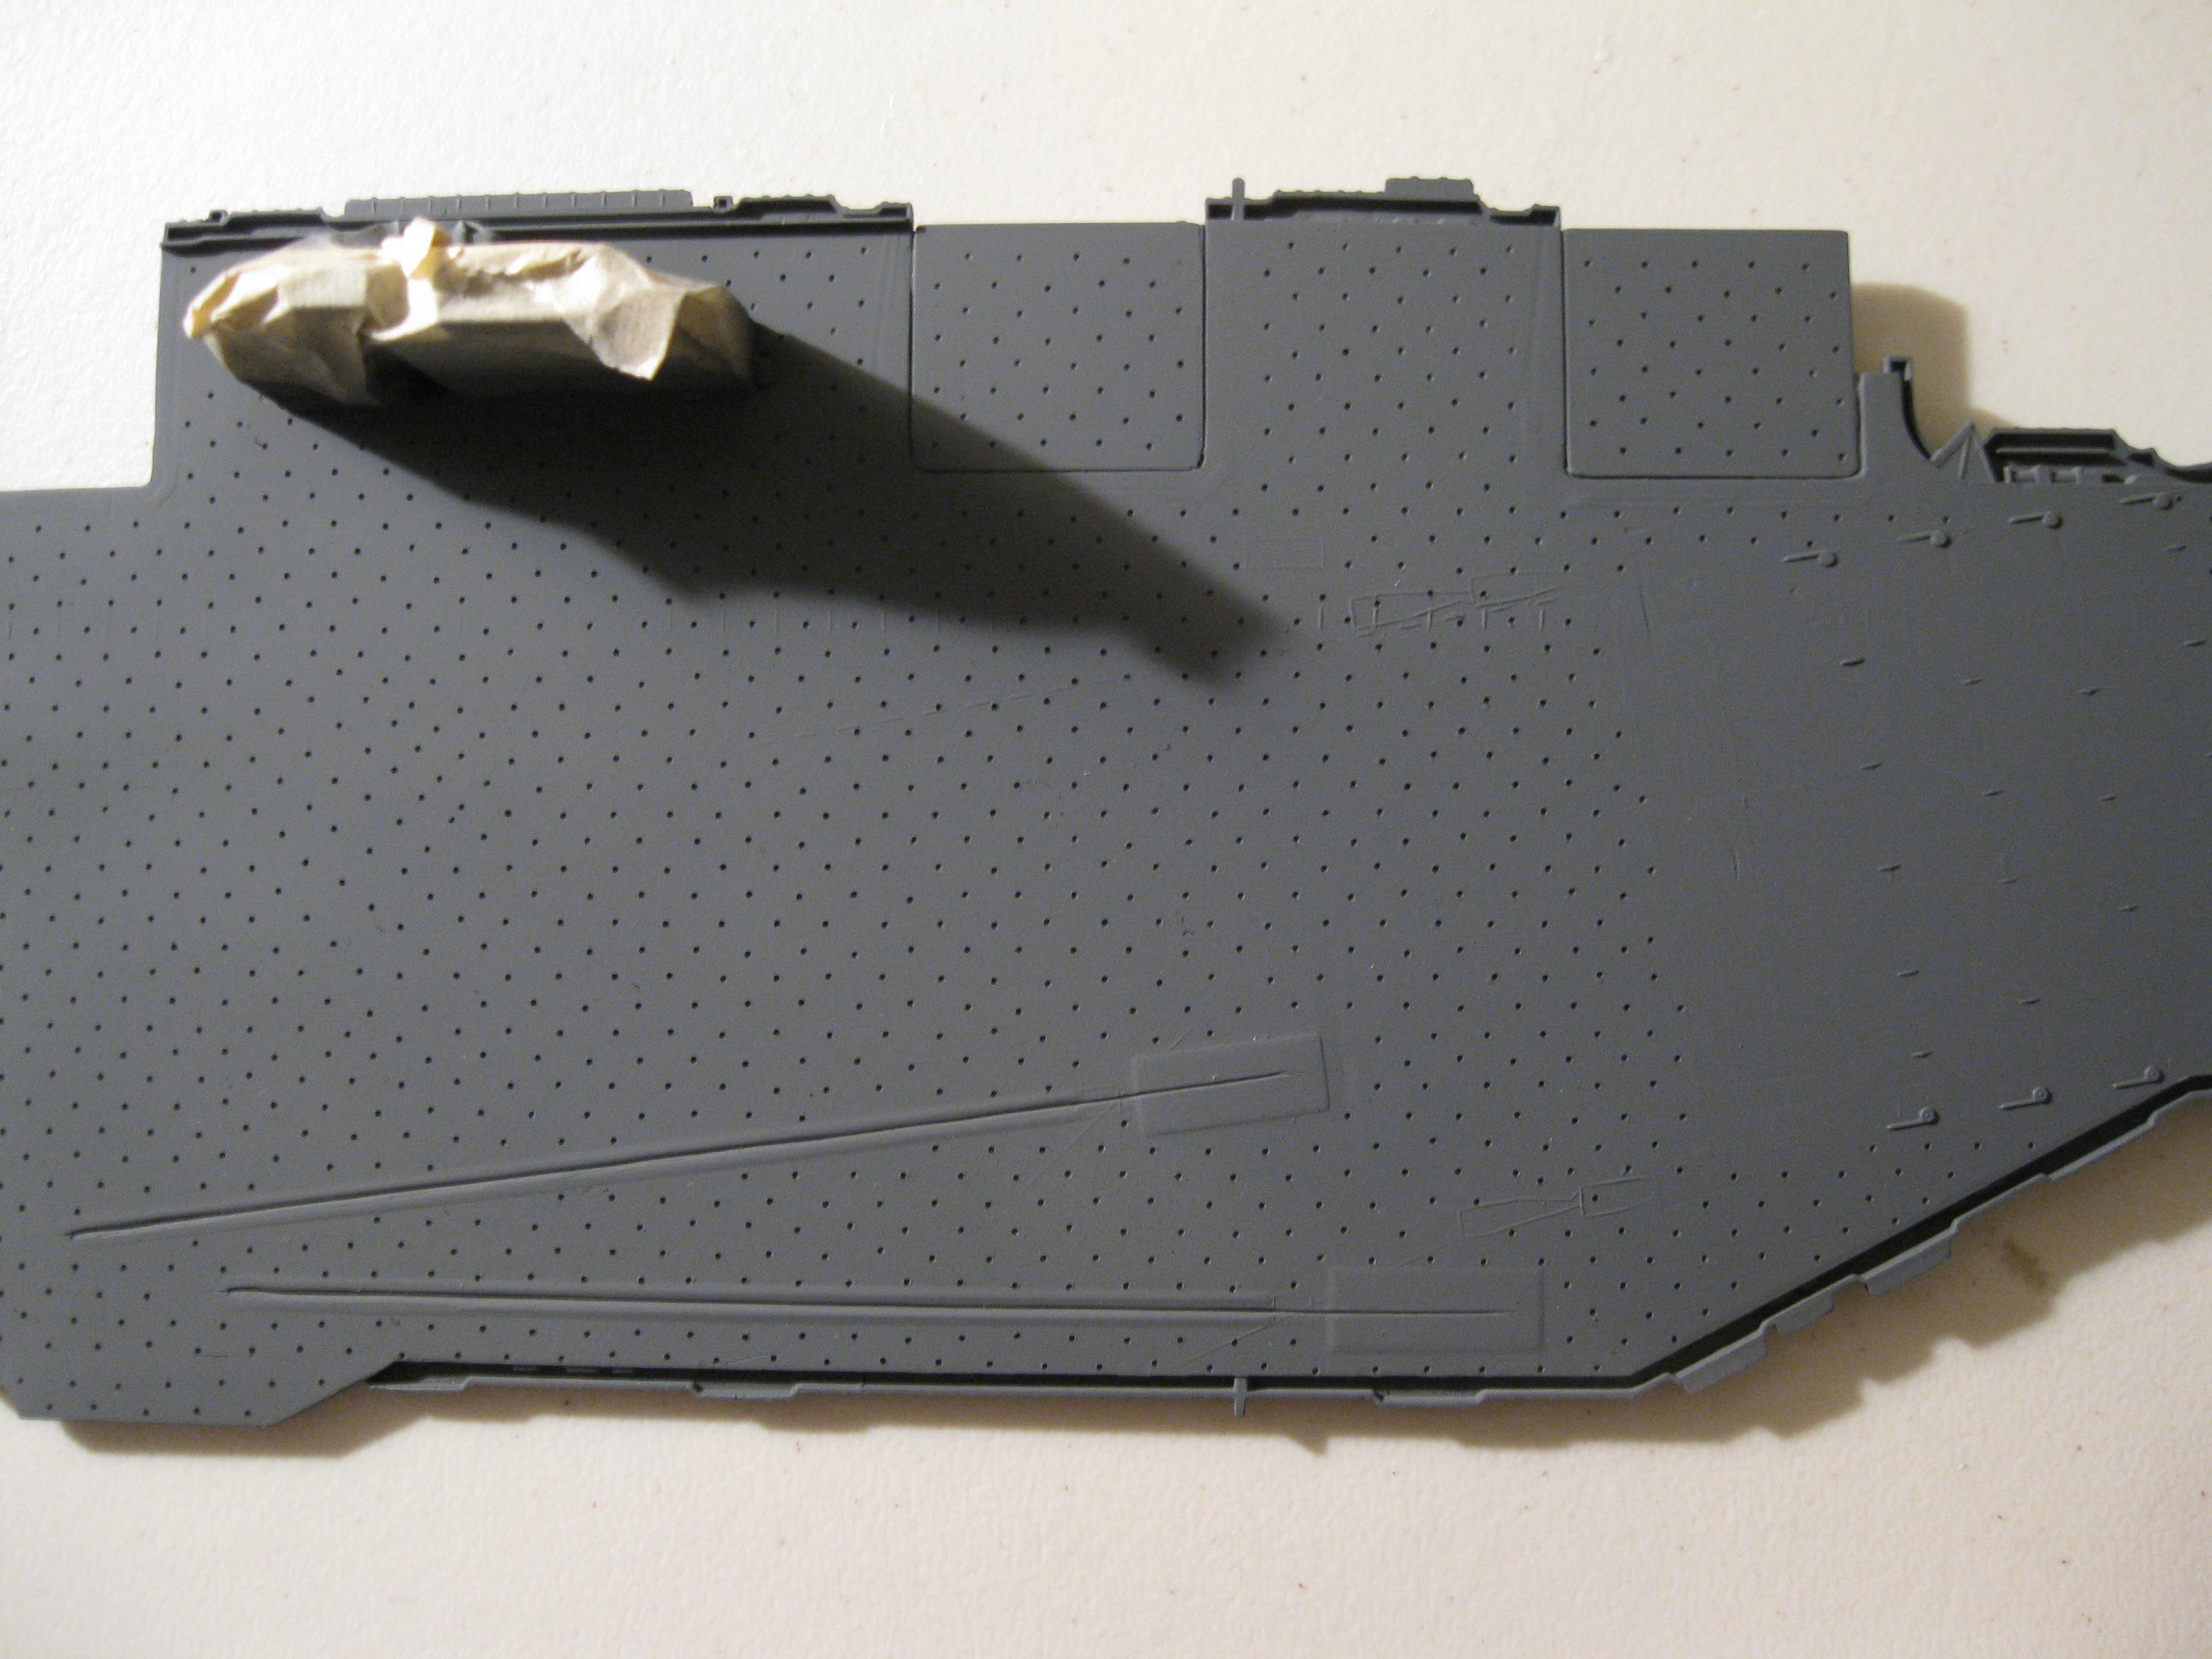
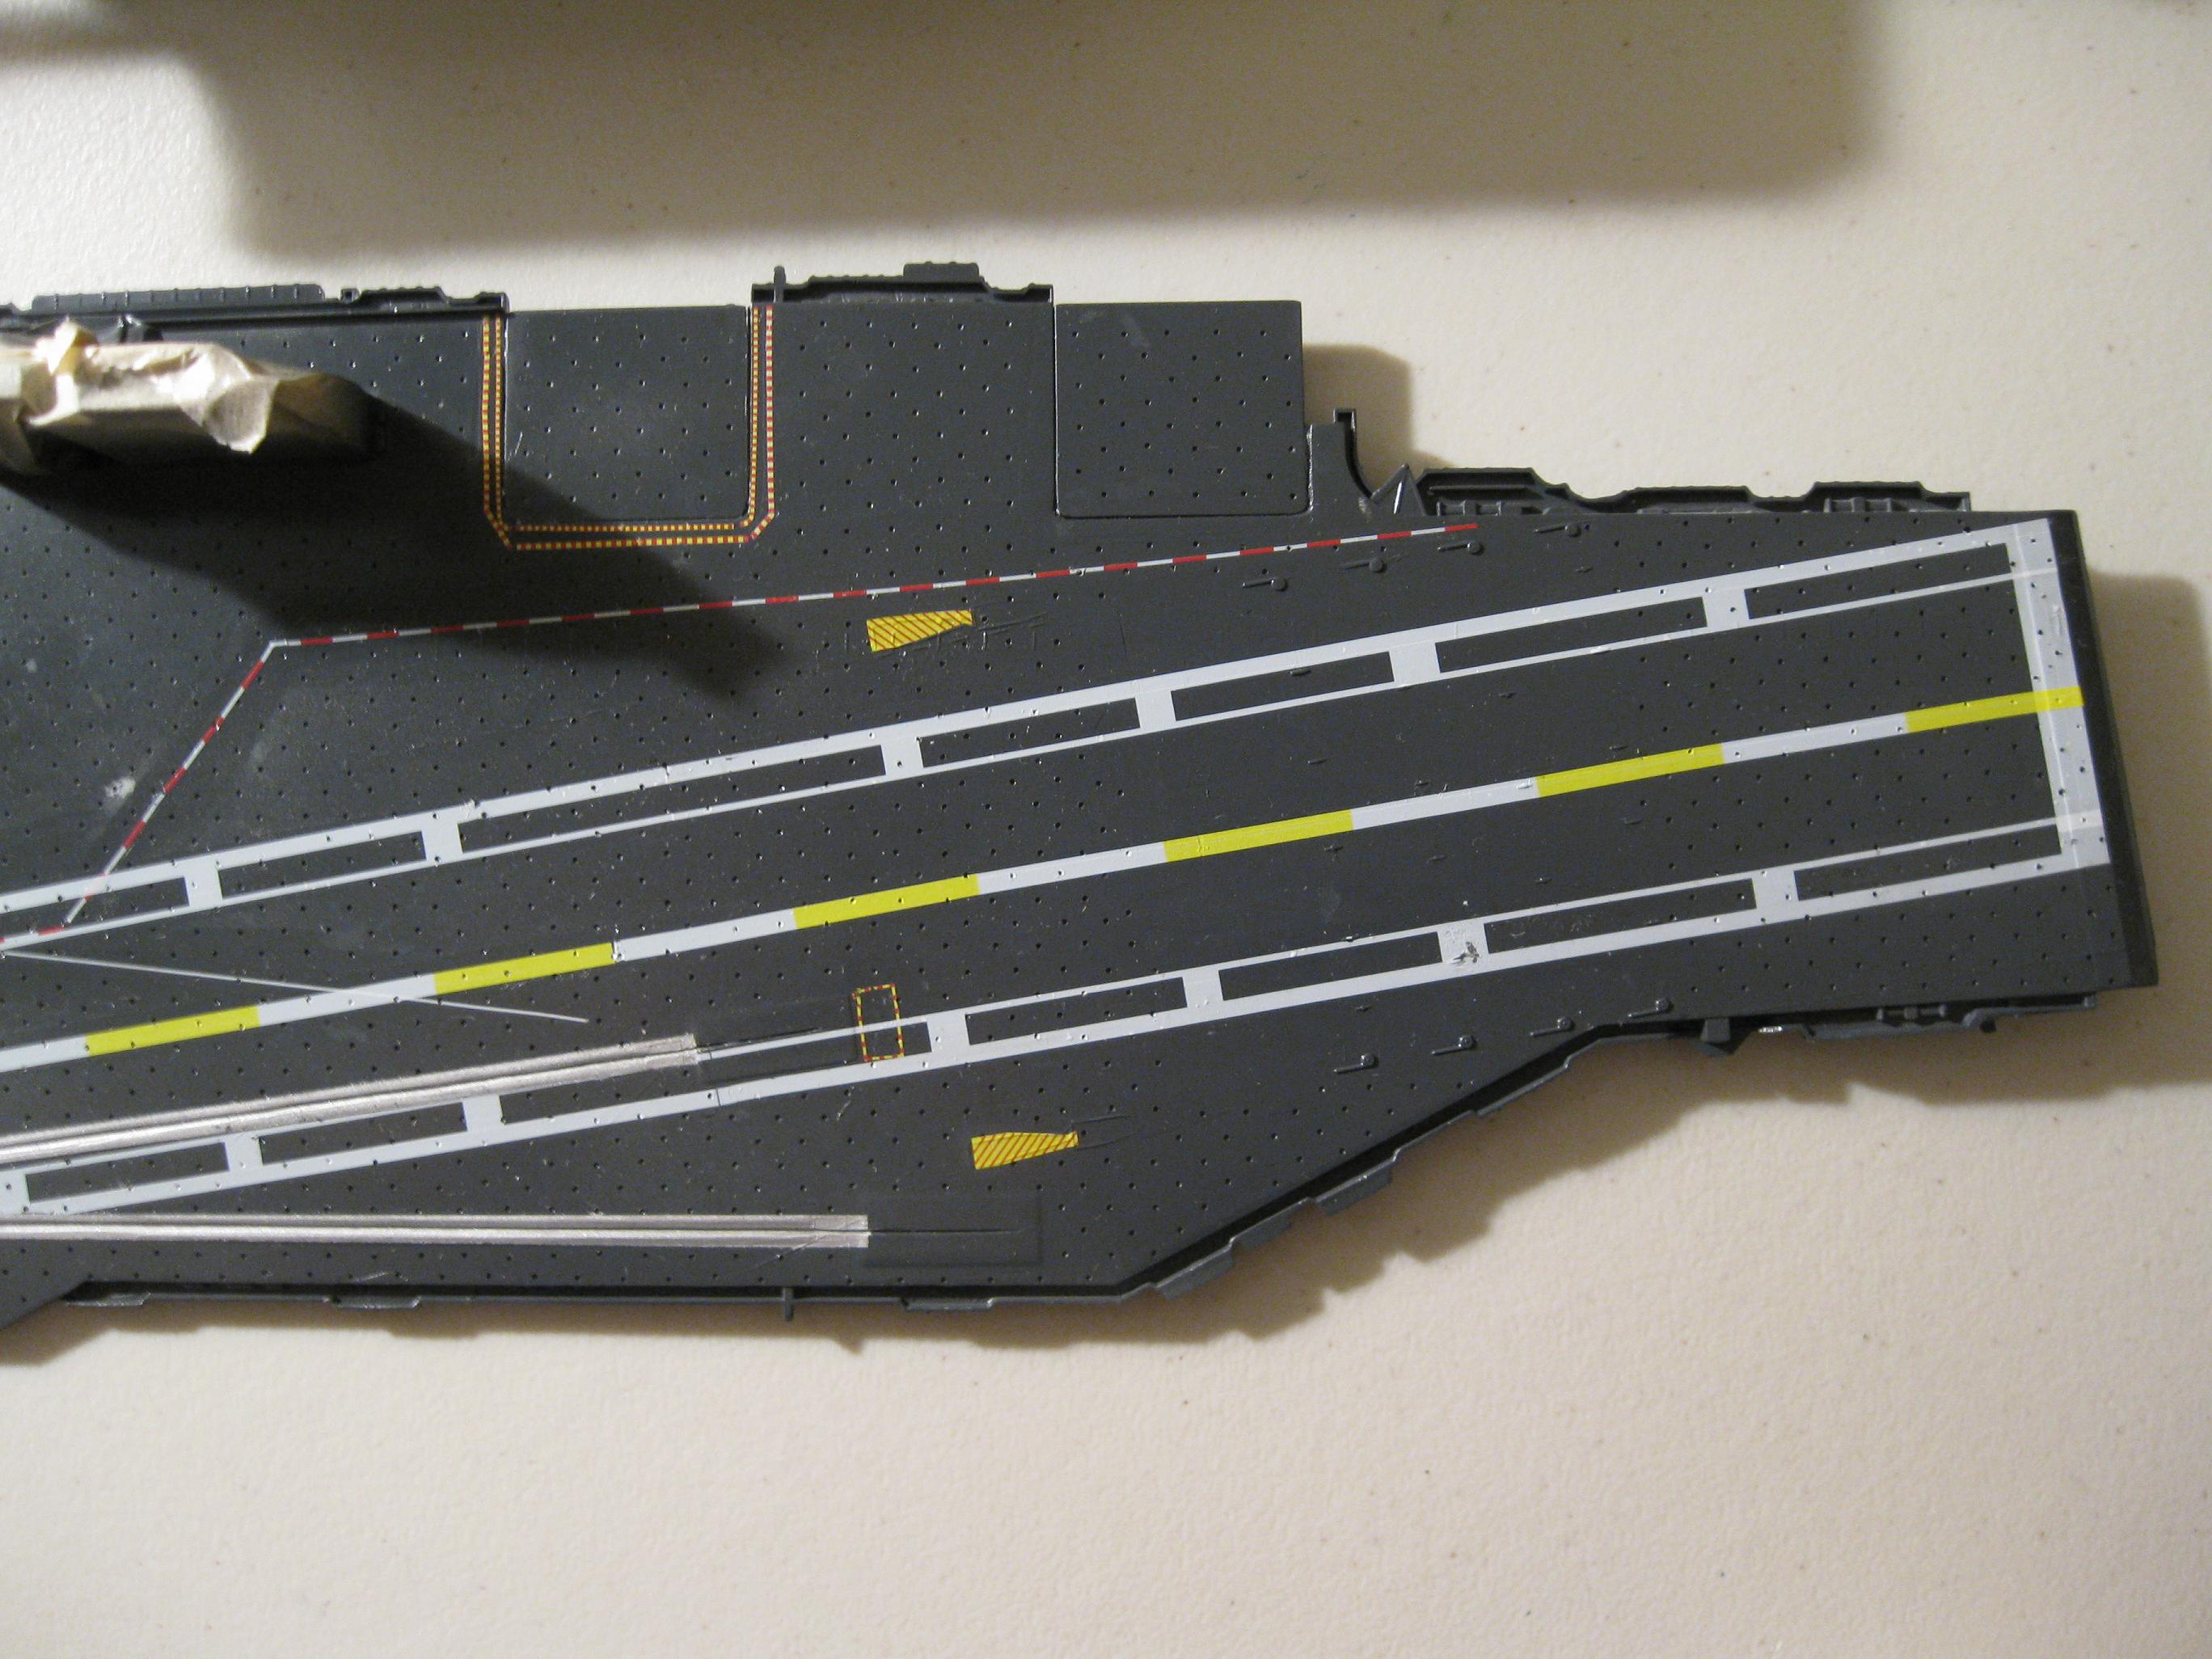
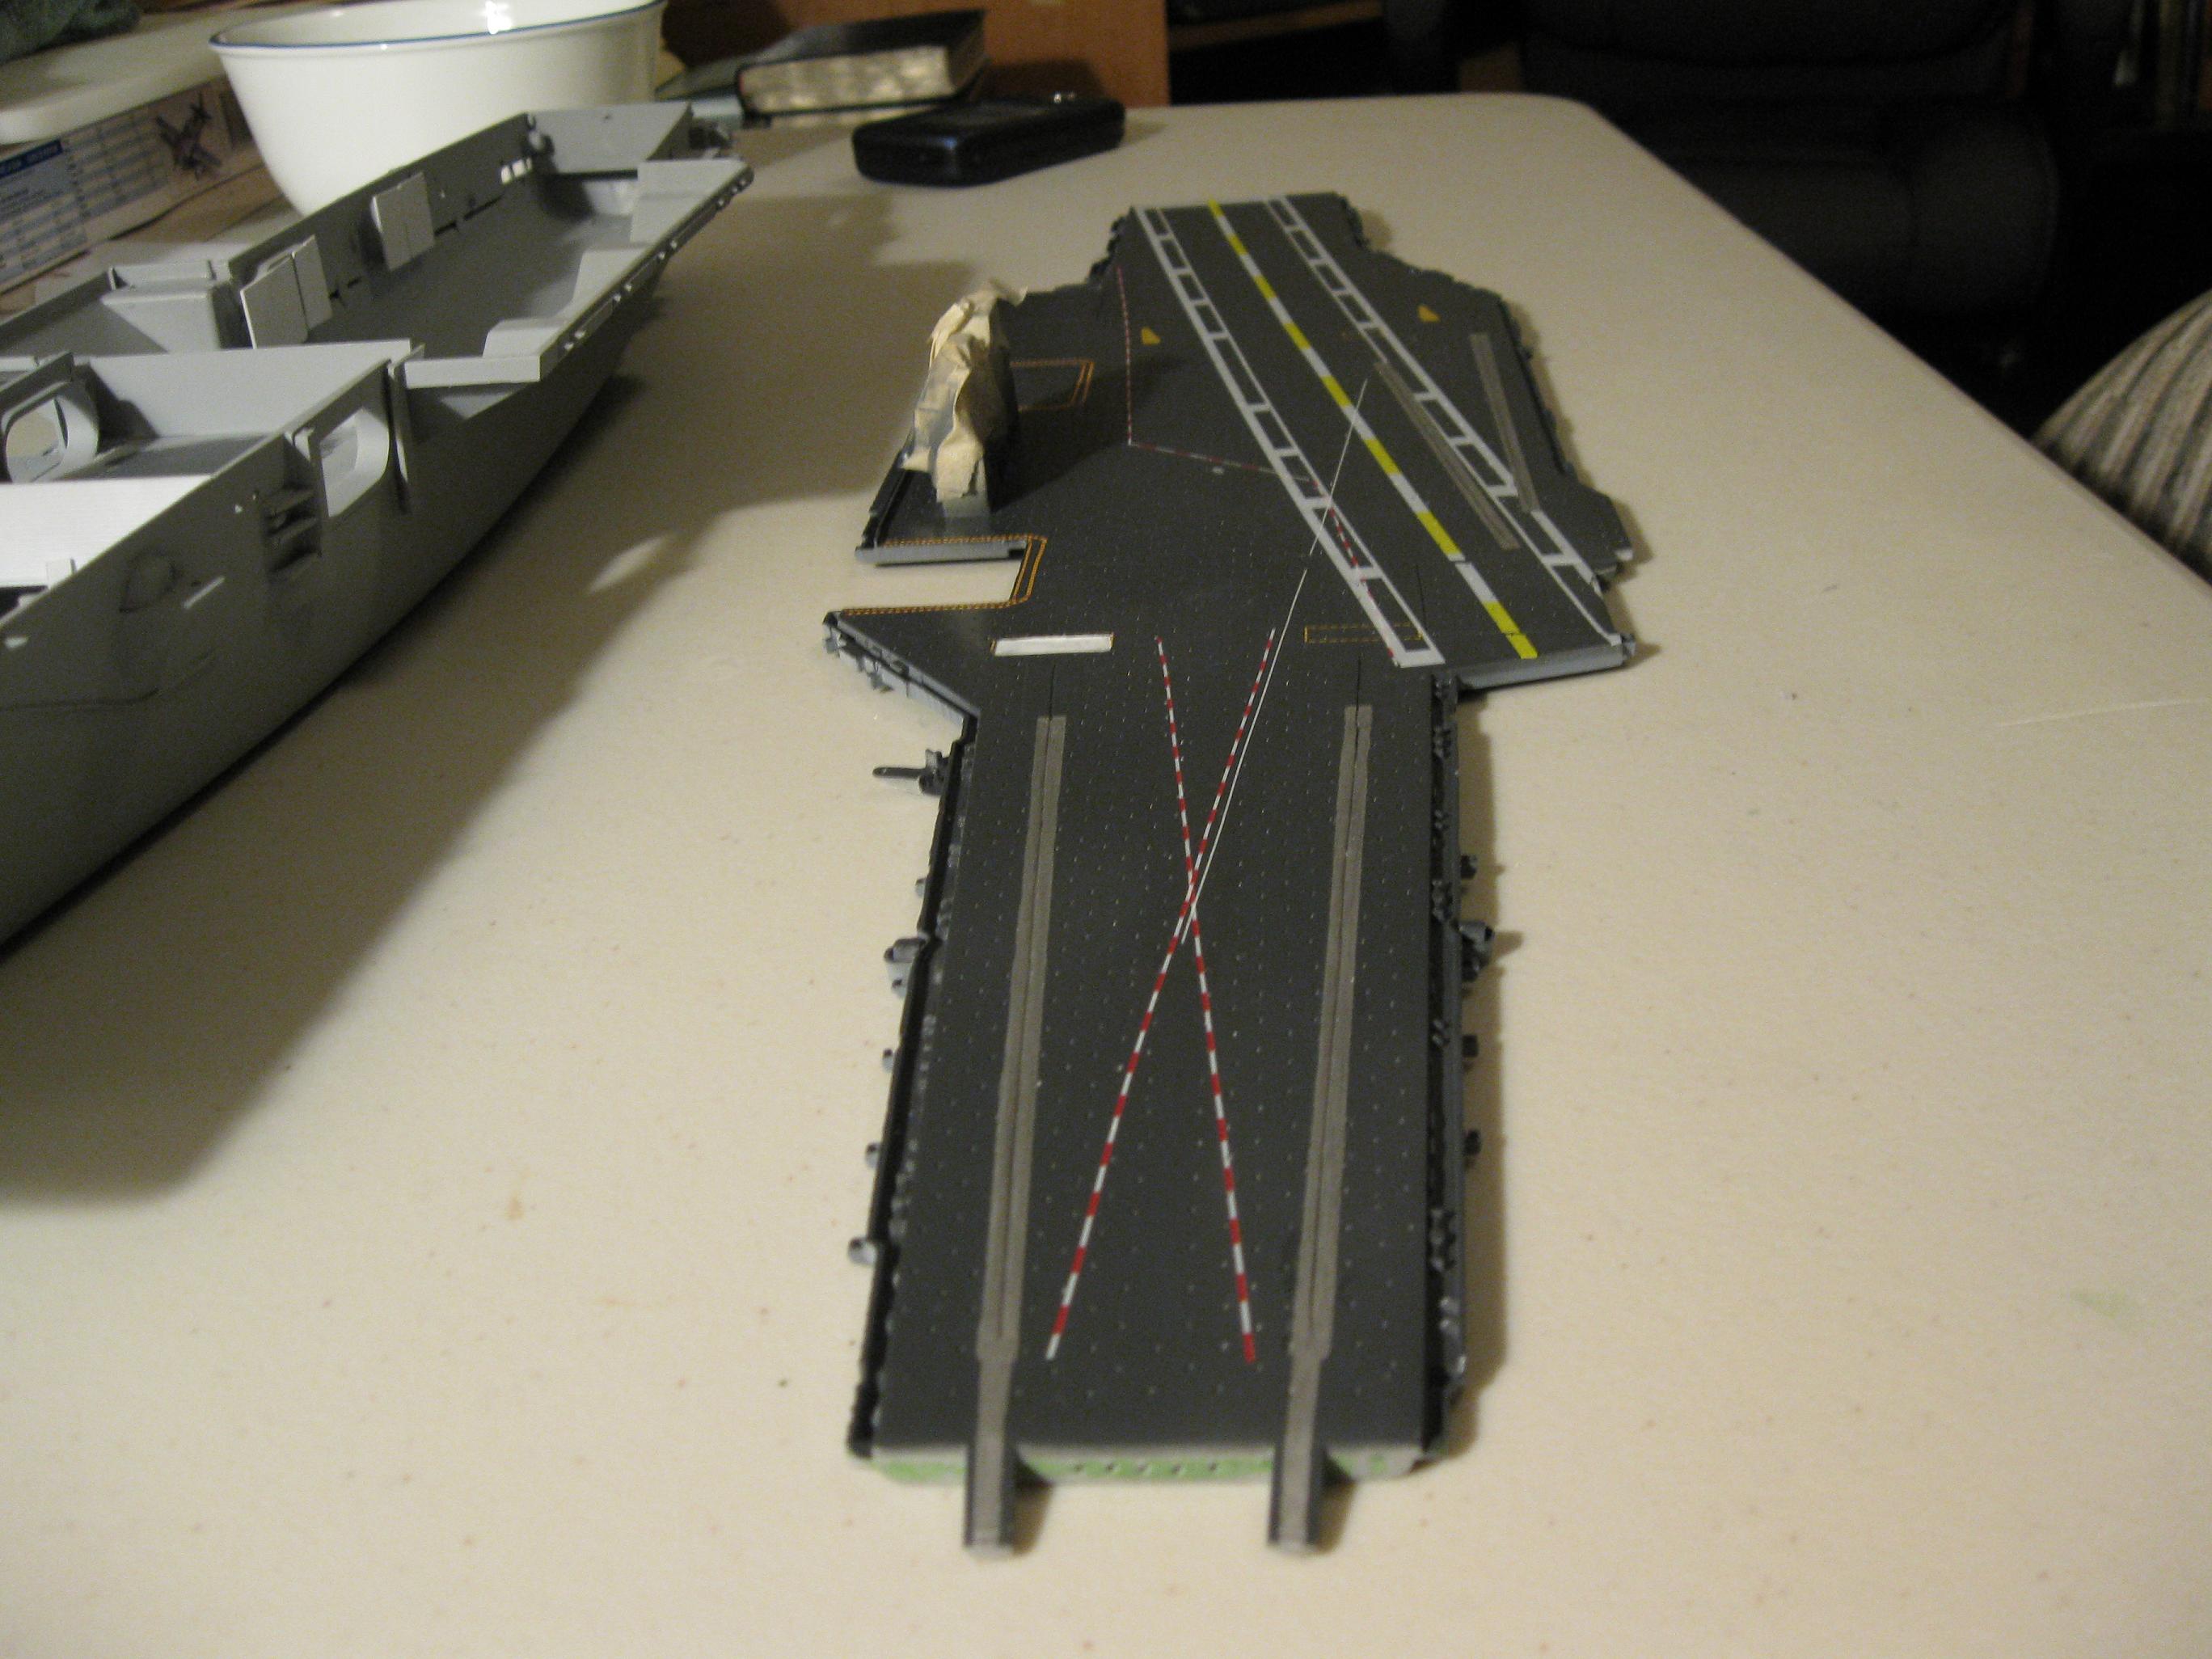
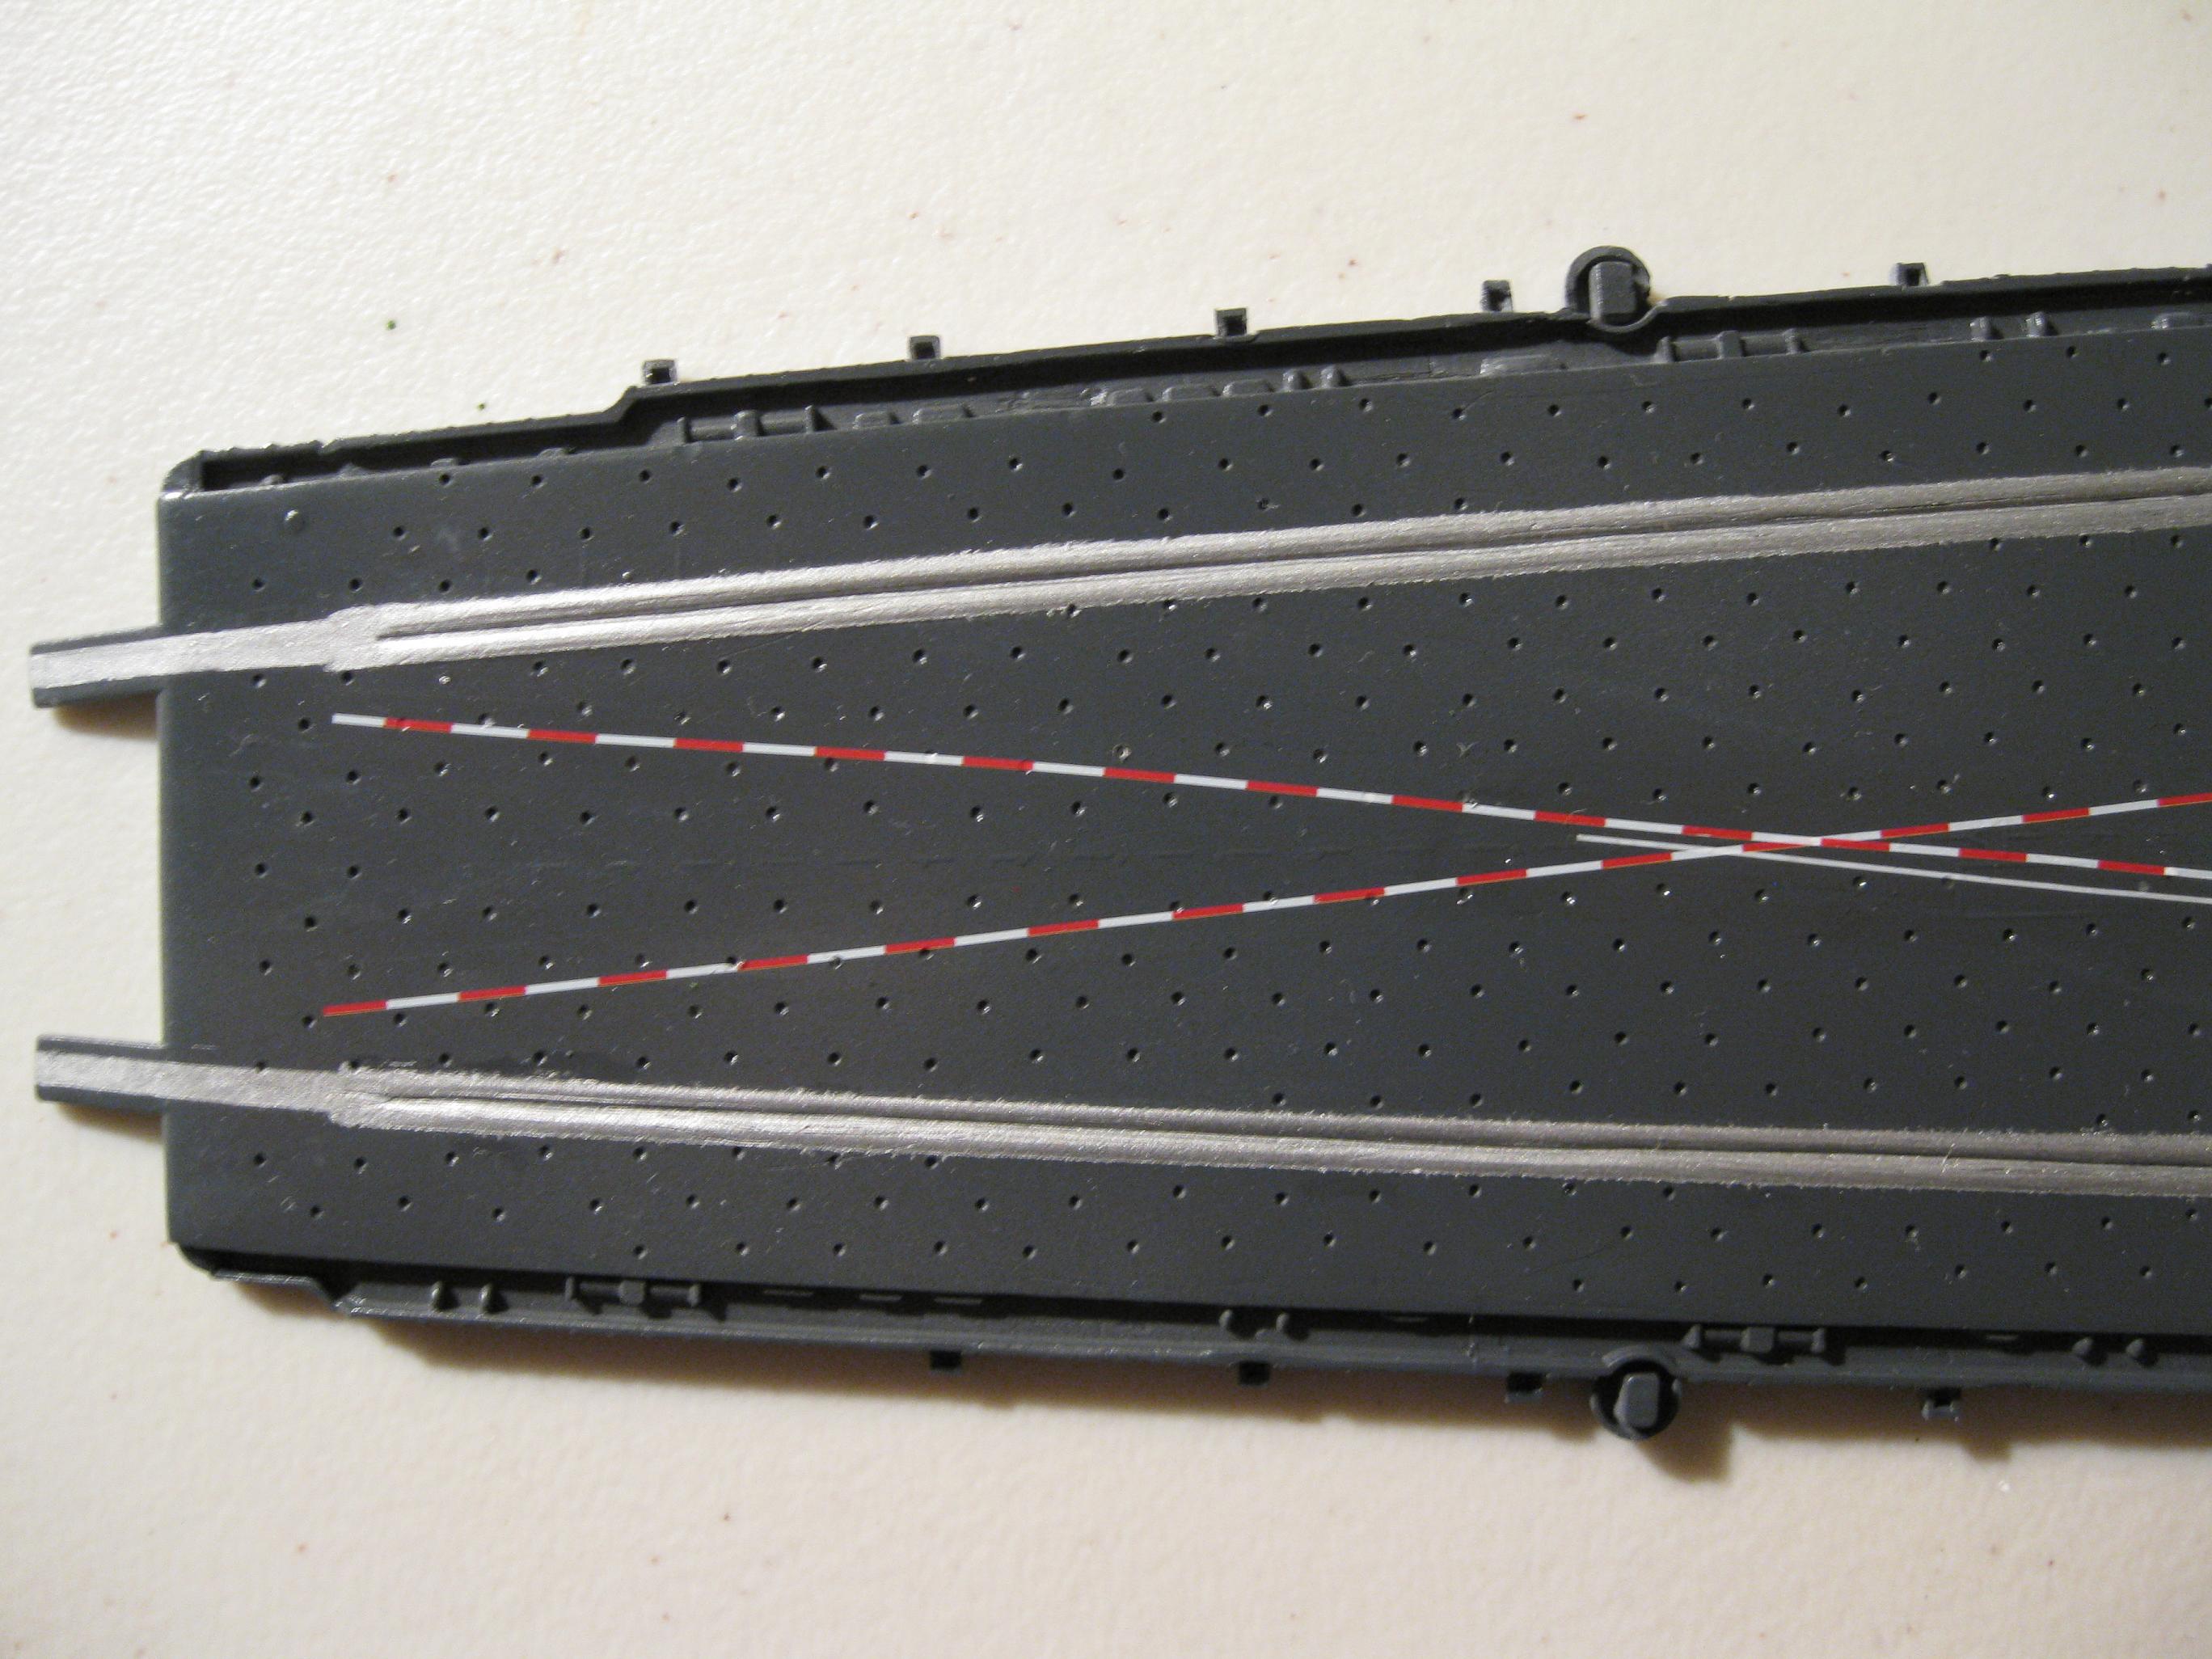
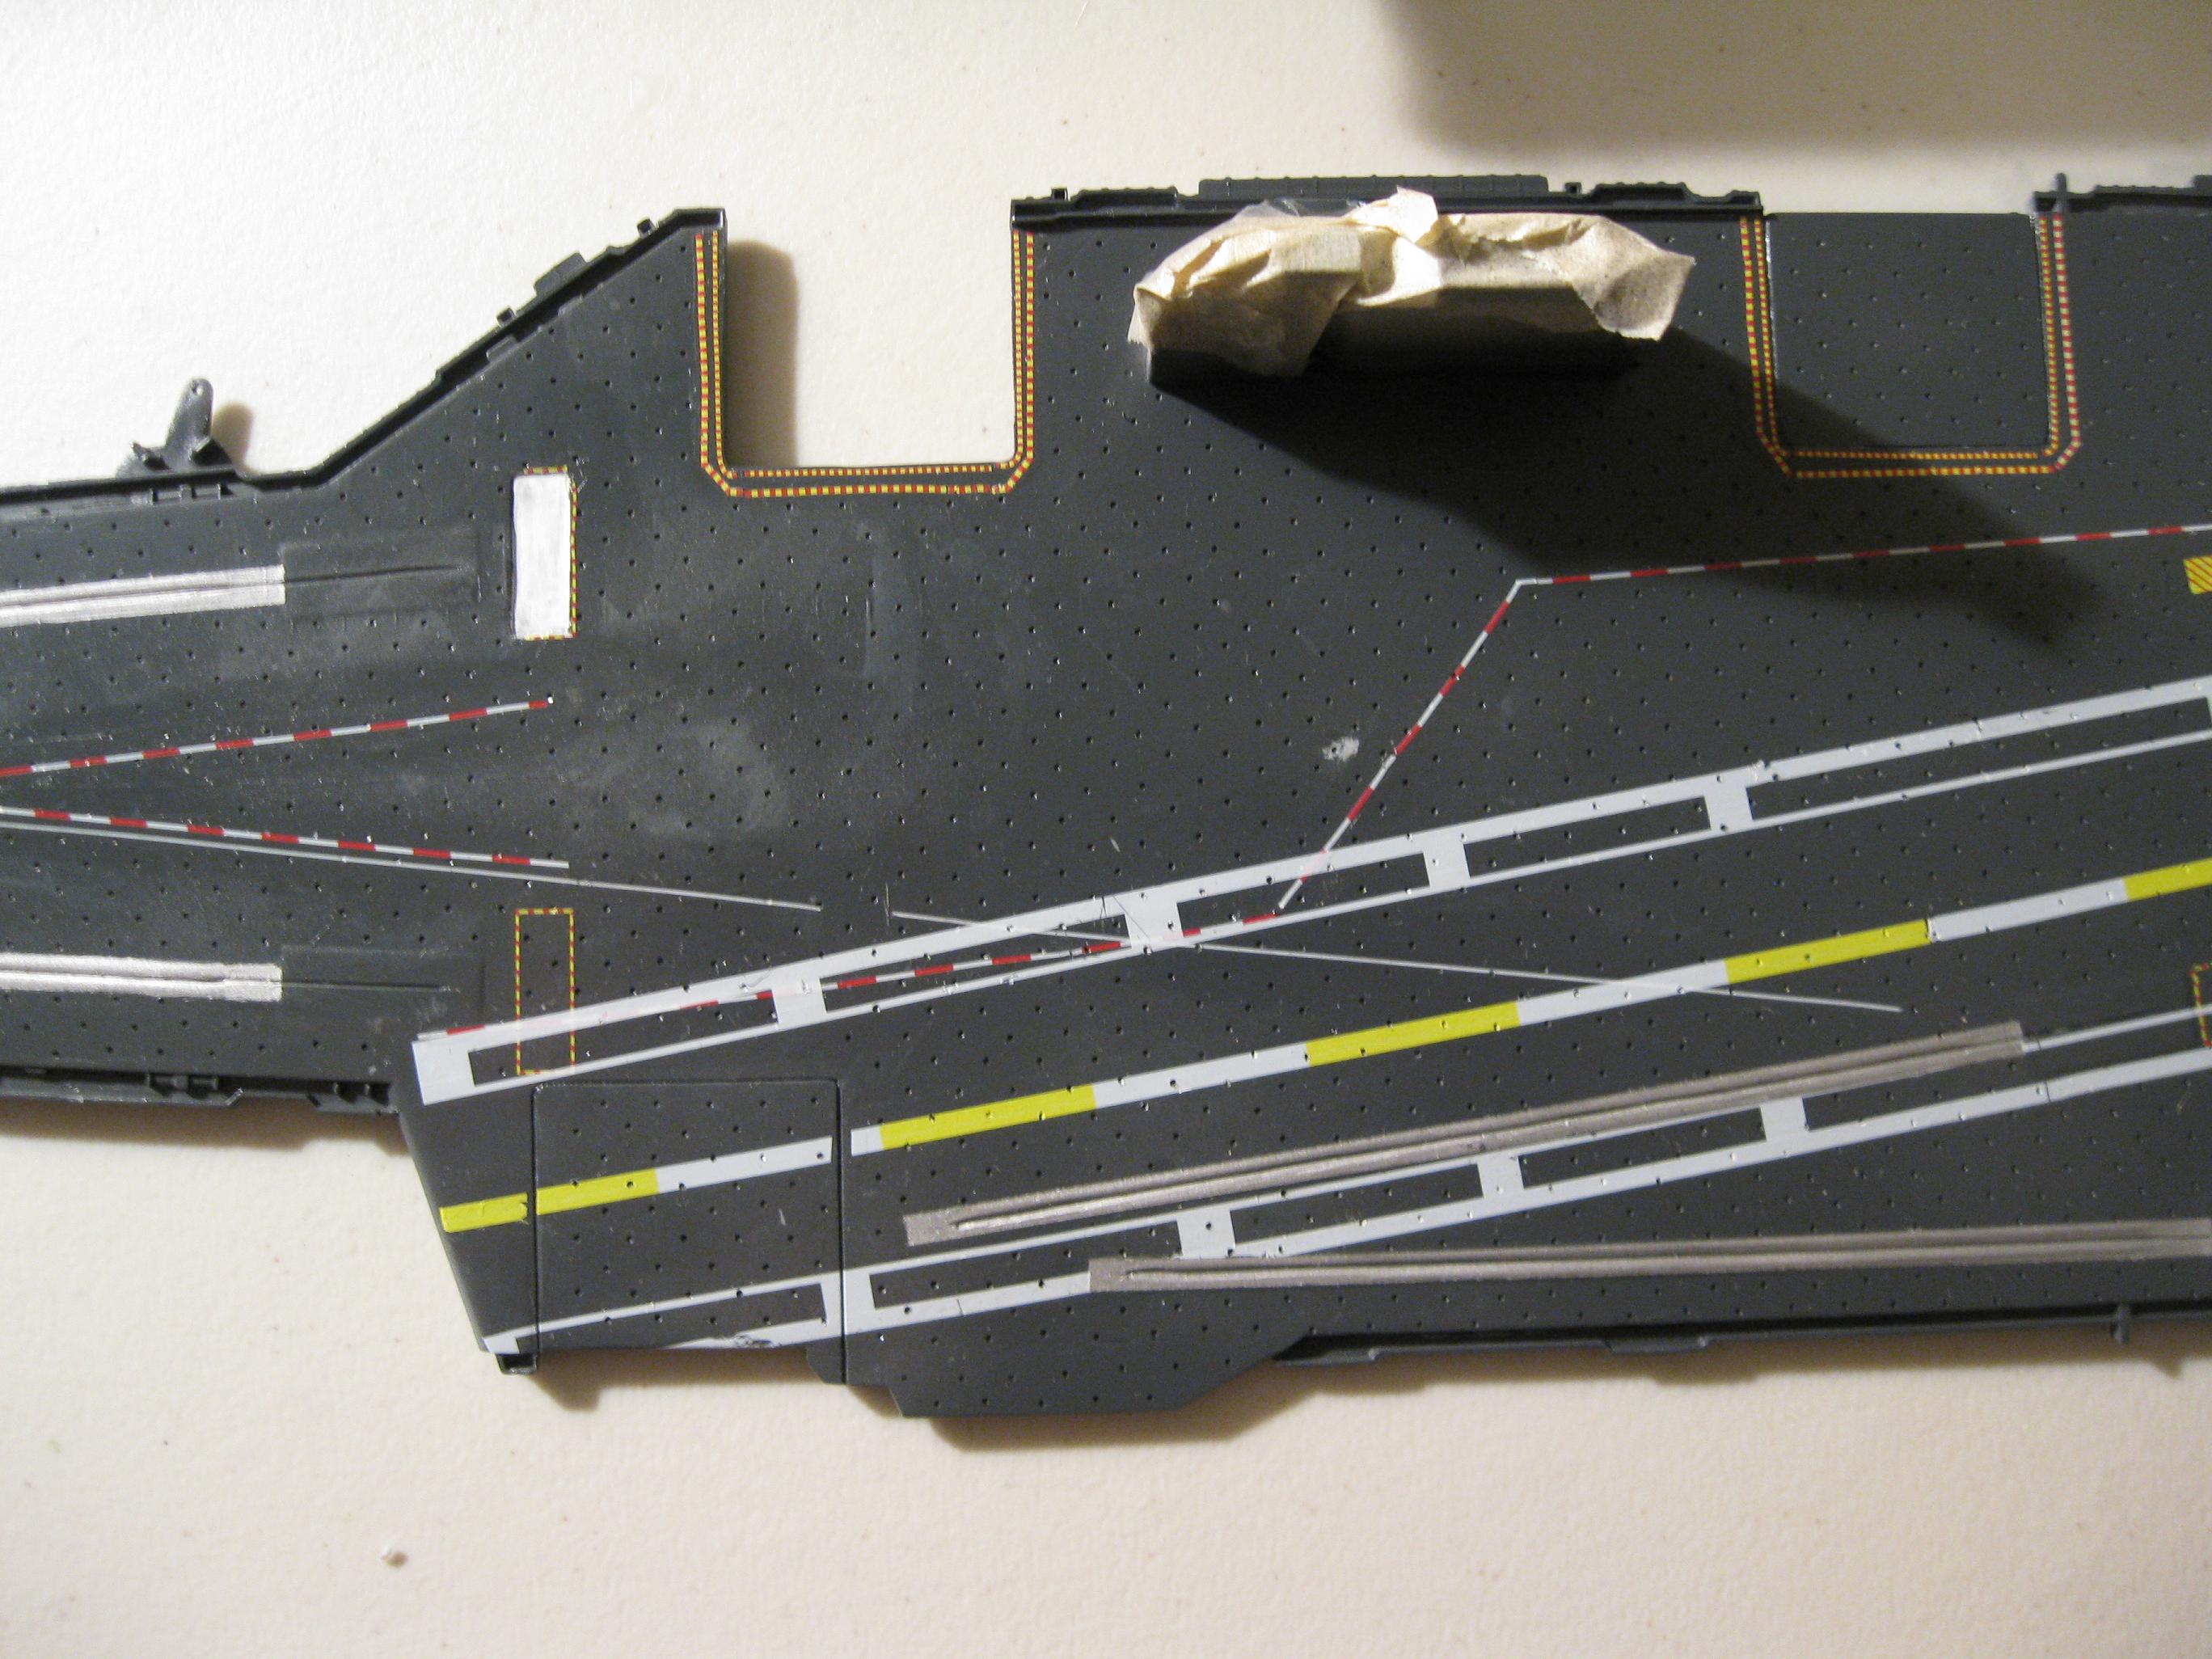
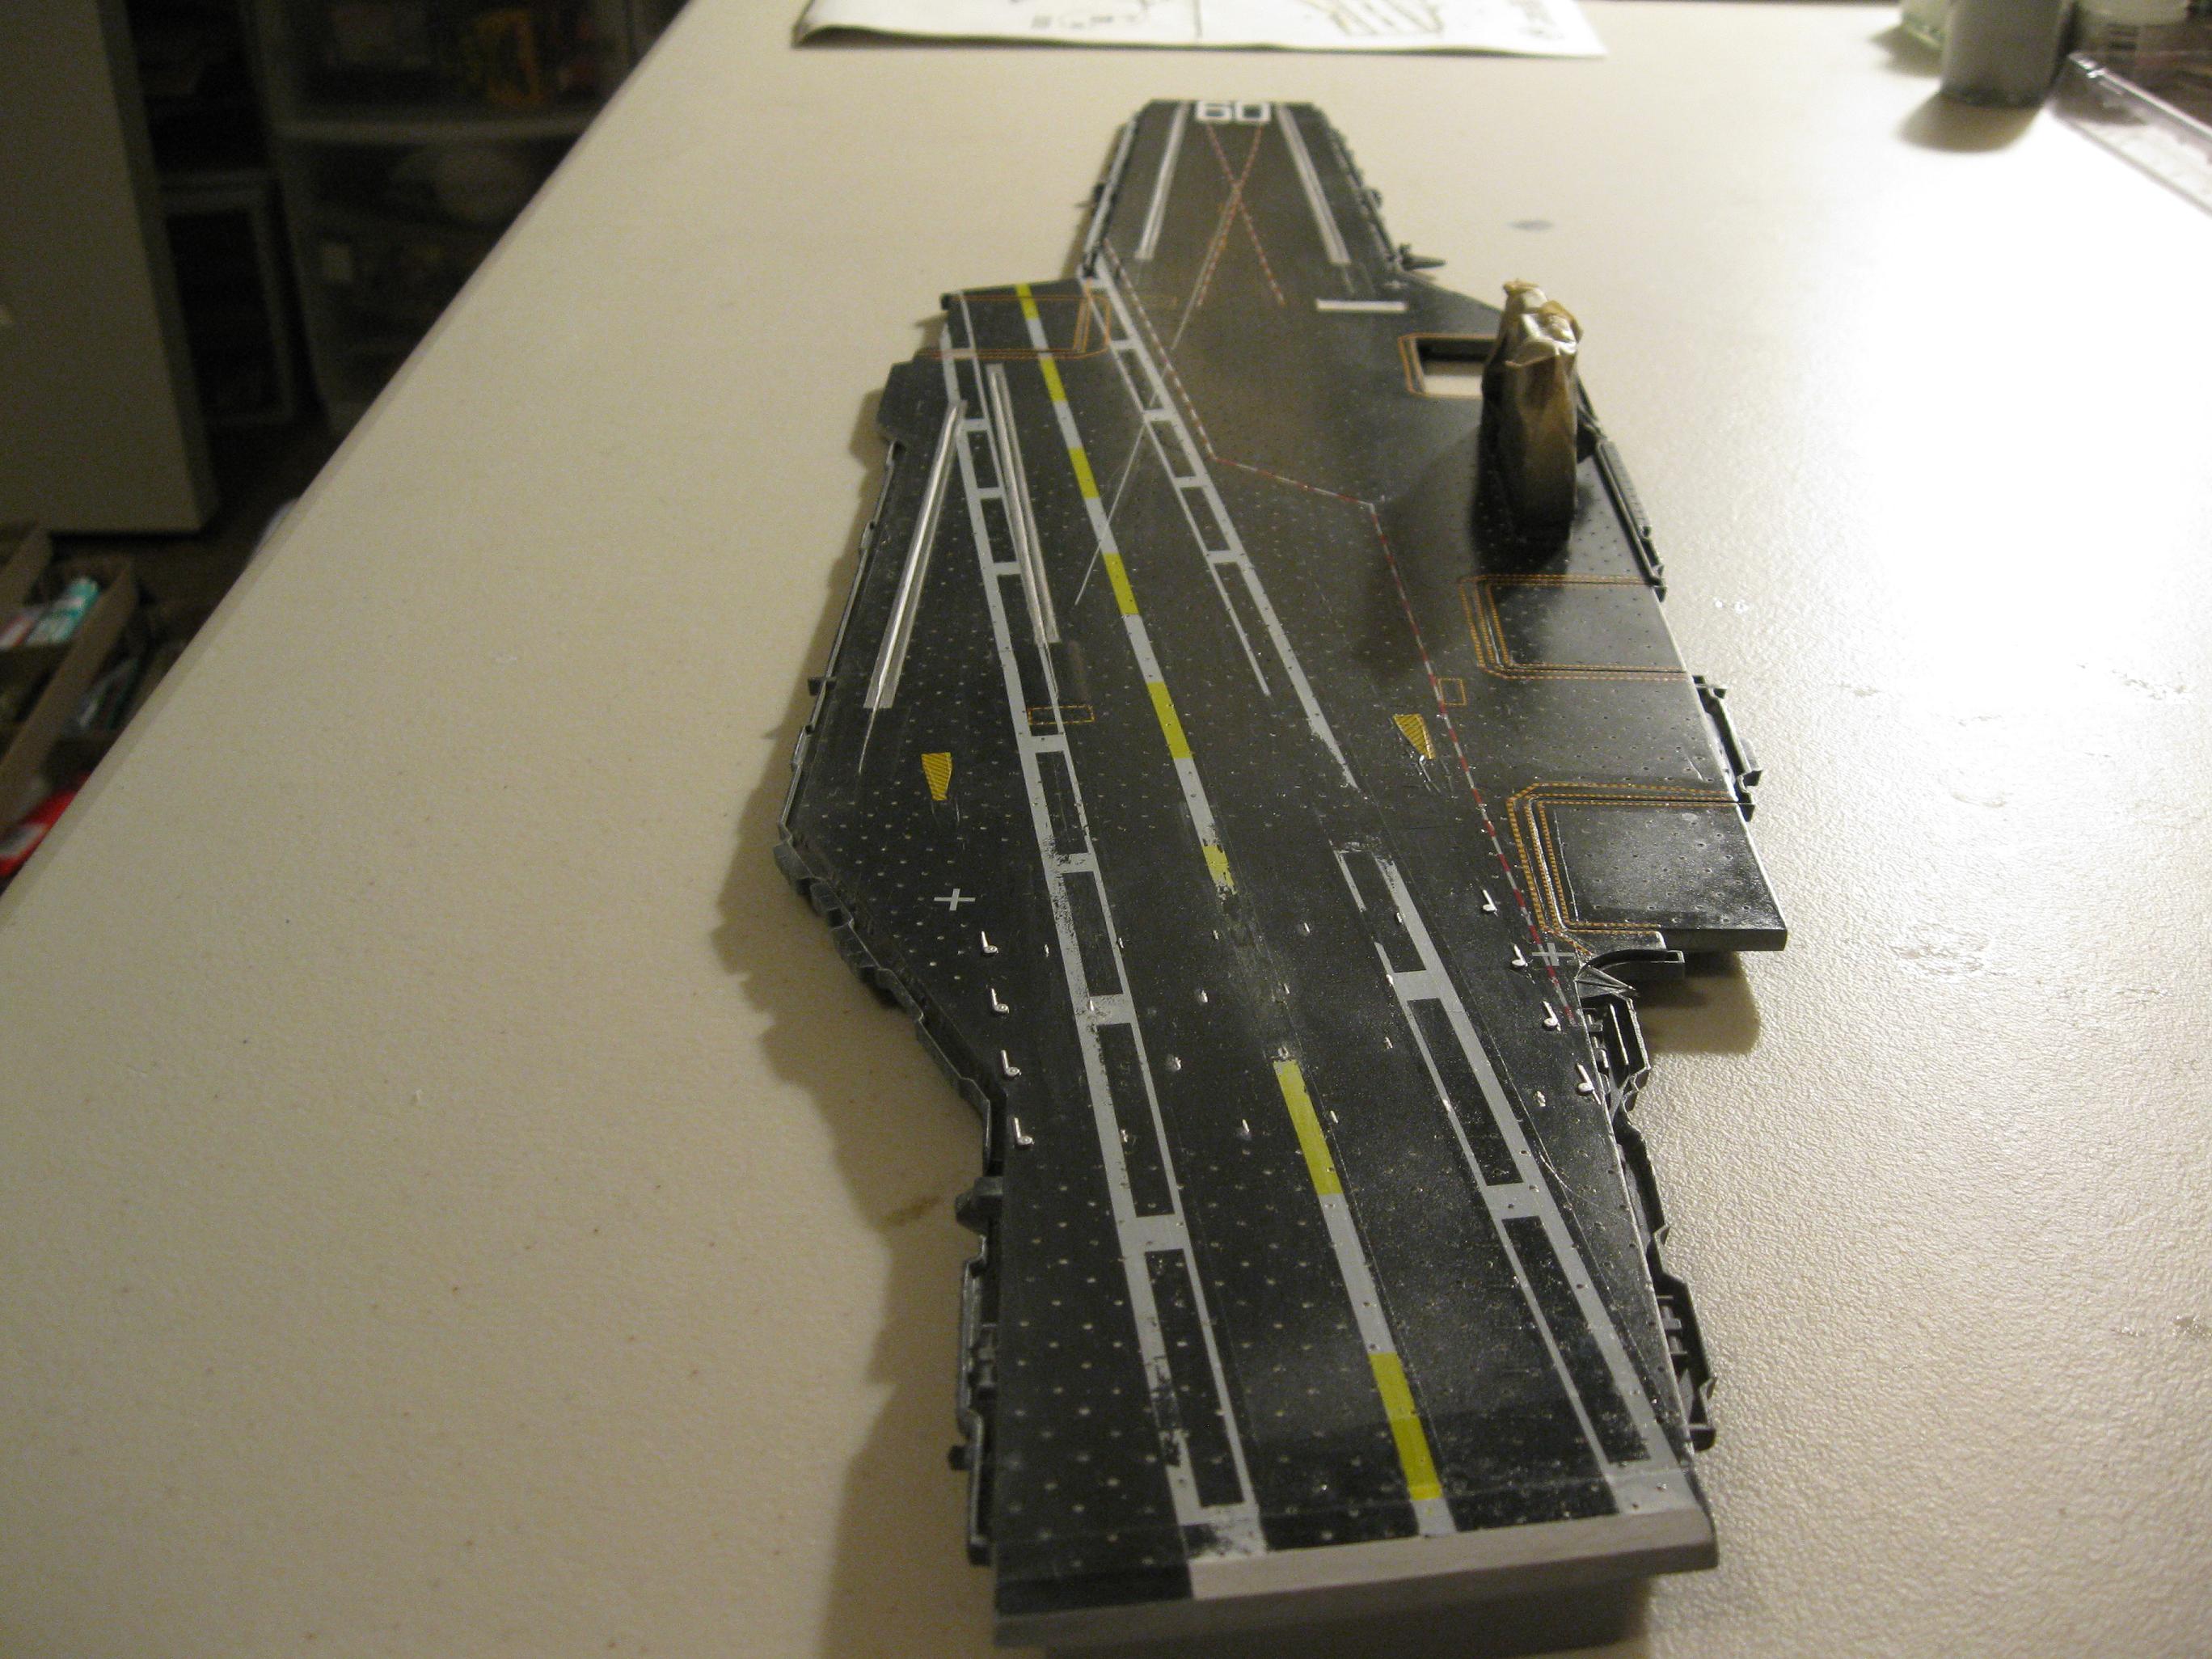
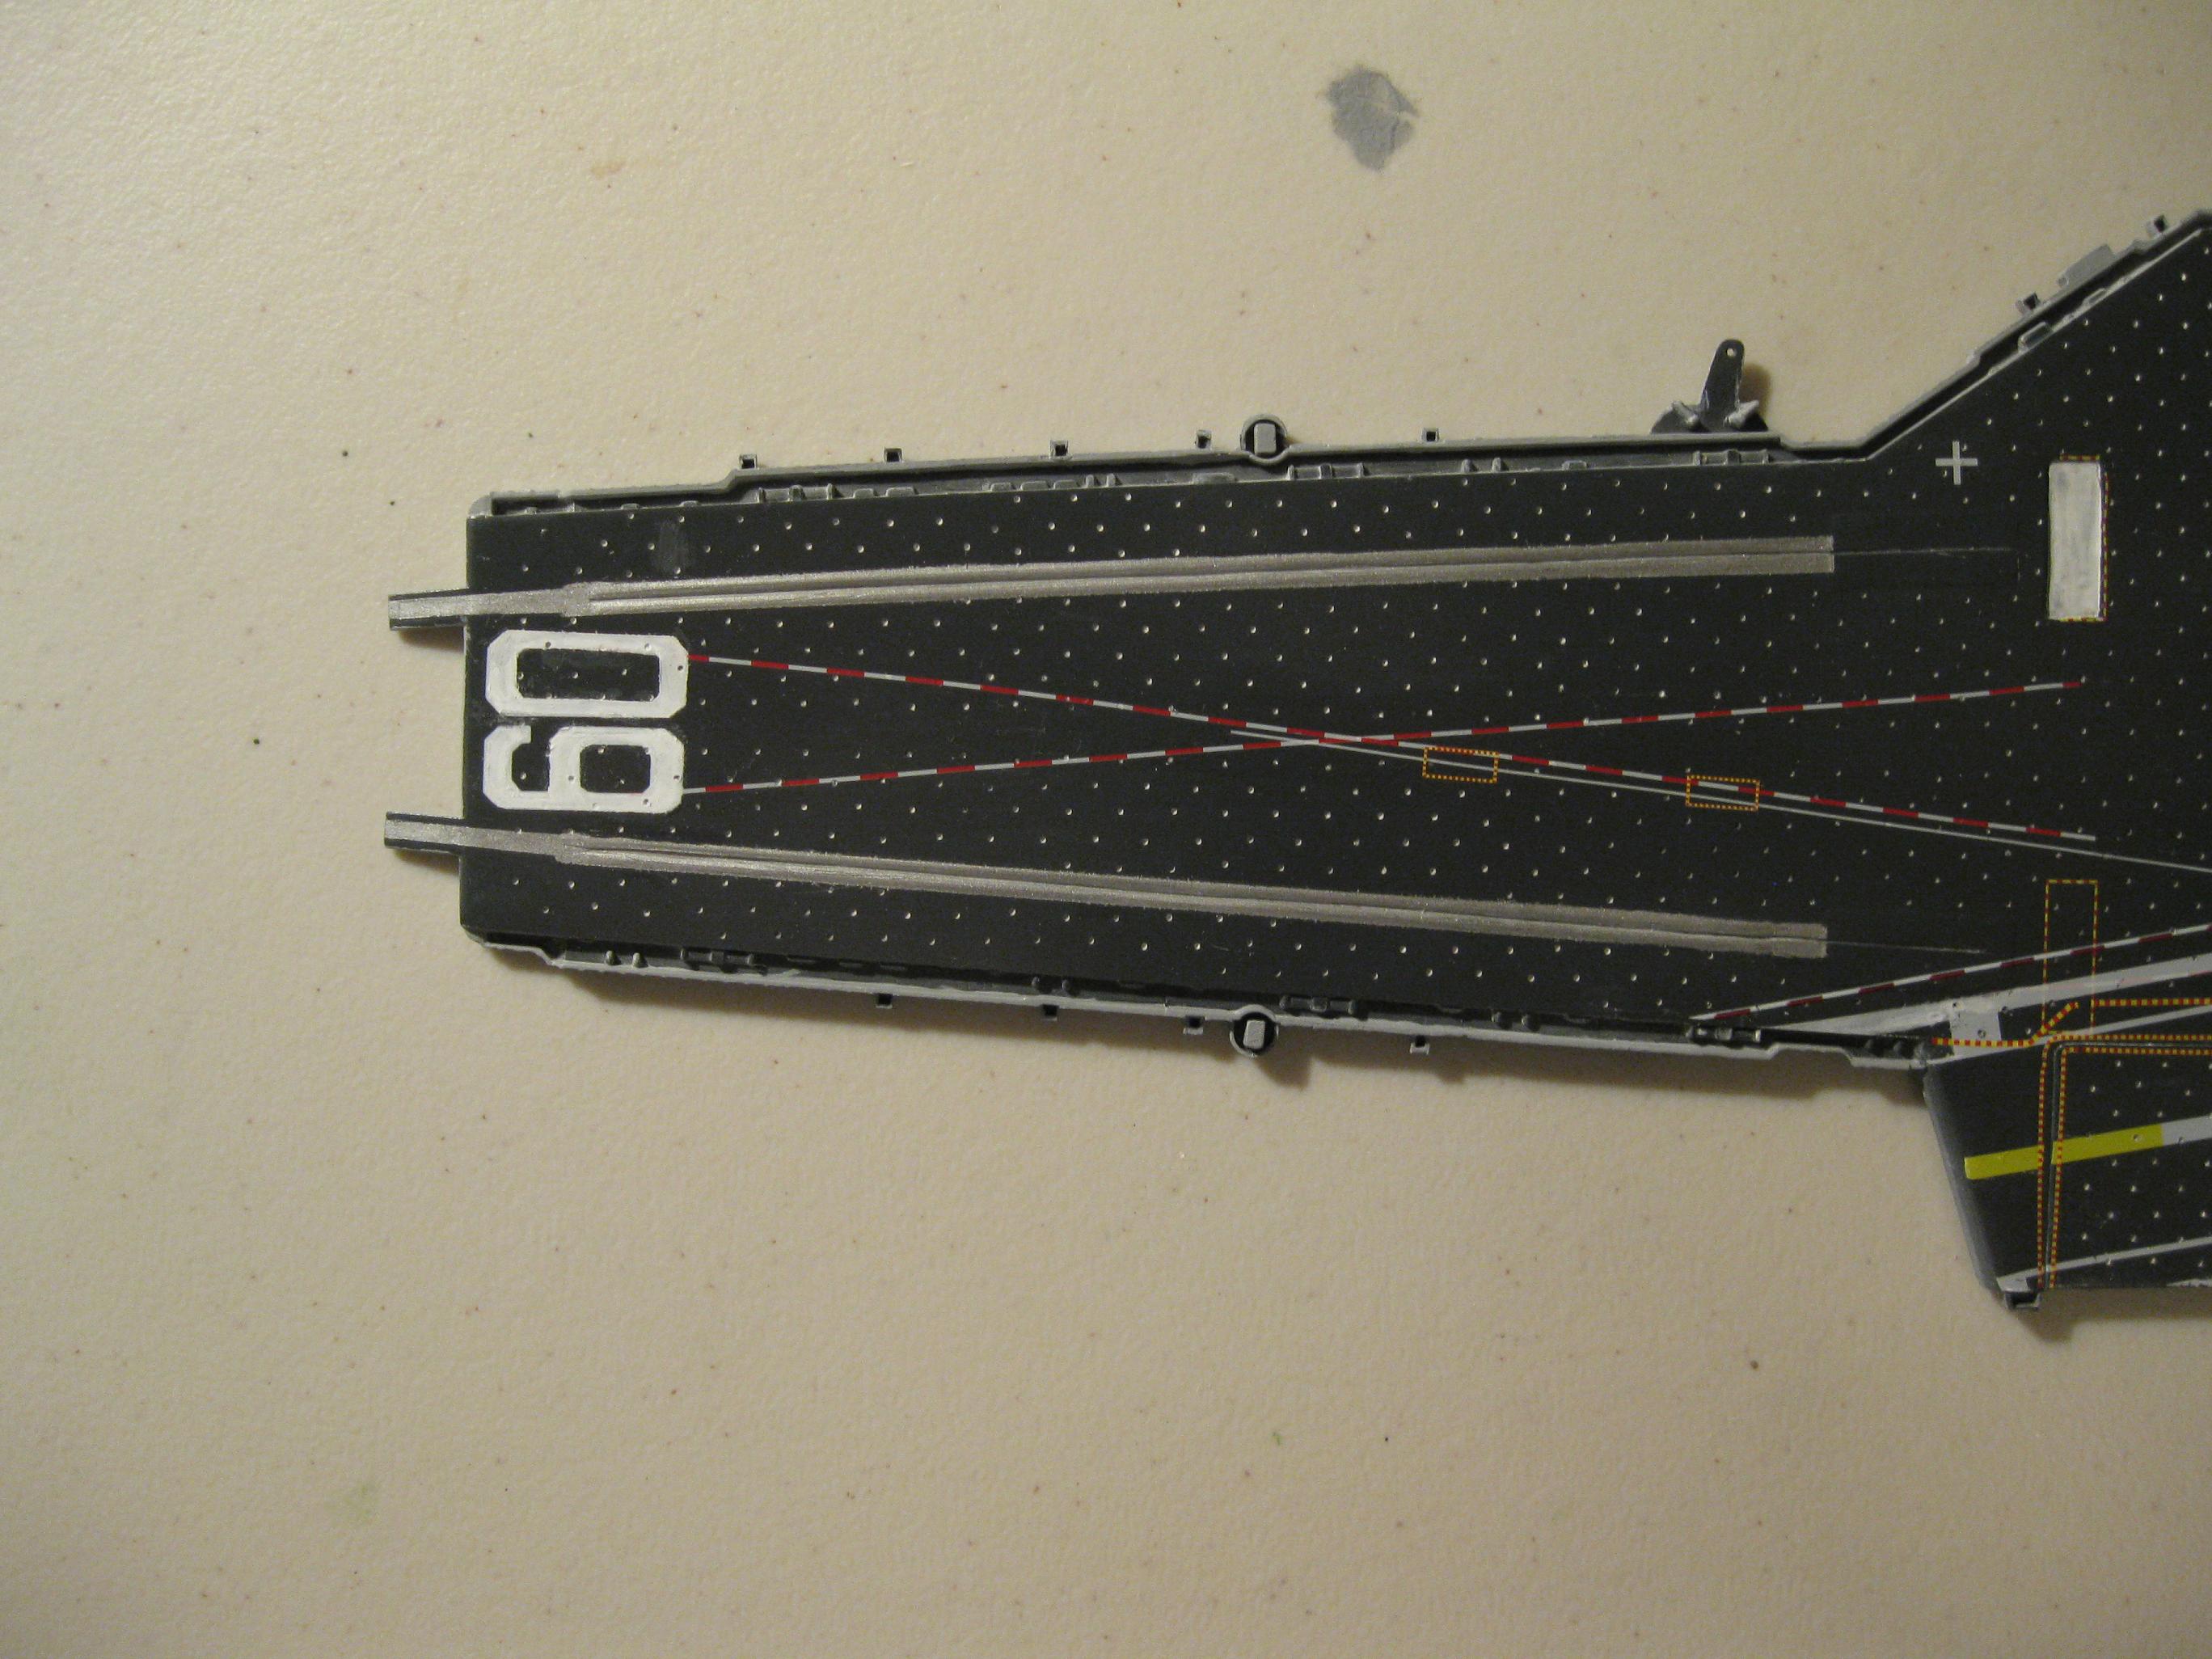
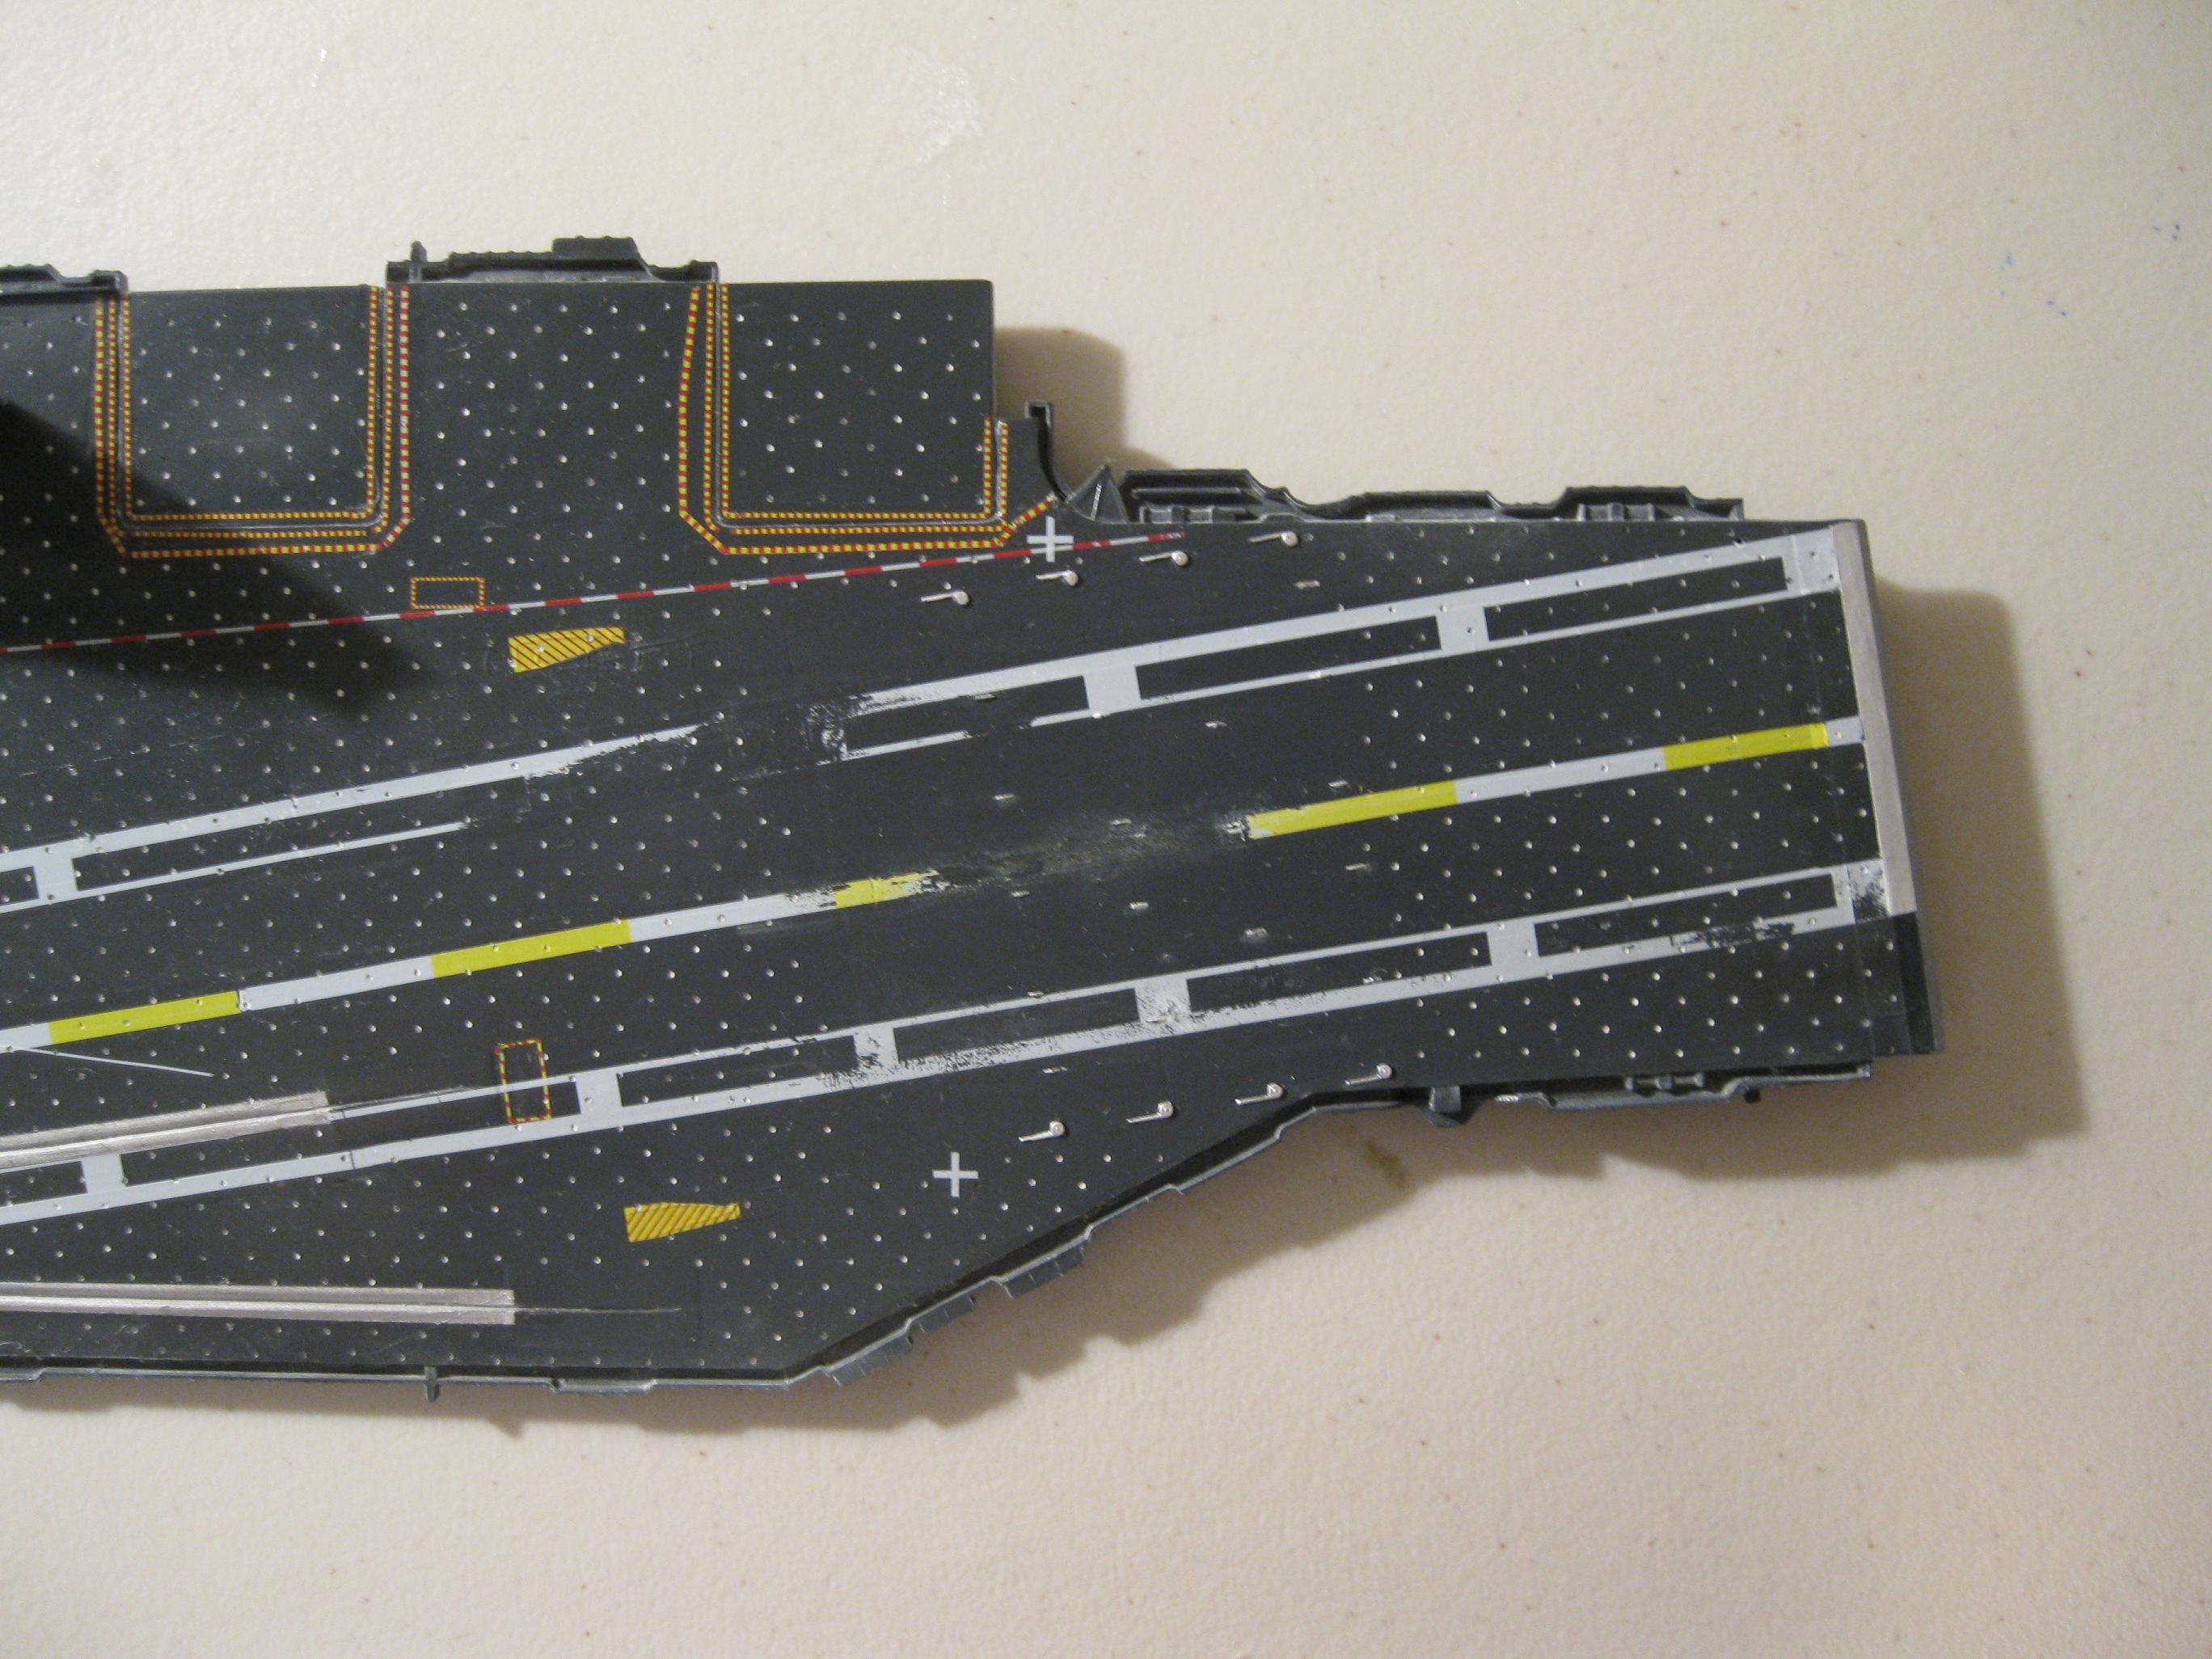
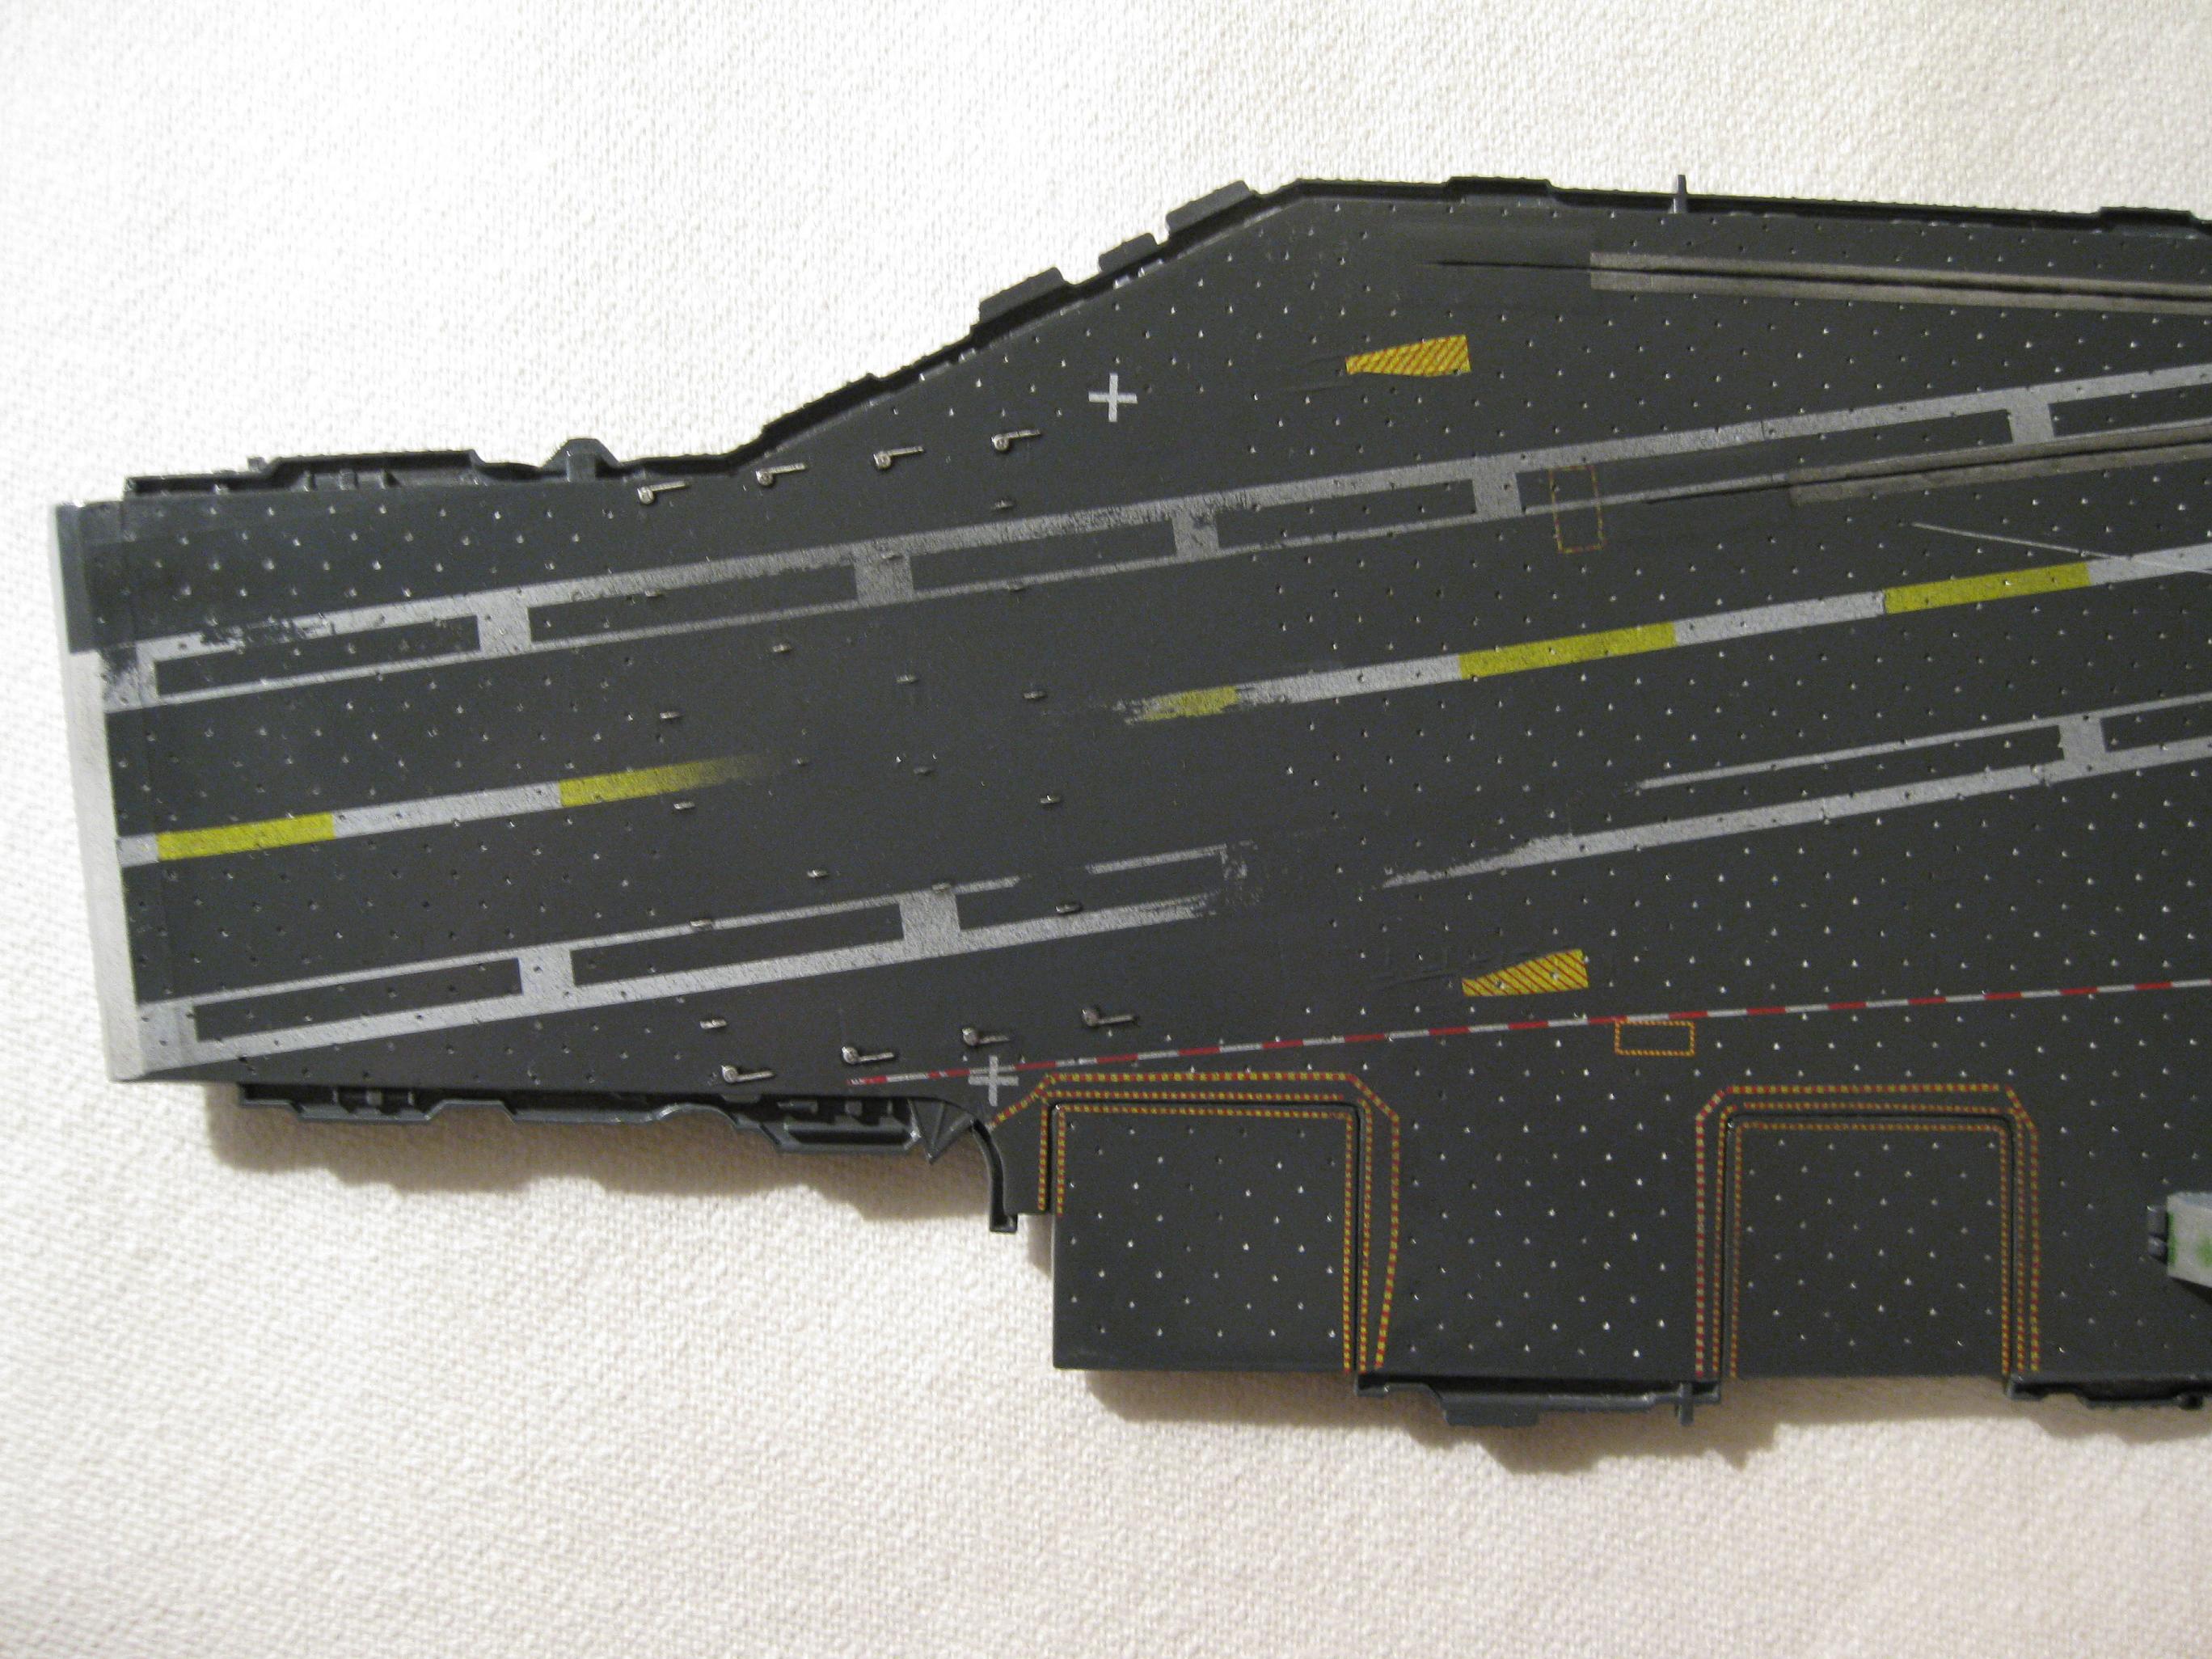
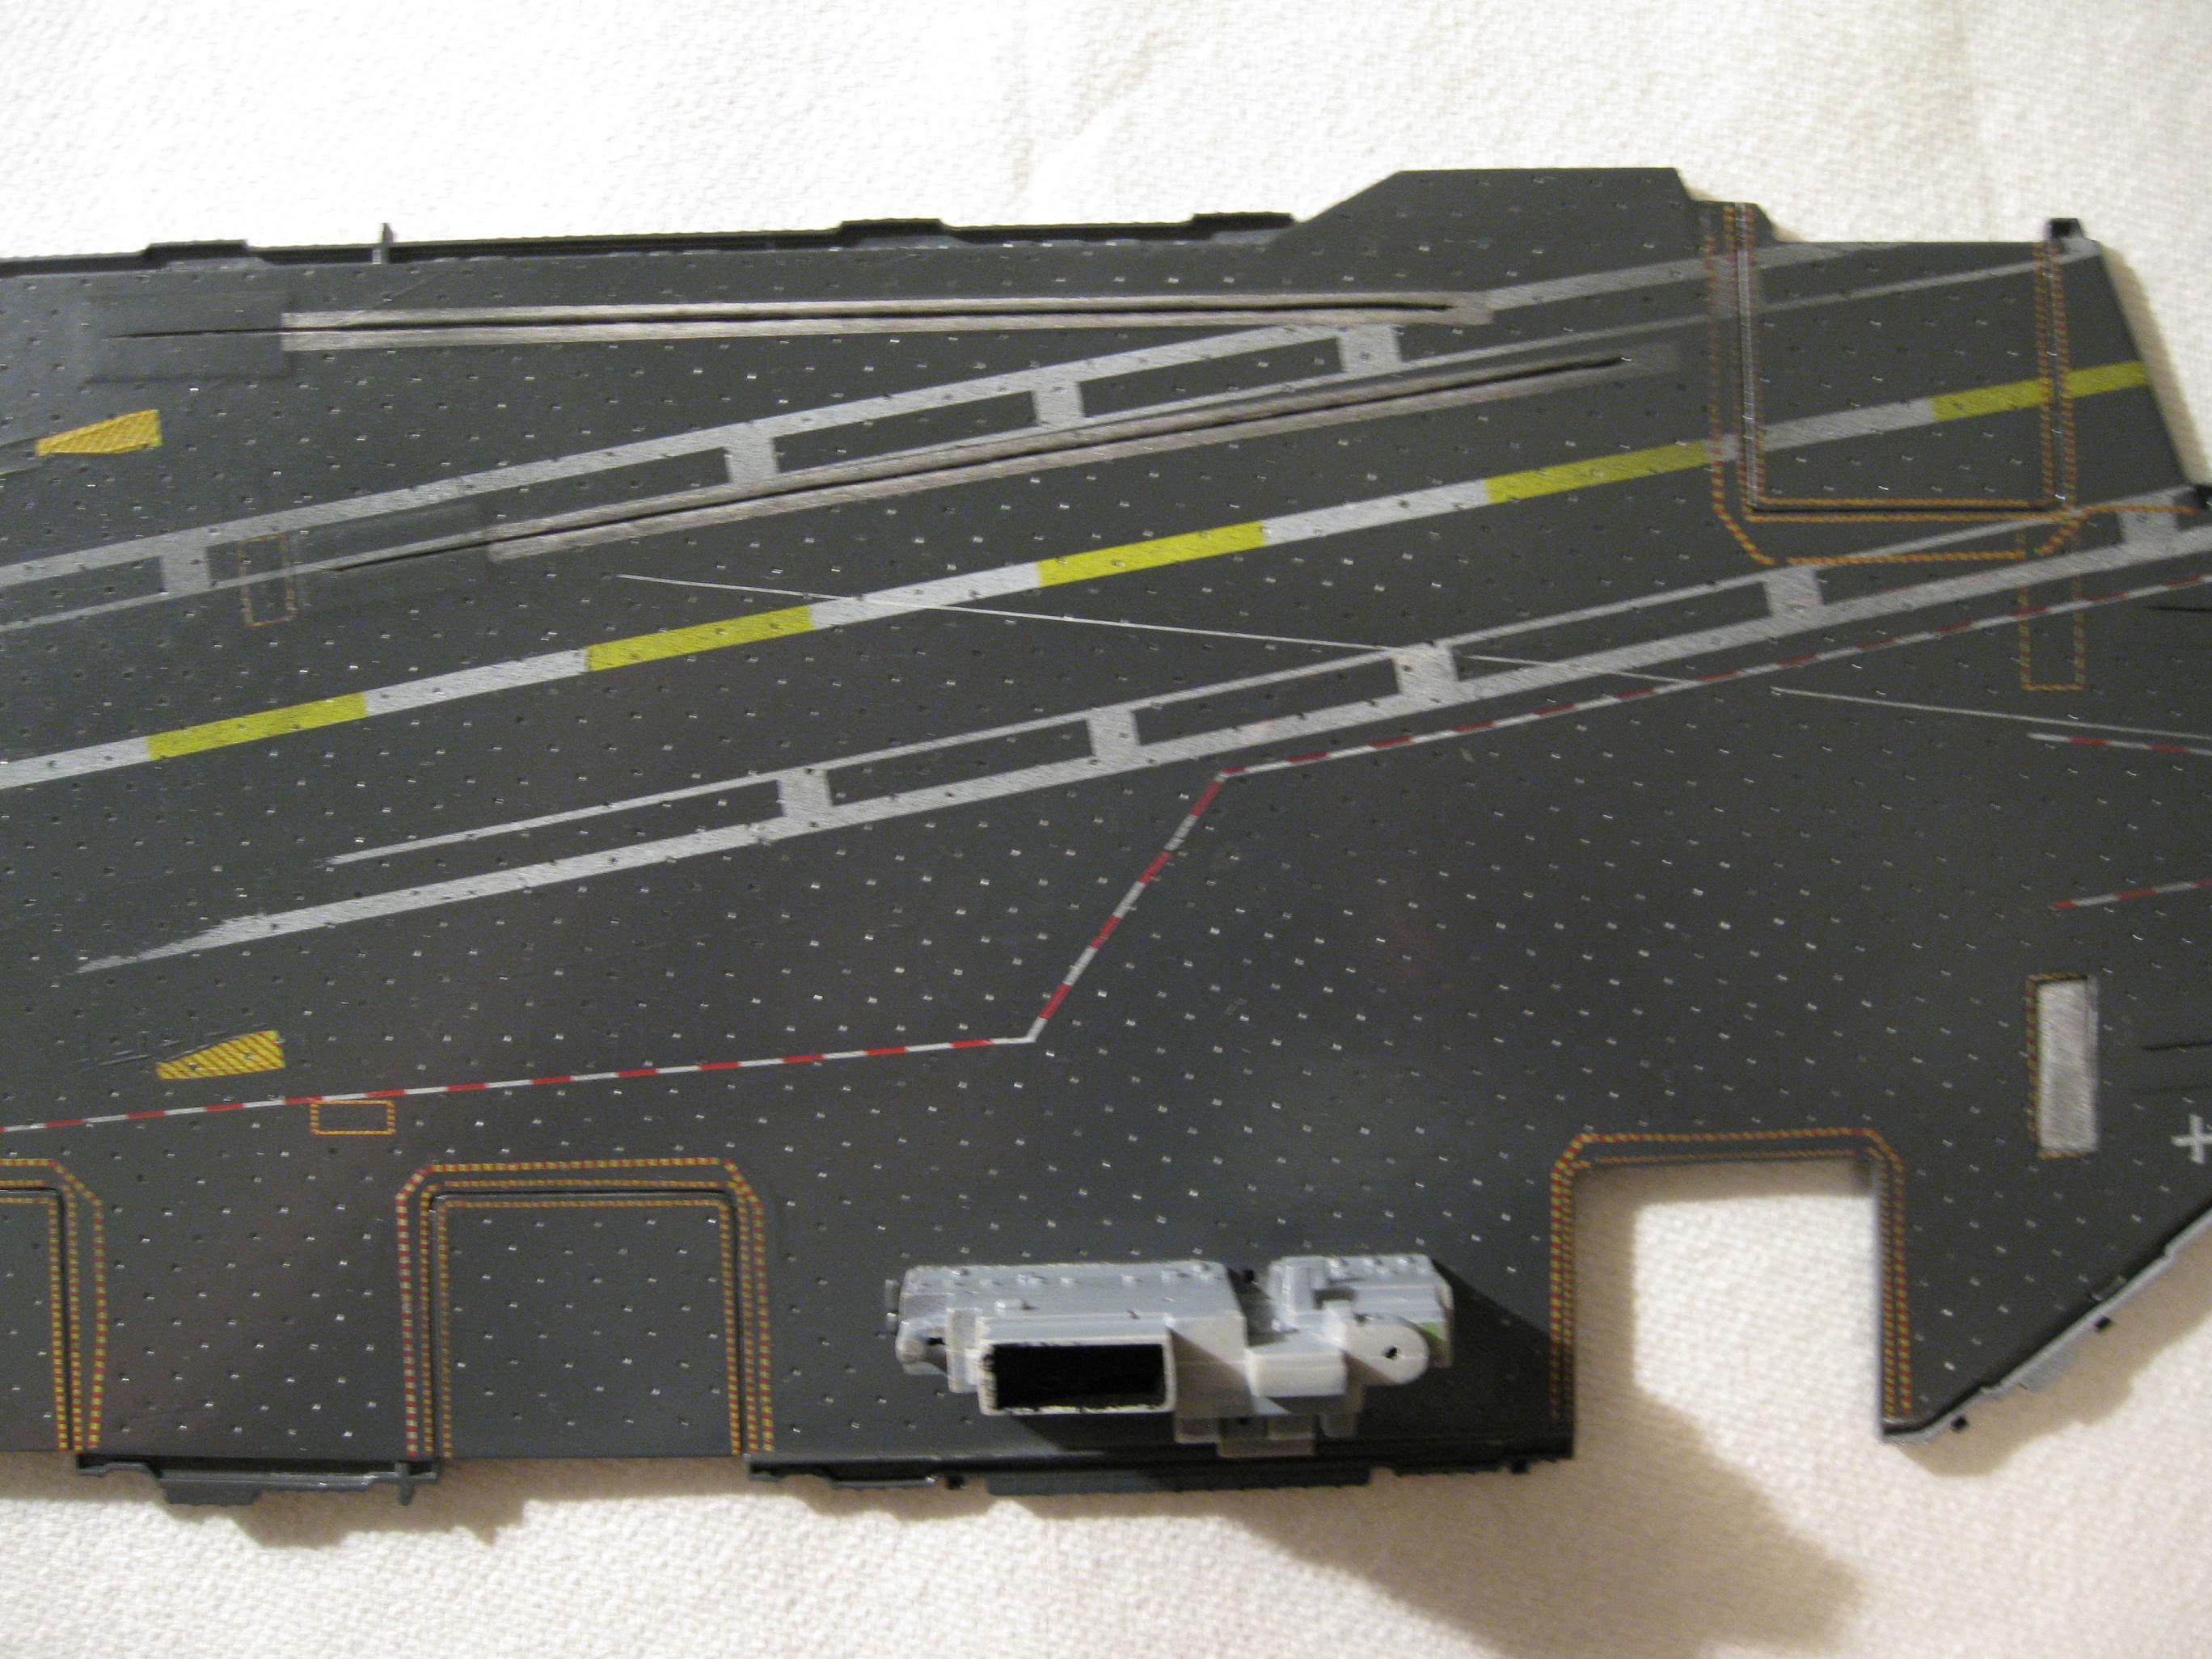
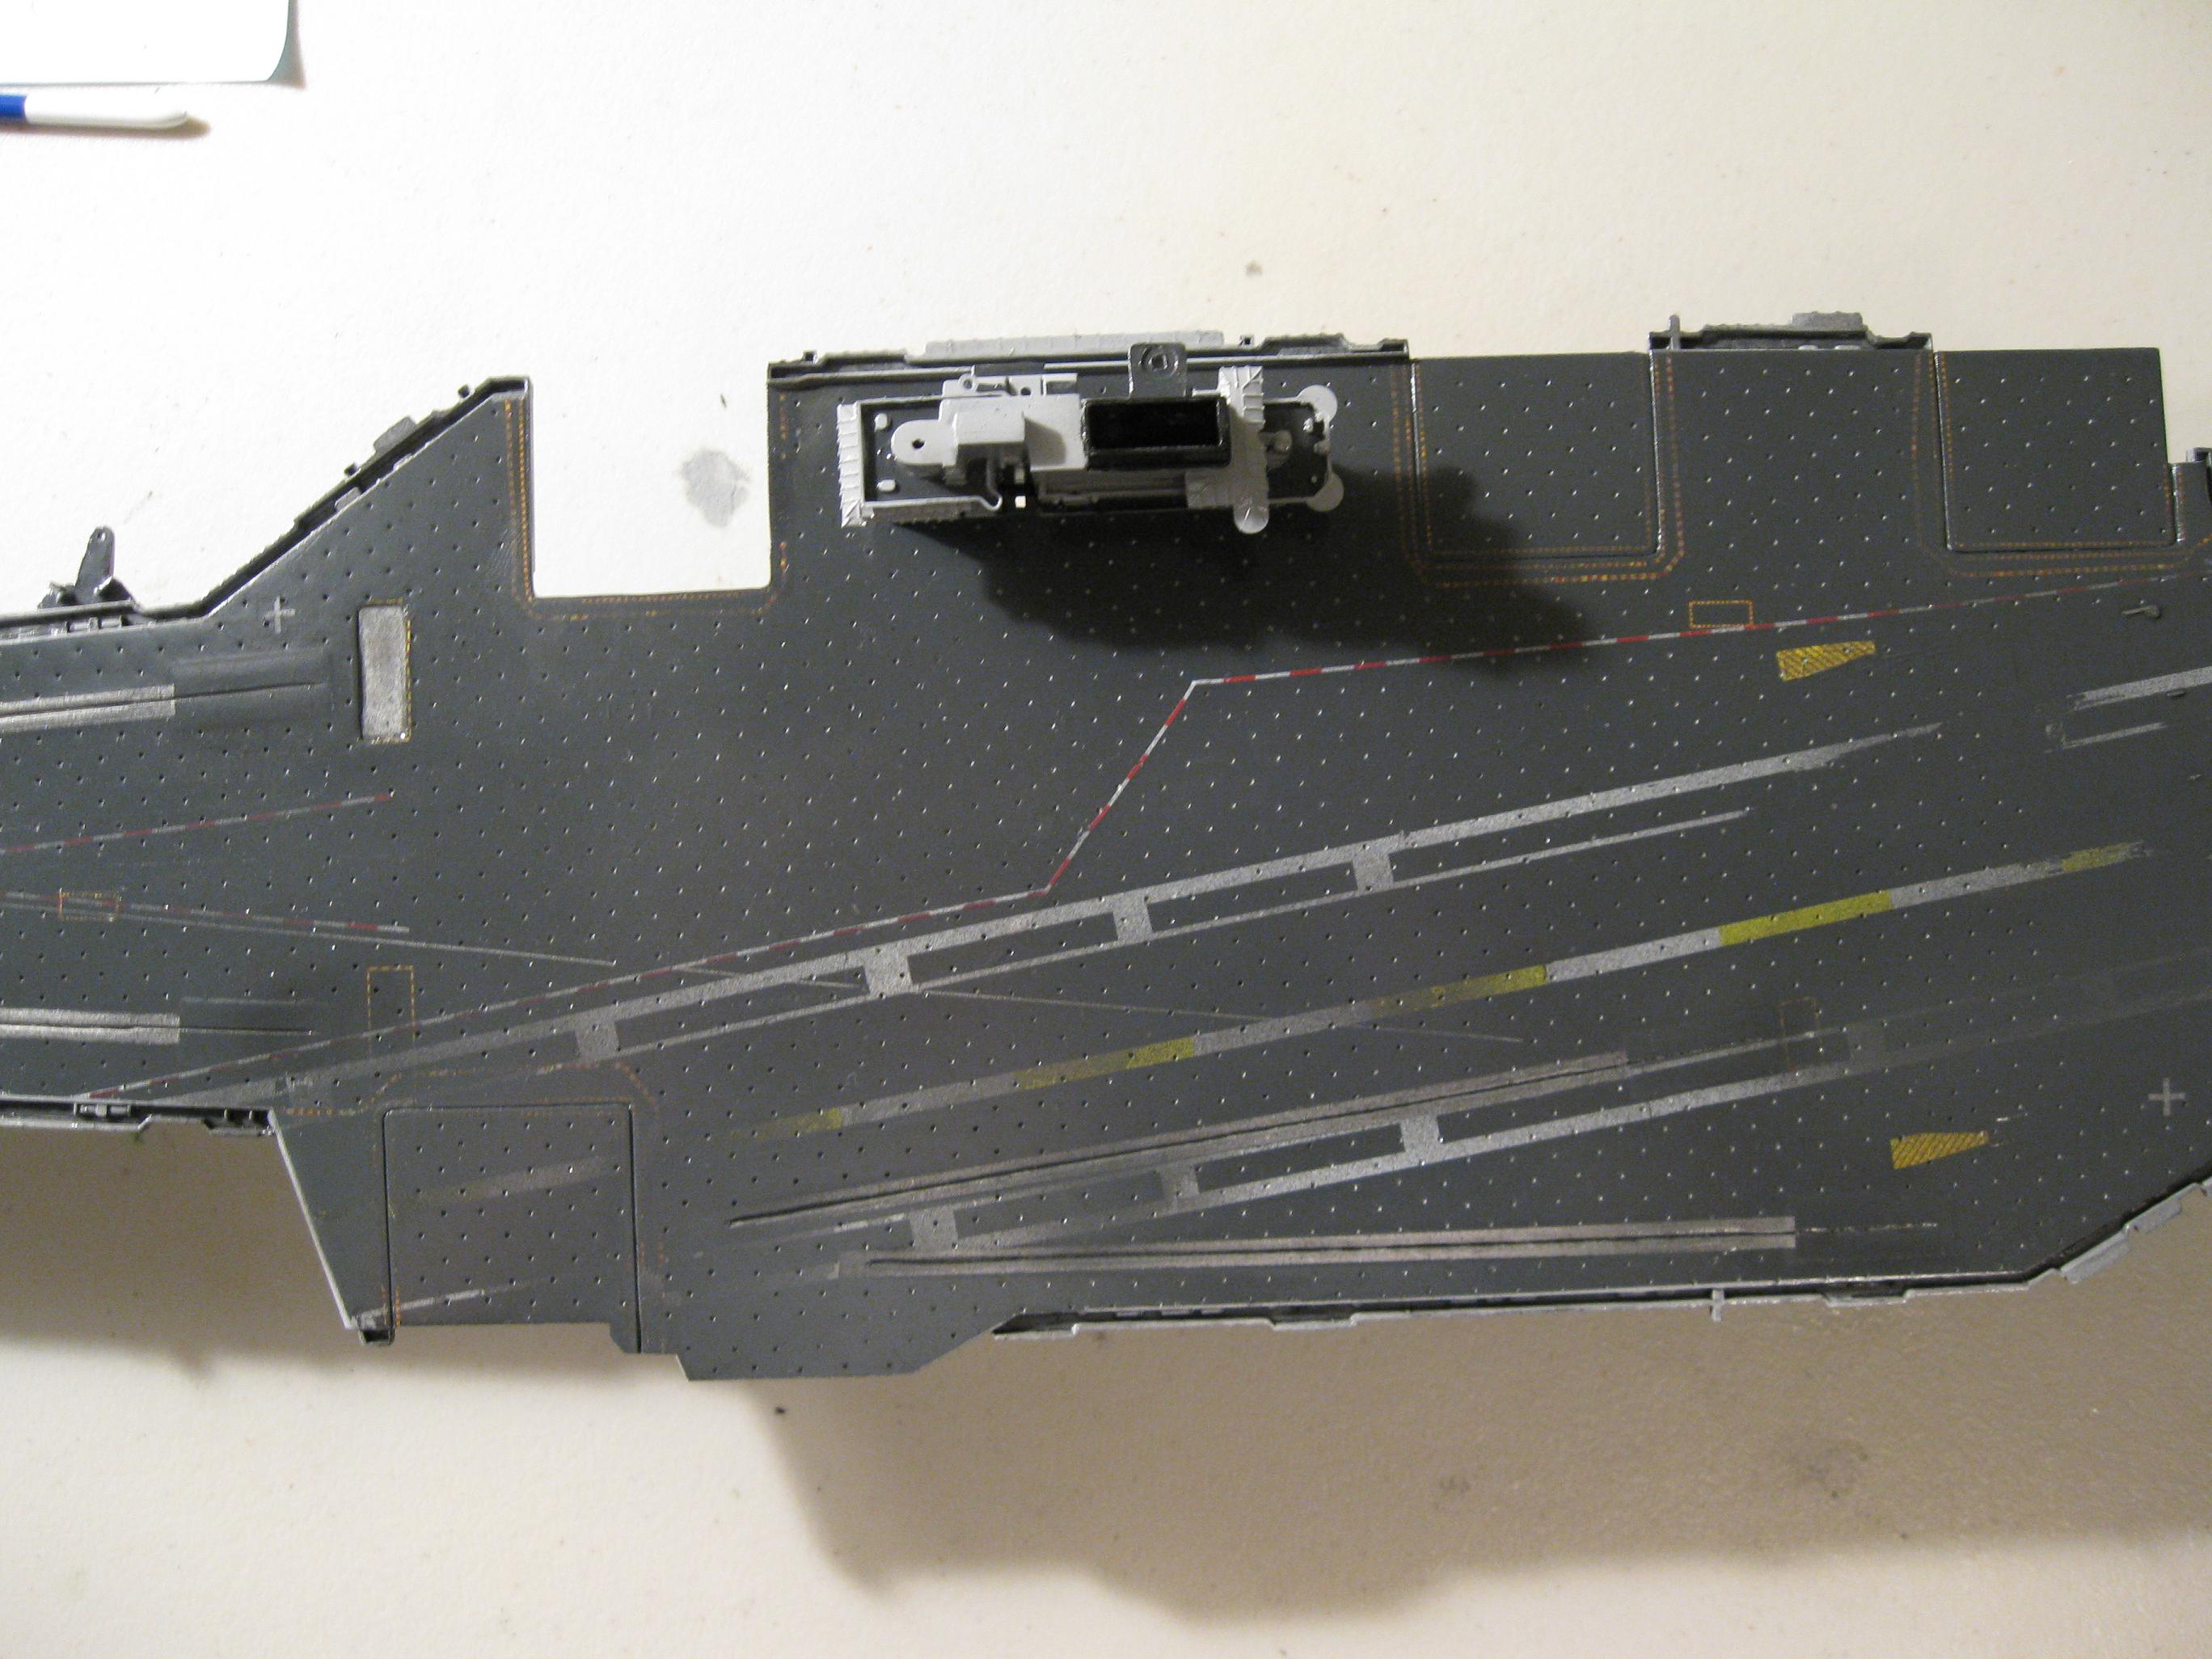
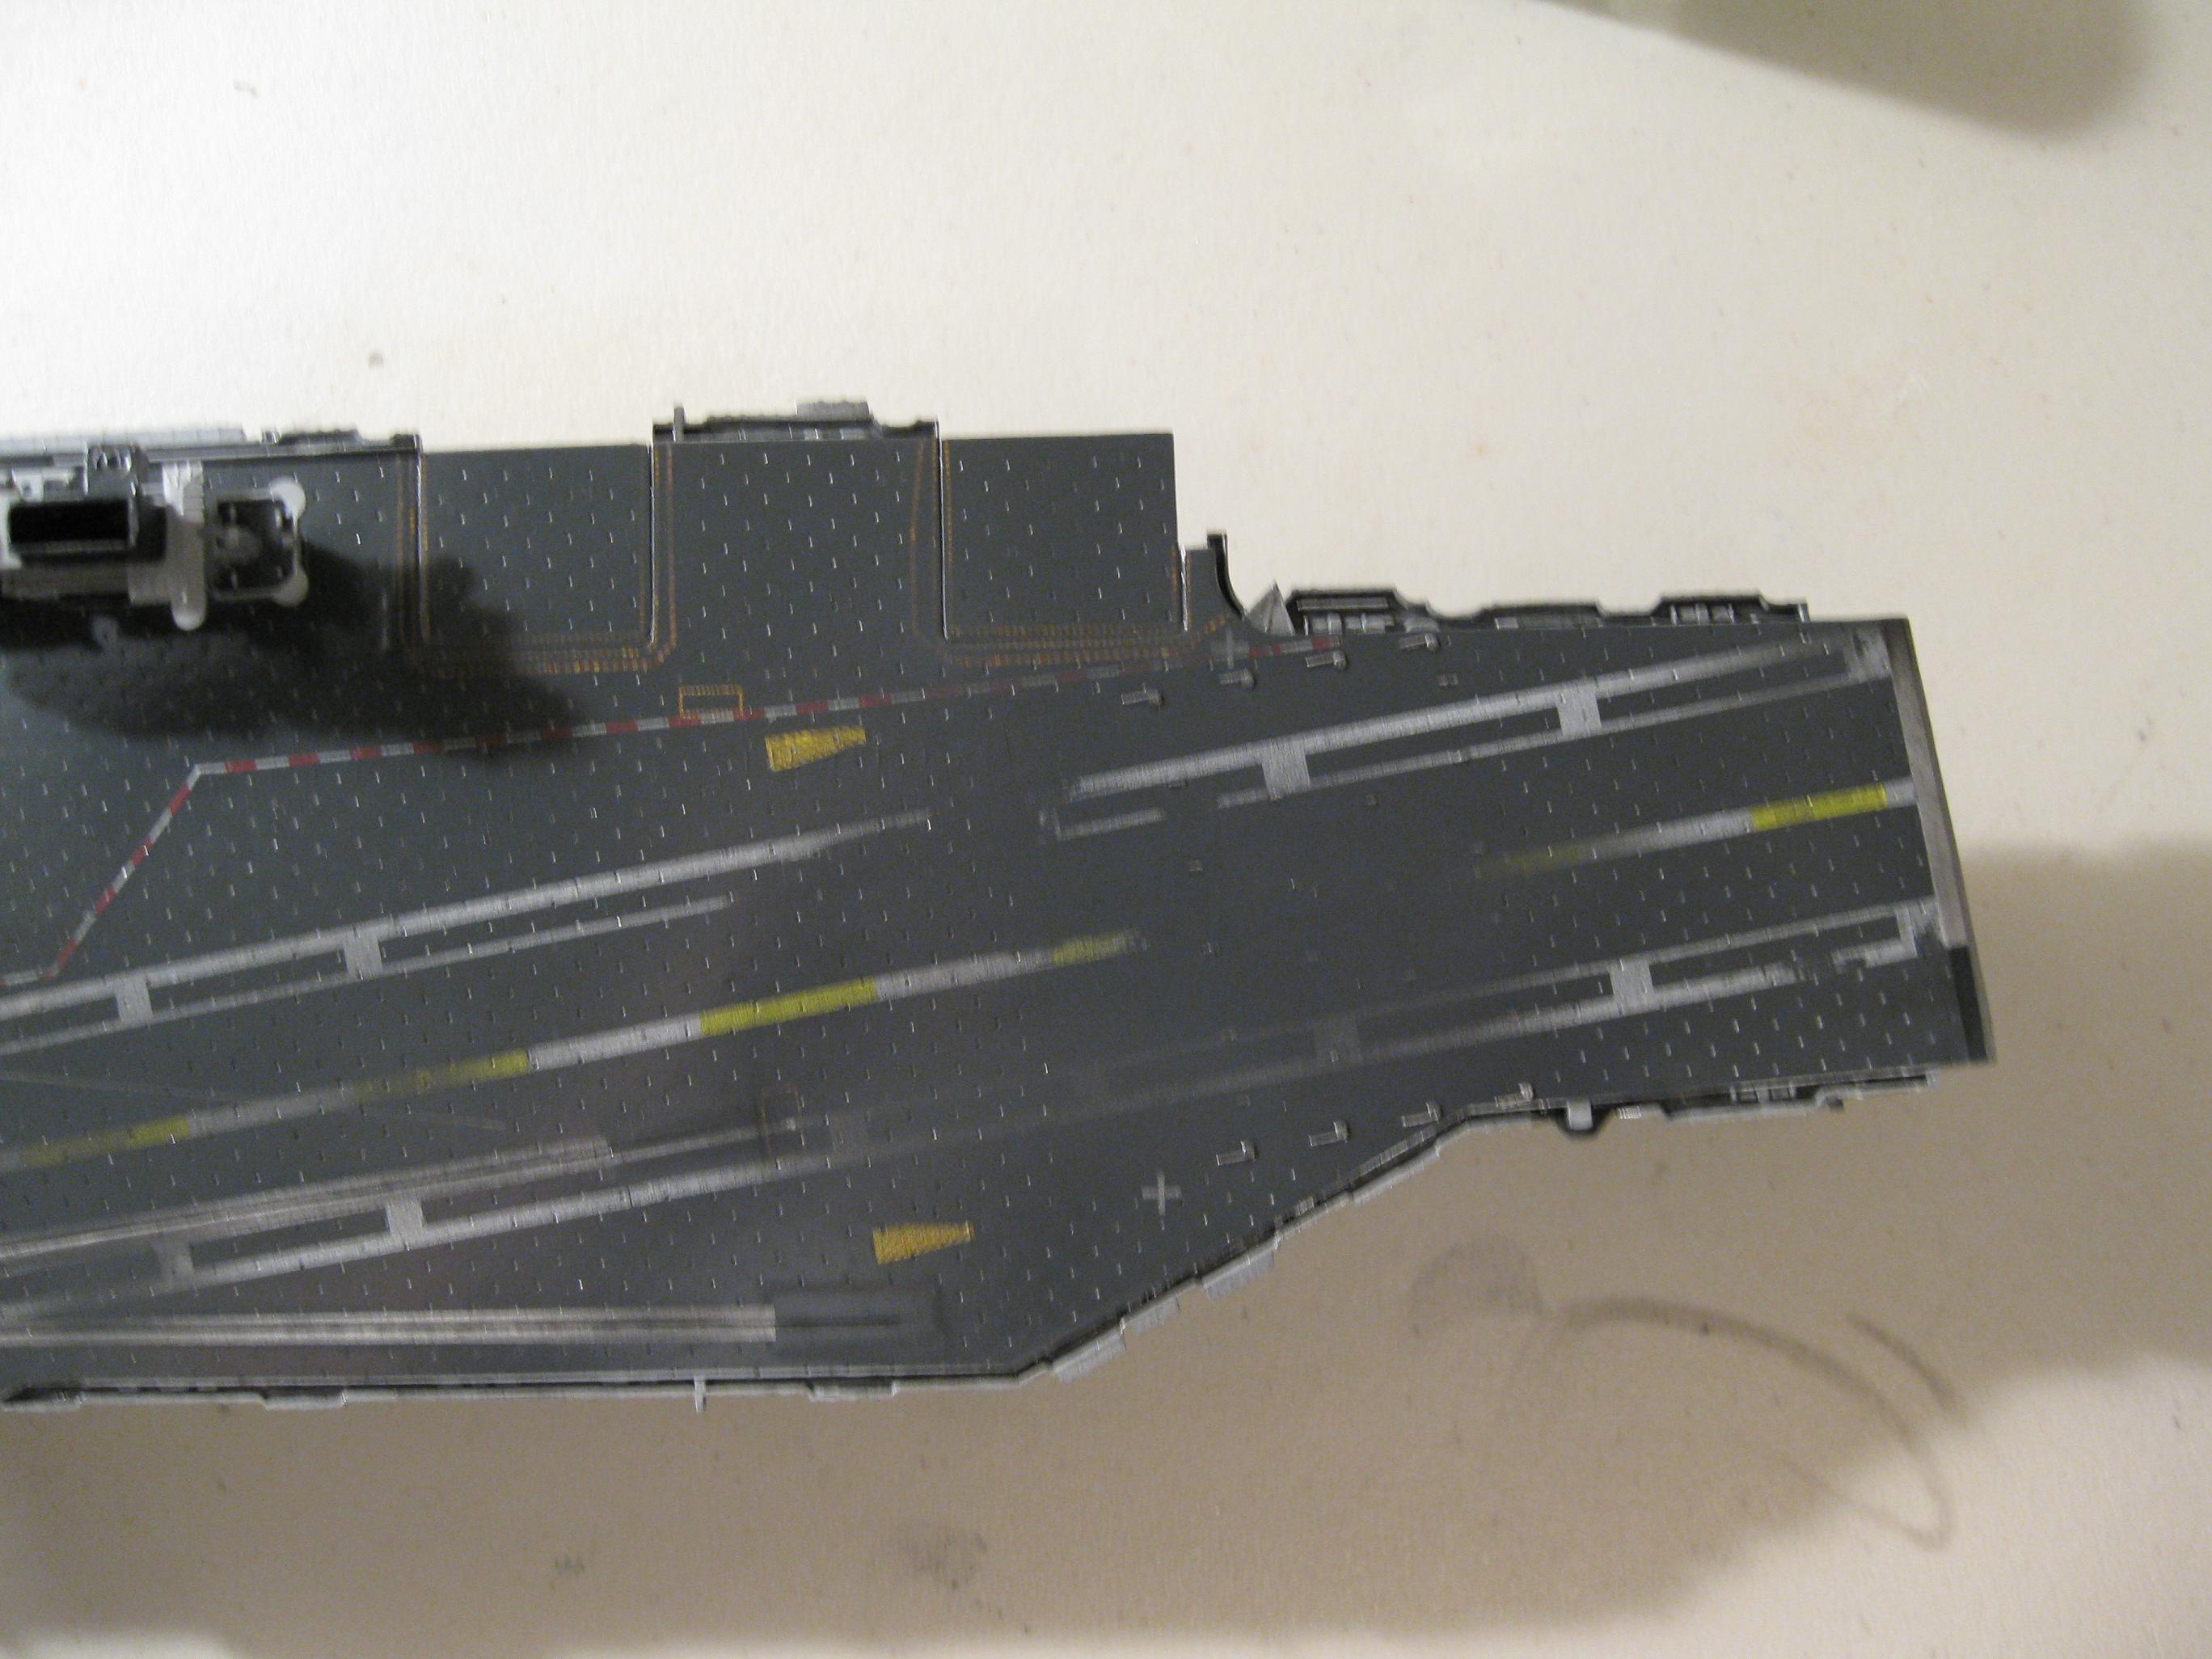
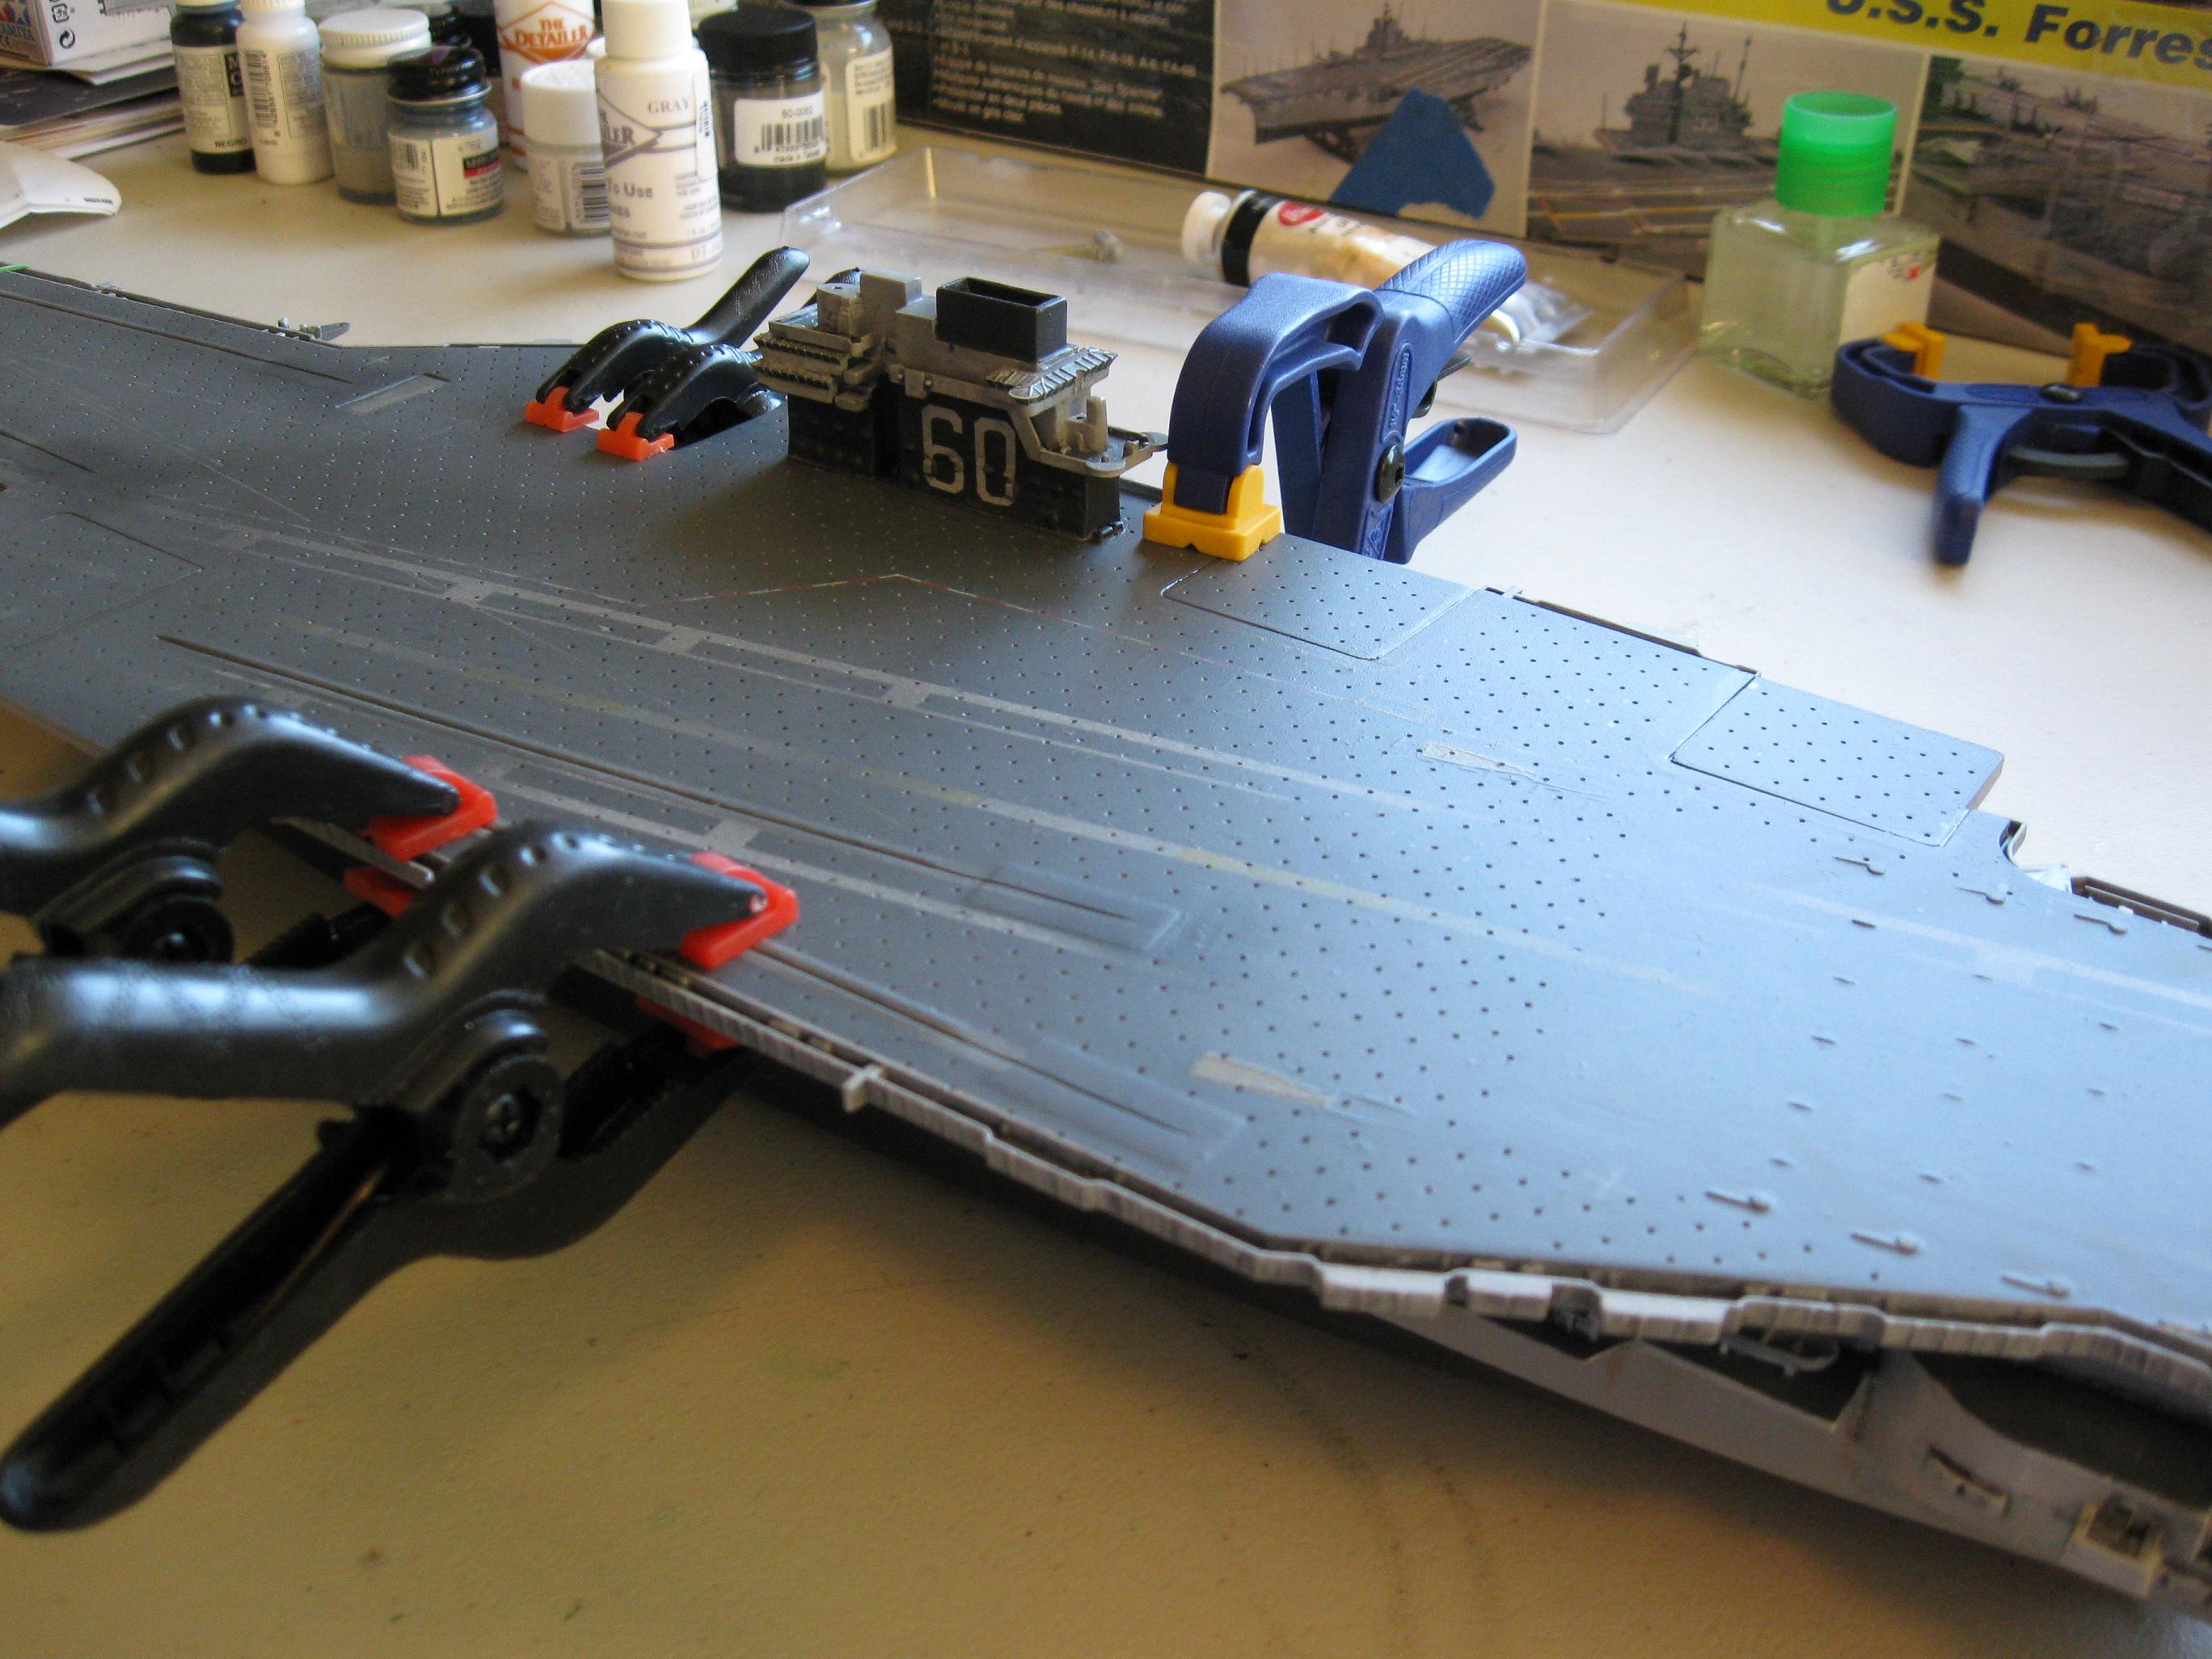
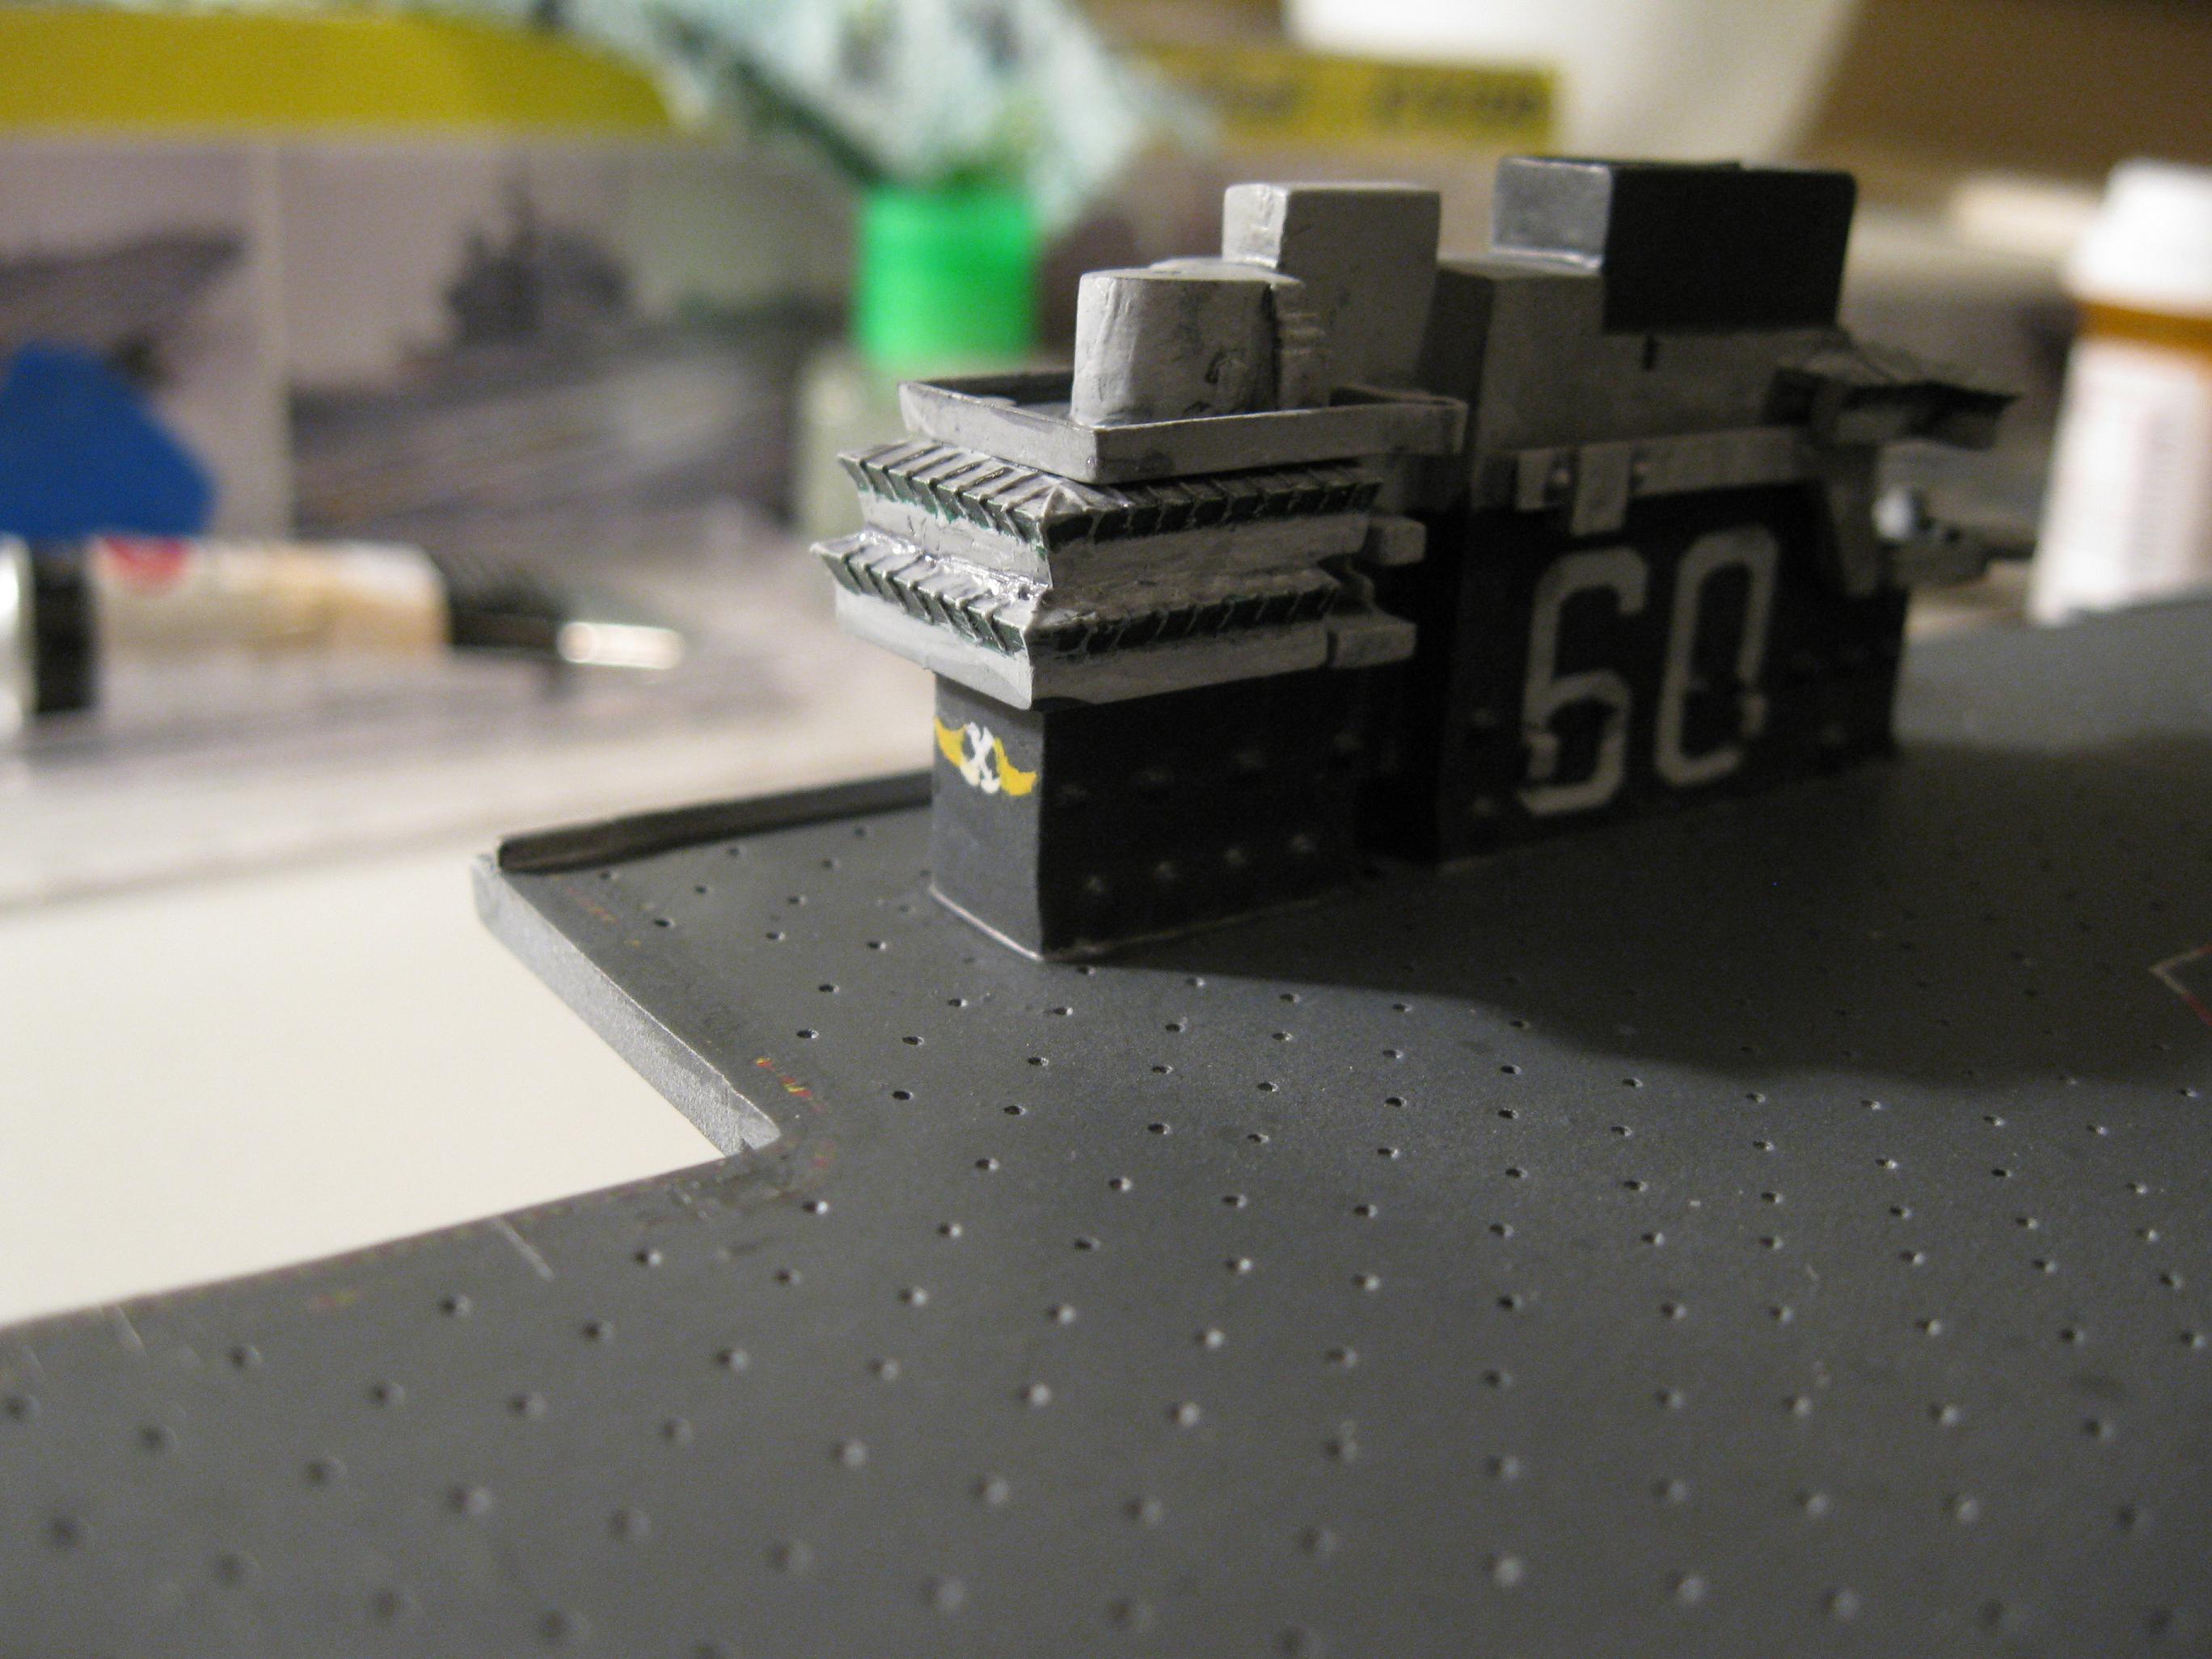
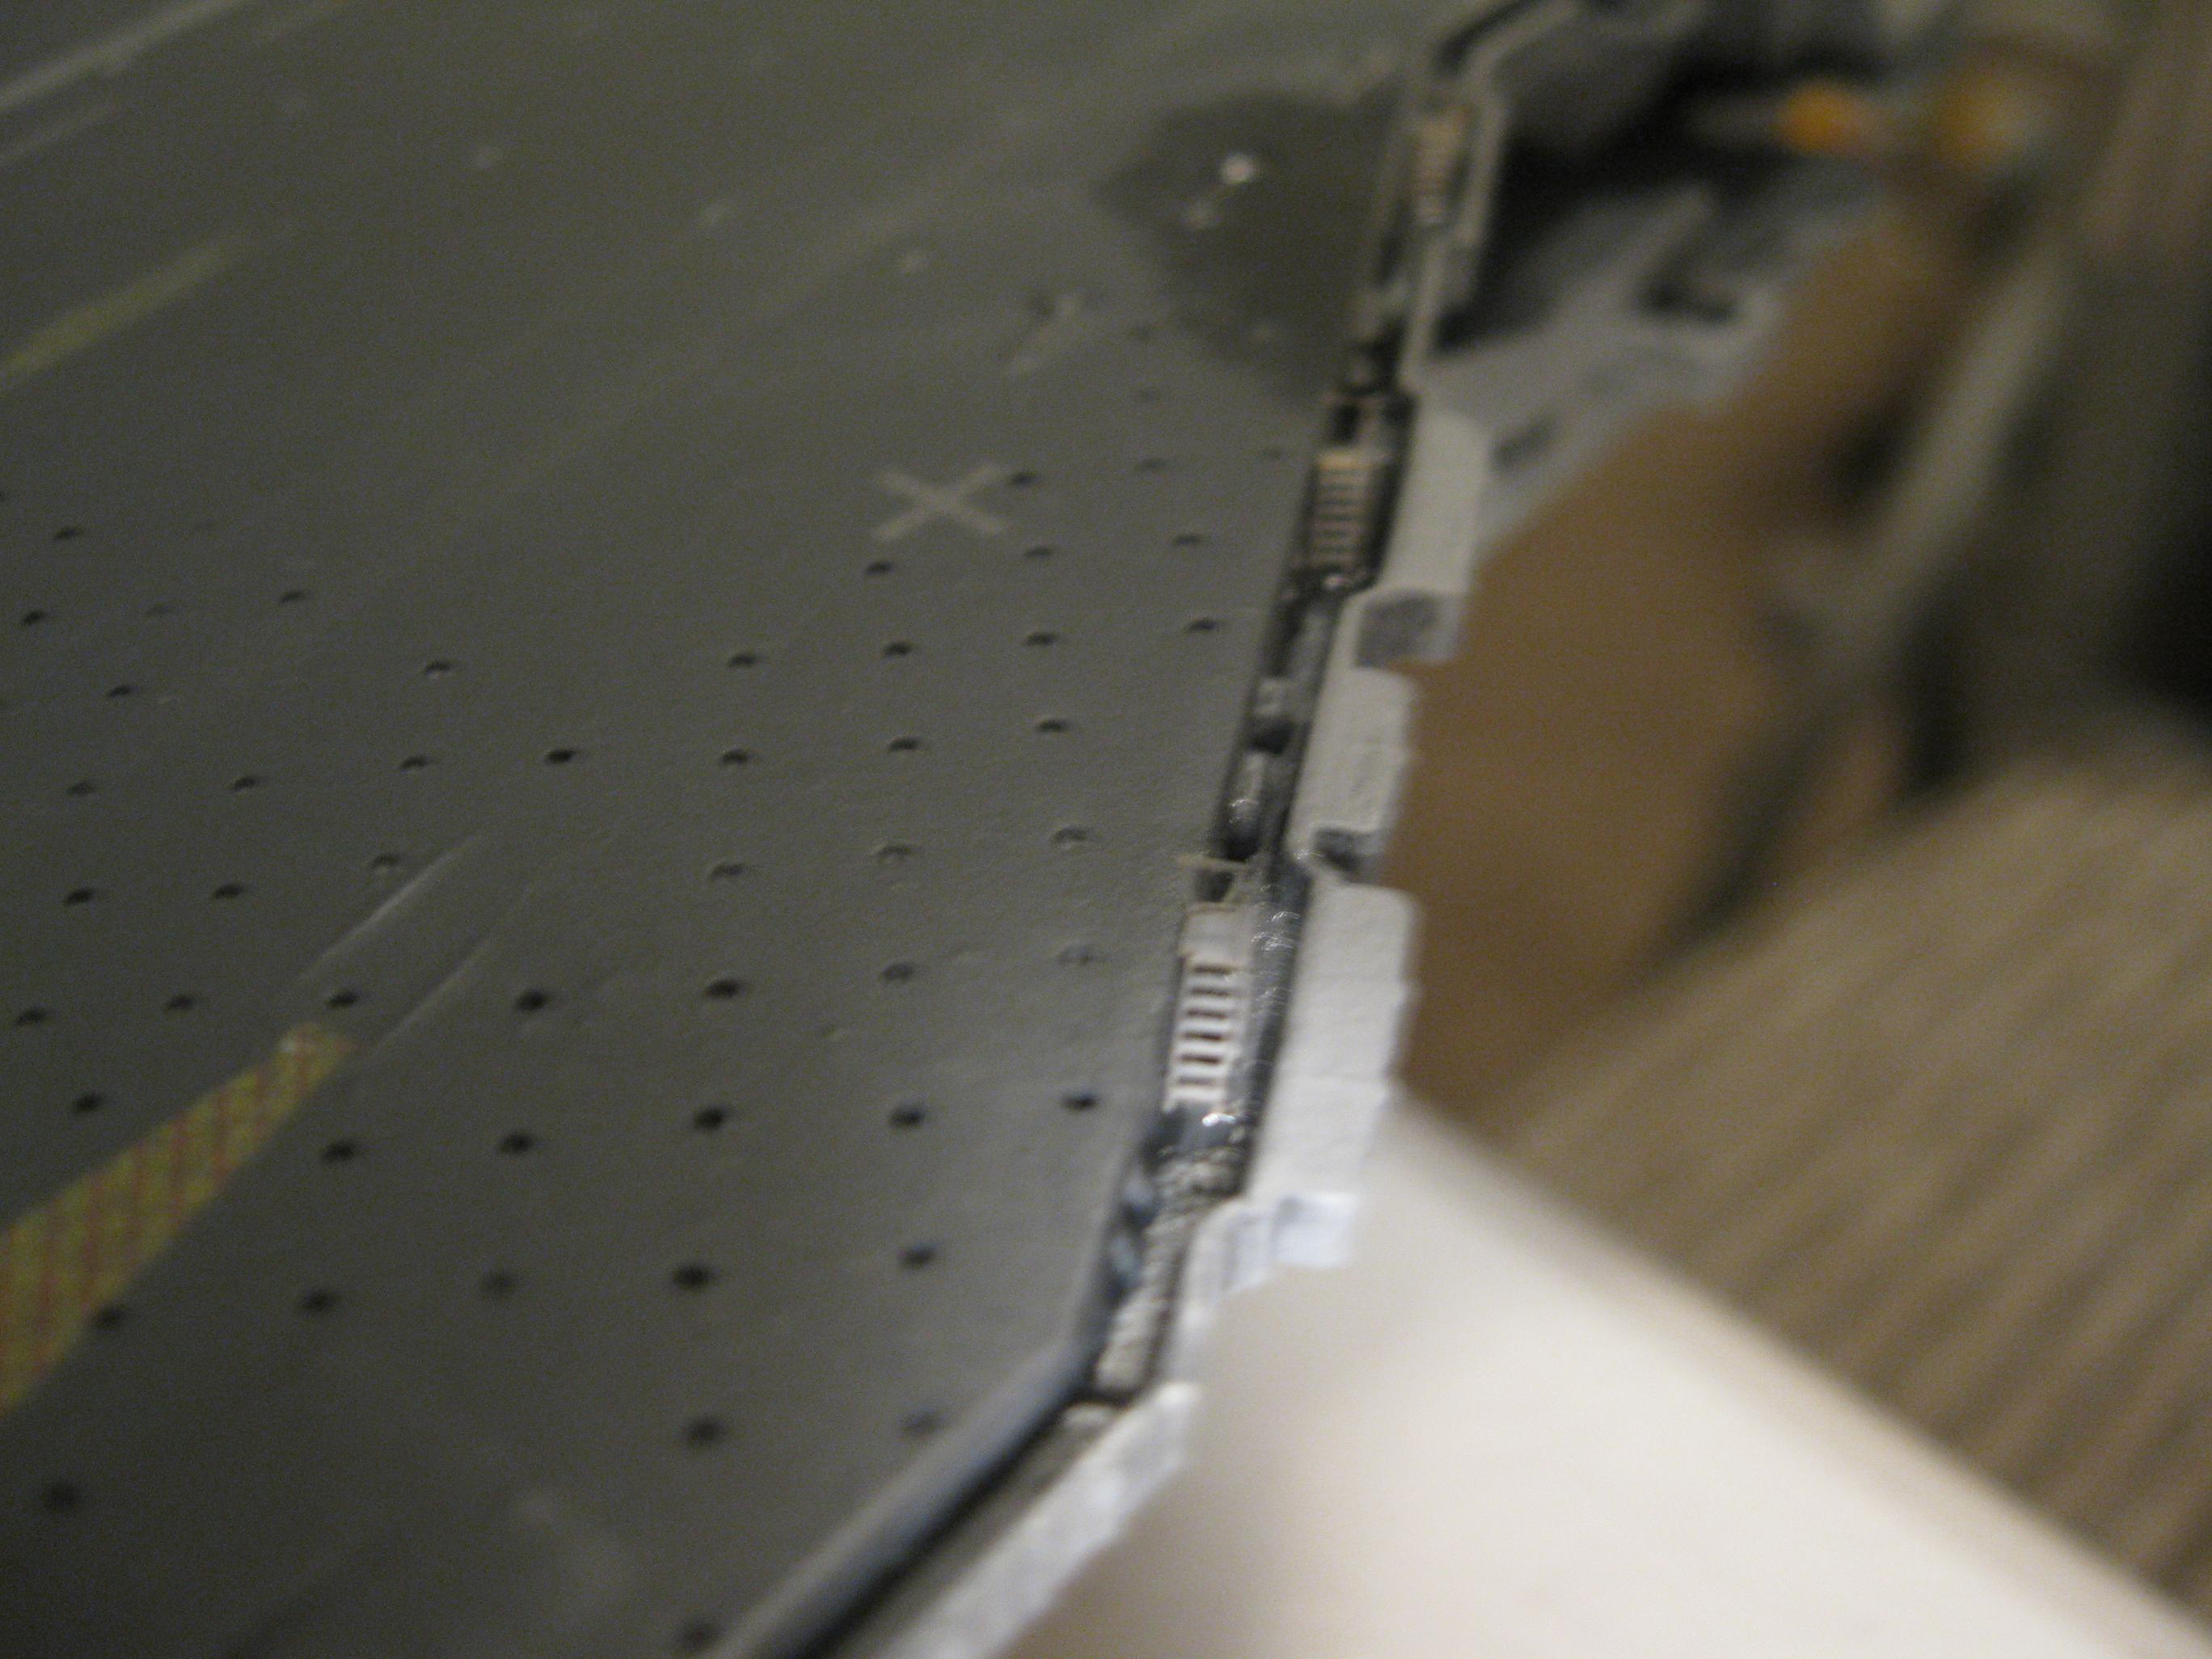
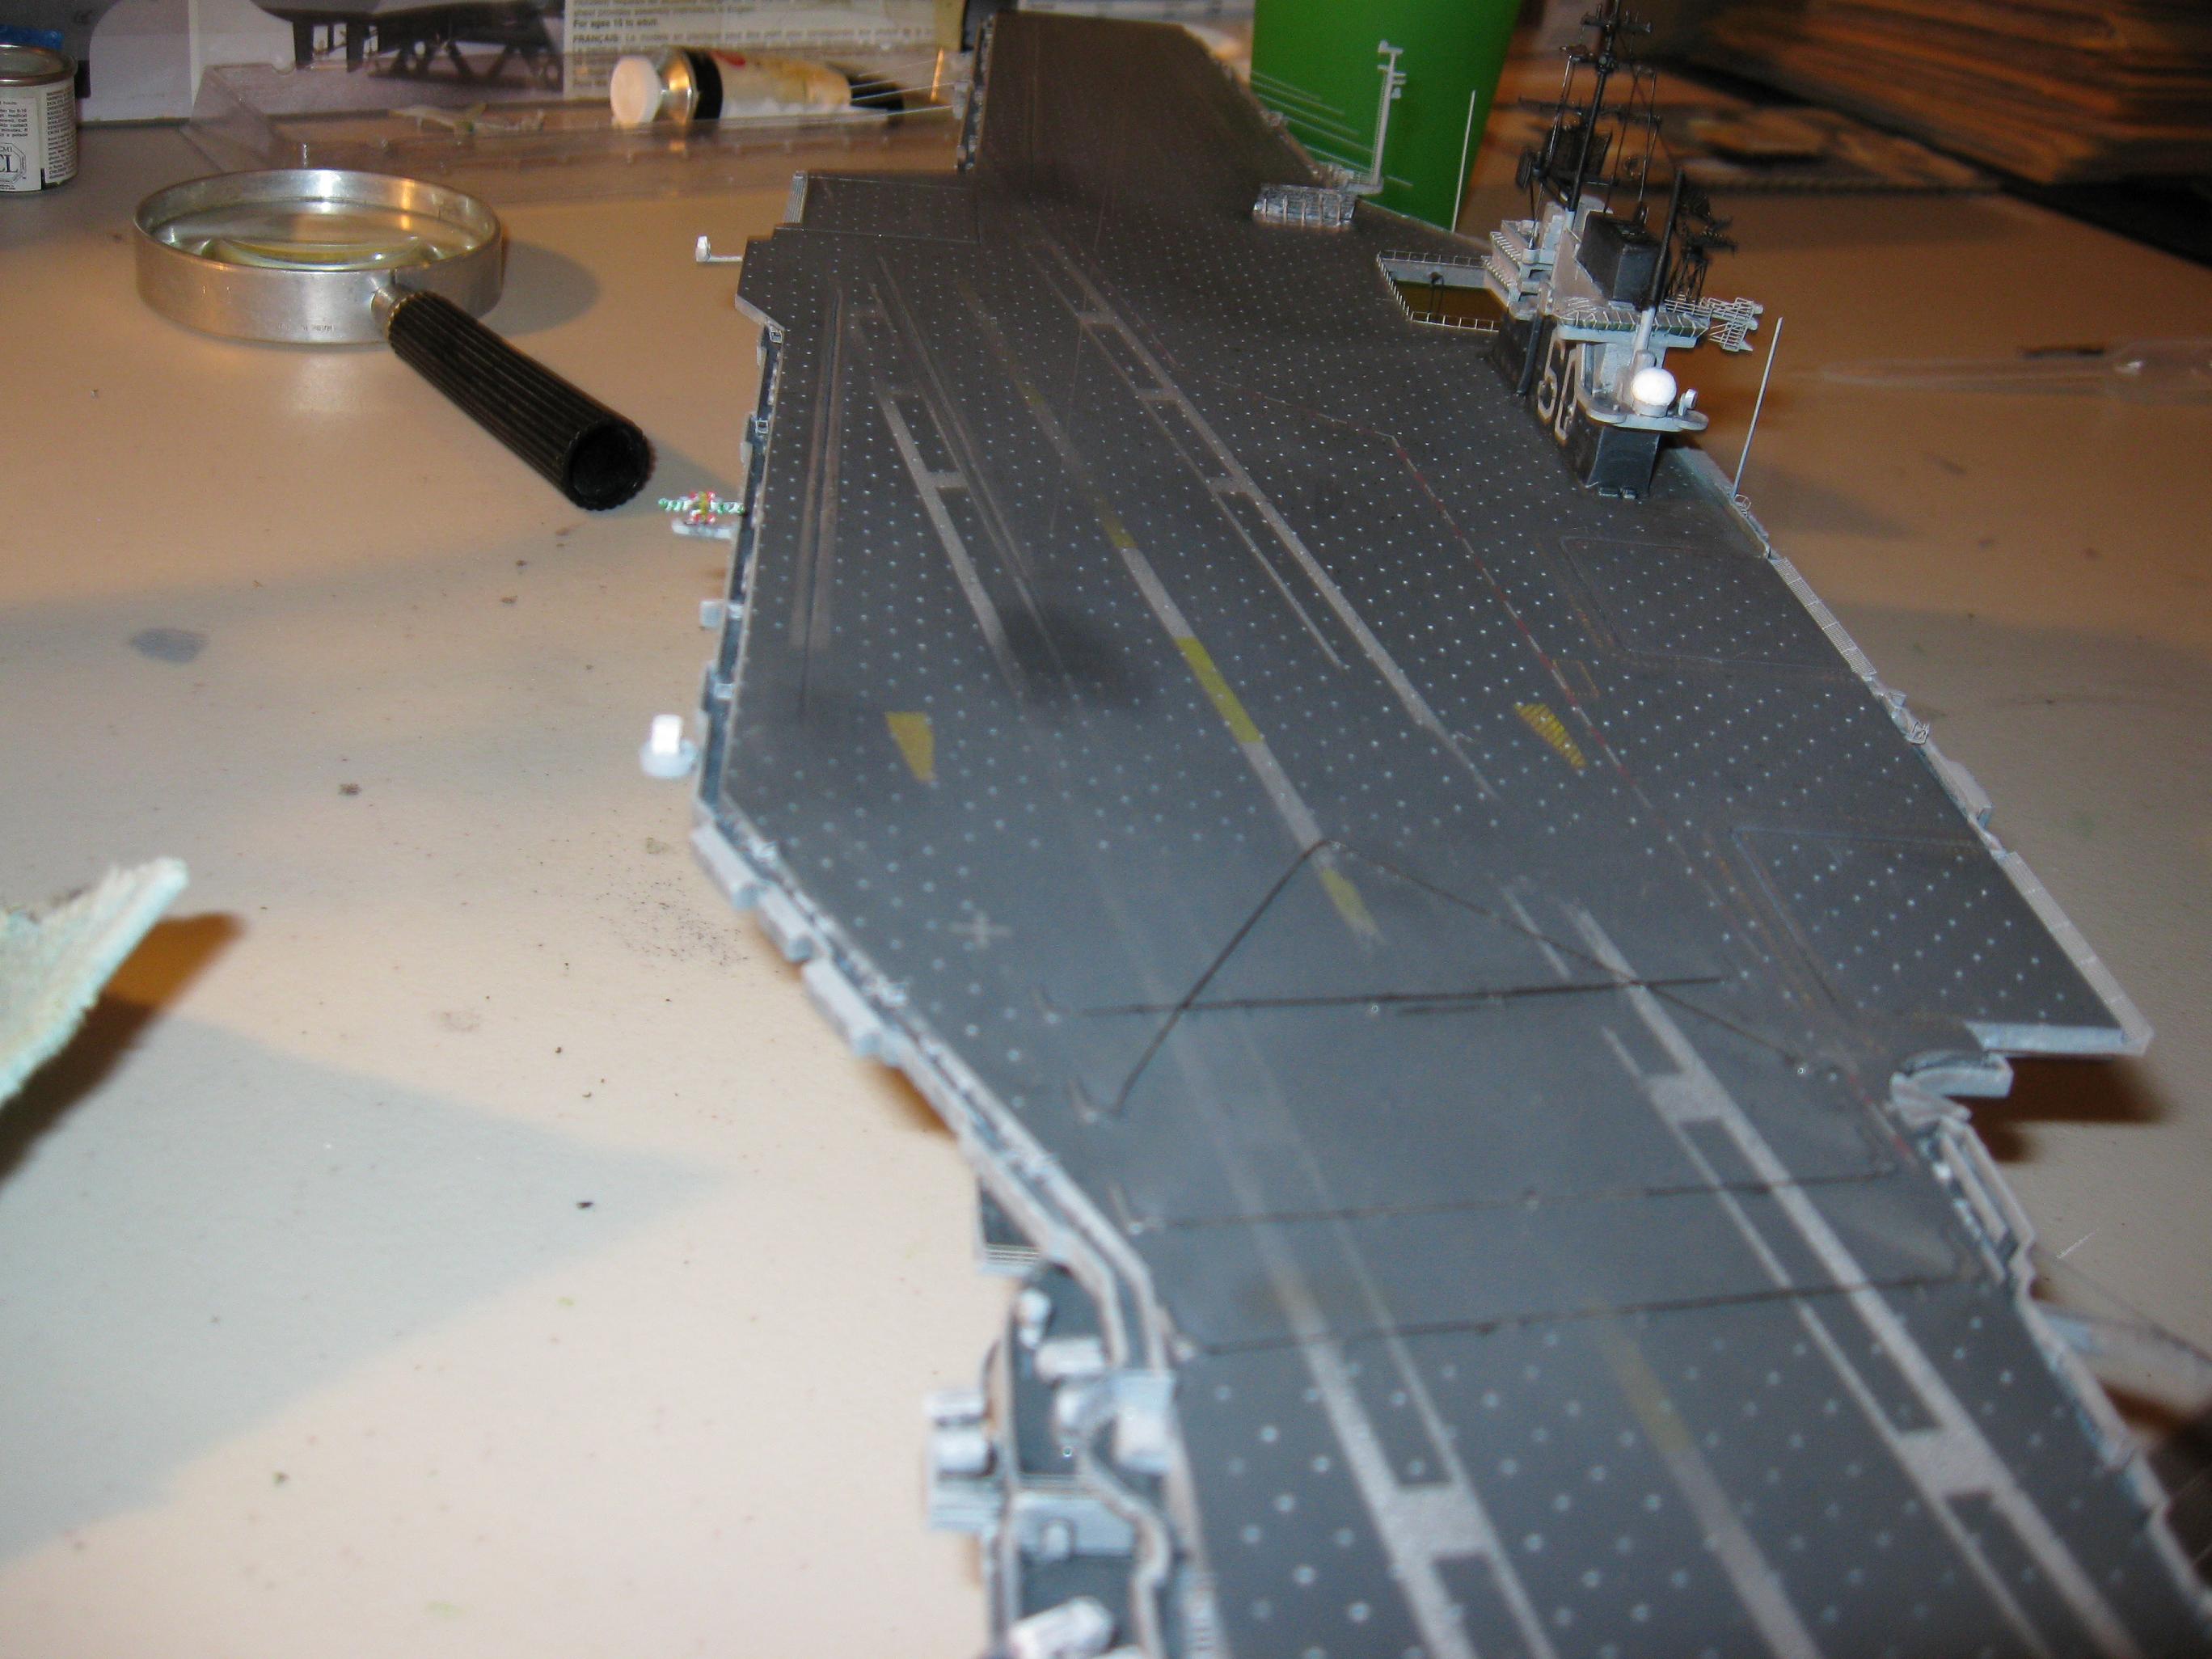
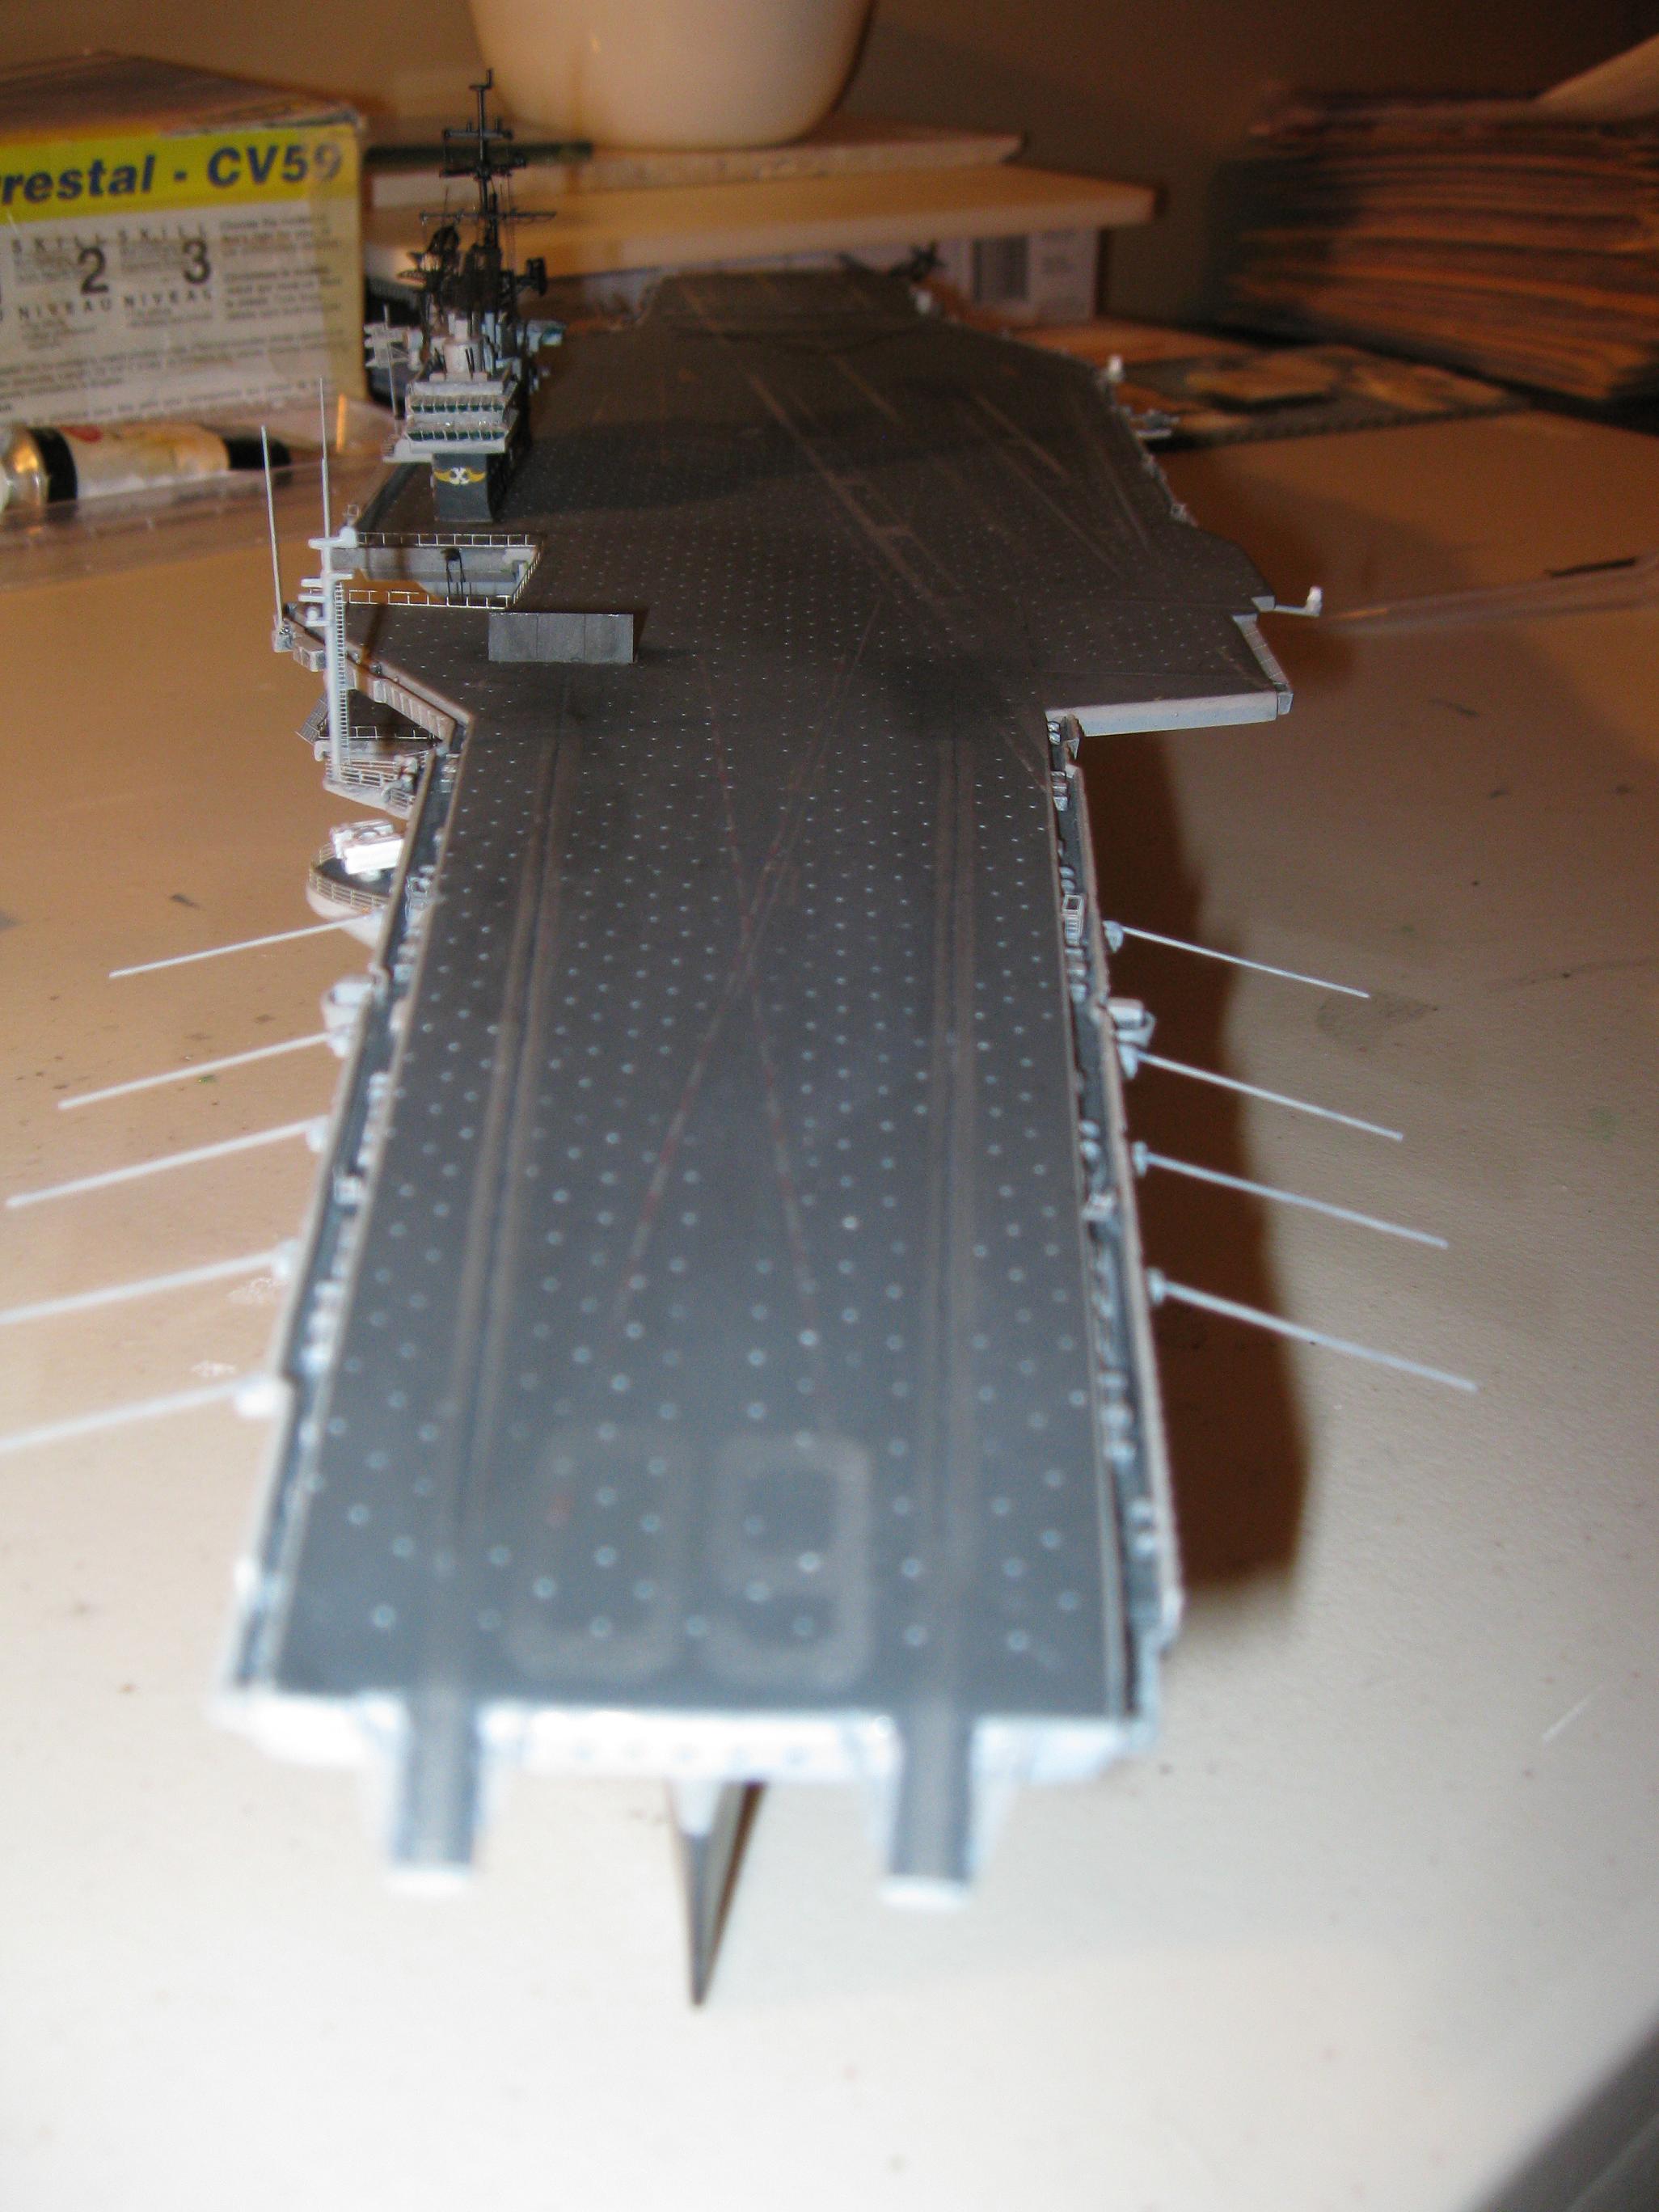
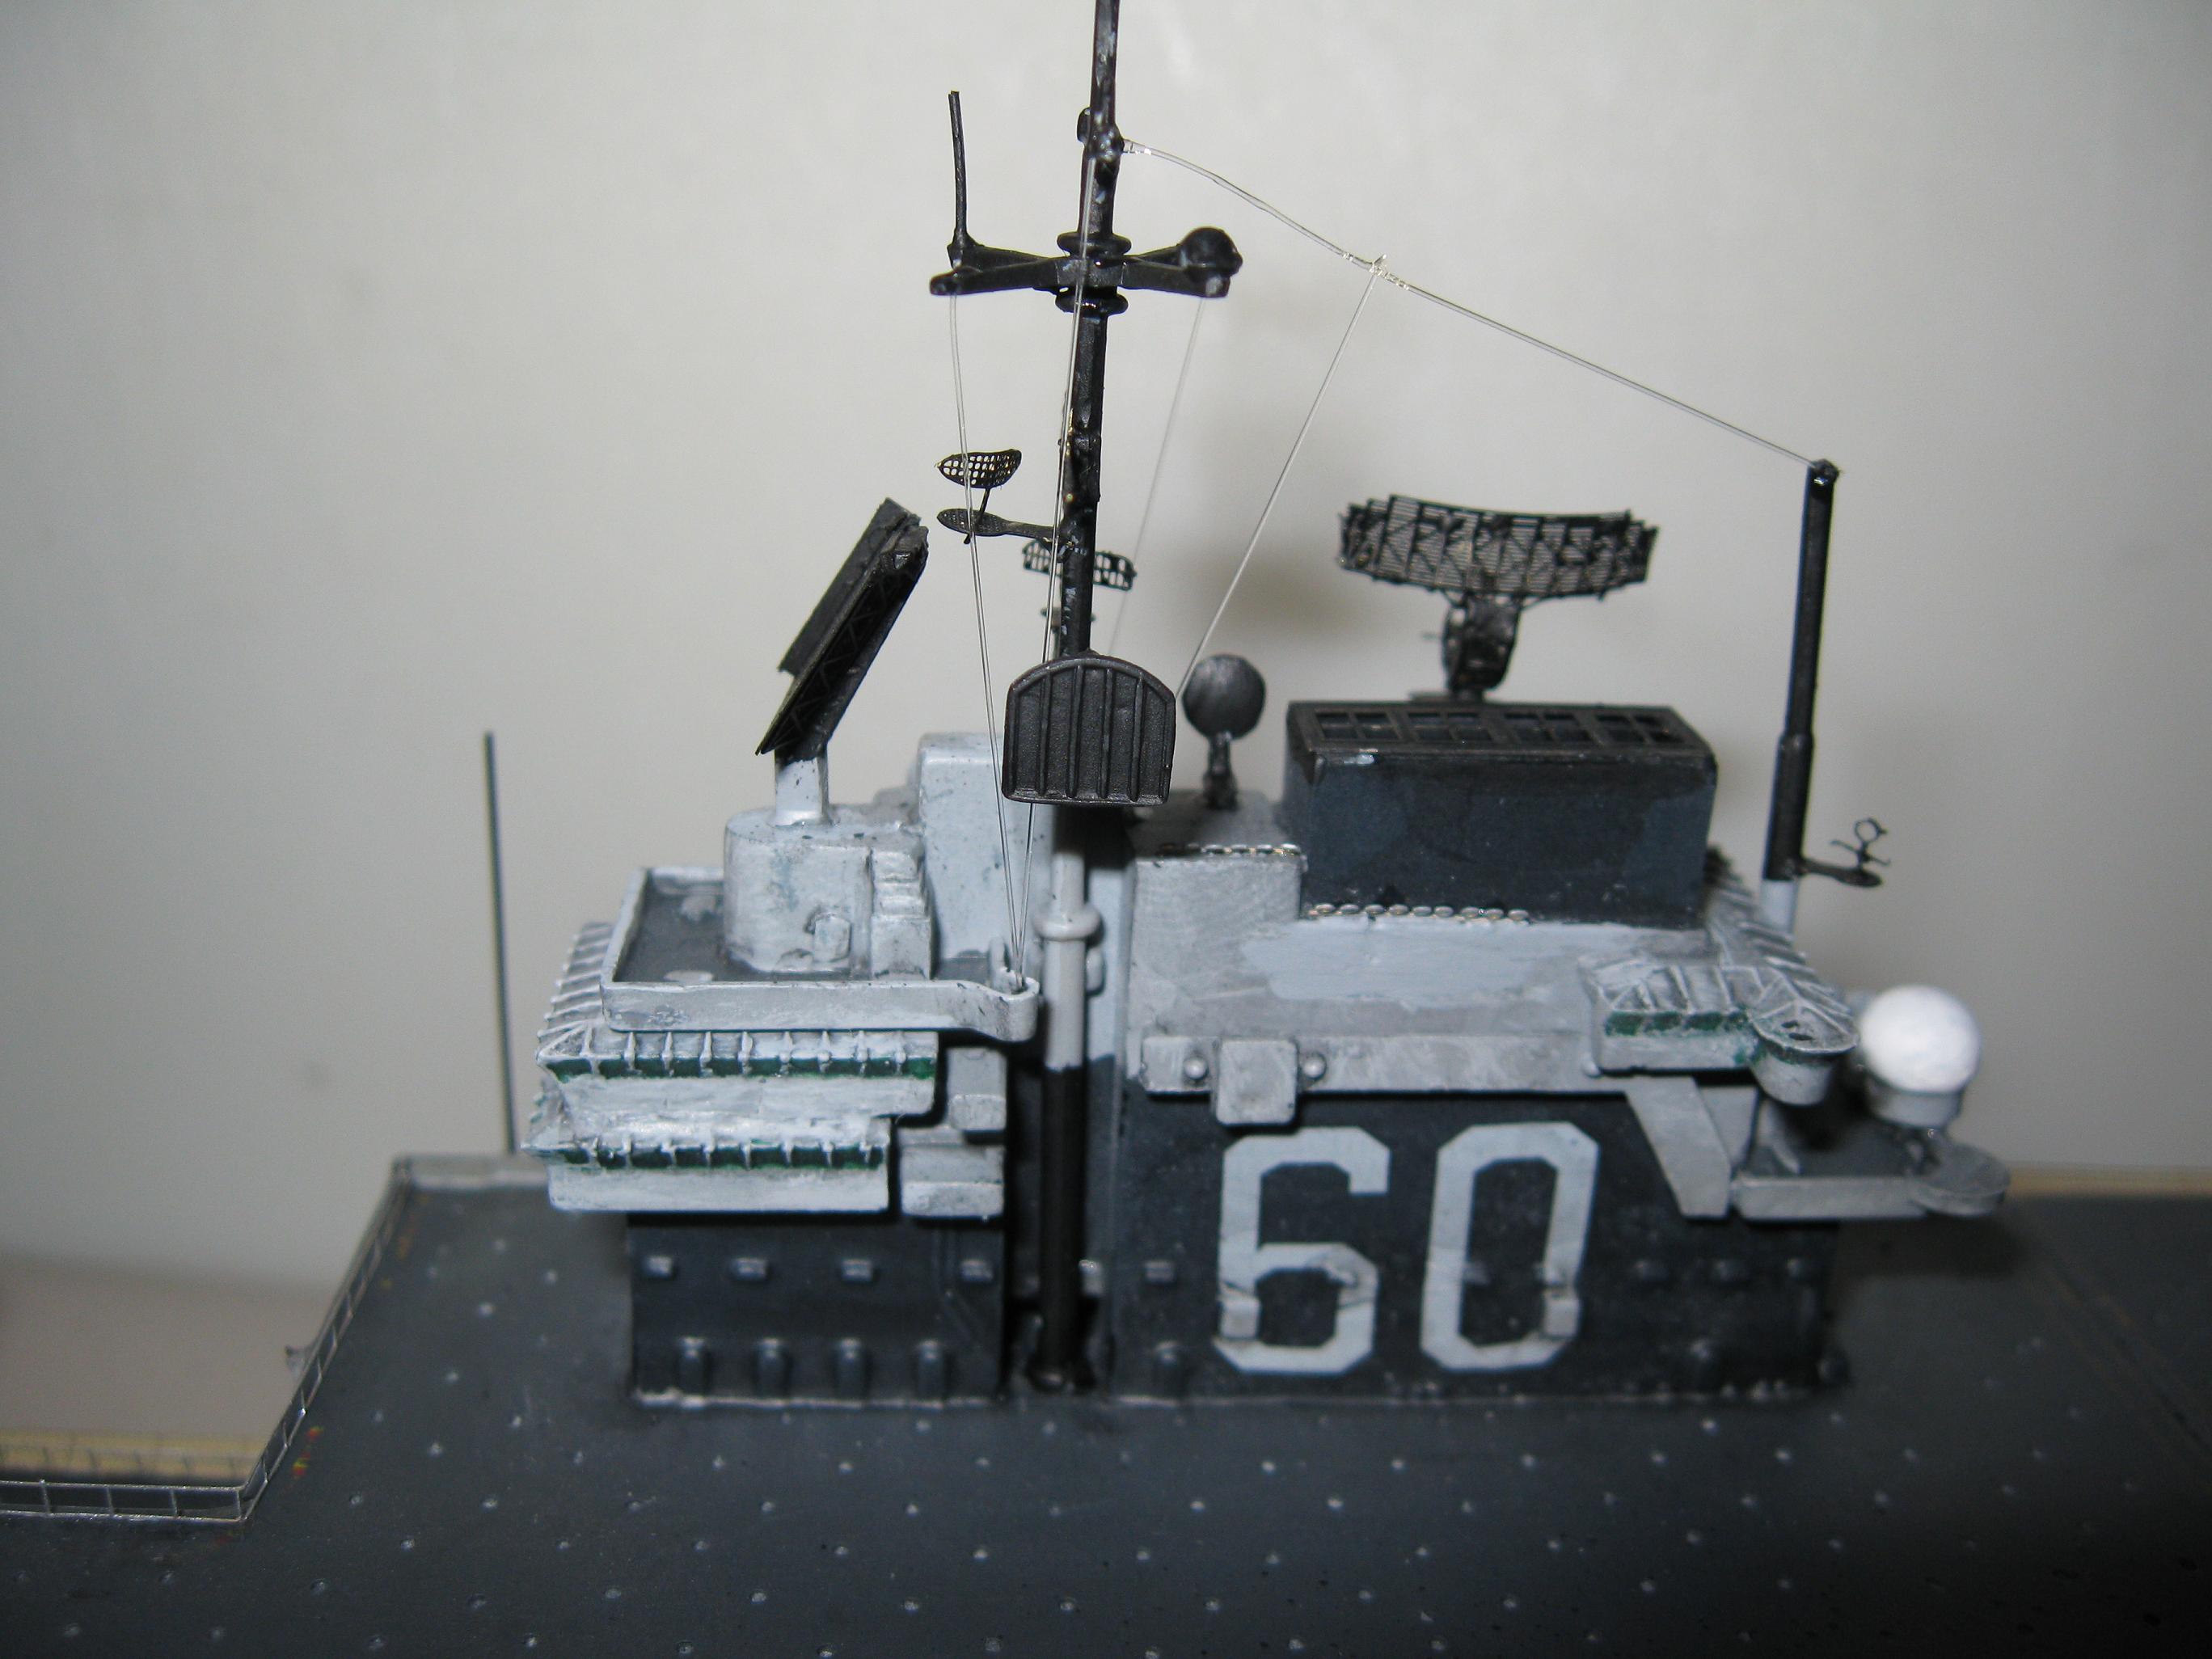
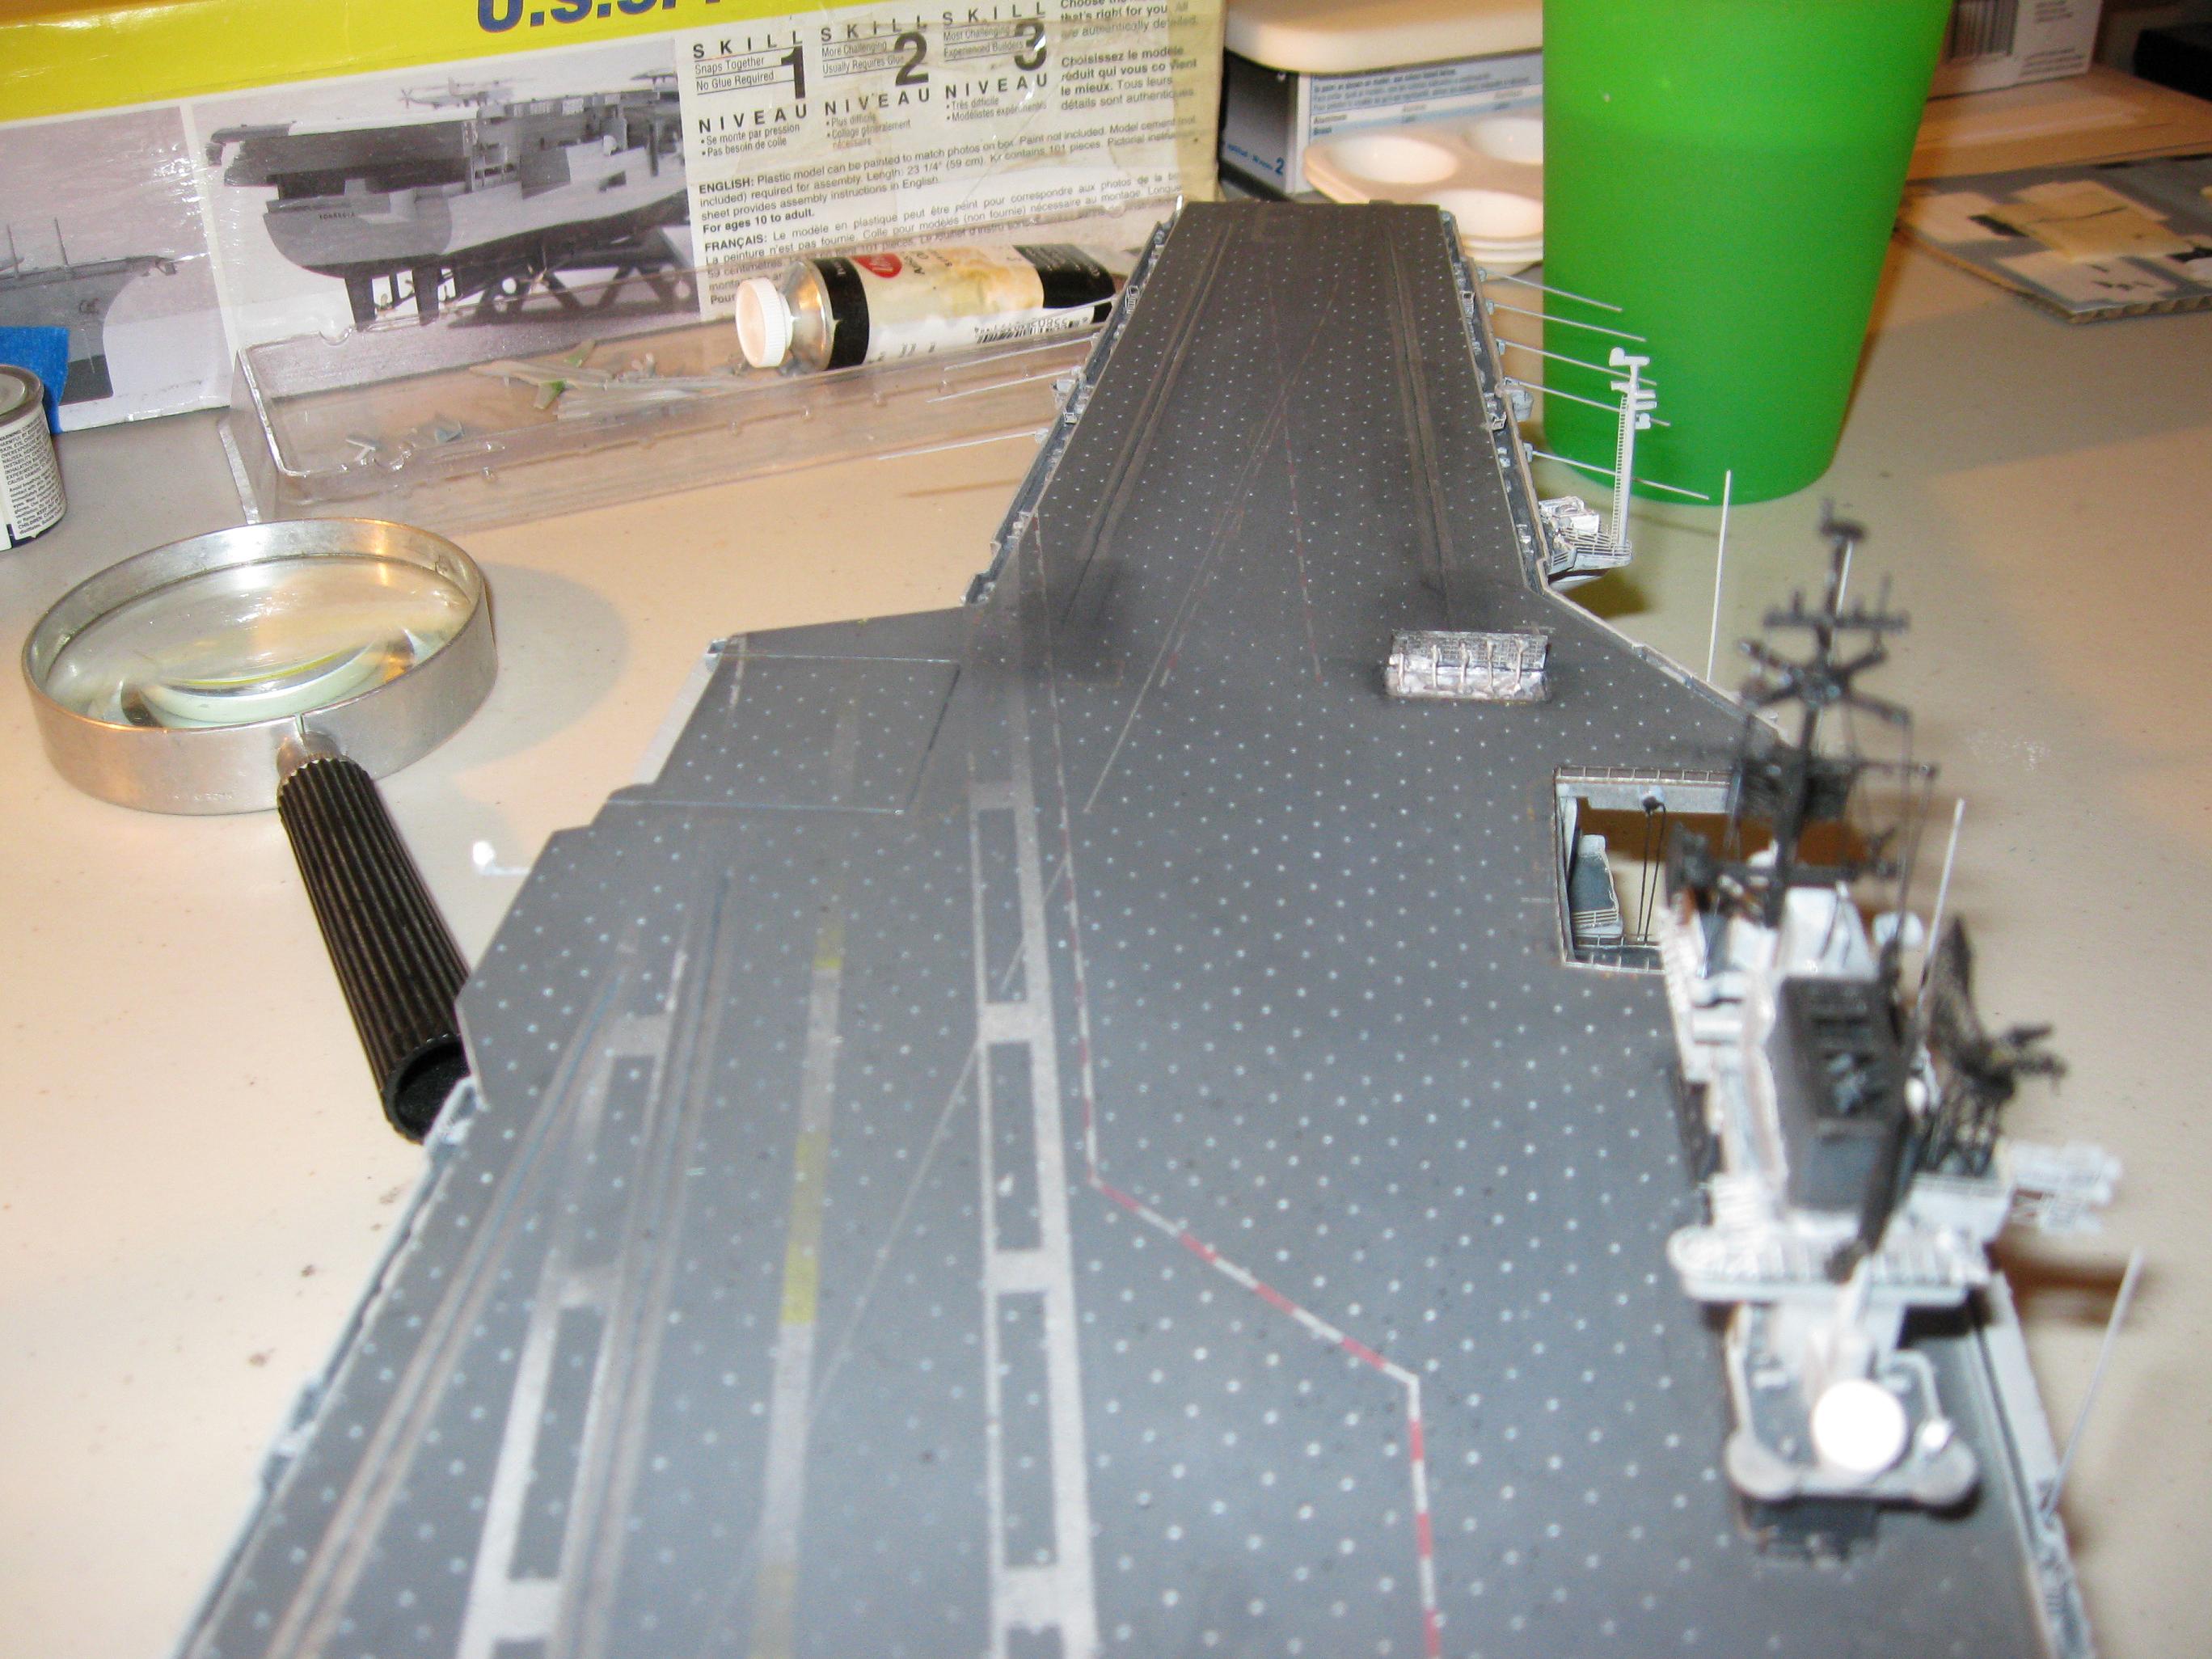
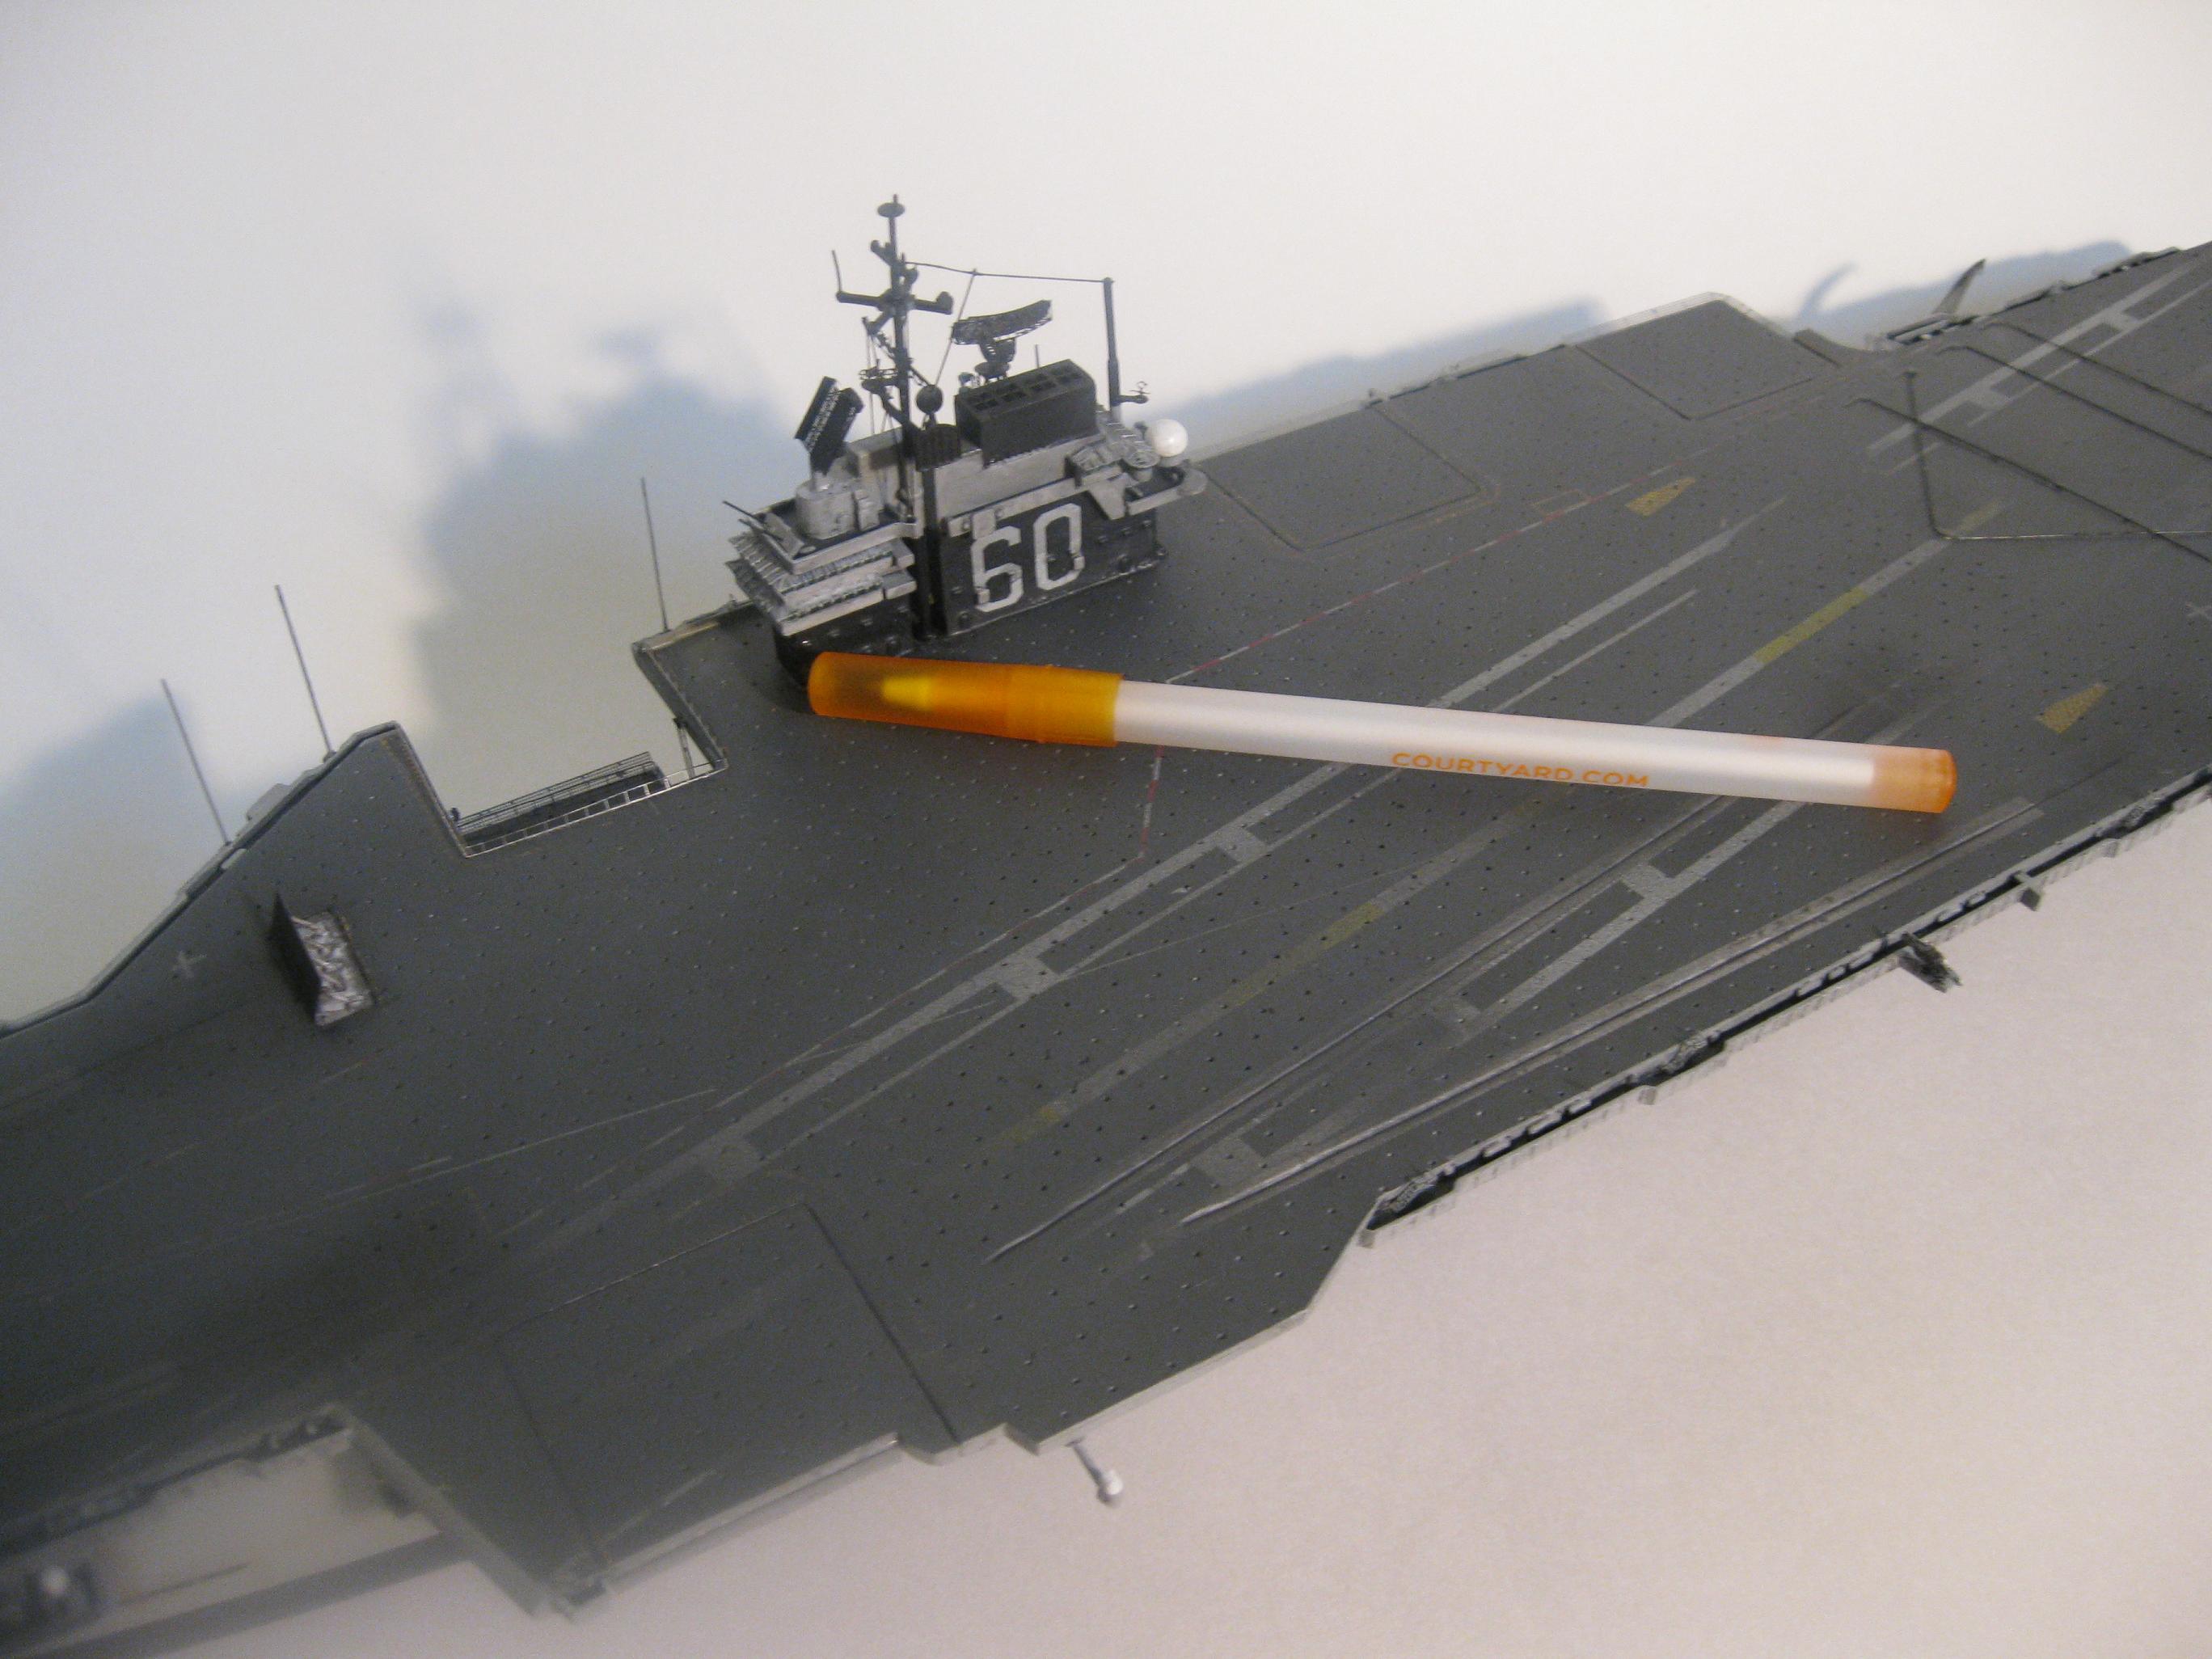
with proper gray color and black anti-fouling color. Painting and
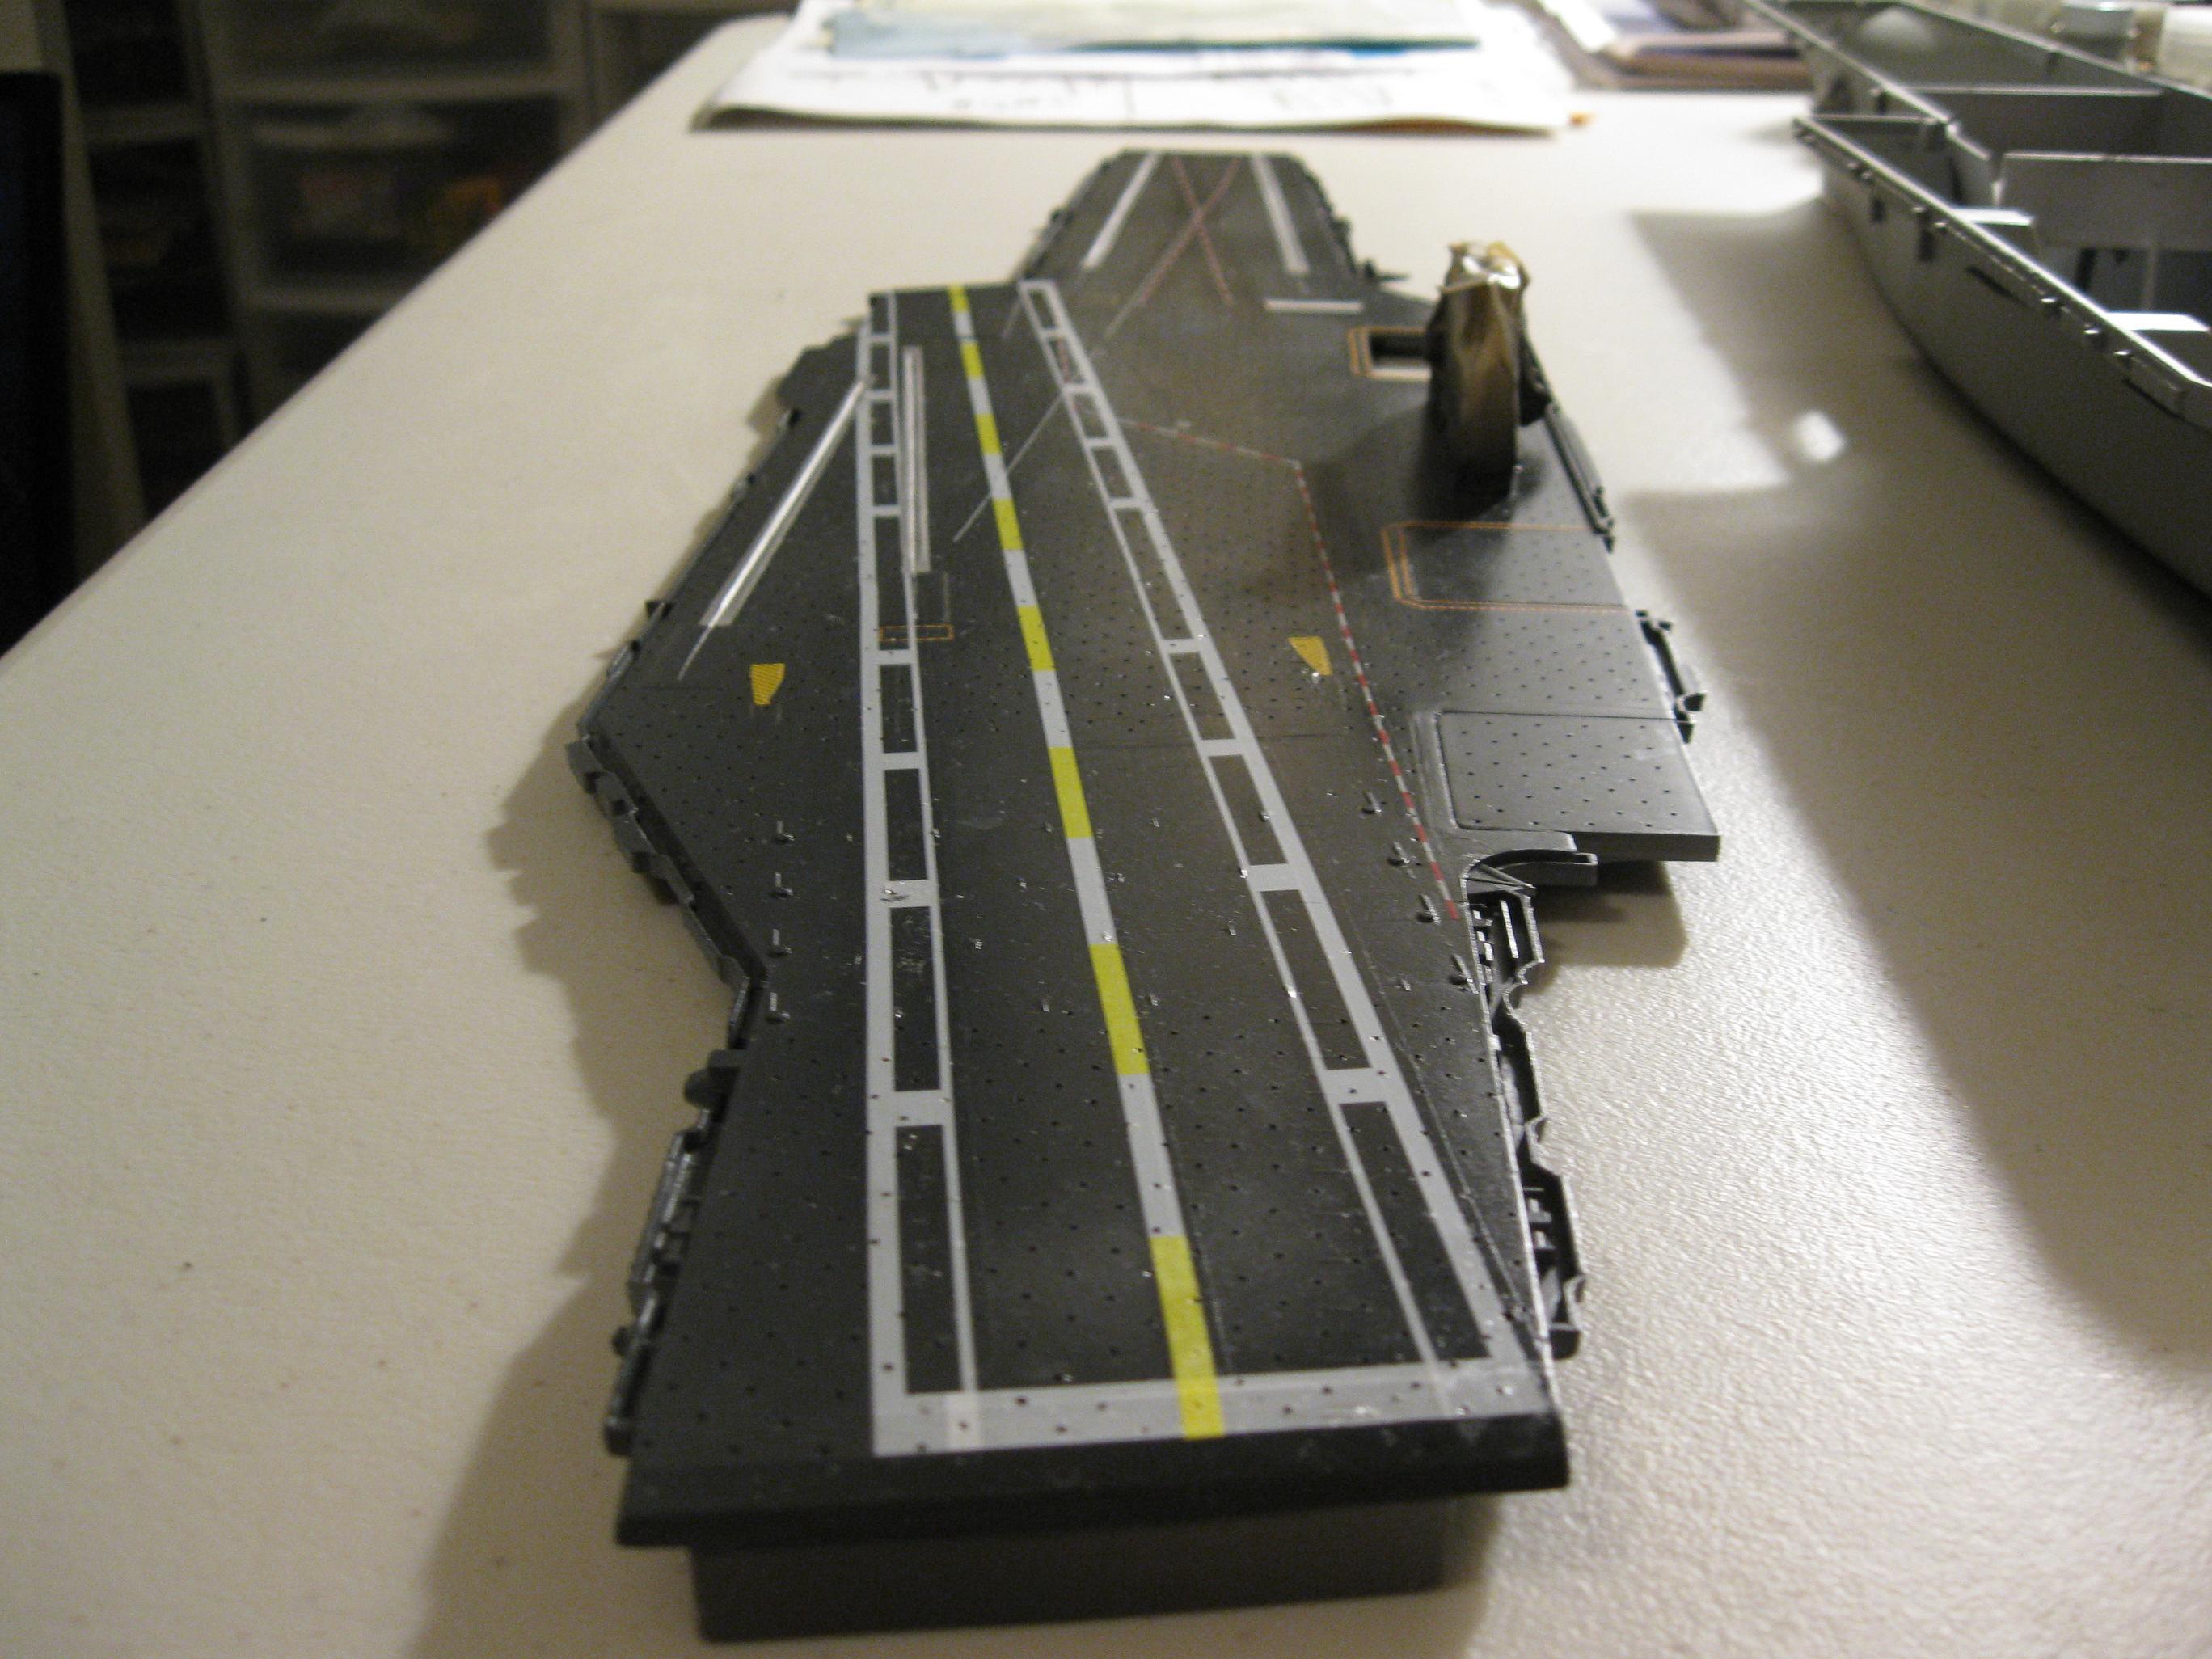
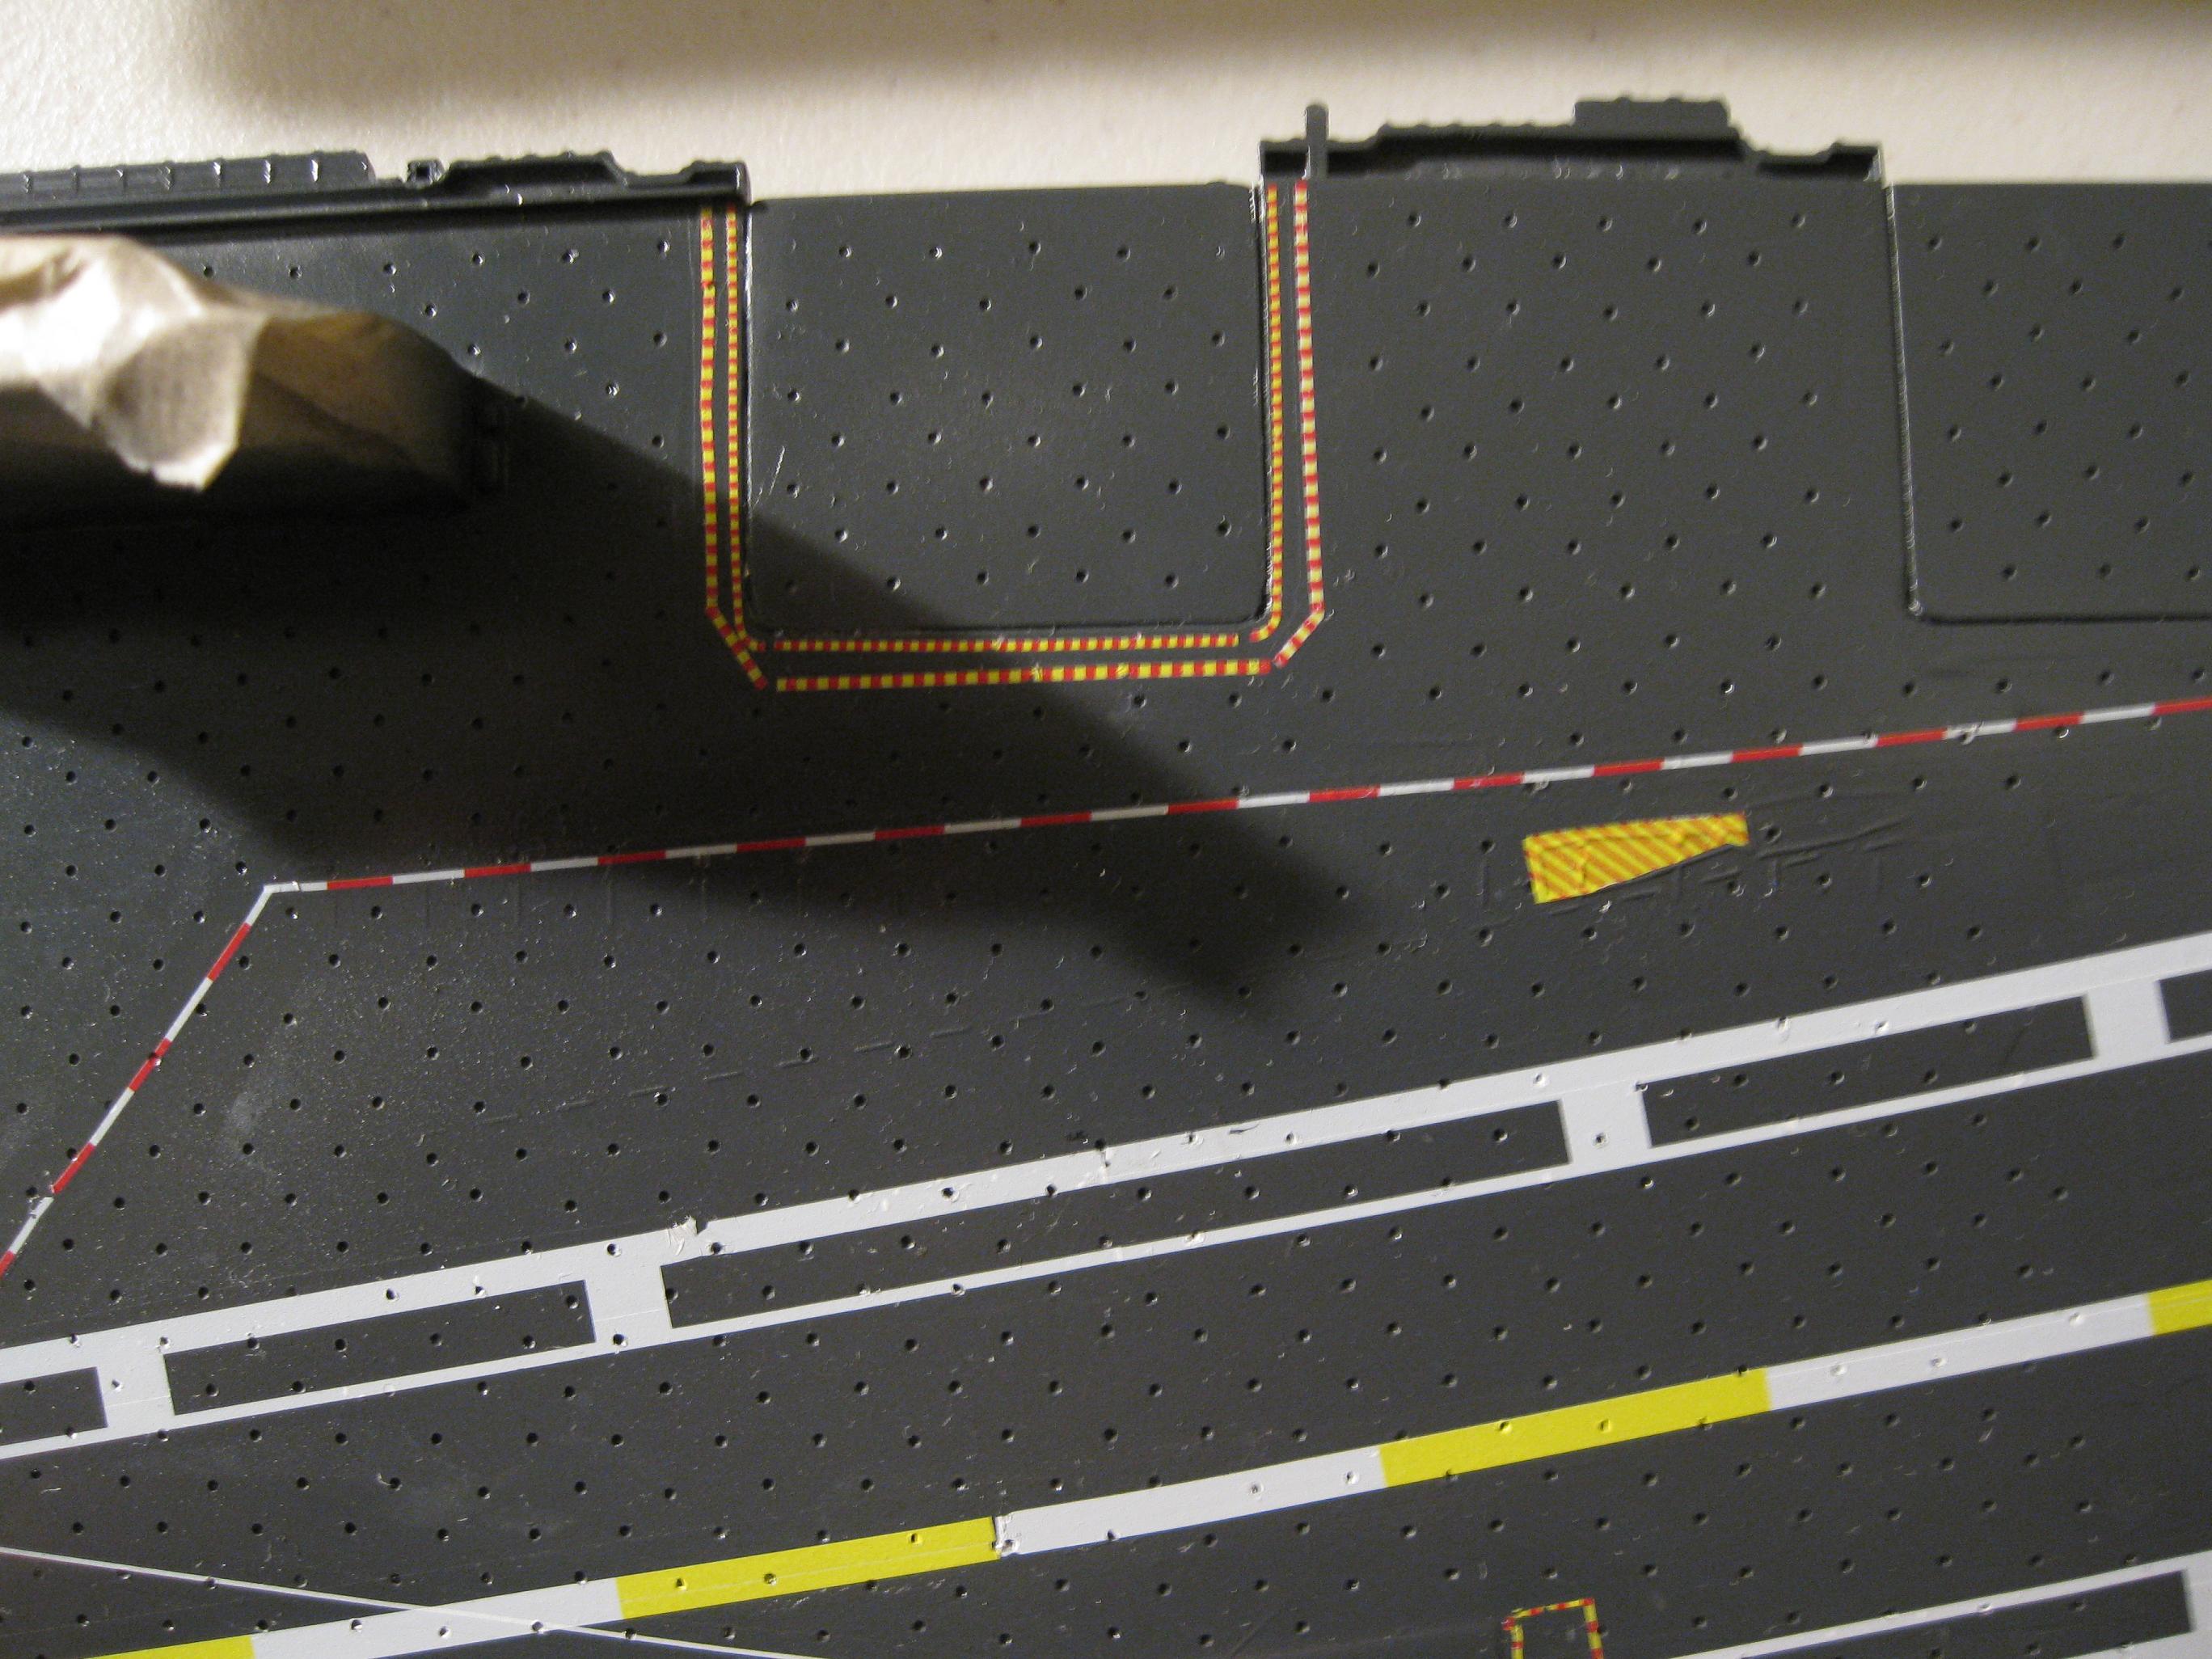
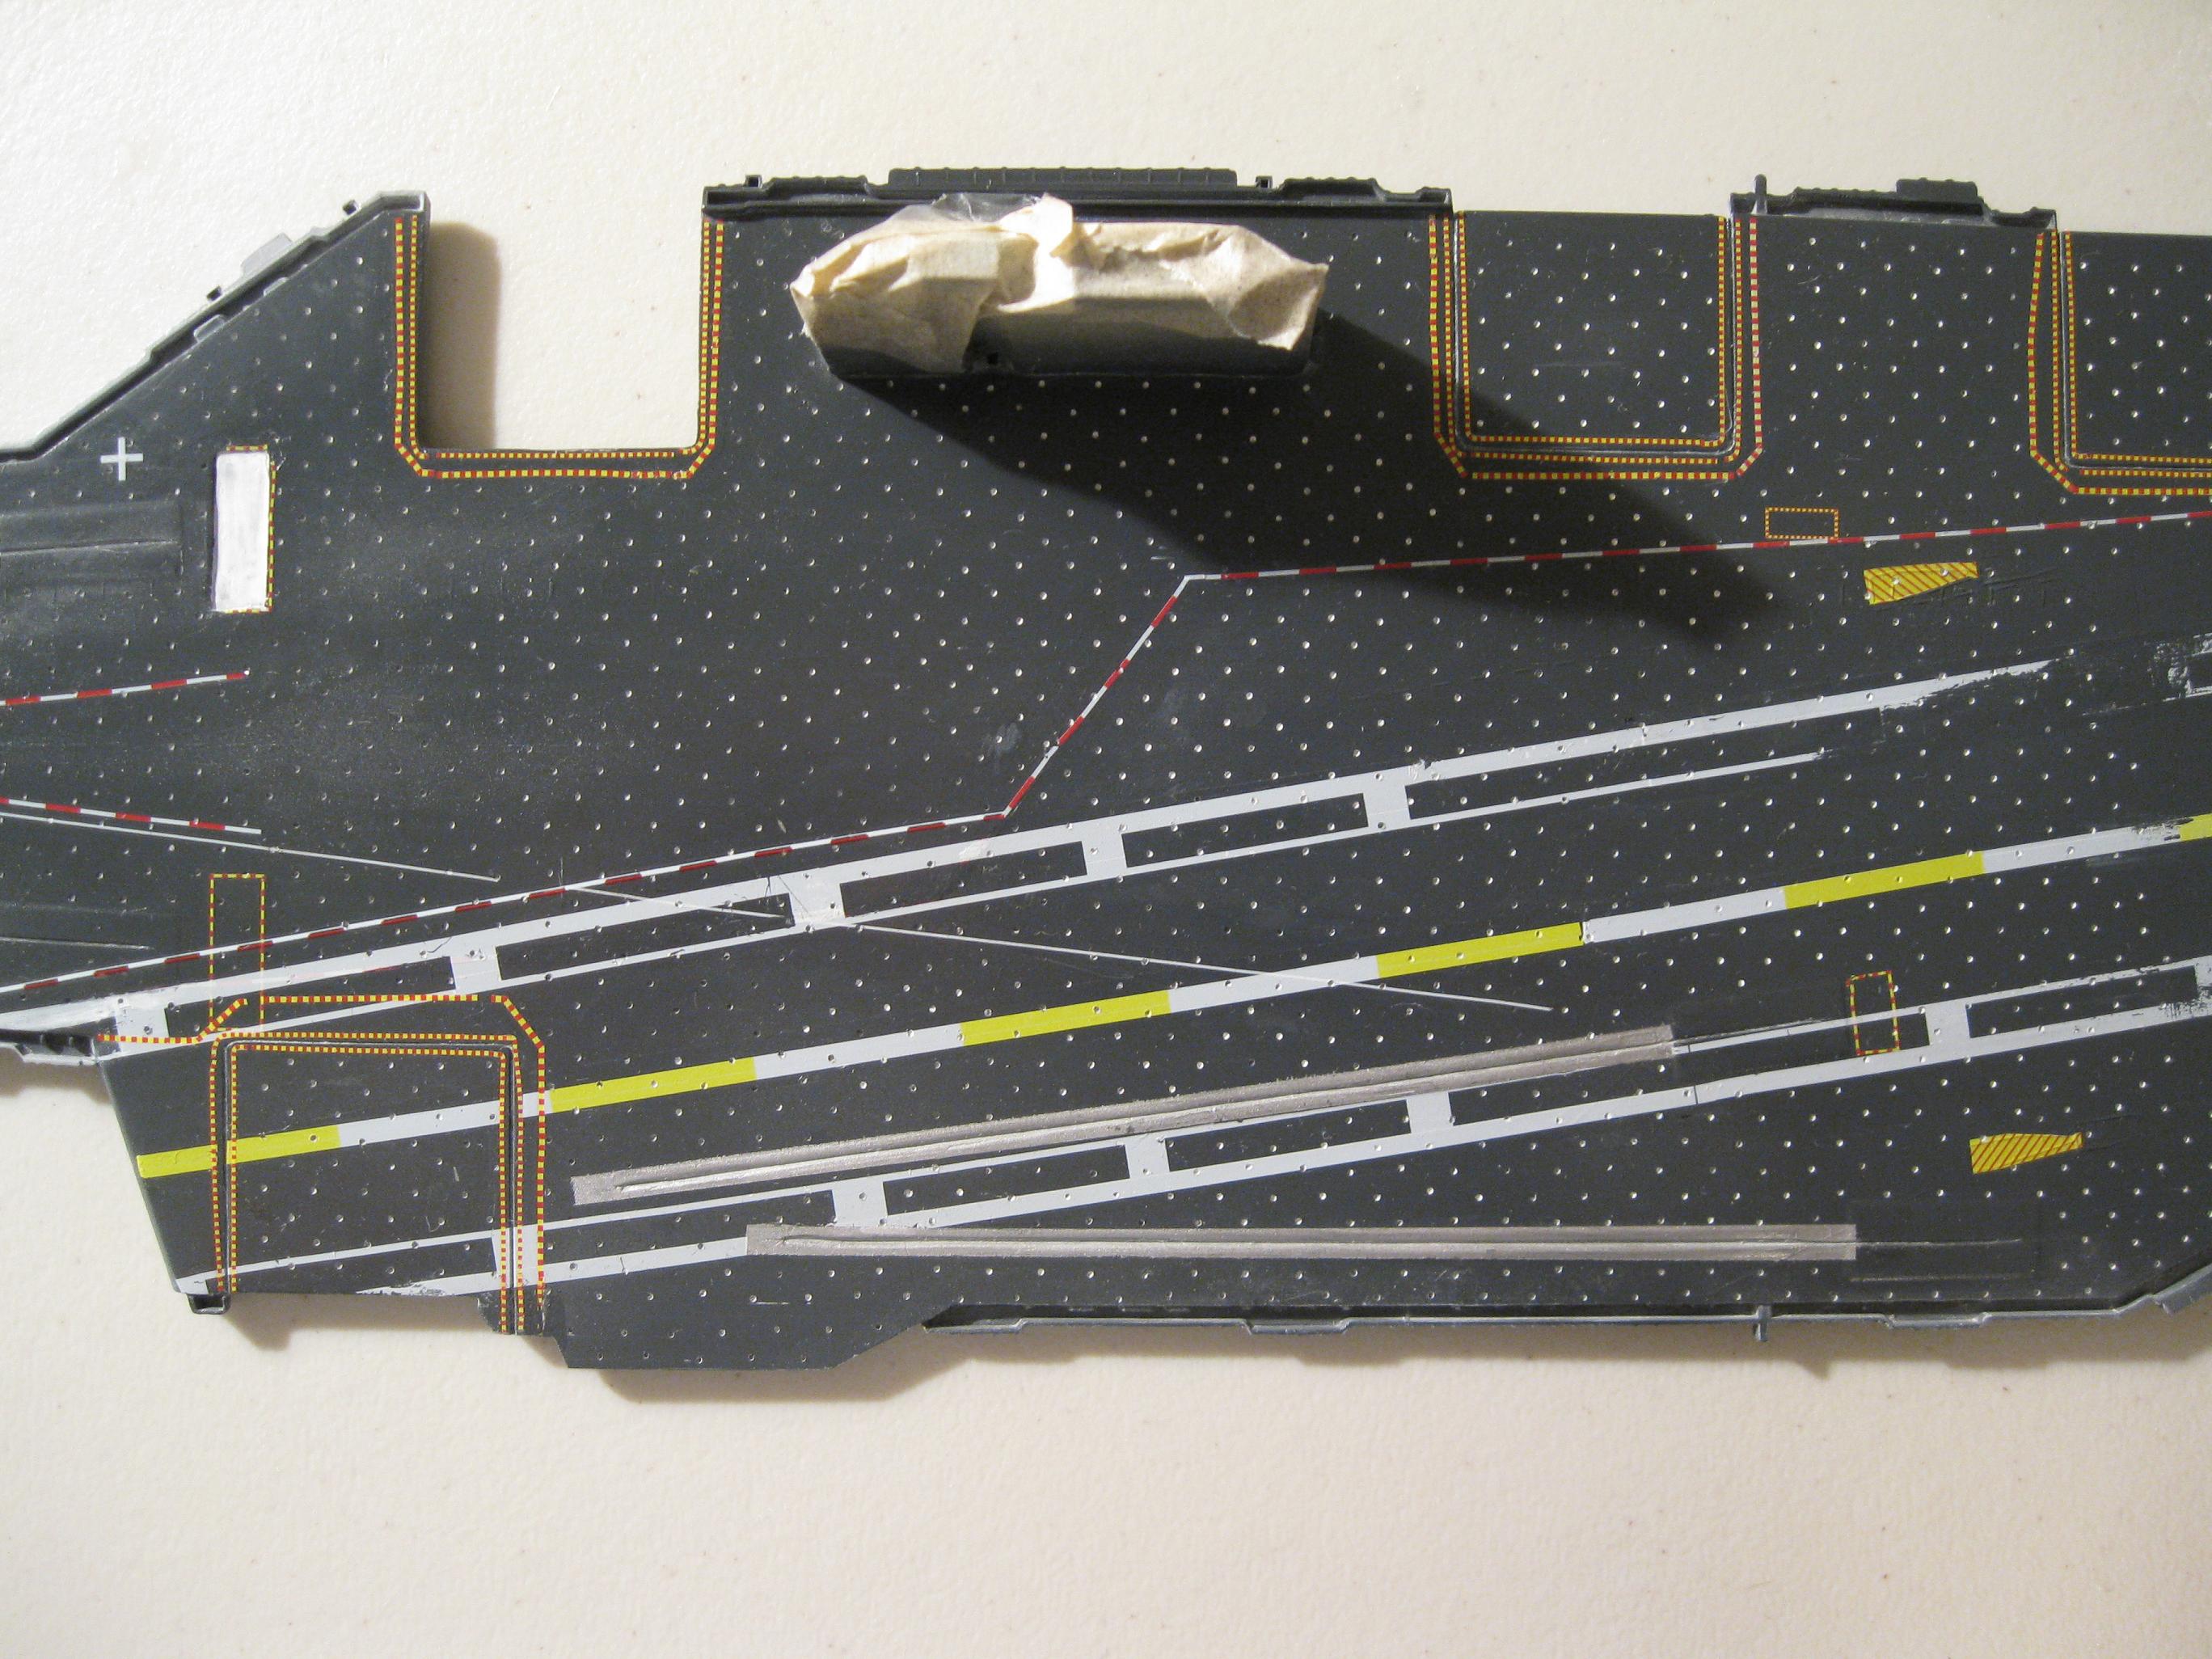
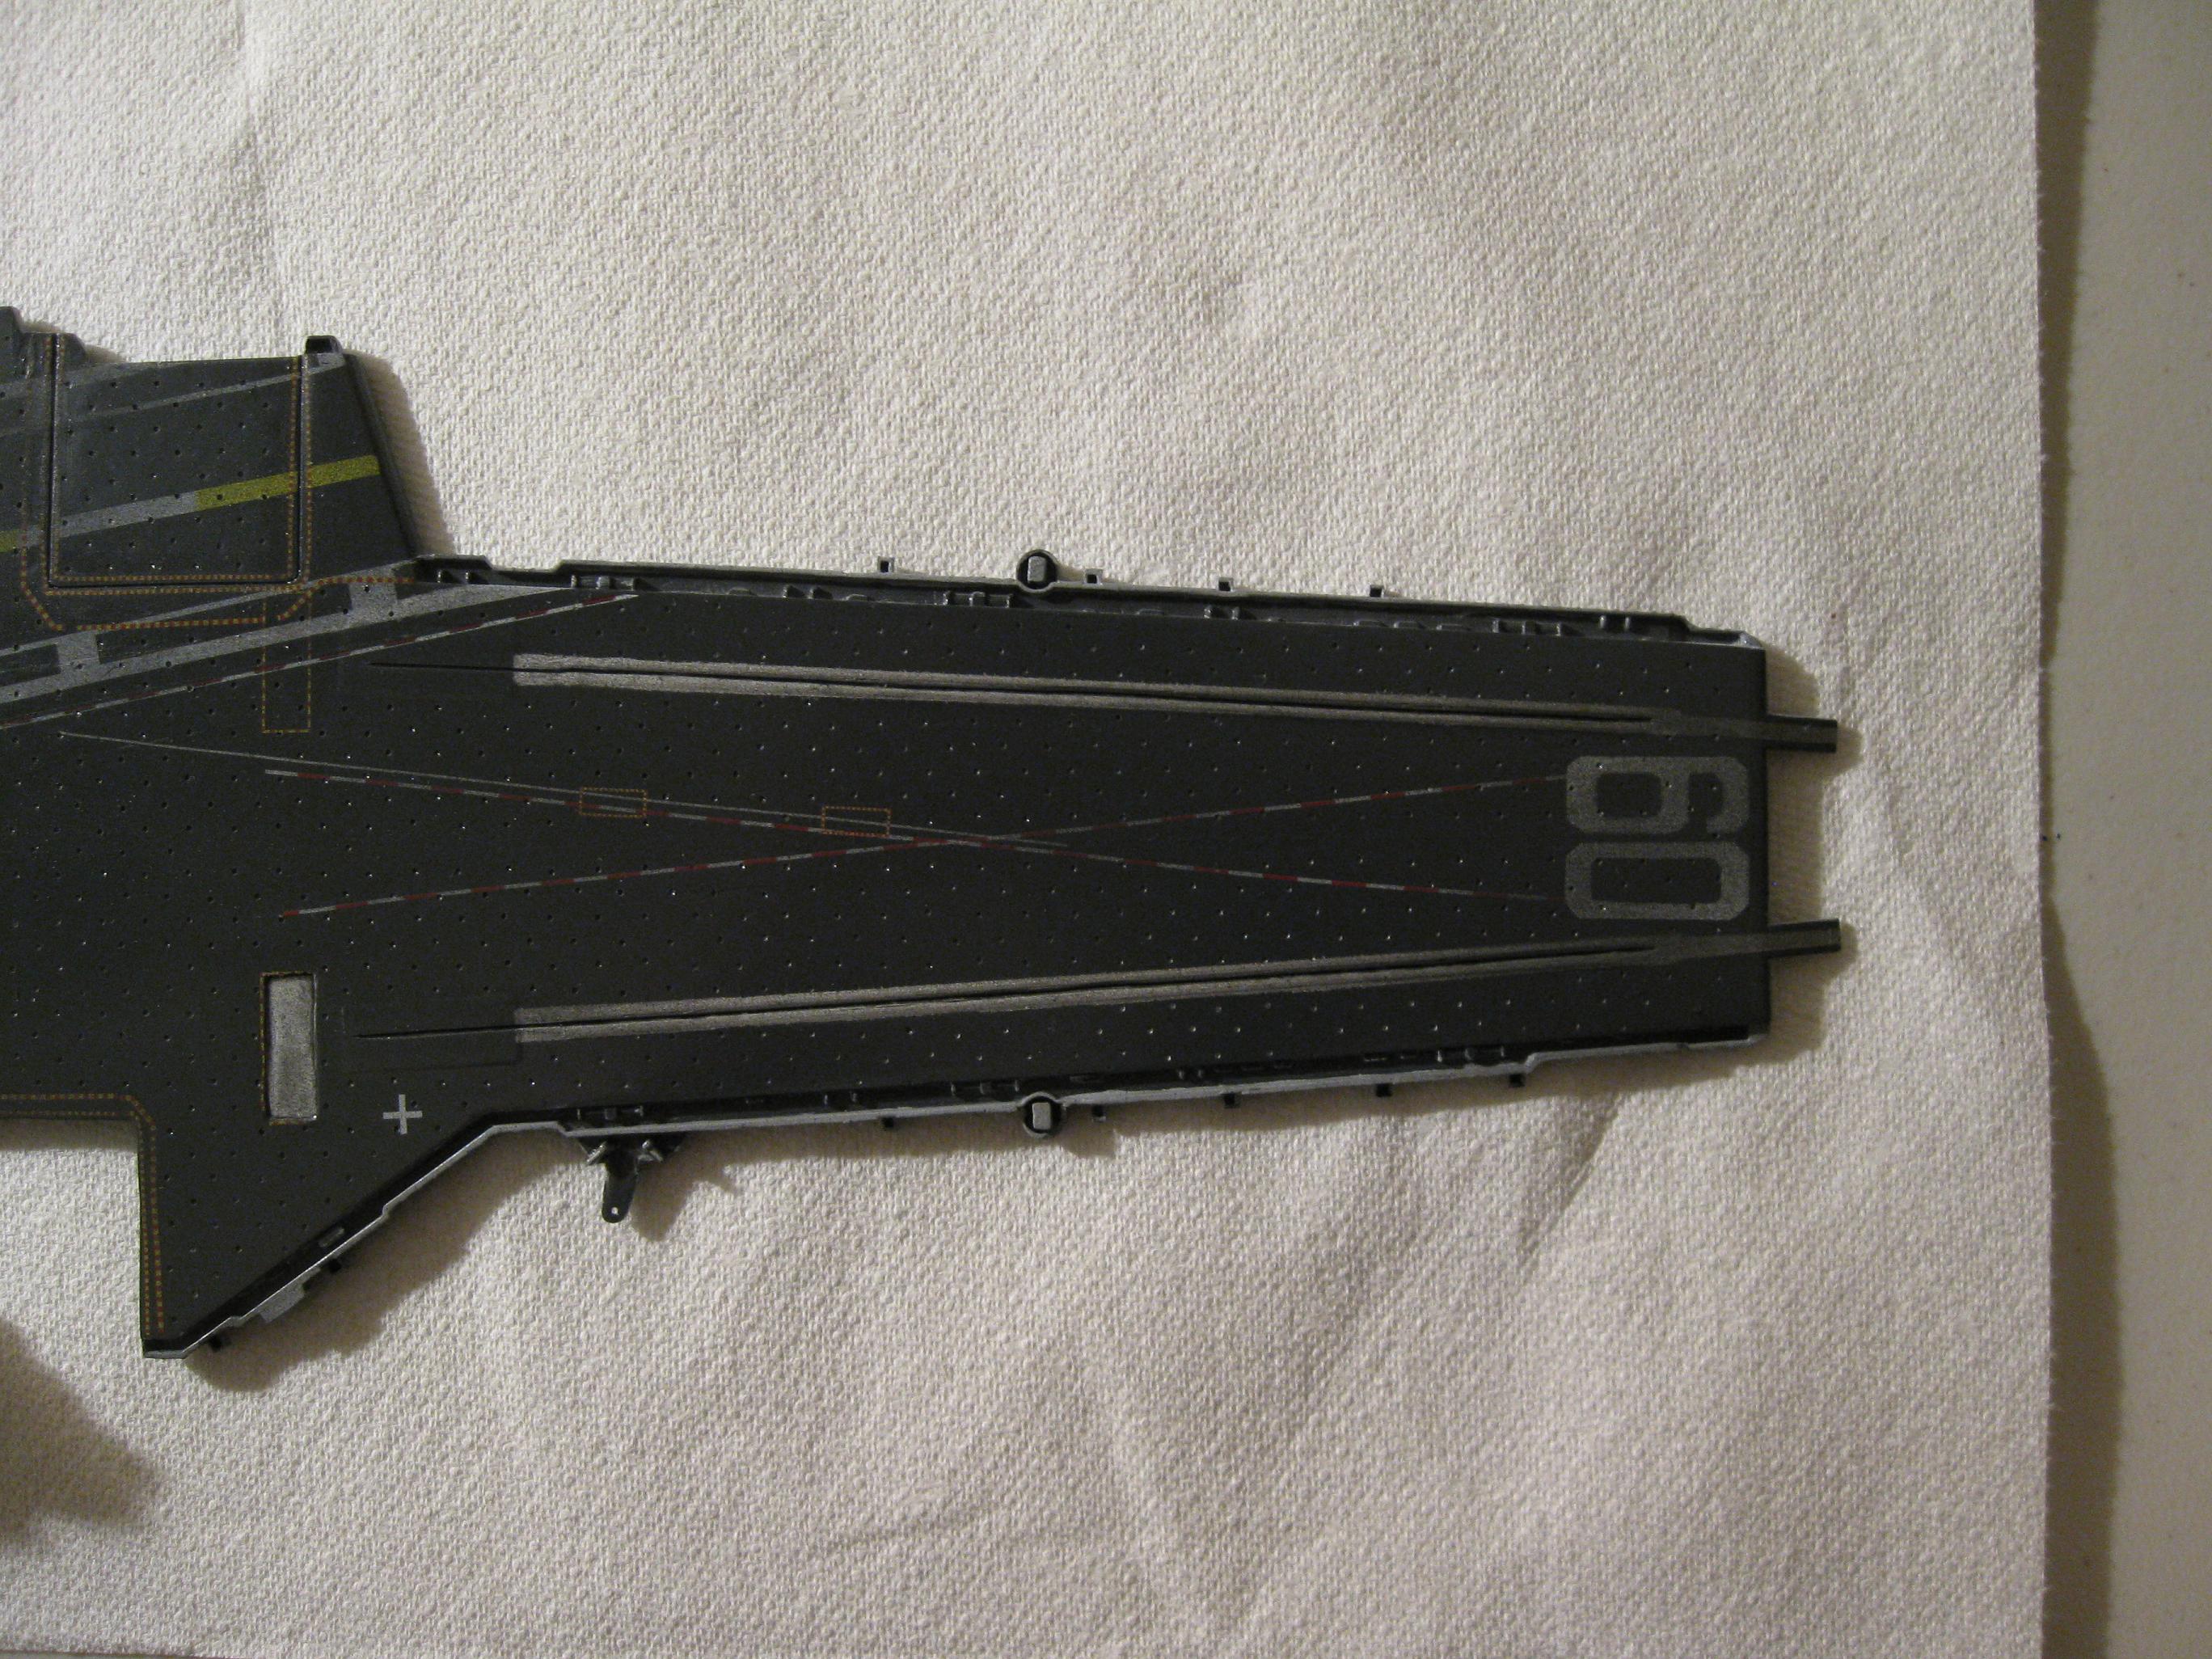
Decaling the Flight Deck. Number is hand painted. Weathering the
Flight Deck. I may have gone too far considering
that I have to add some lighter weathering to get a better color
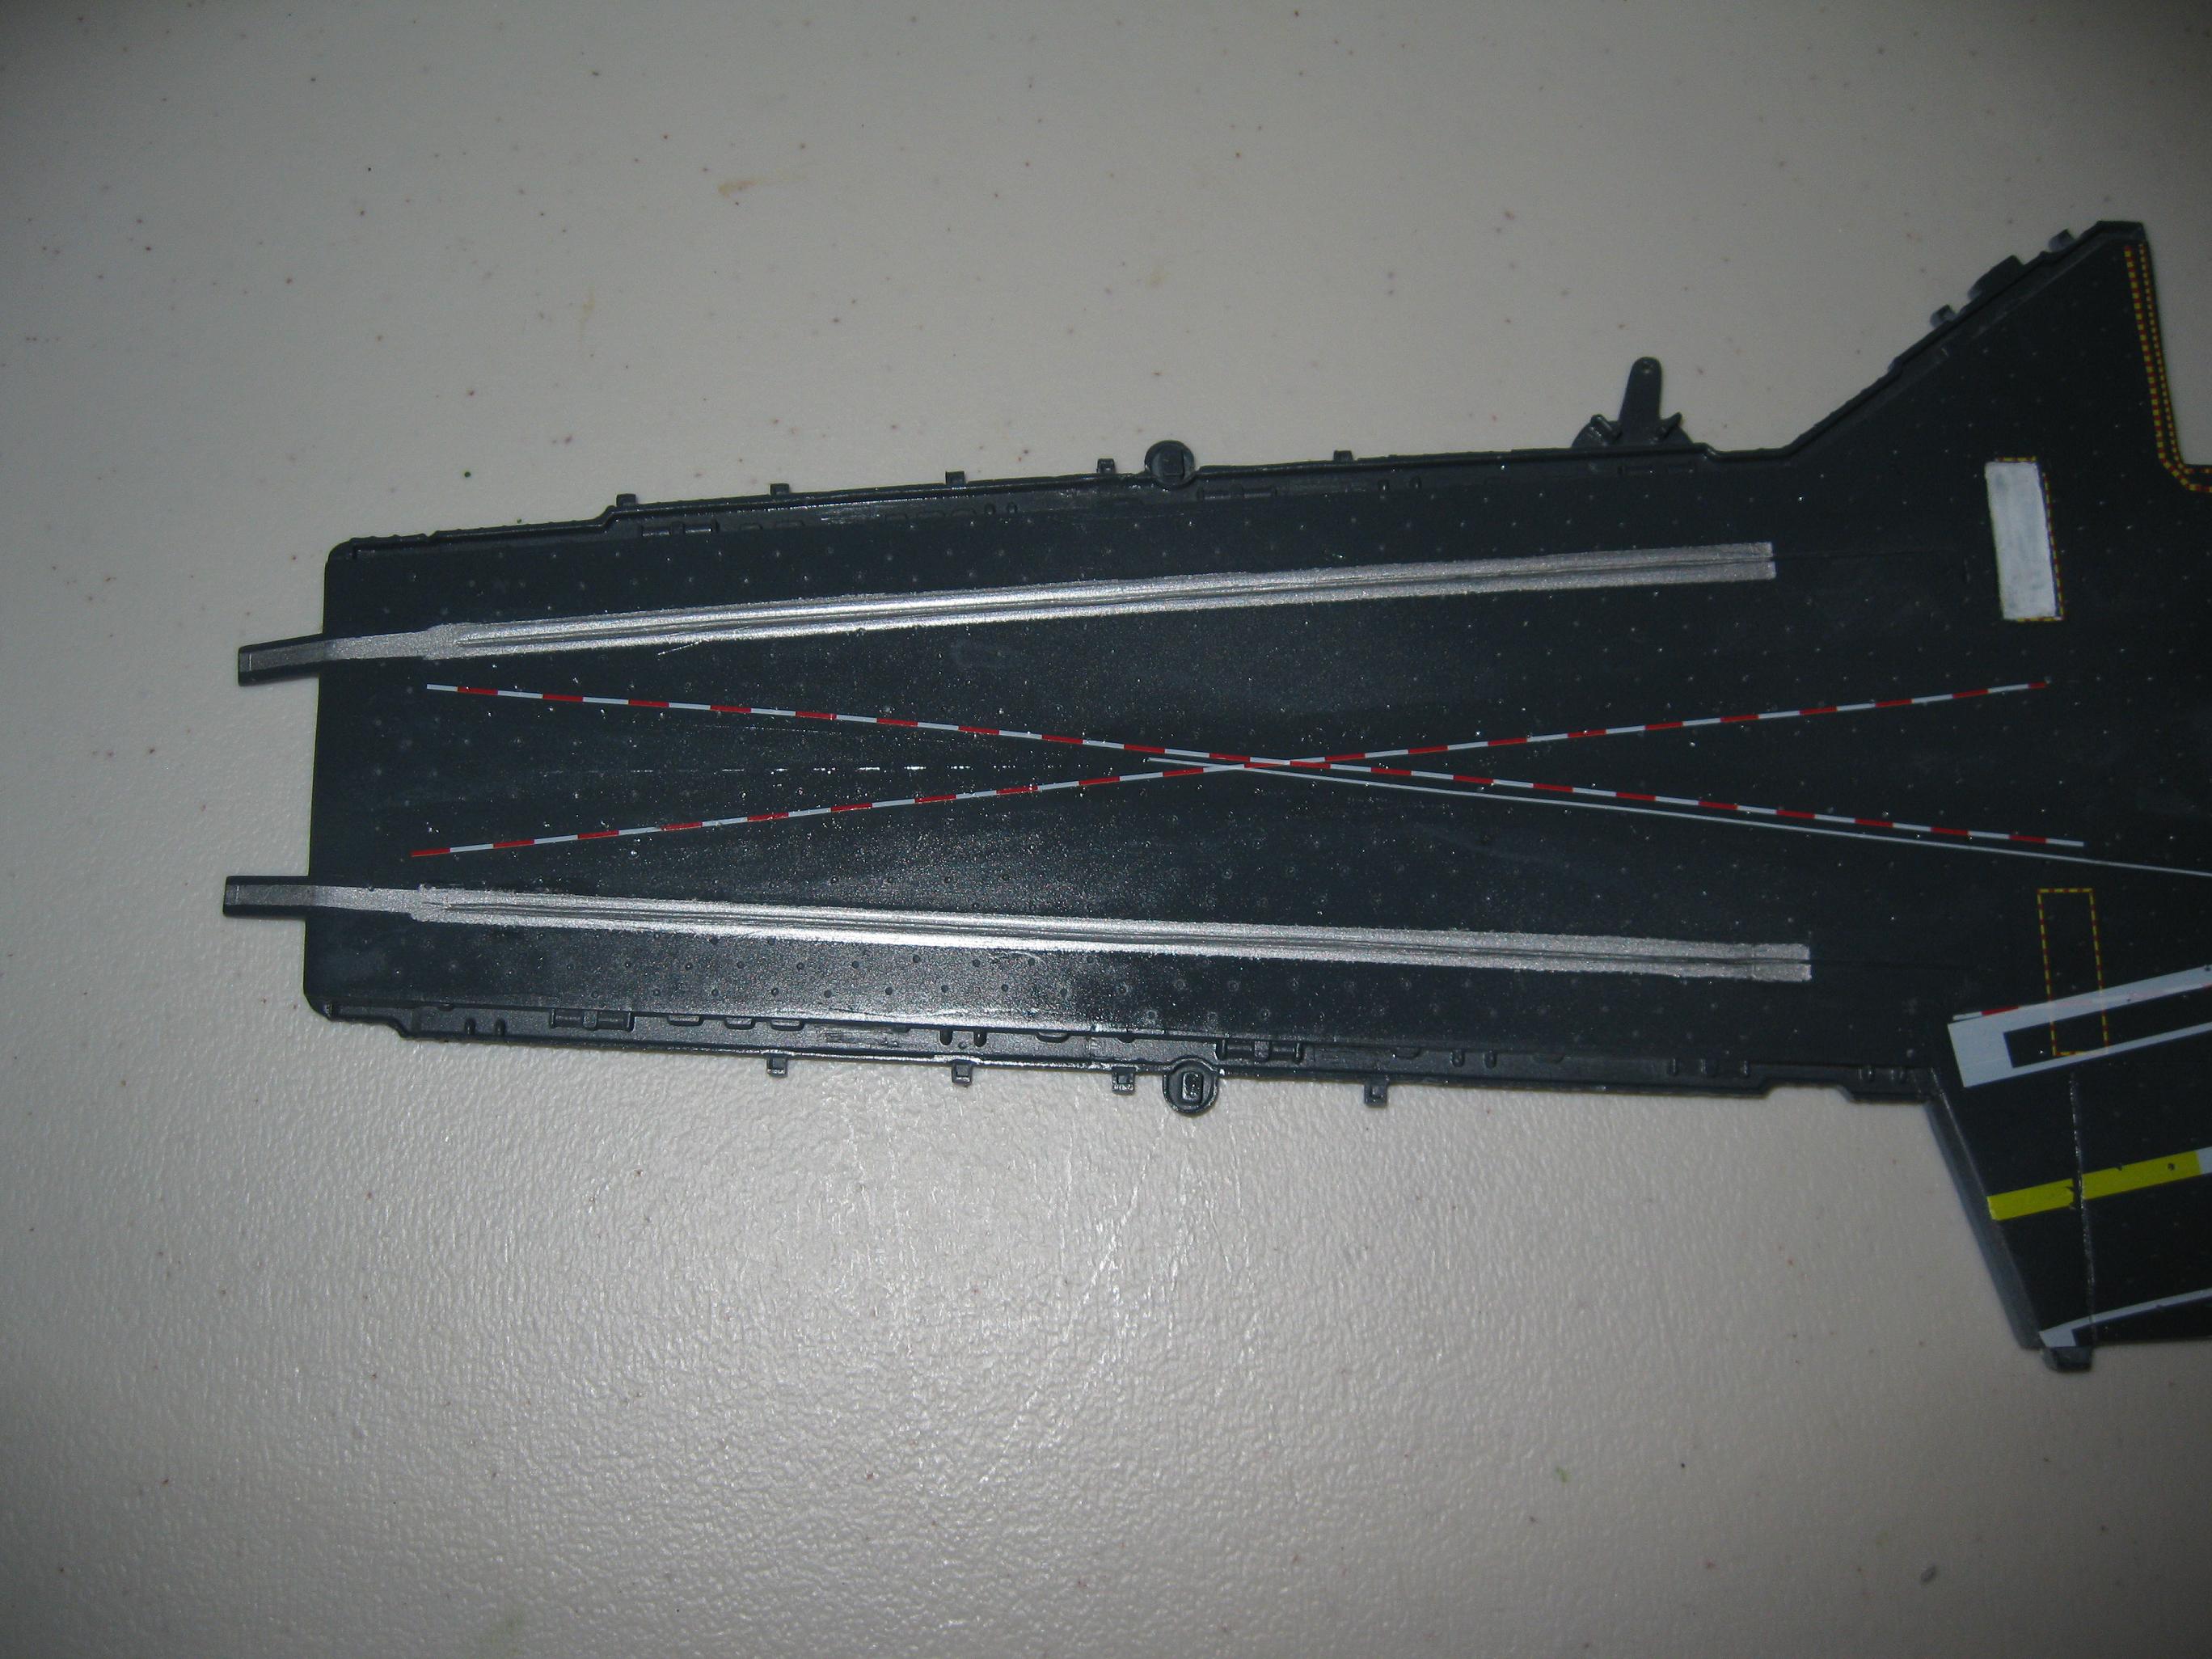
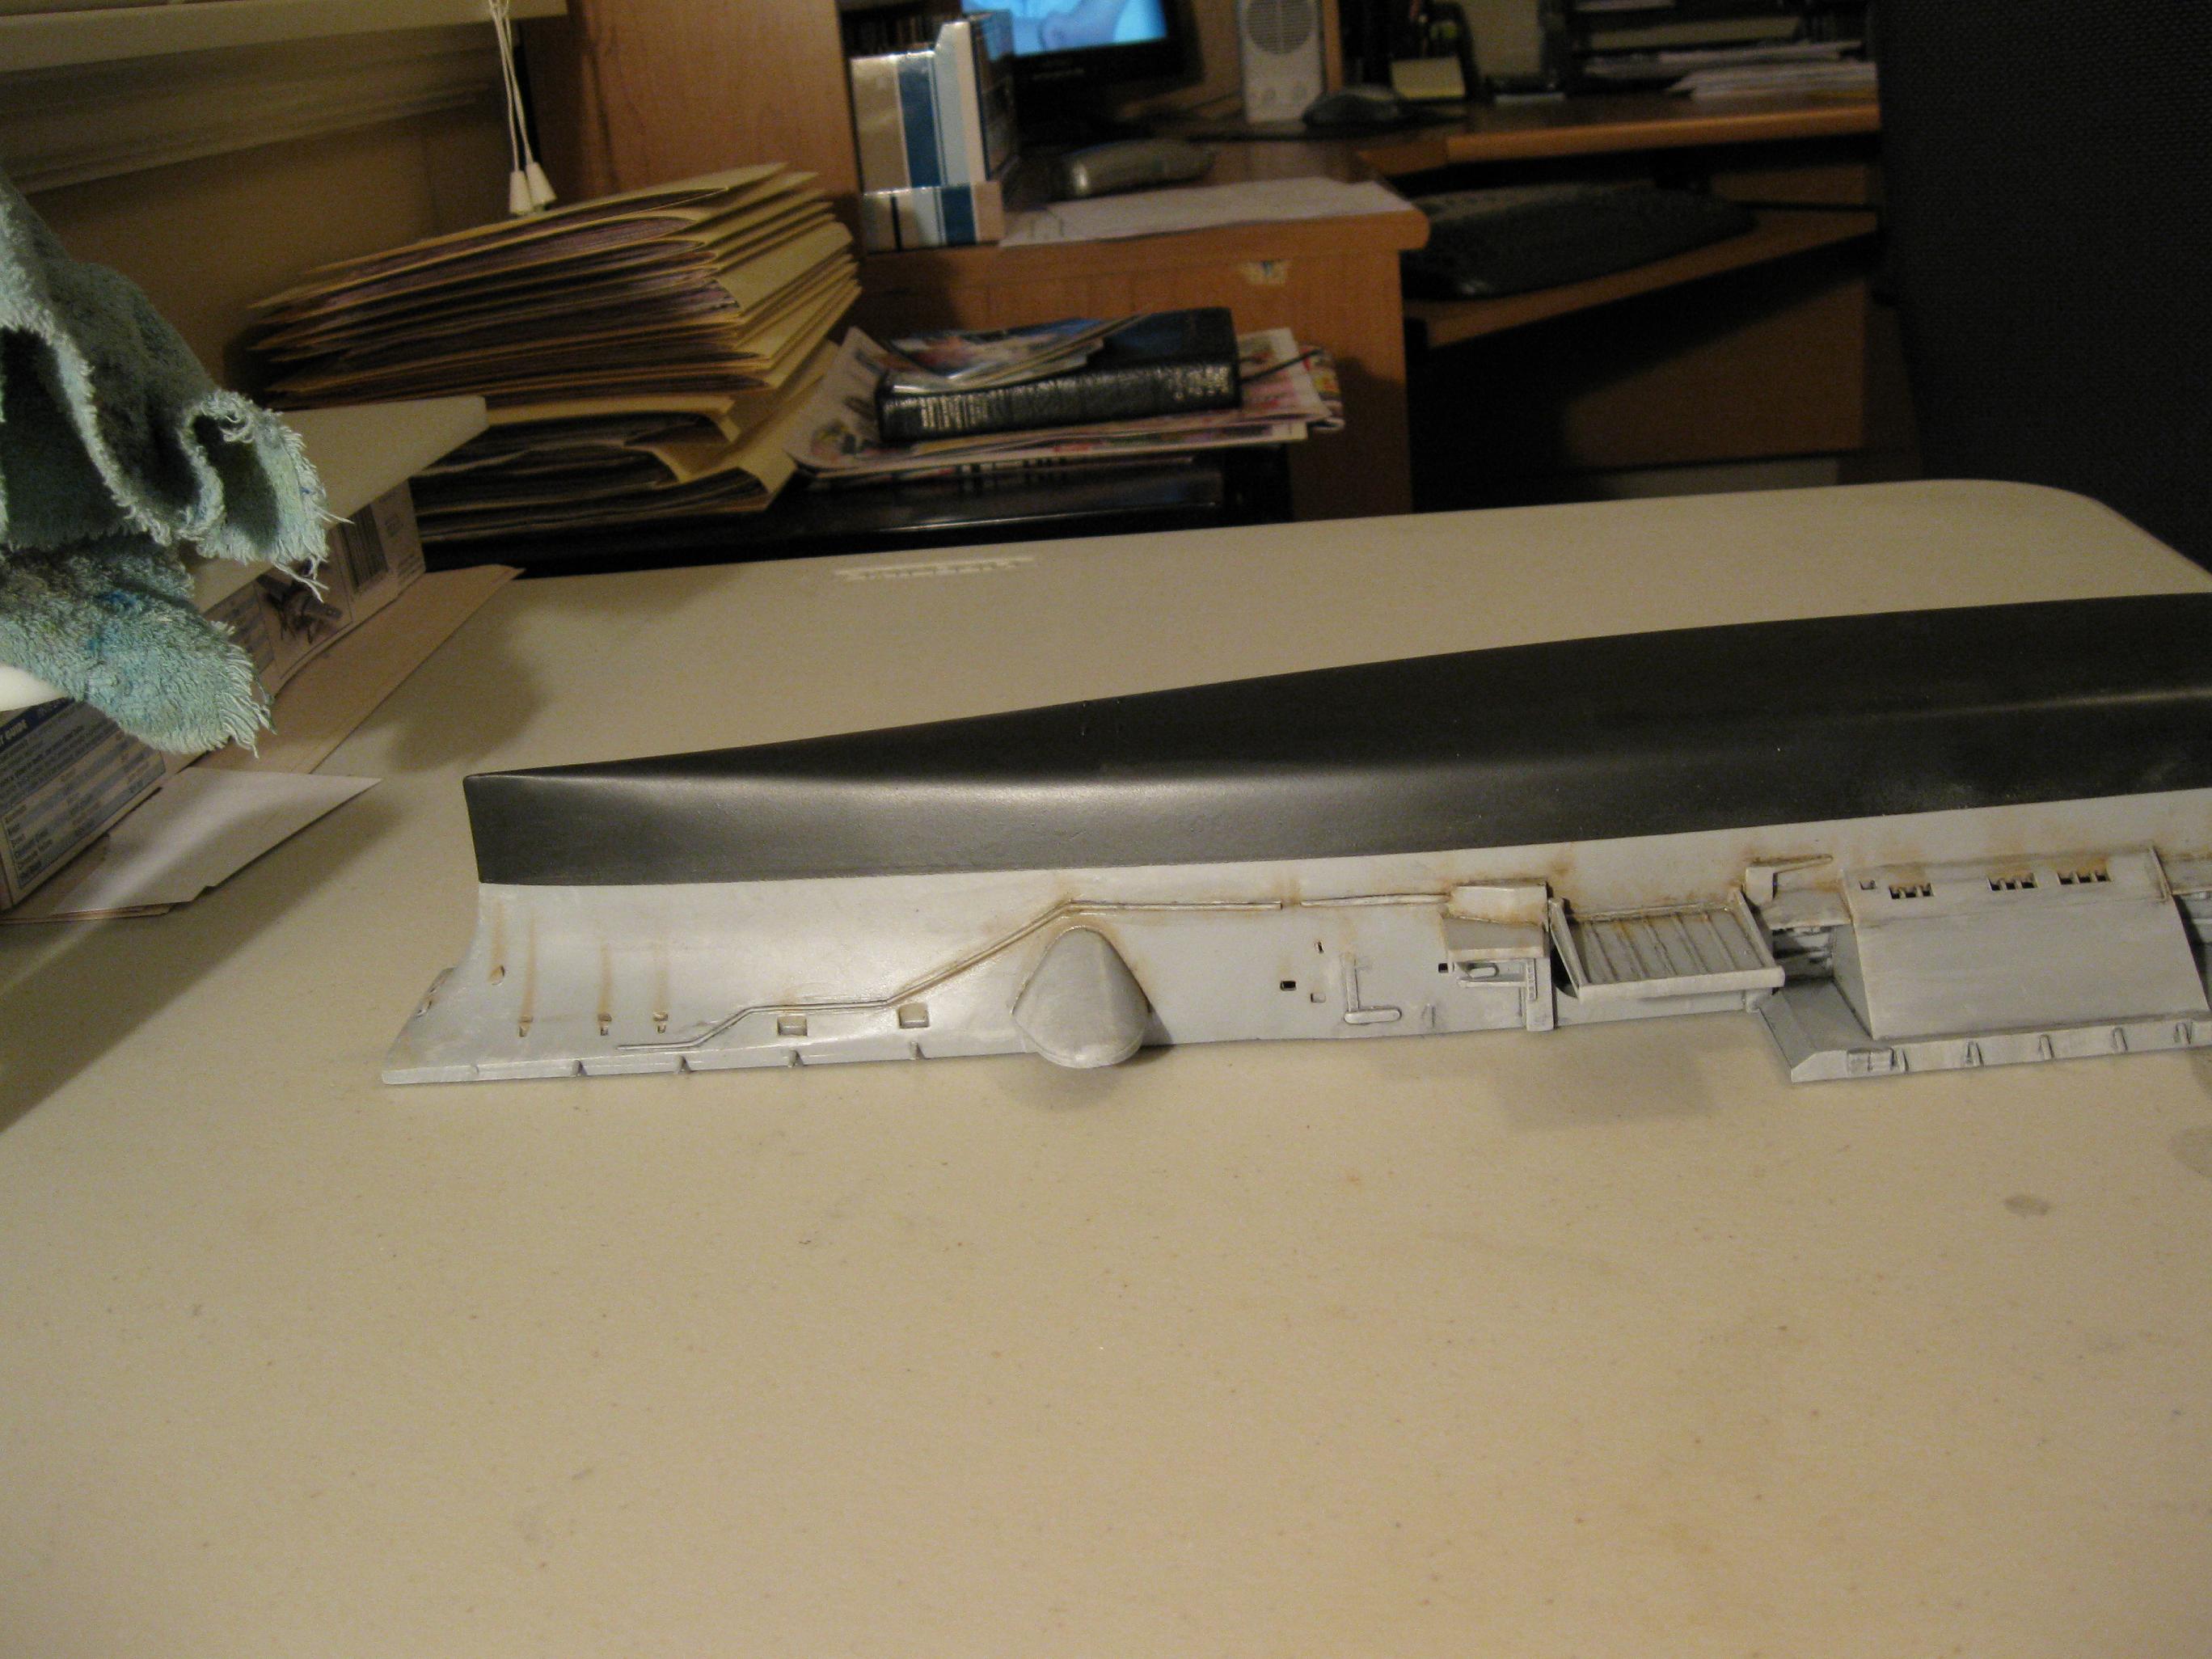
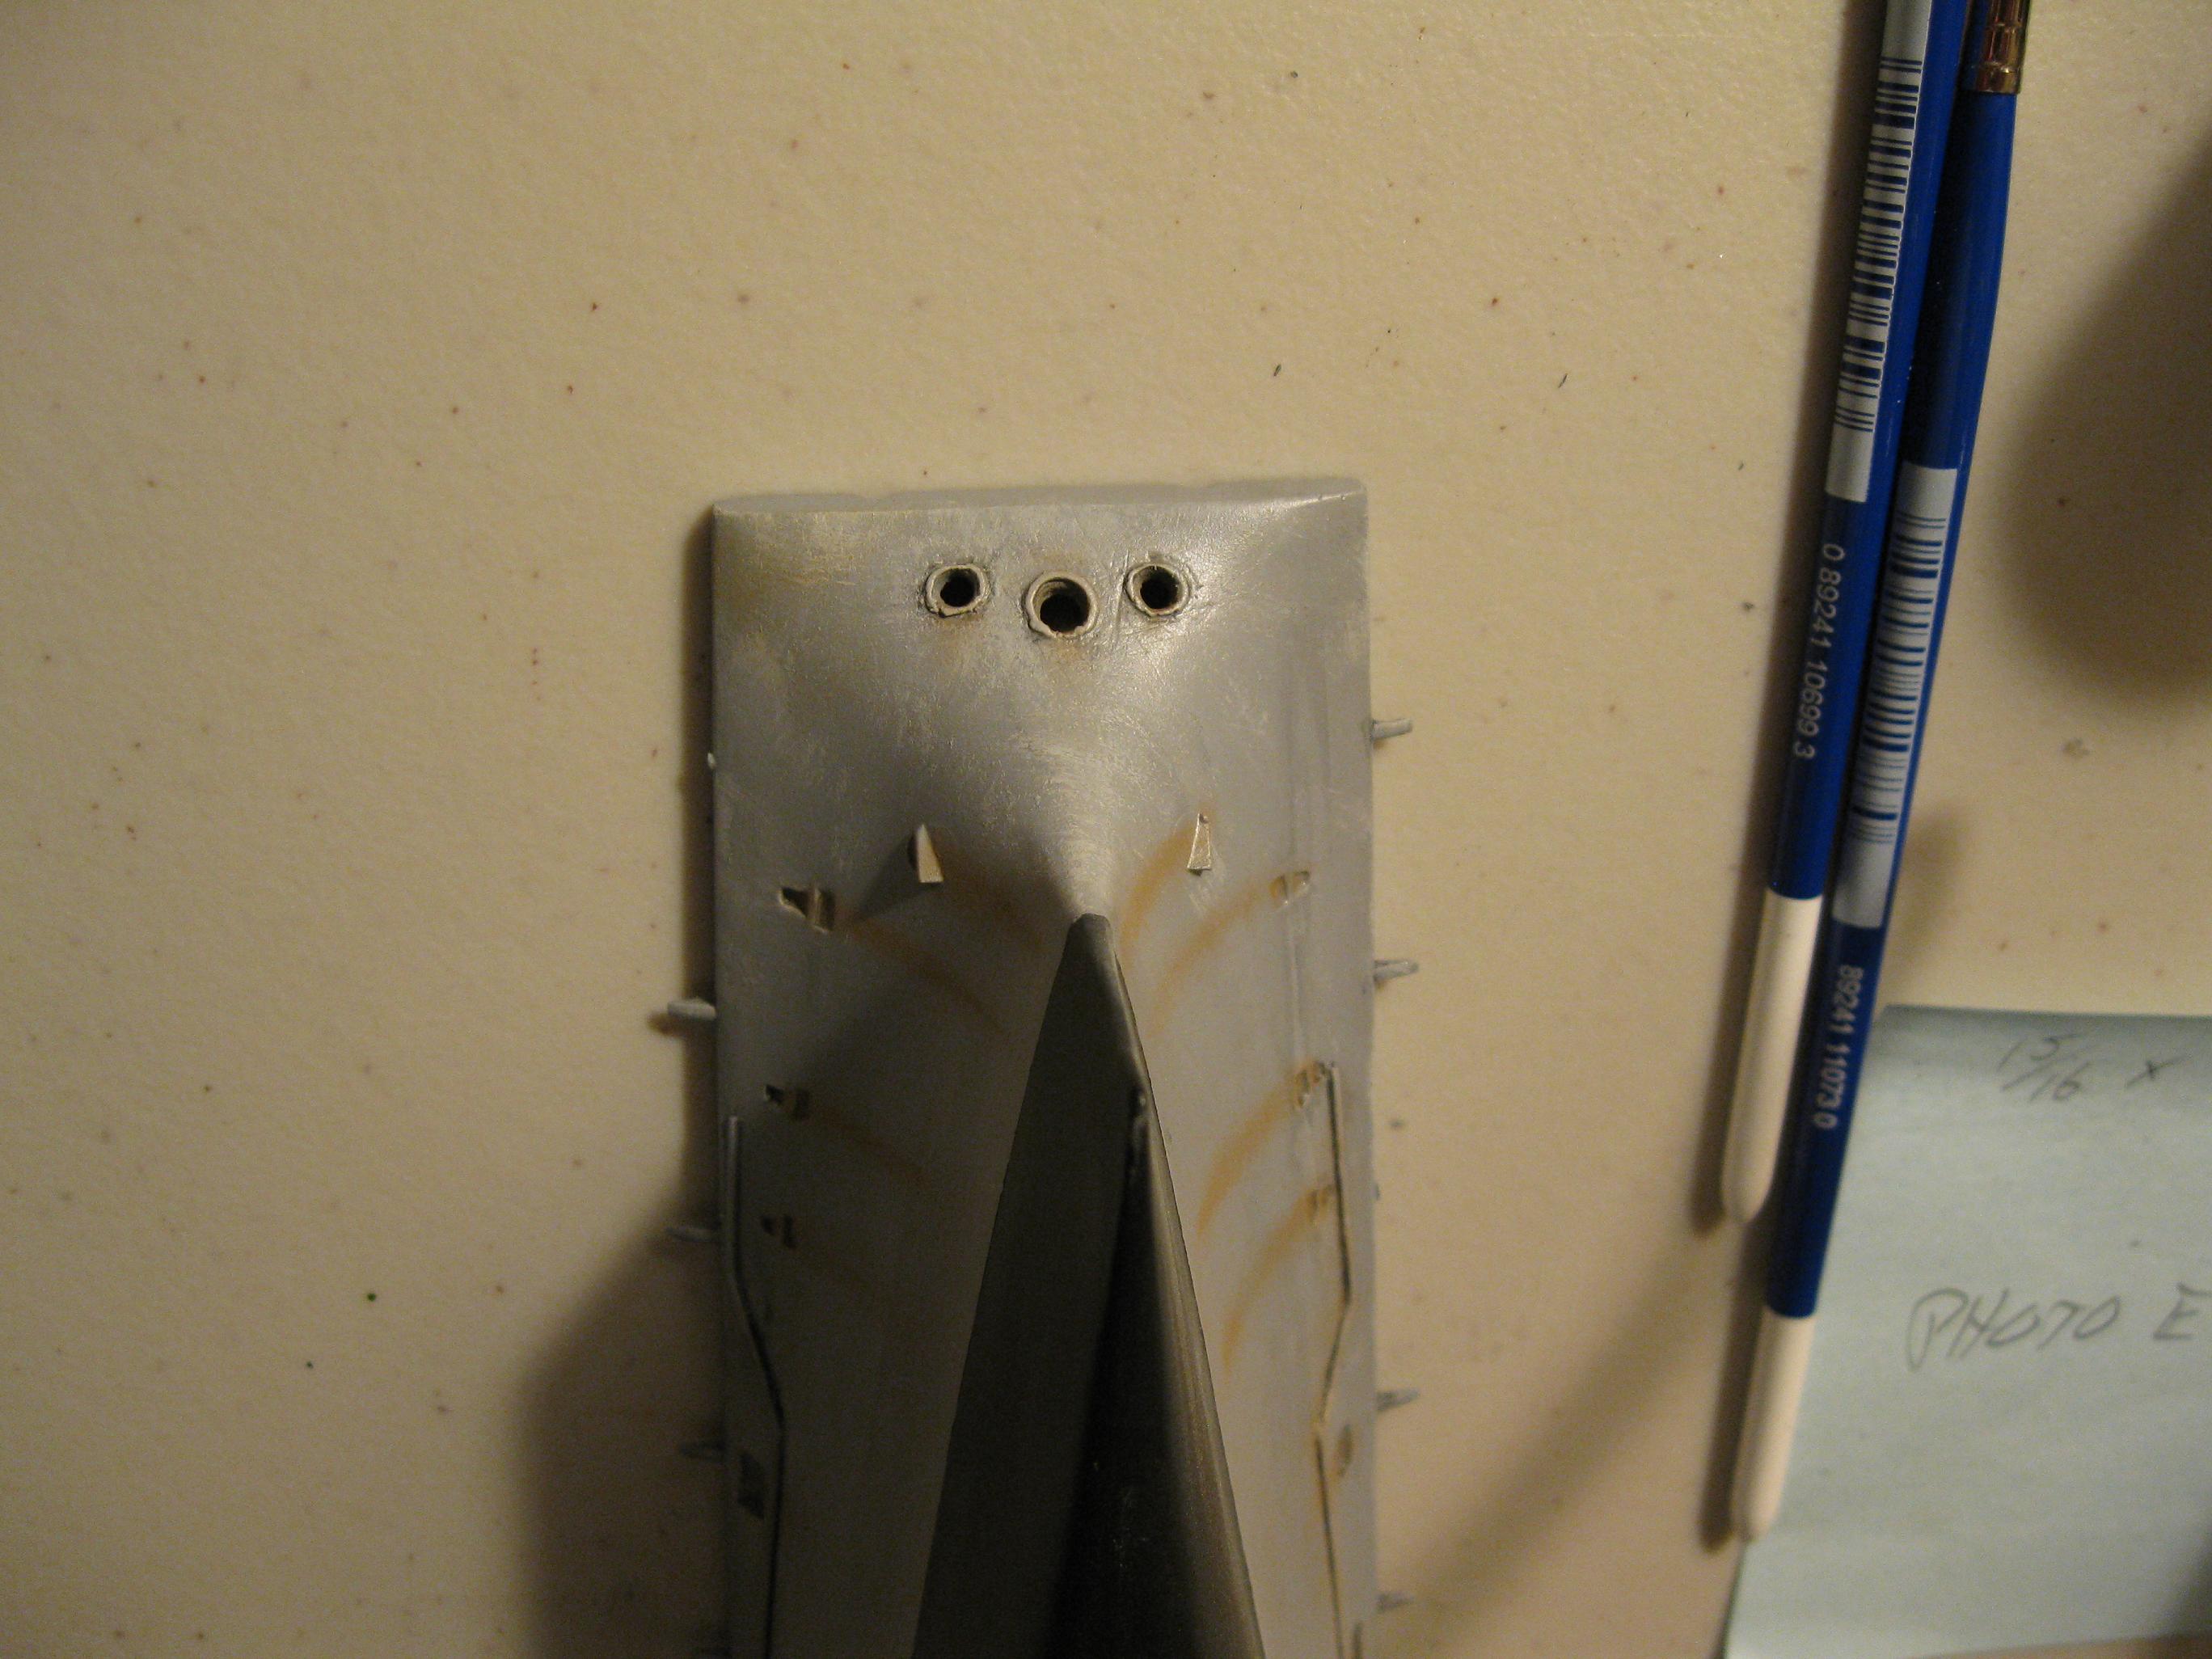
and I might fade my lines too much. Added some rust
and weathering to the hull. I really like the
rust but I put a bit much on. I also added some rims
around the 3 line holes on the front but they did not turn out
to well. I used stretched sprue after trying bent wire and
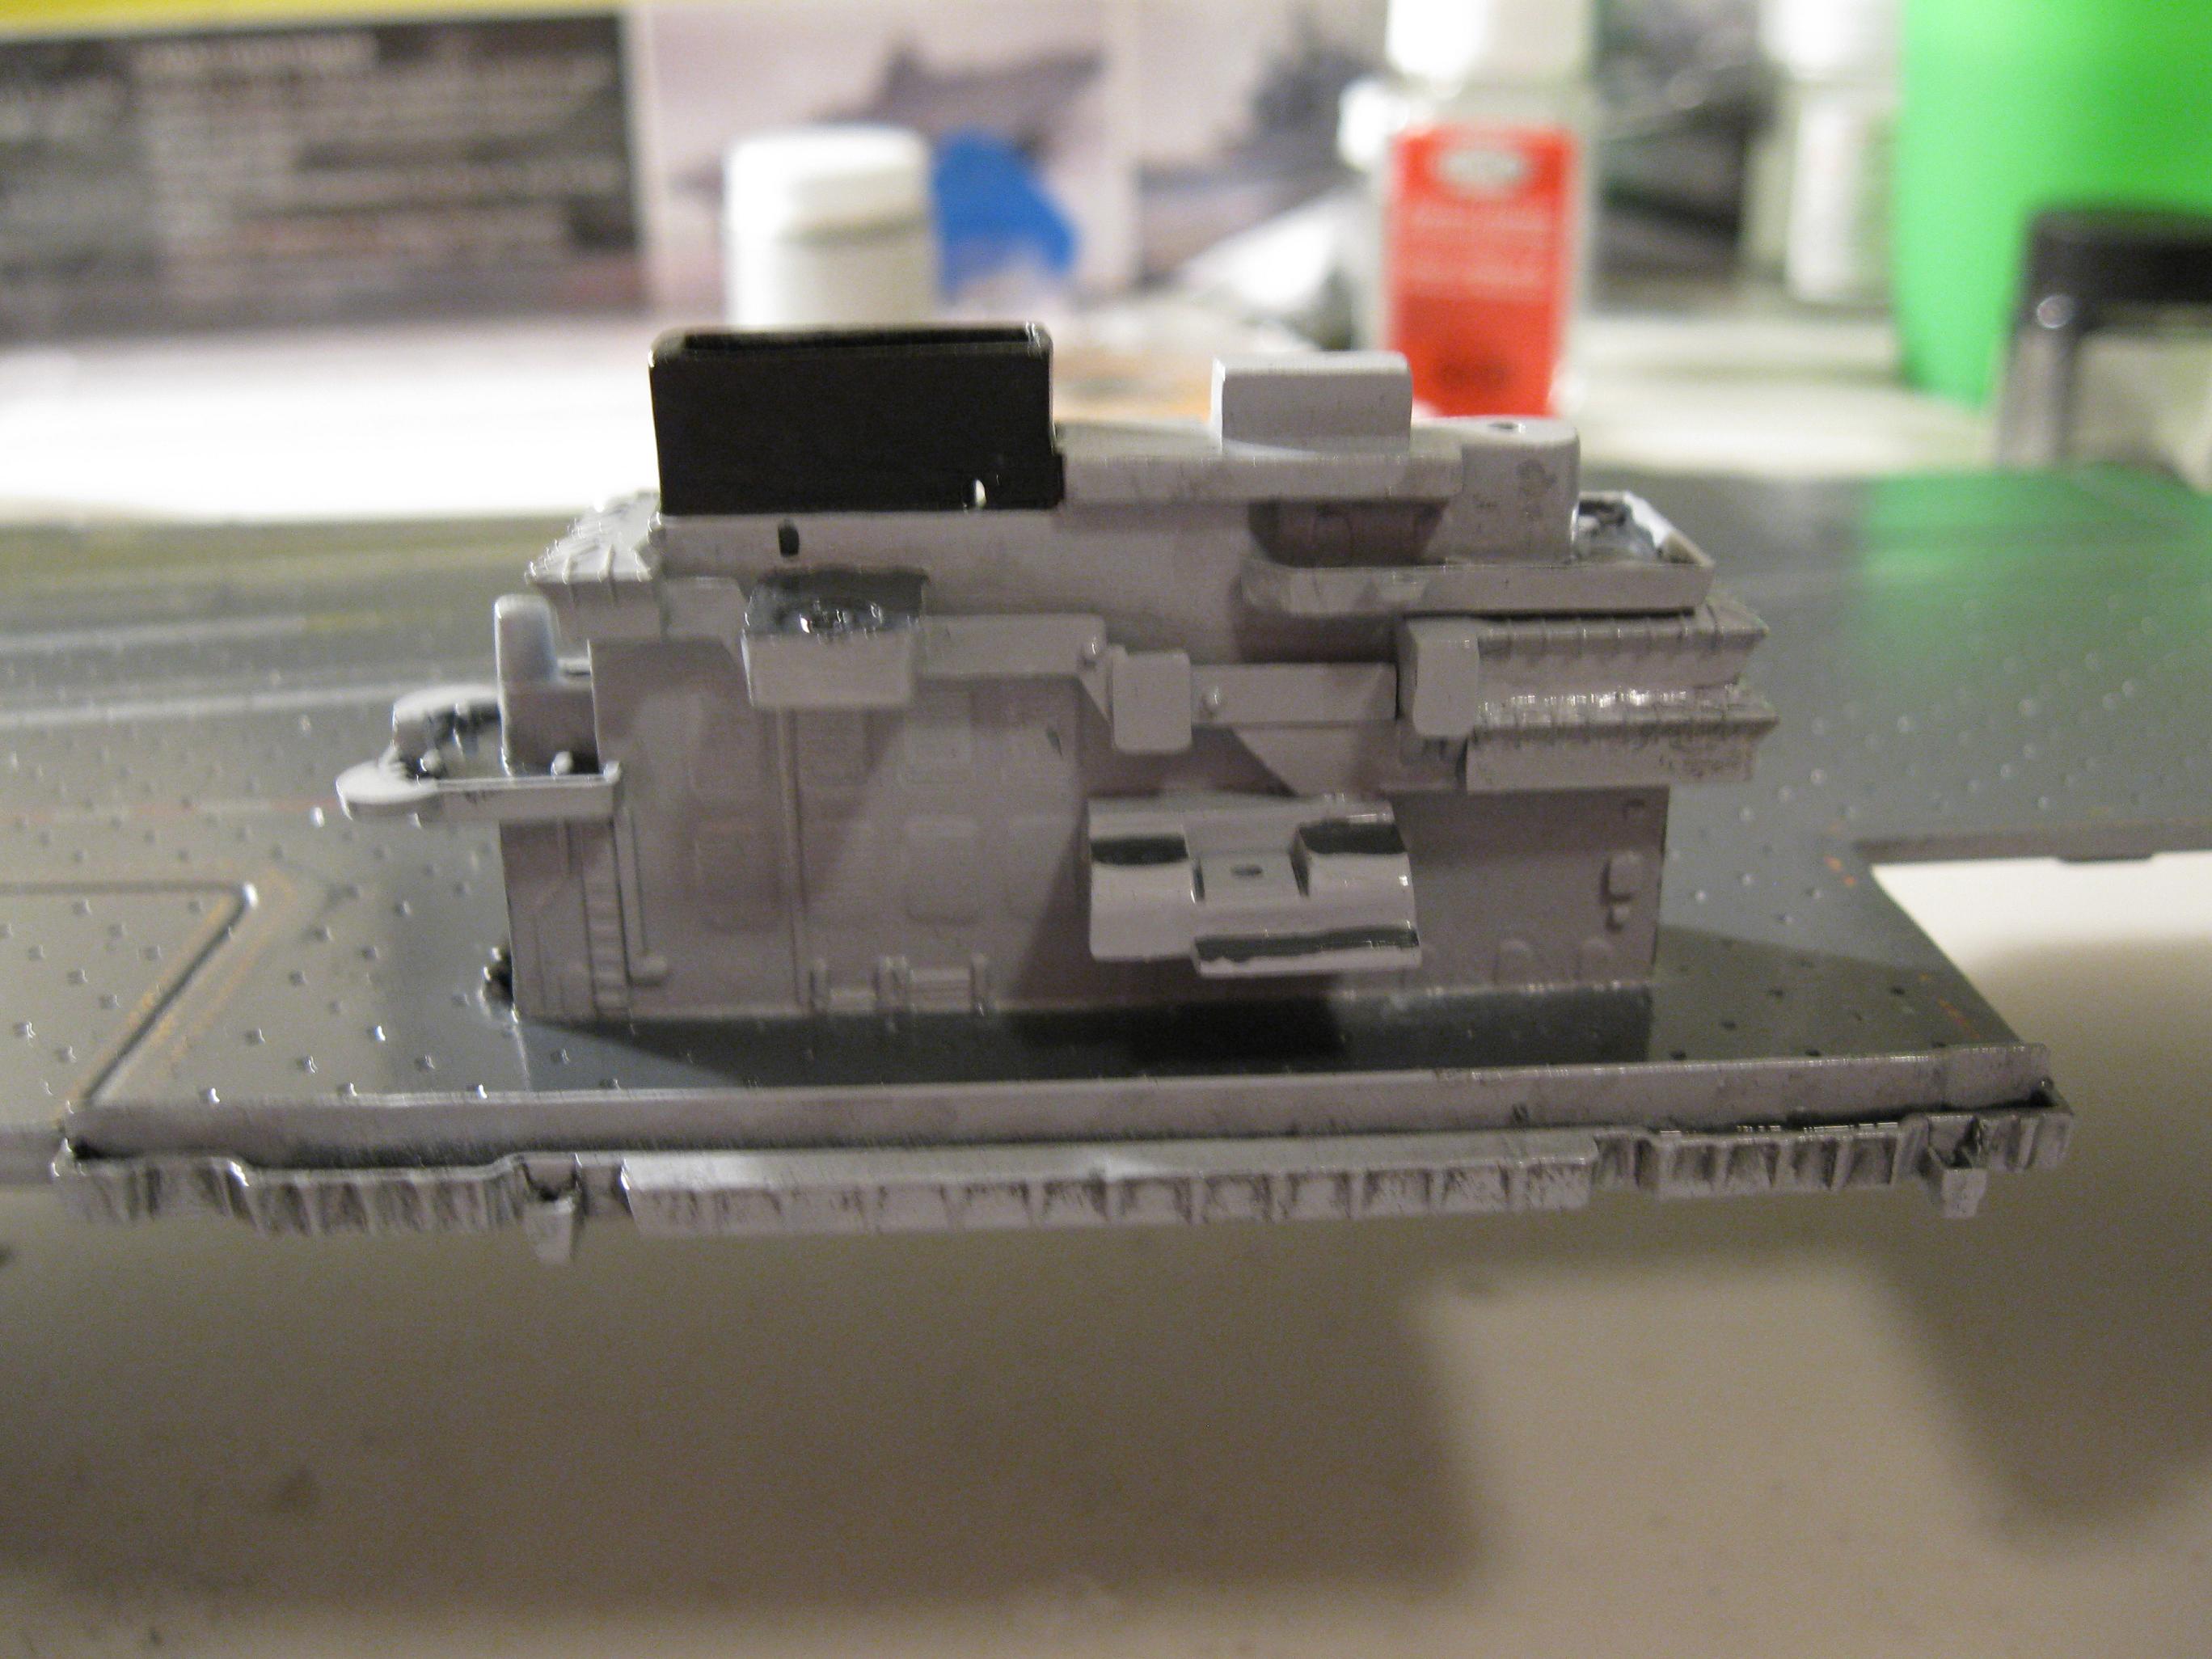
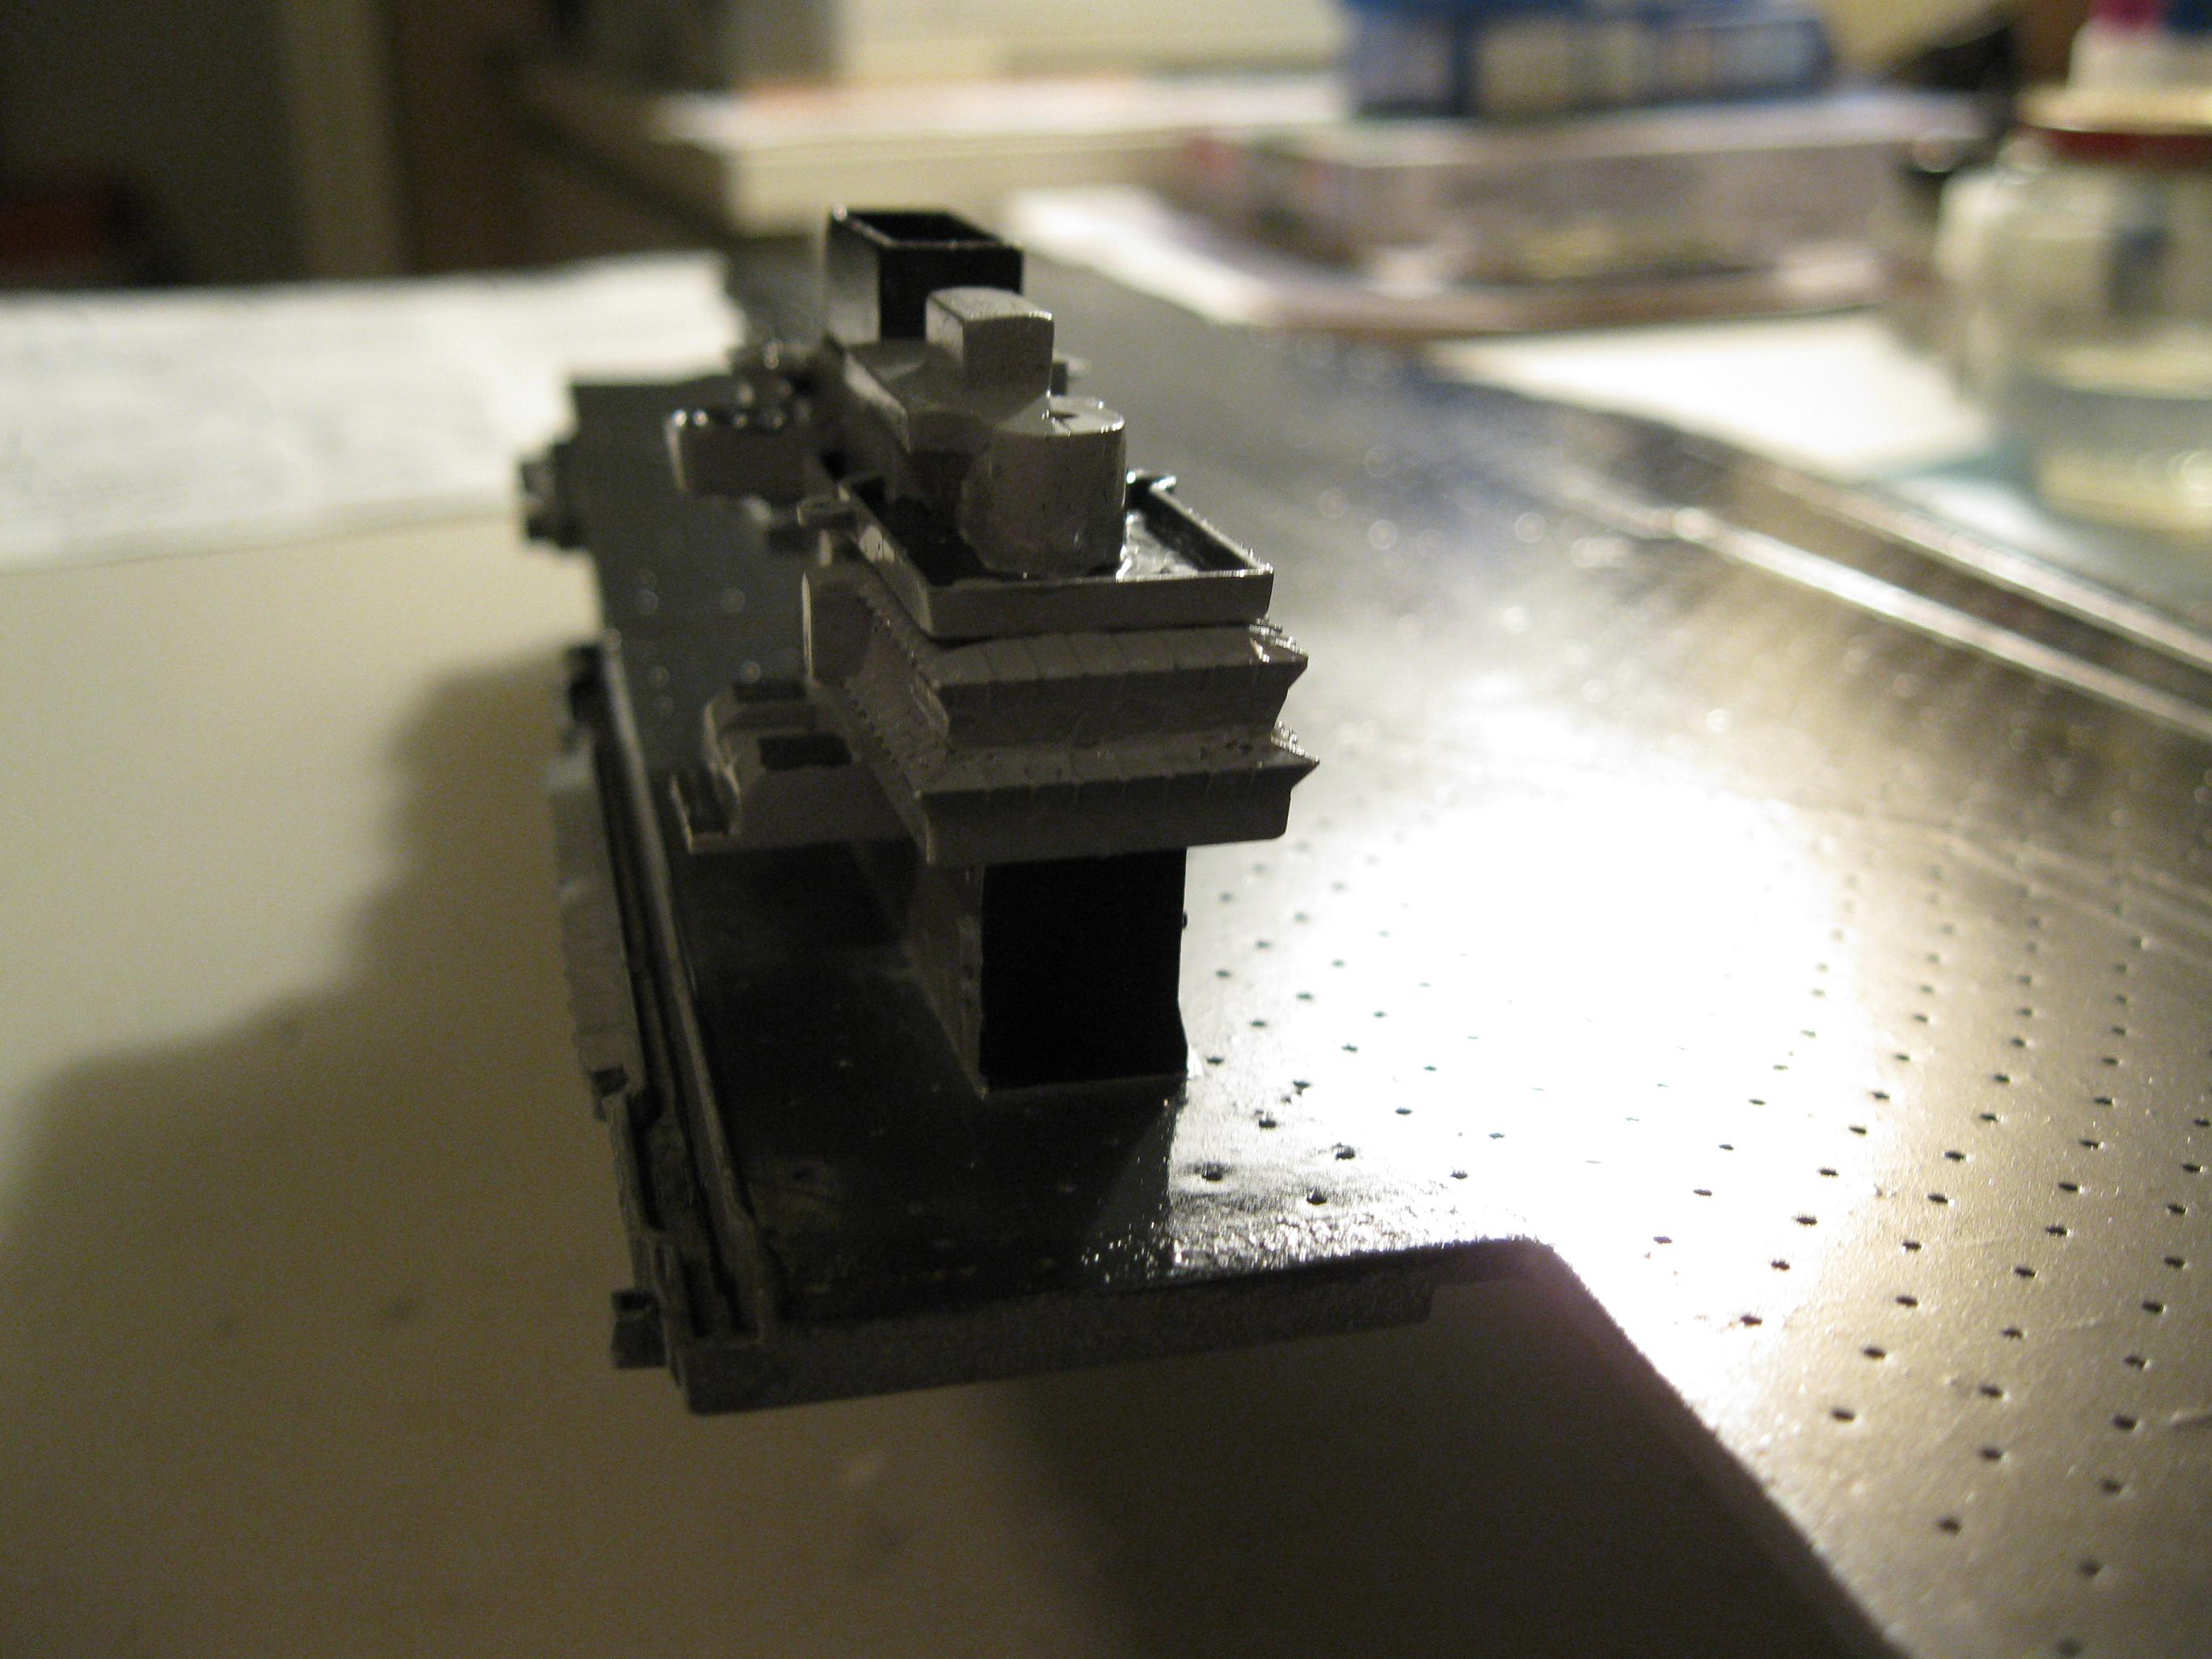
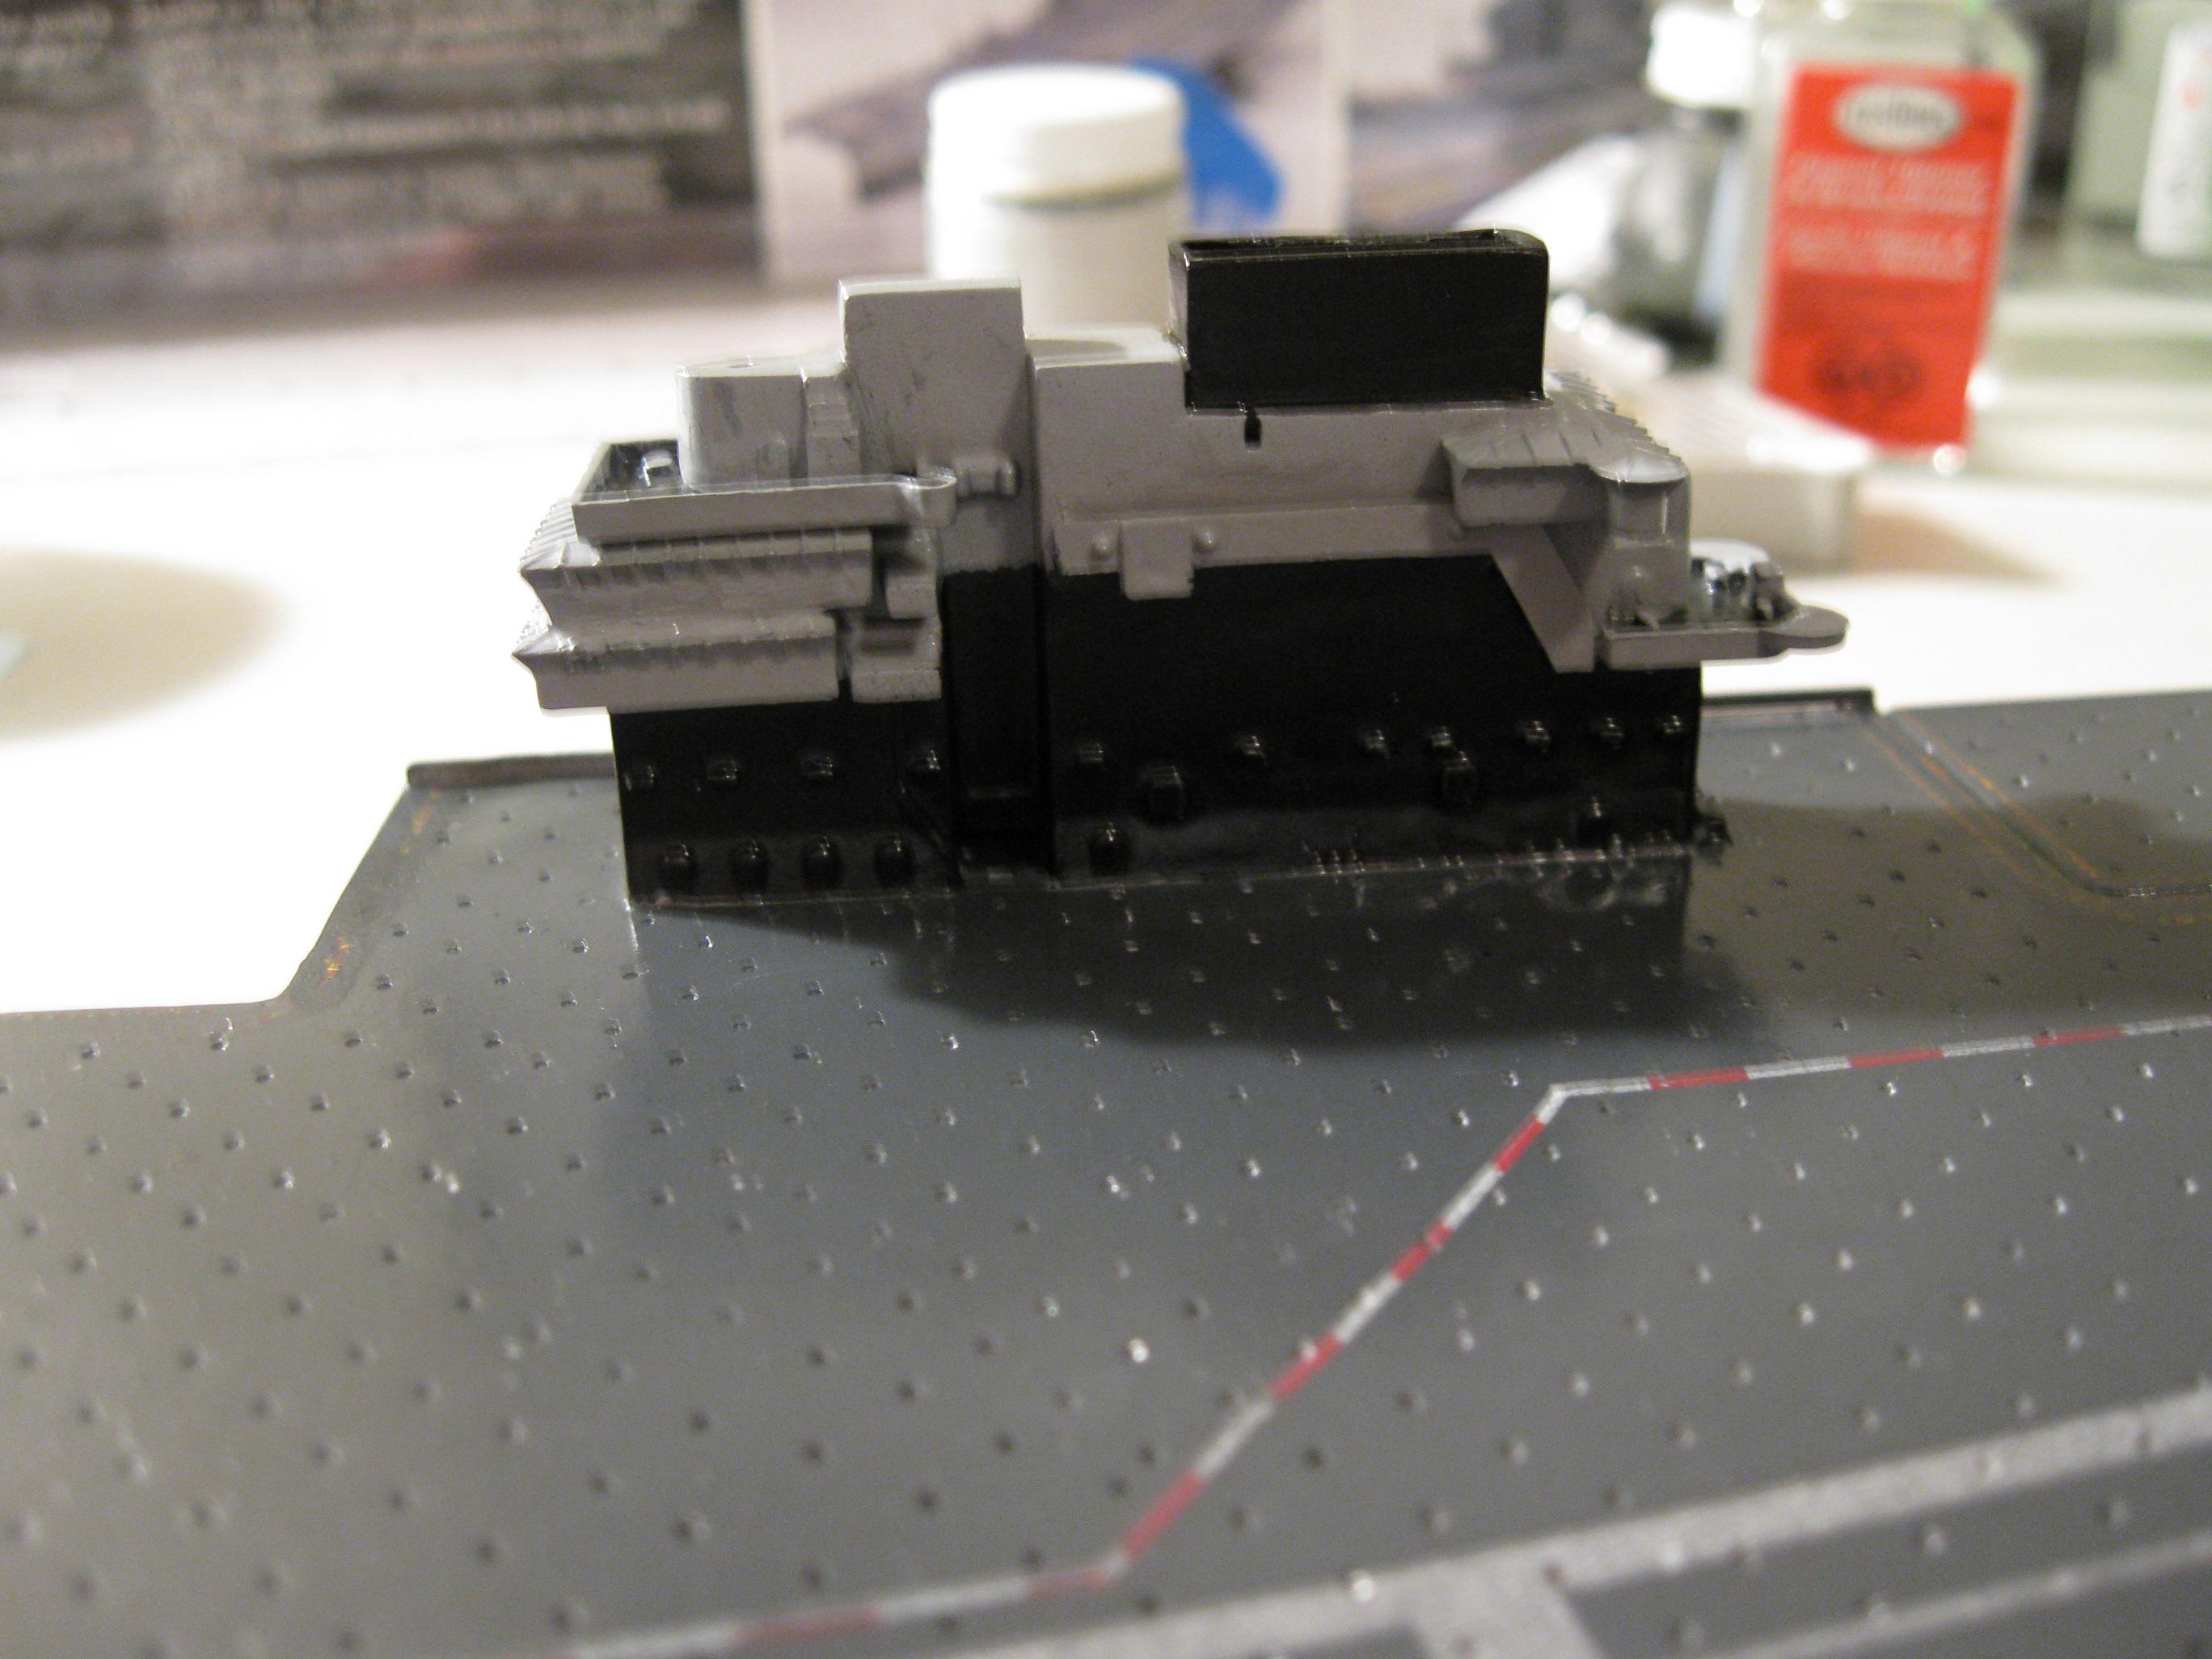
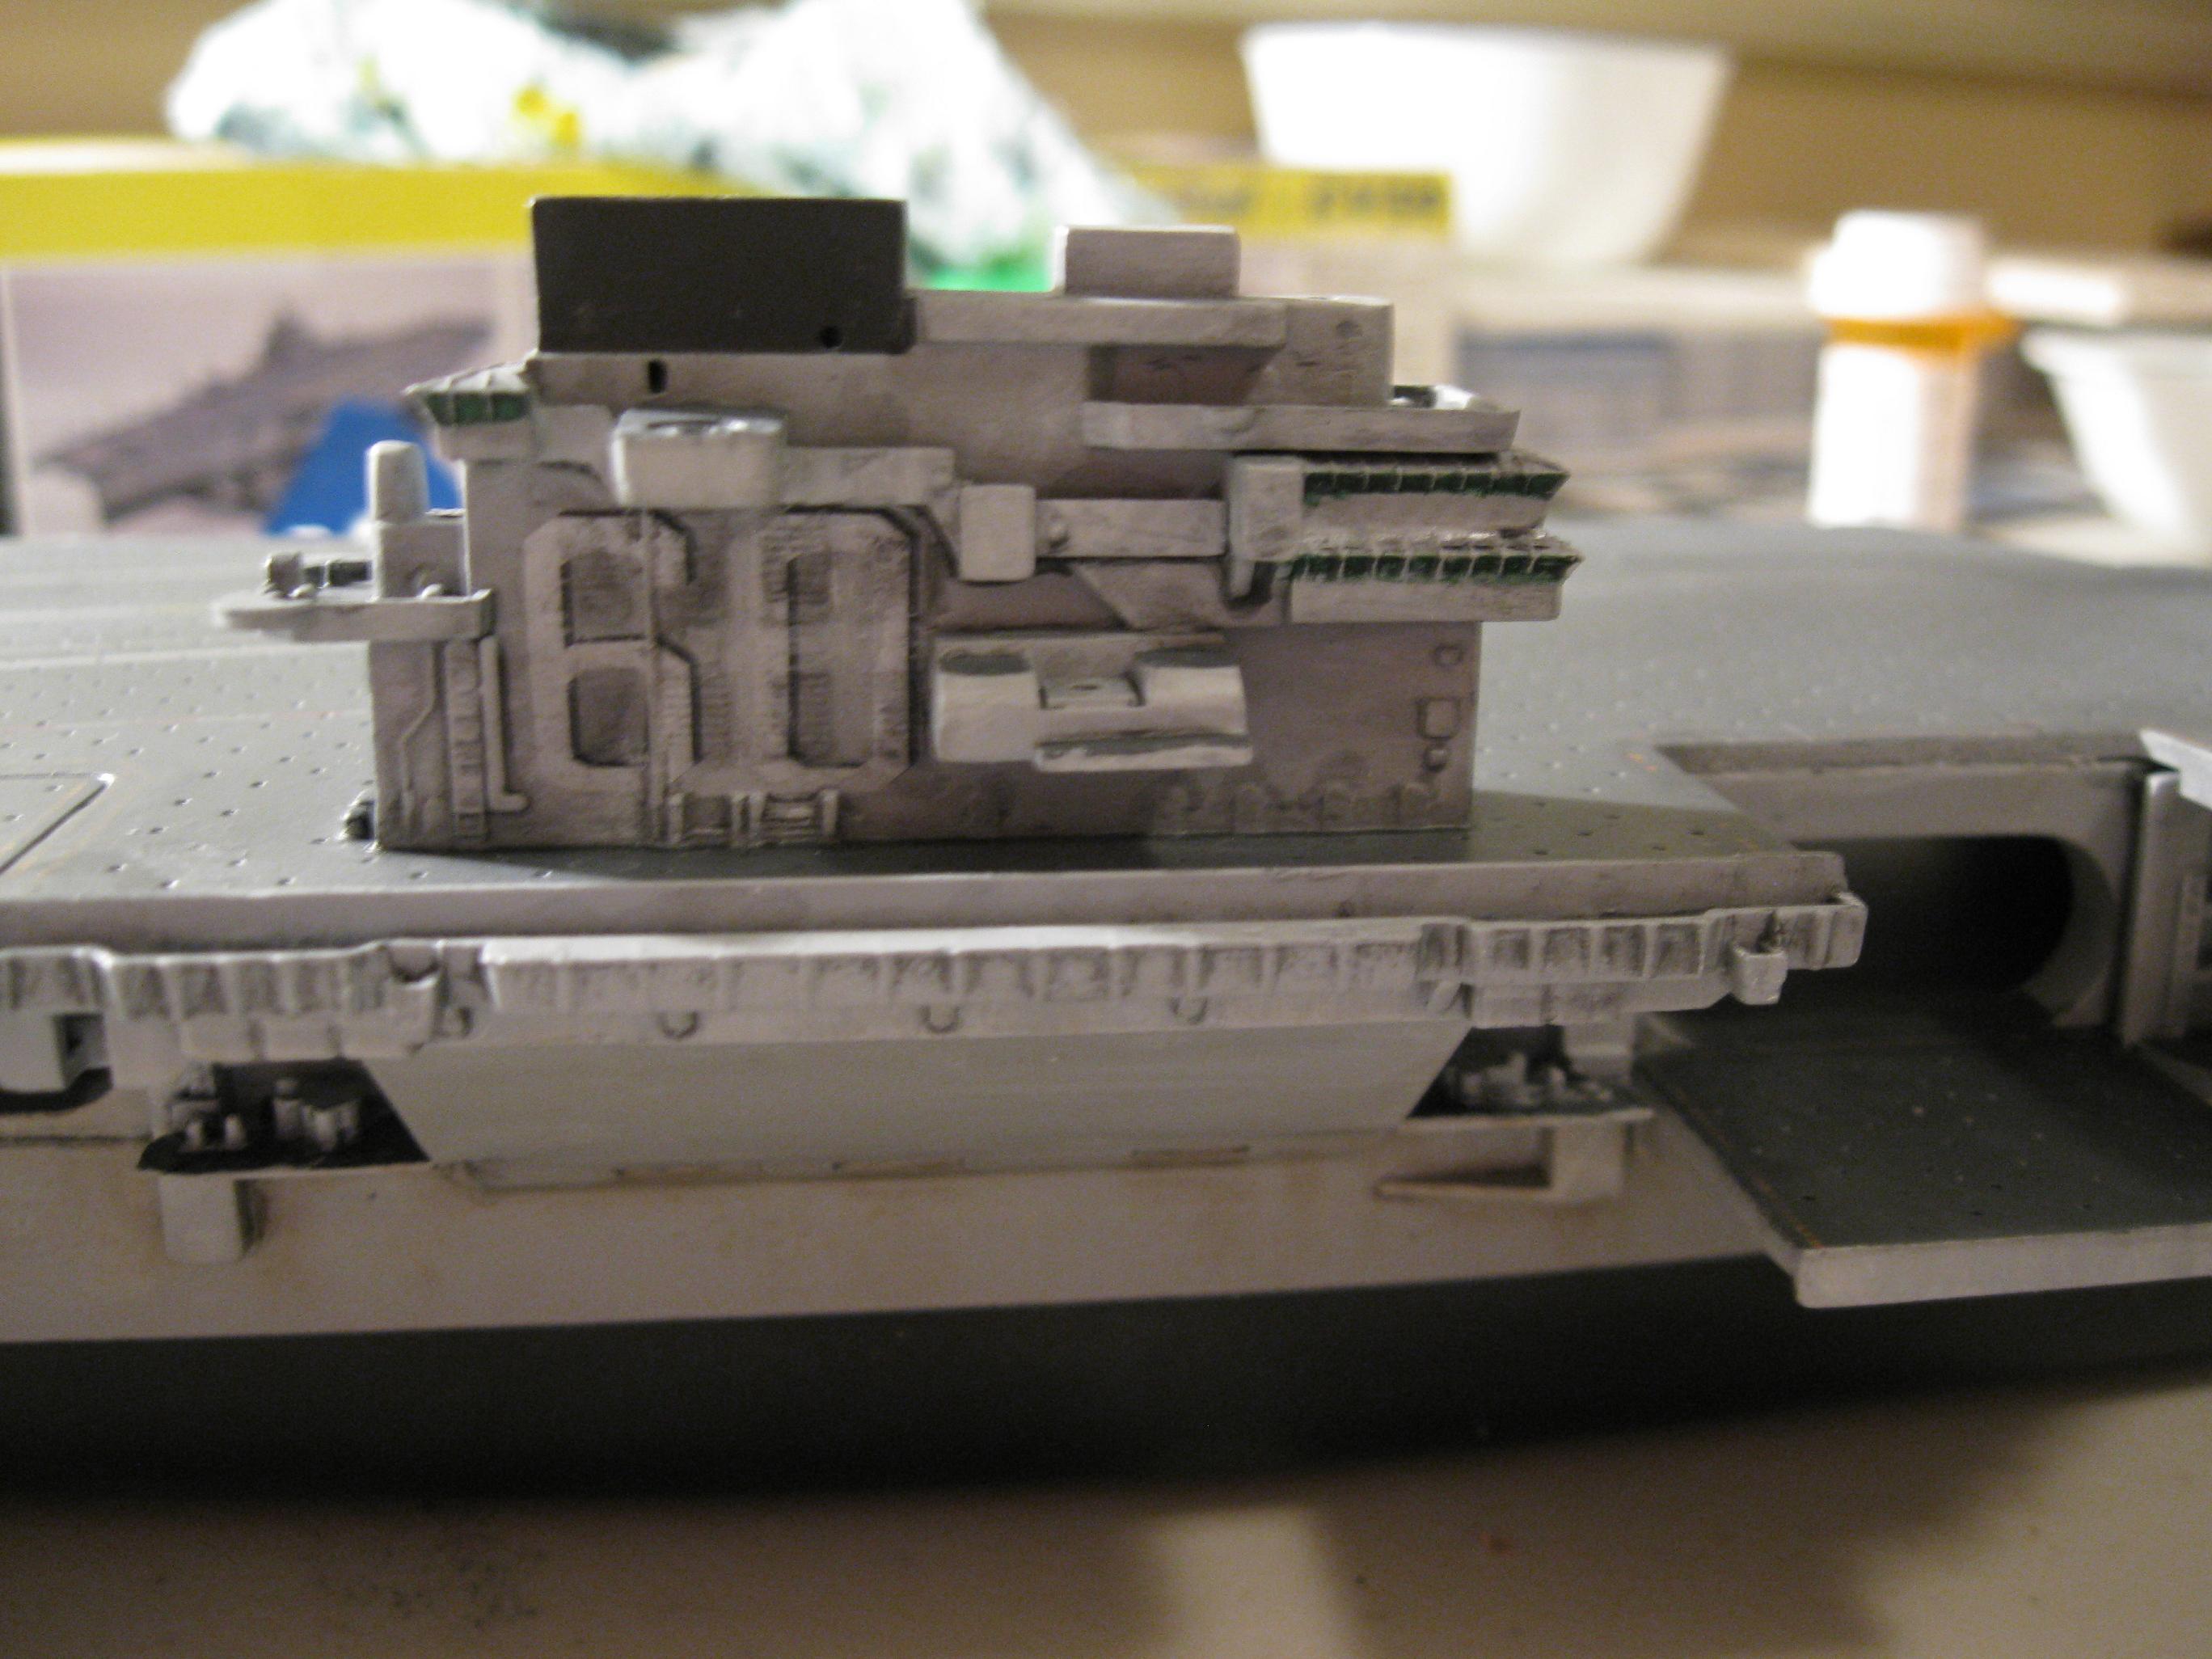
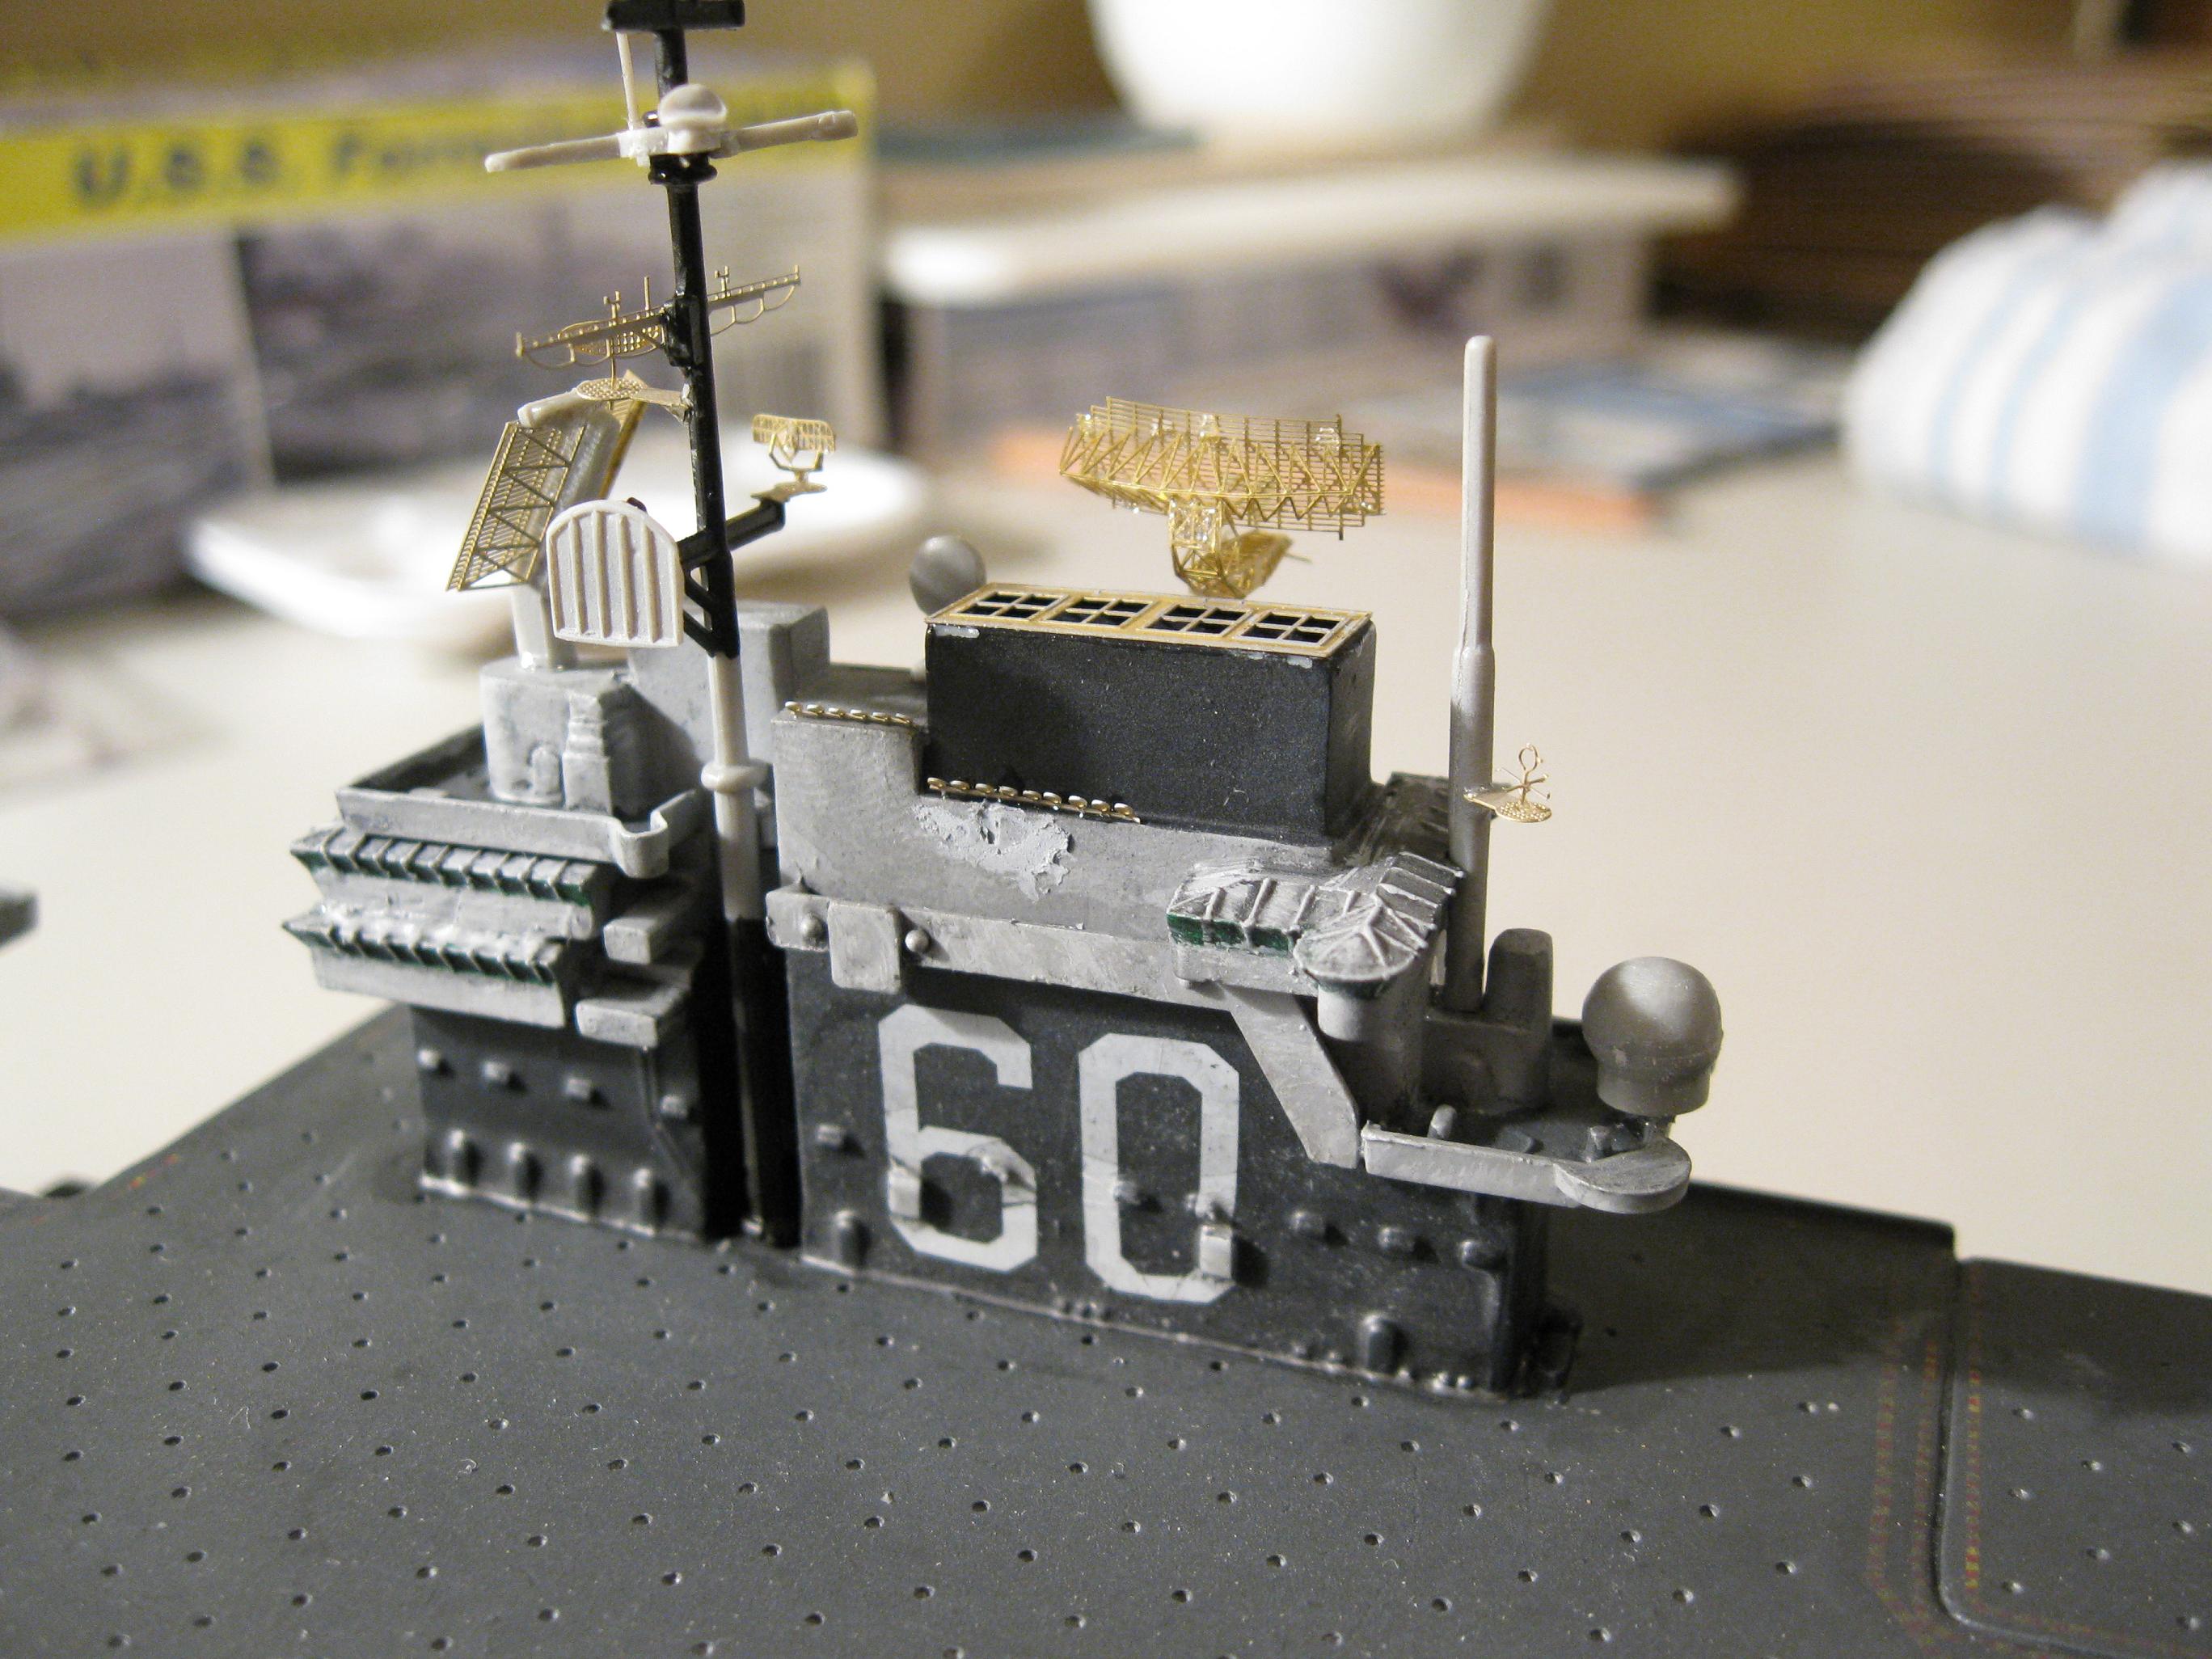
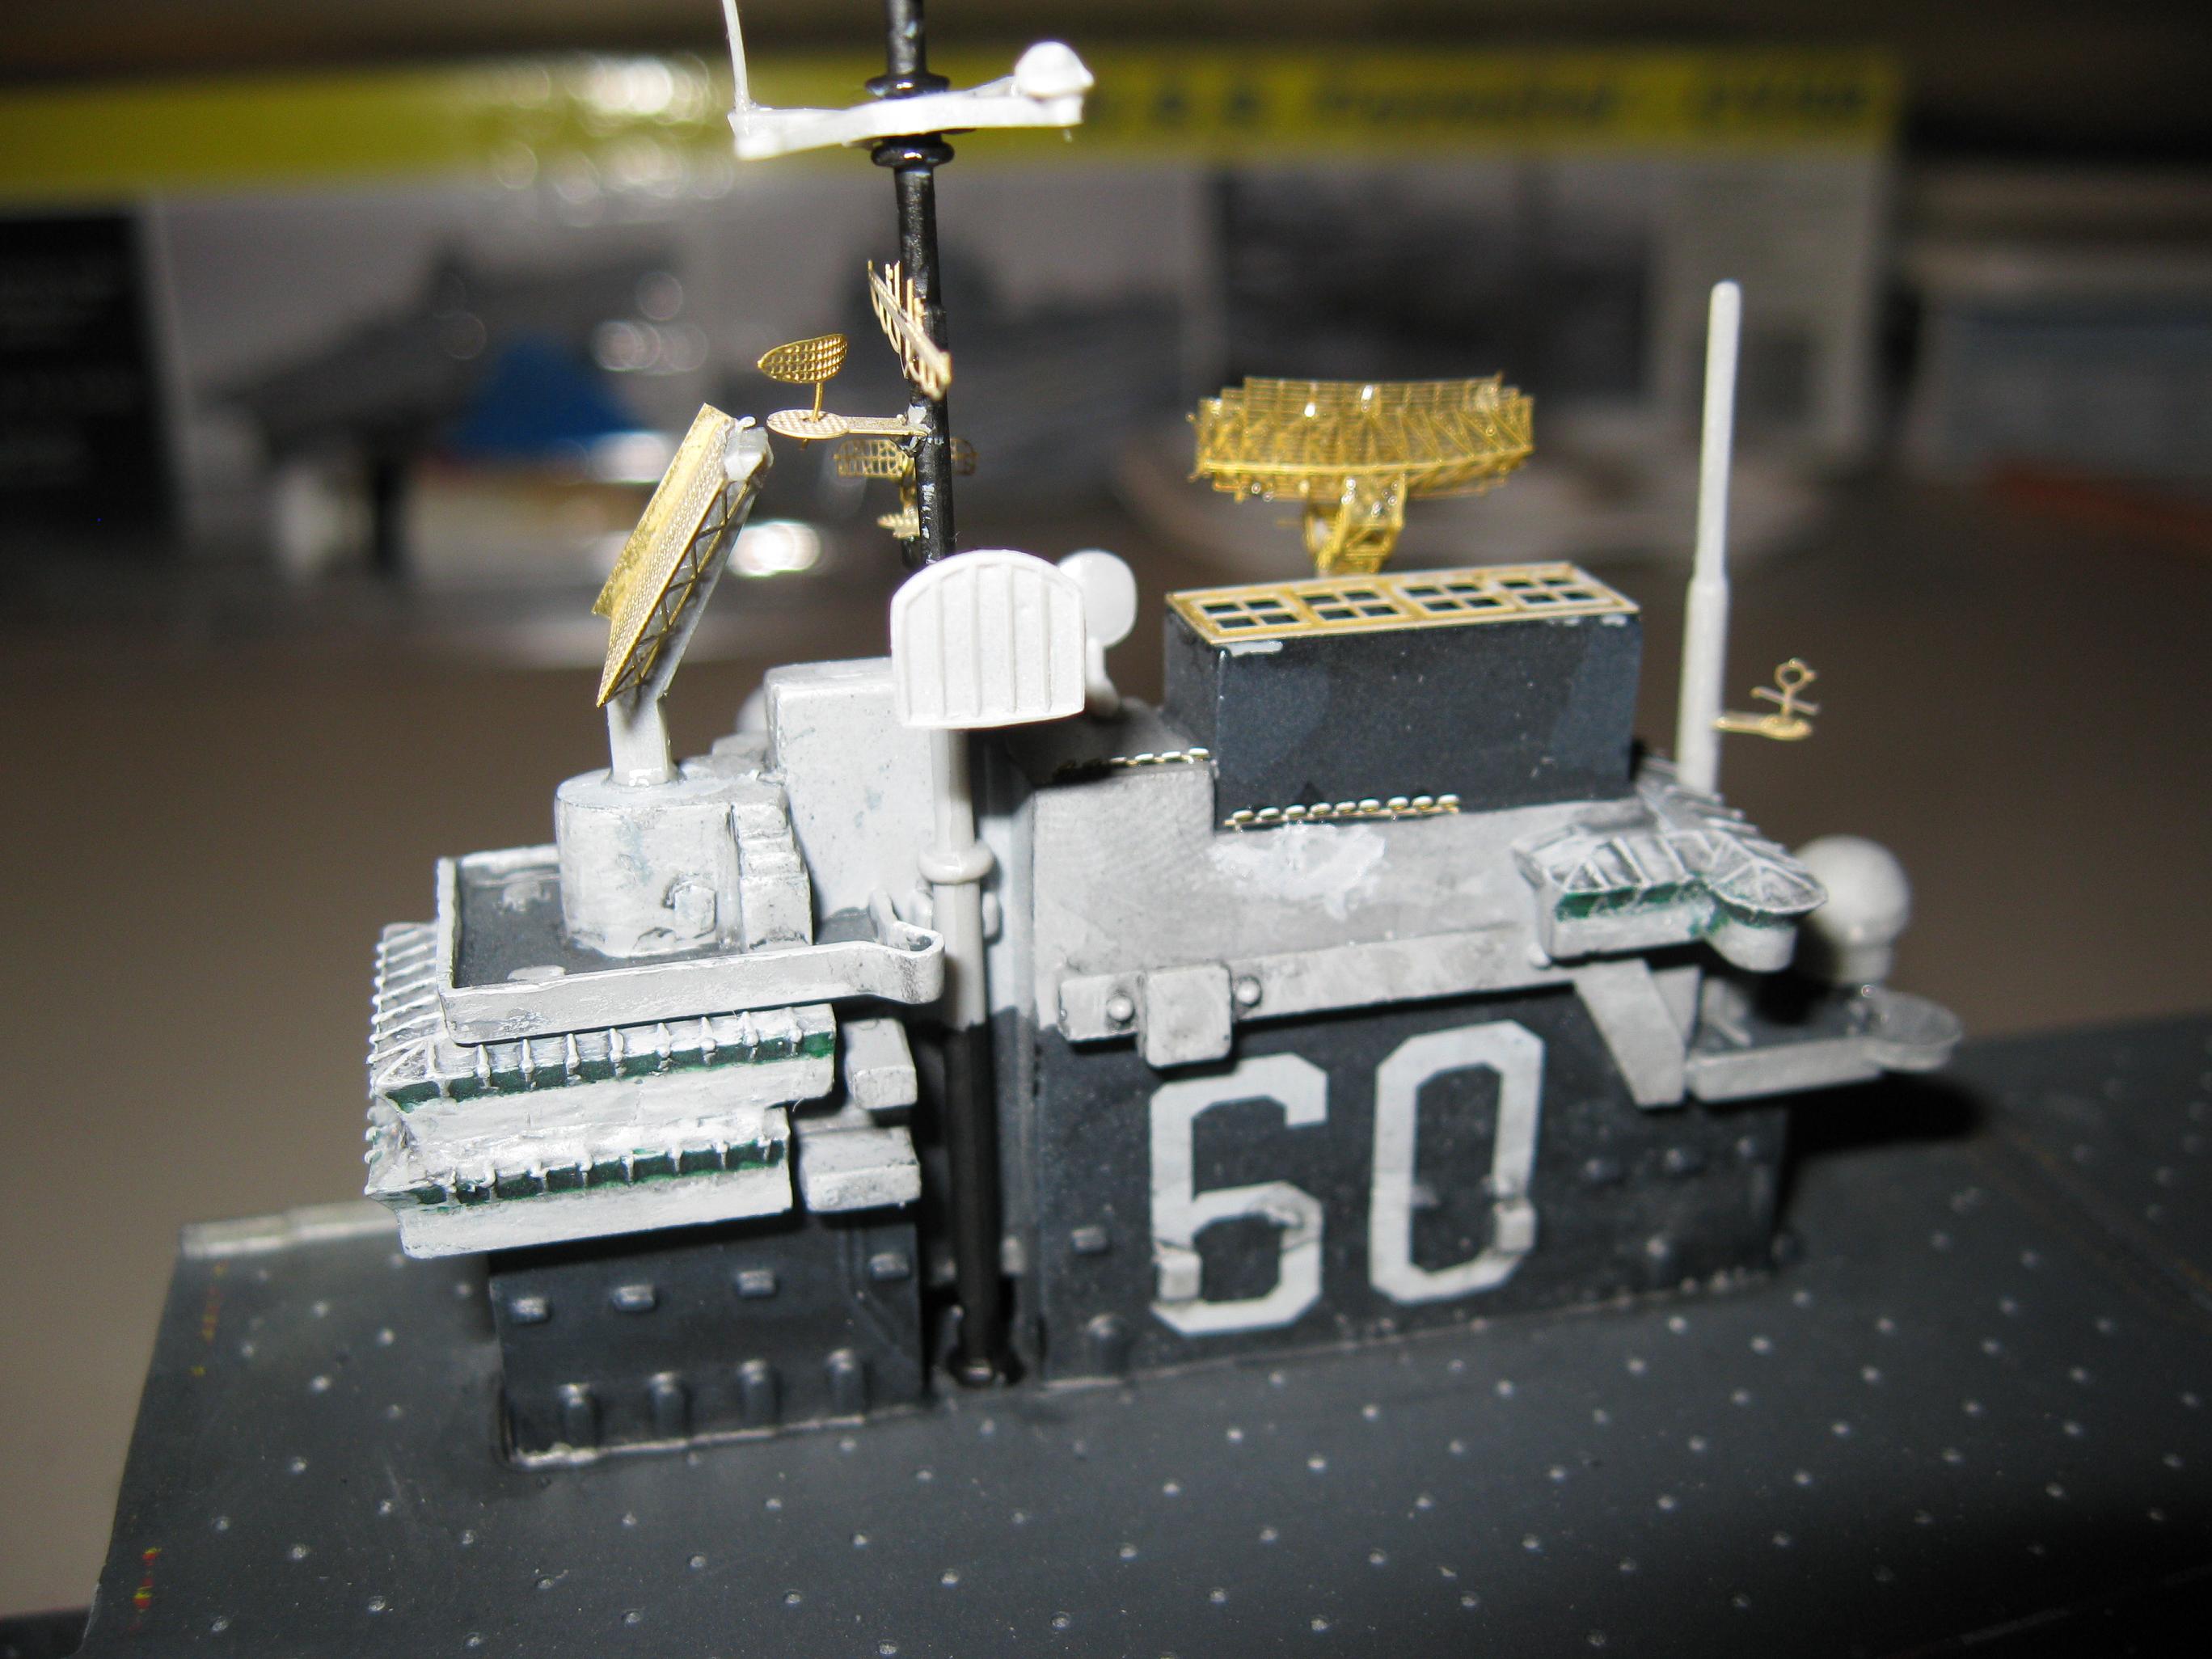
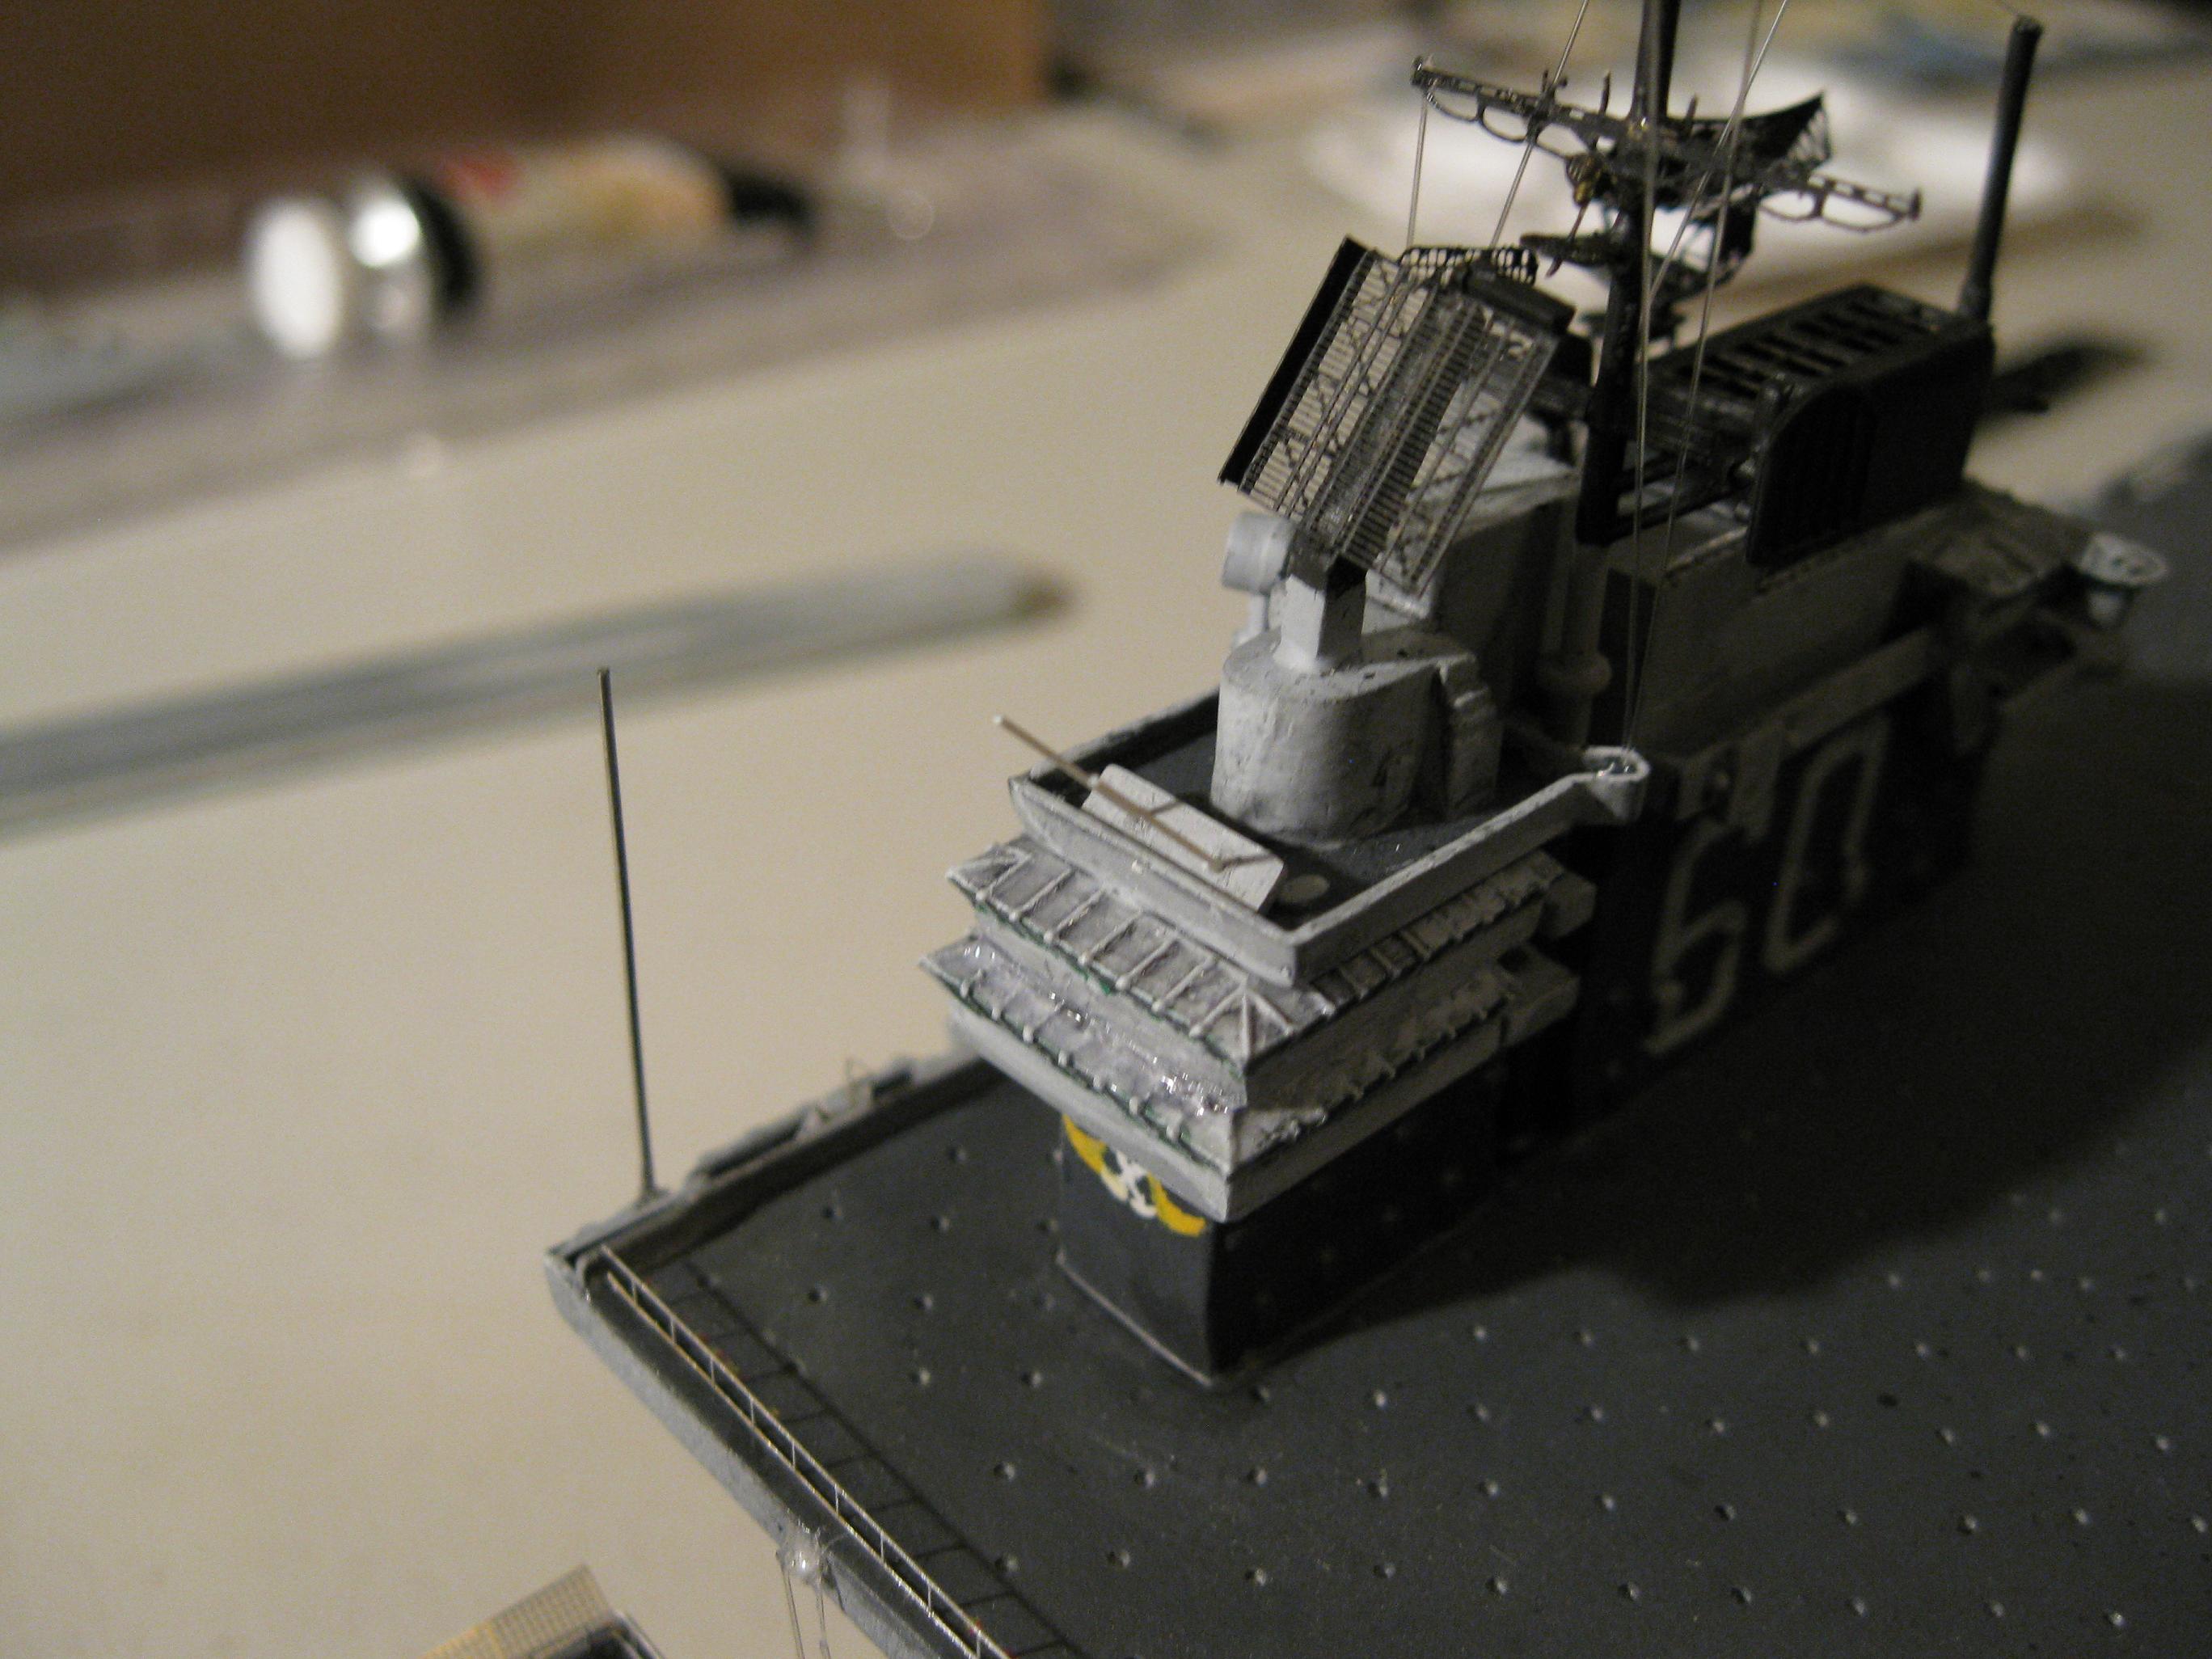
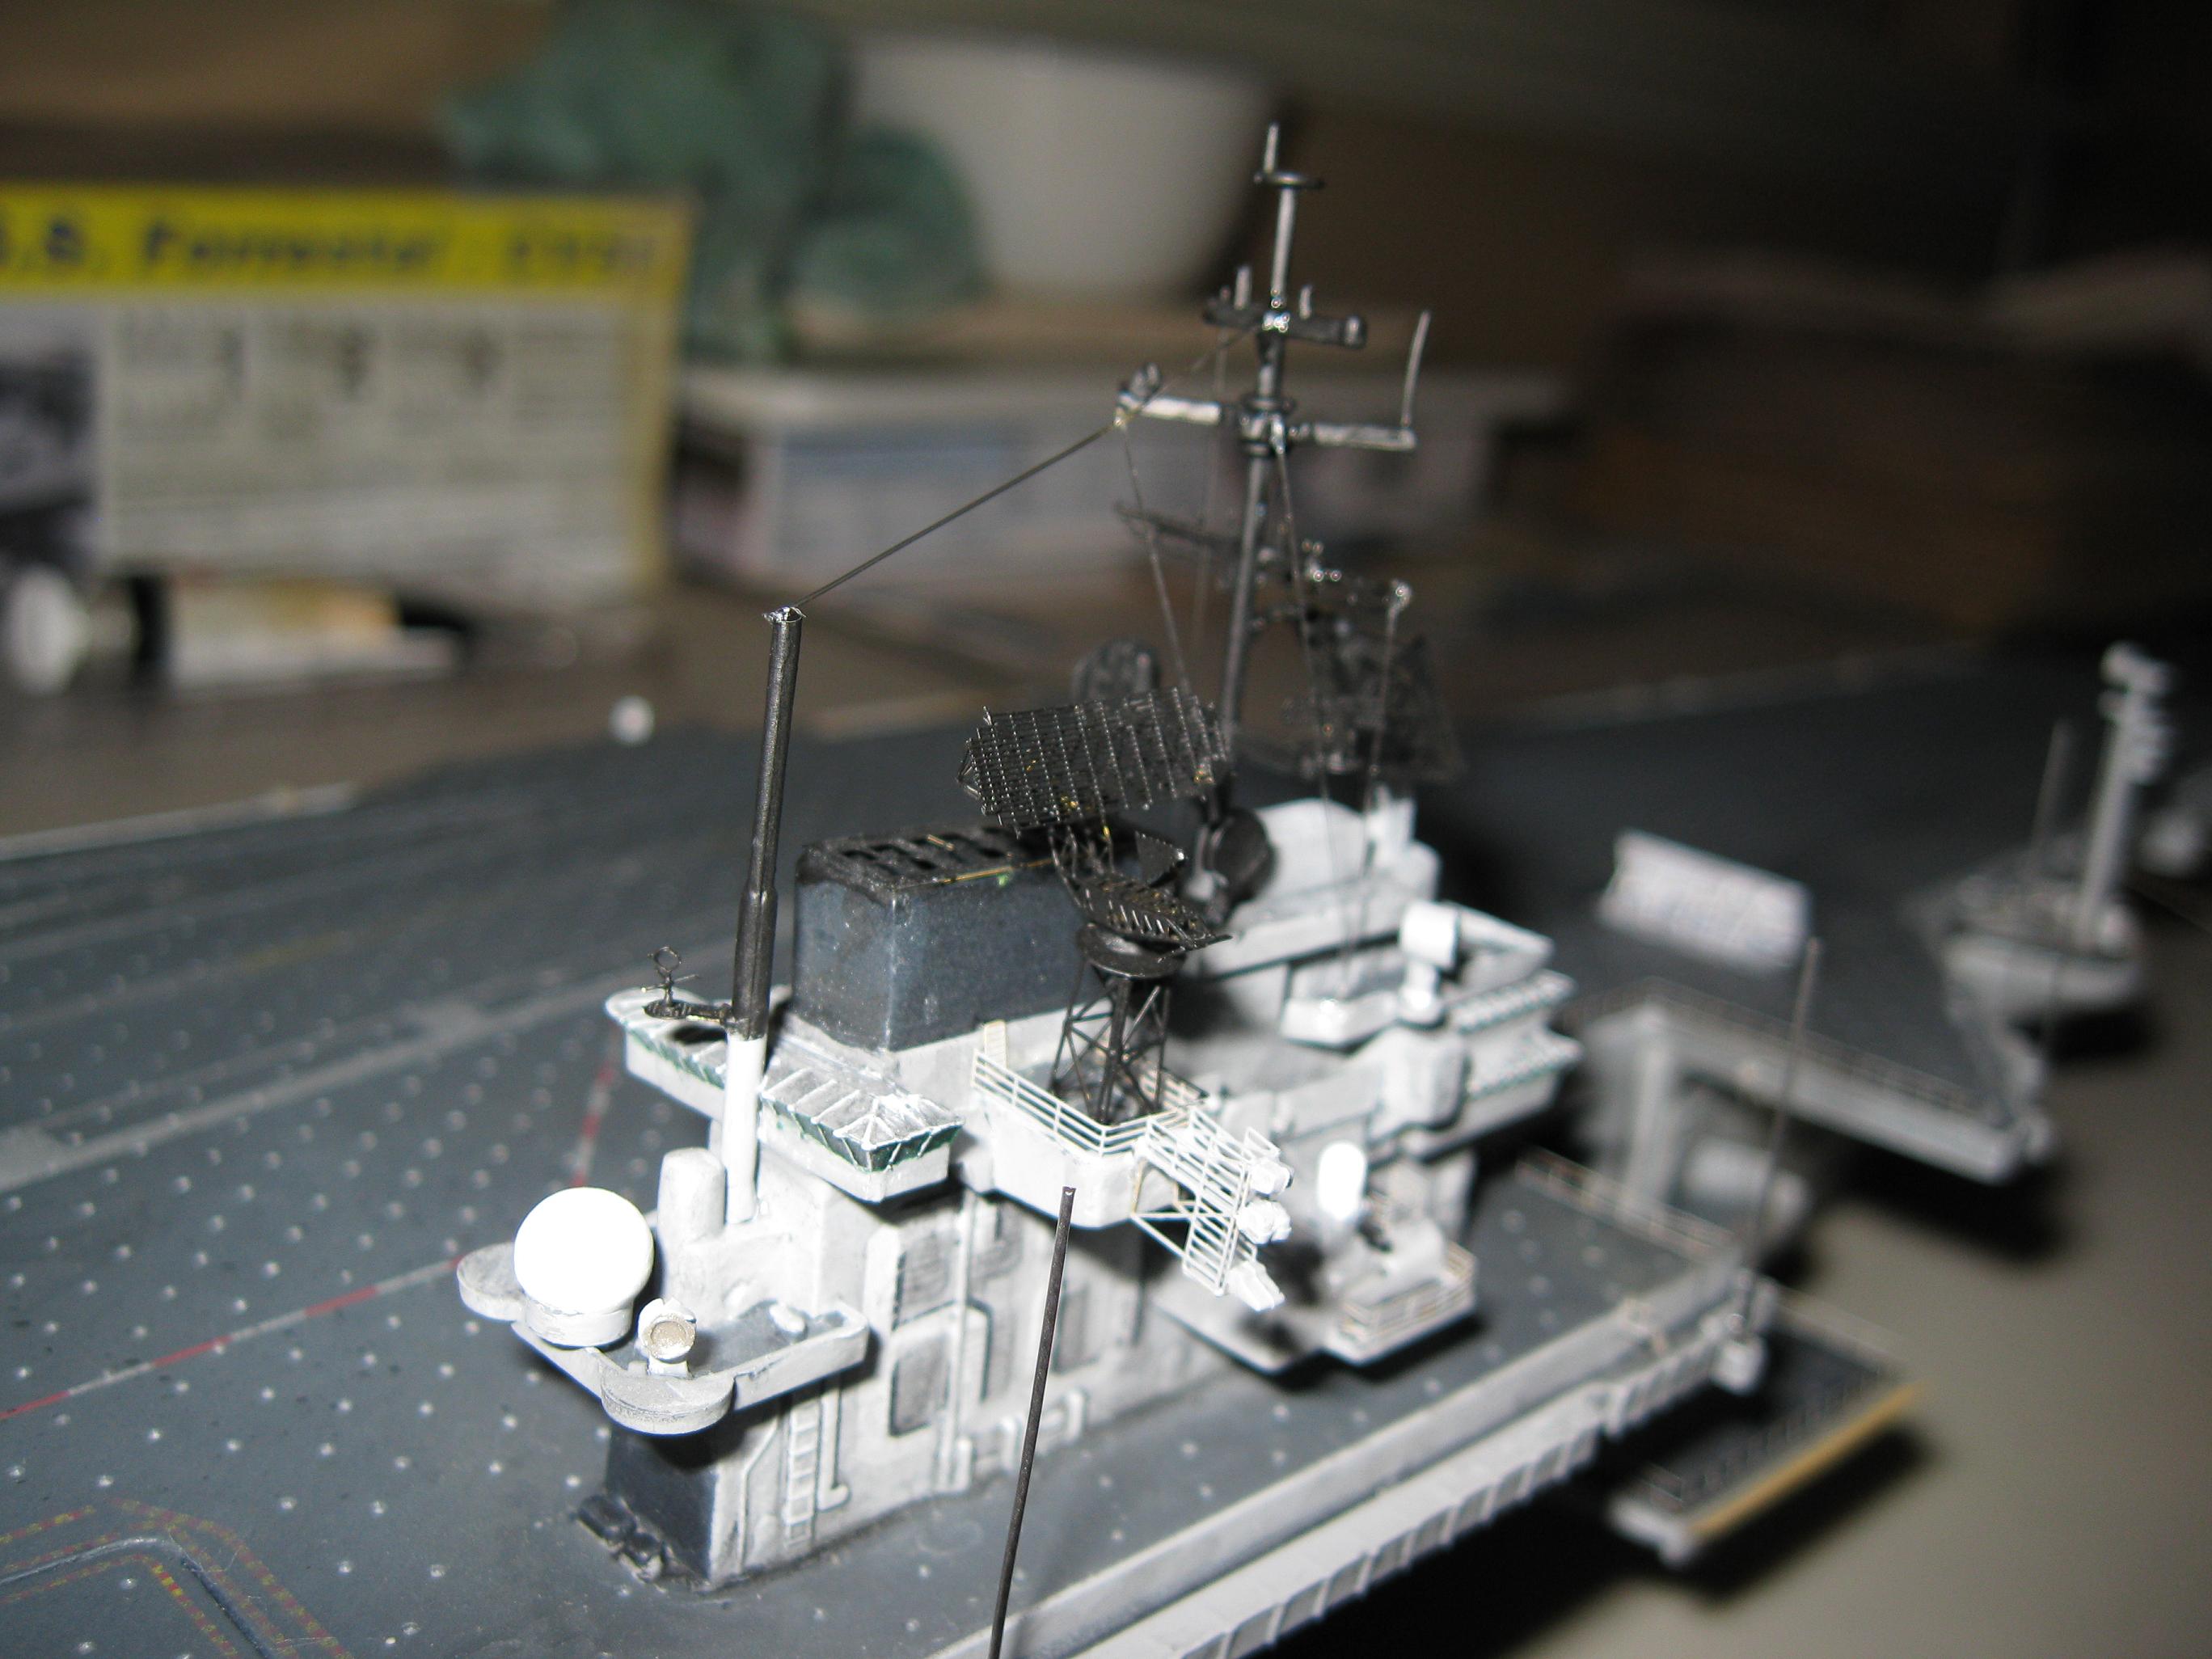
other things. Need to find a better way to do this. The island
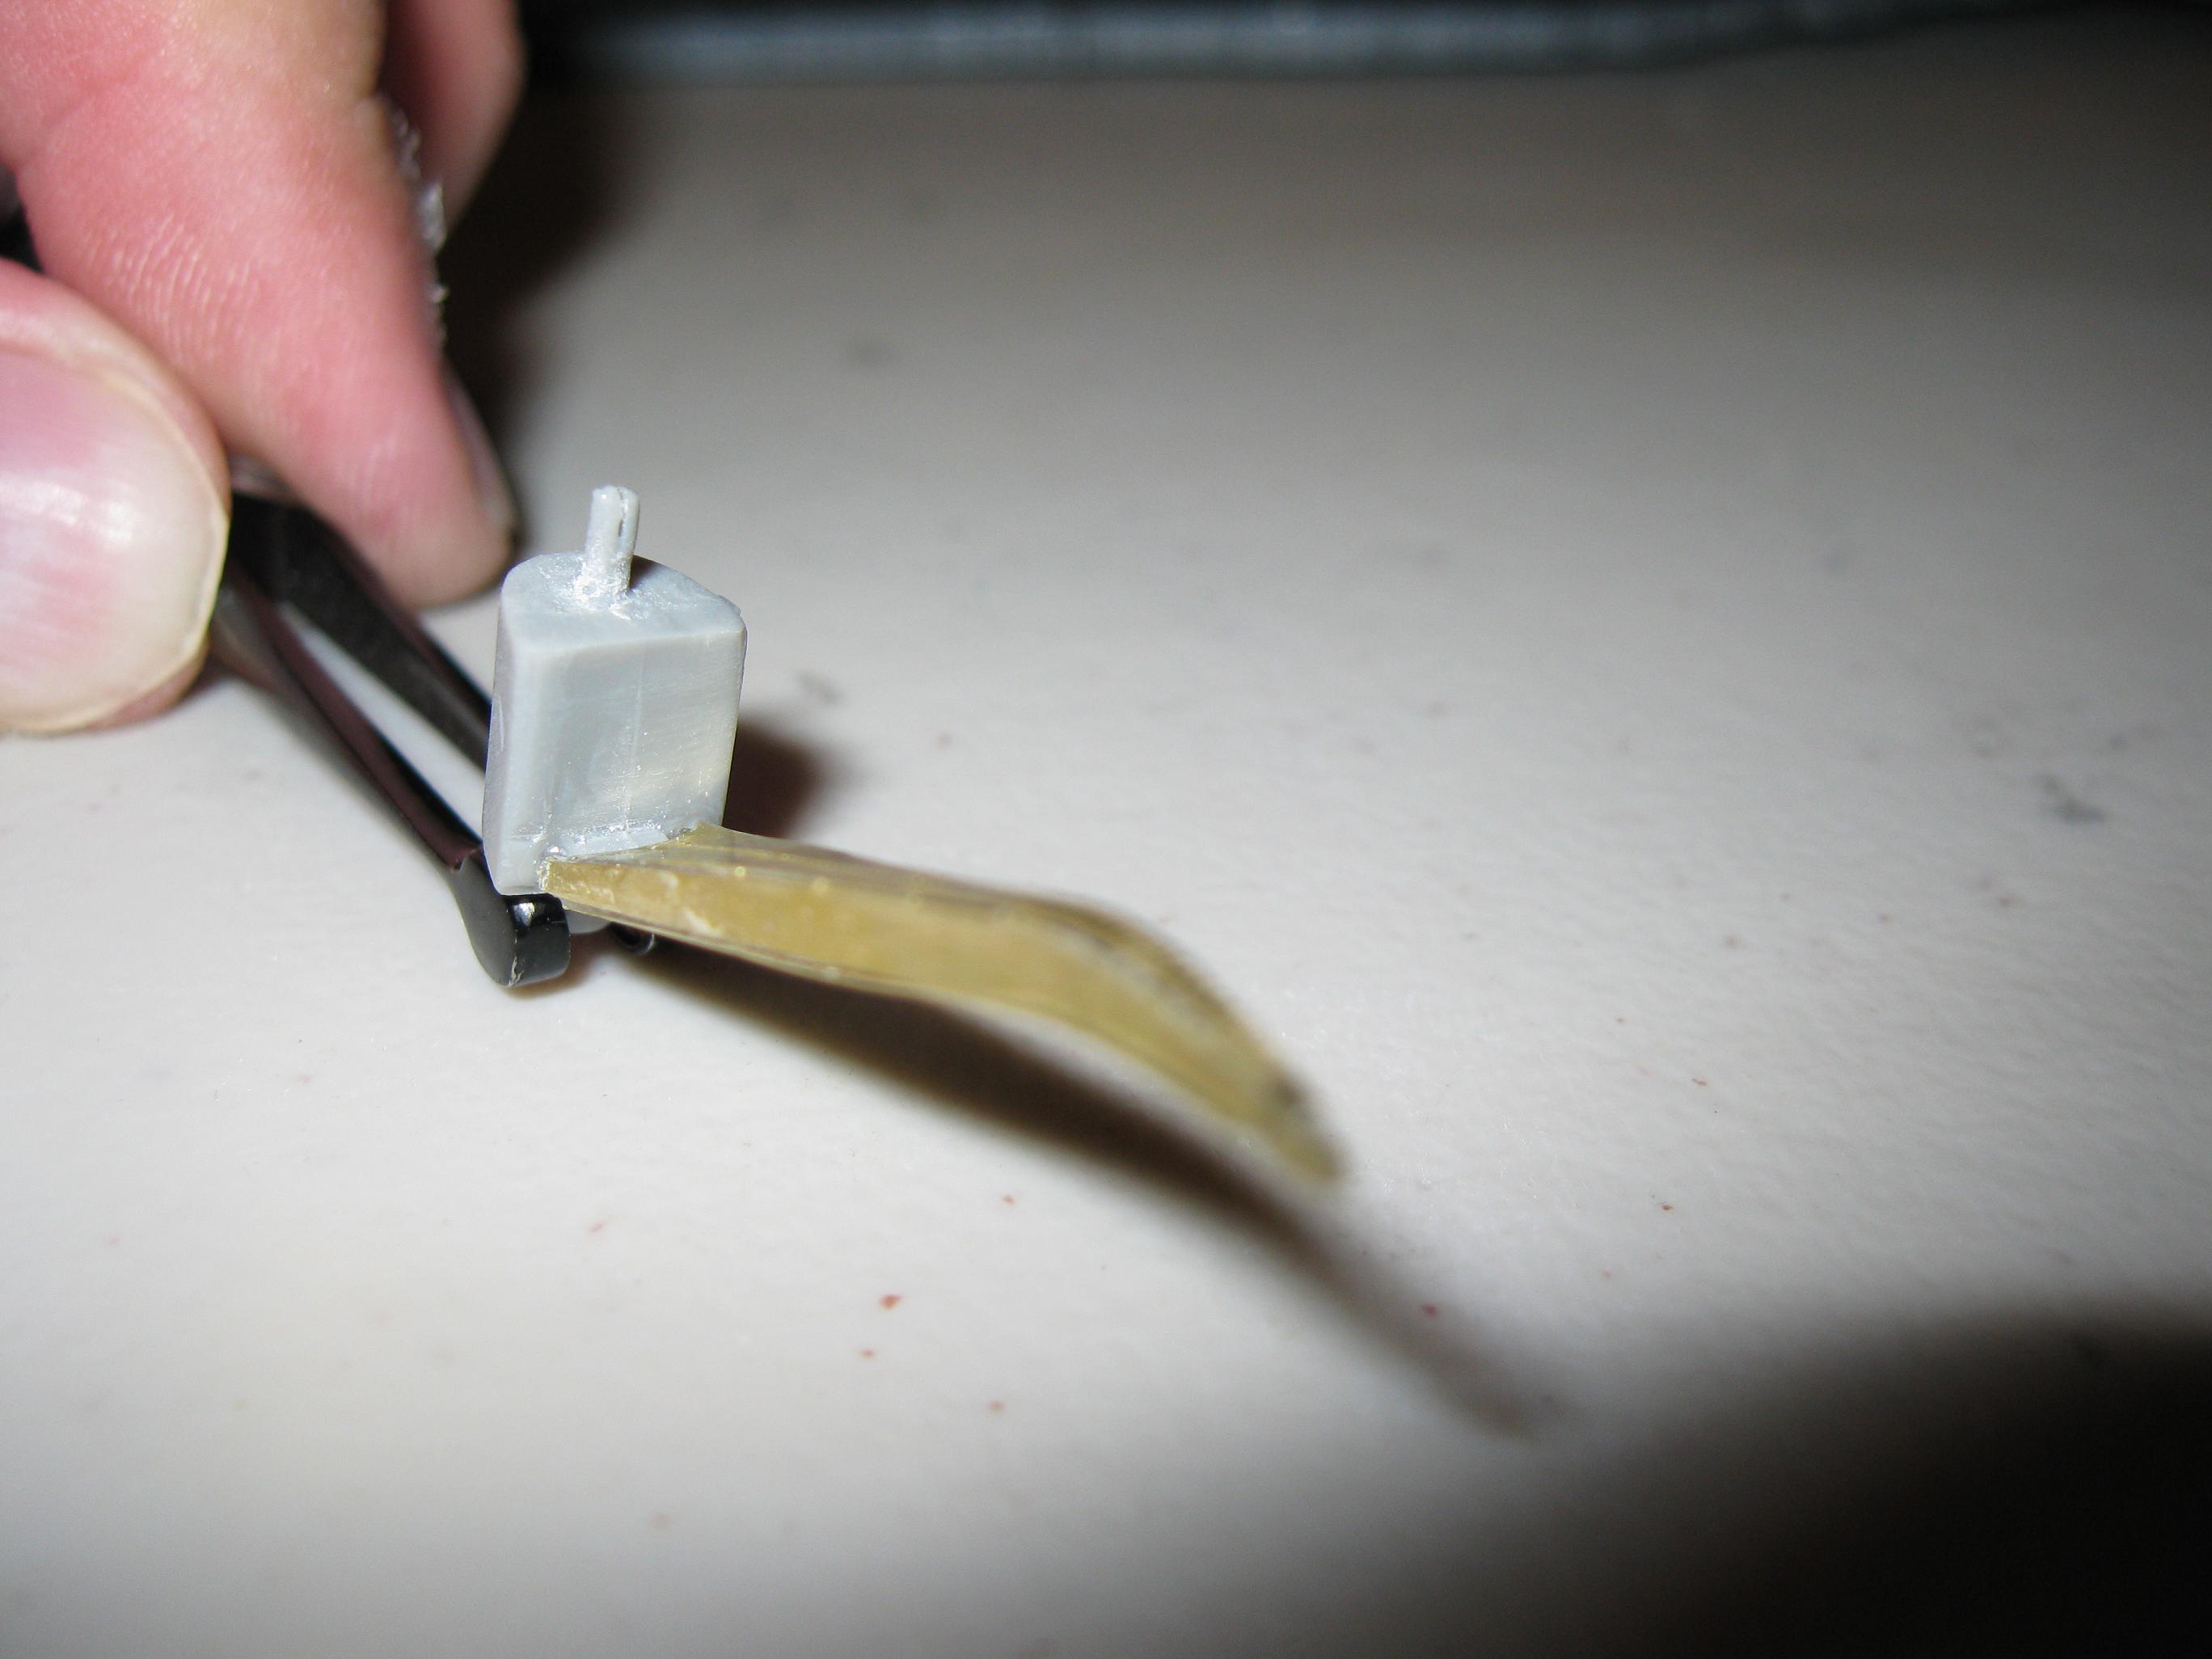
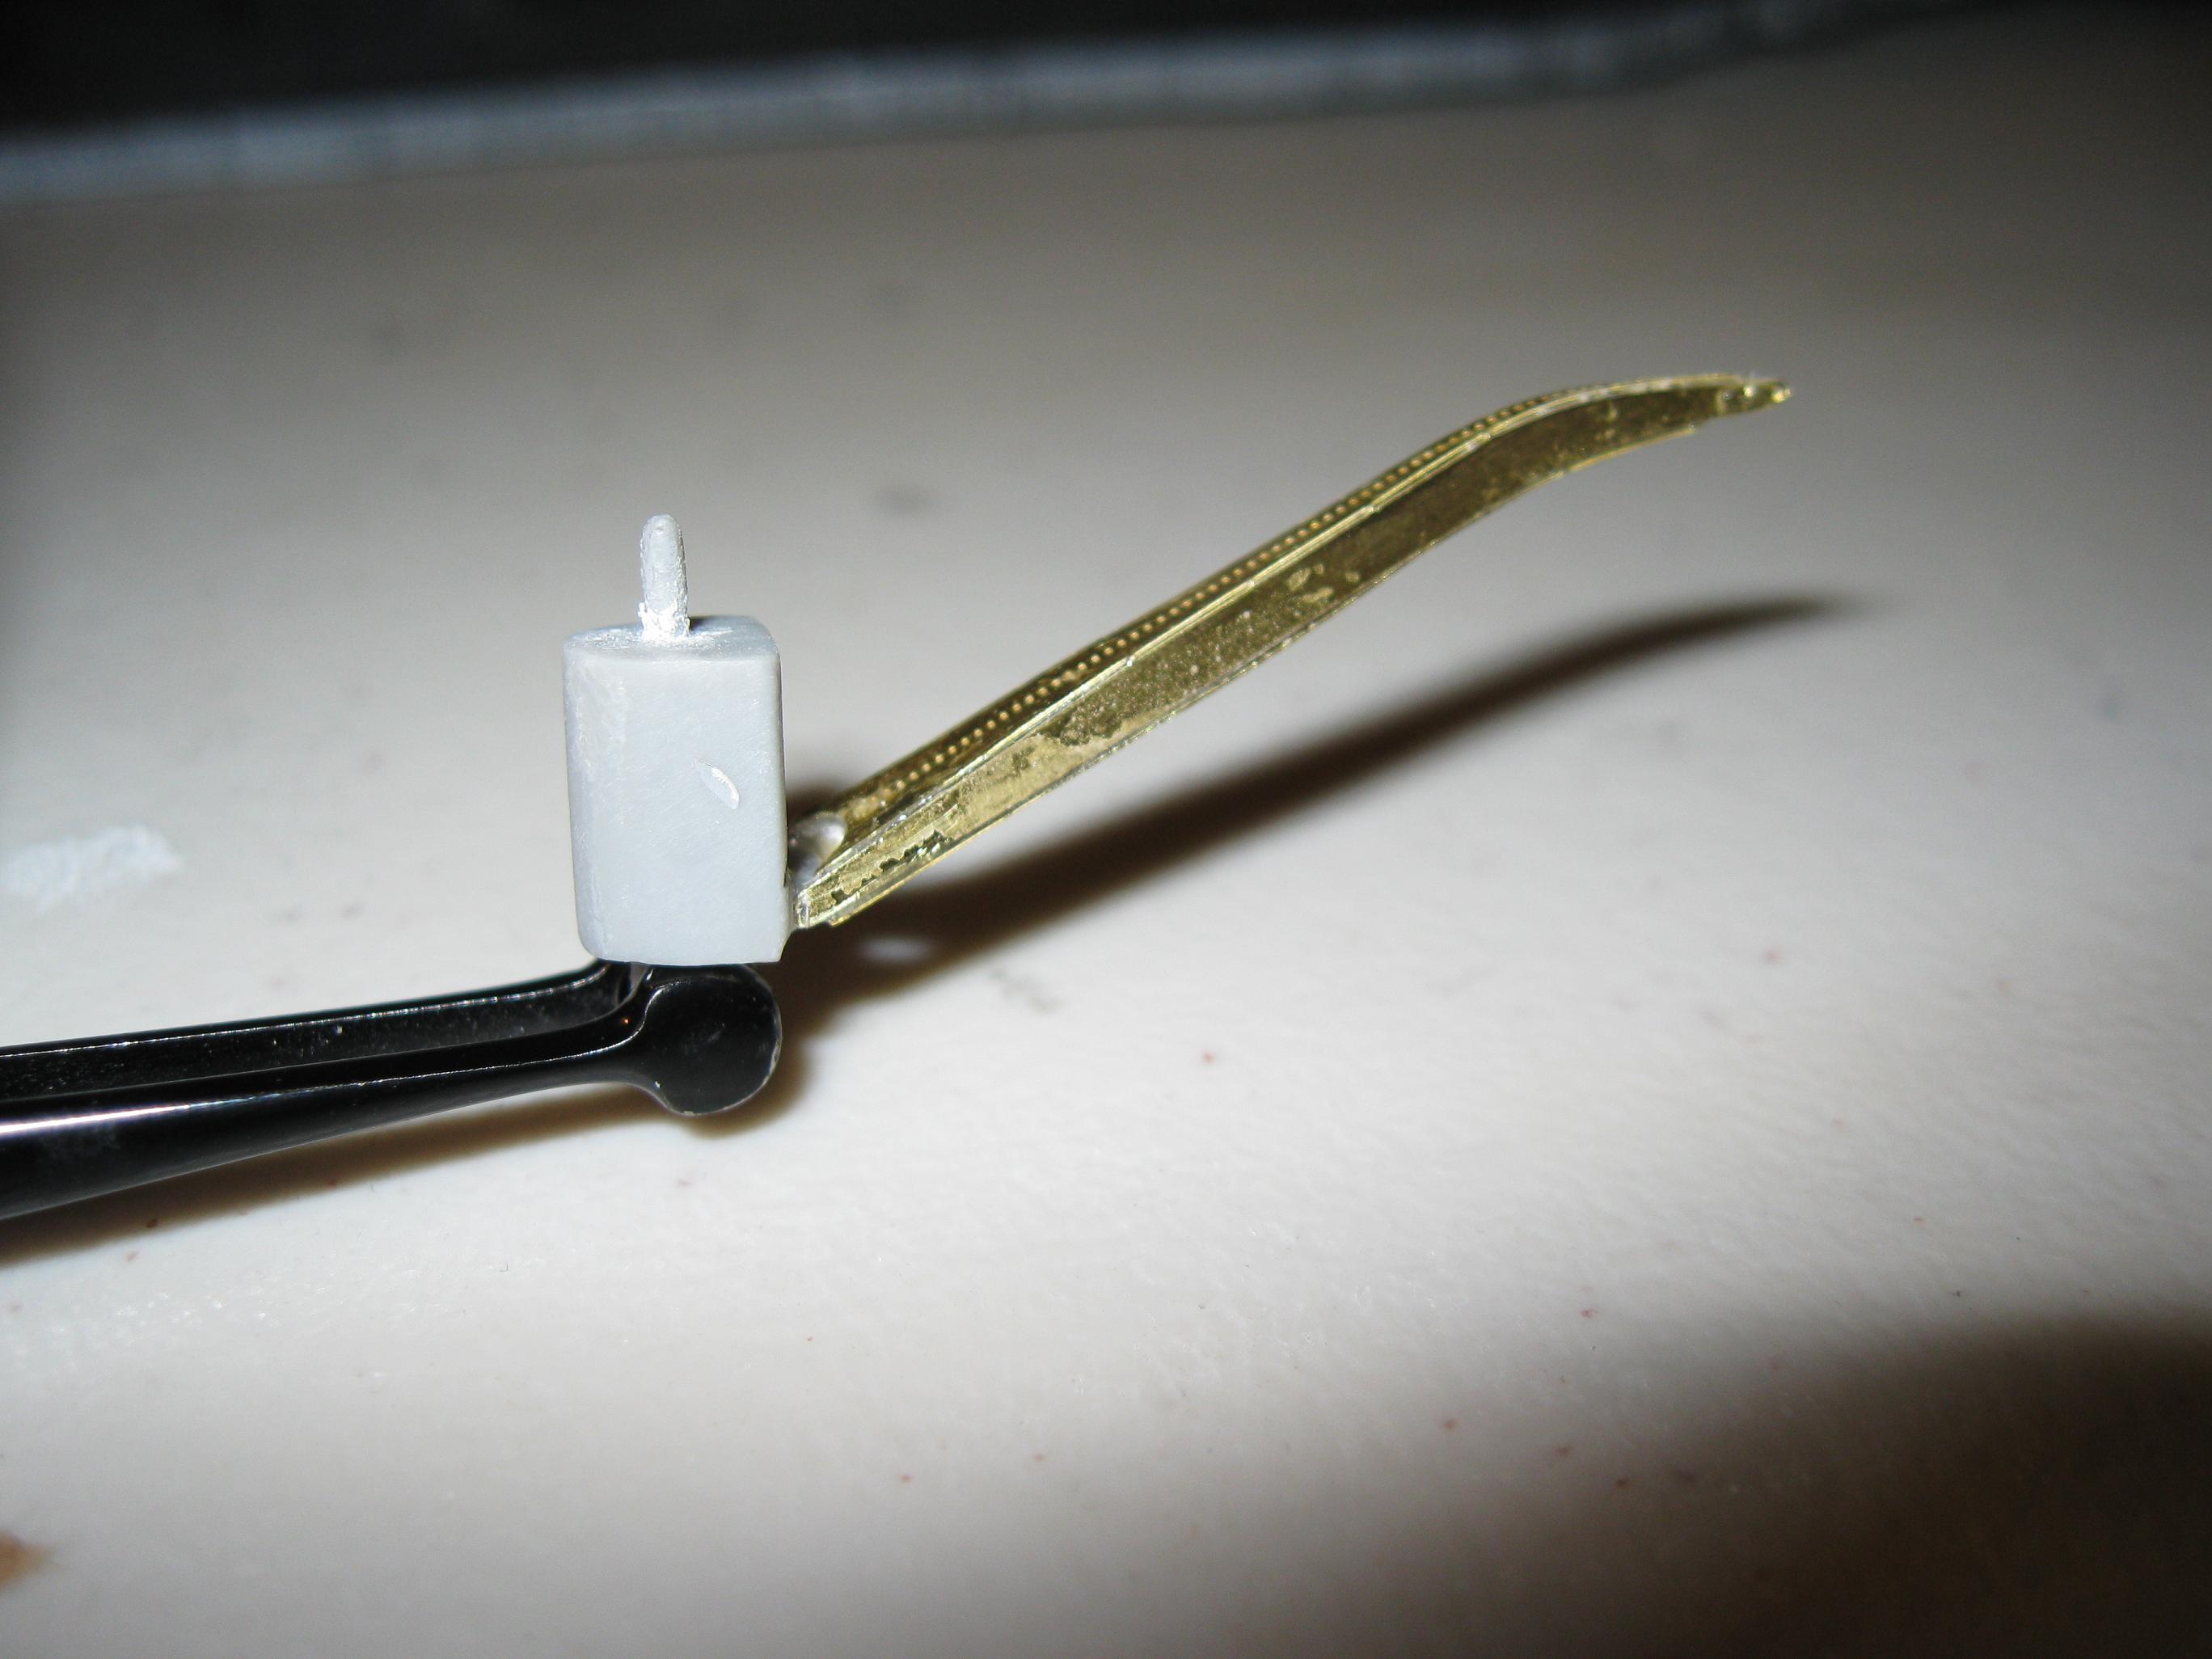
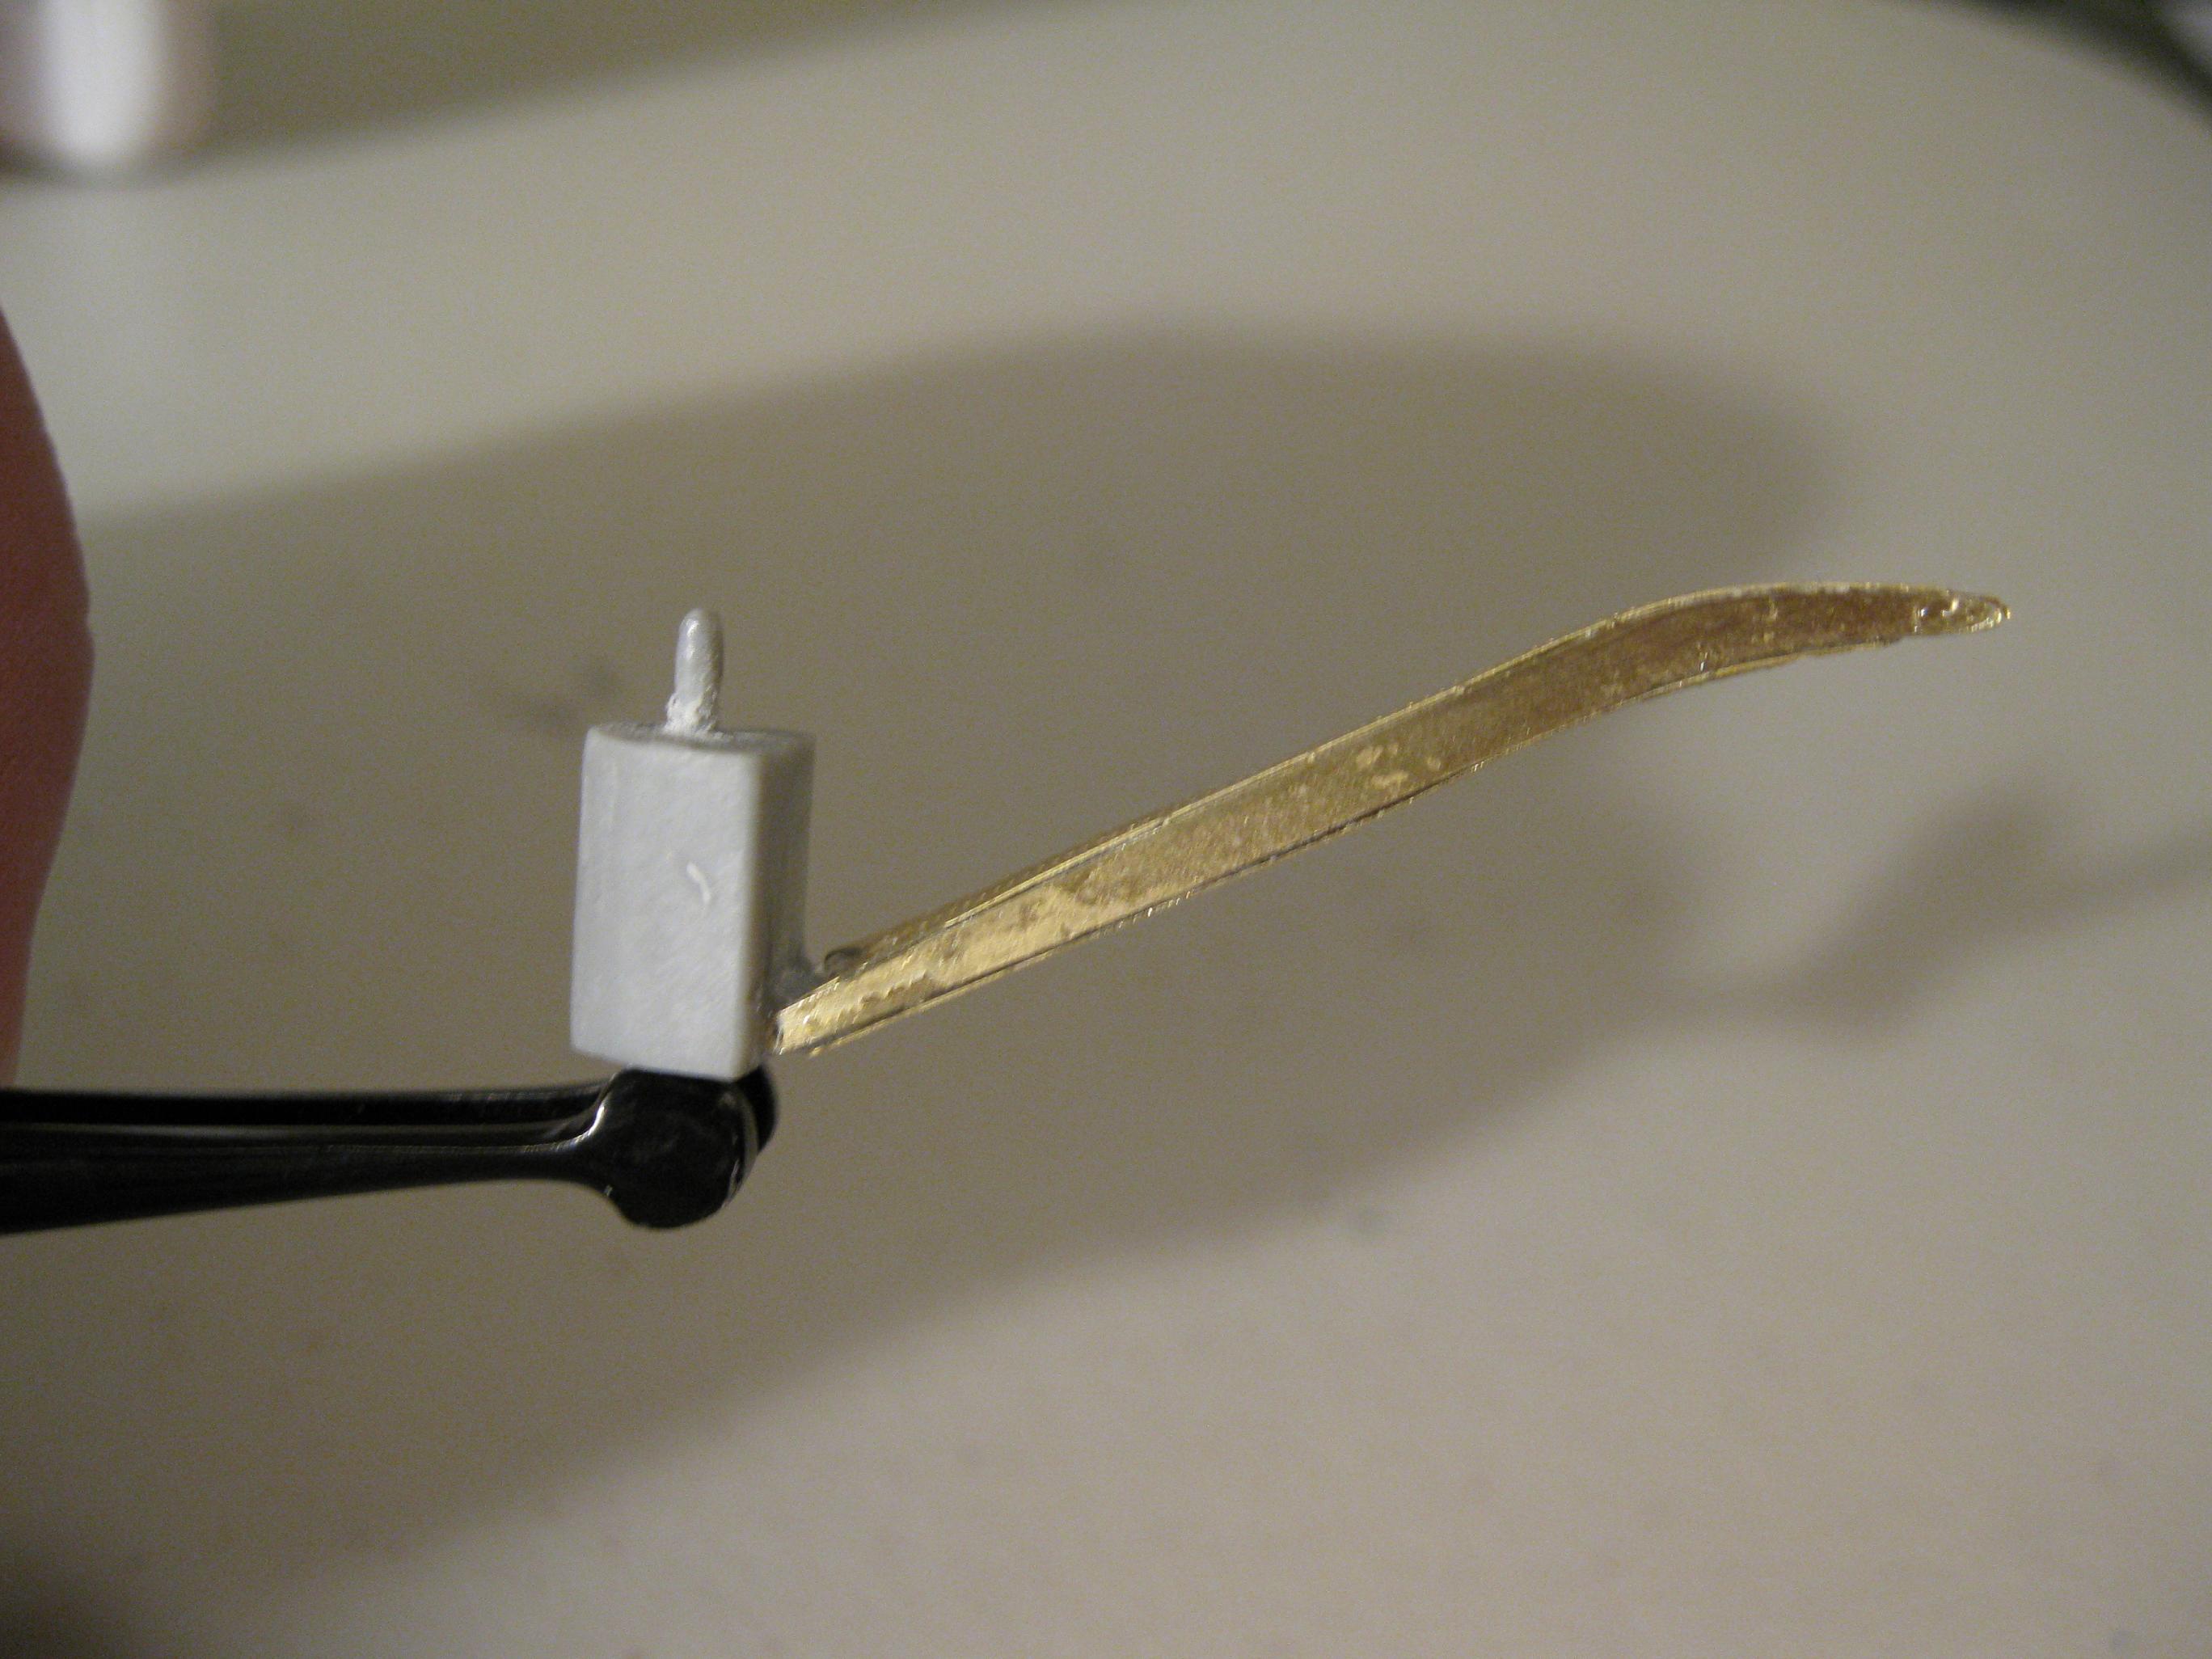
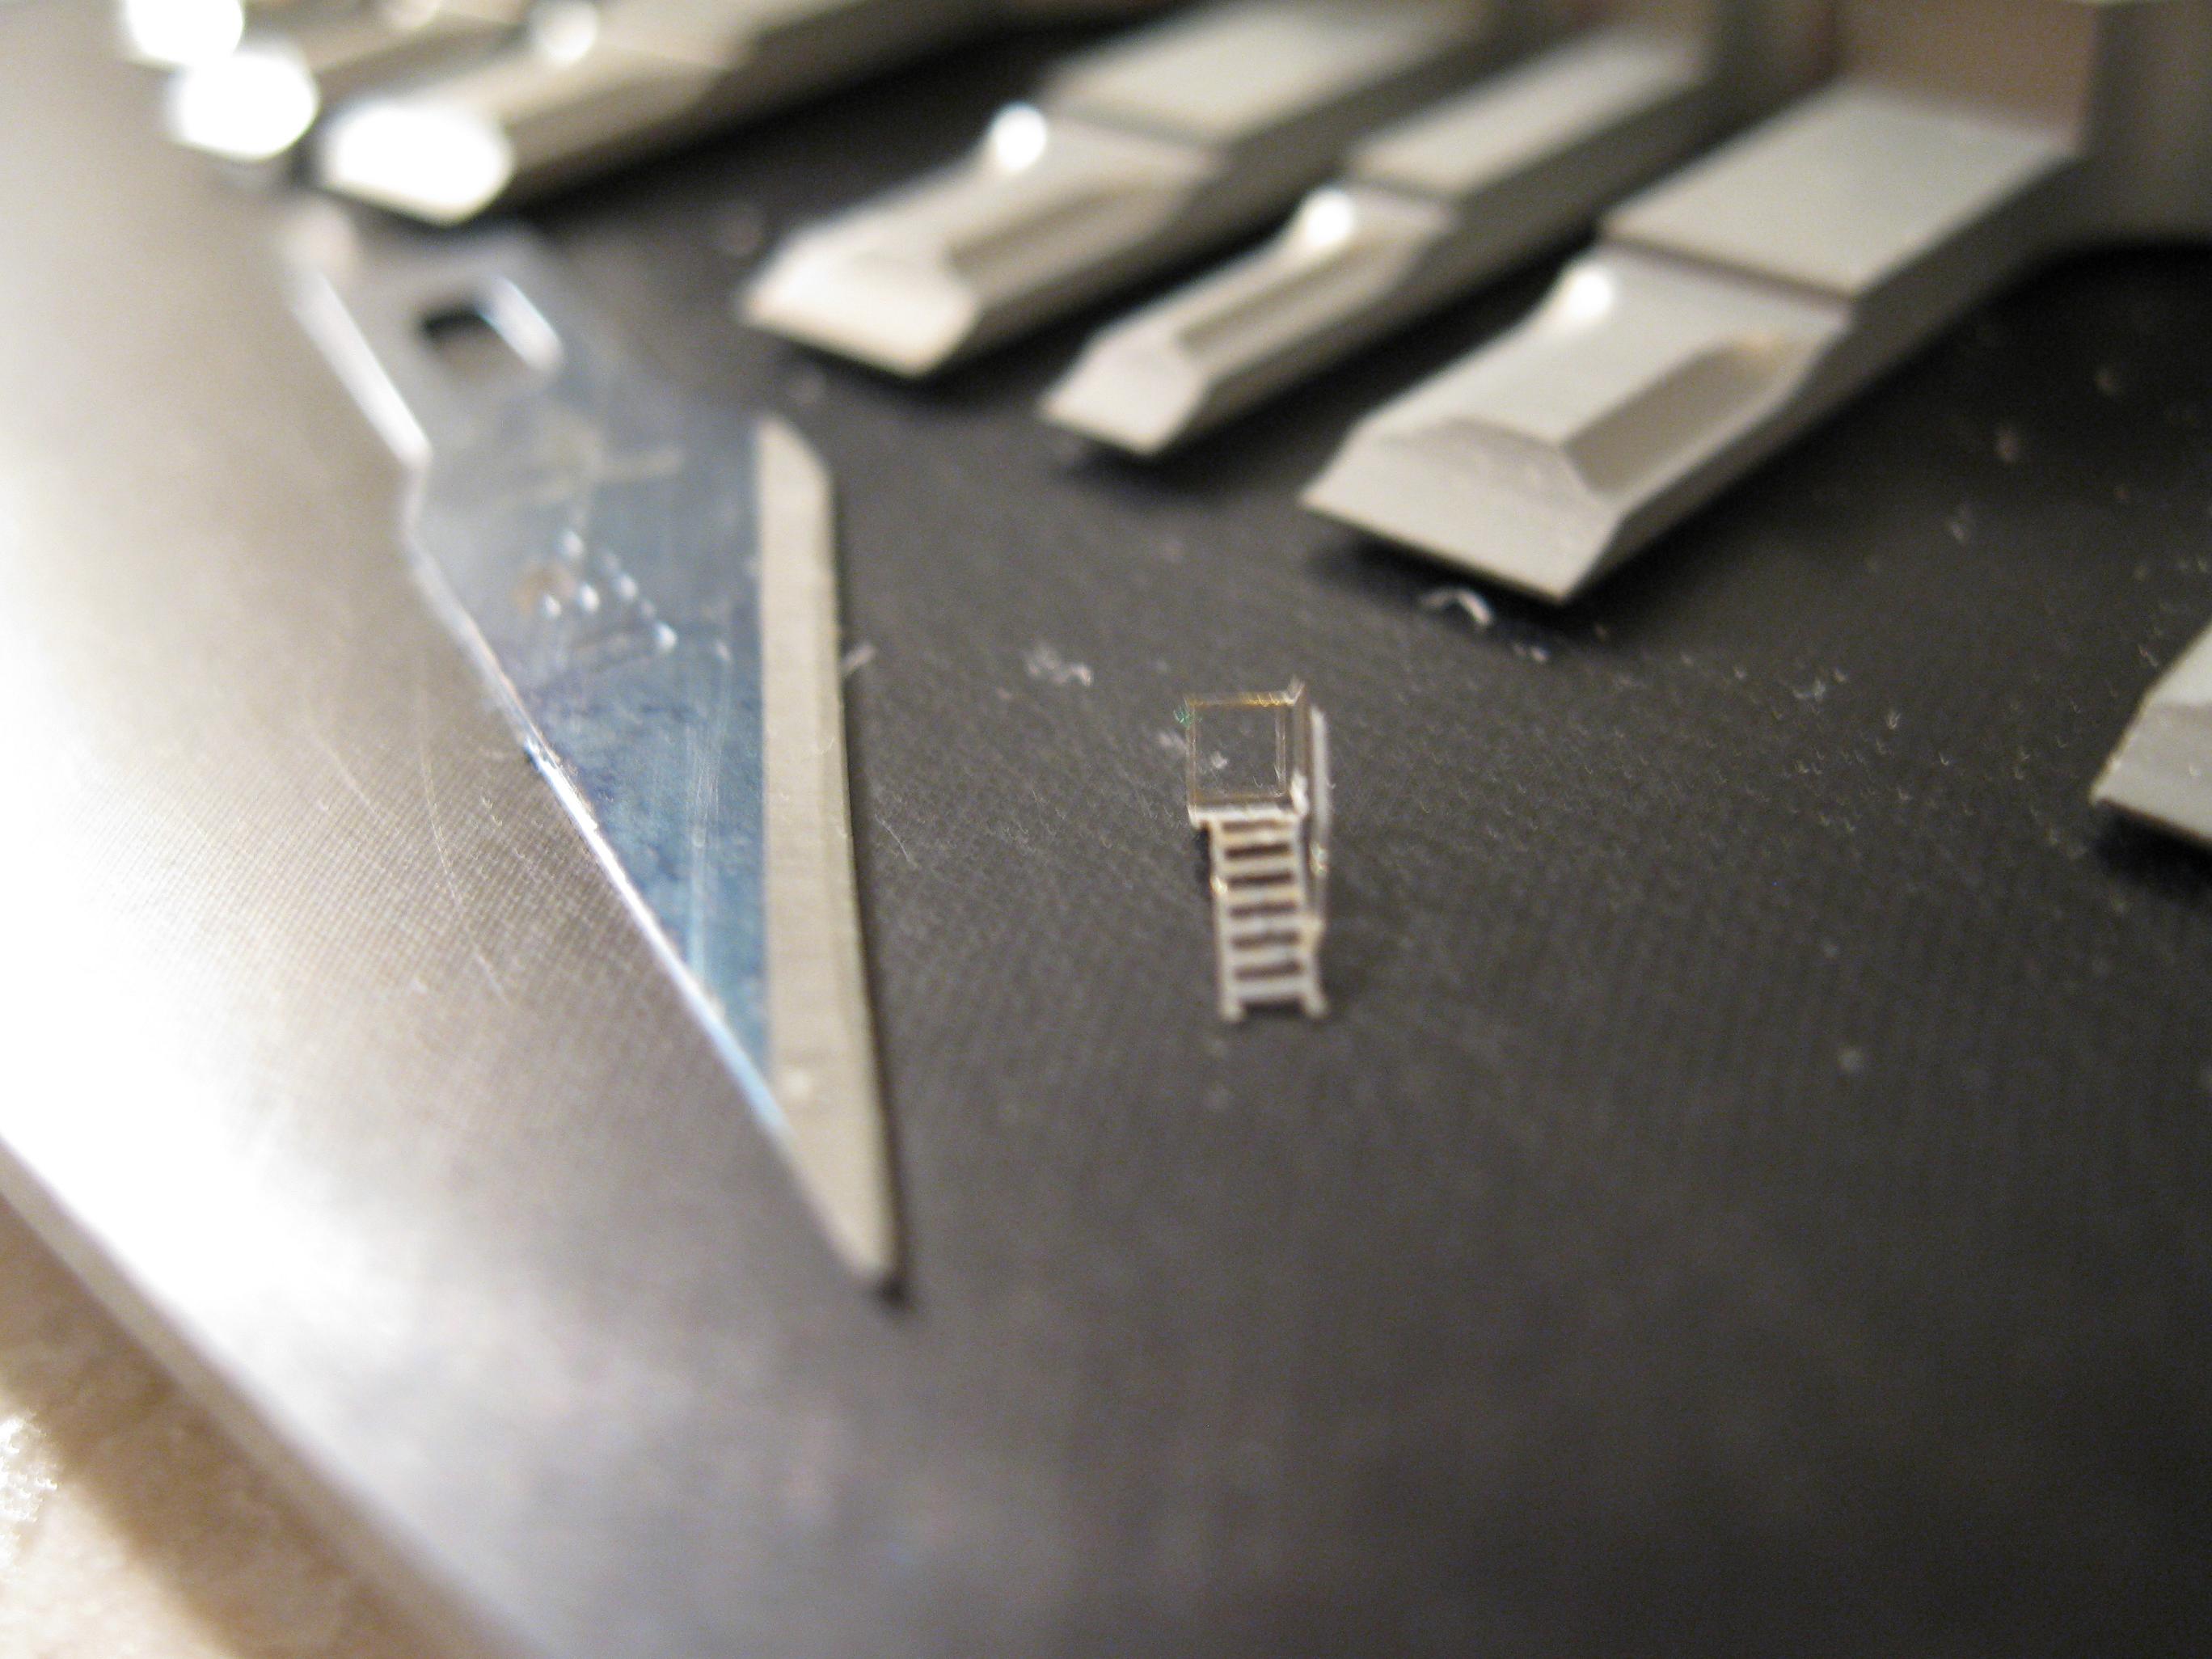
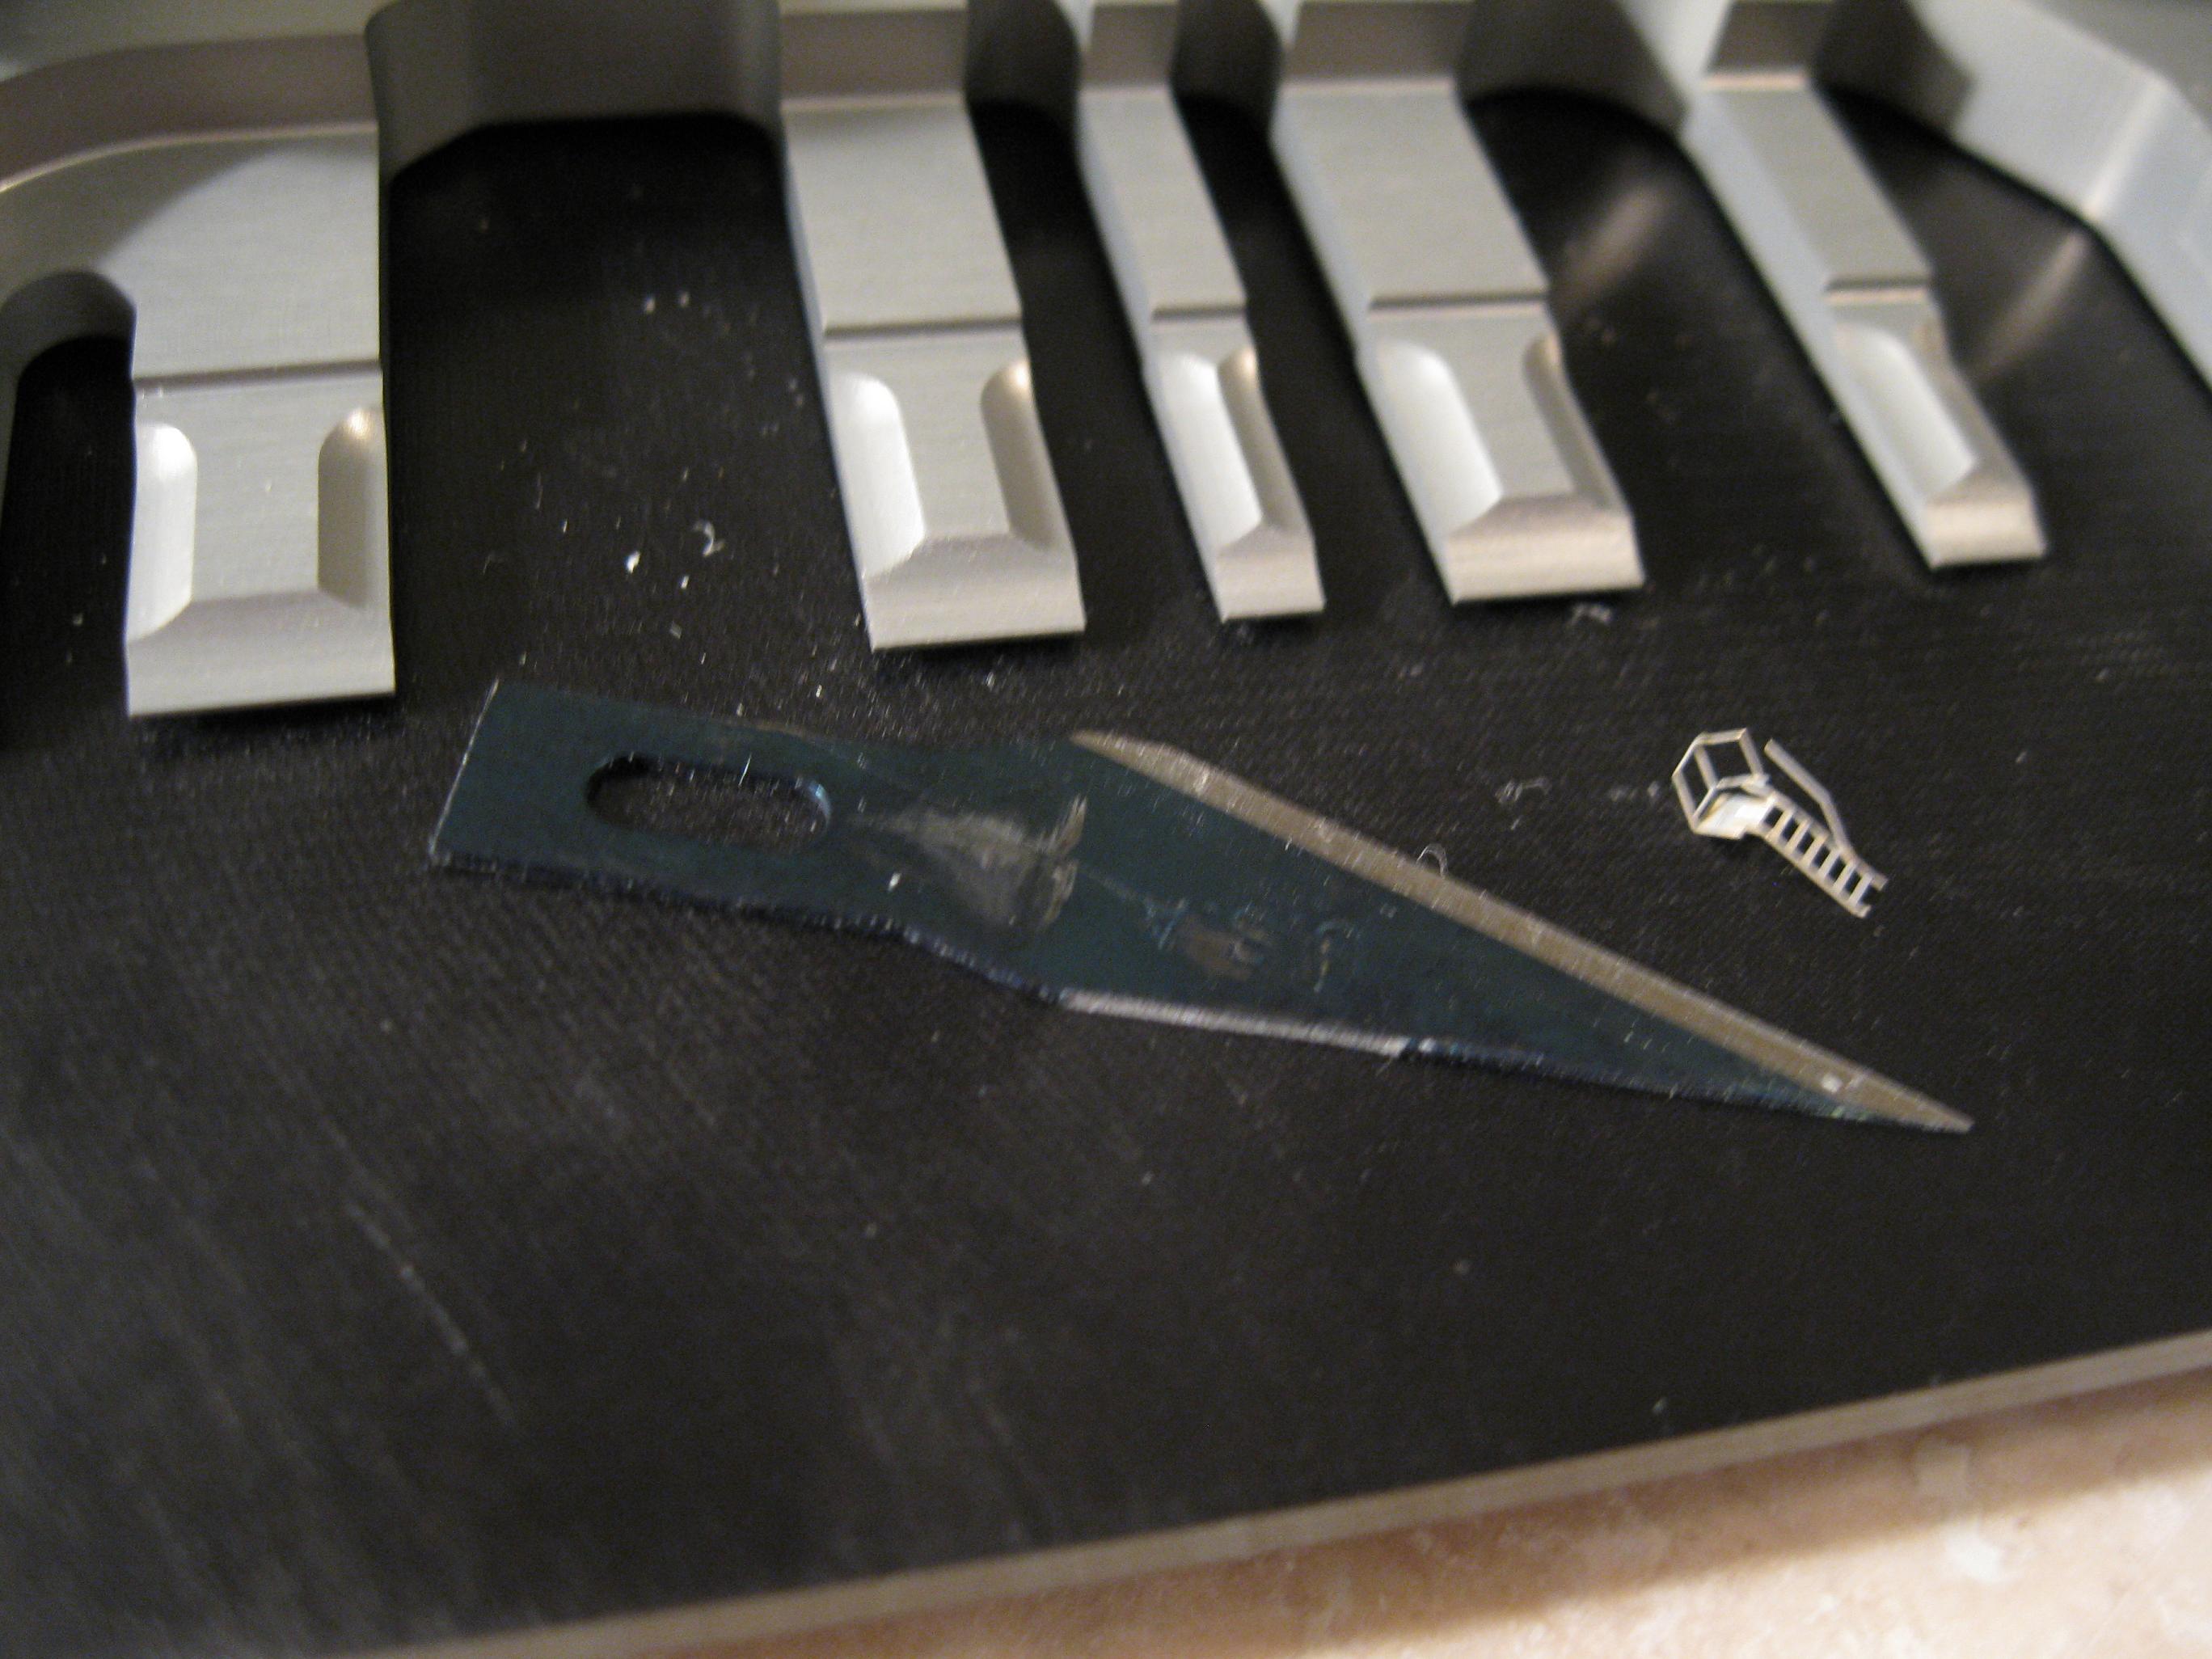
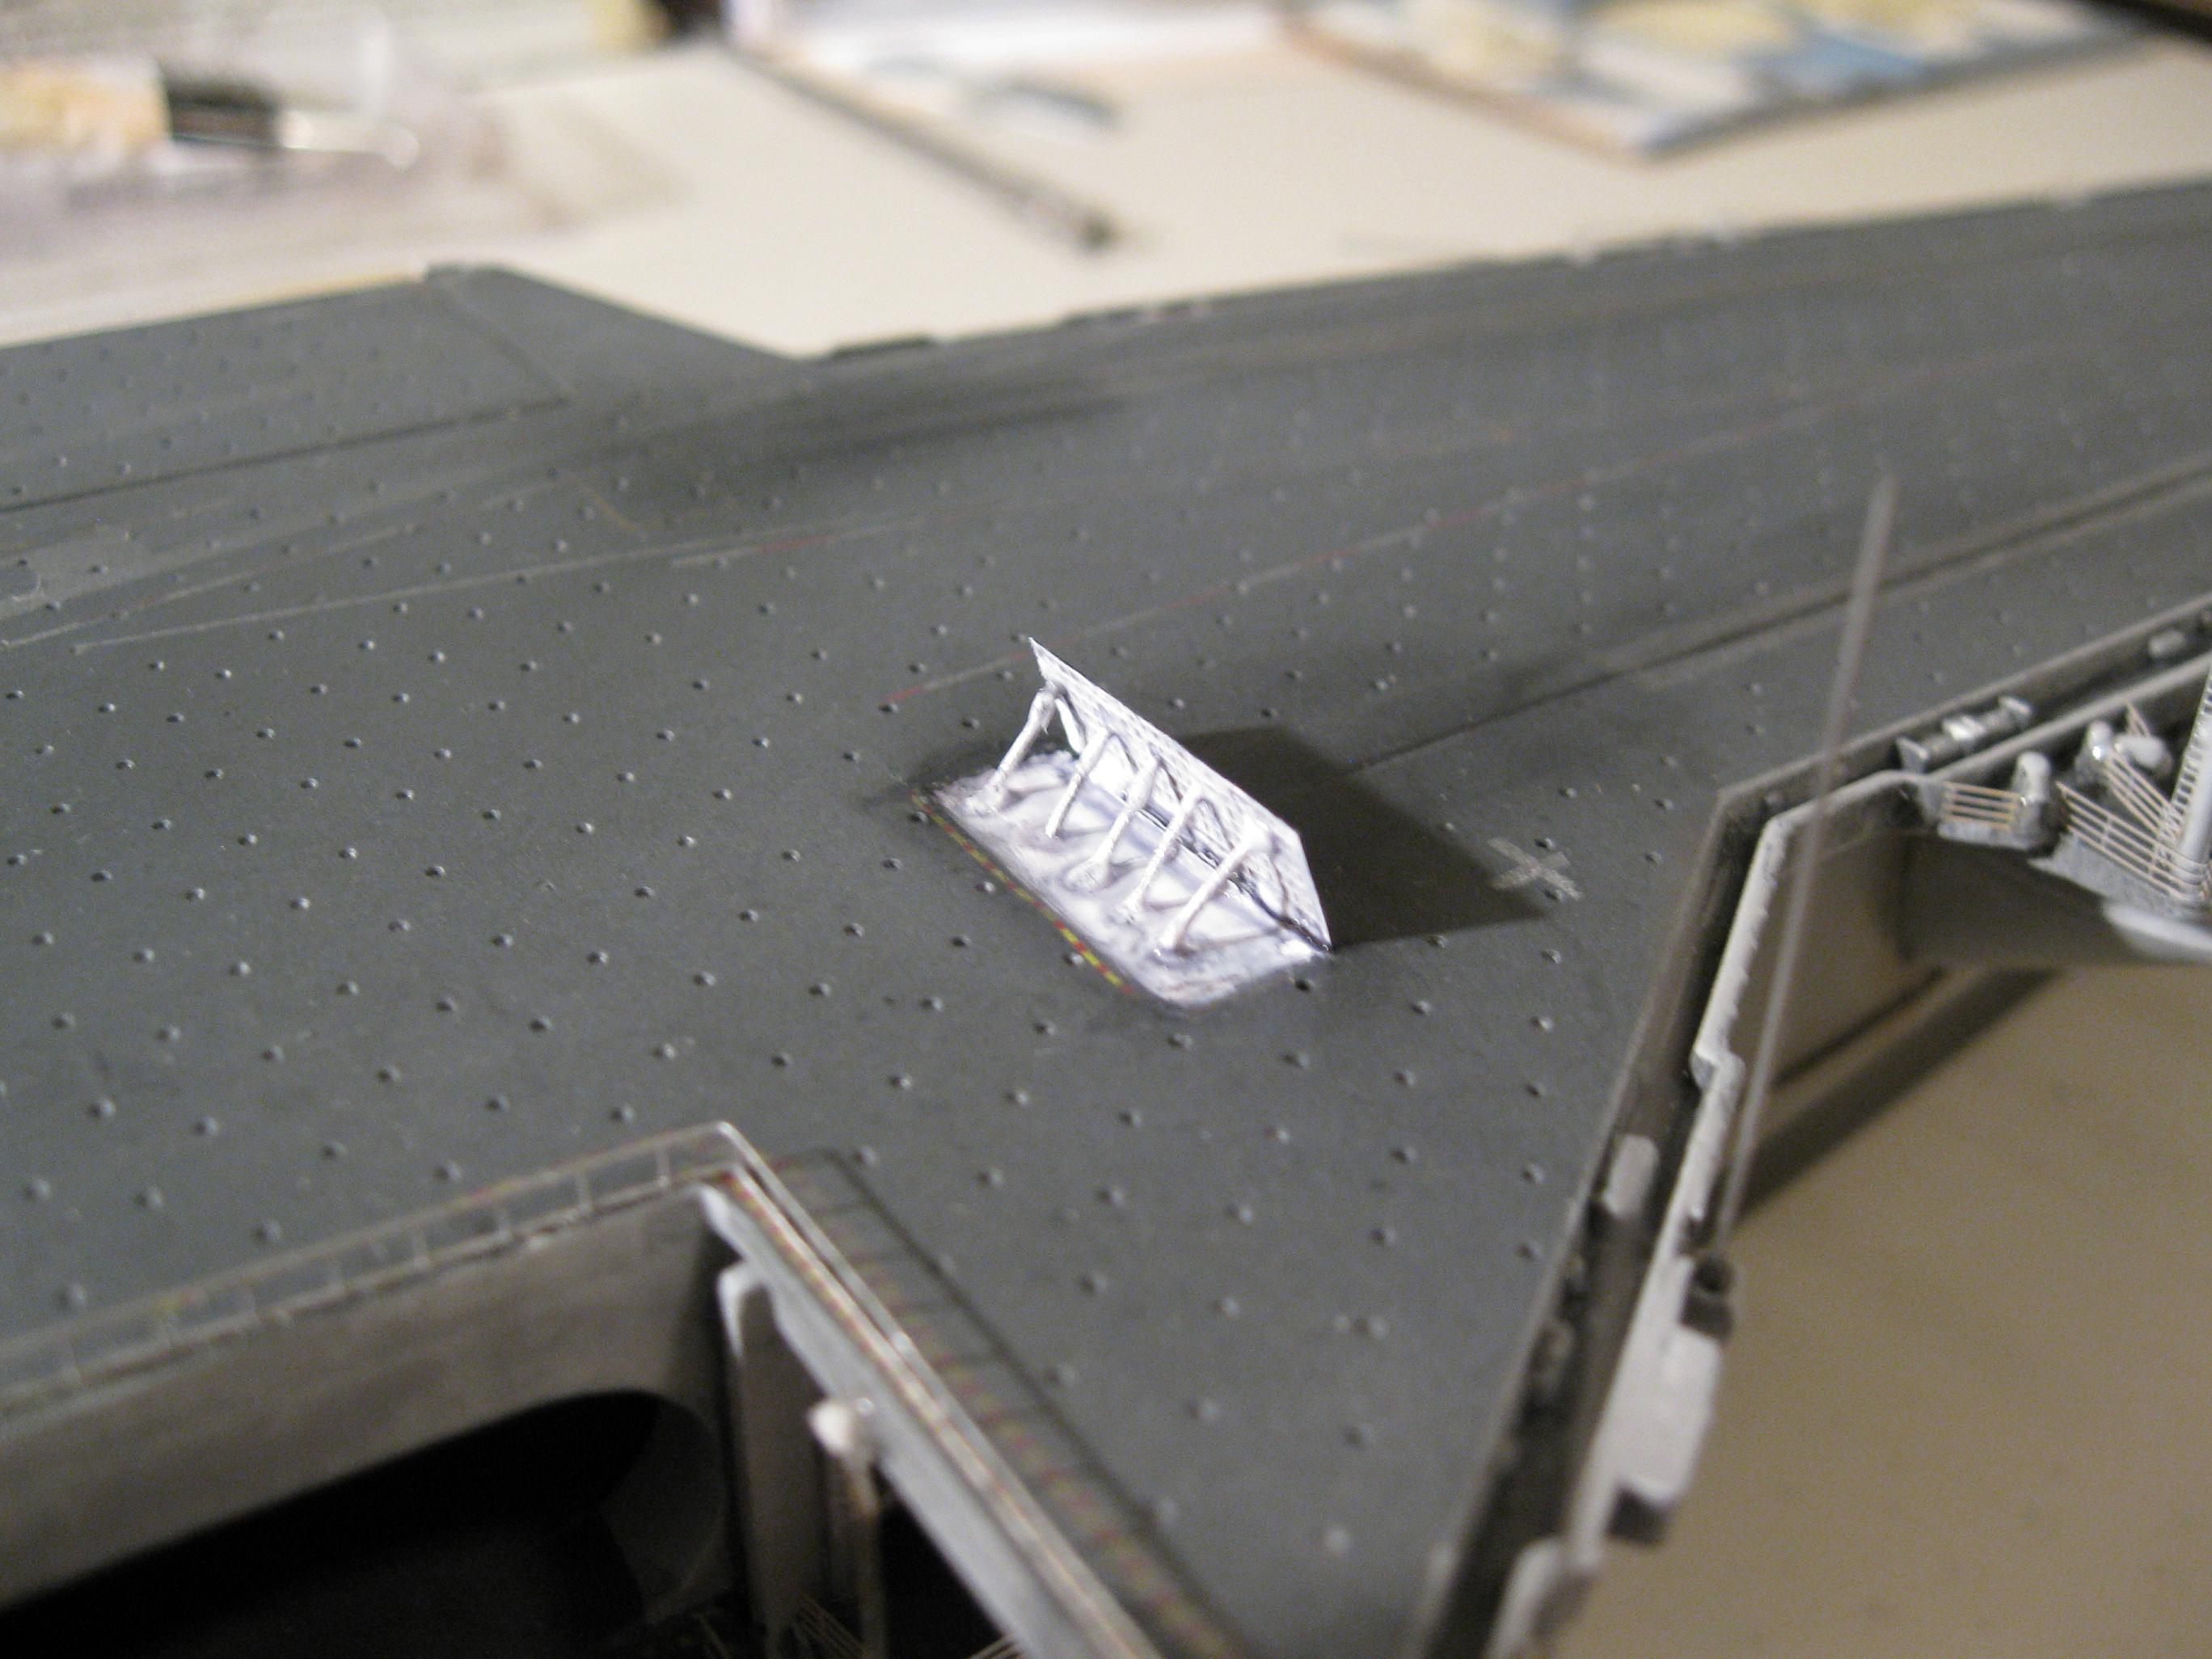
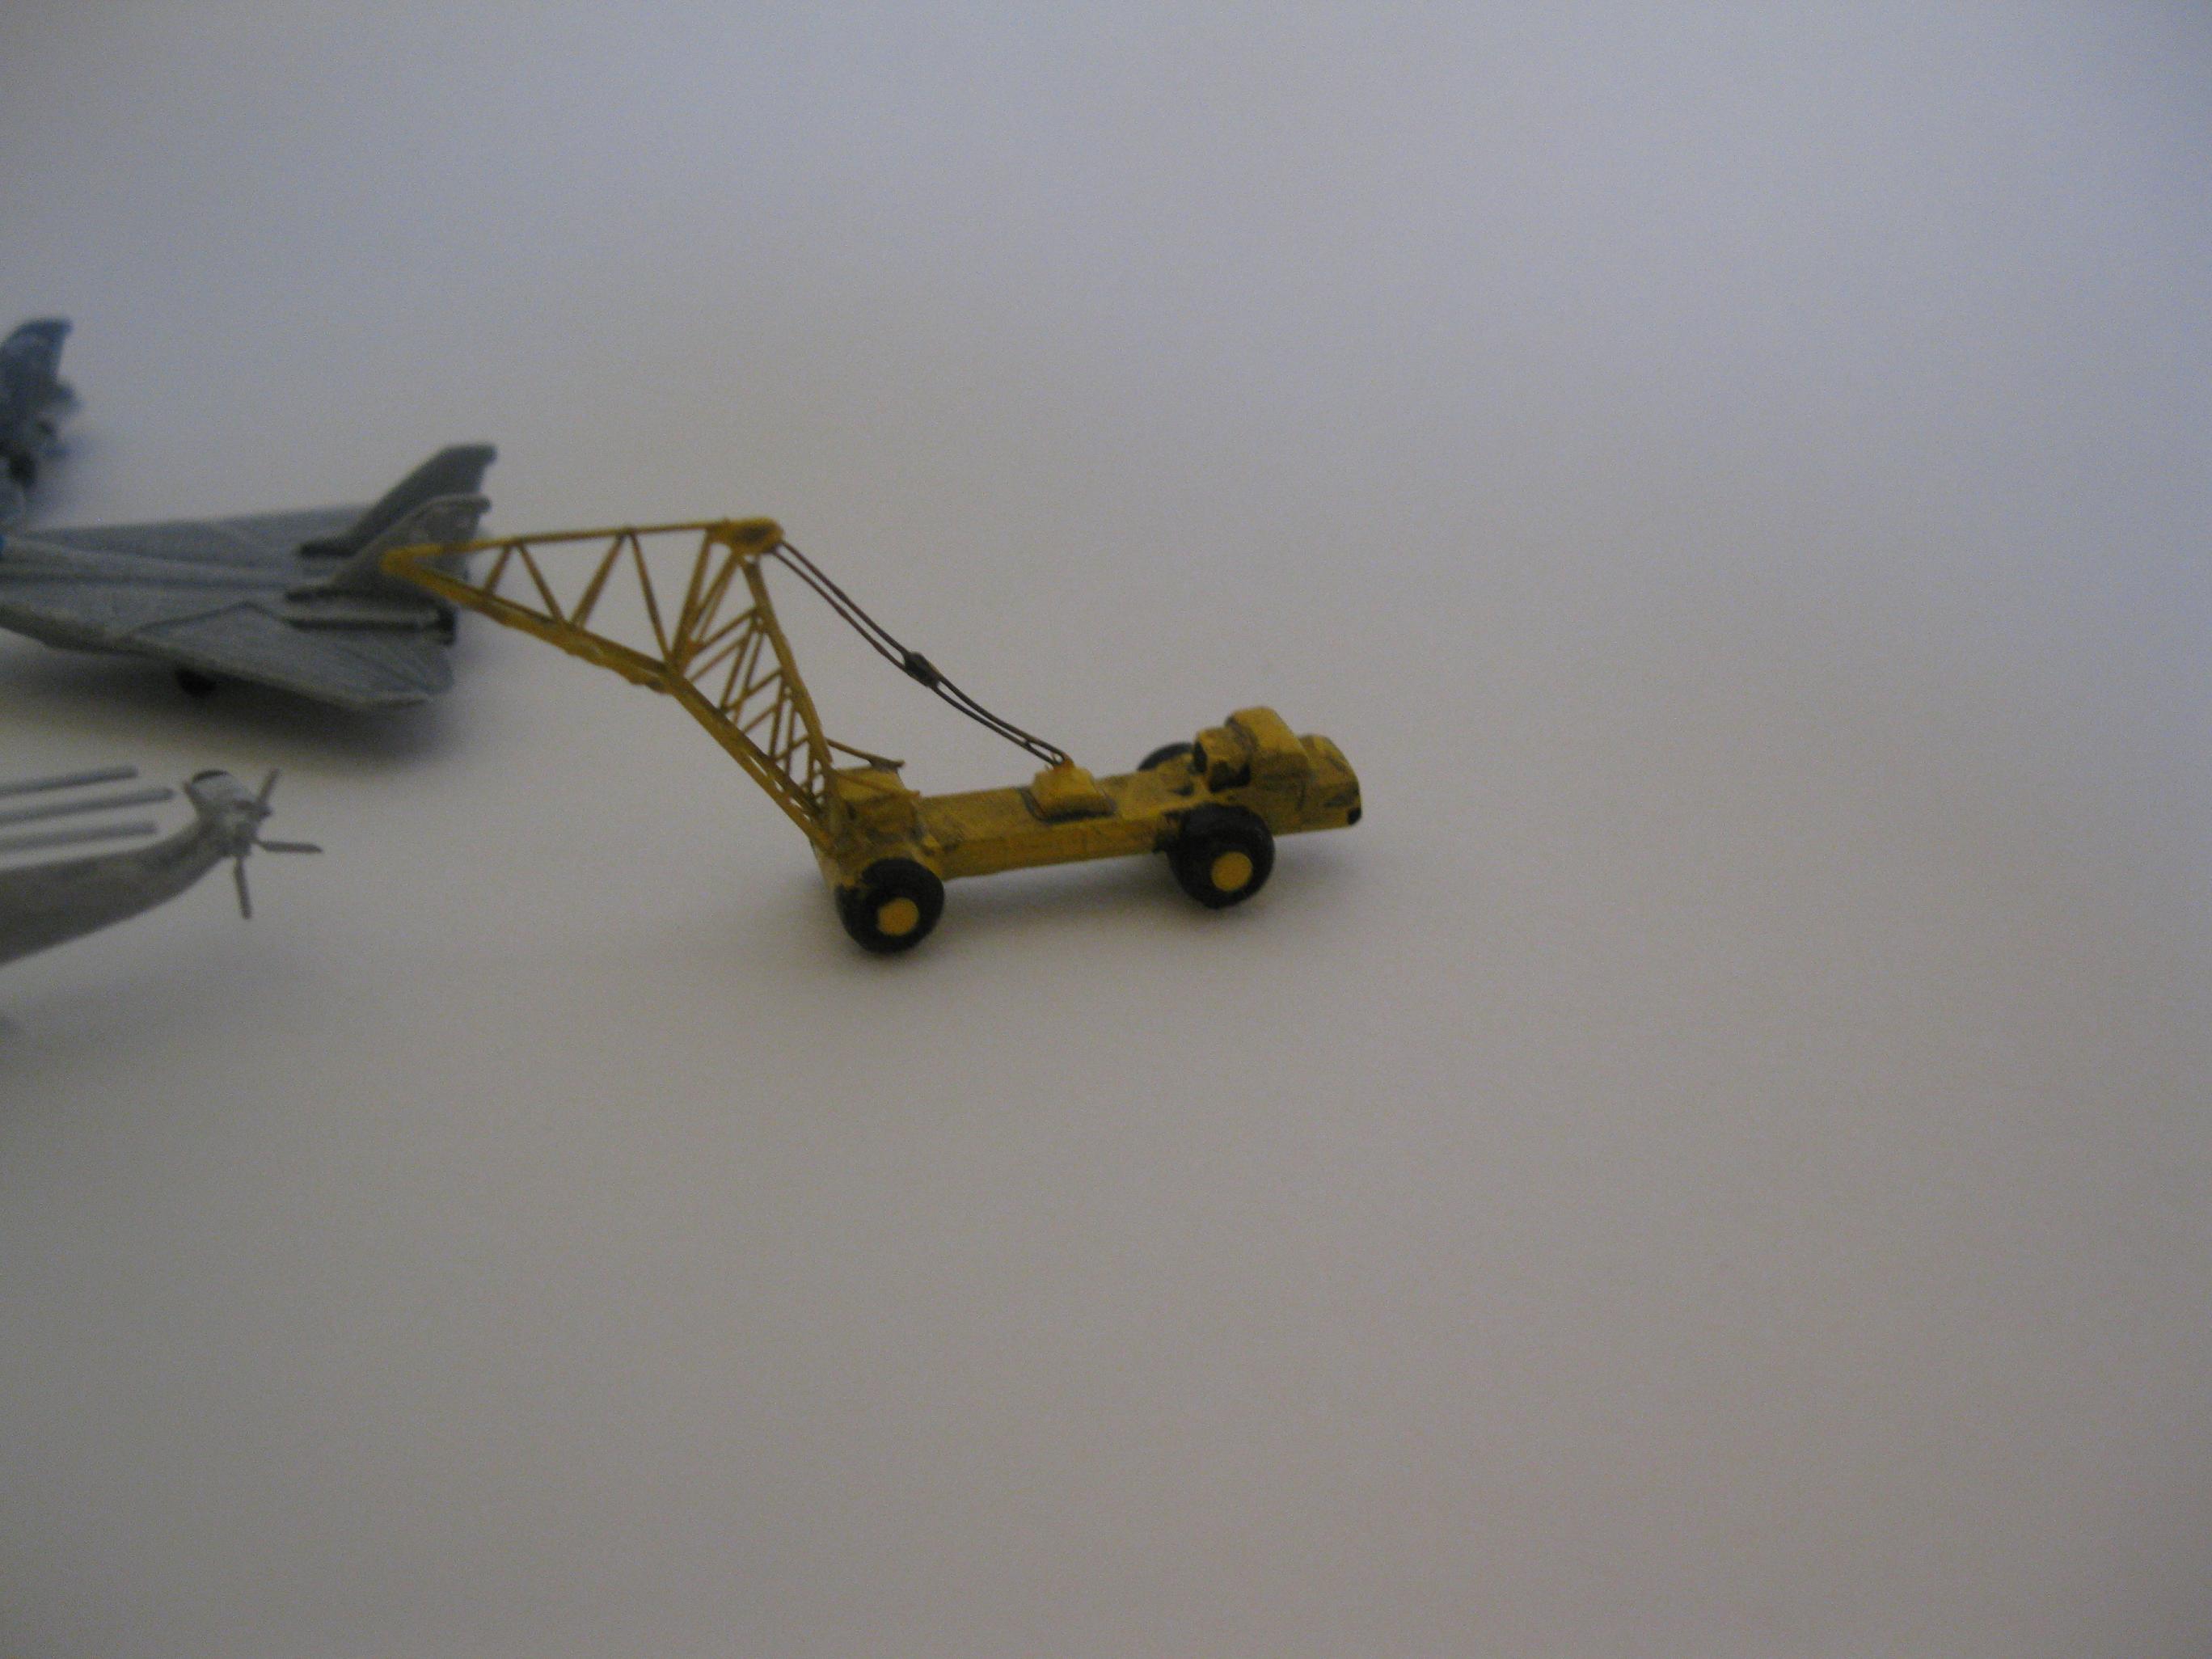
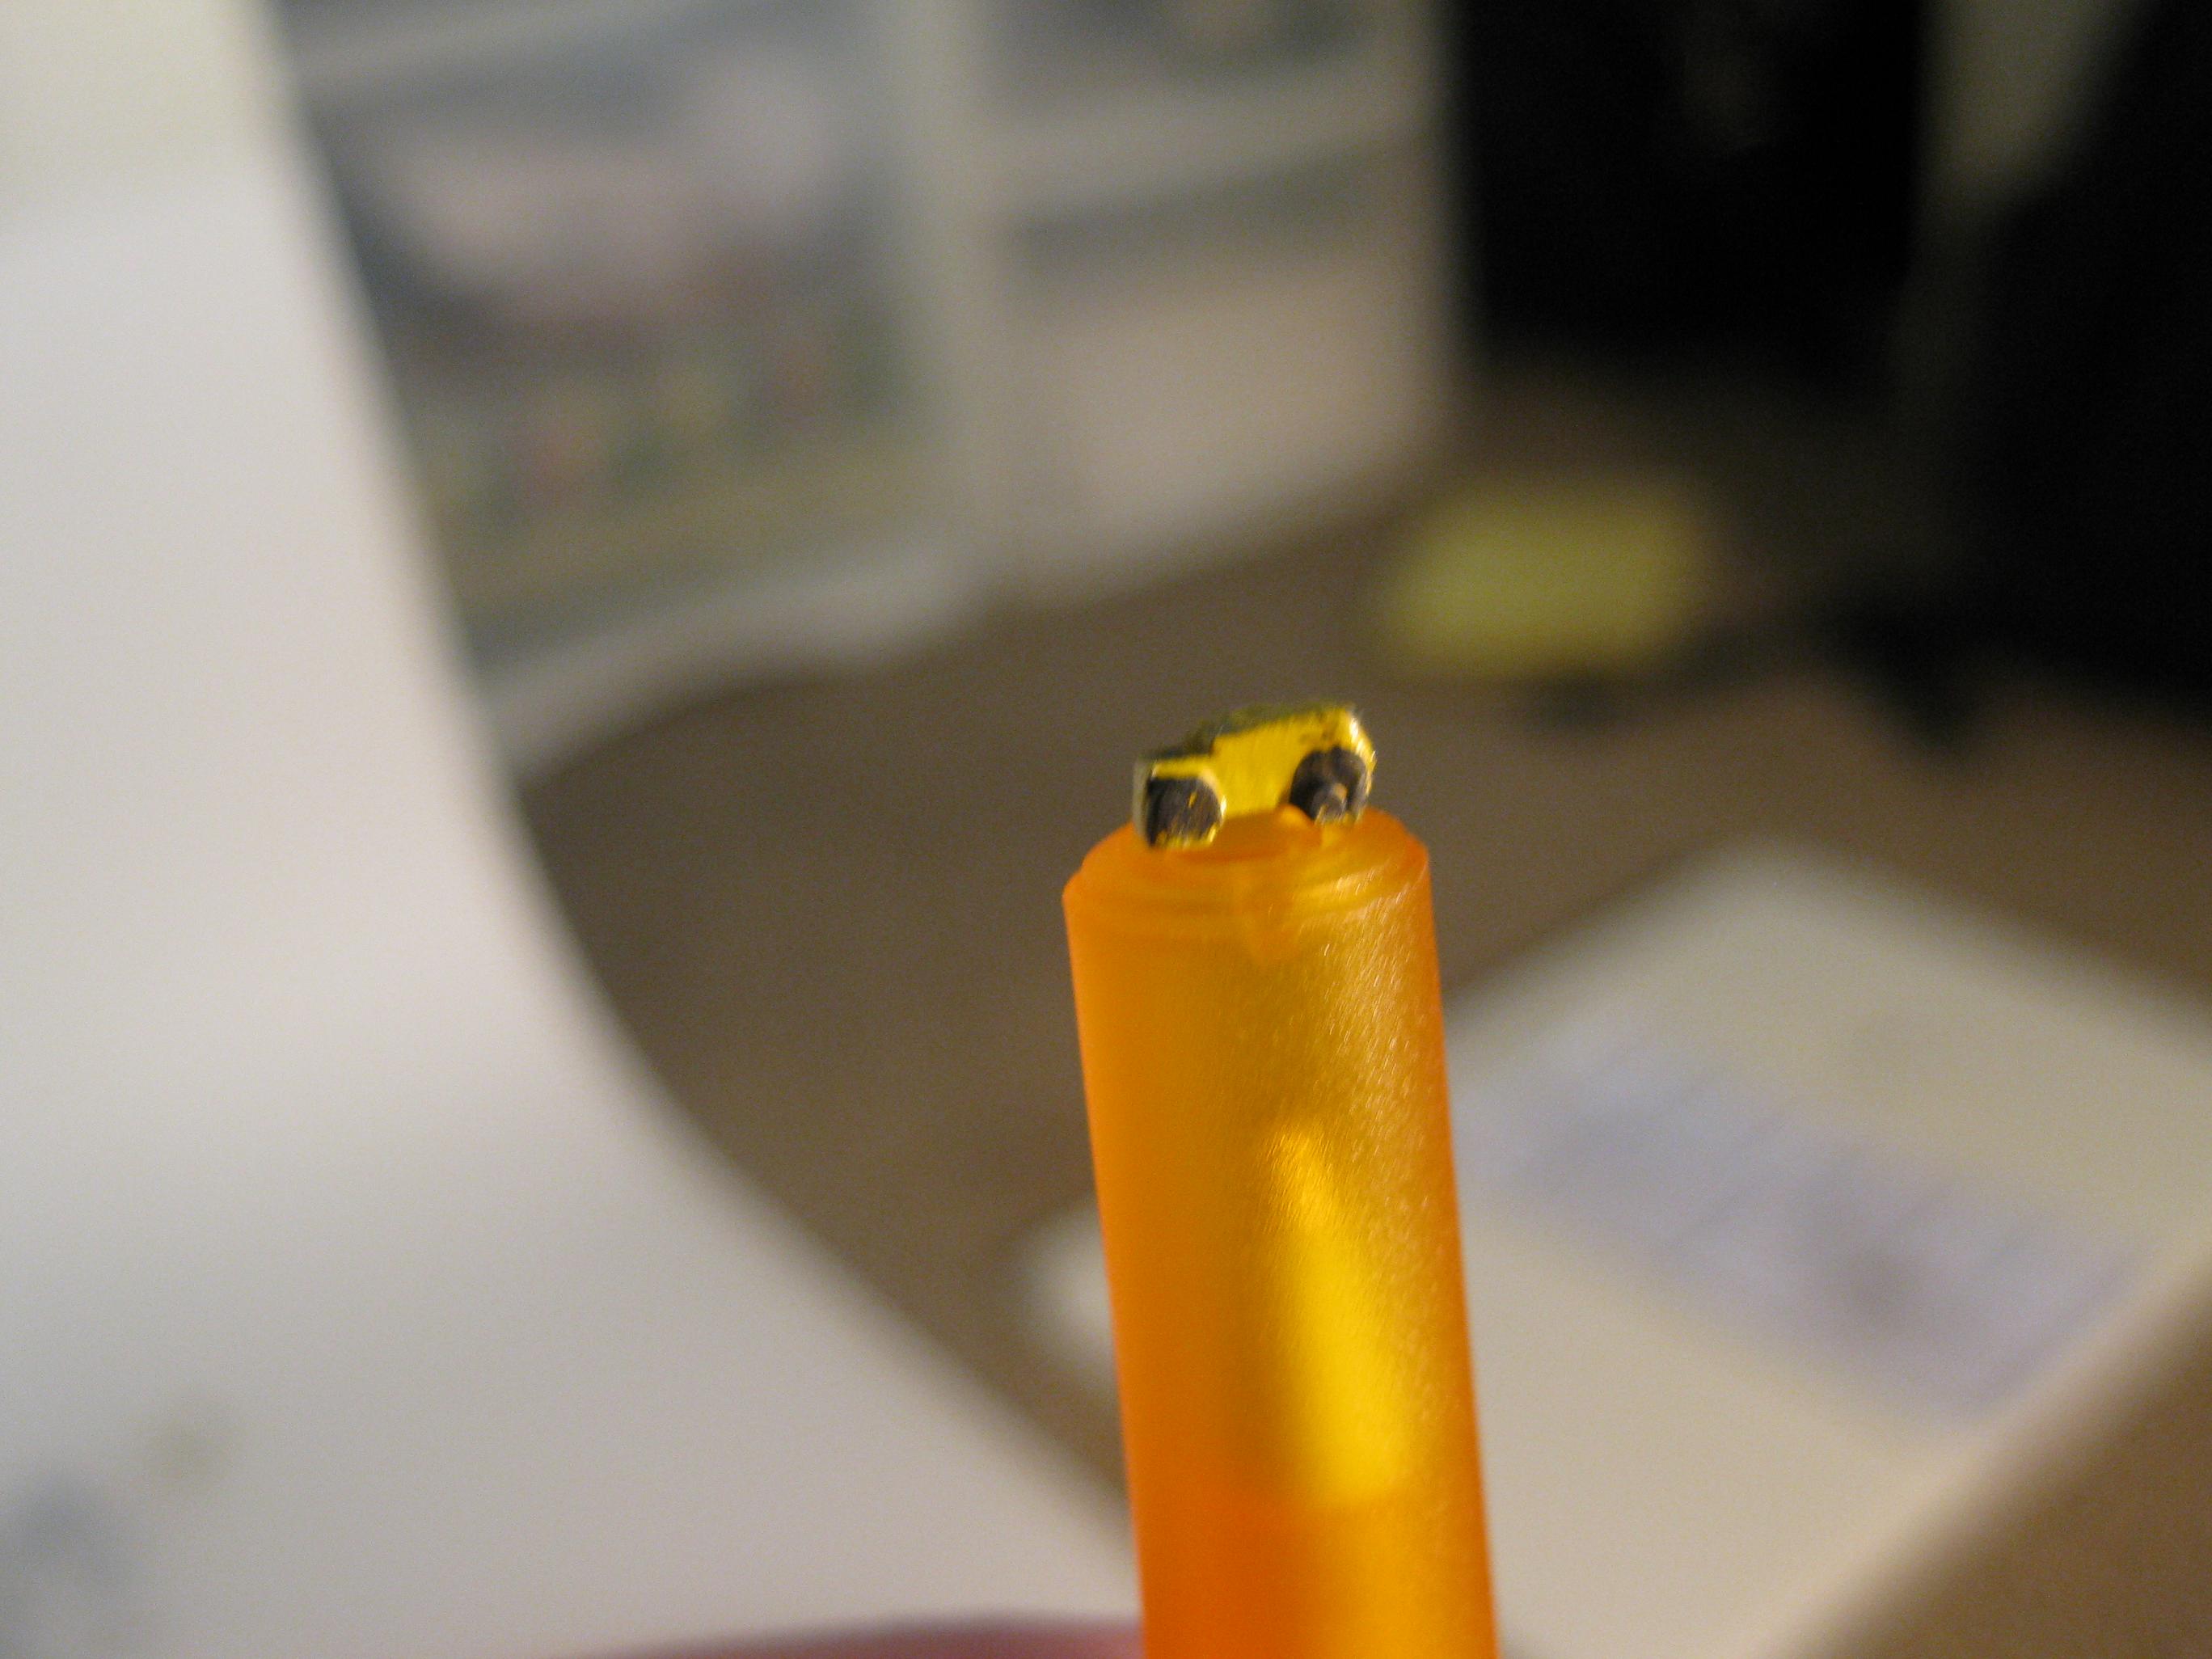
beginning to take shape. First Ever Photoetch Part Assembly -
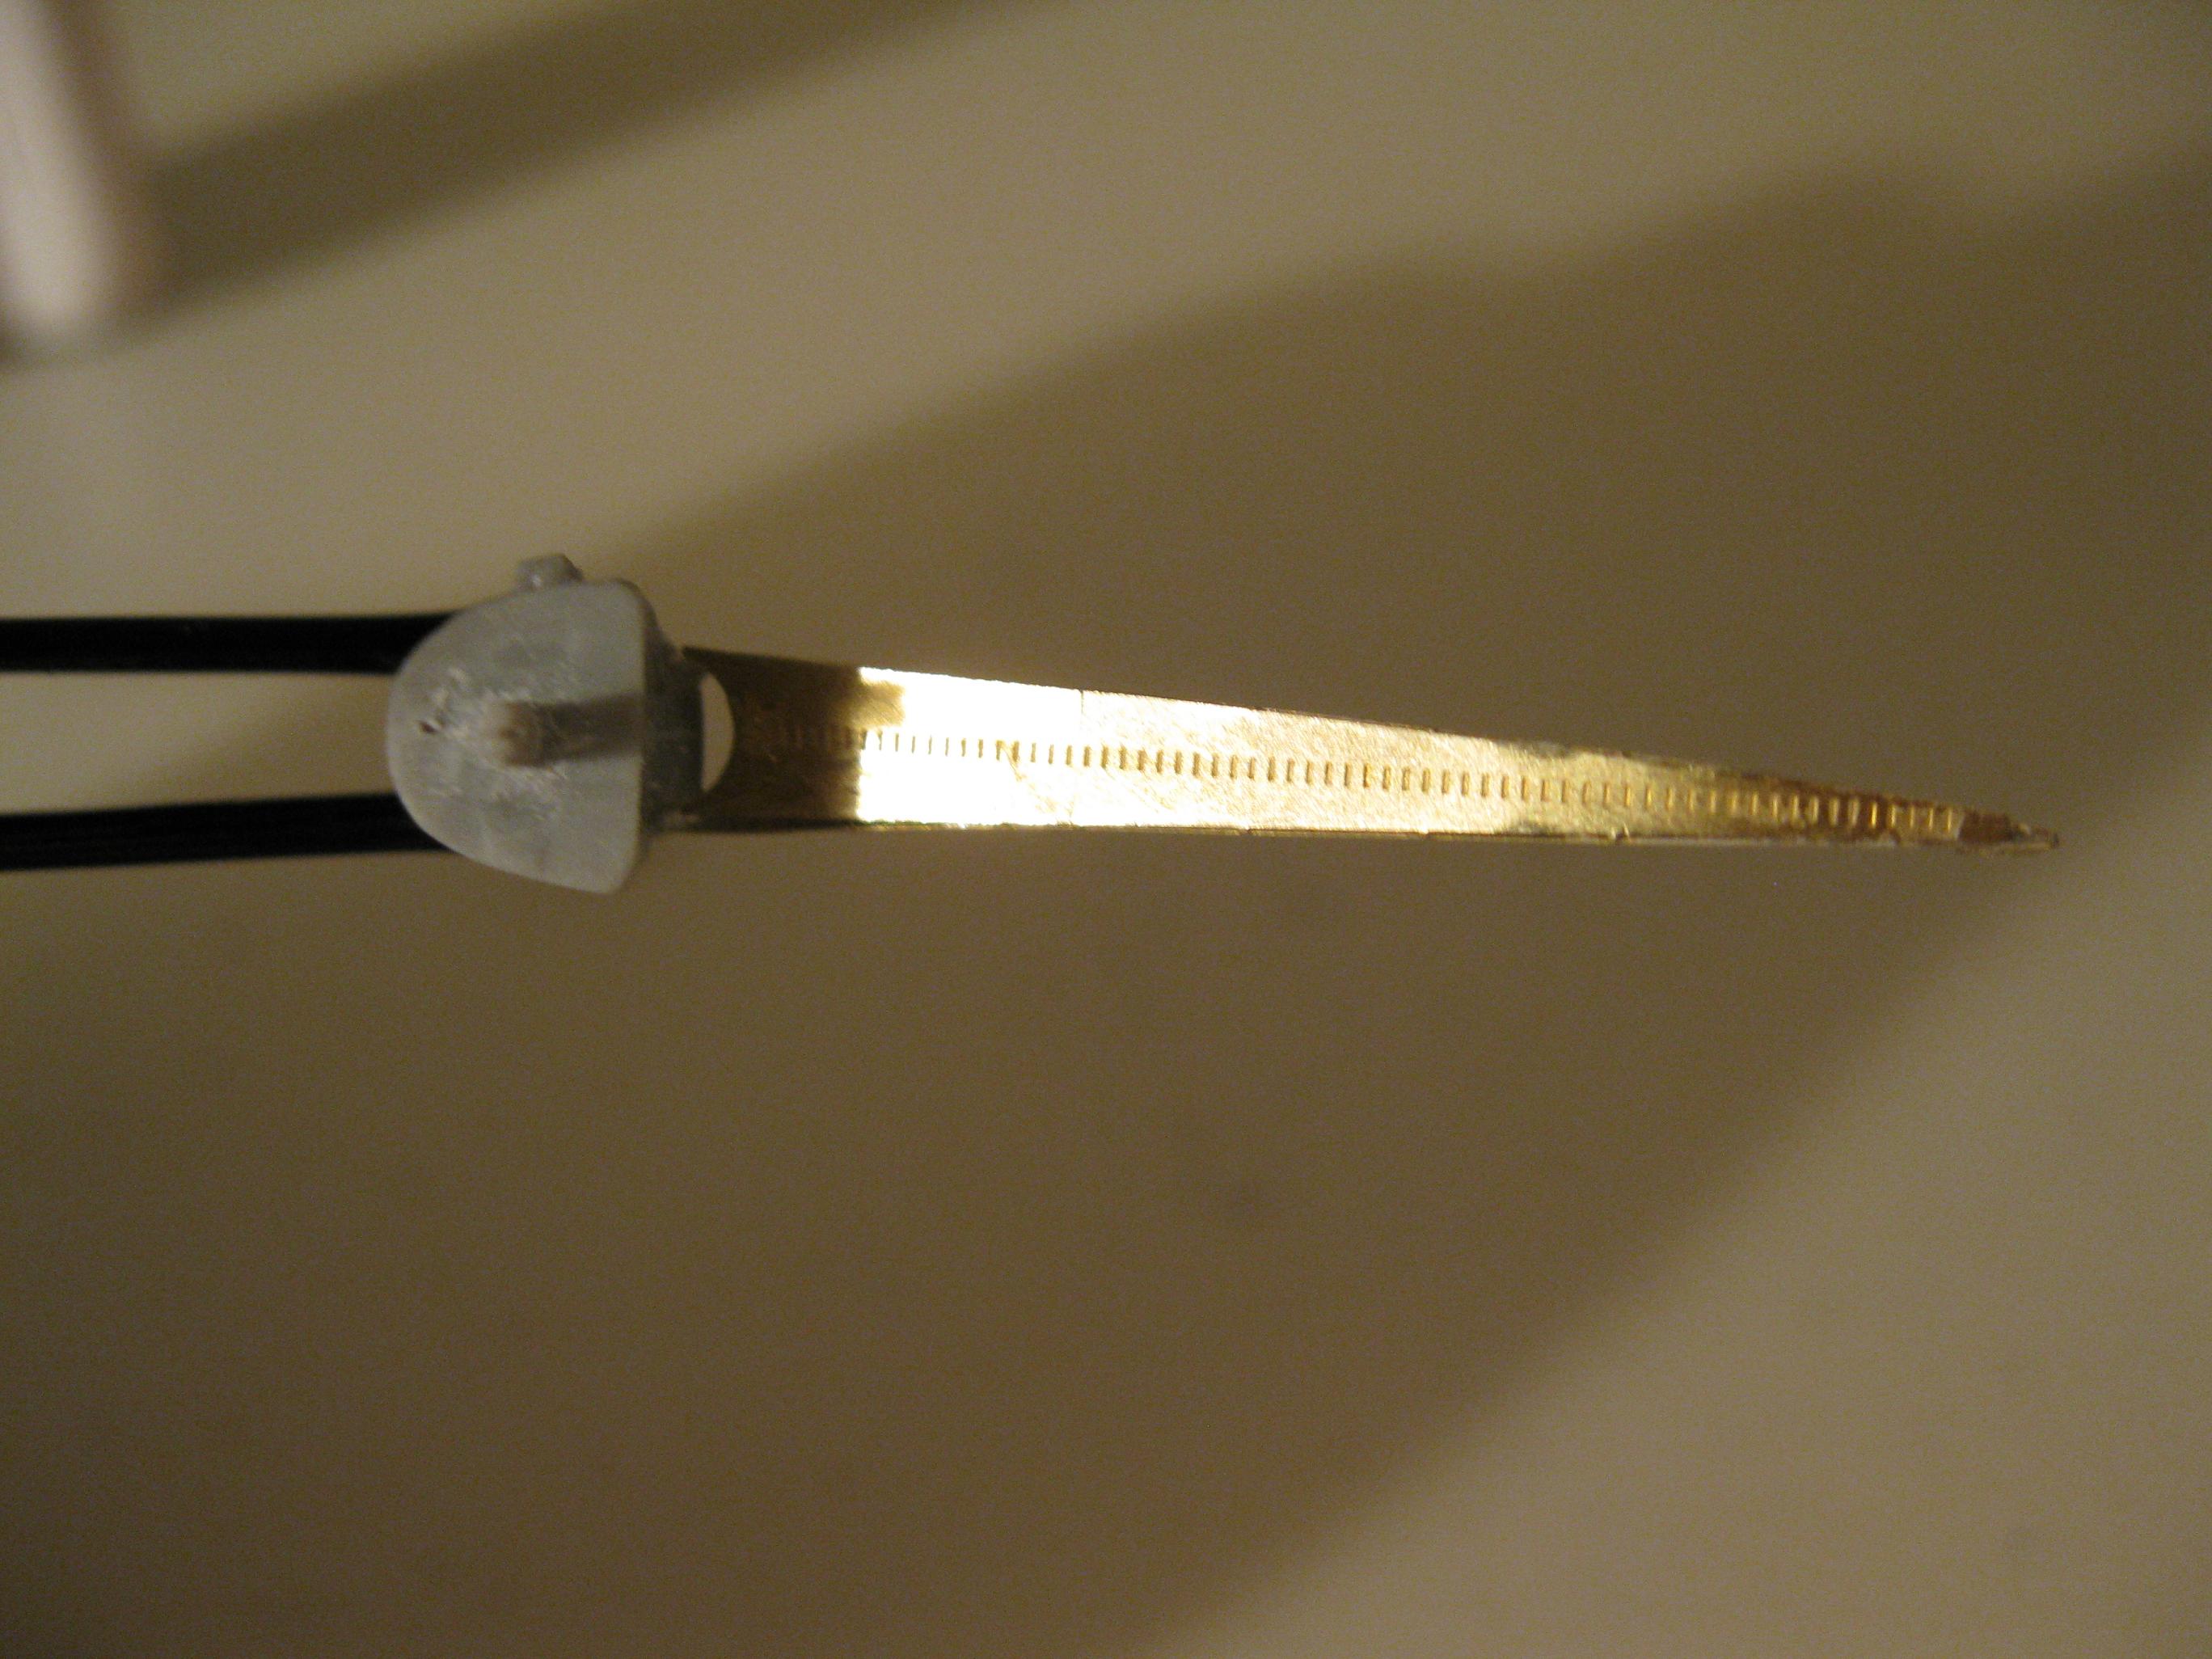
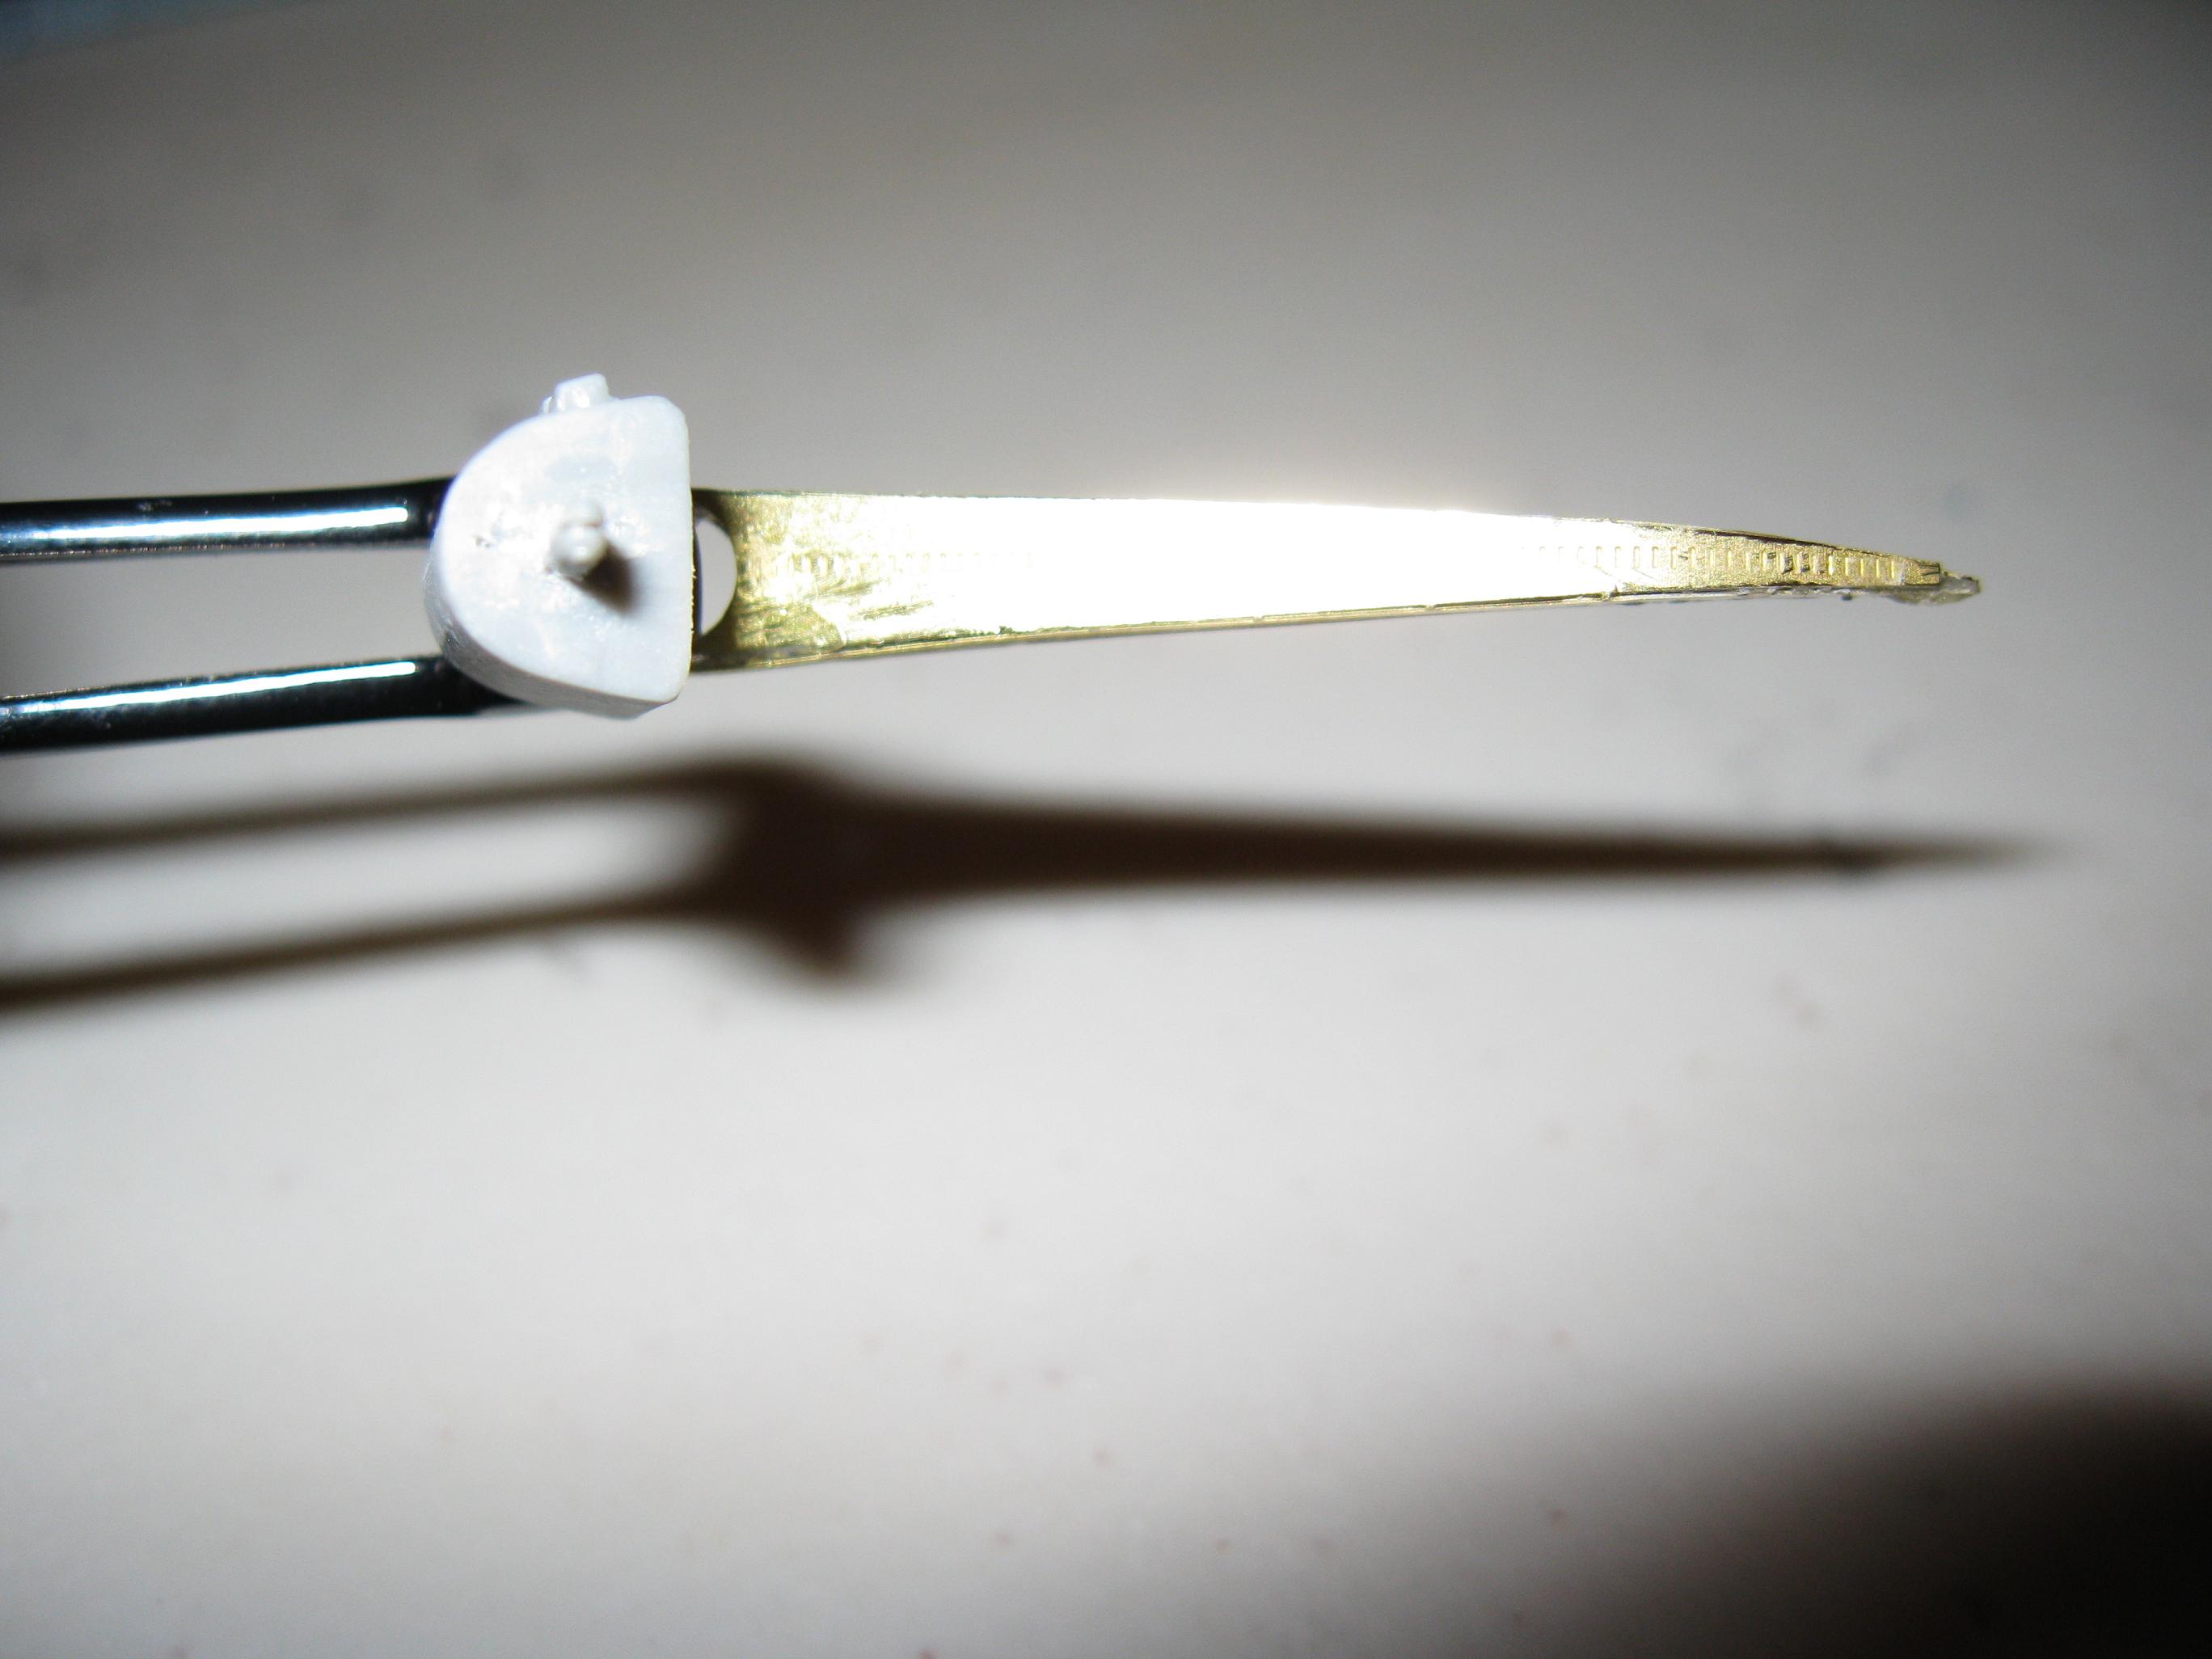
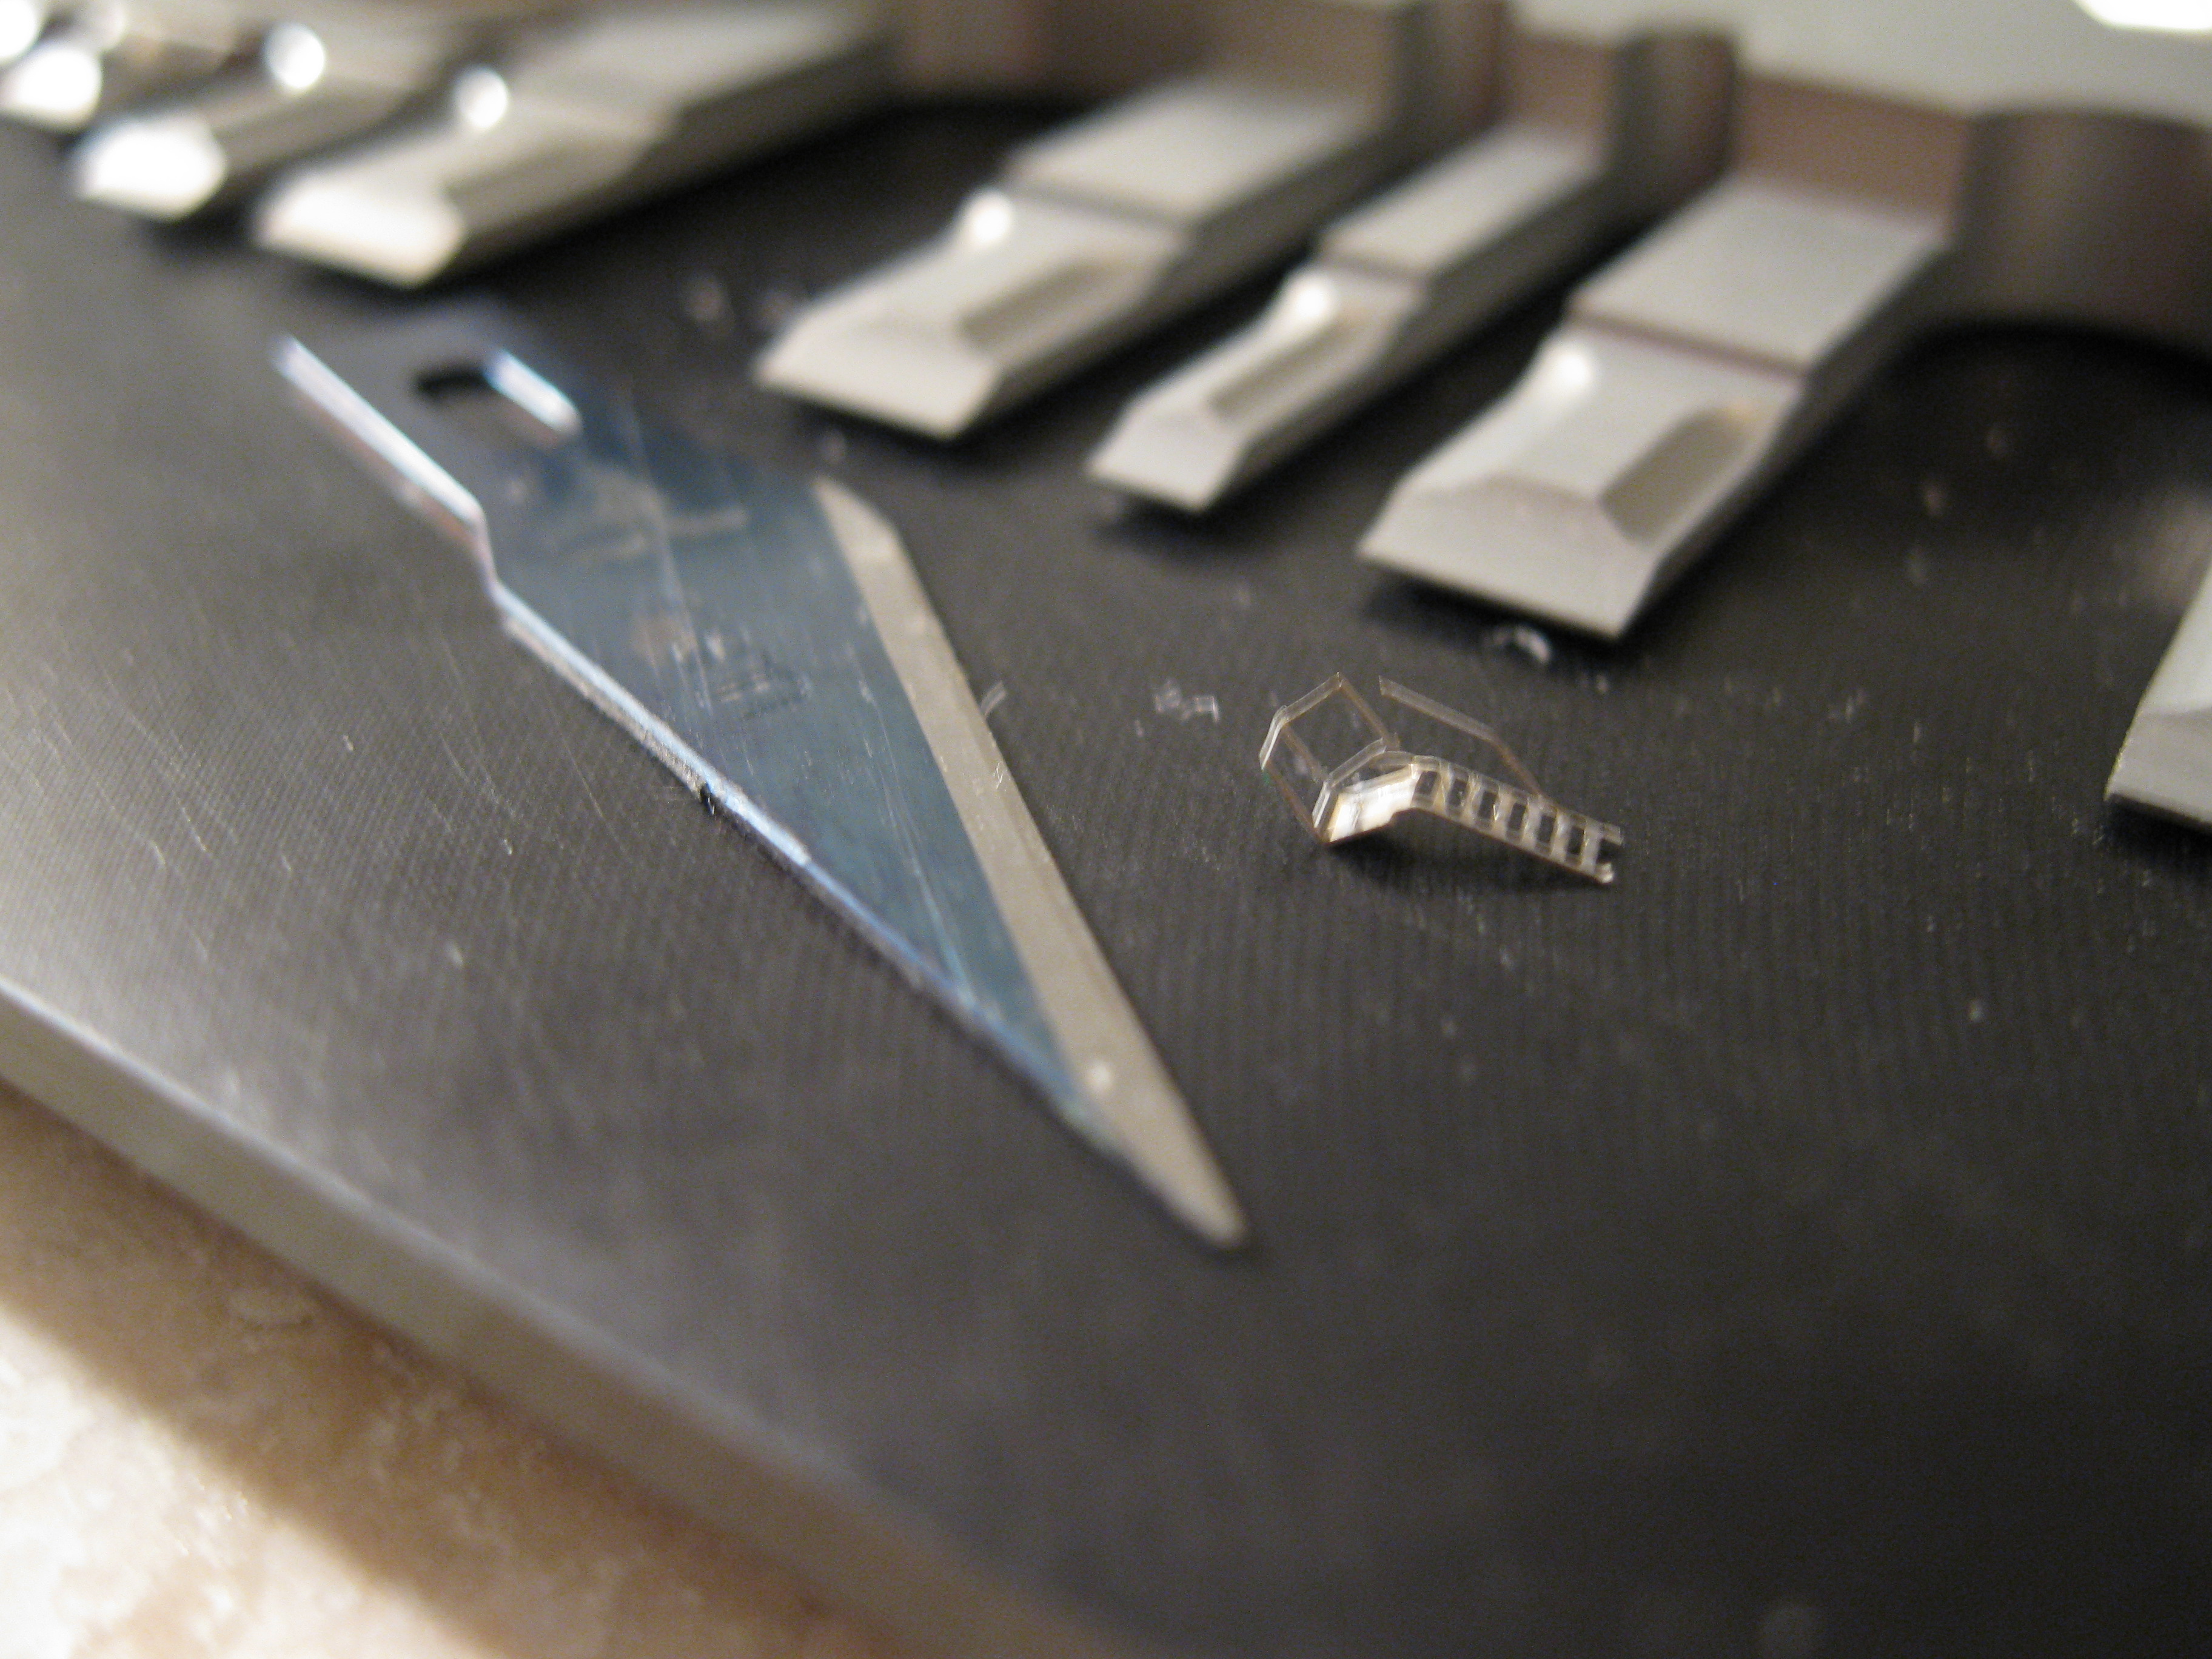
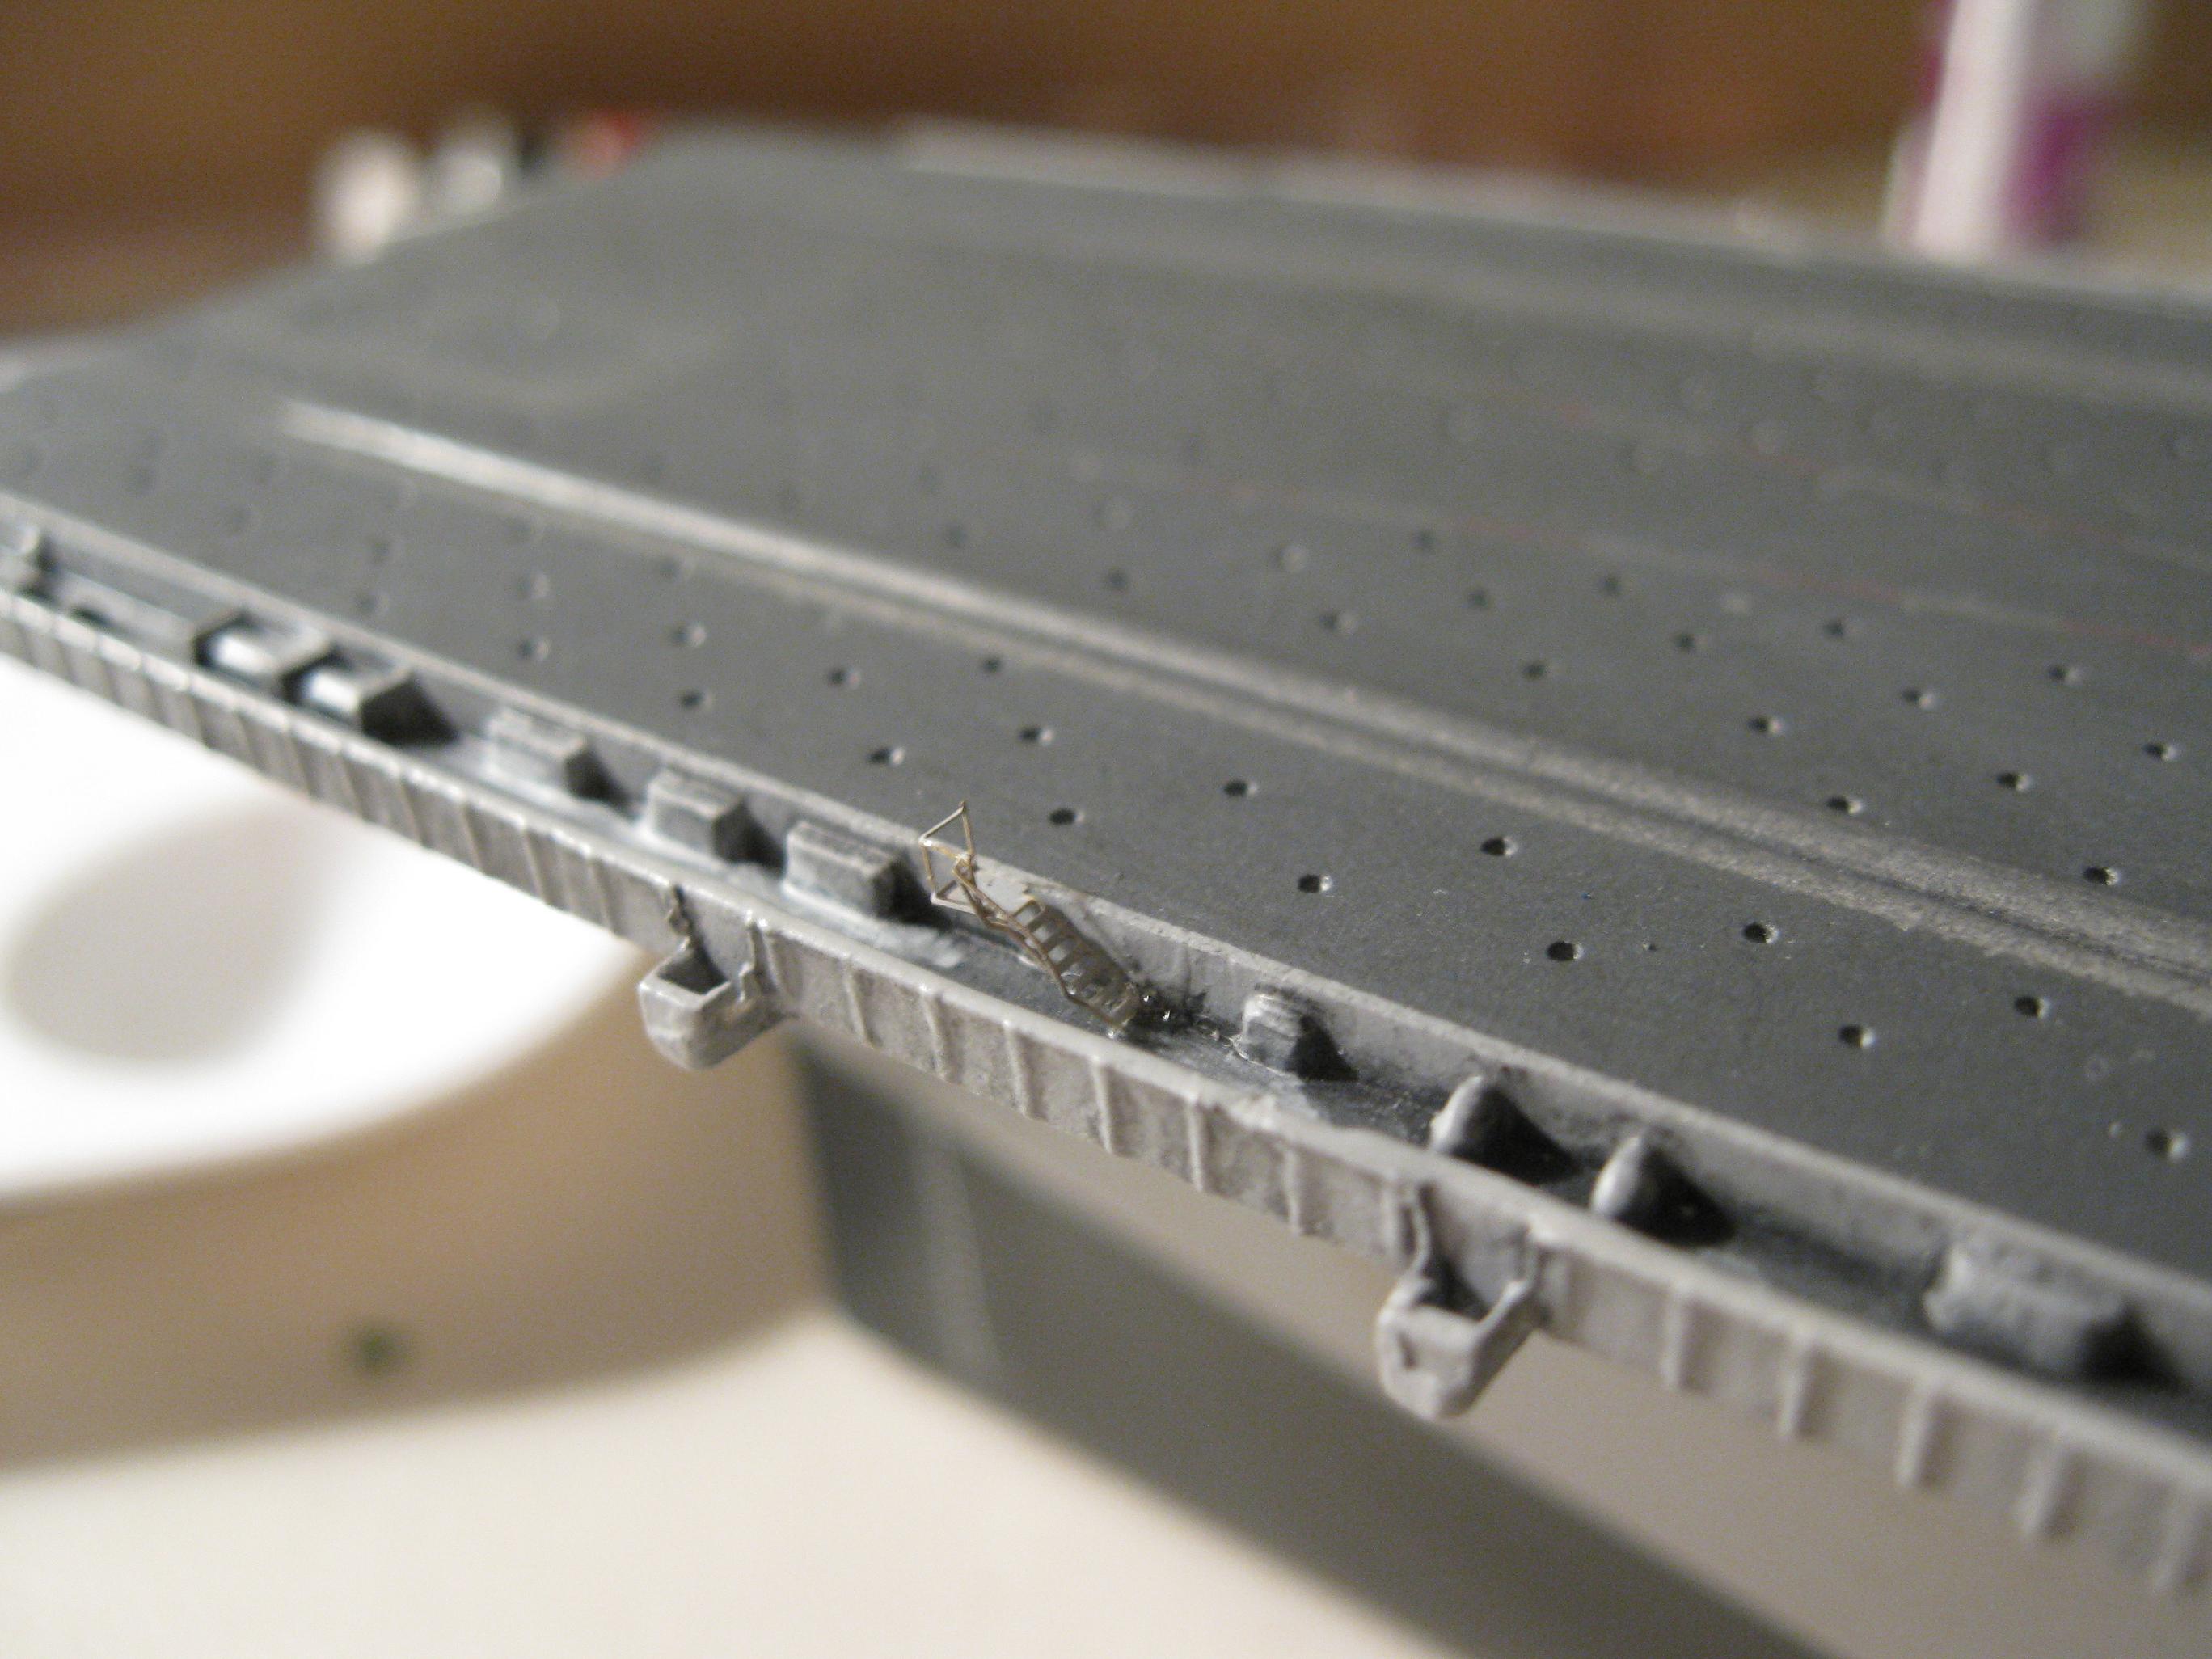
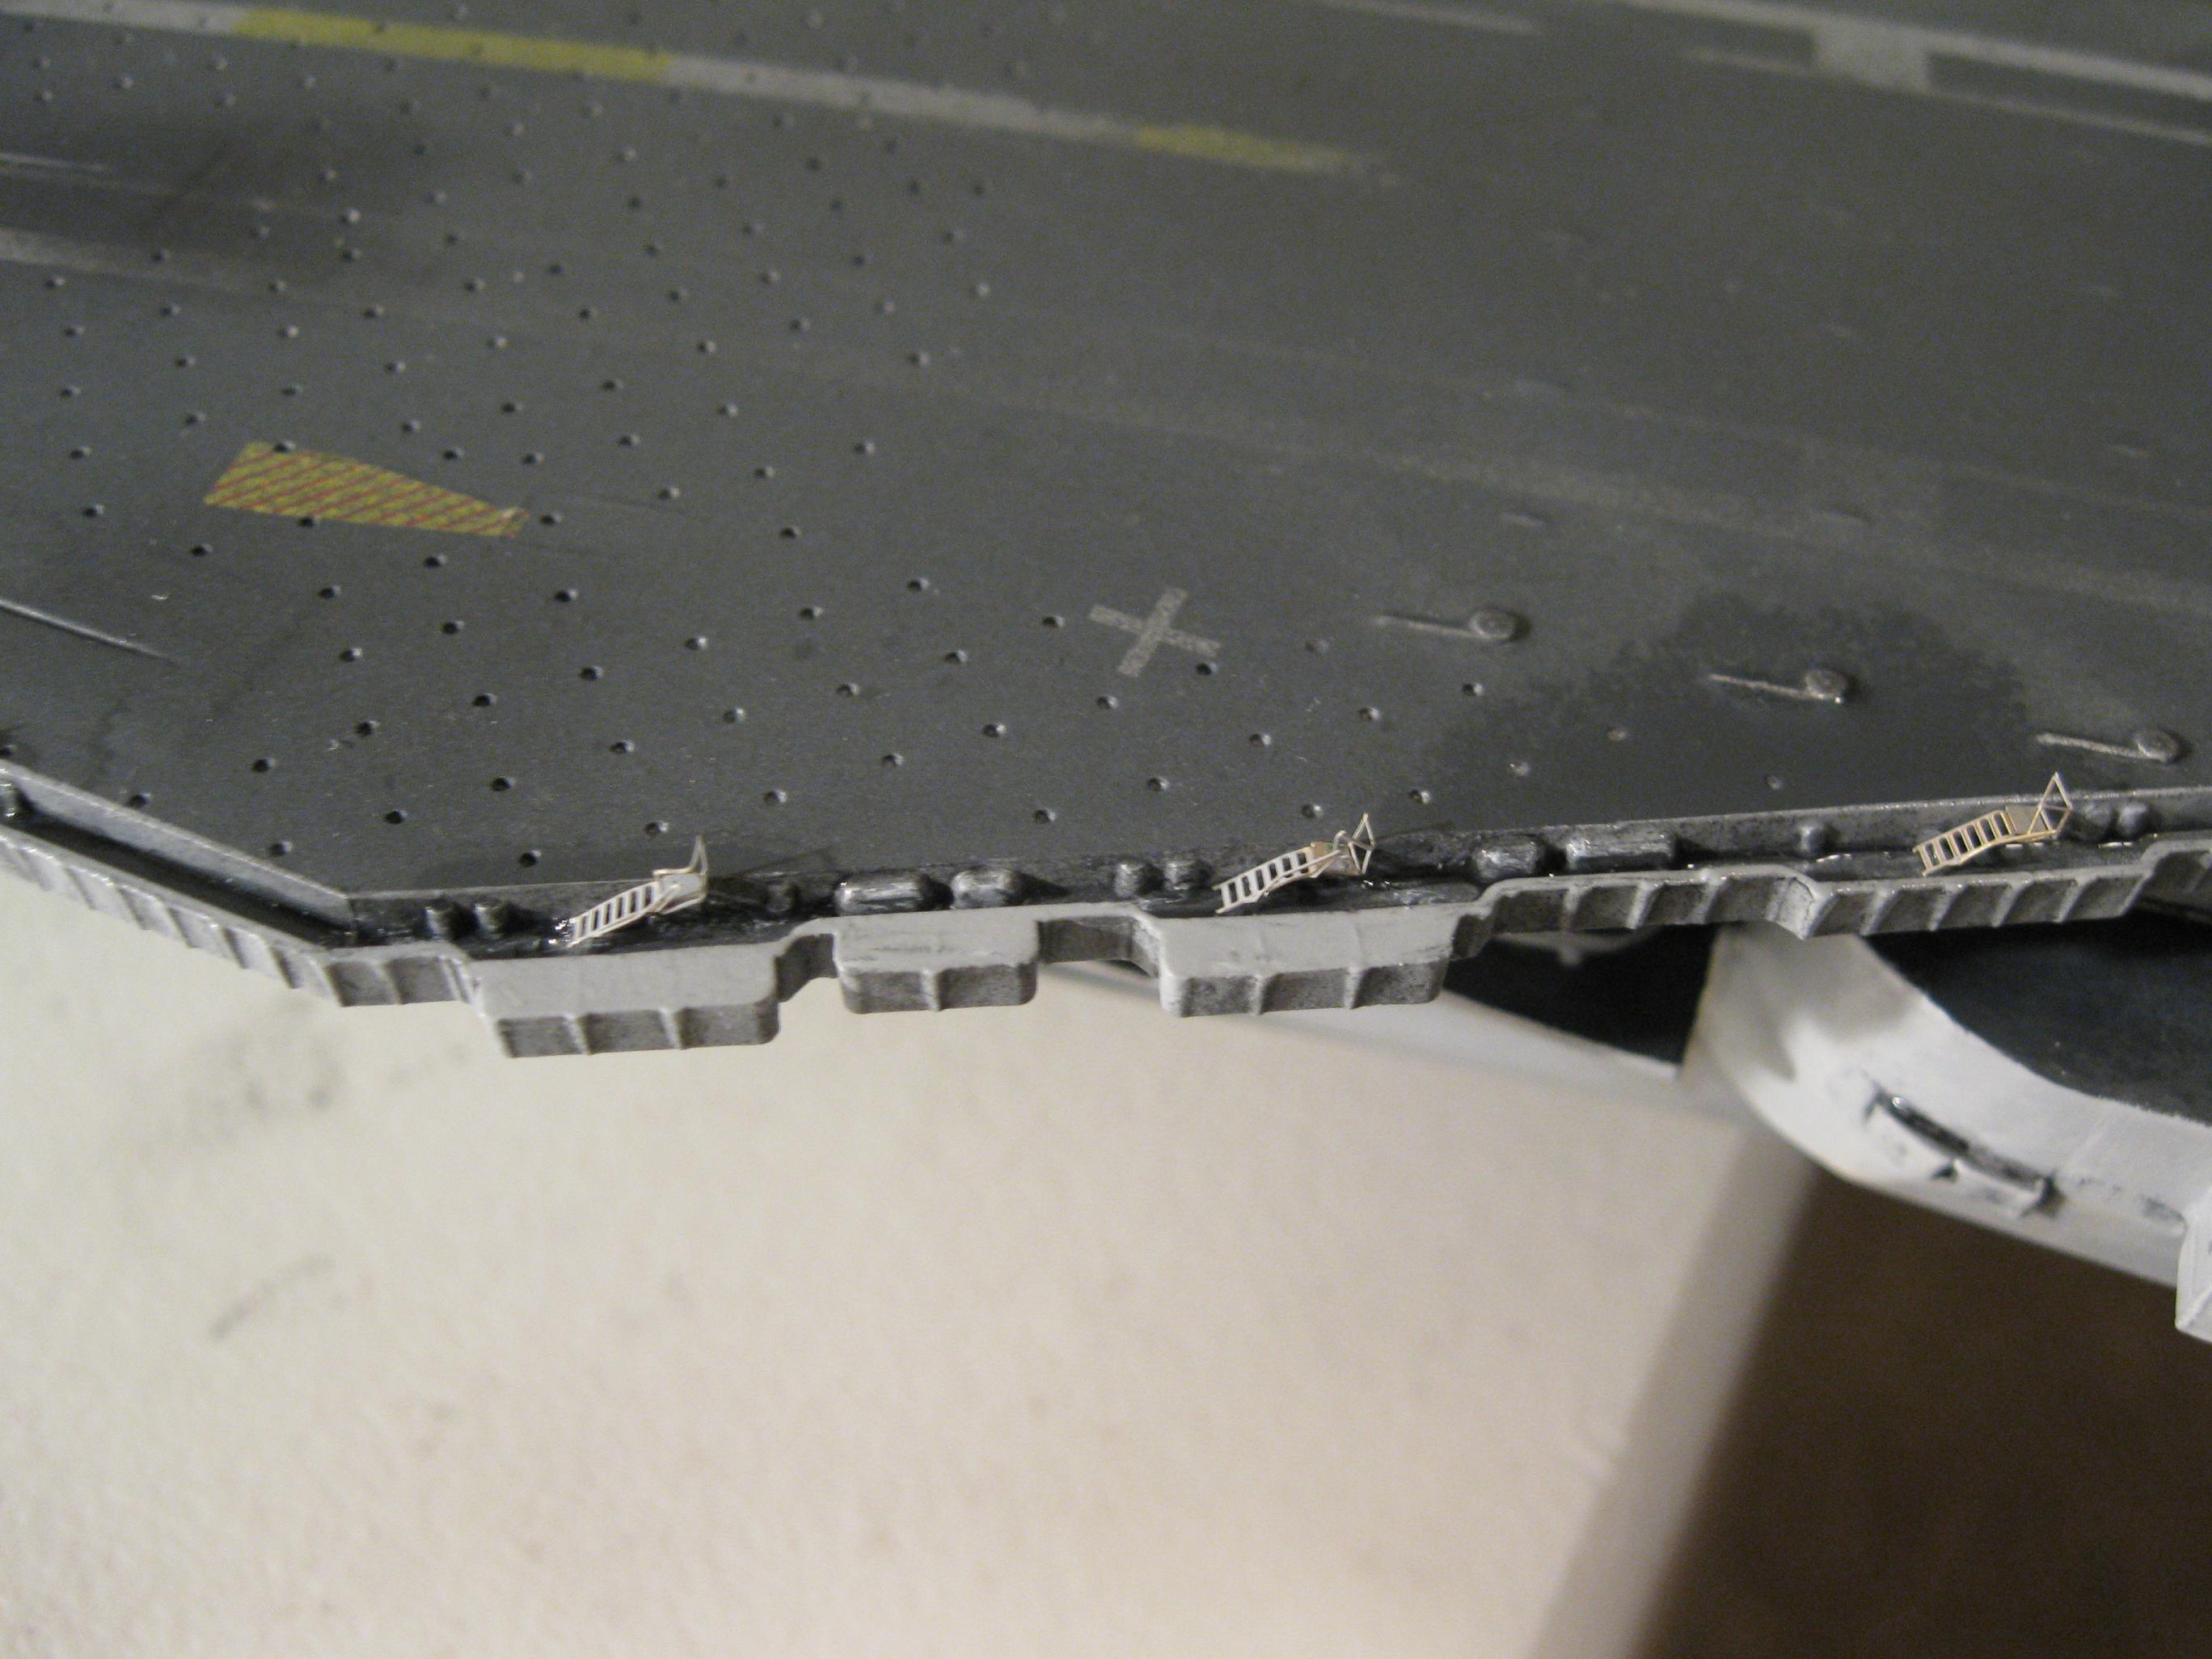
The Aircraft Crane Bending the Flight Deck Ladders.
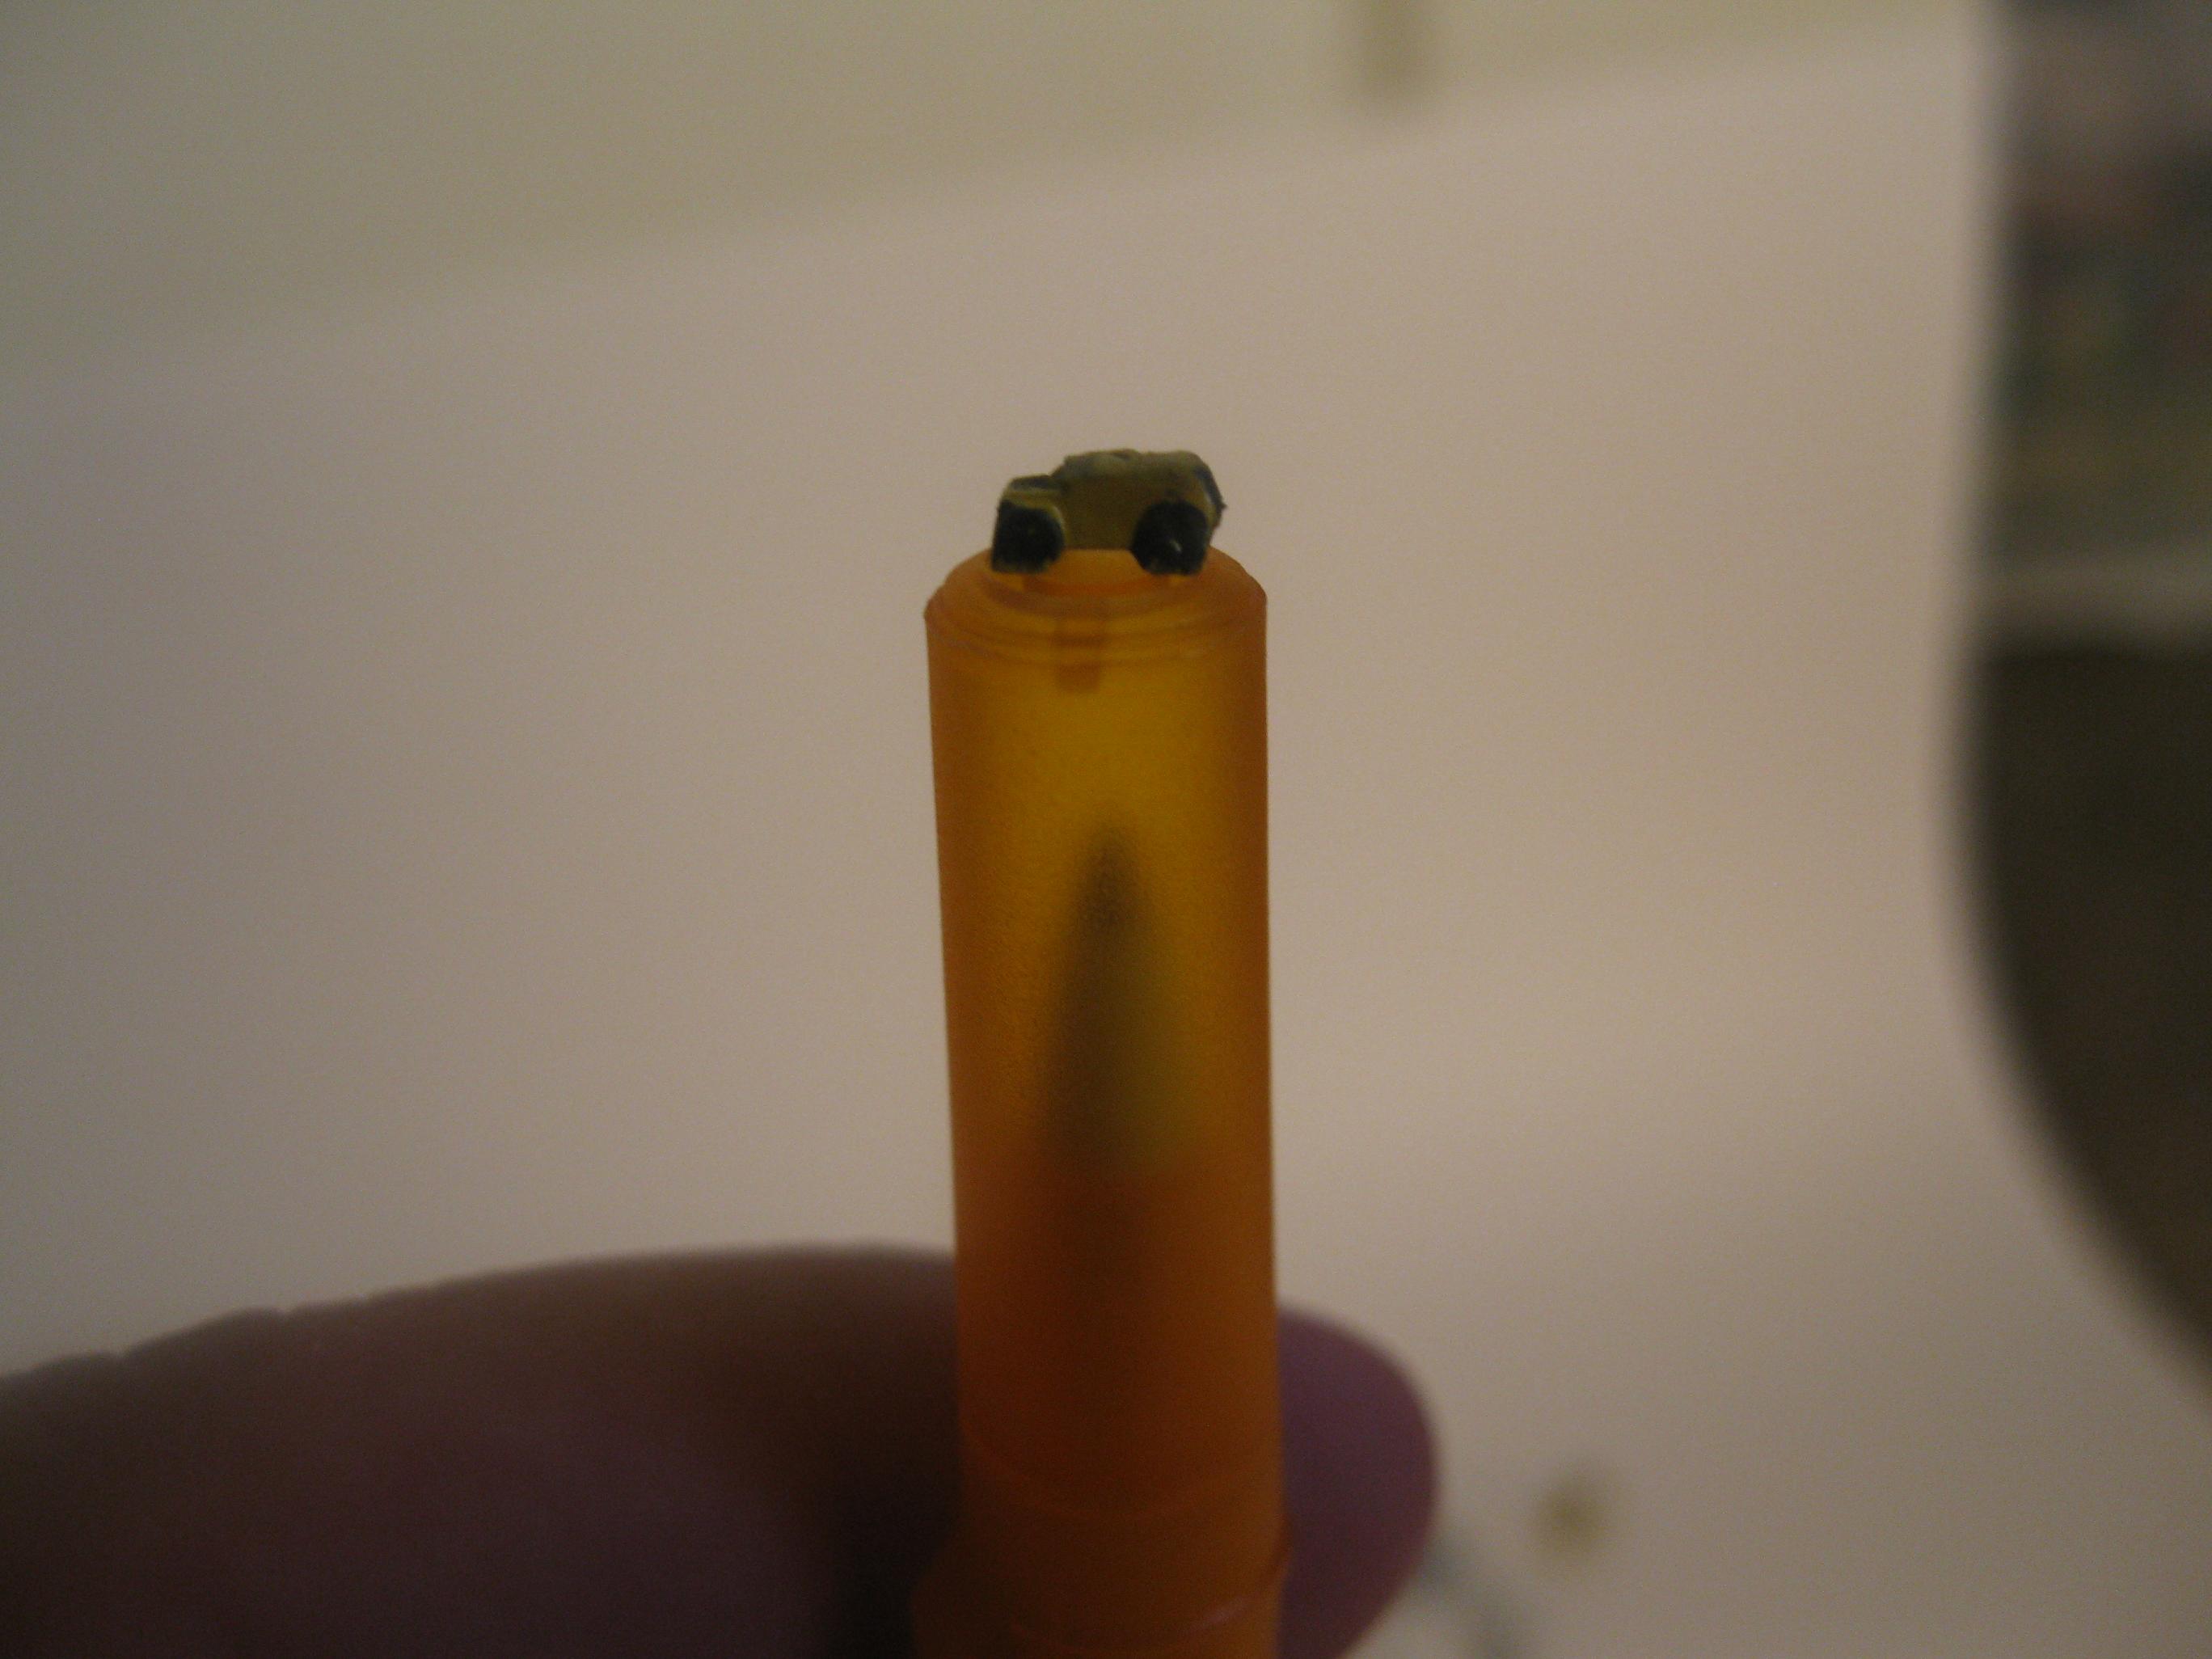
What a pain. Check out the relative size to the
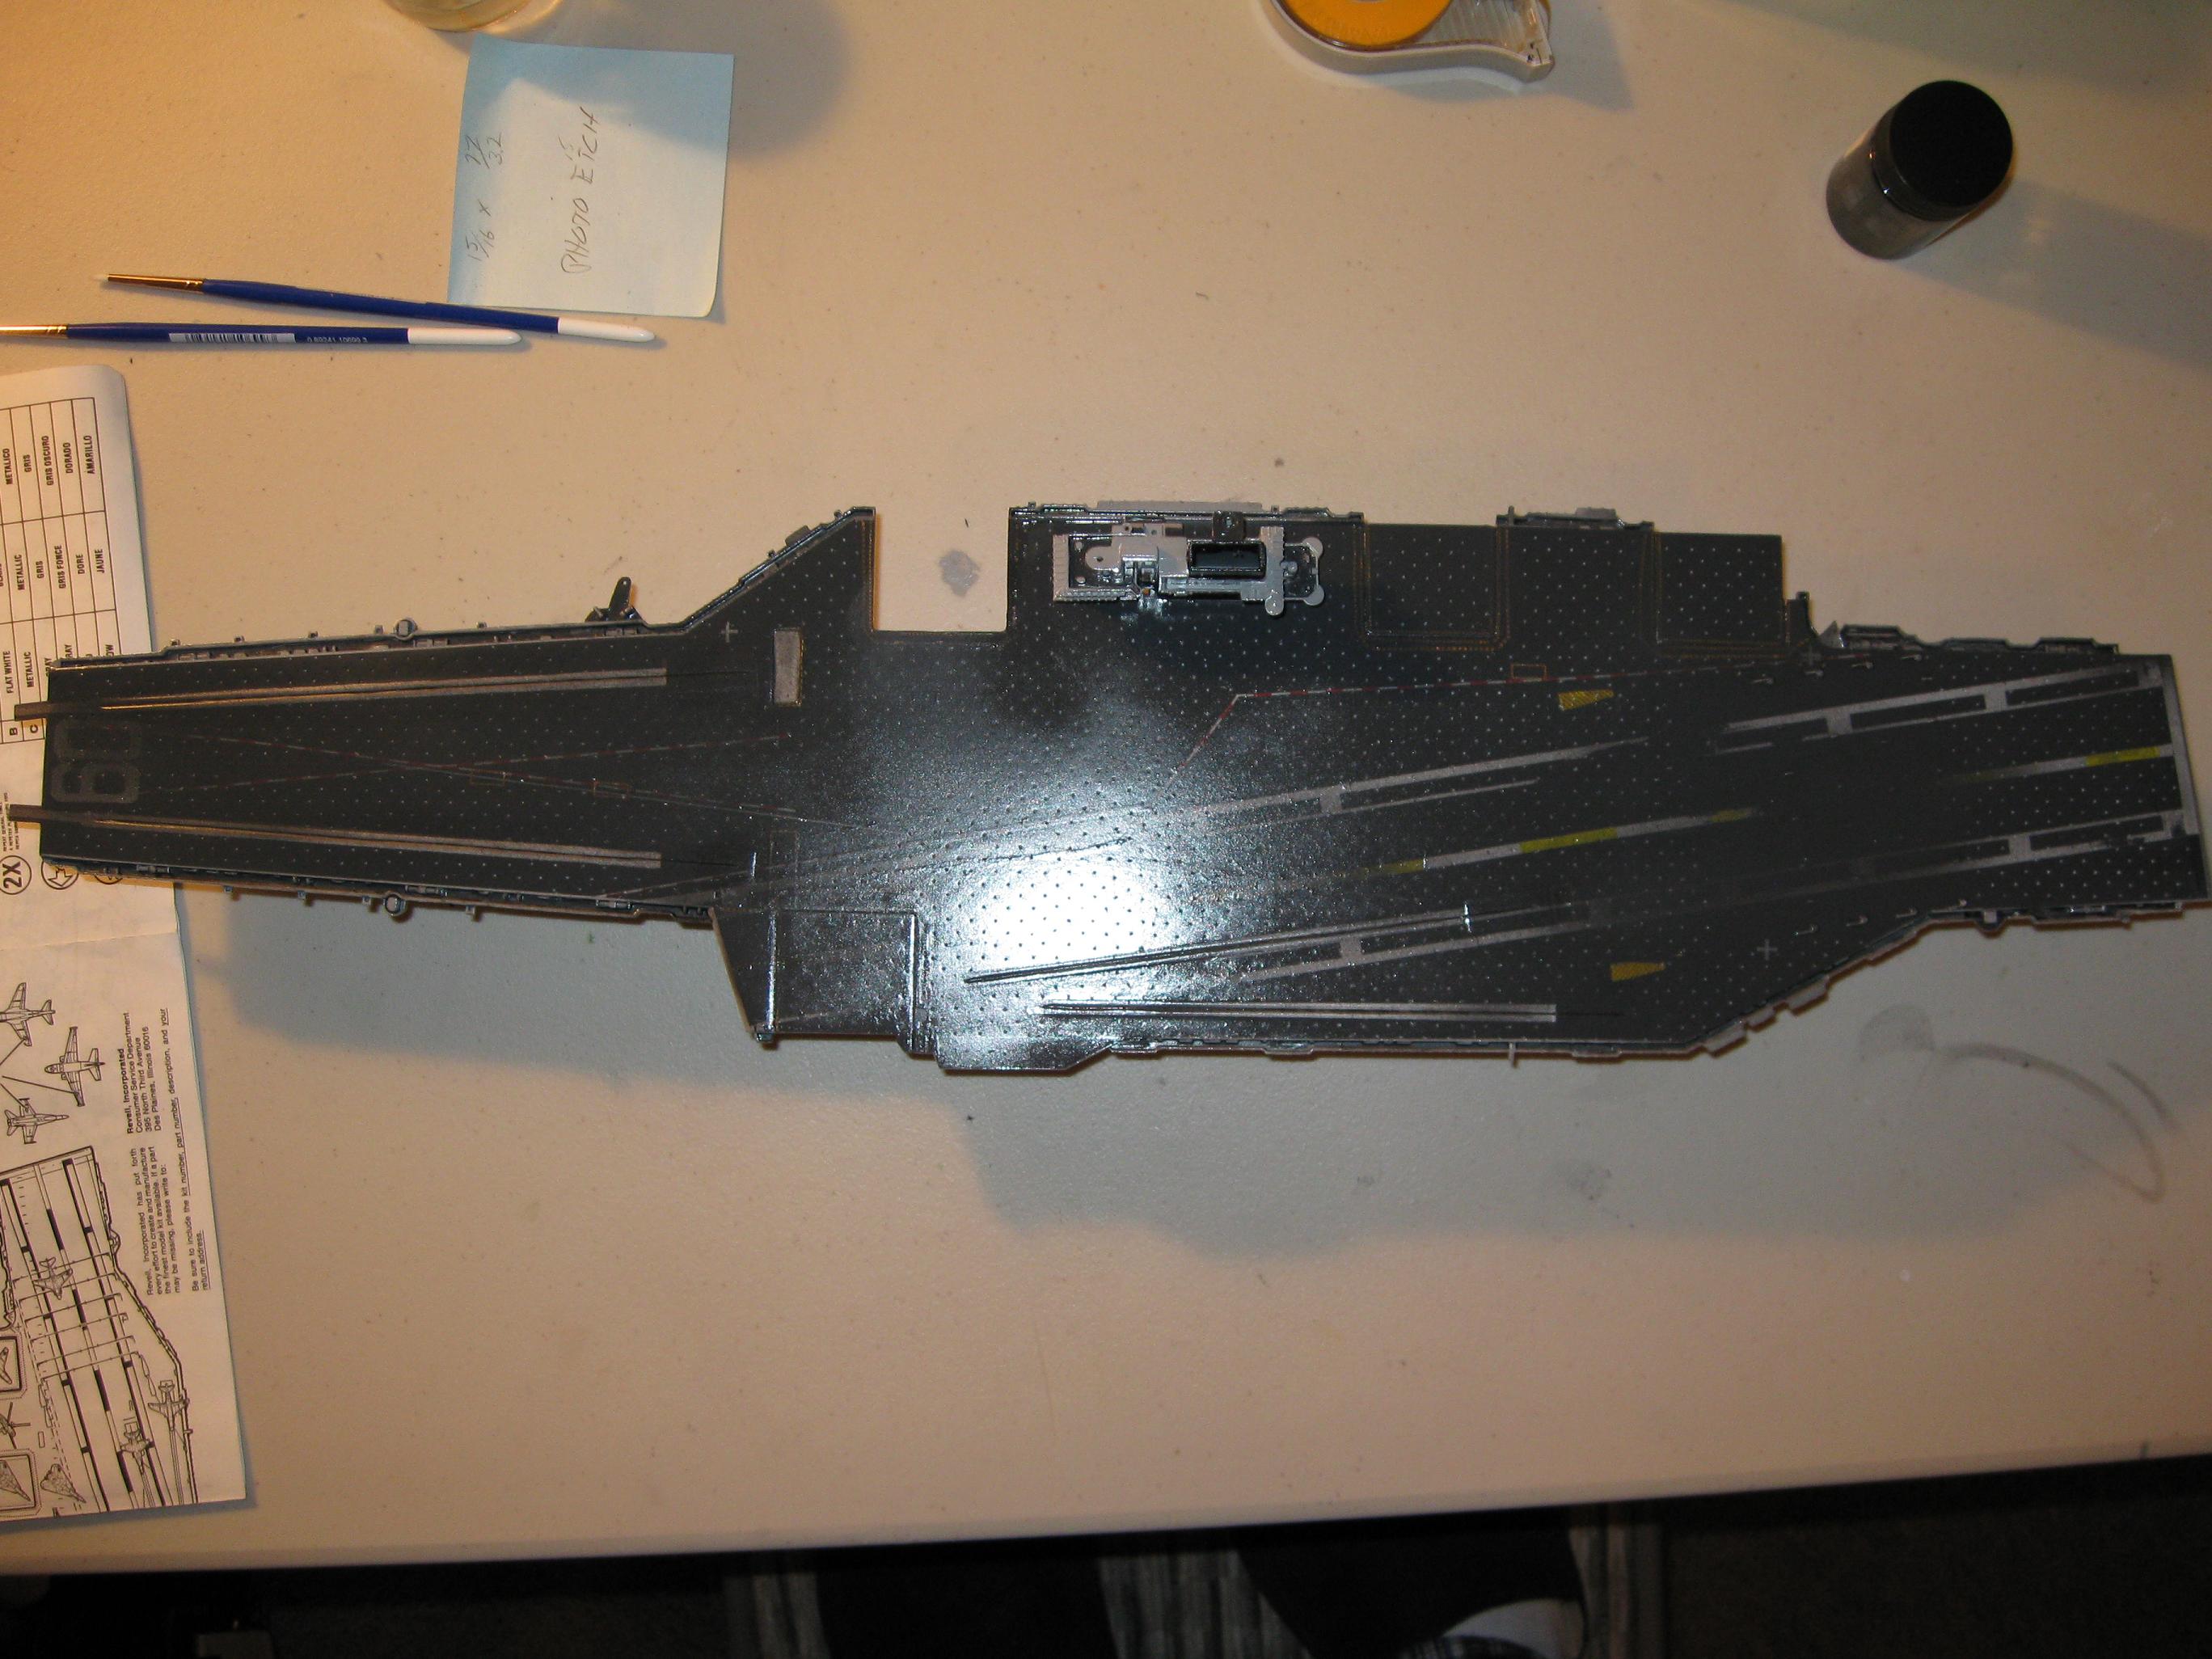
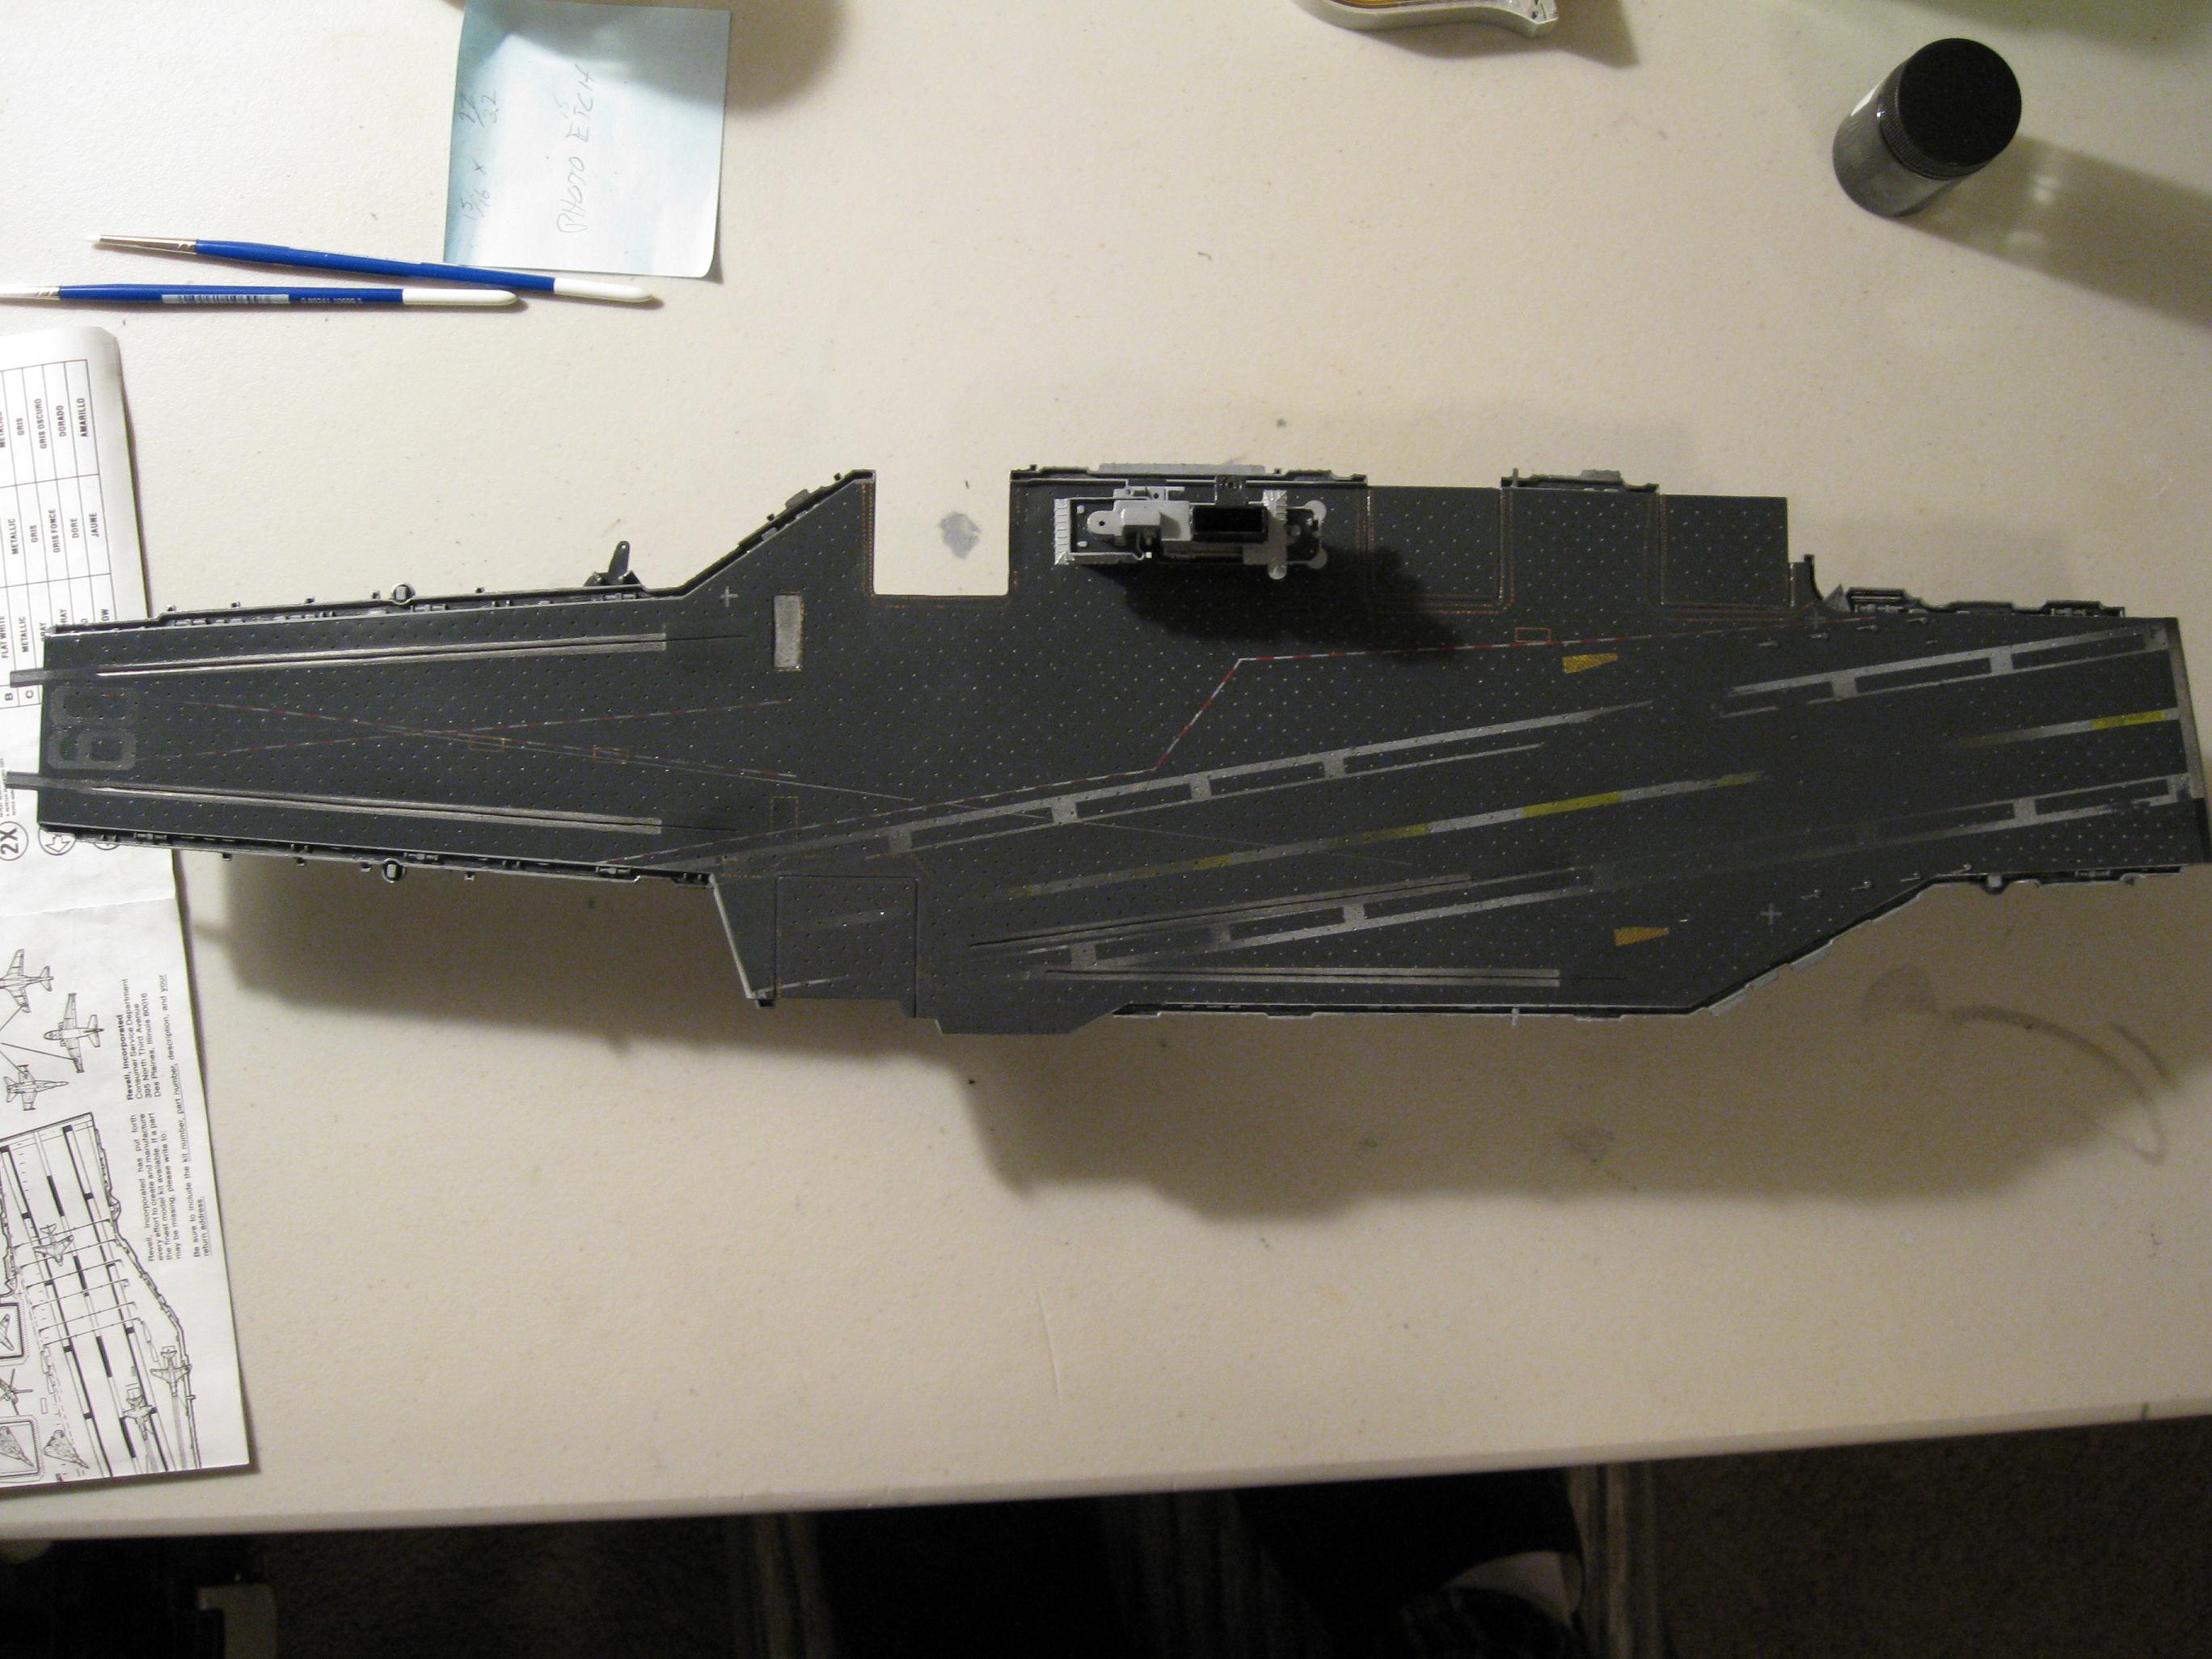
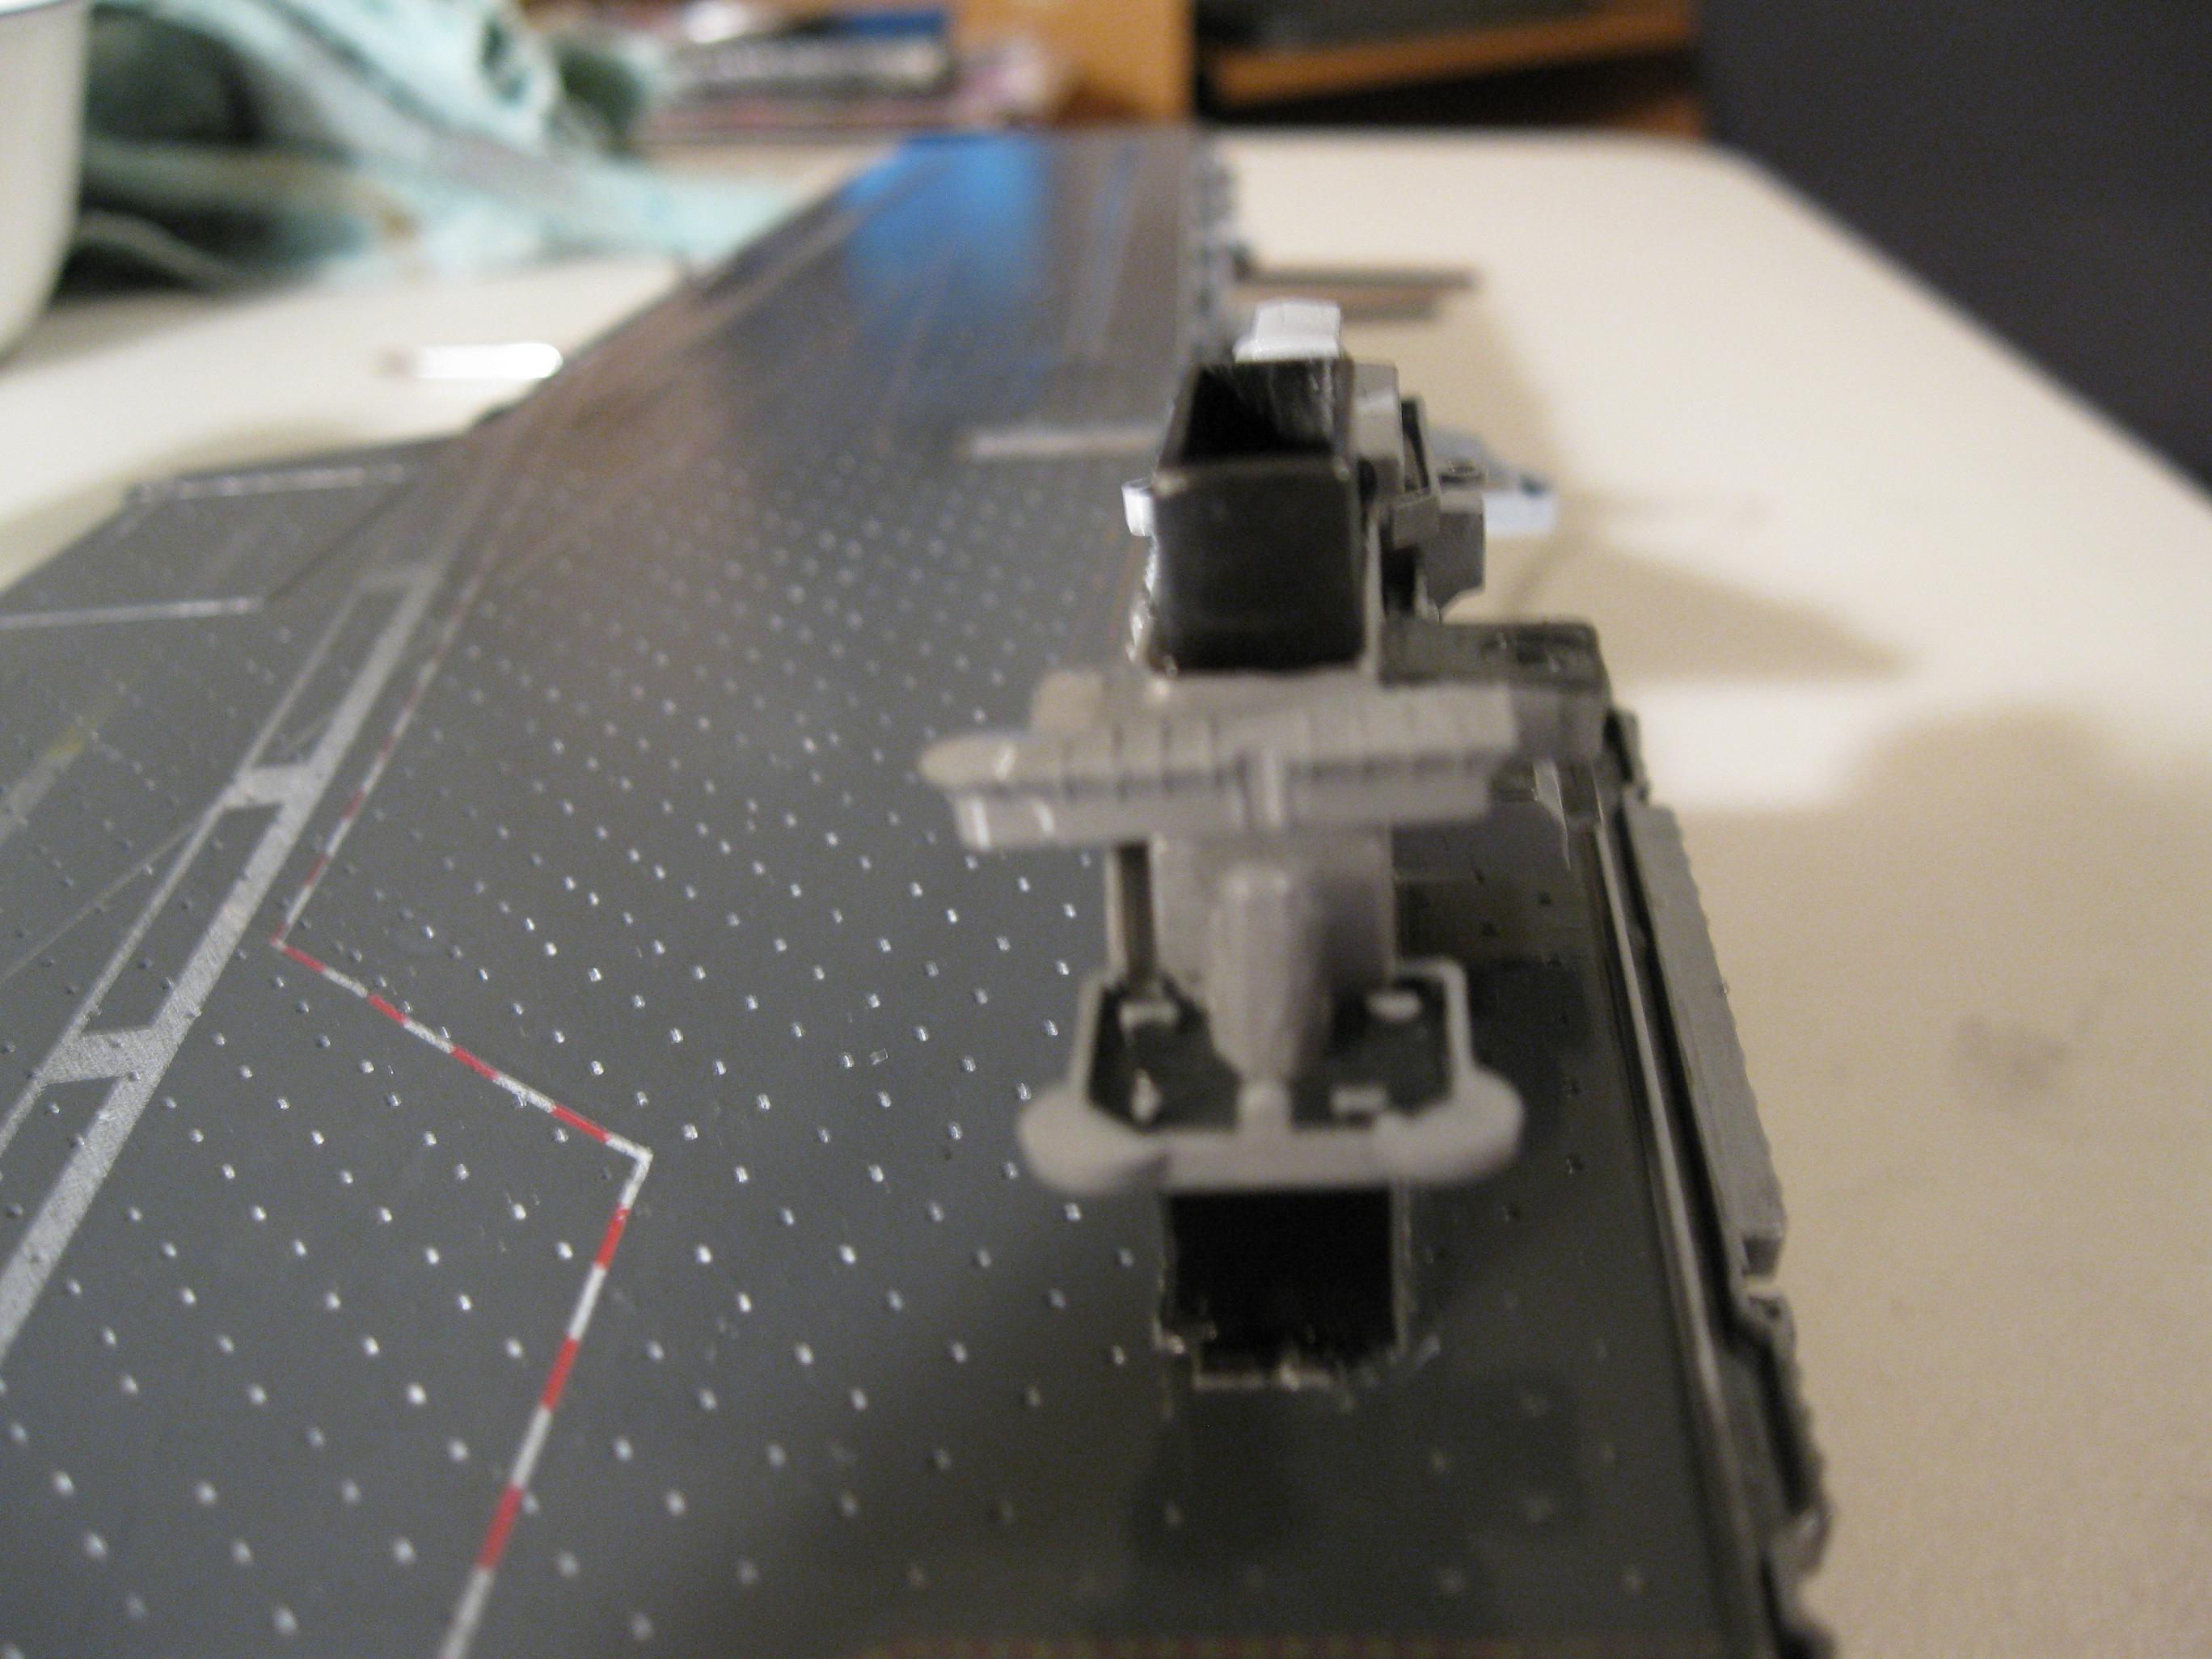
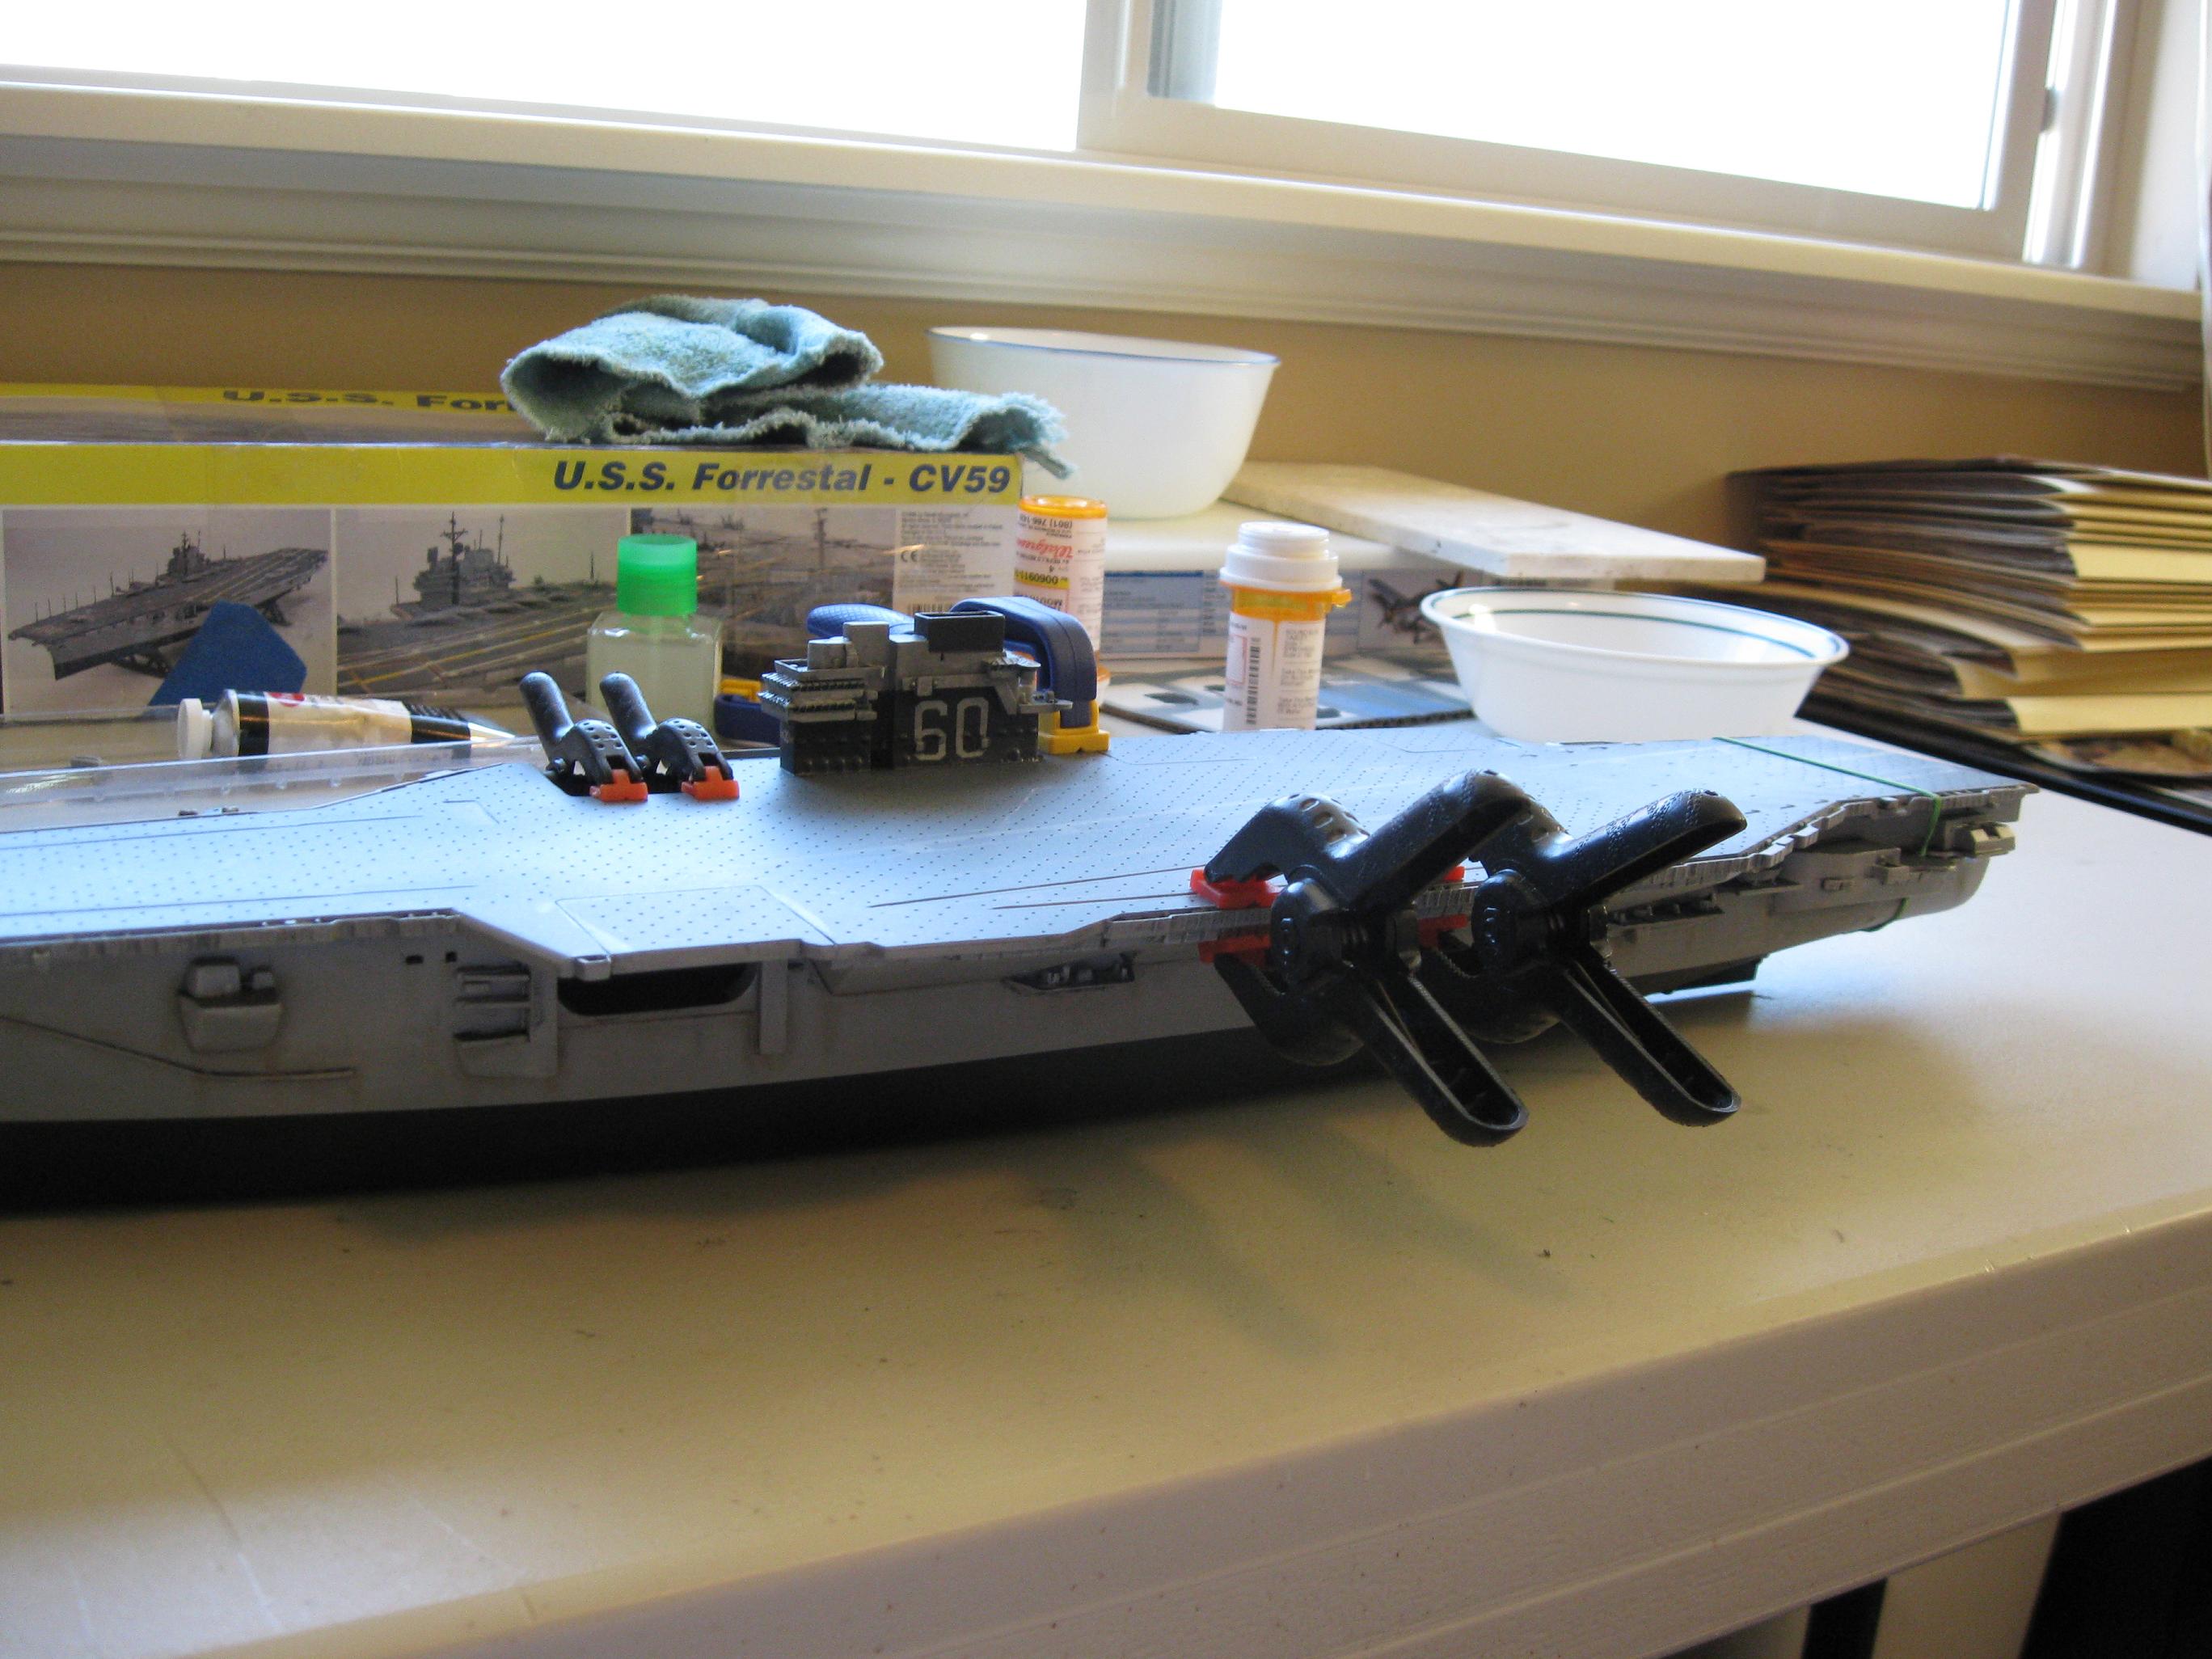
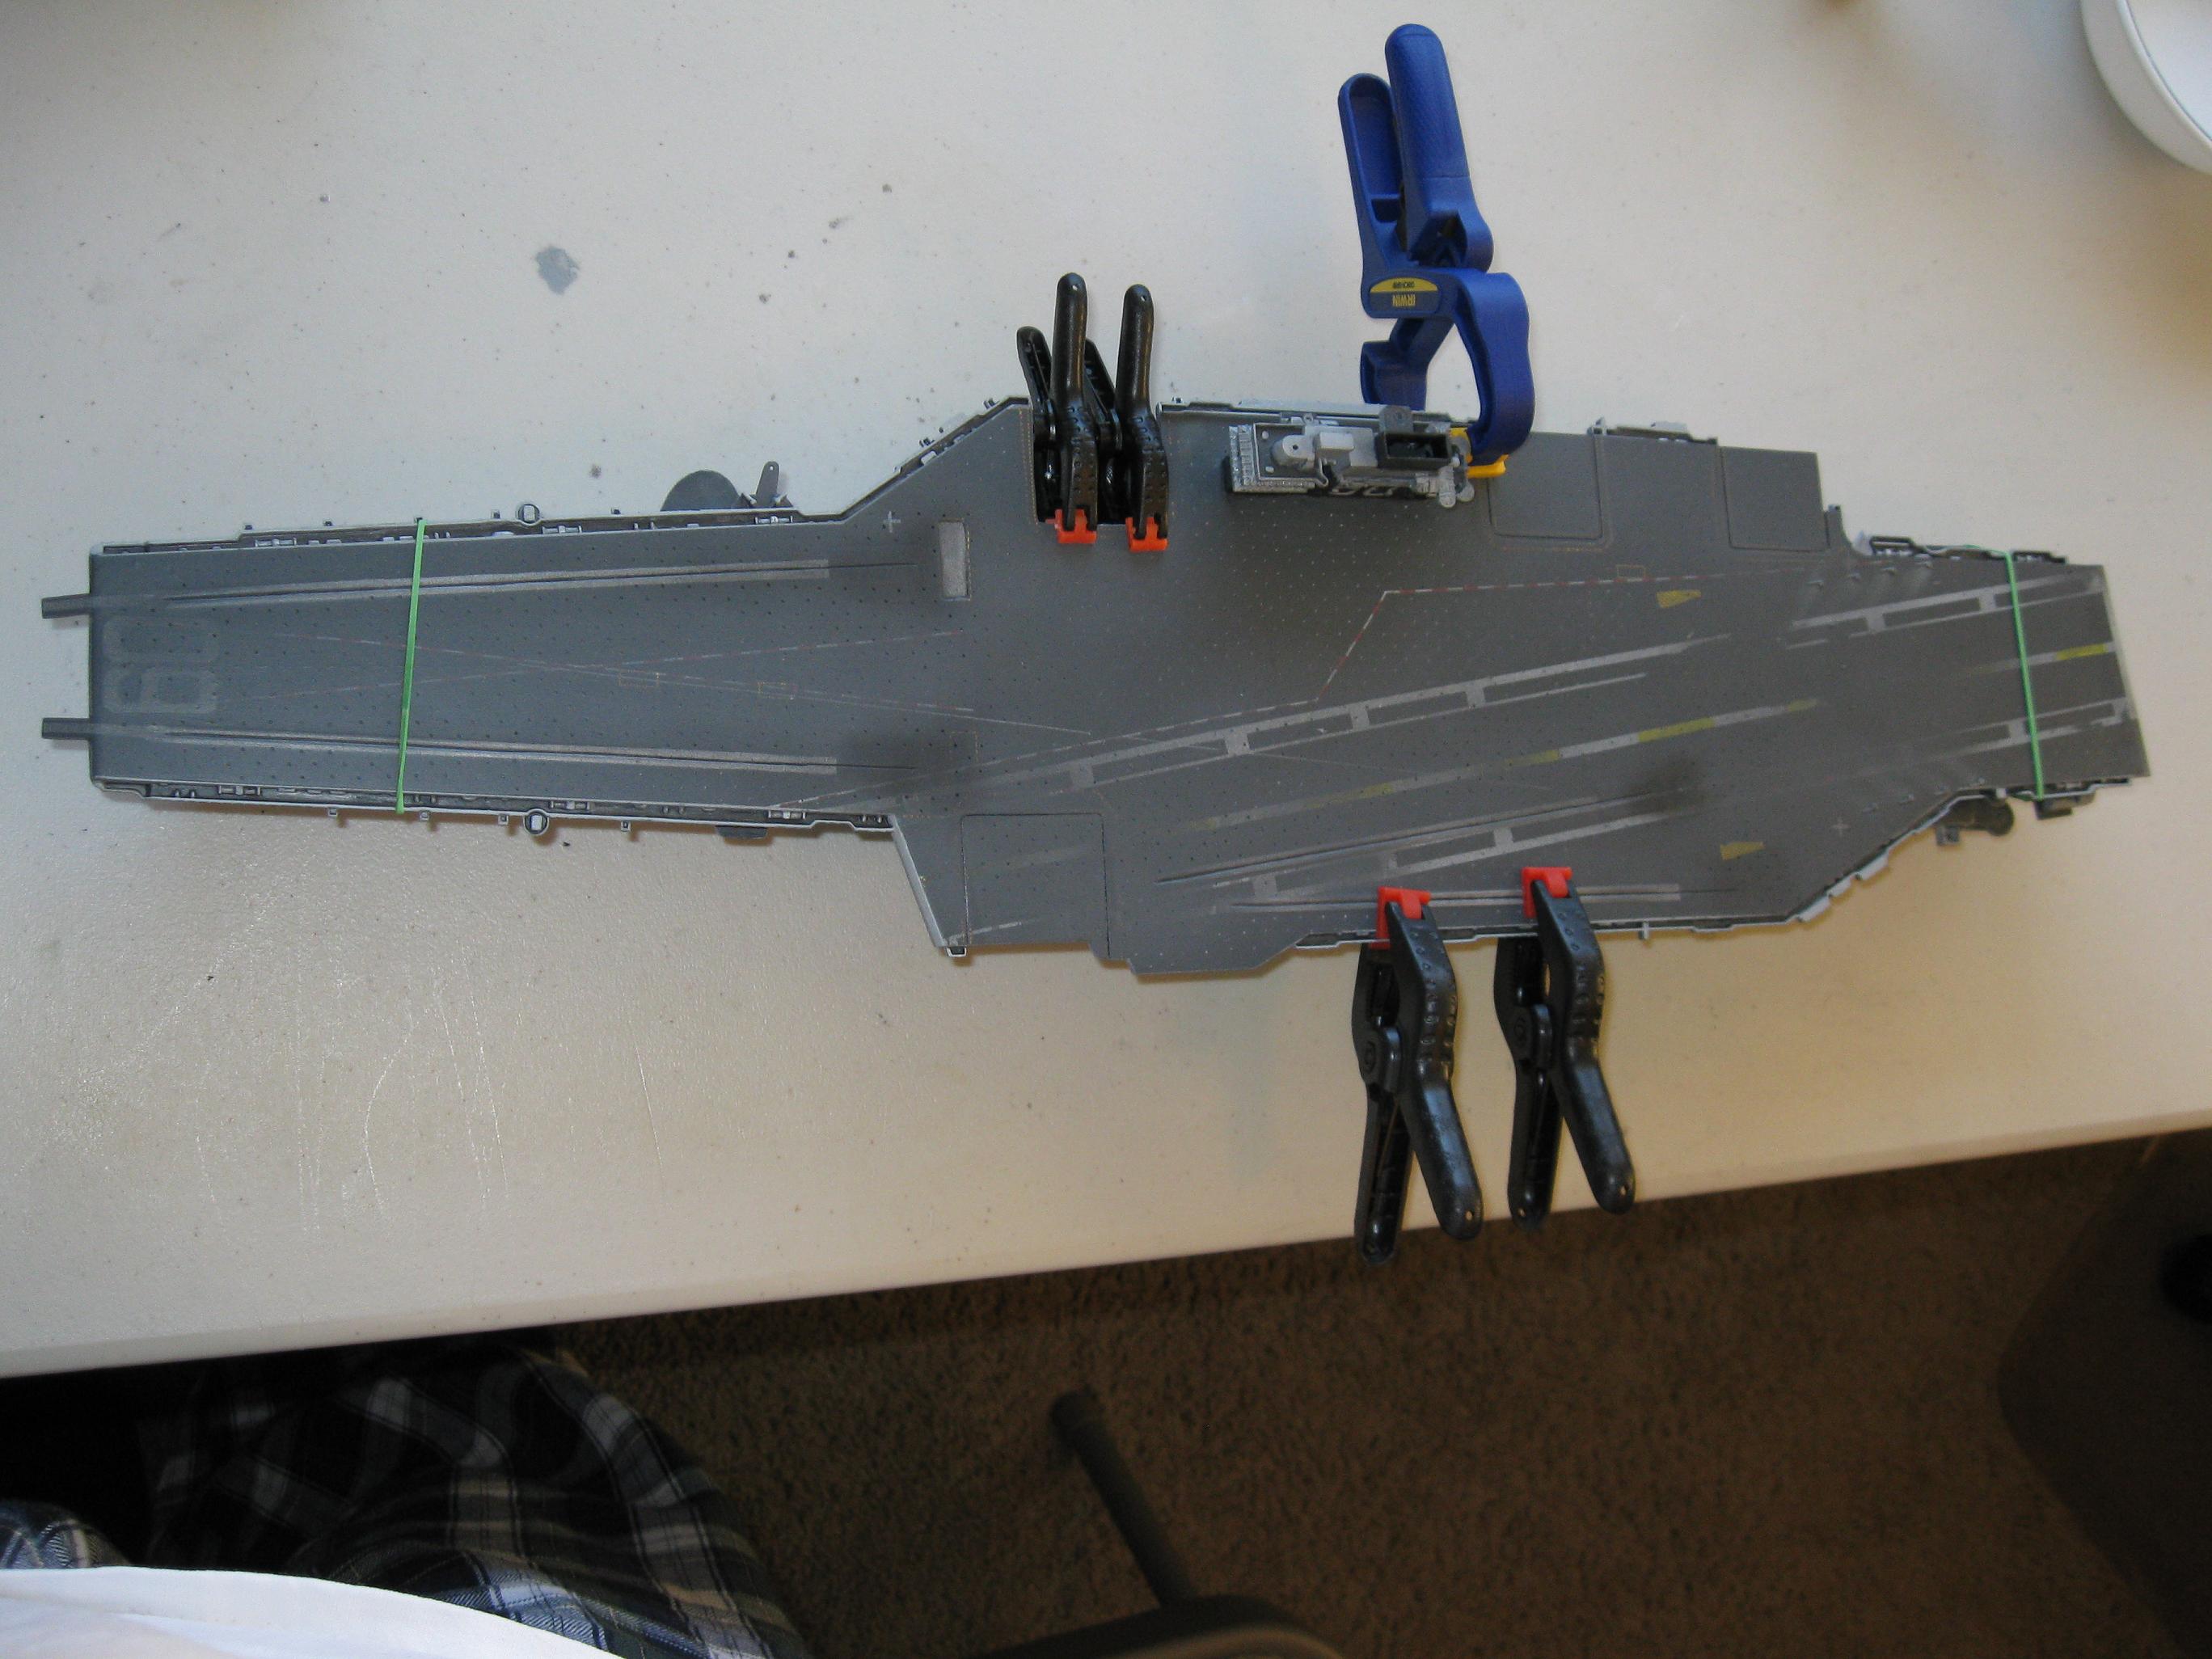
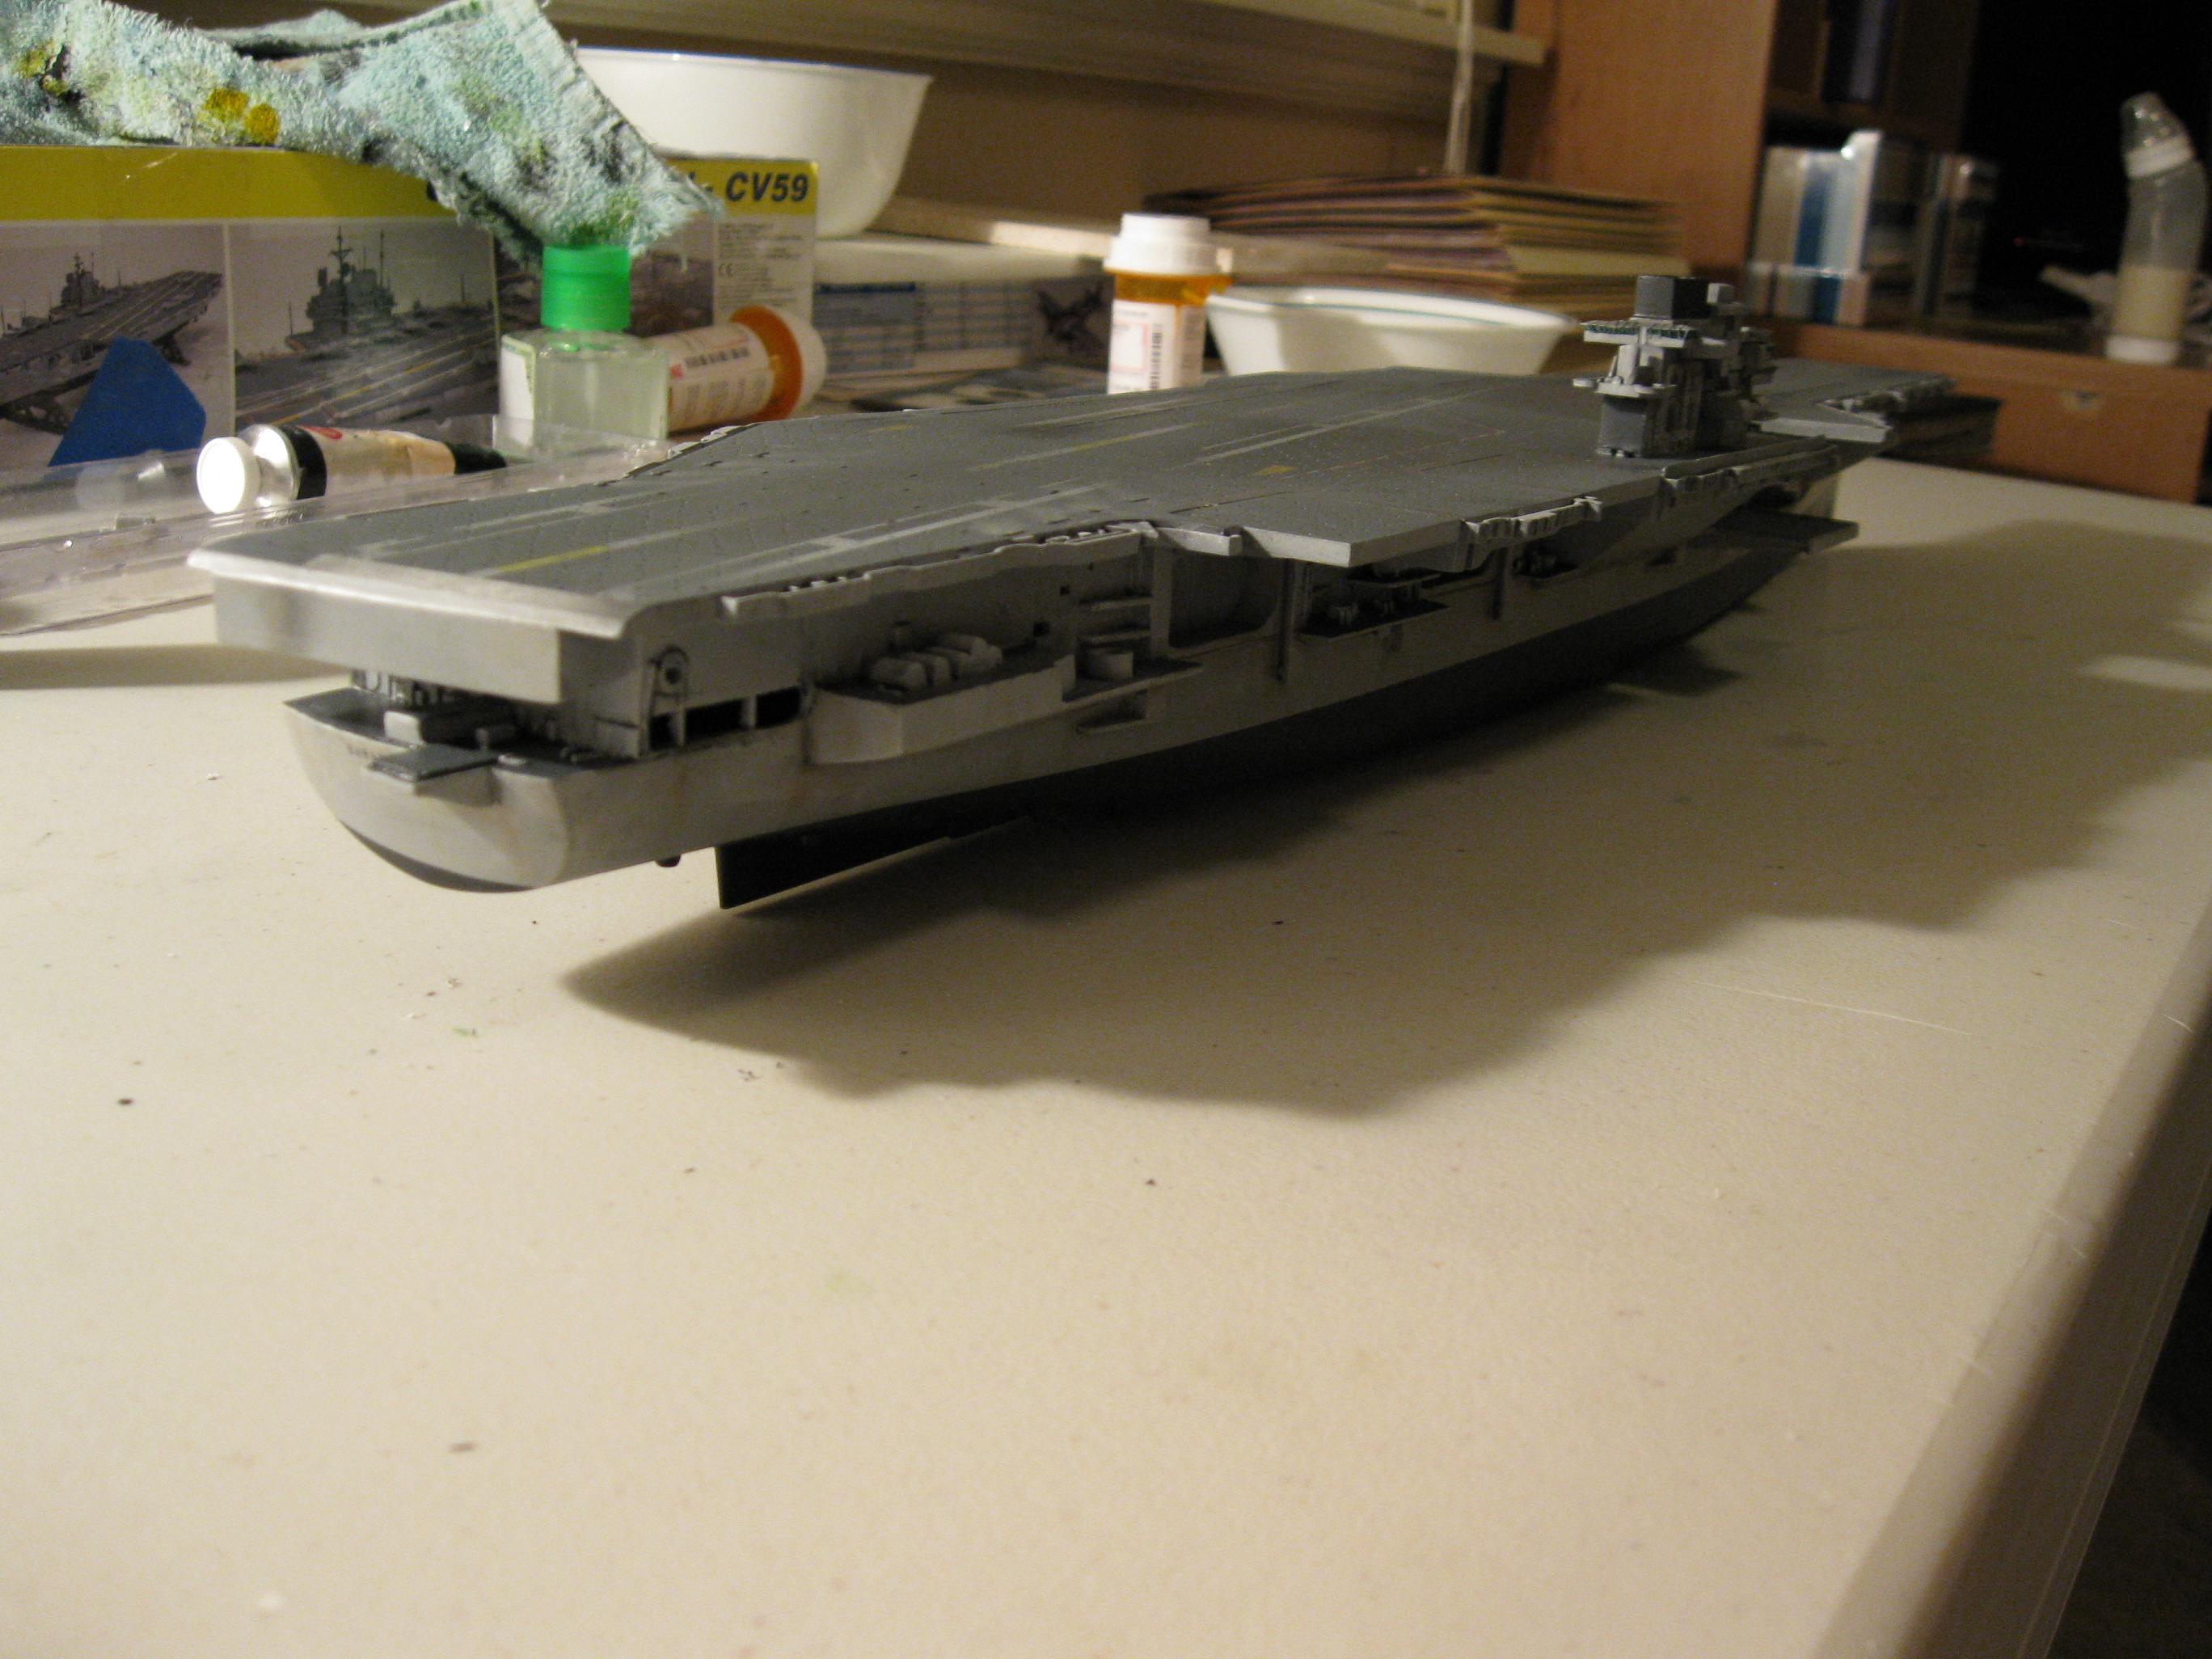
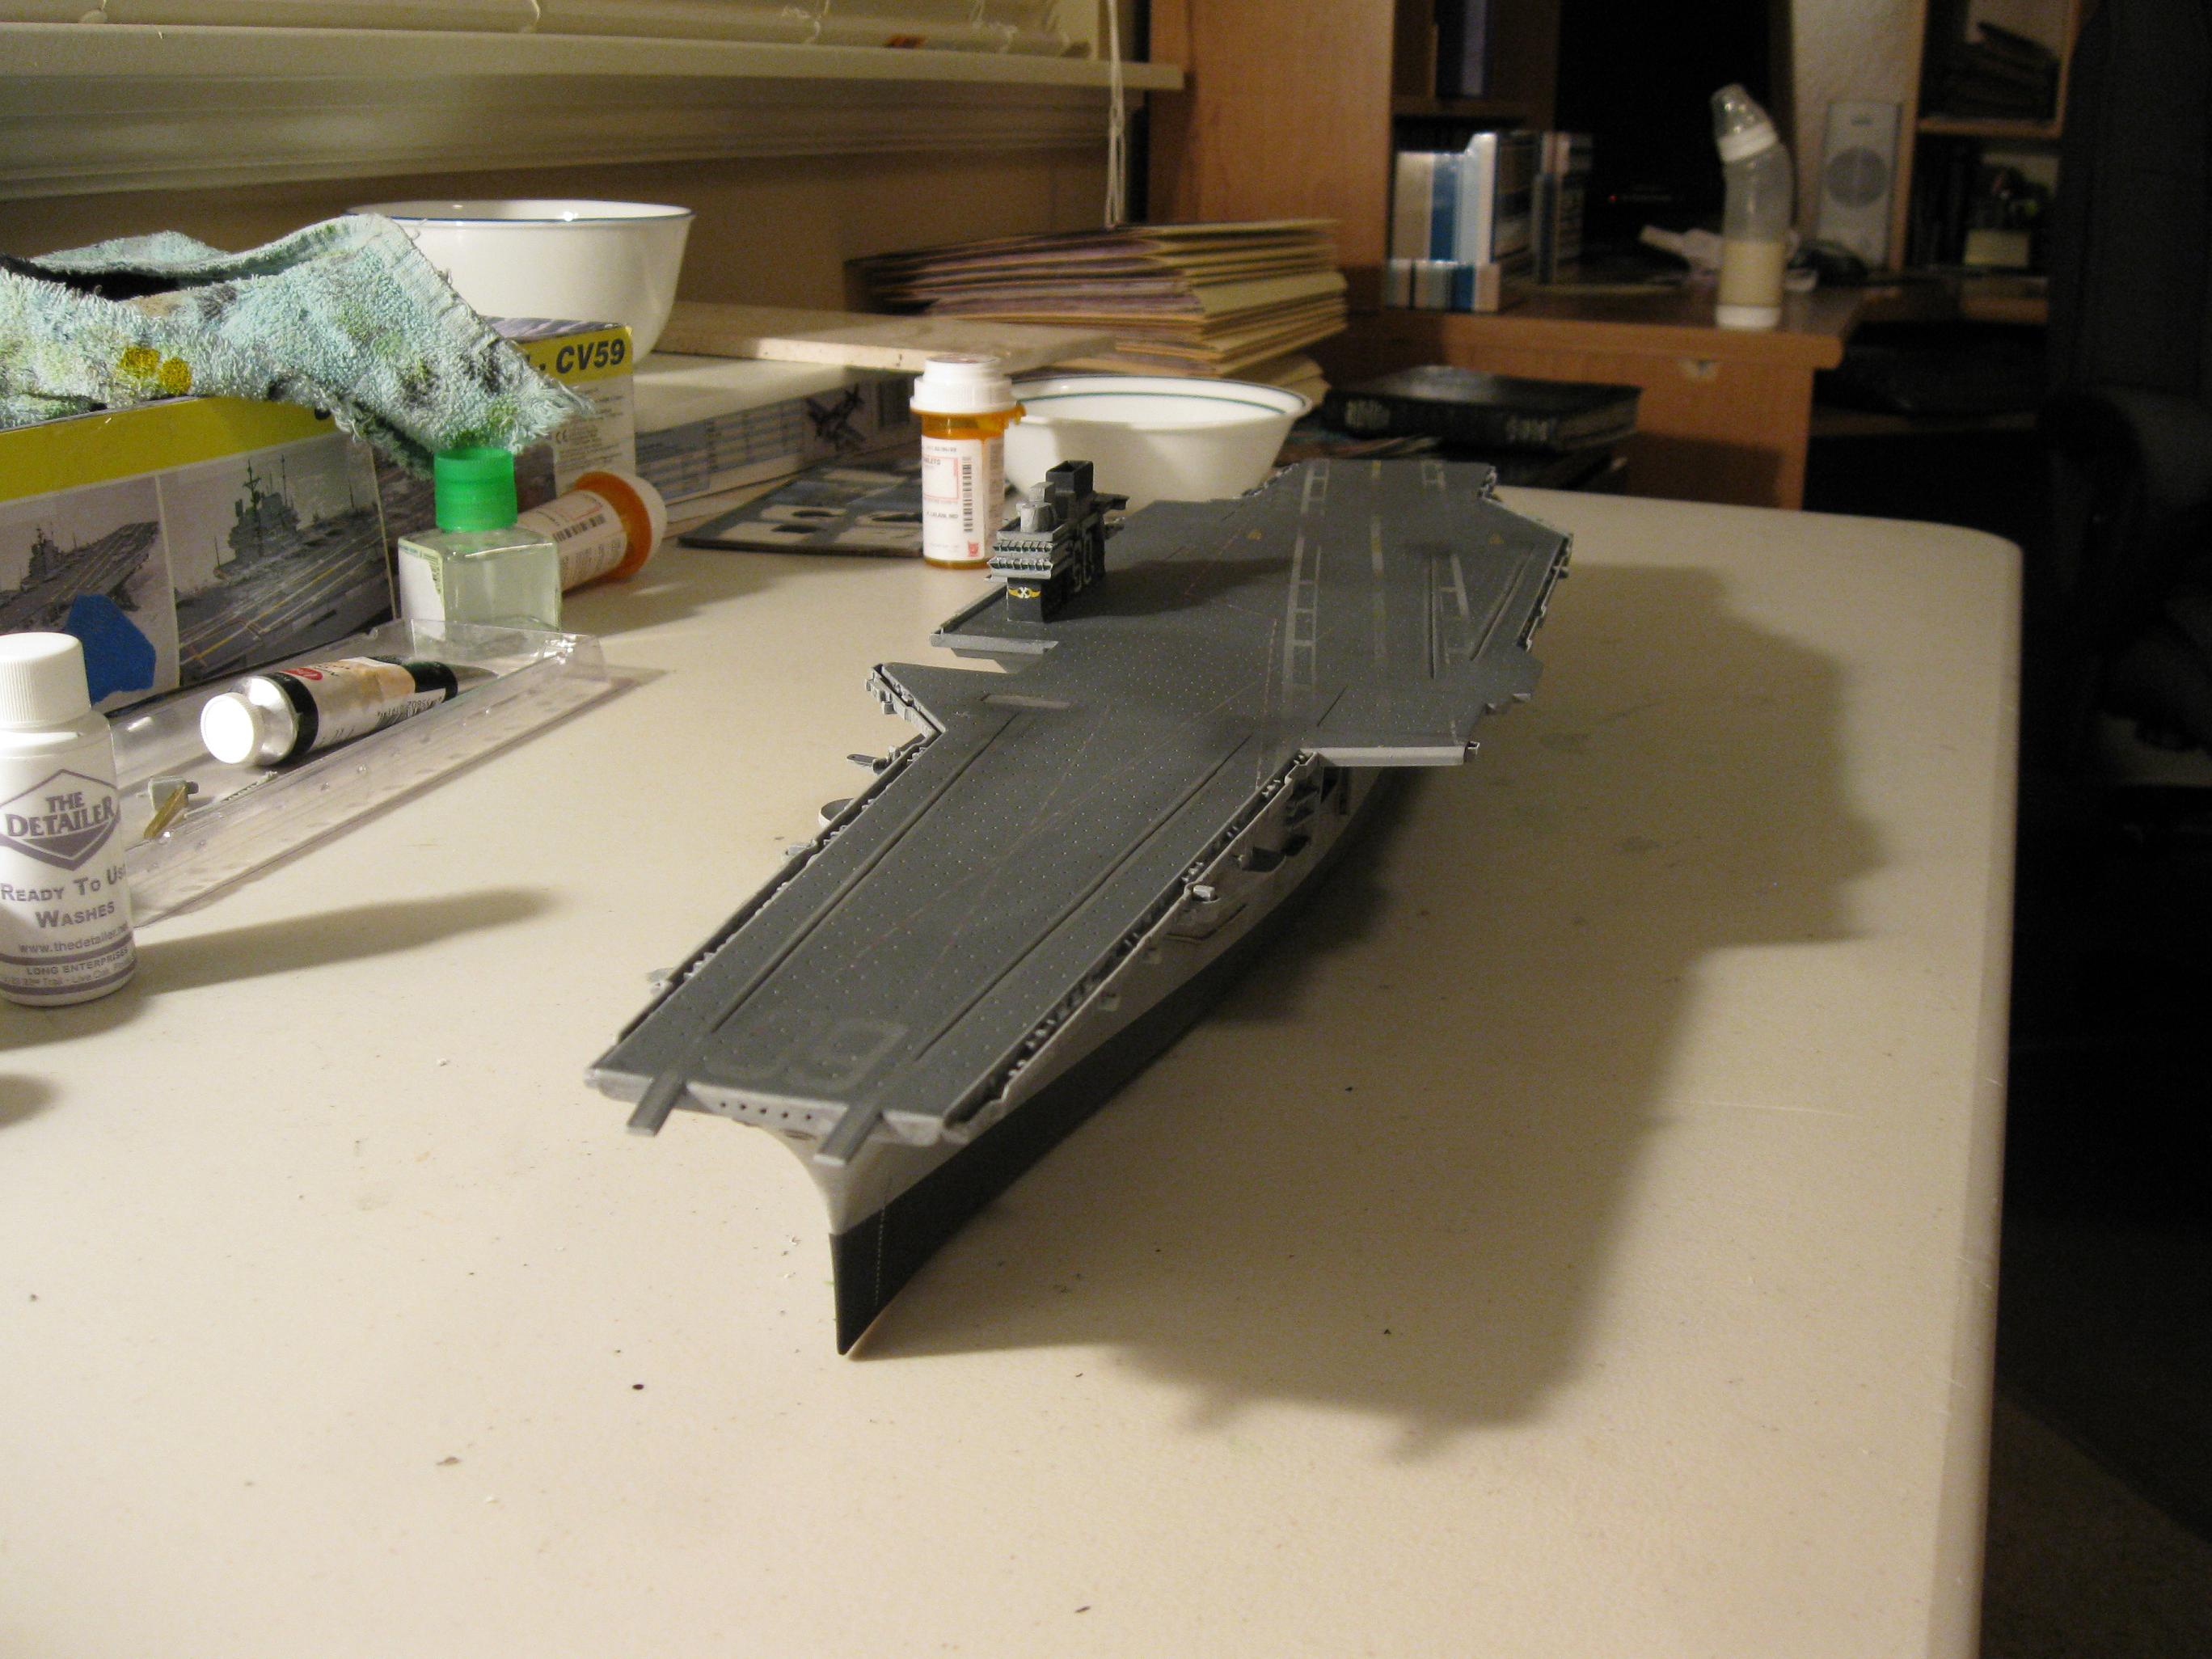
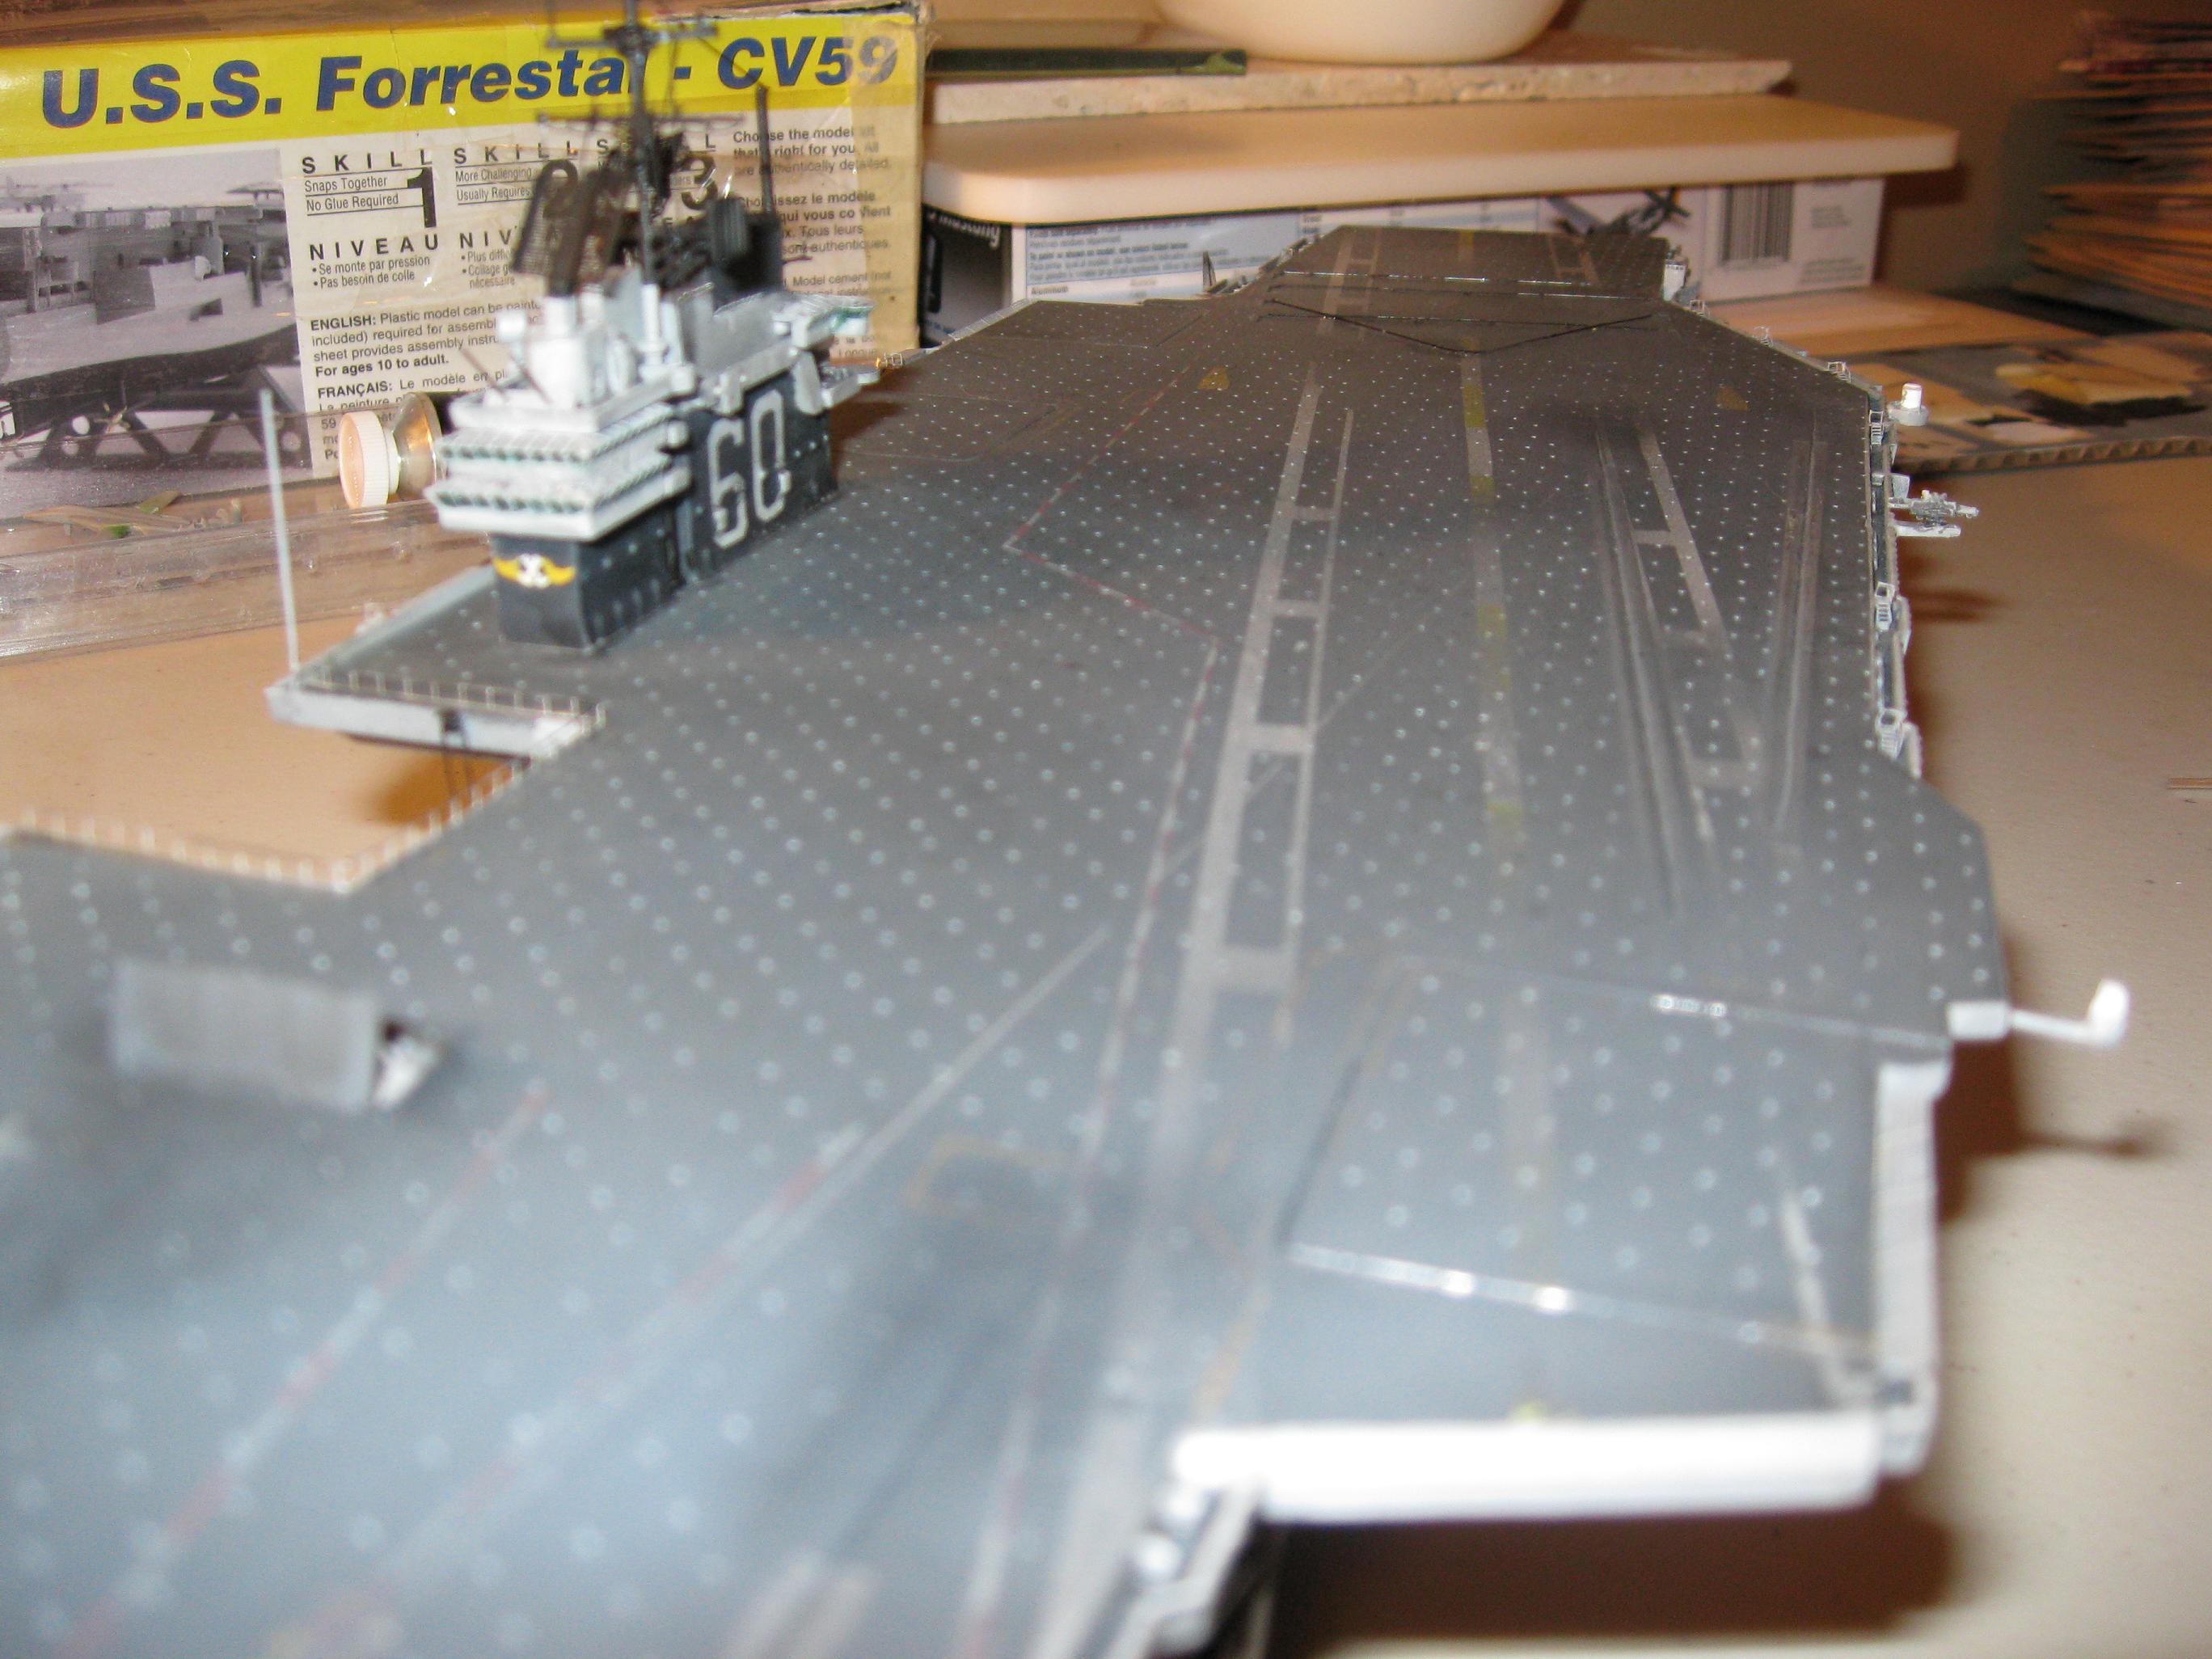
knife blade. Joining the Flight Deck and the Hull
Everything Together for the First Time Starting the Photo Etch in Earnest.
I attached the flight deck access ladders first and
that was a mistake since I am snagging them and bending them as
I handle the model. I moved to everything under the flight
deck after that because with that done it can just sit on the
work bench most of the time. As I was working I was
thinking "What a pain", but as things came into
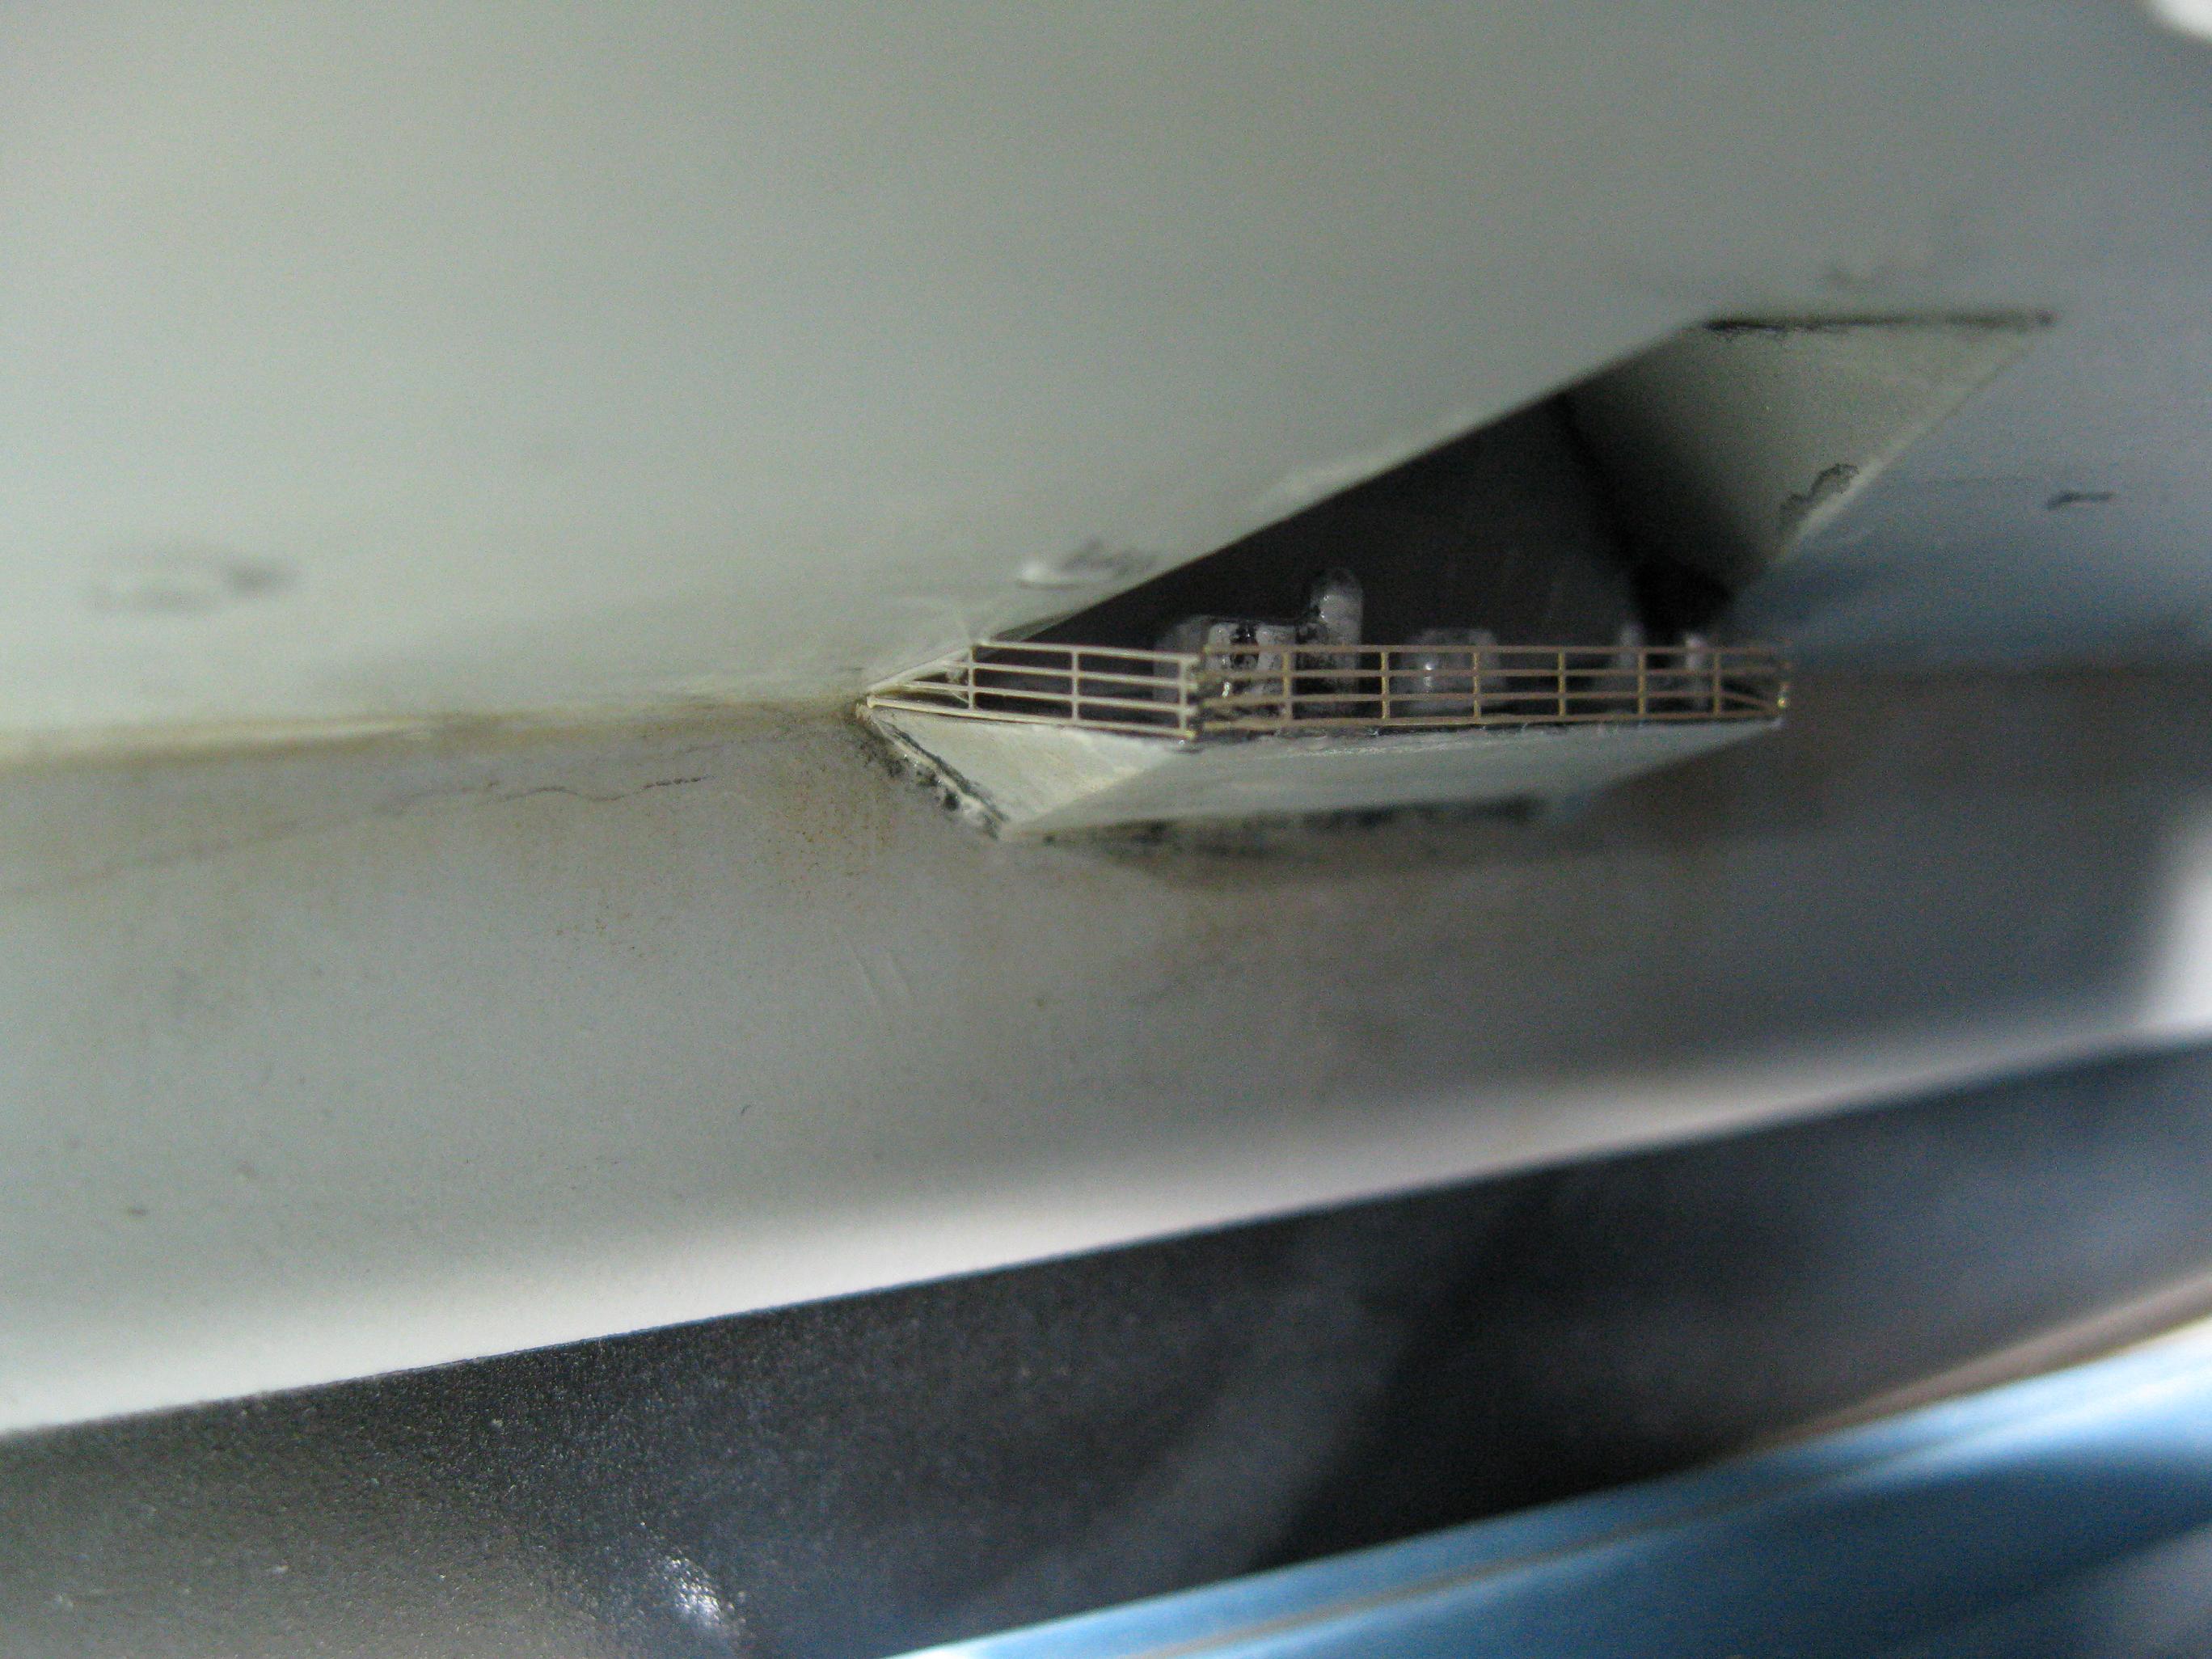
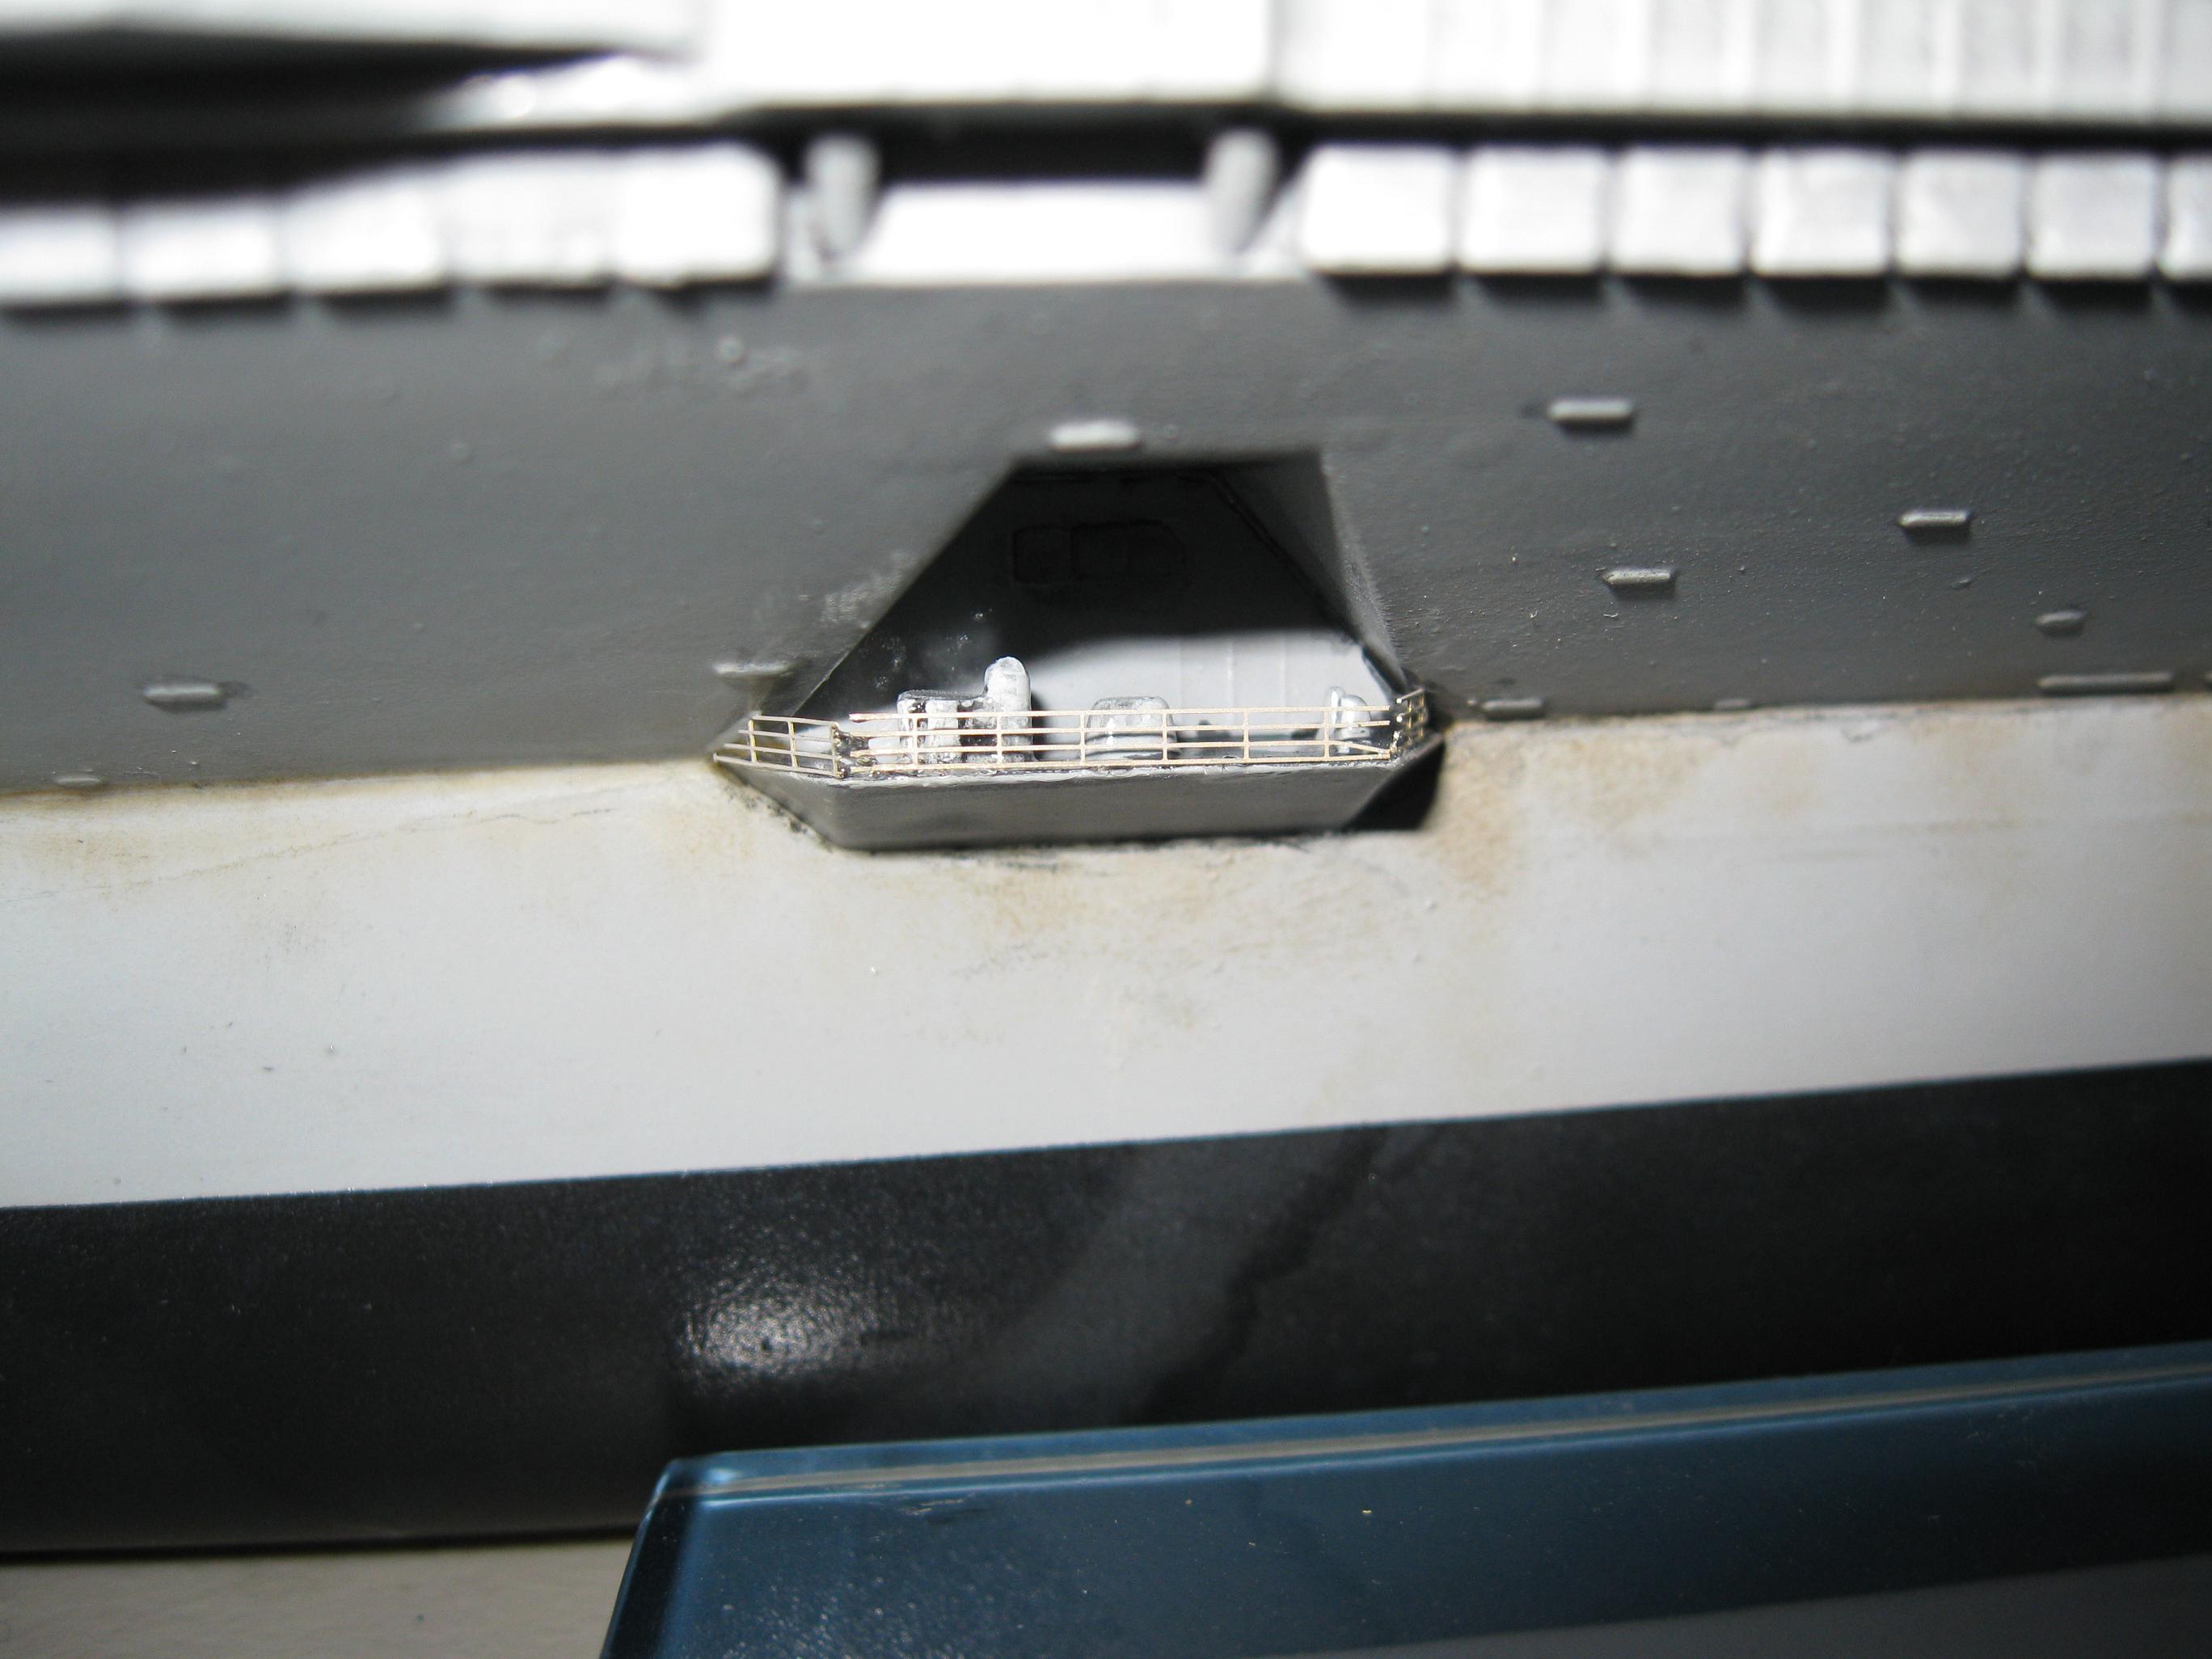
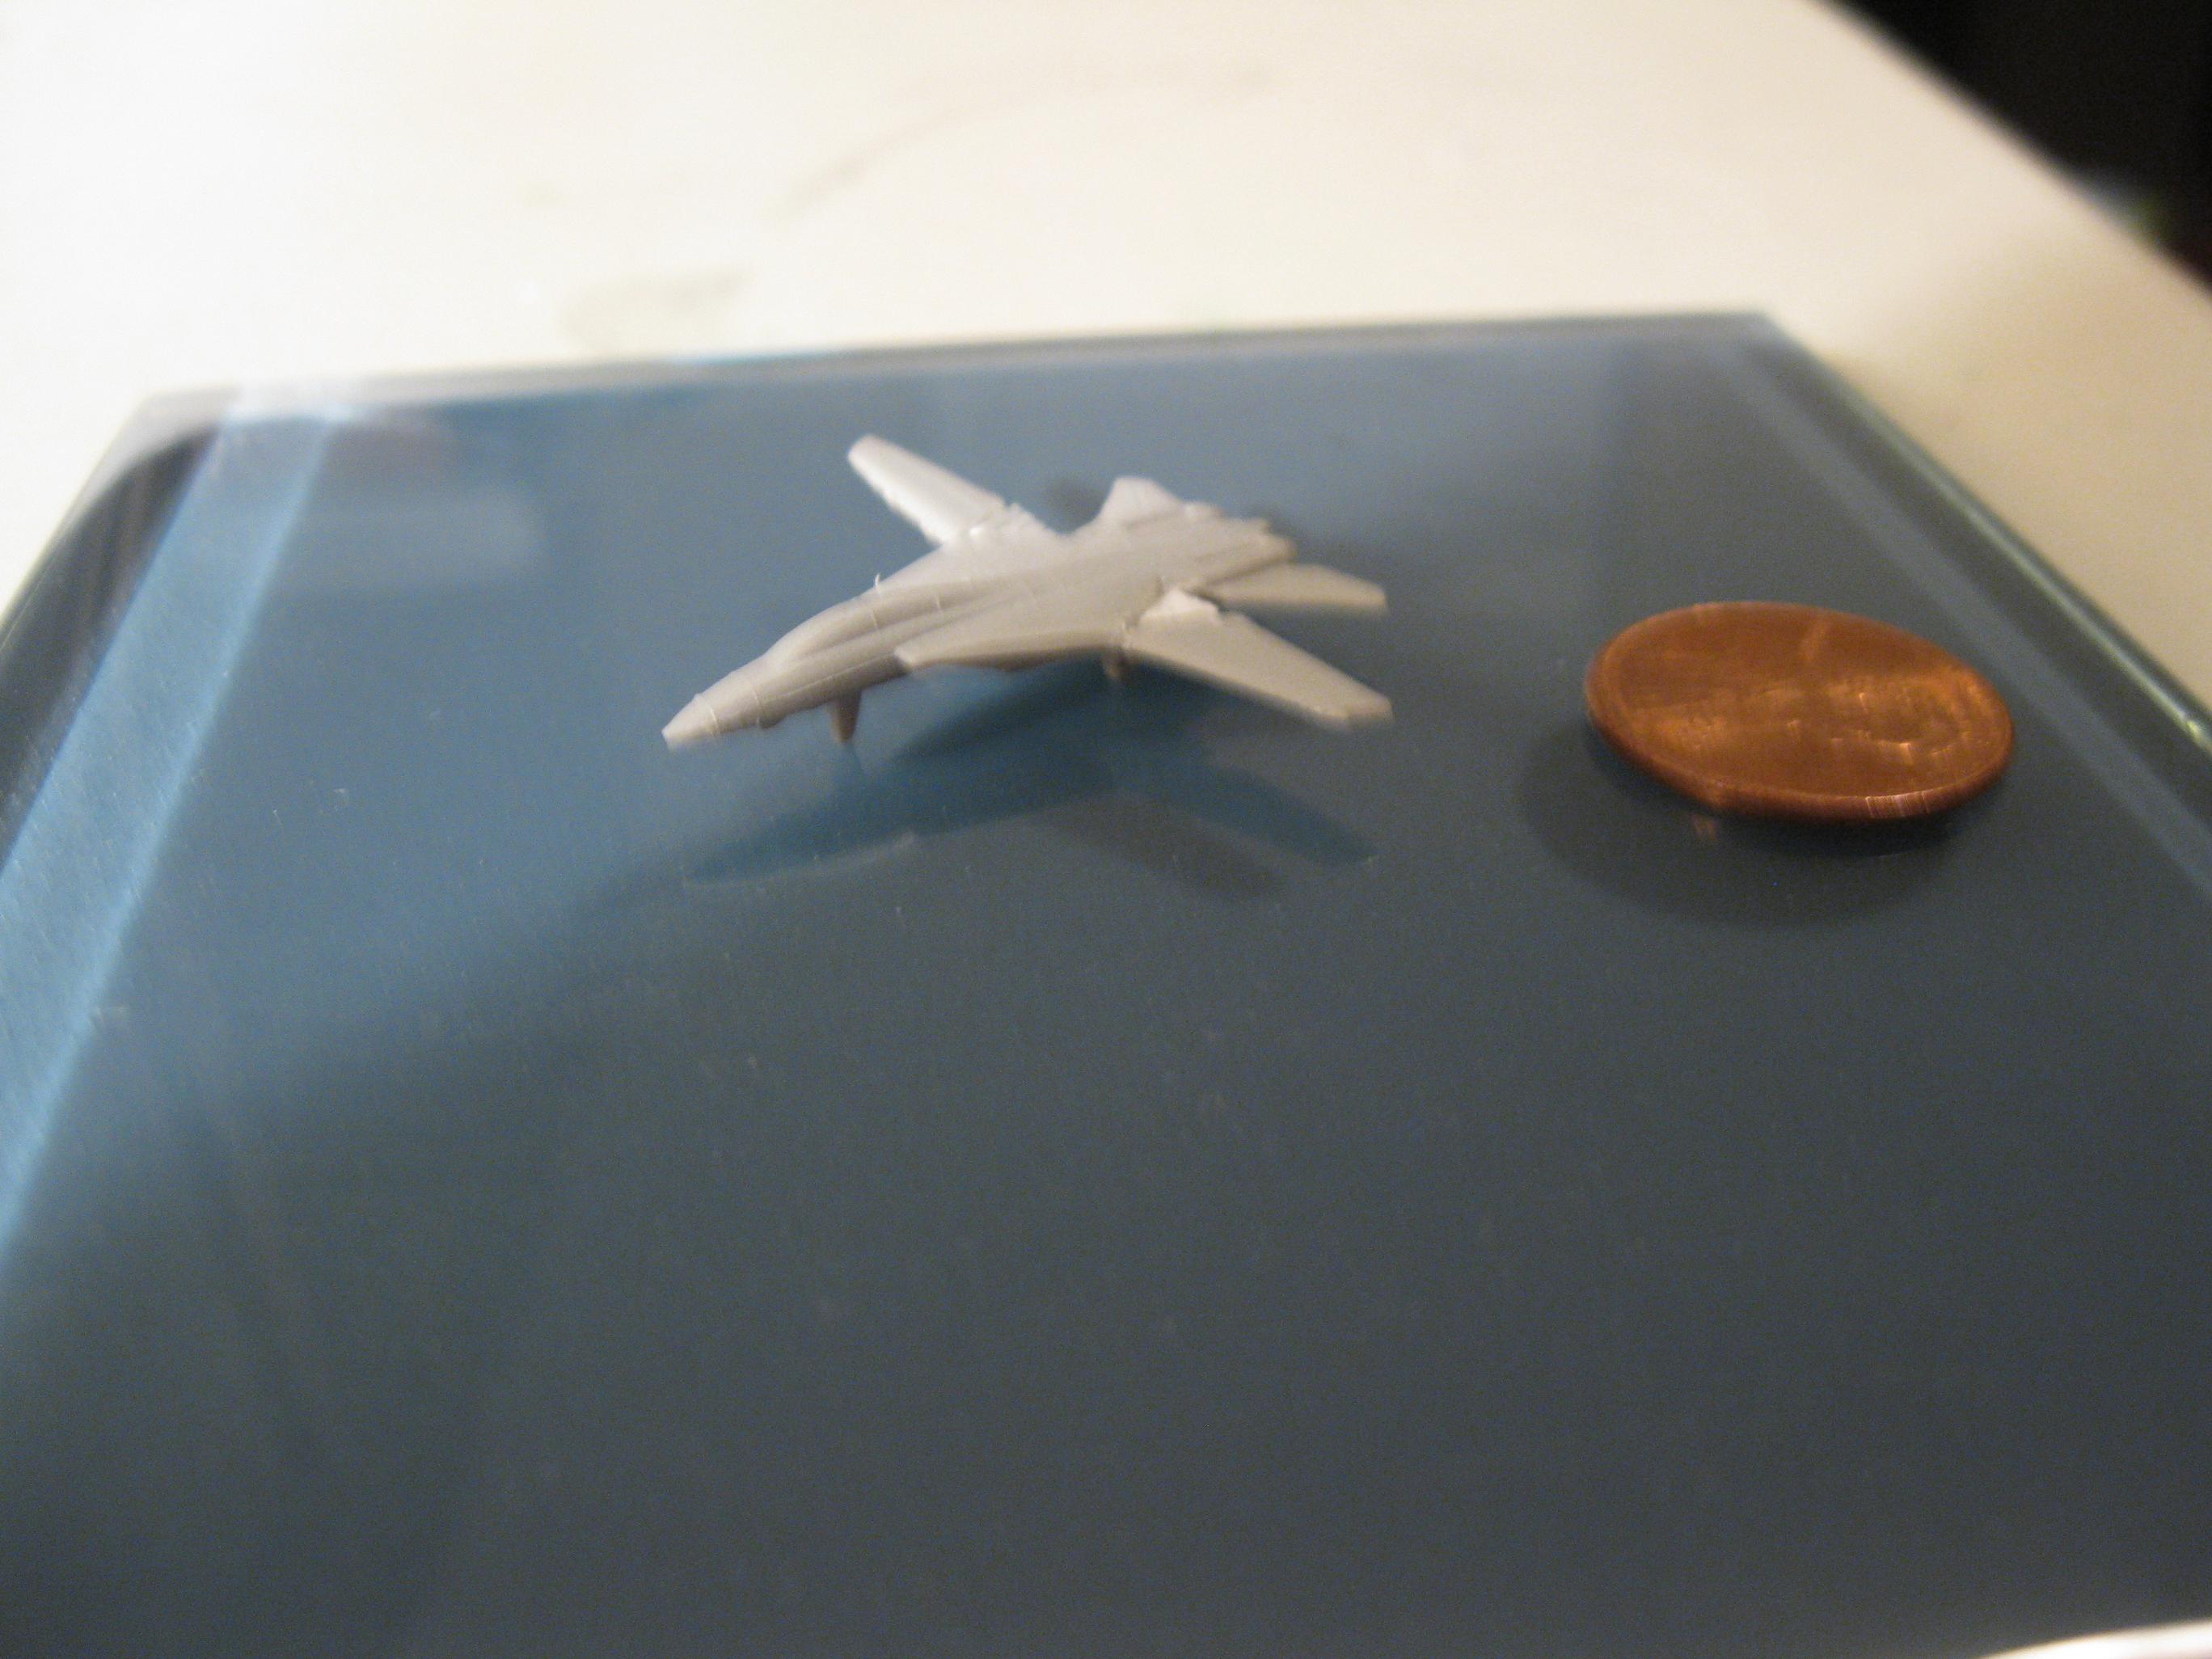
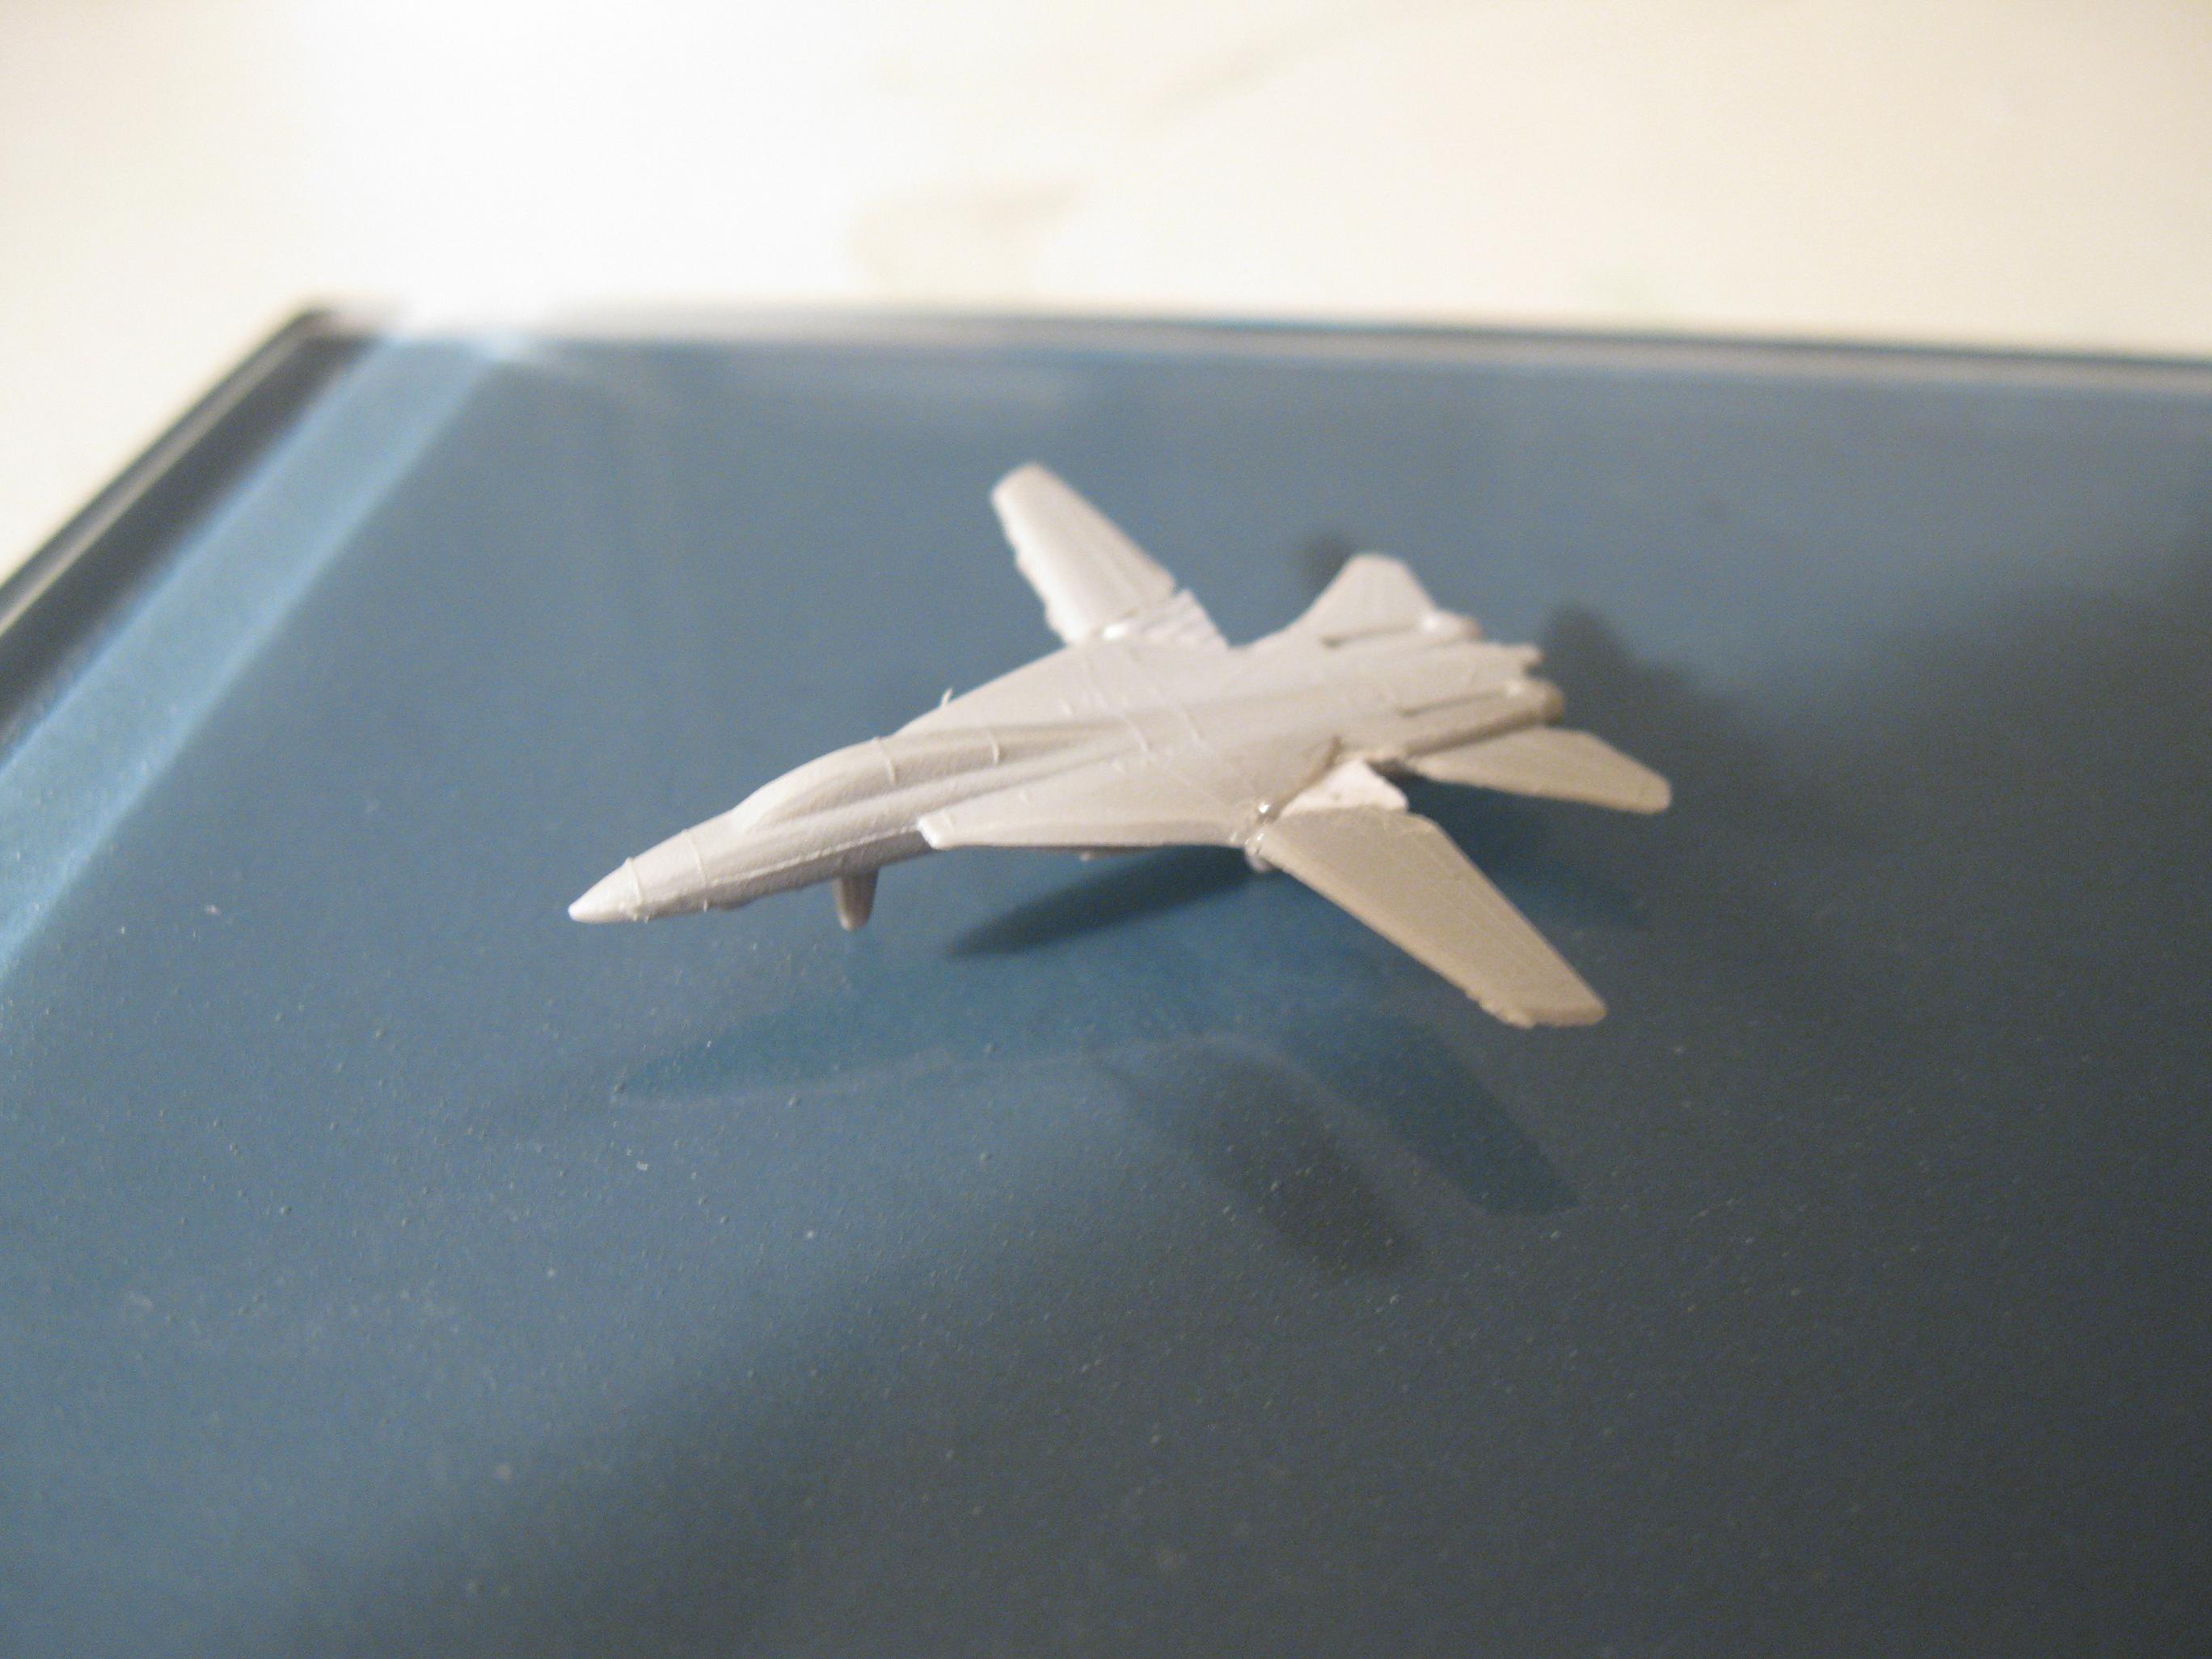
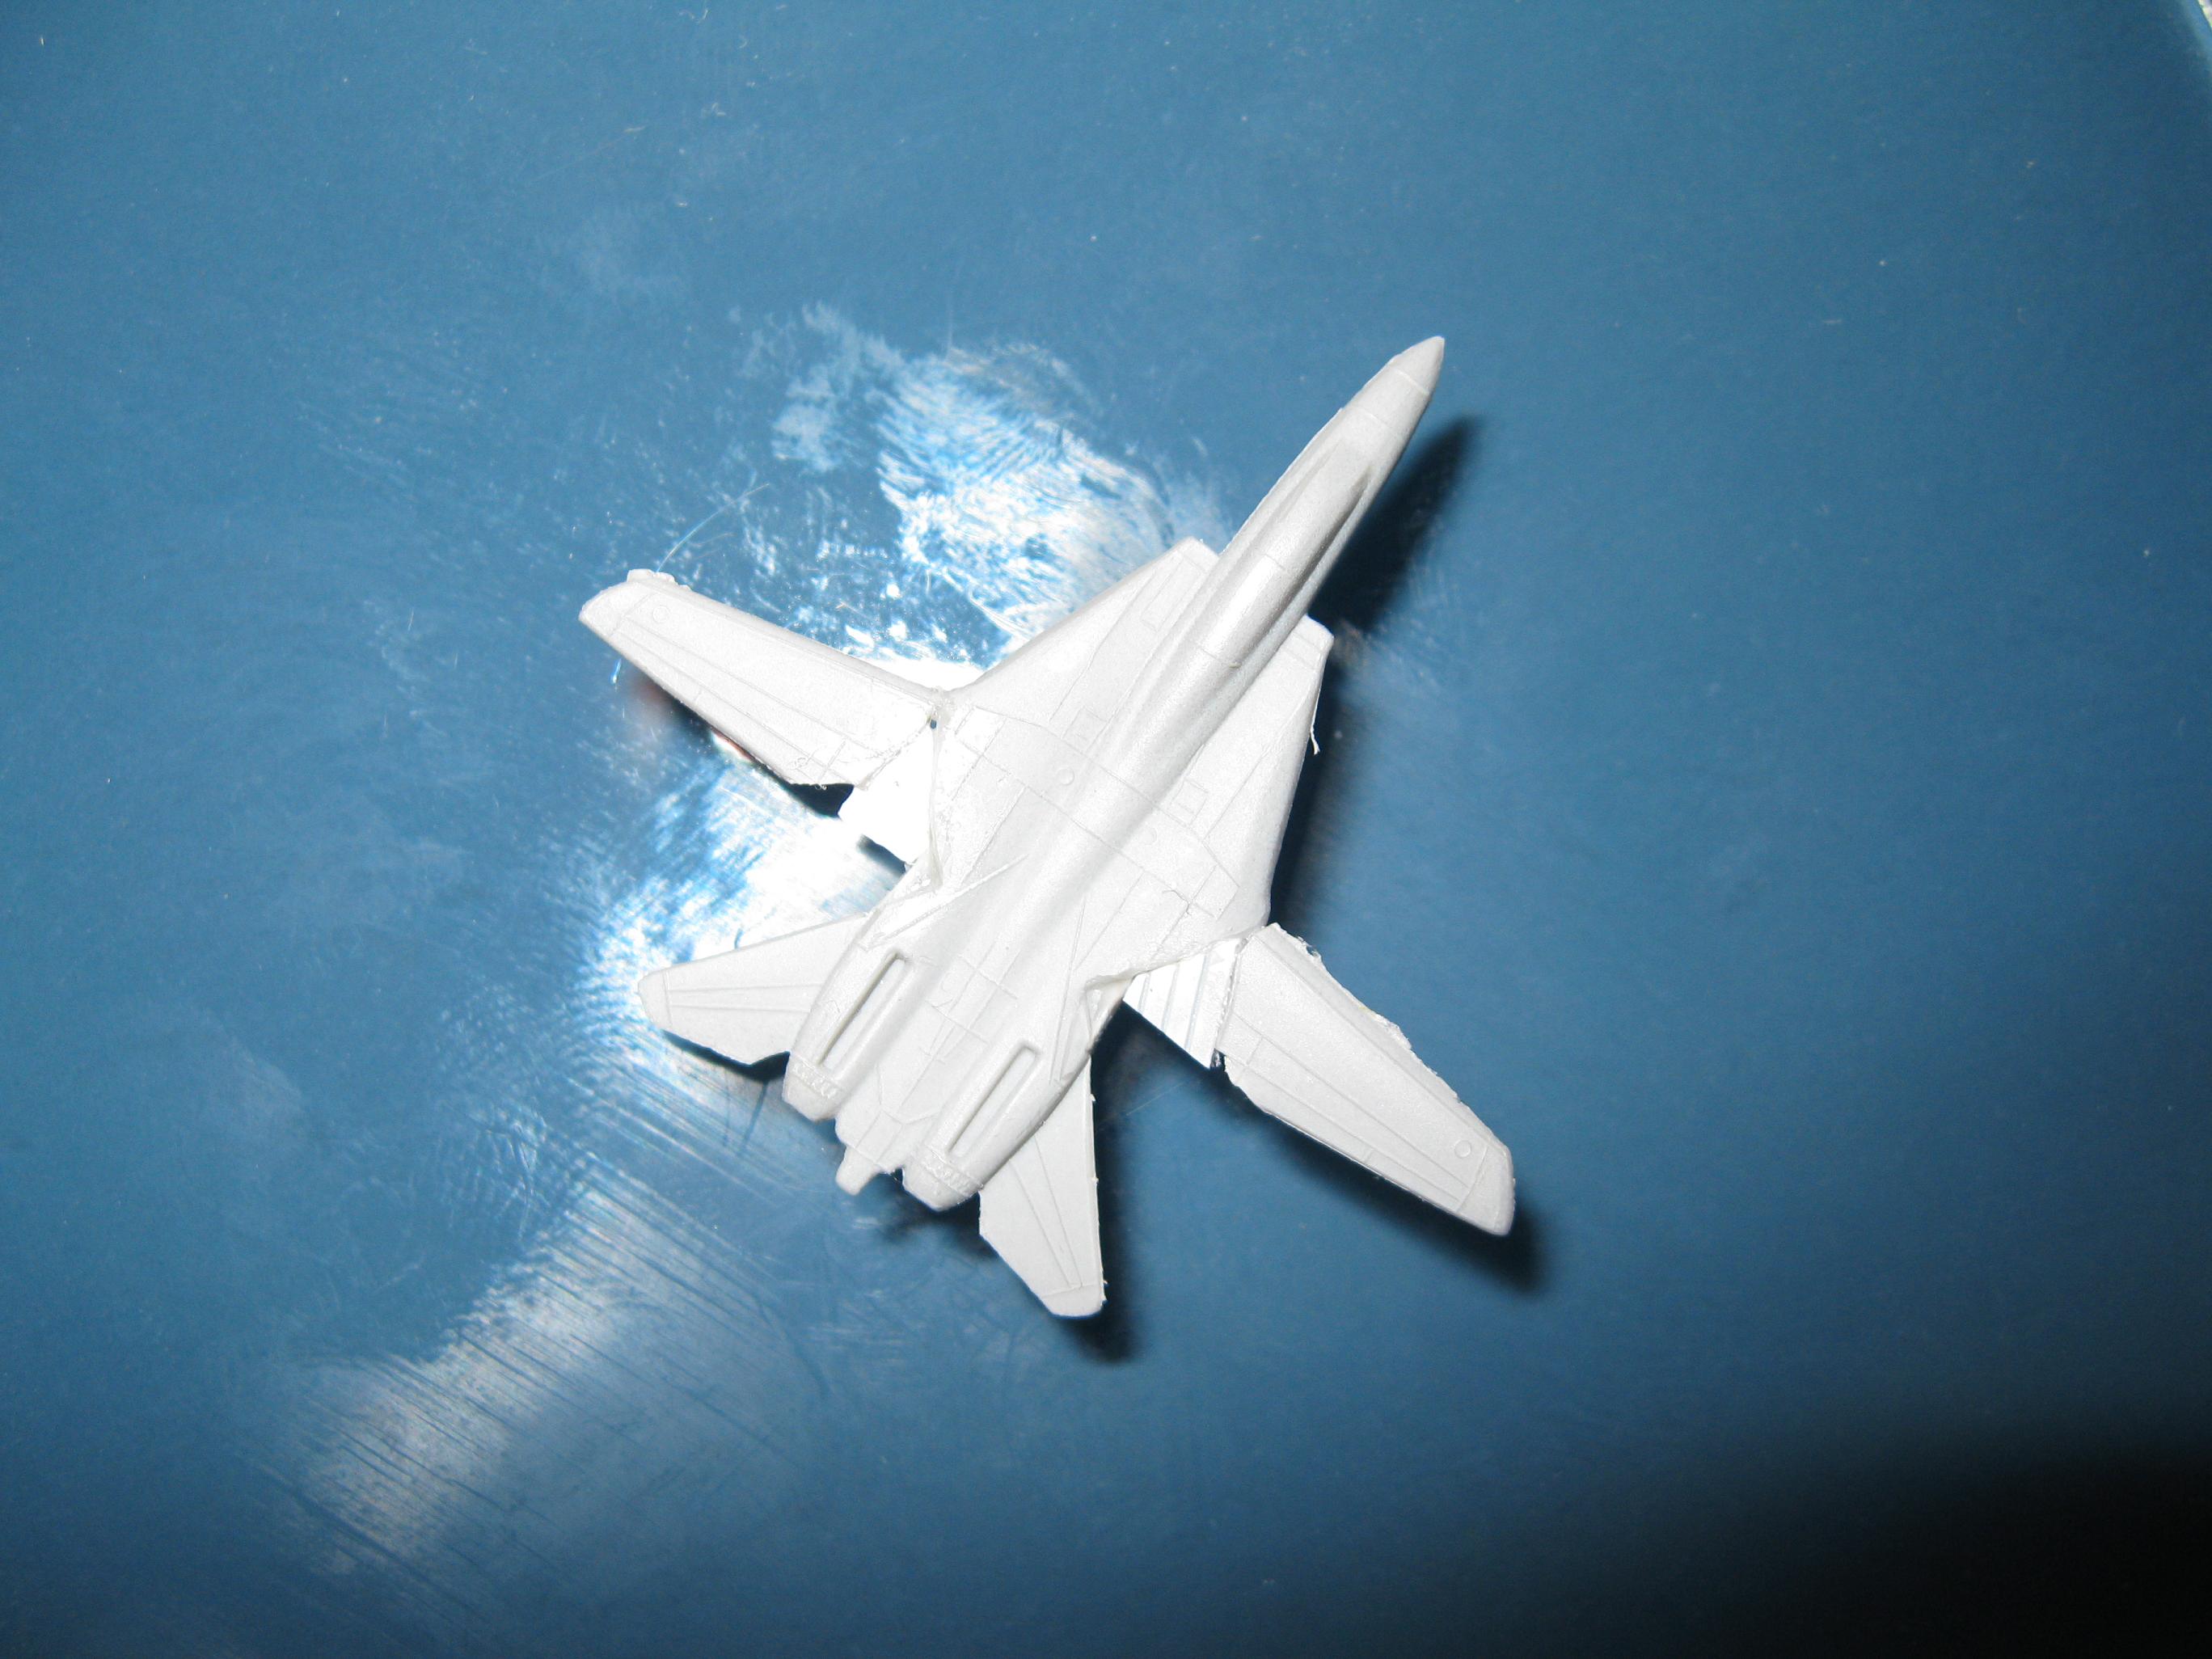
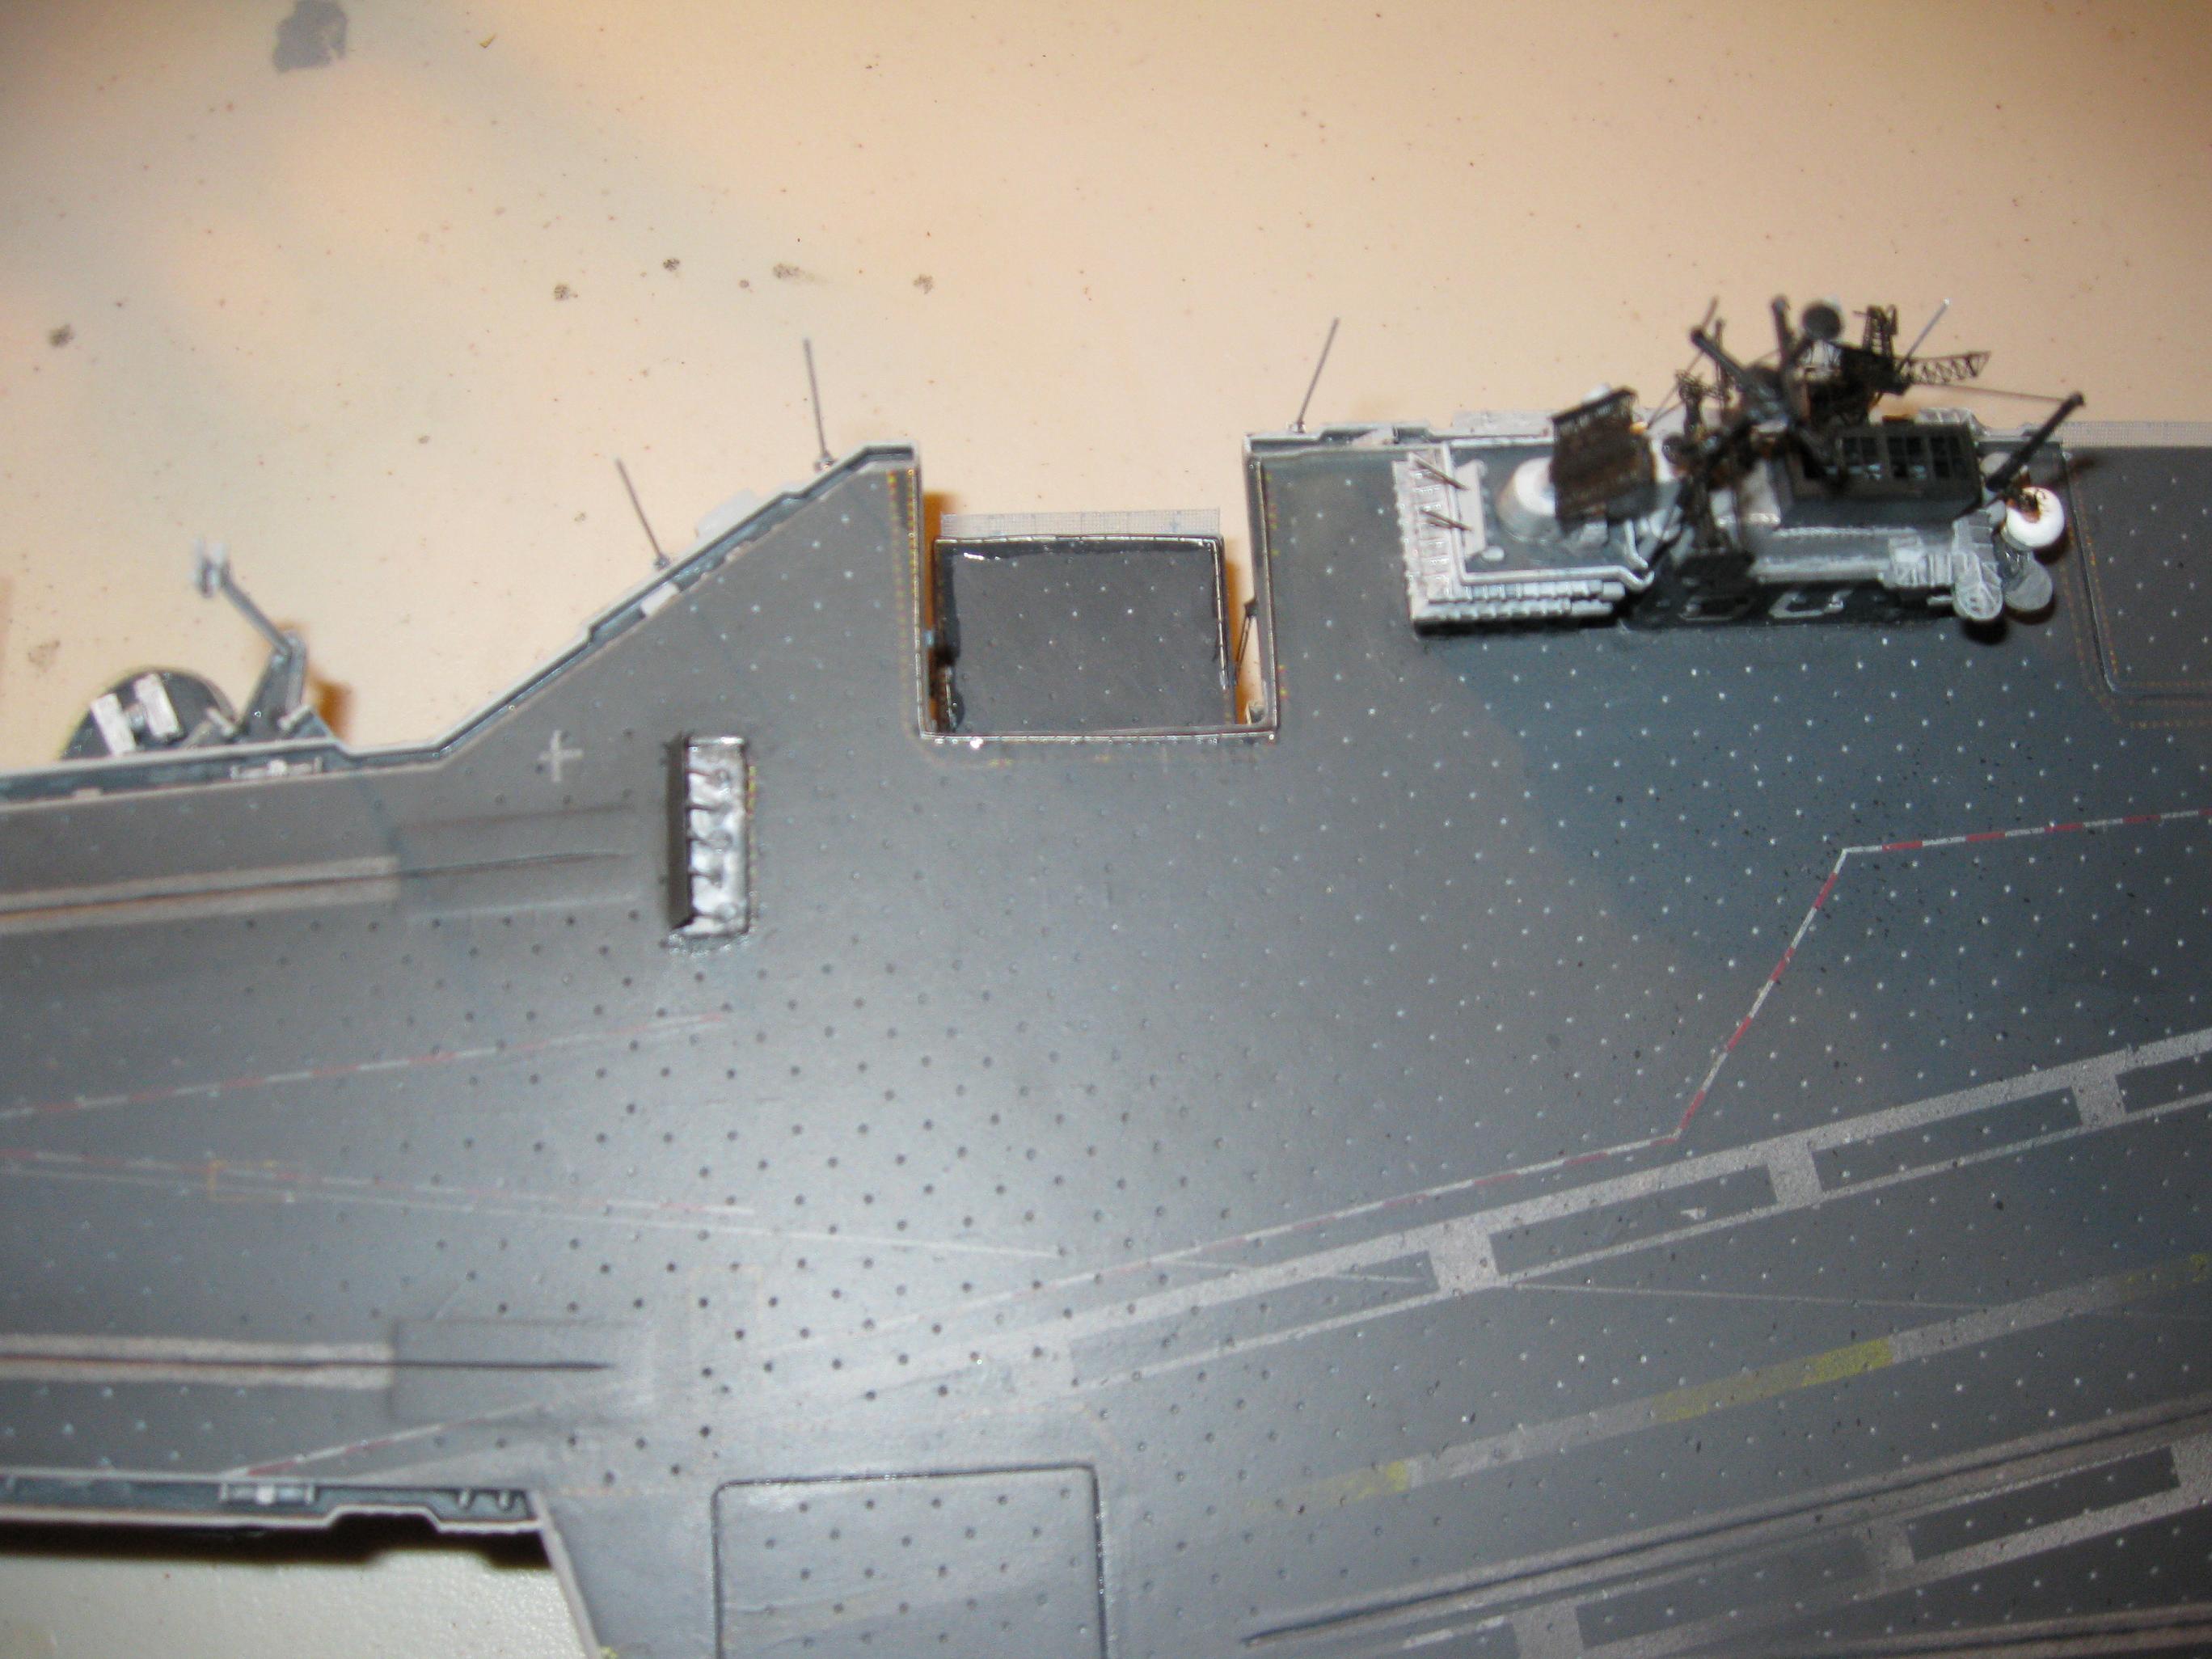
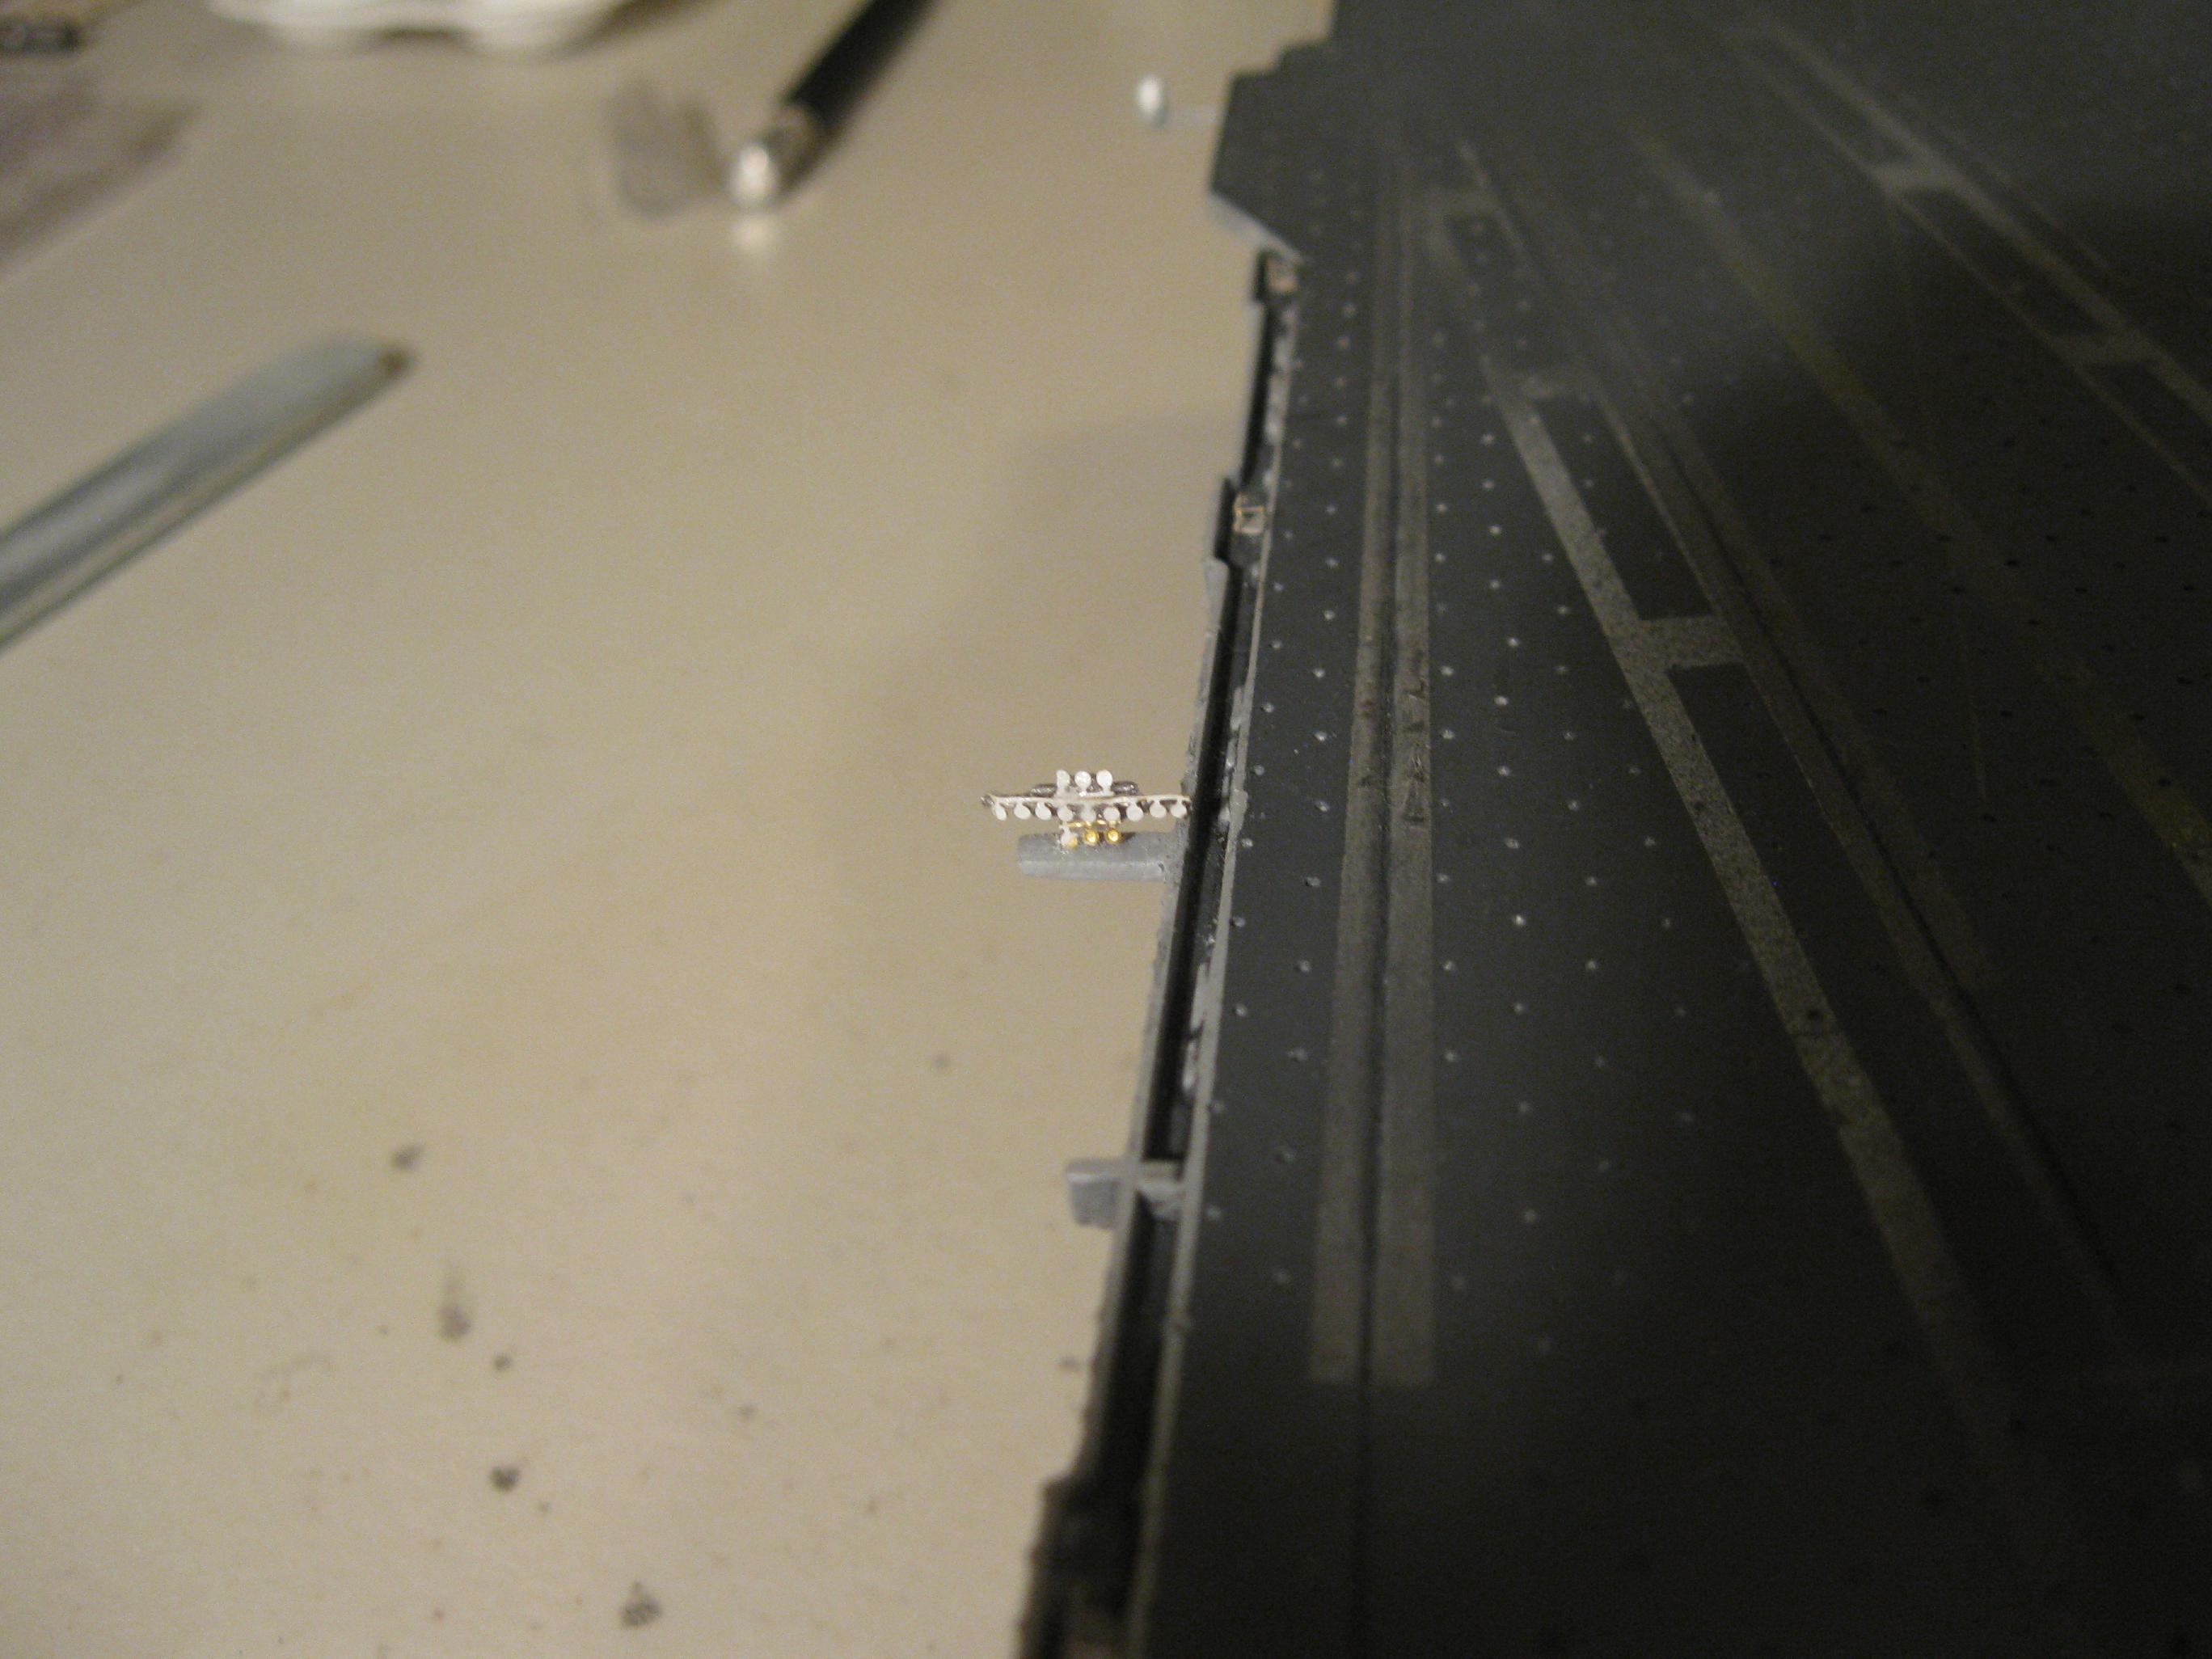
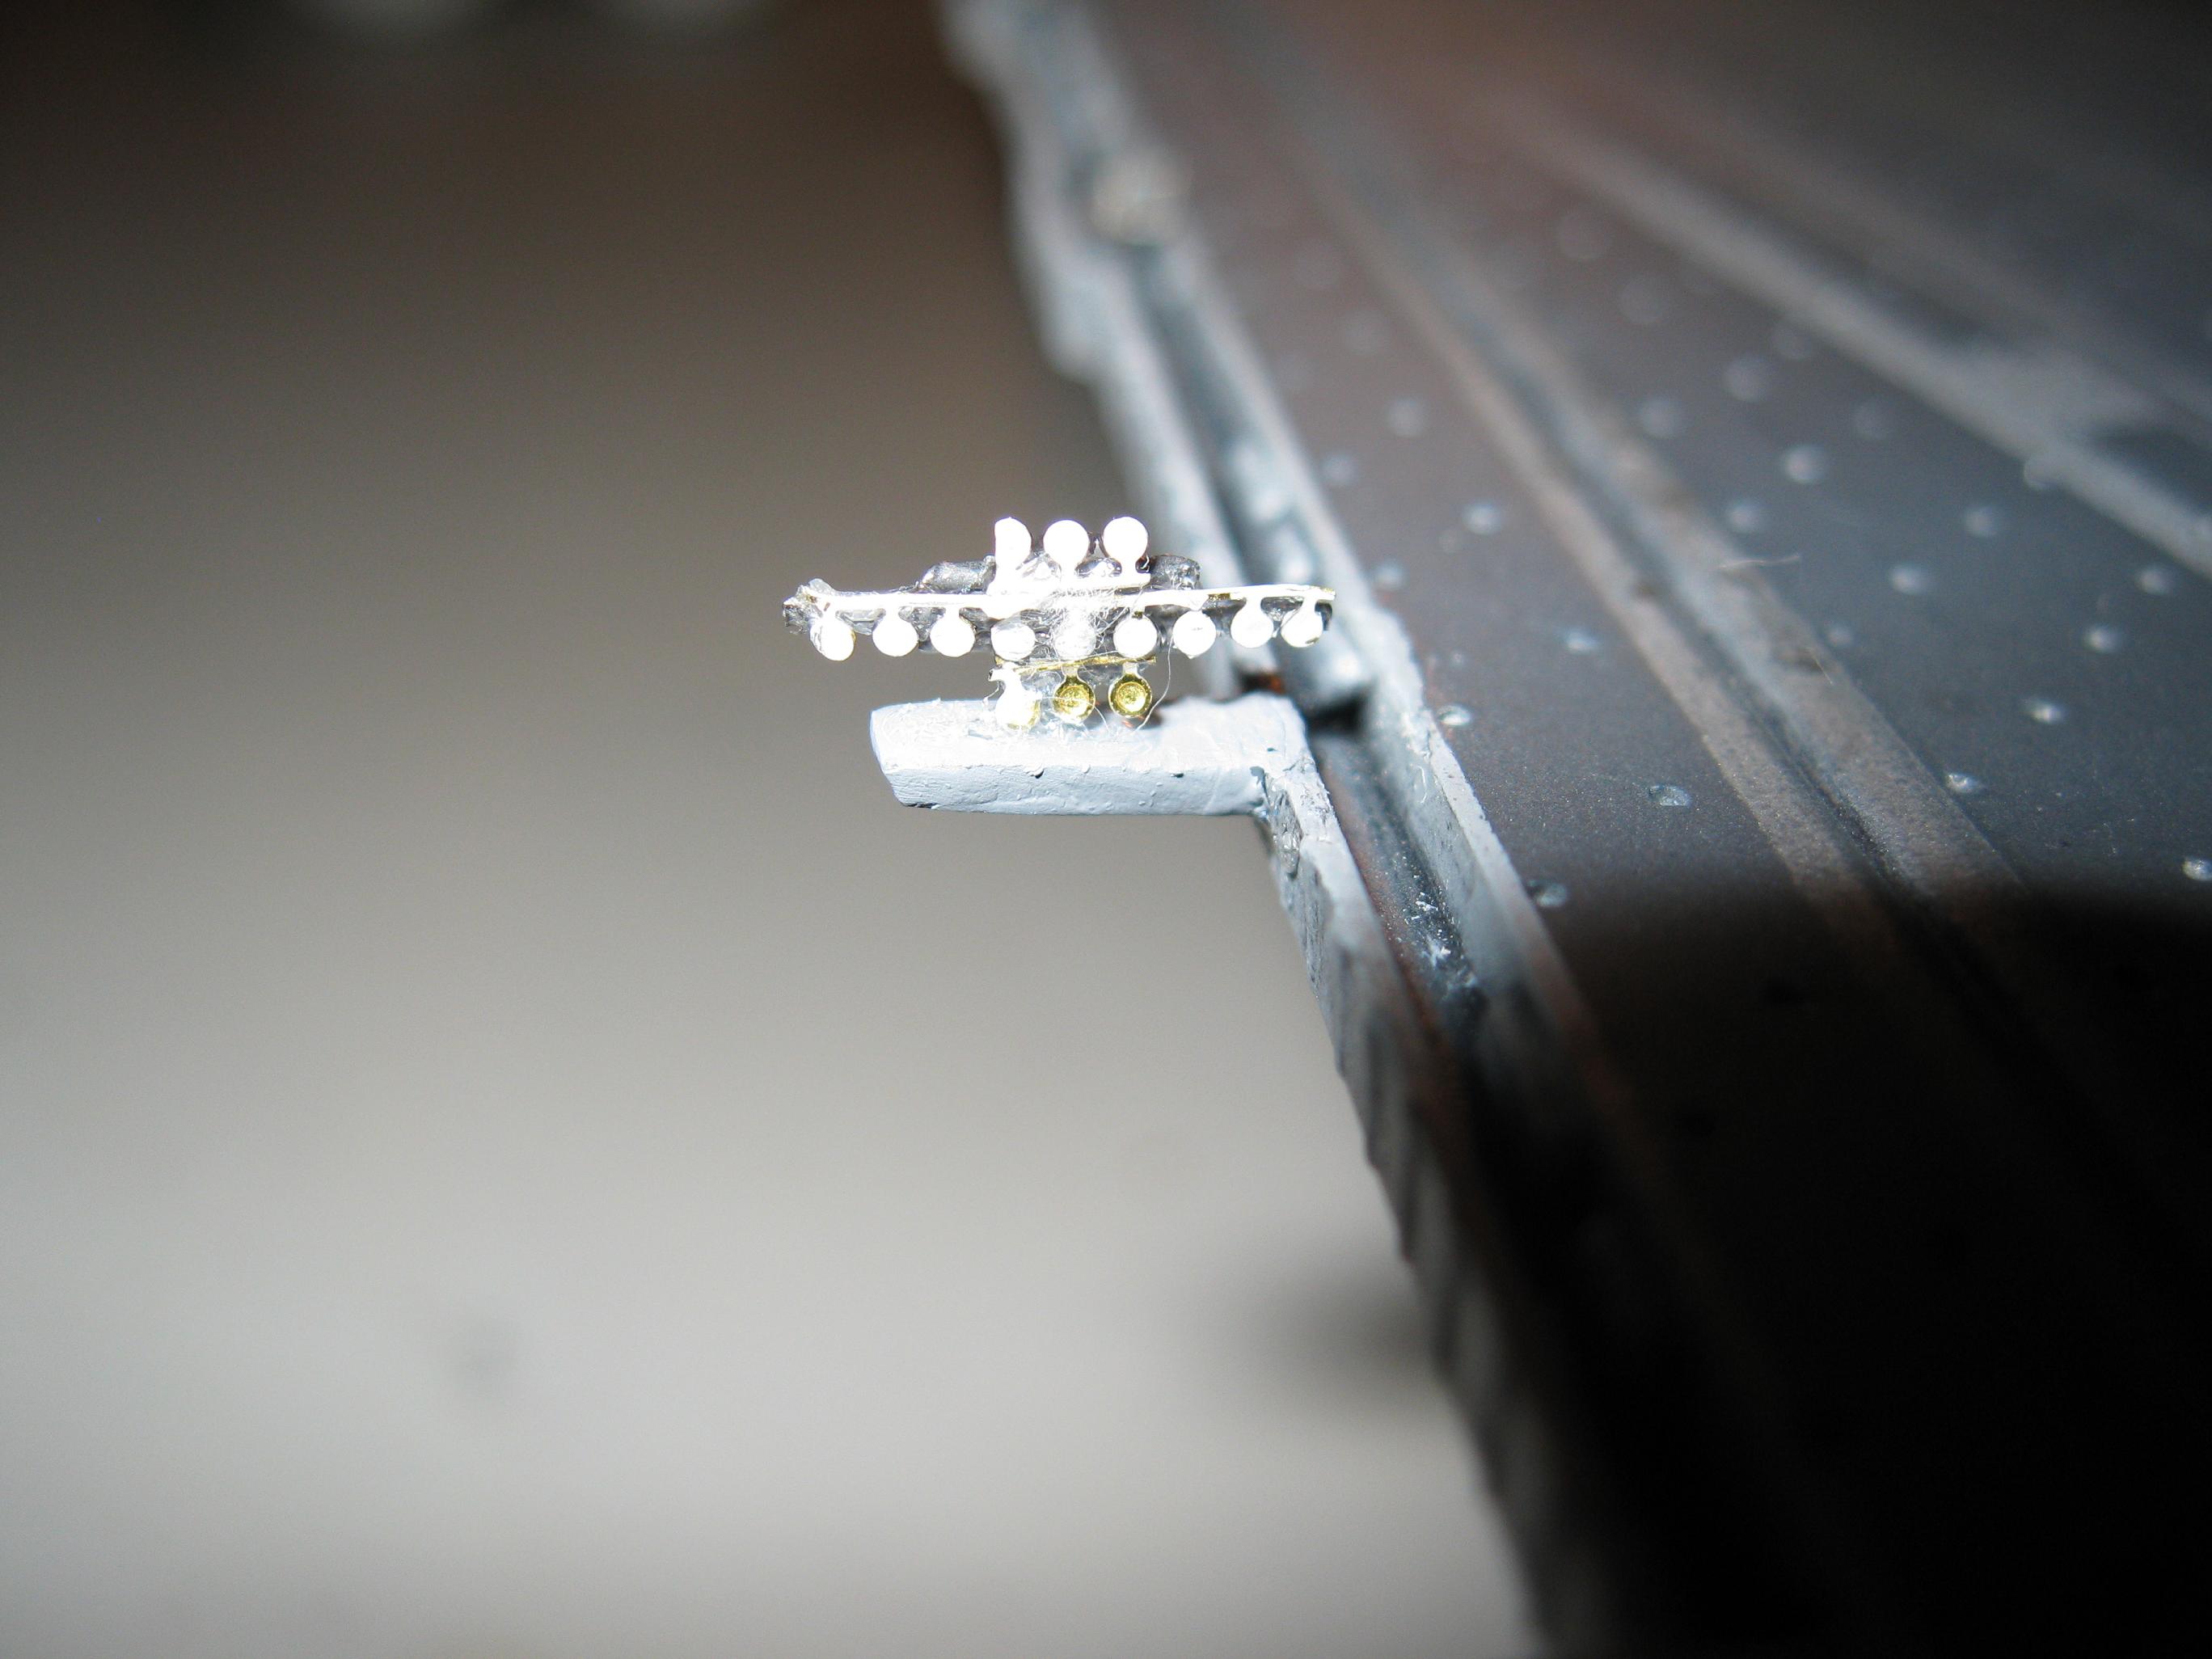
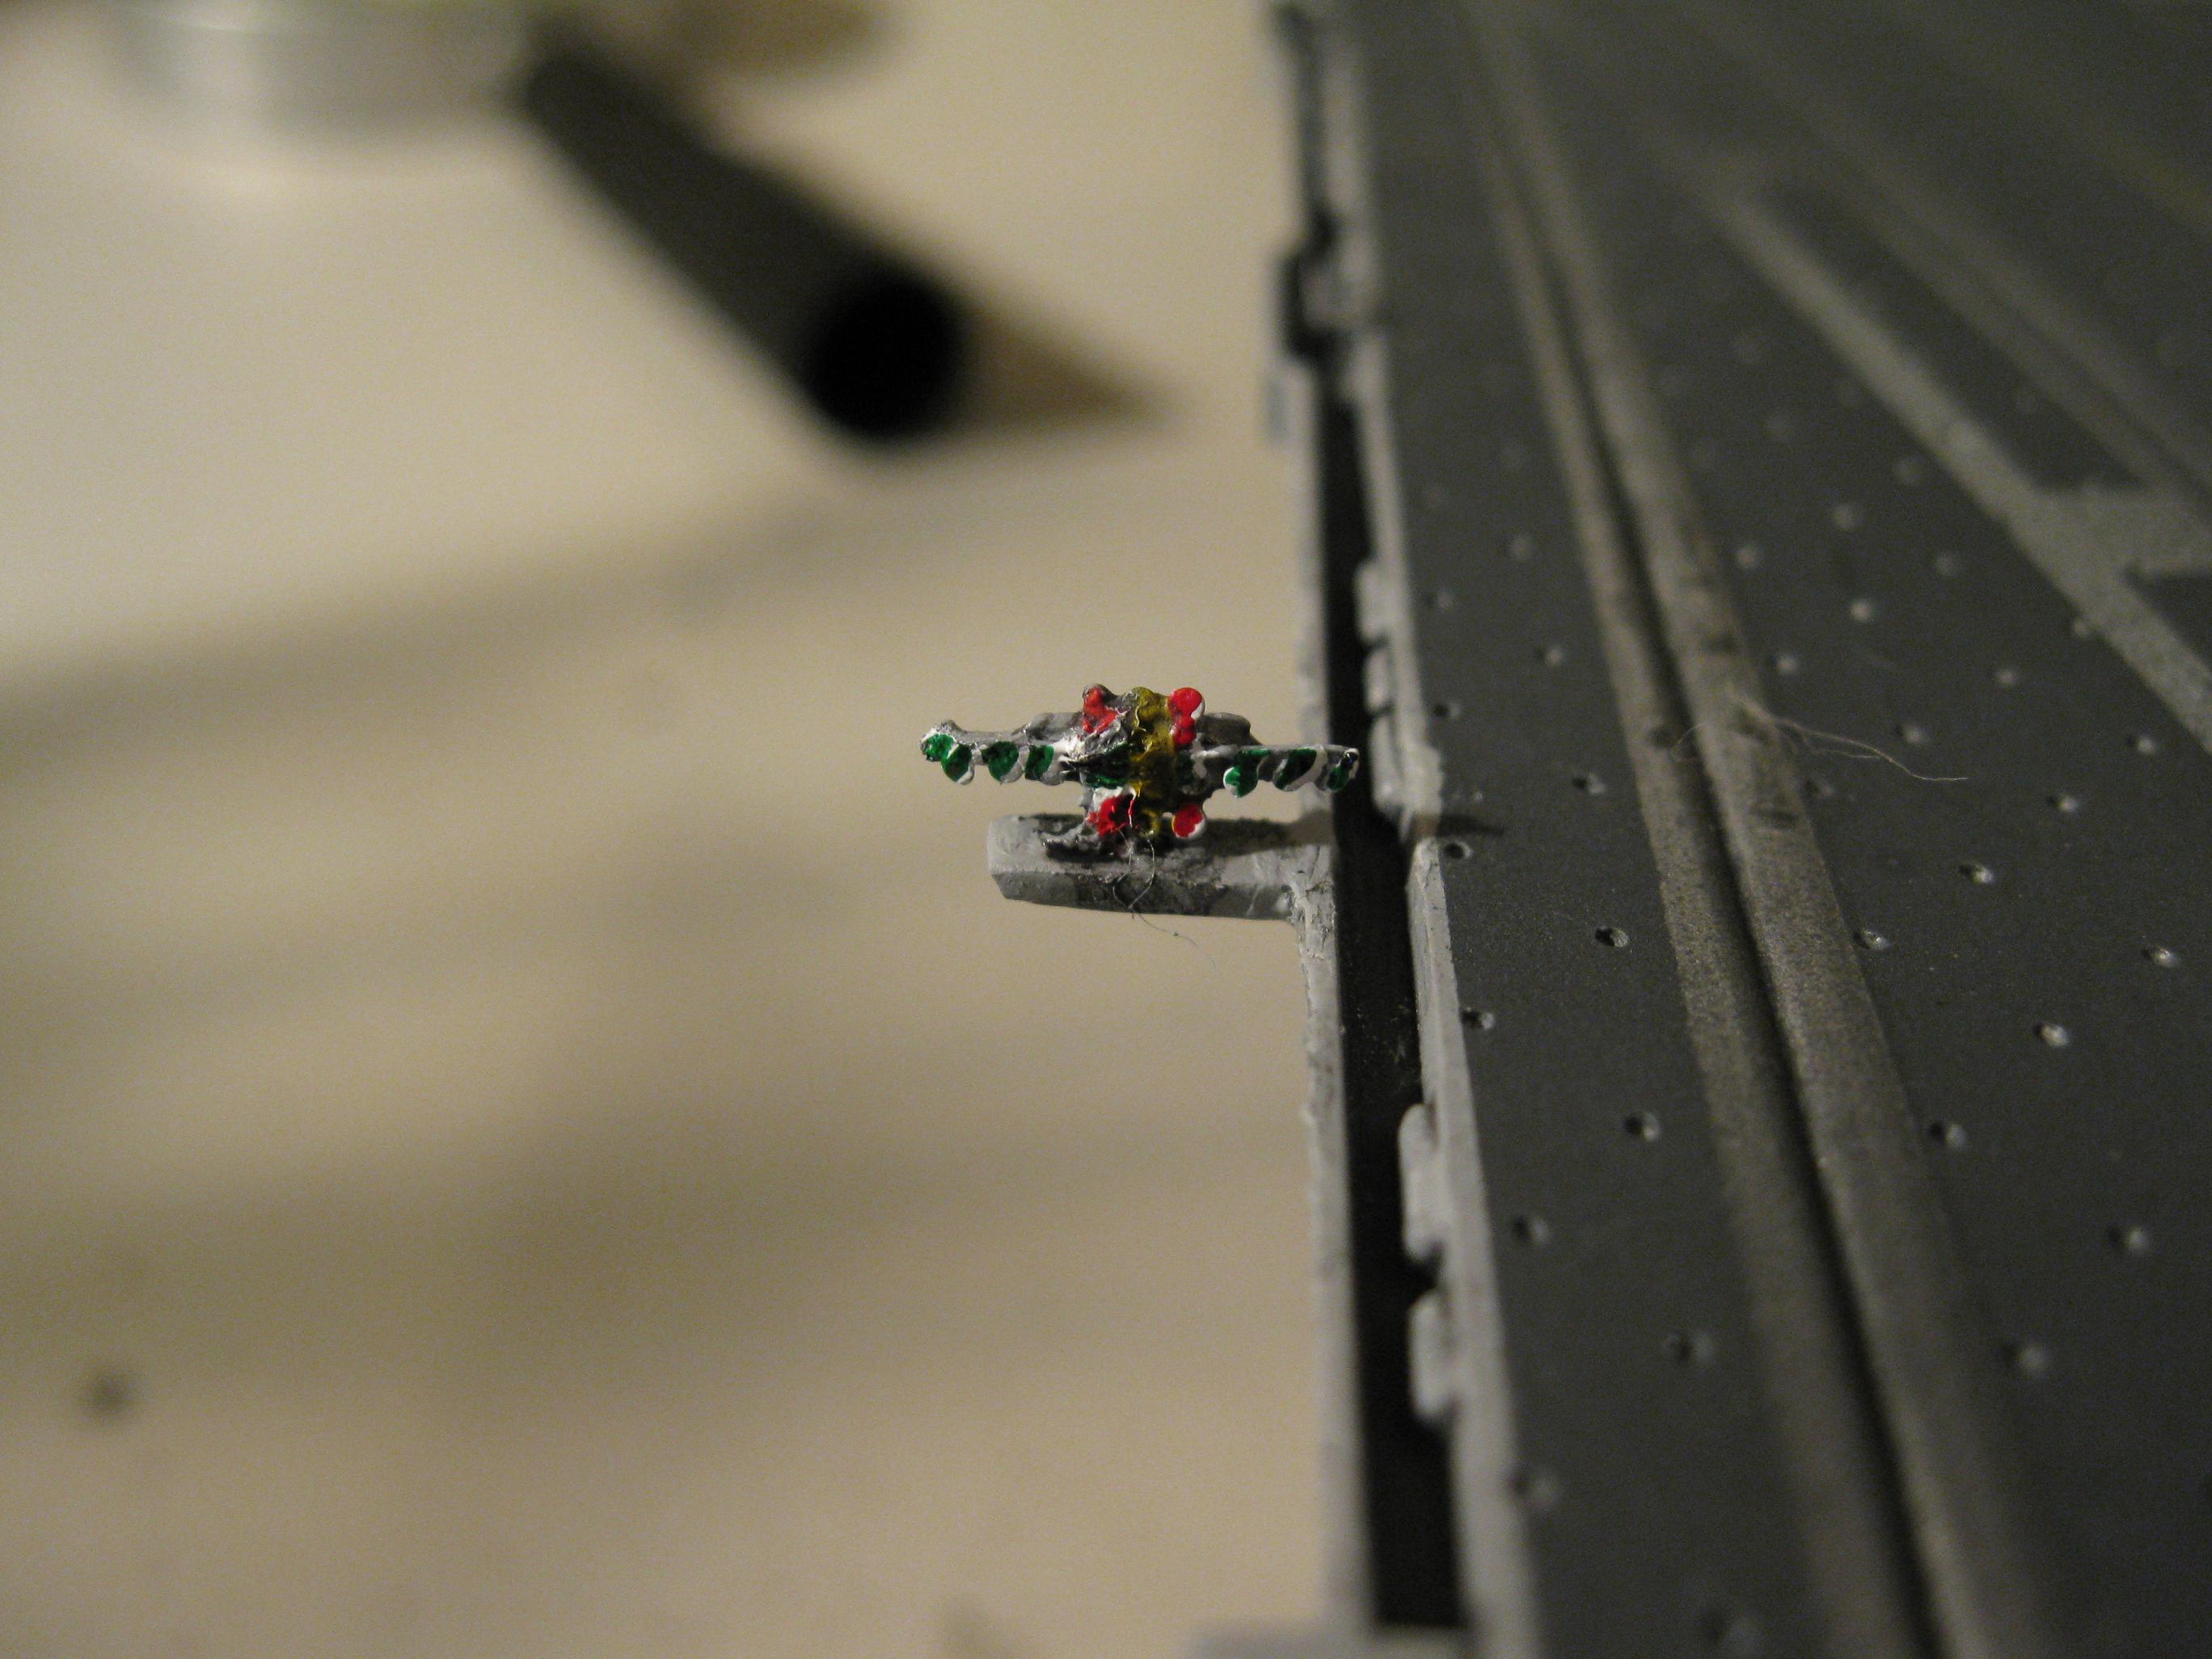
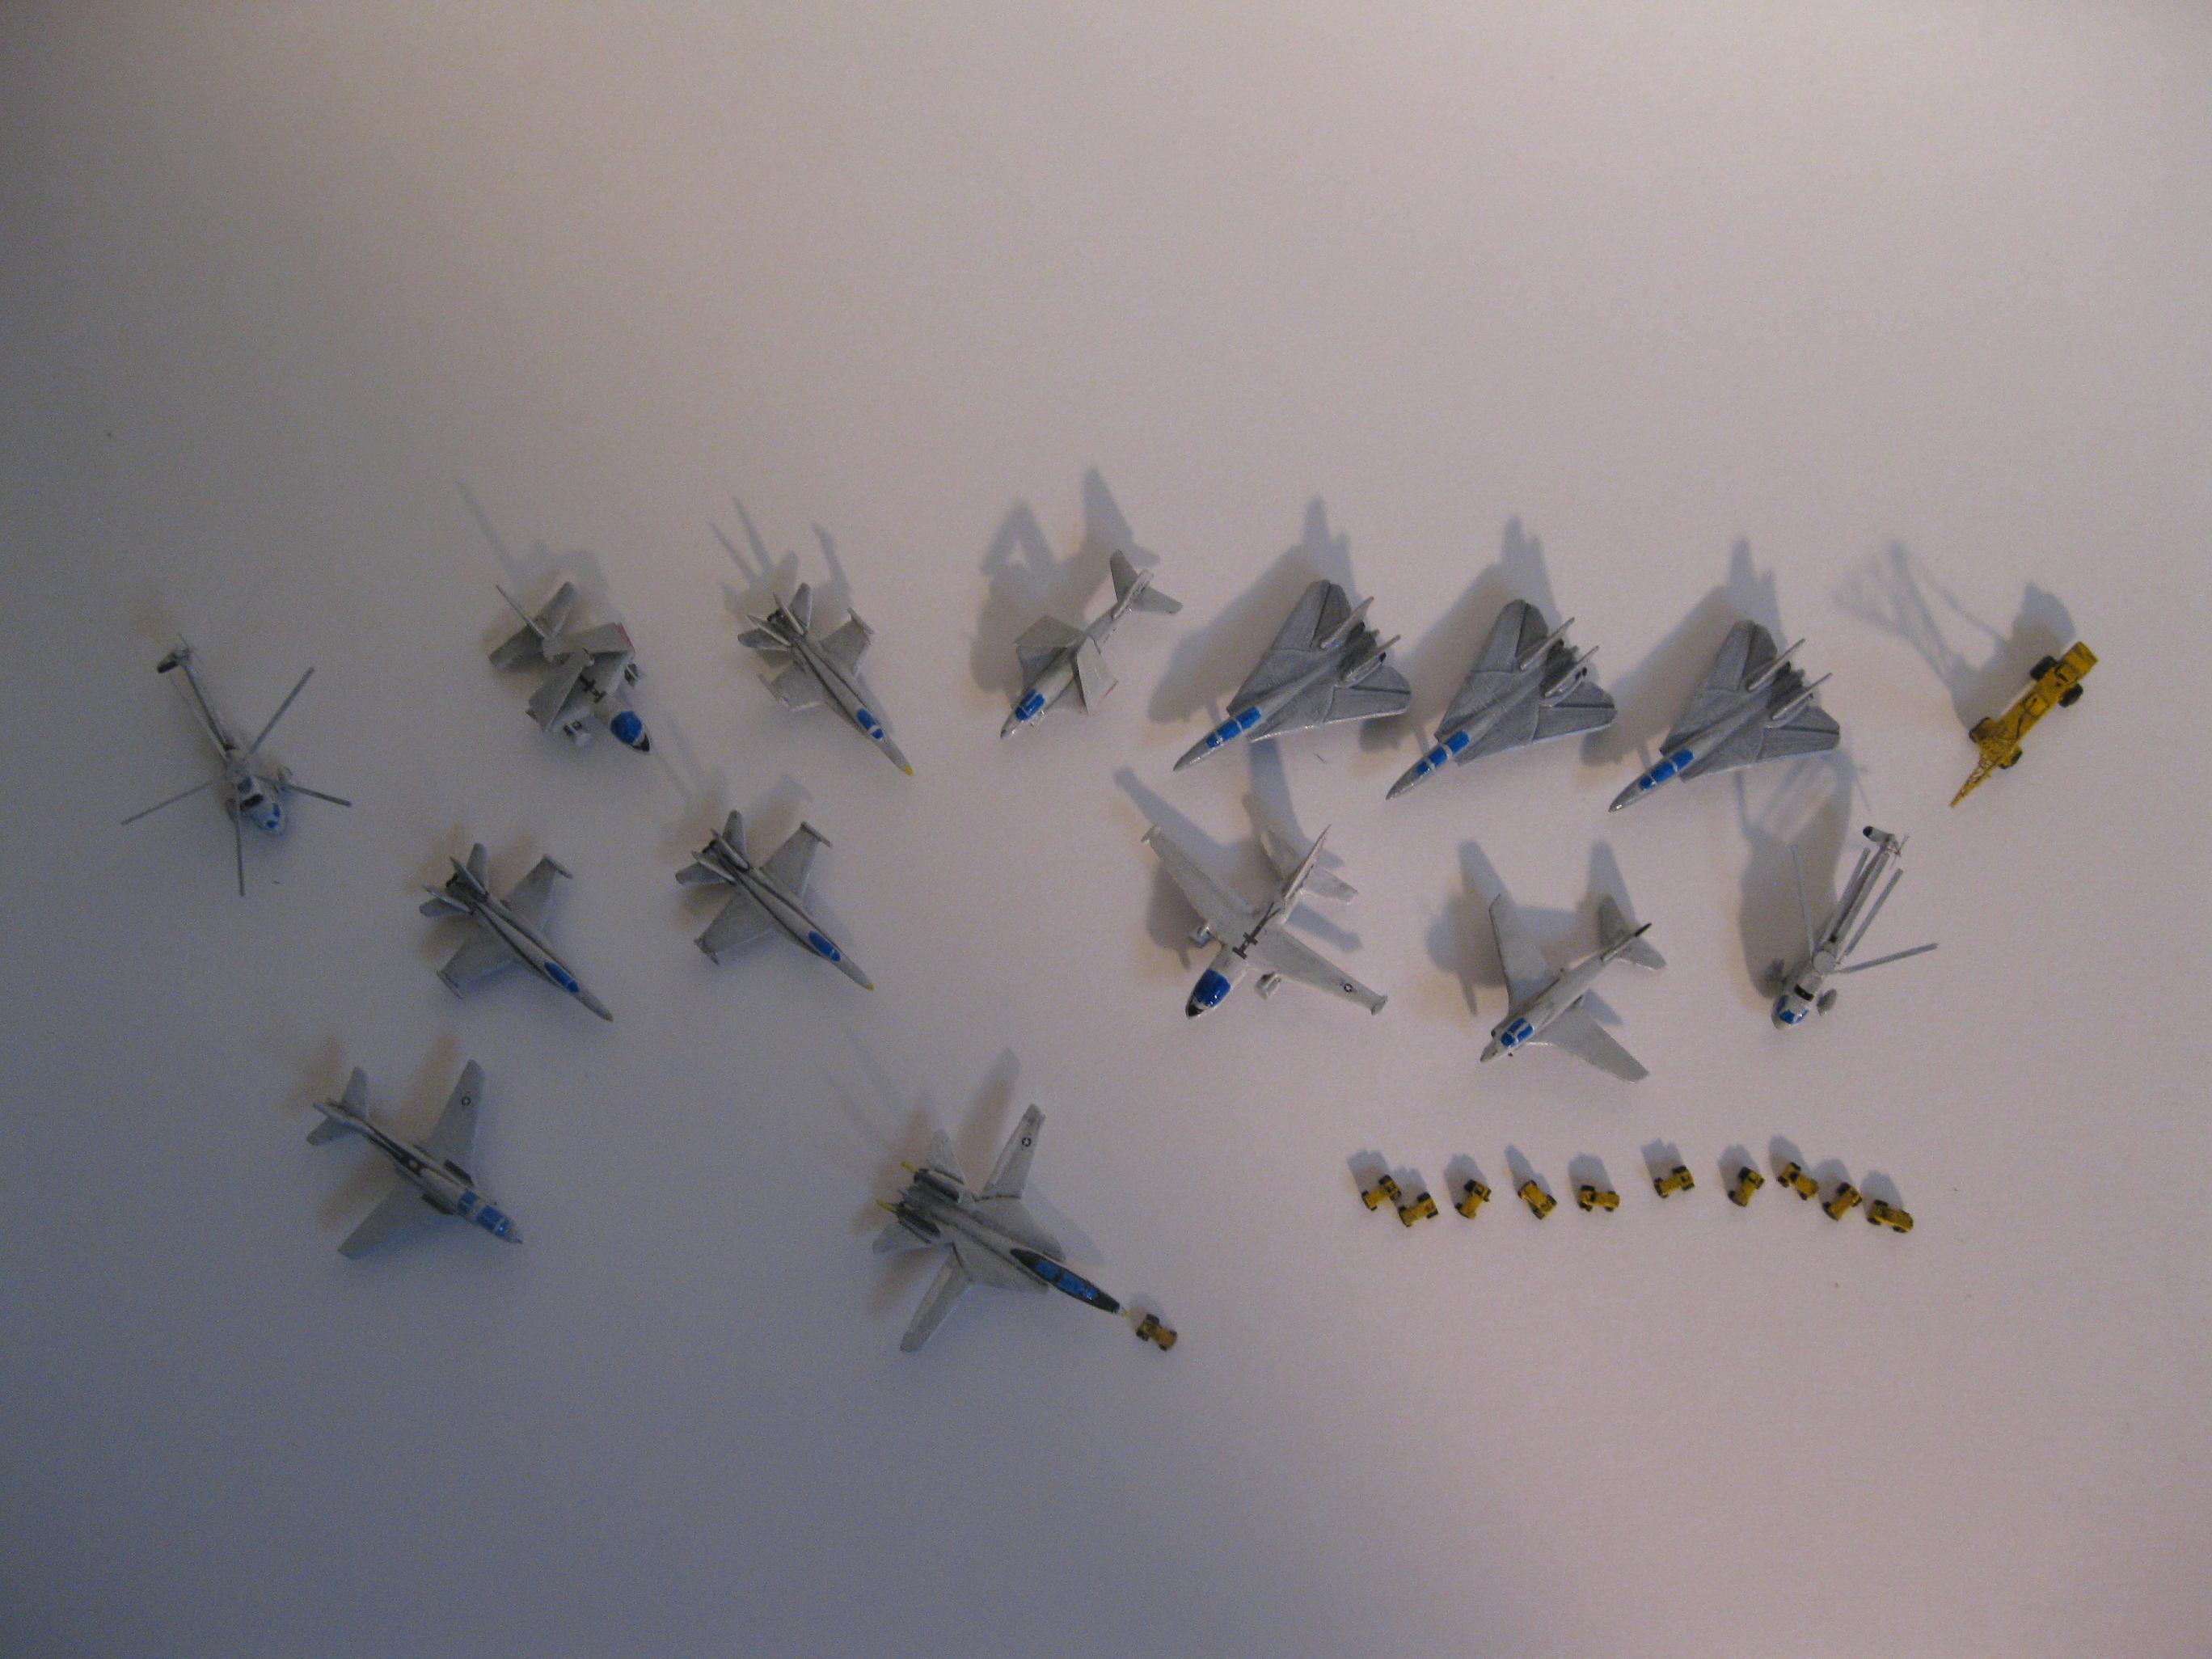
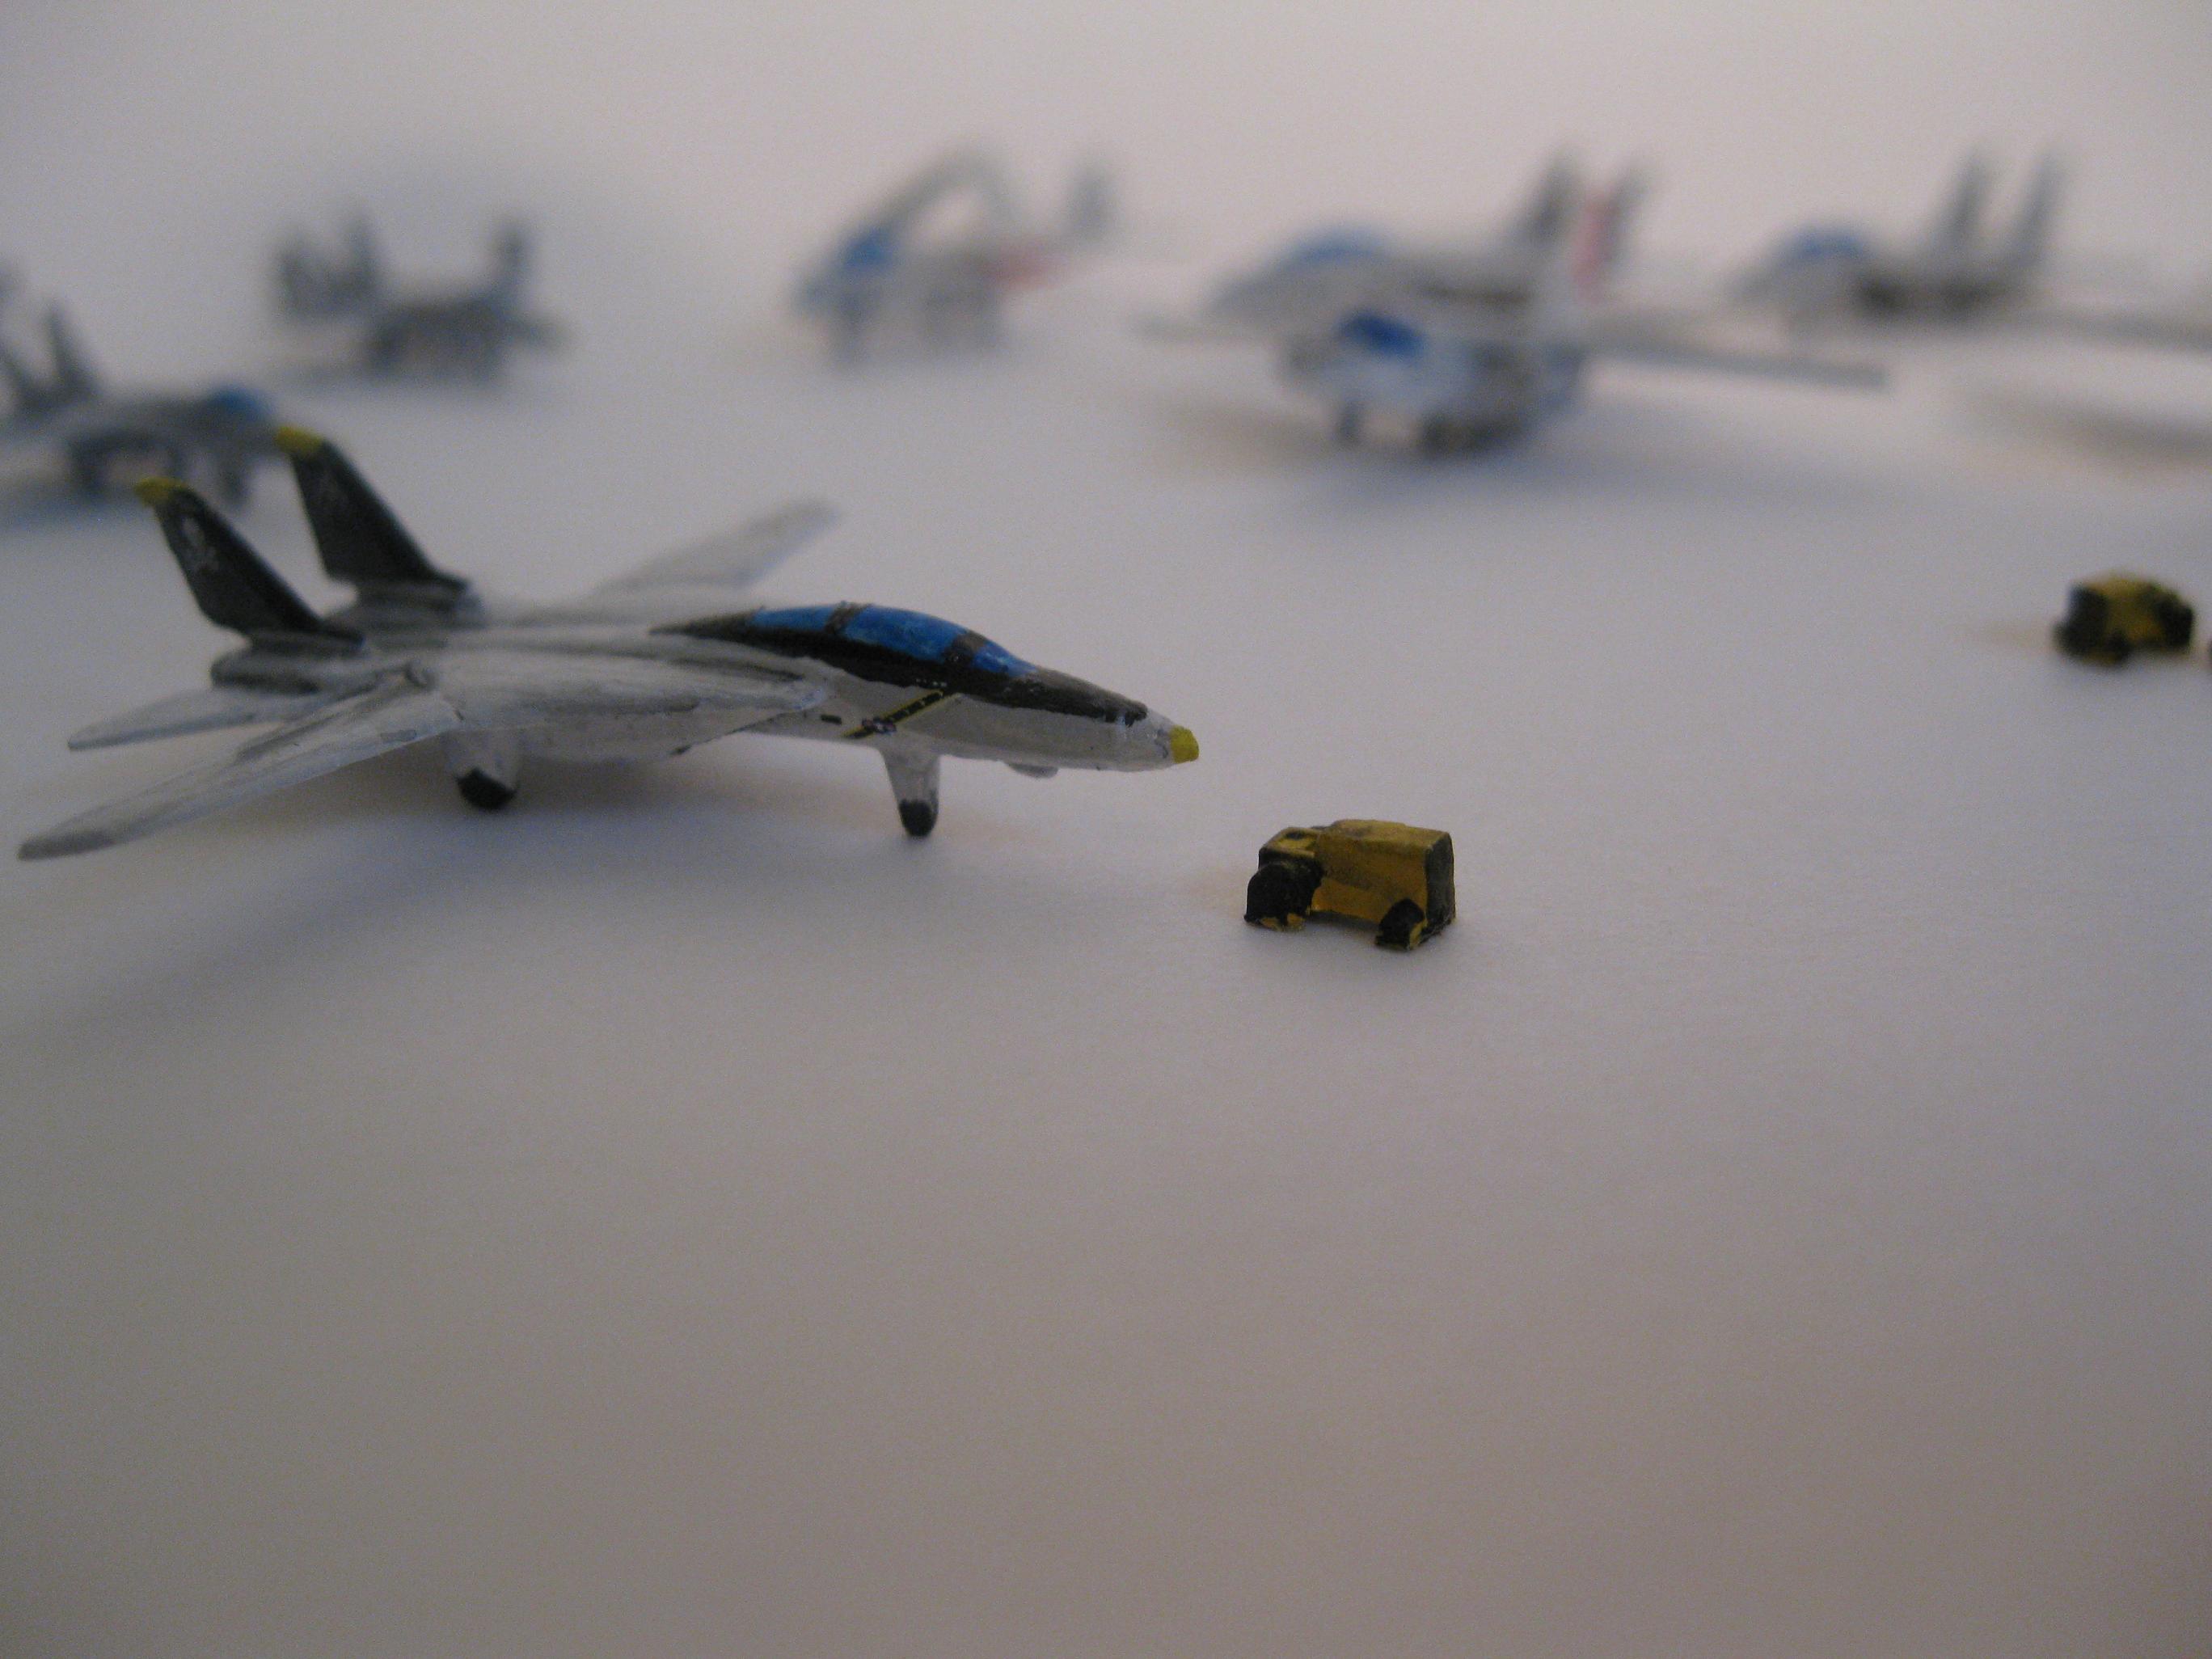
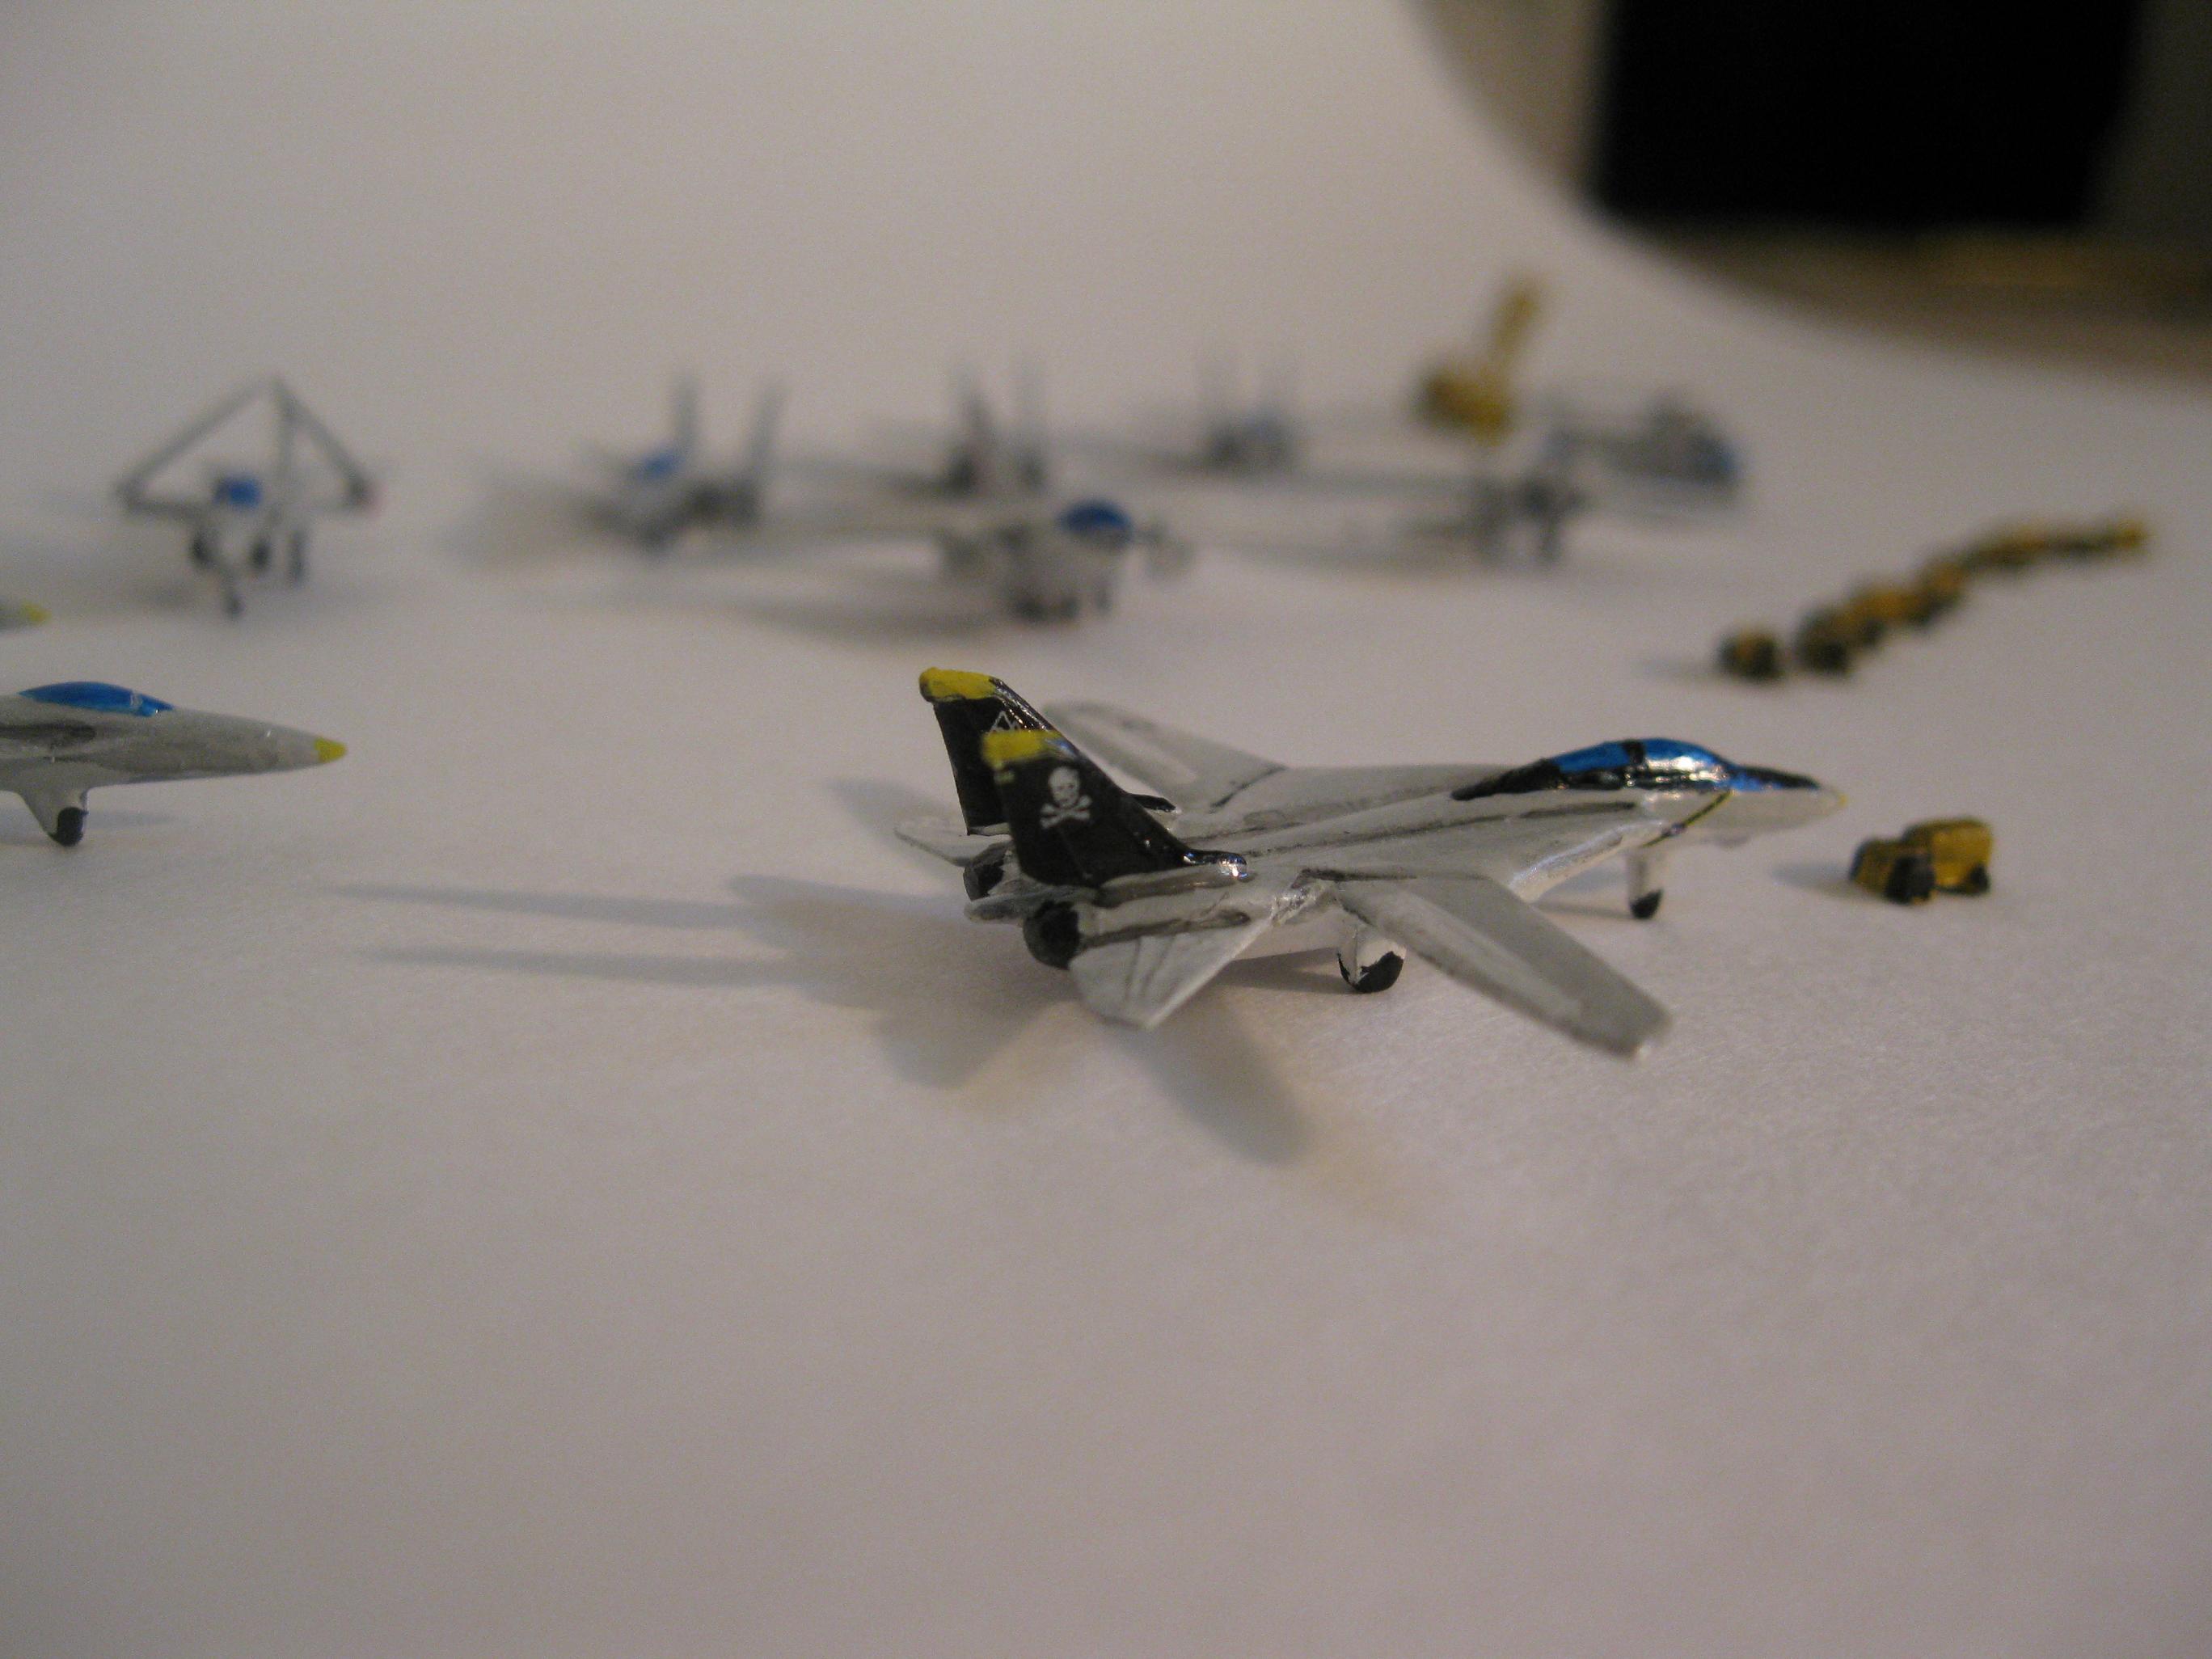
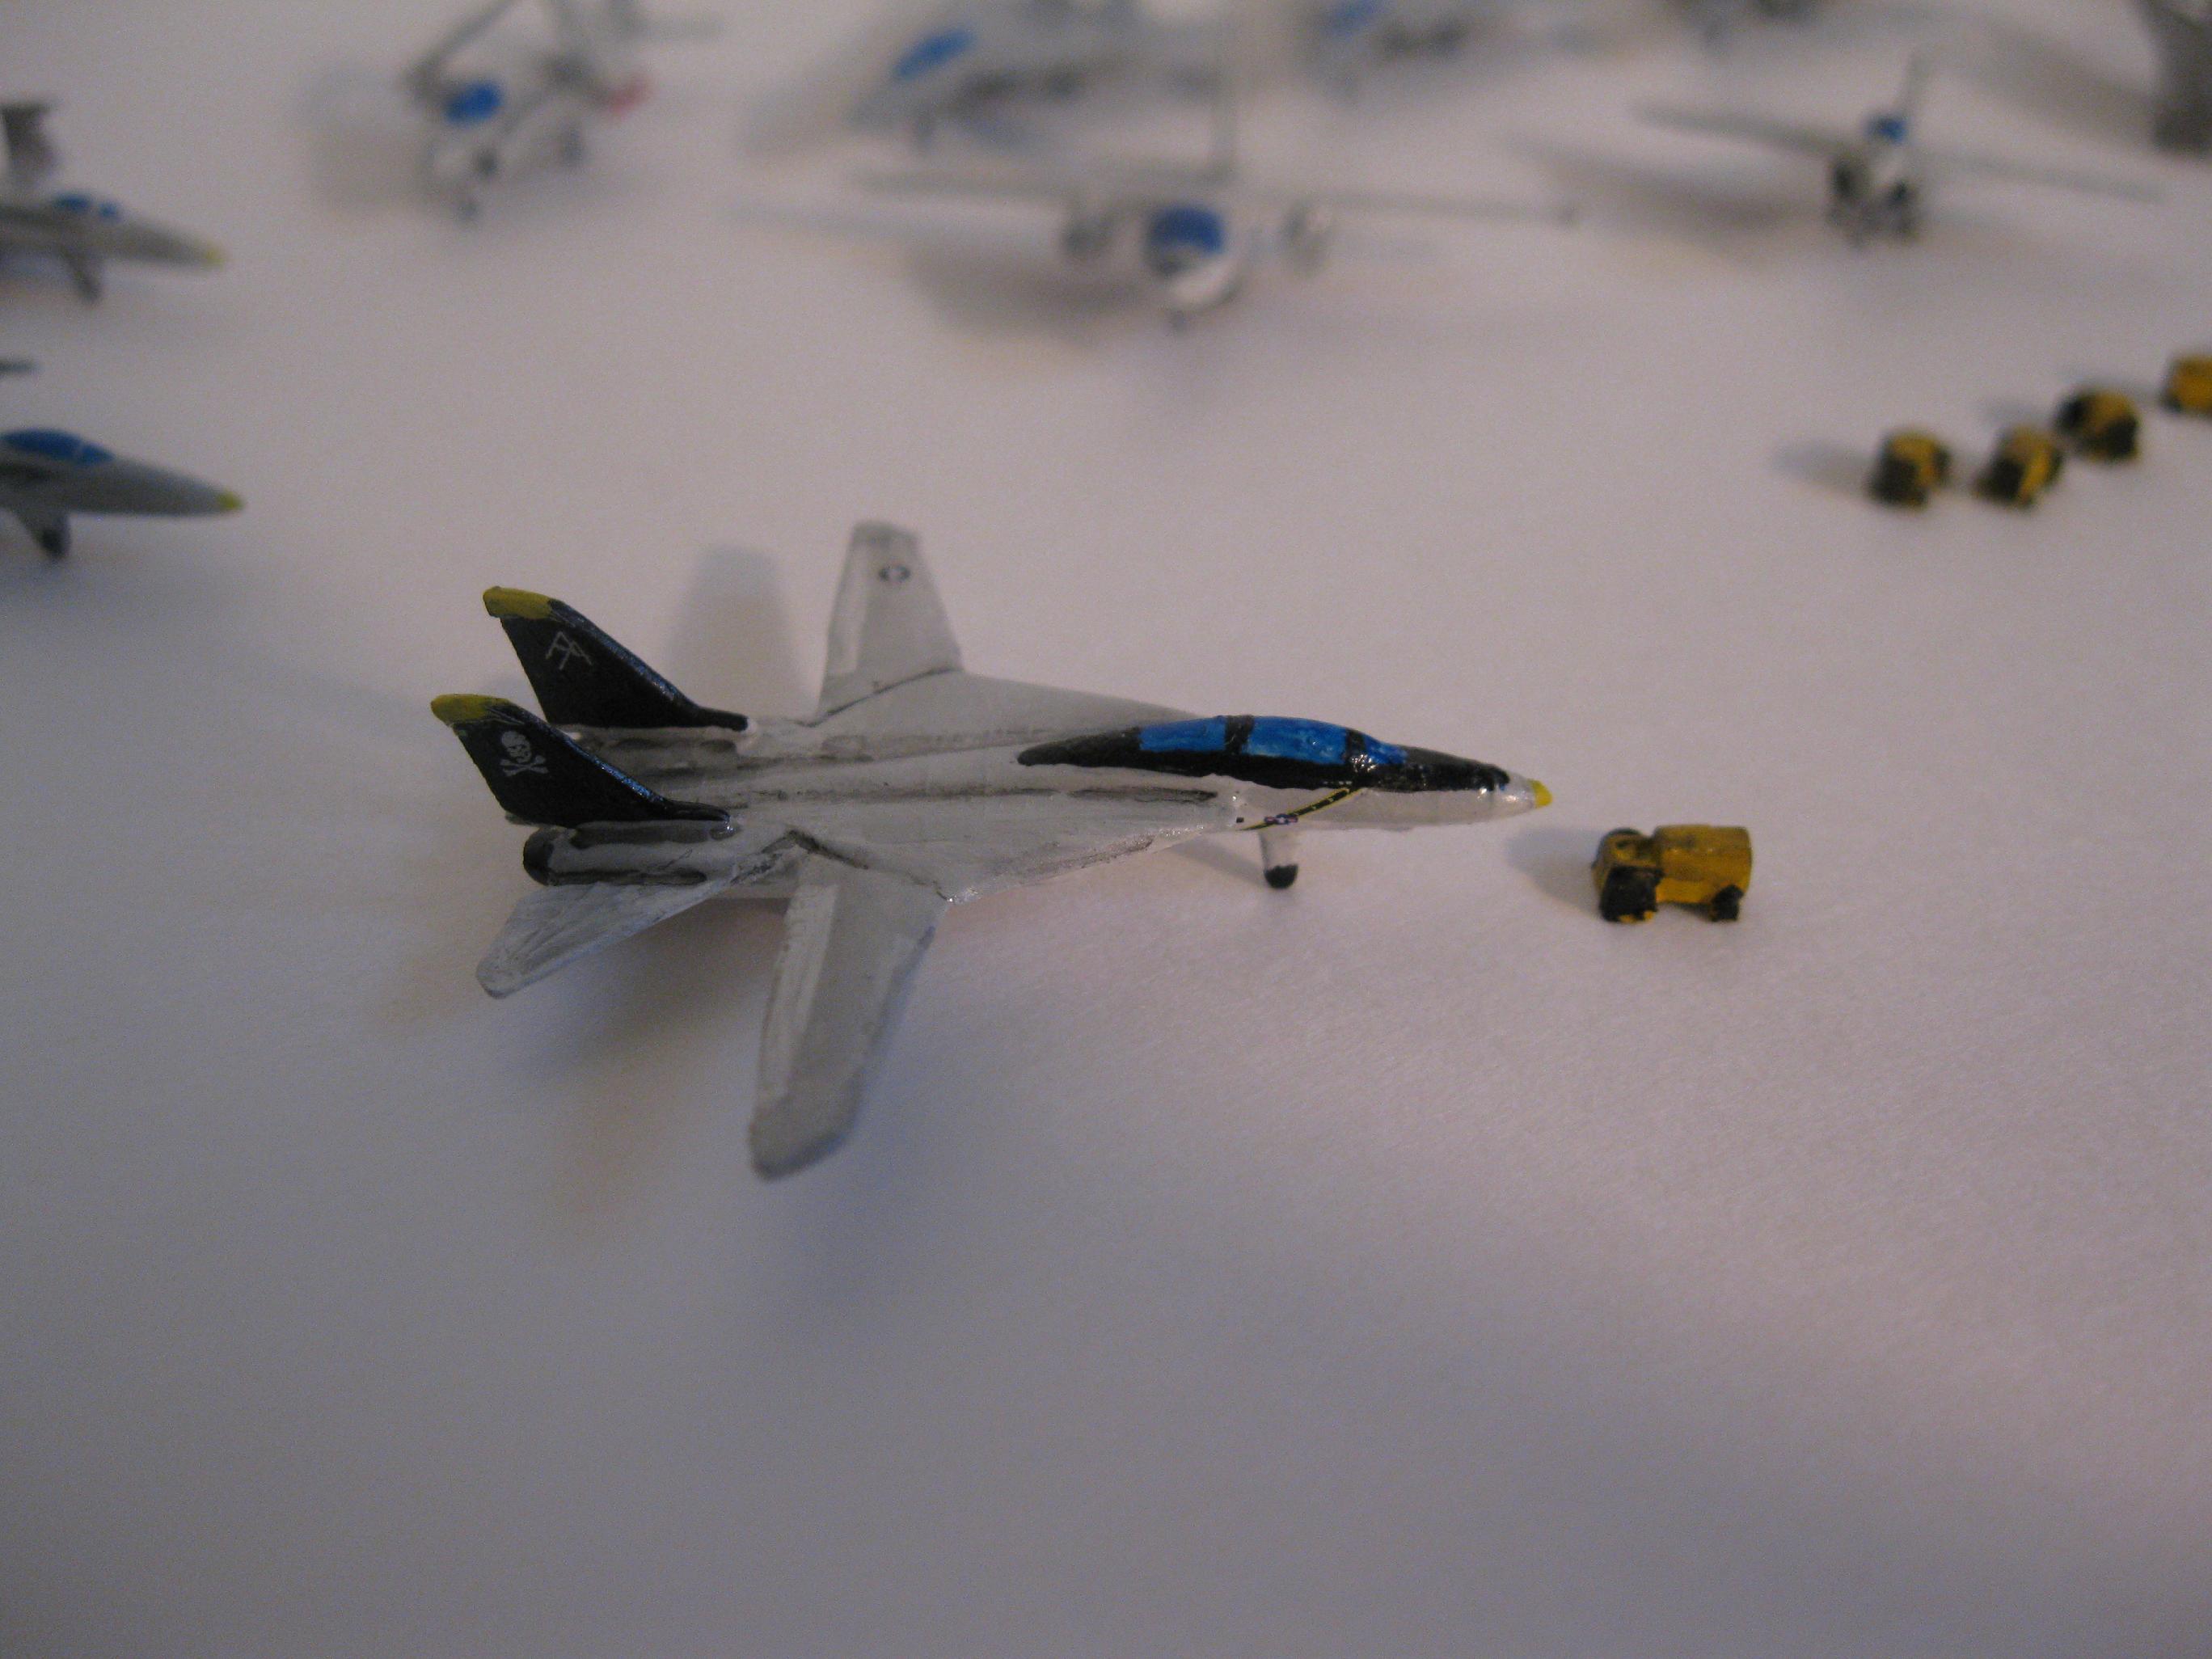
shape I started to get more and more excited. Extending the wings on one of the
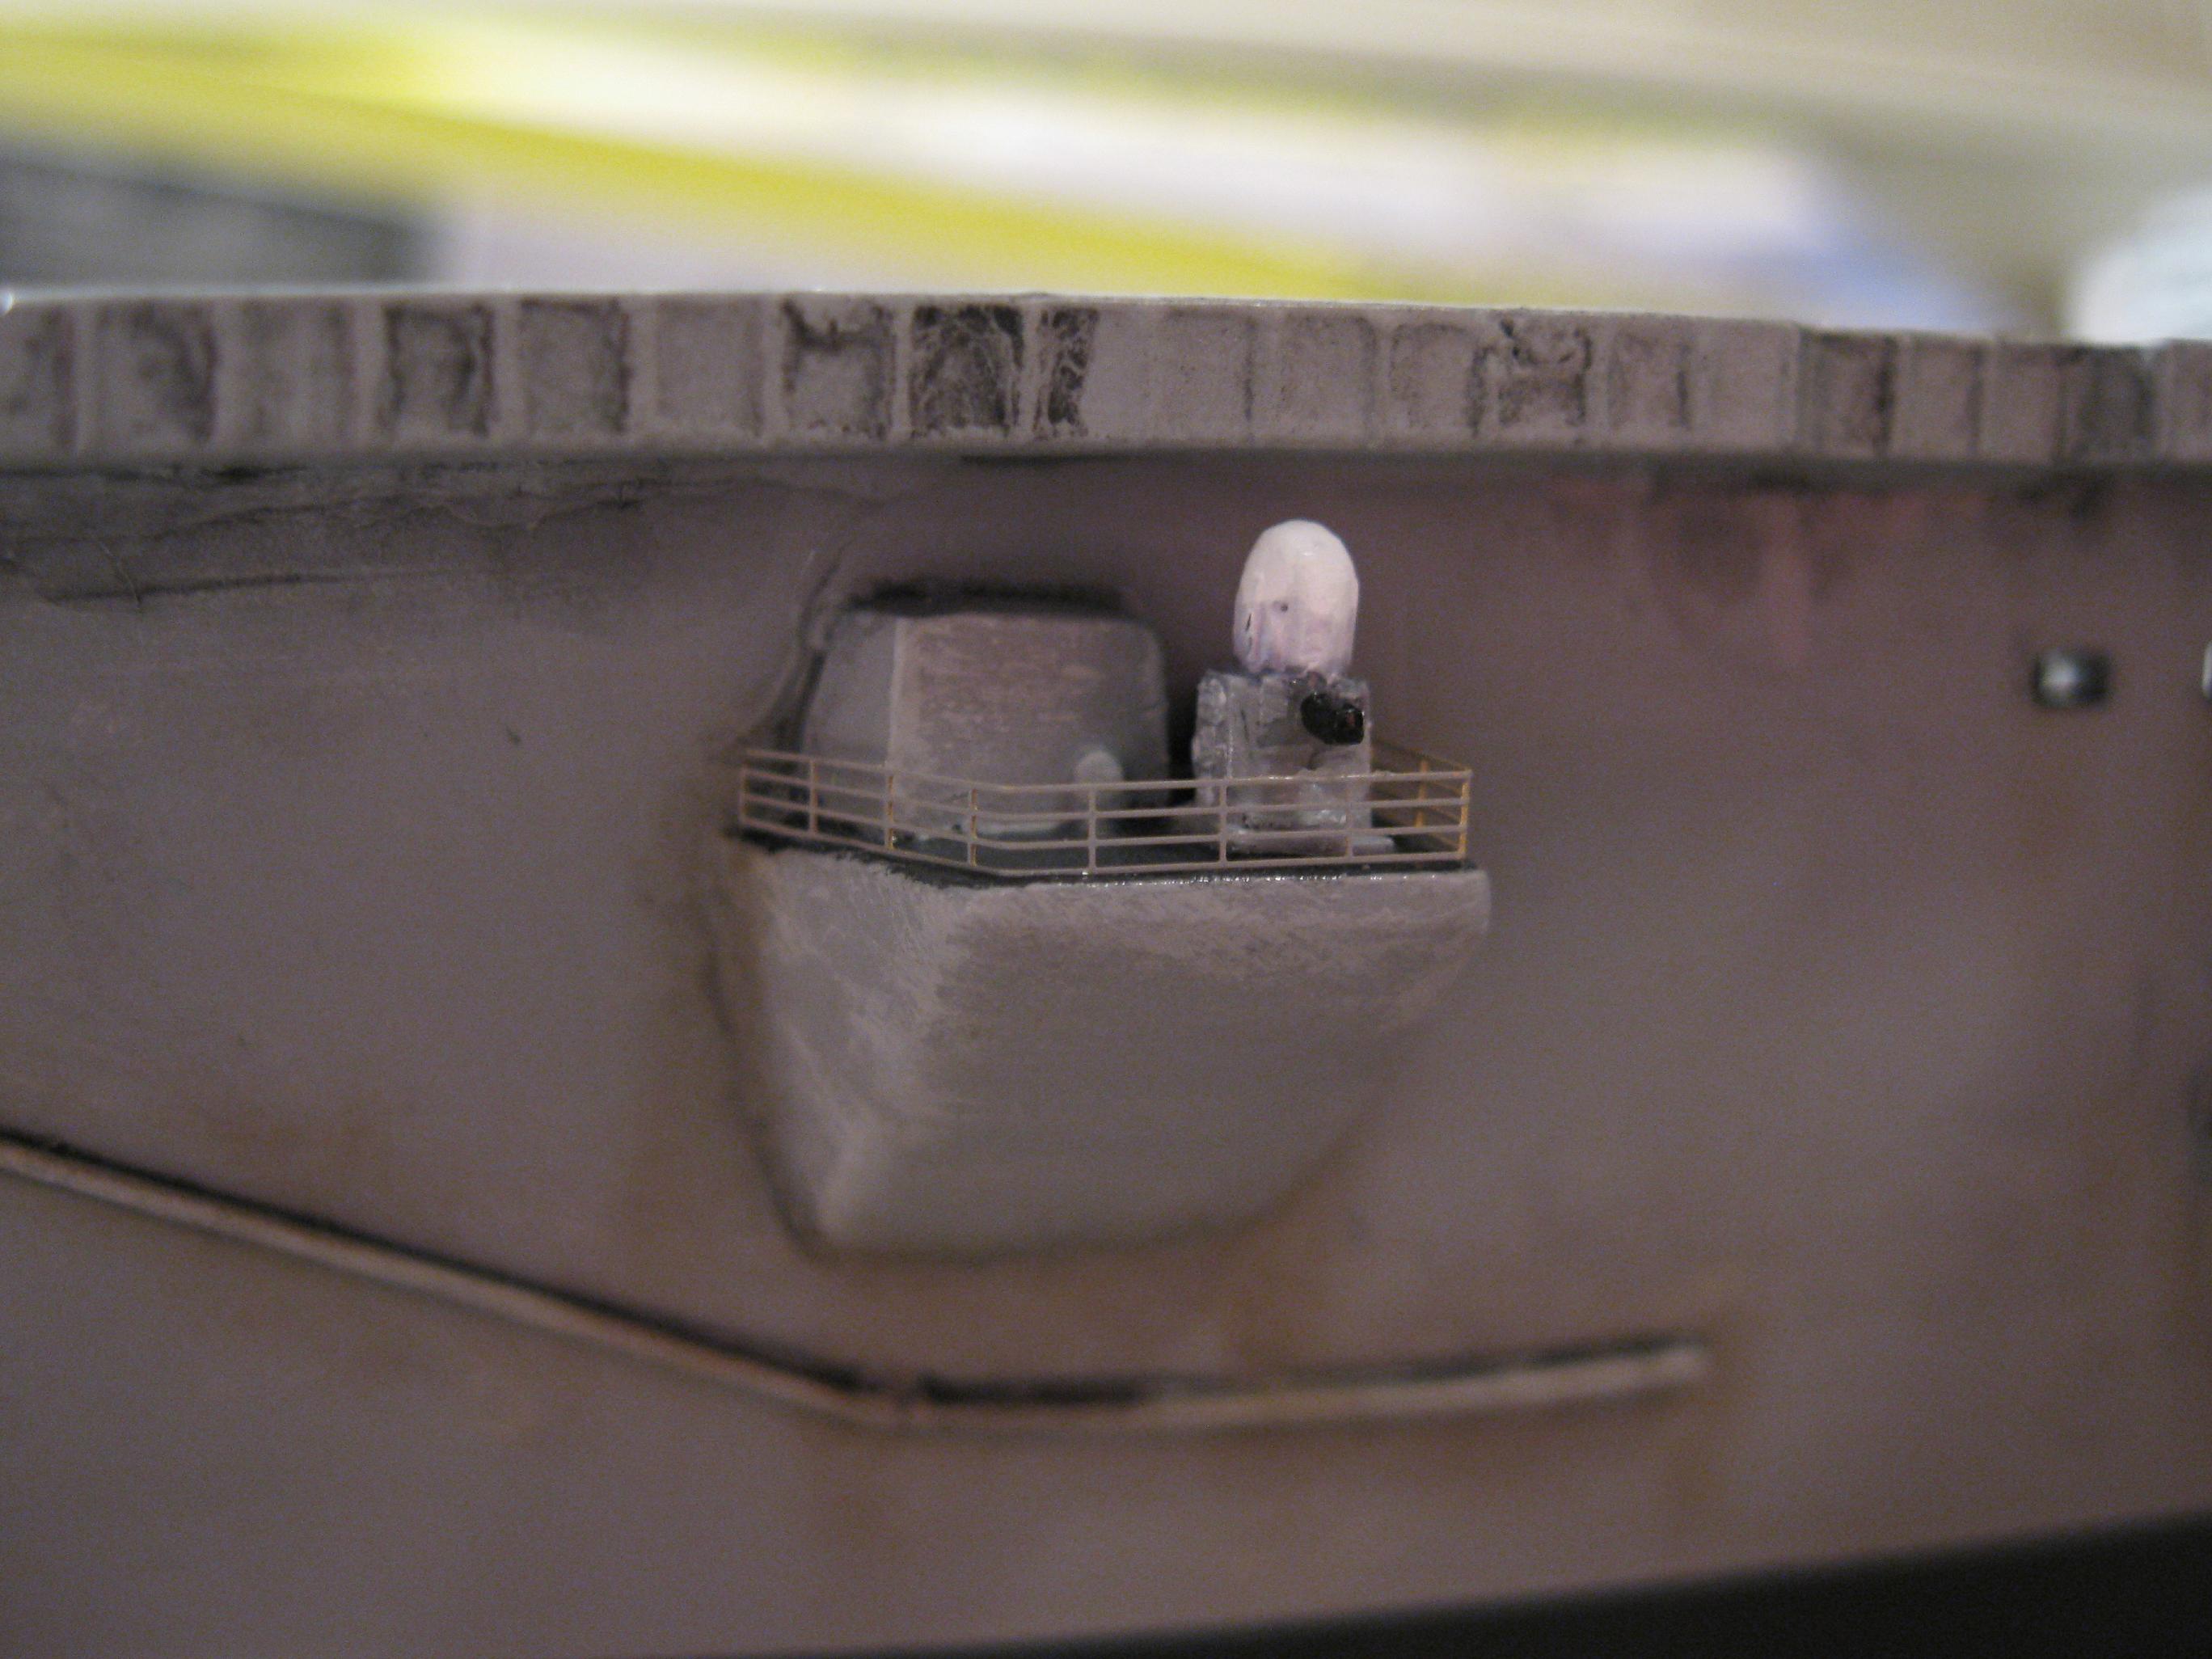
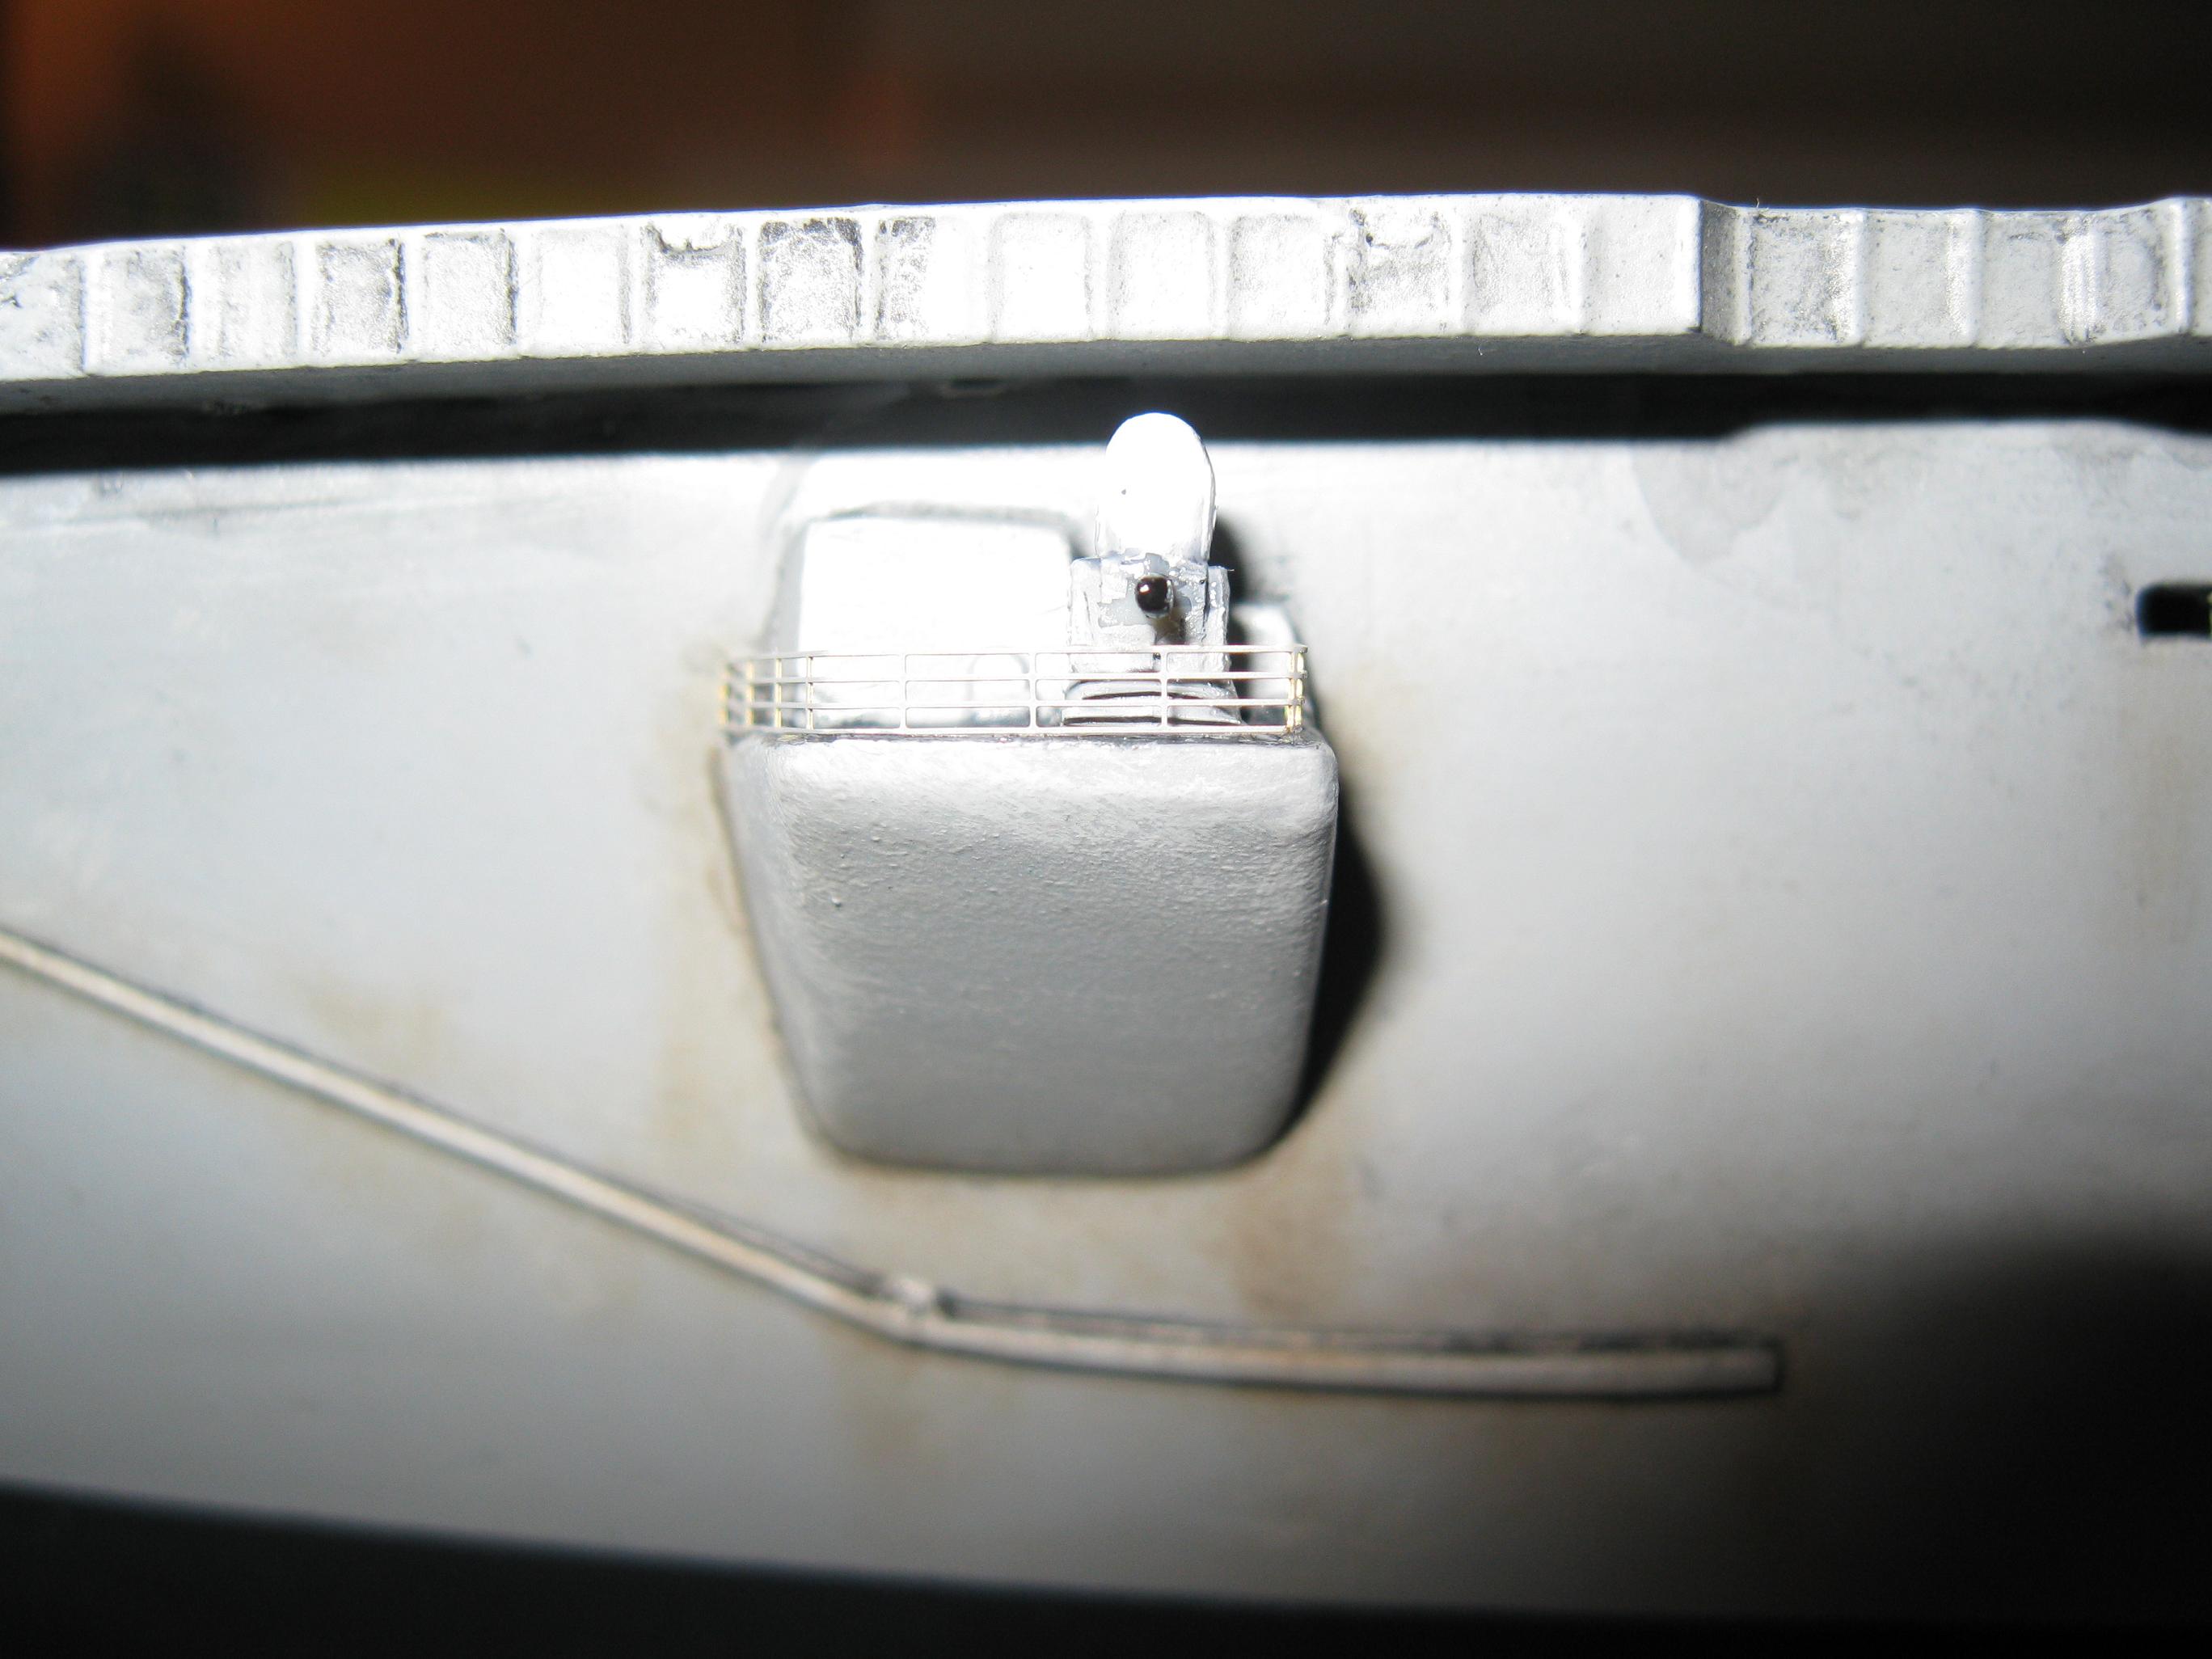
F-14s Super out of Scale CWIS on the Forward
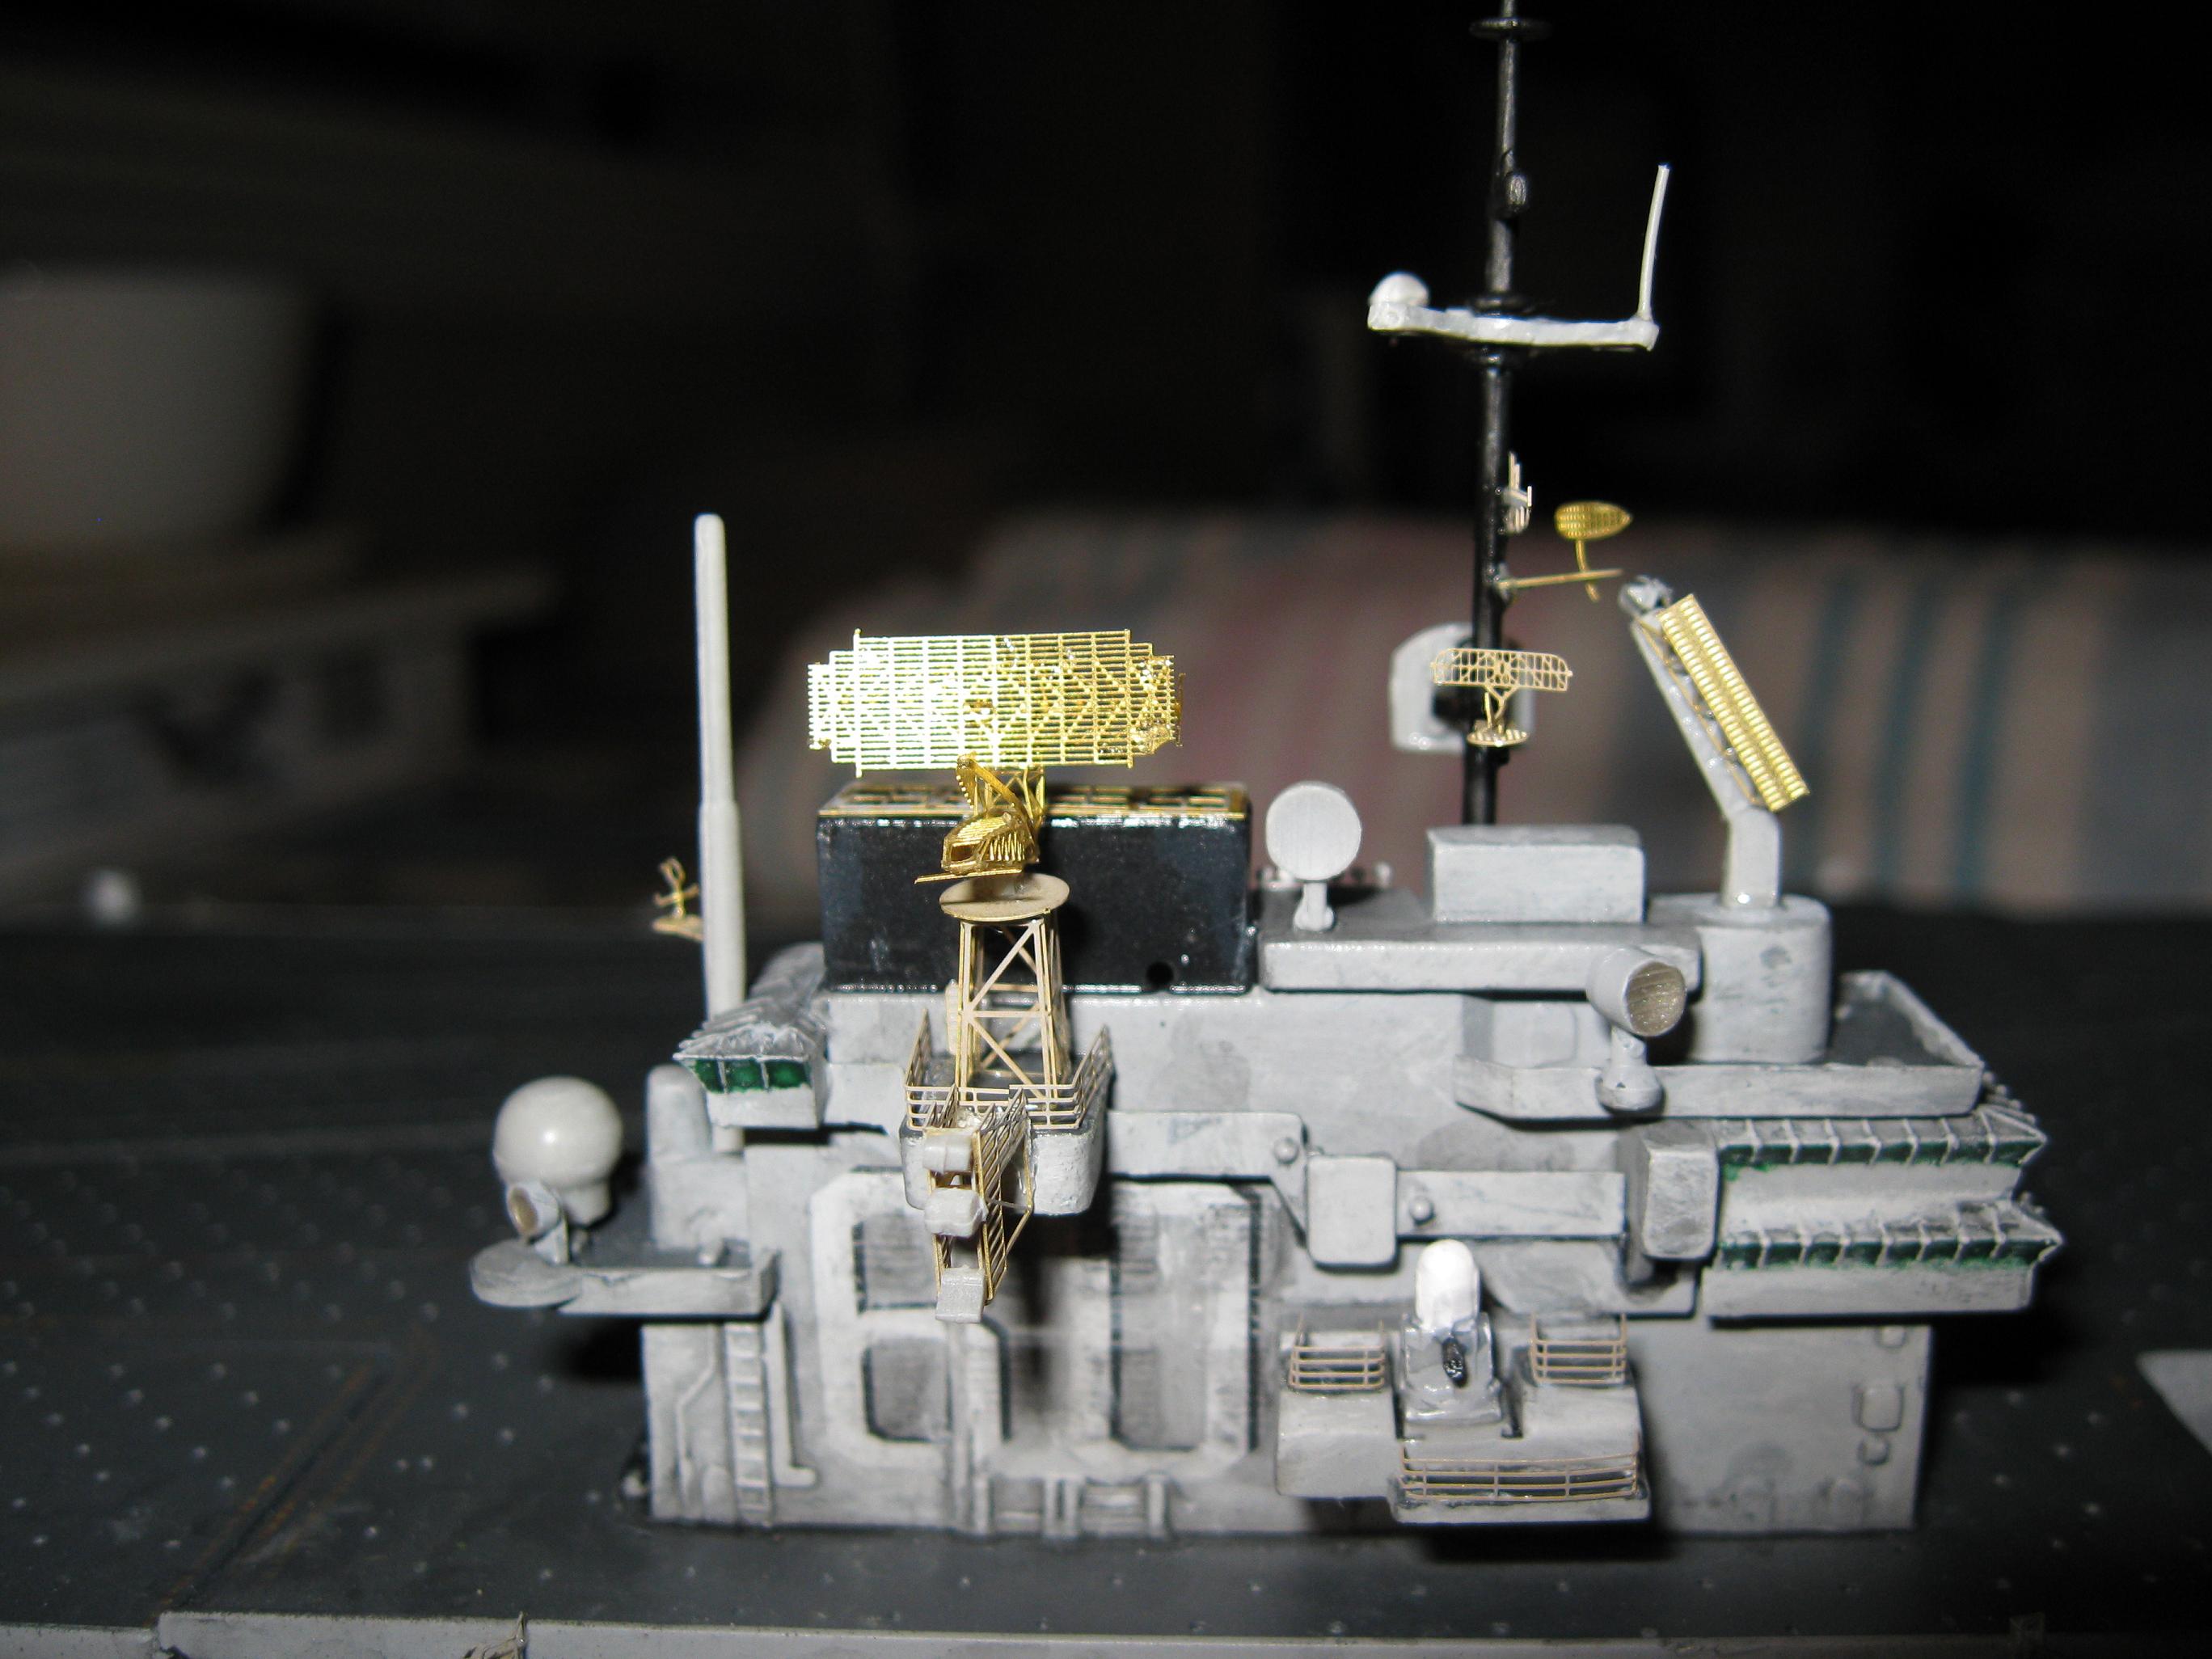
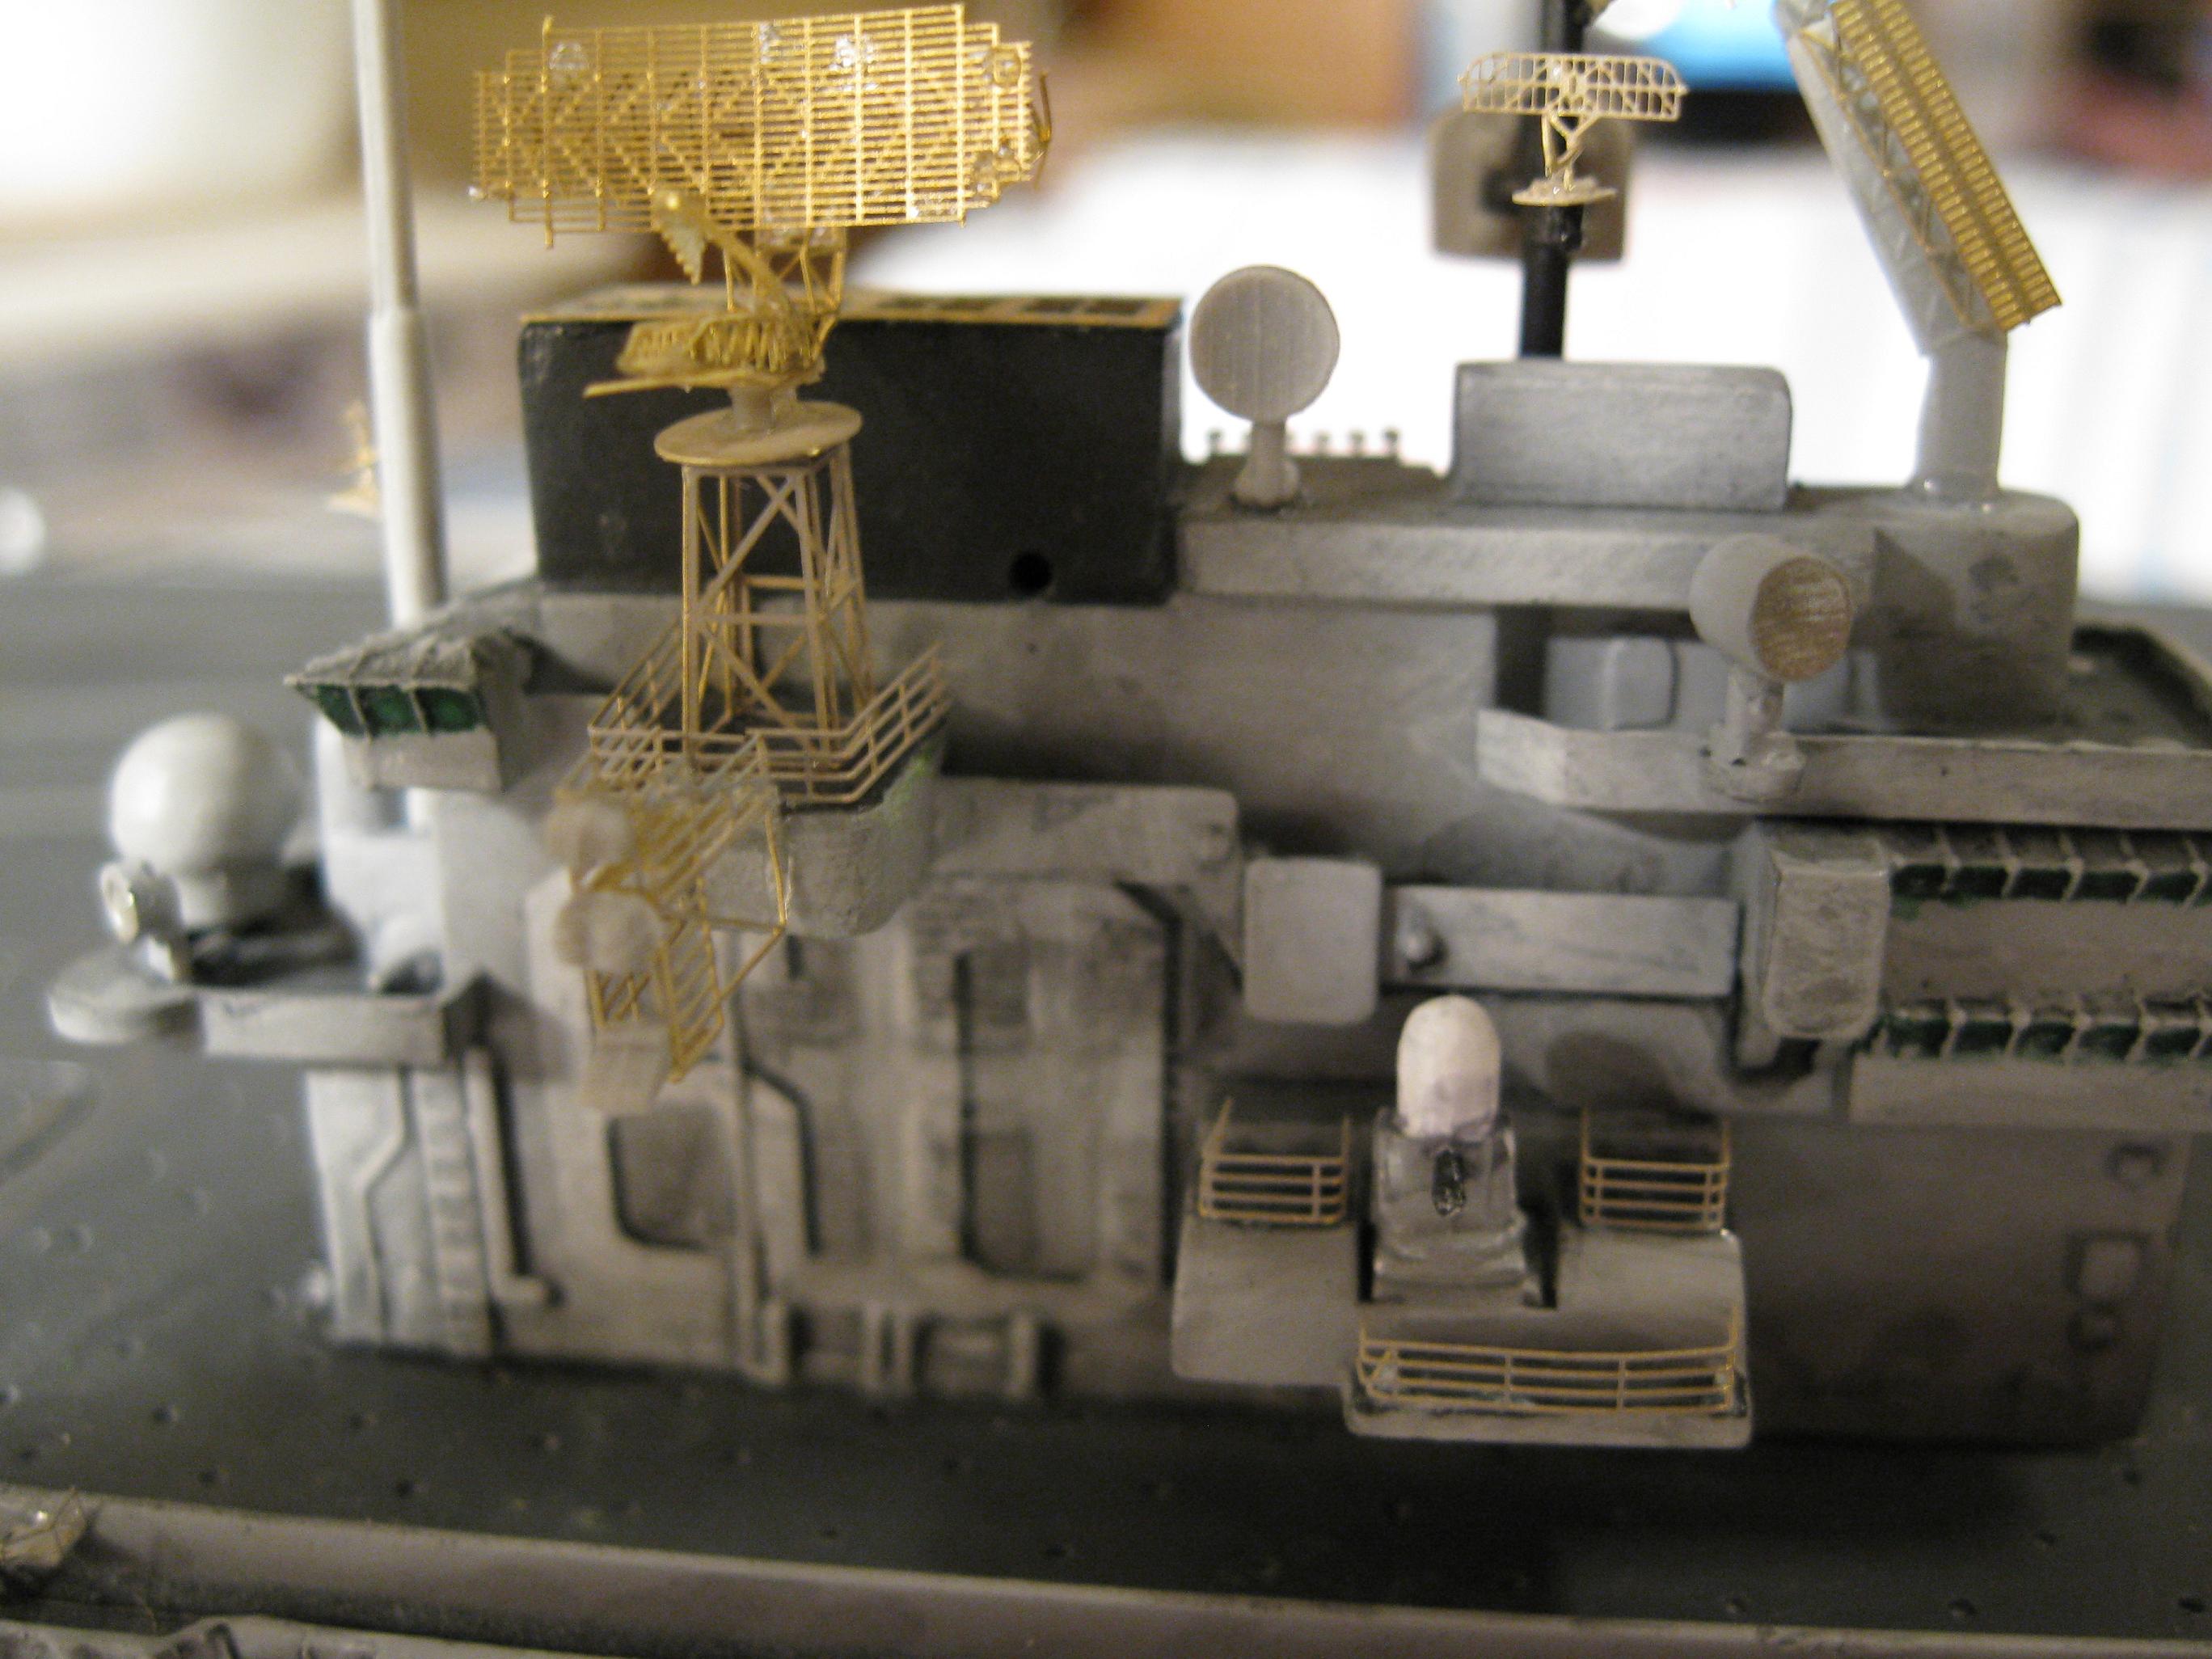
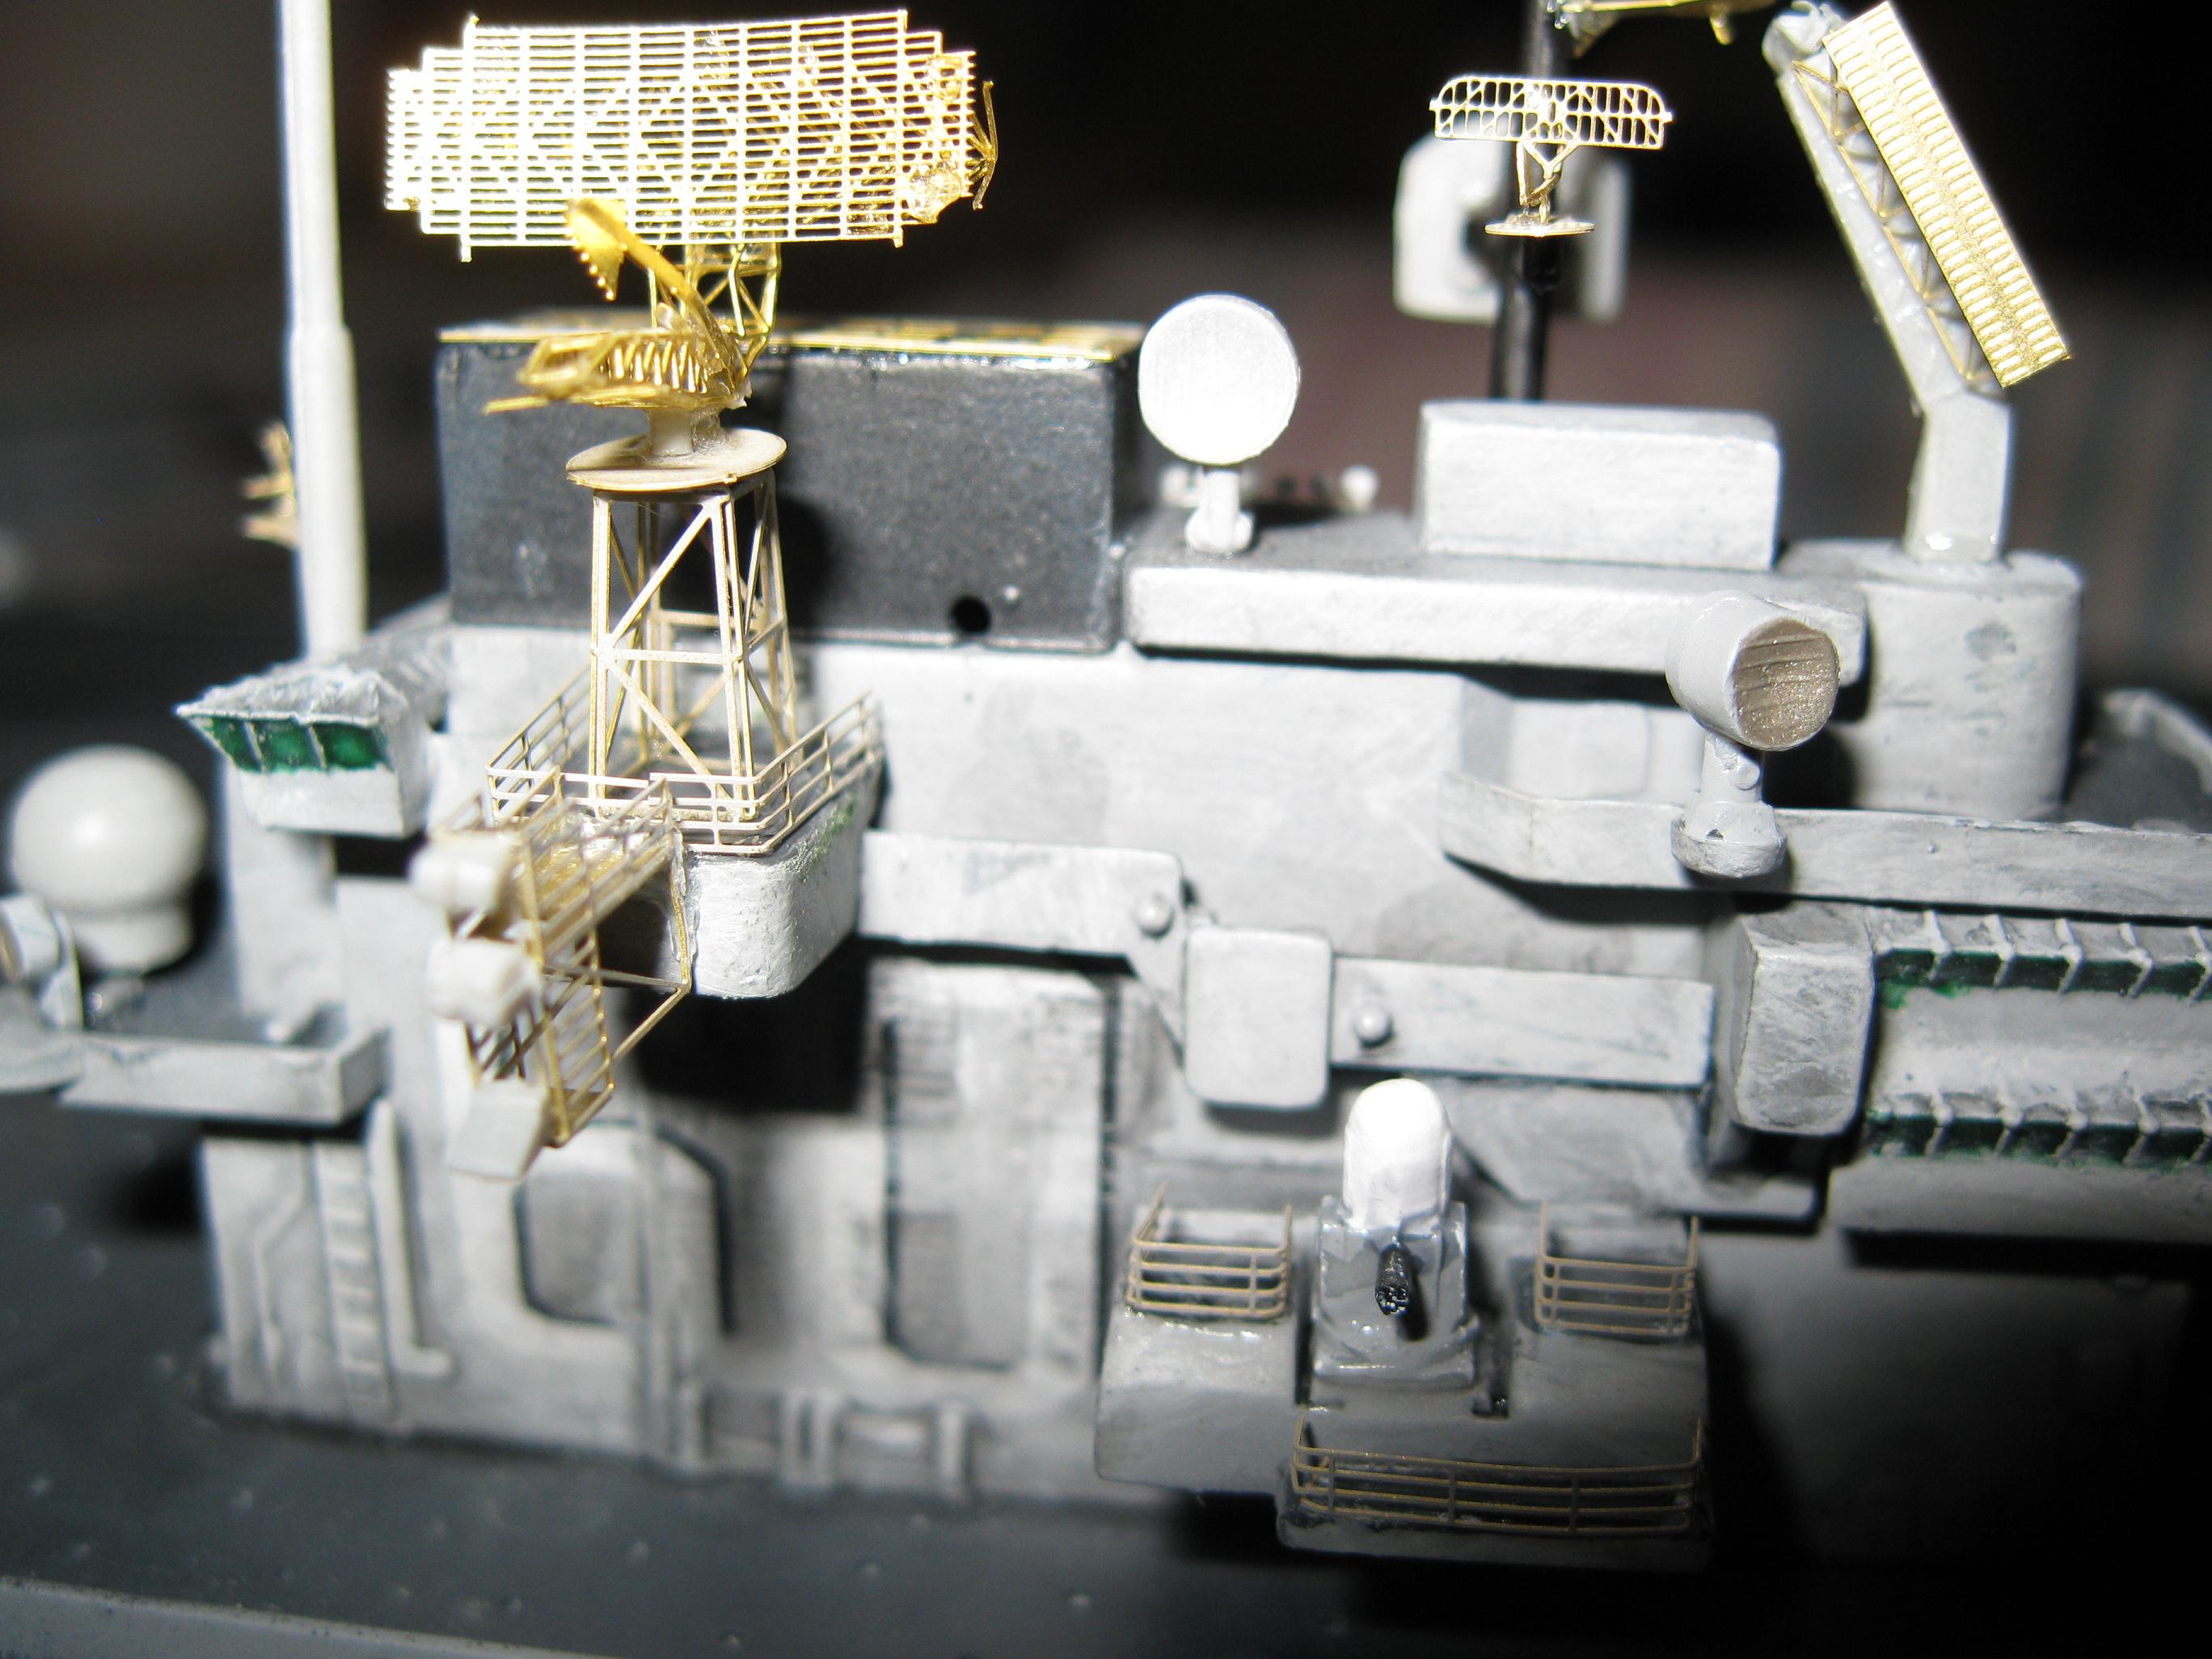
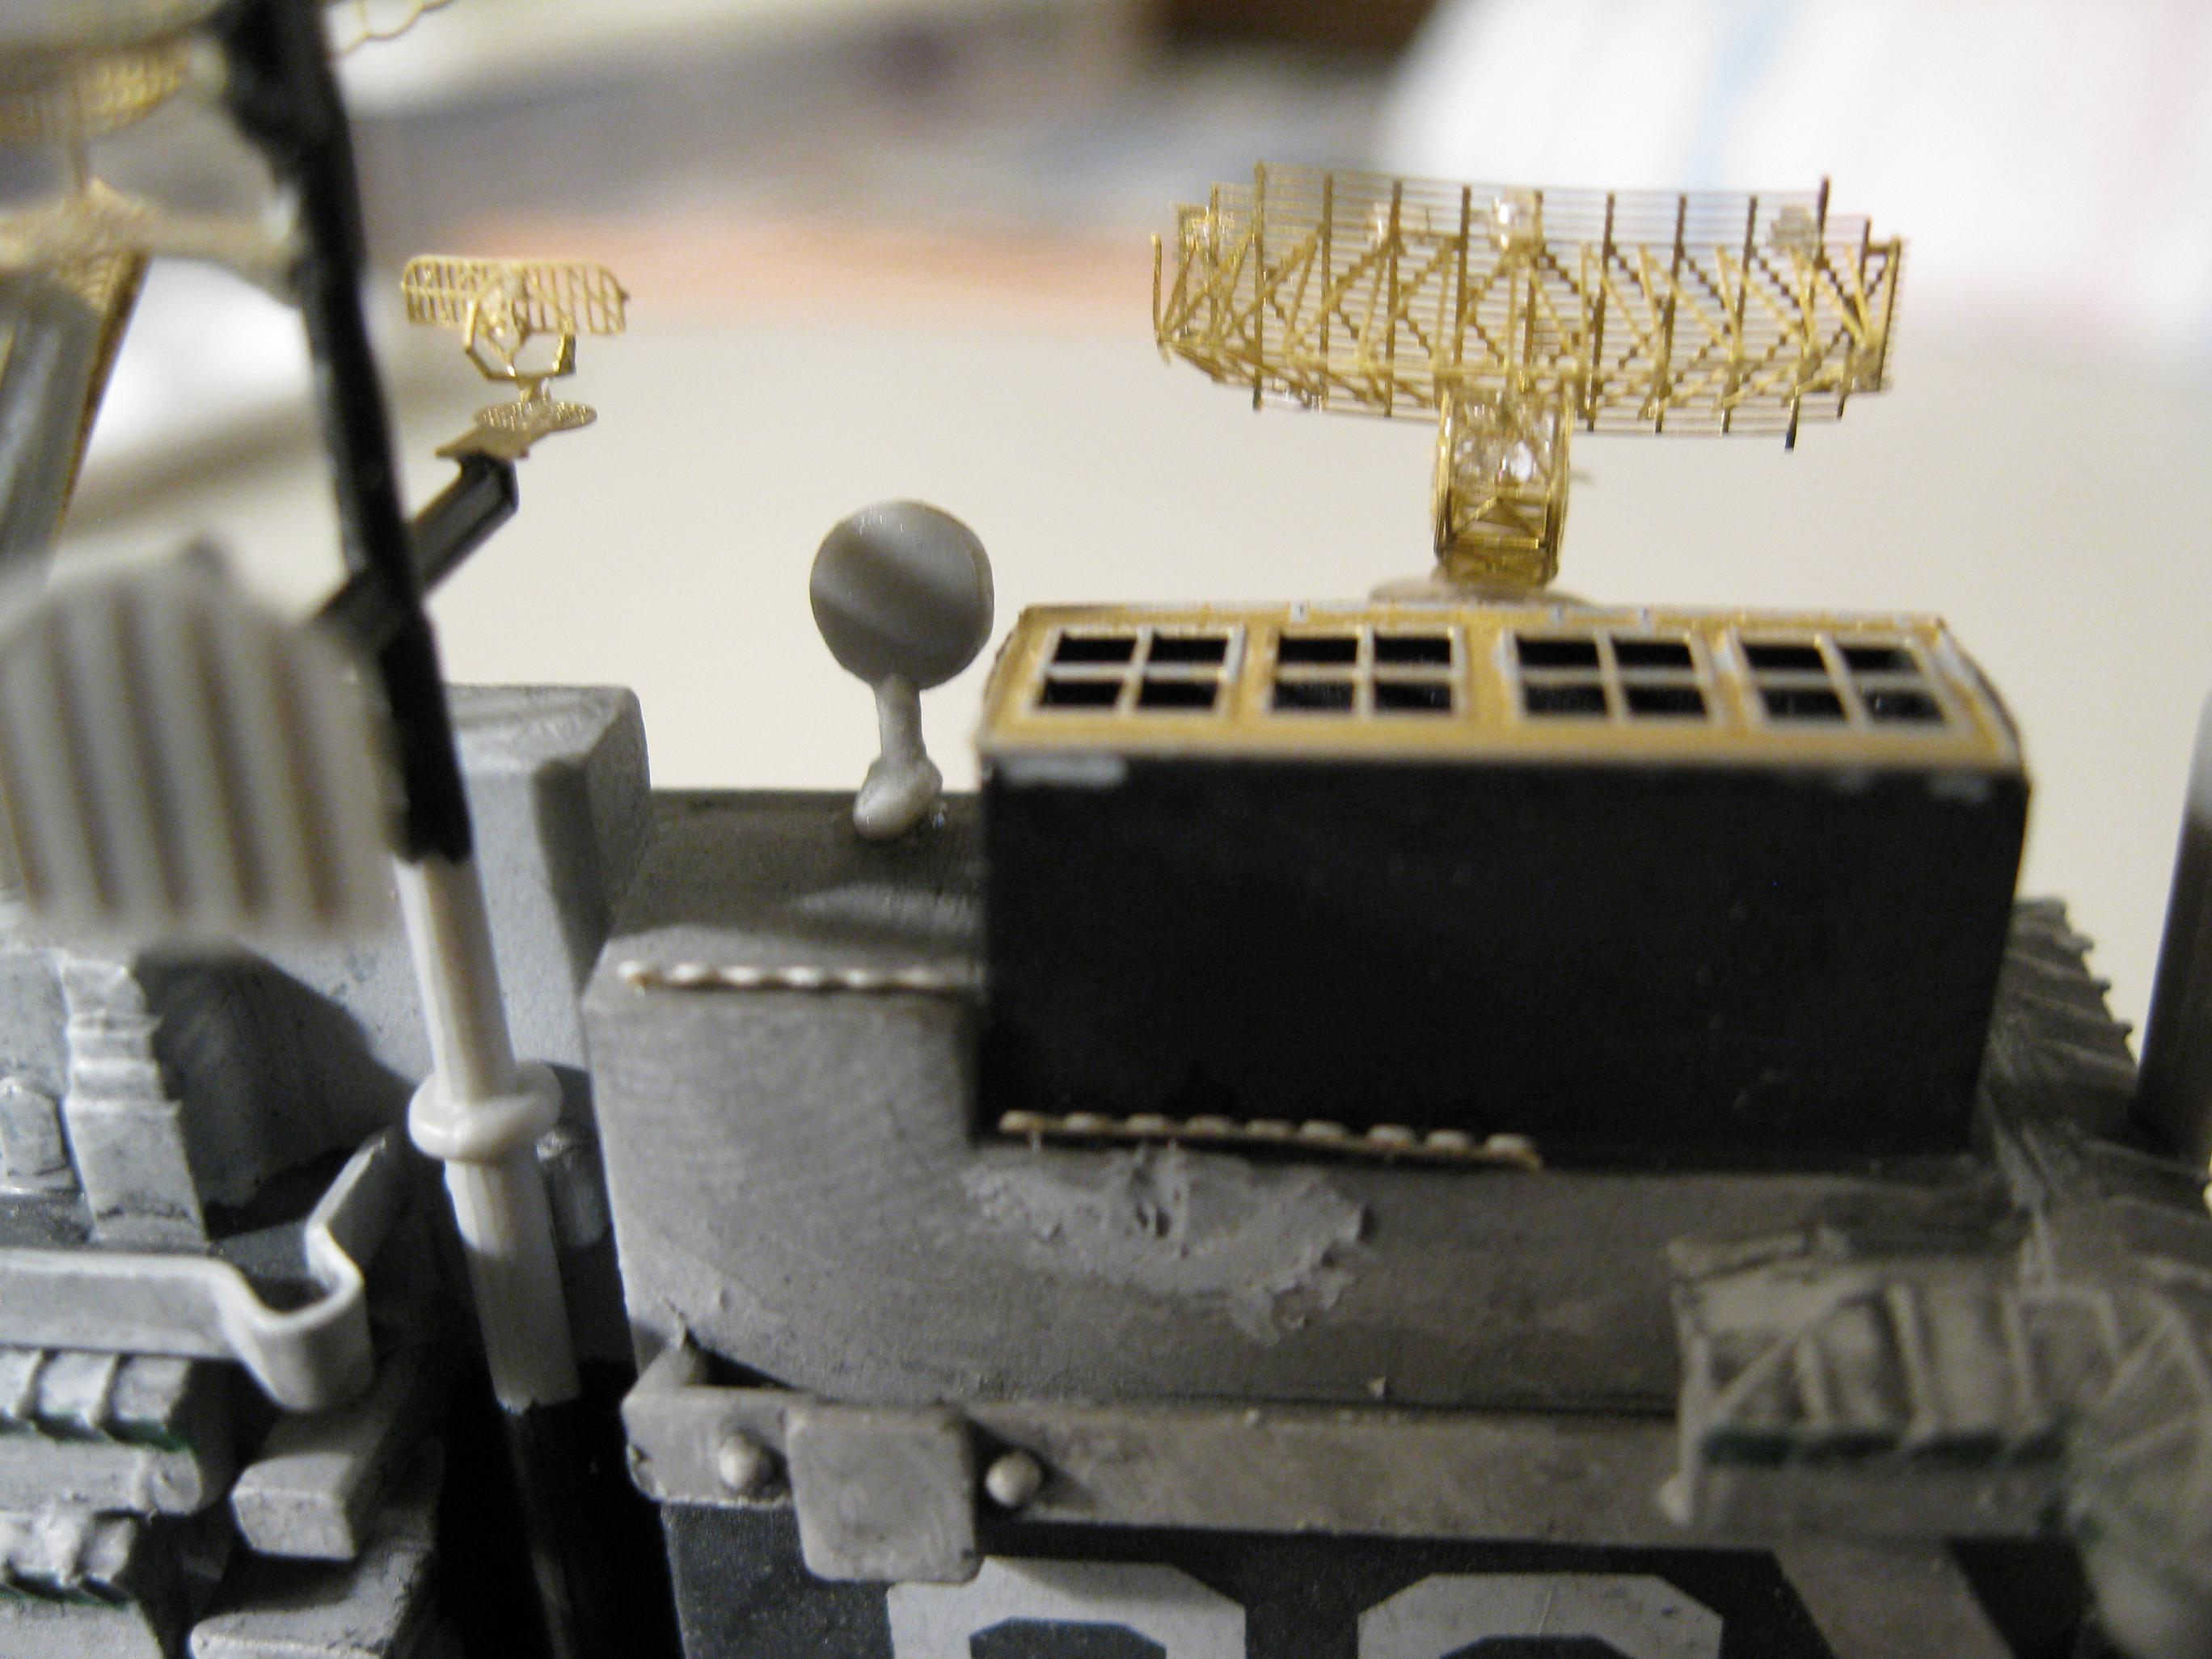
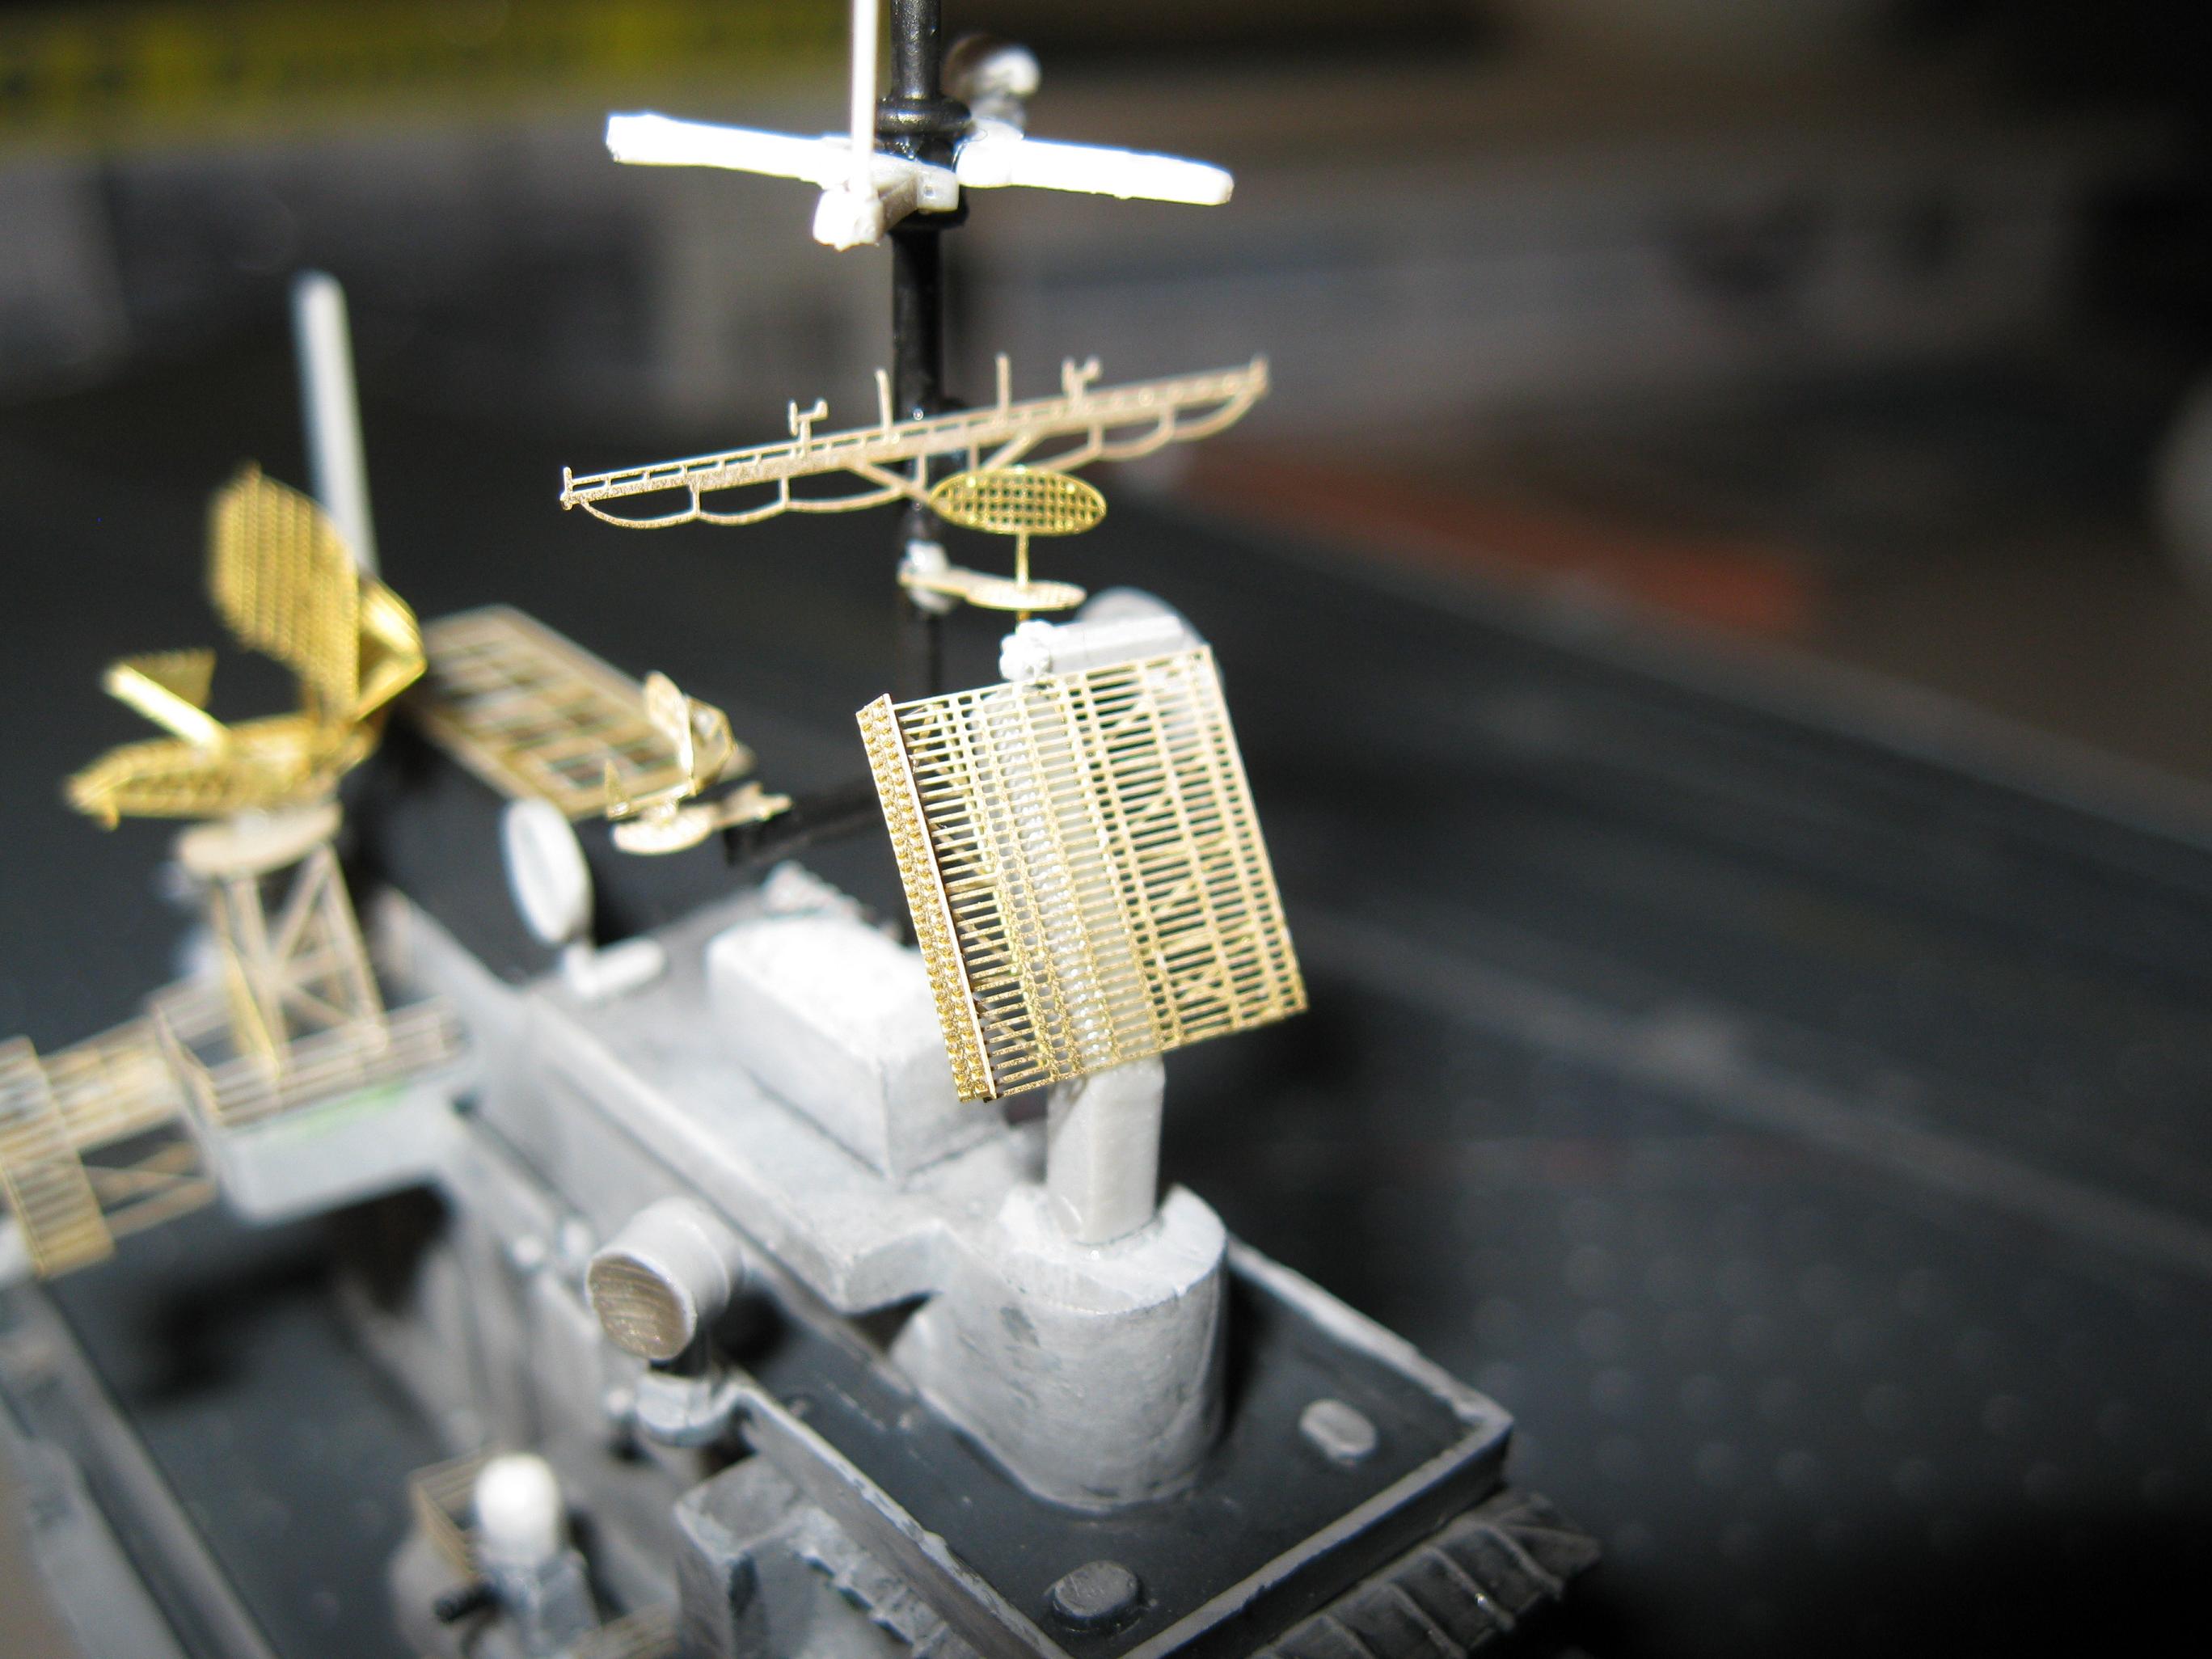
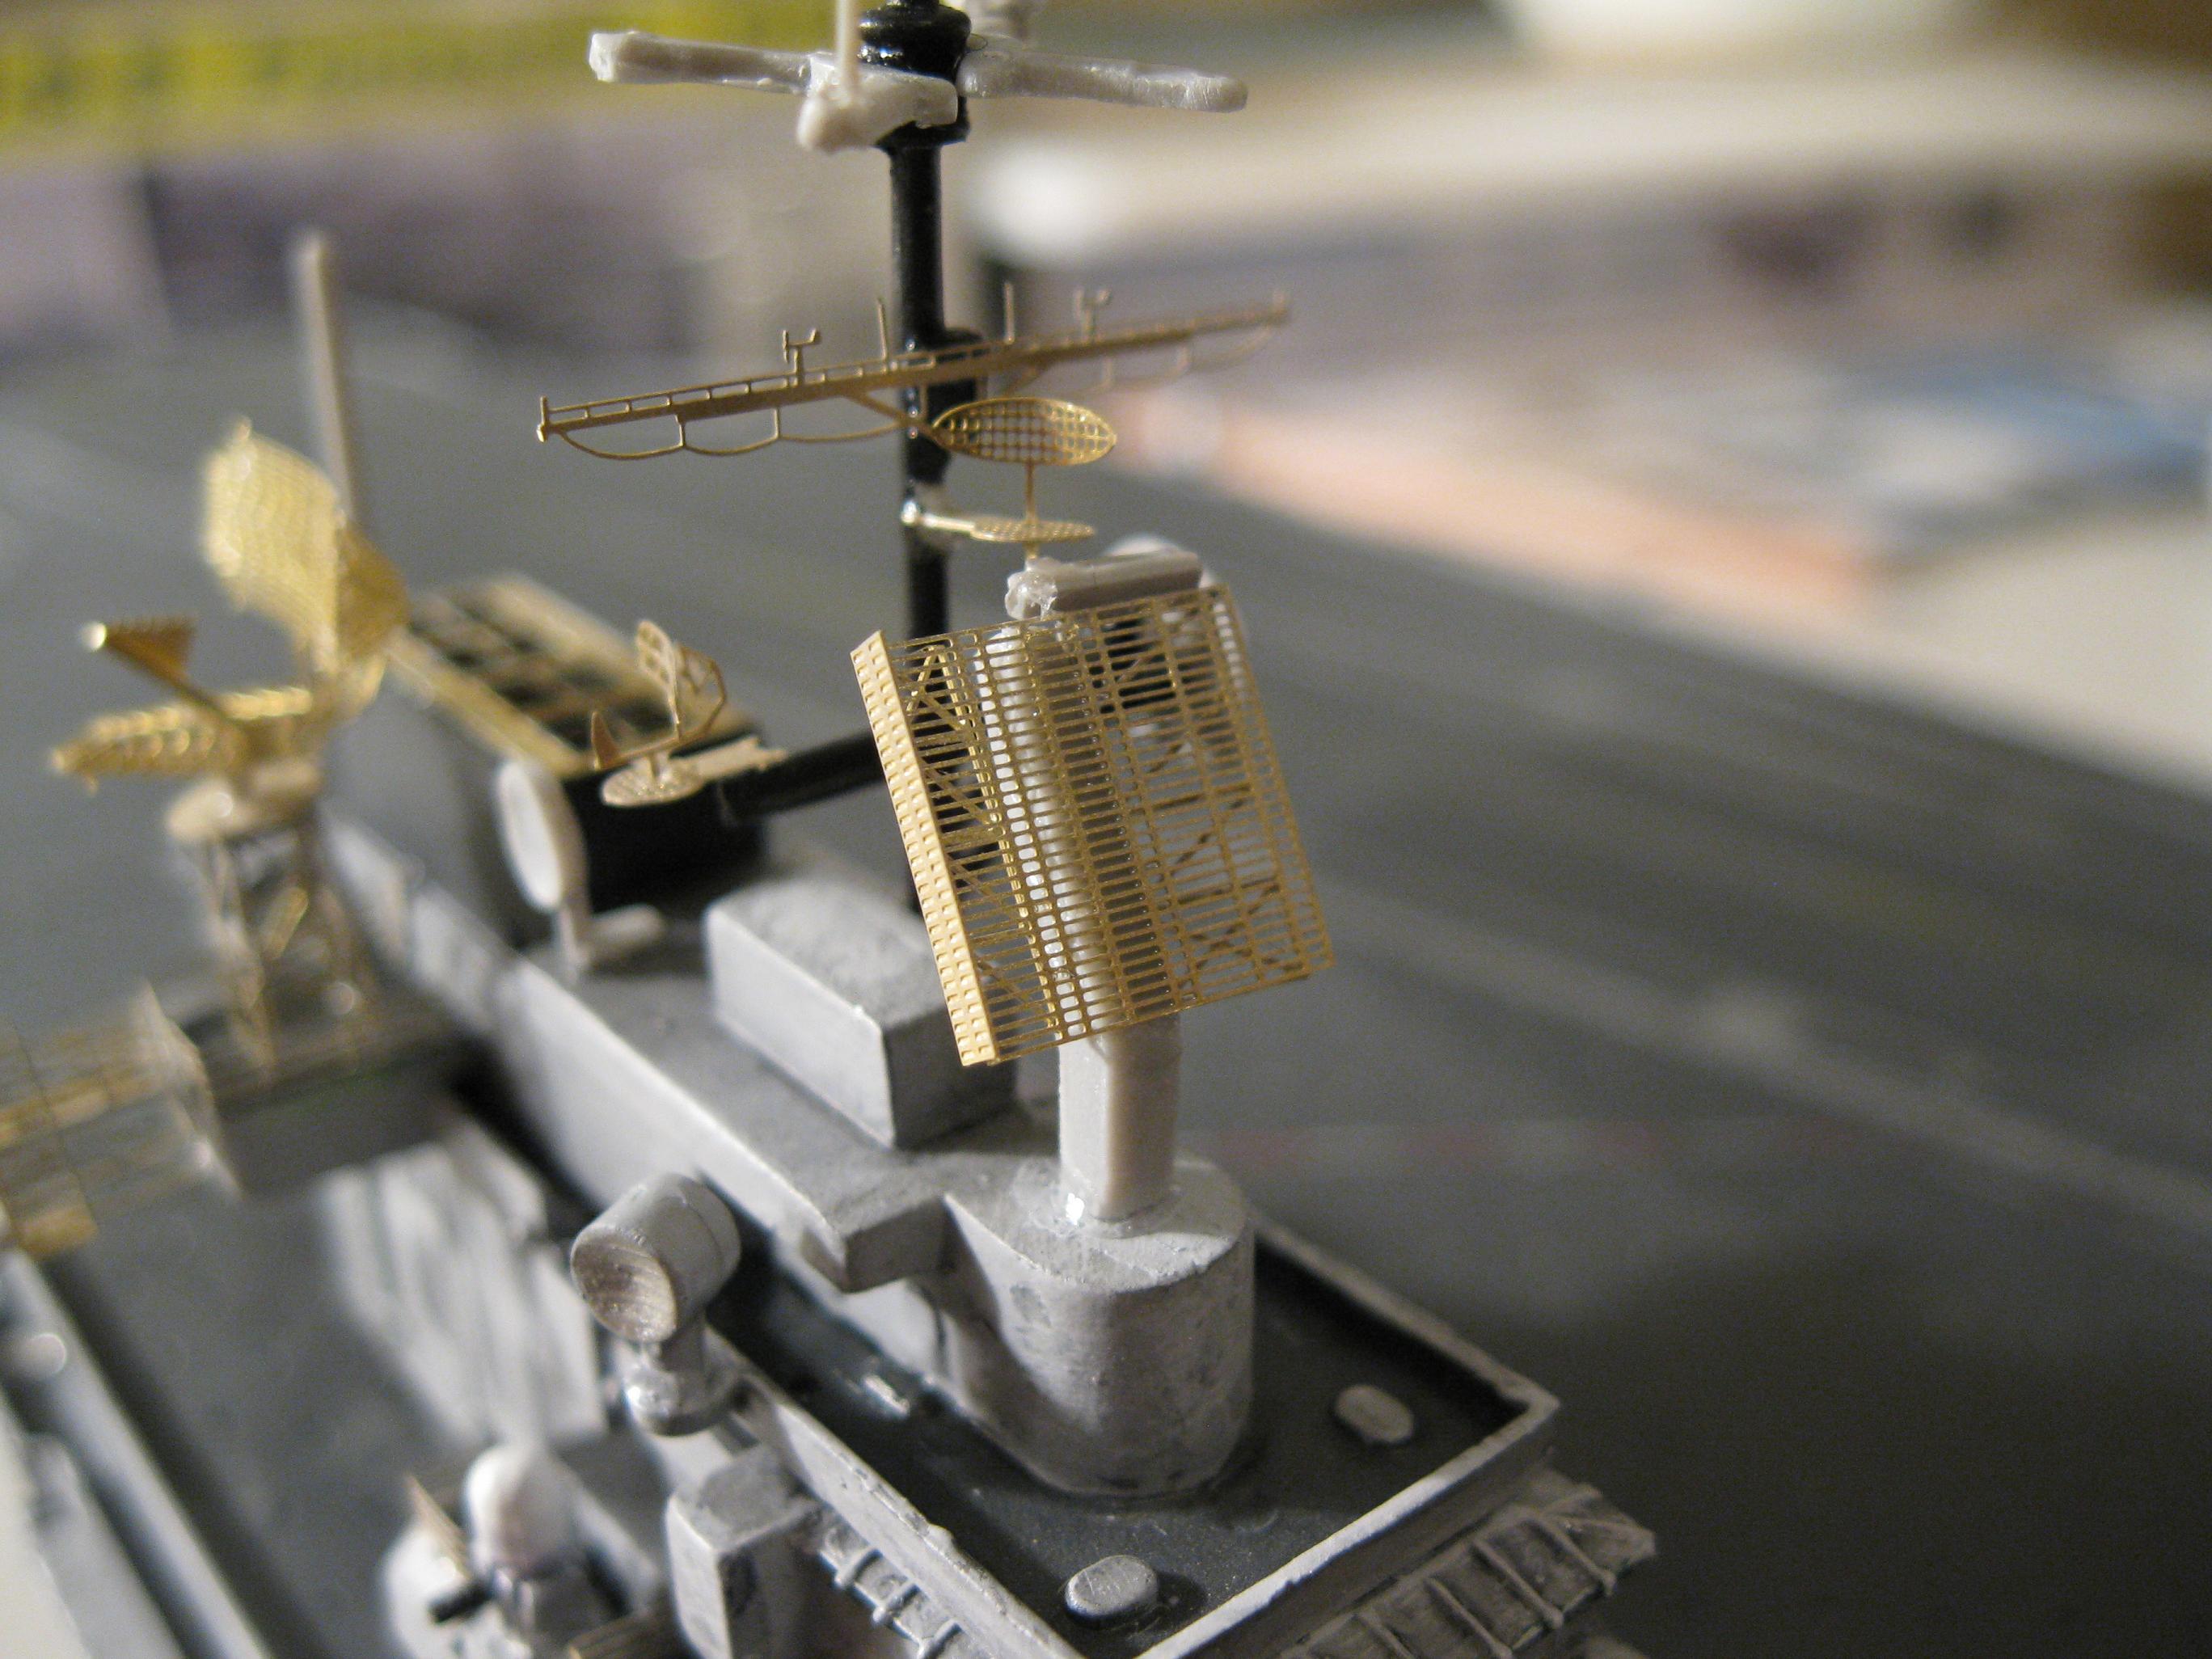
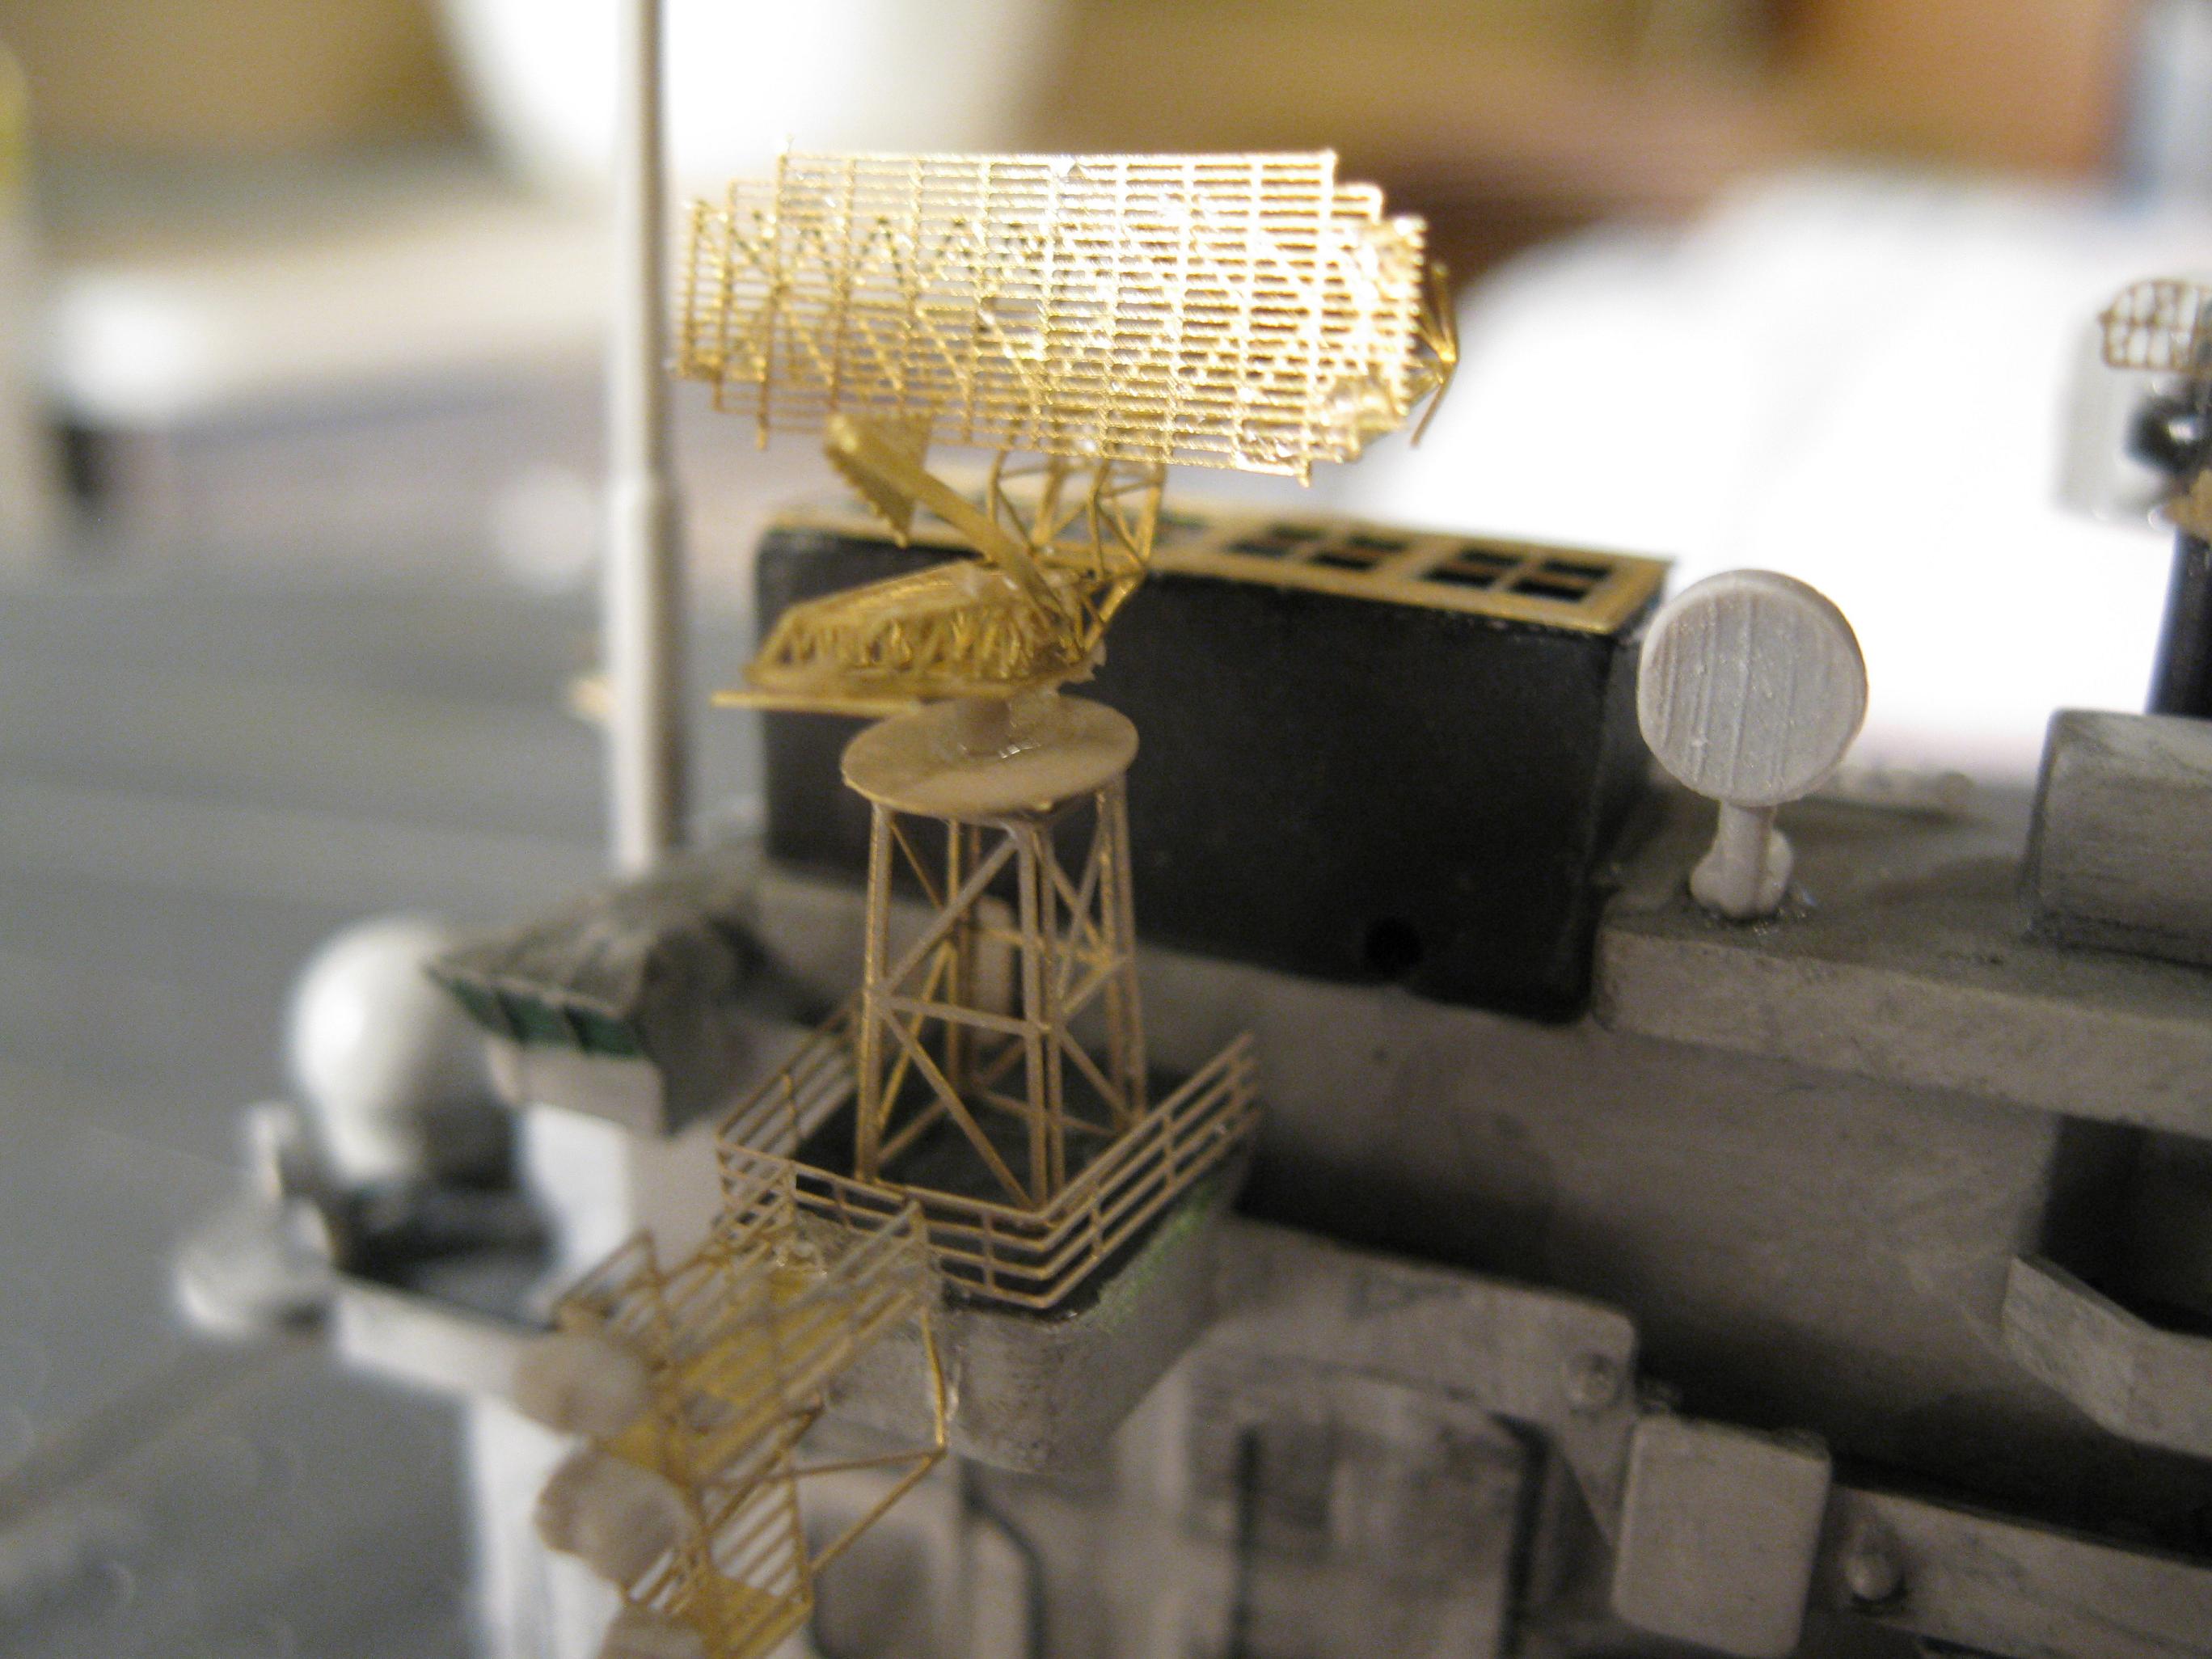
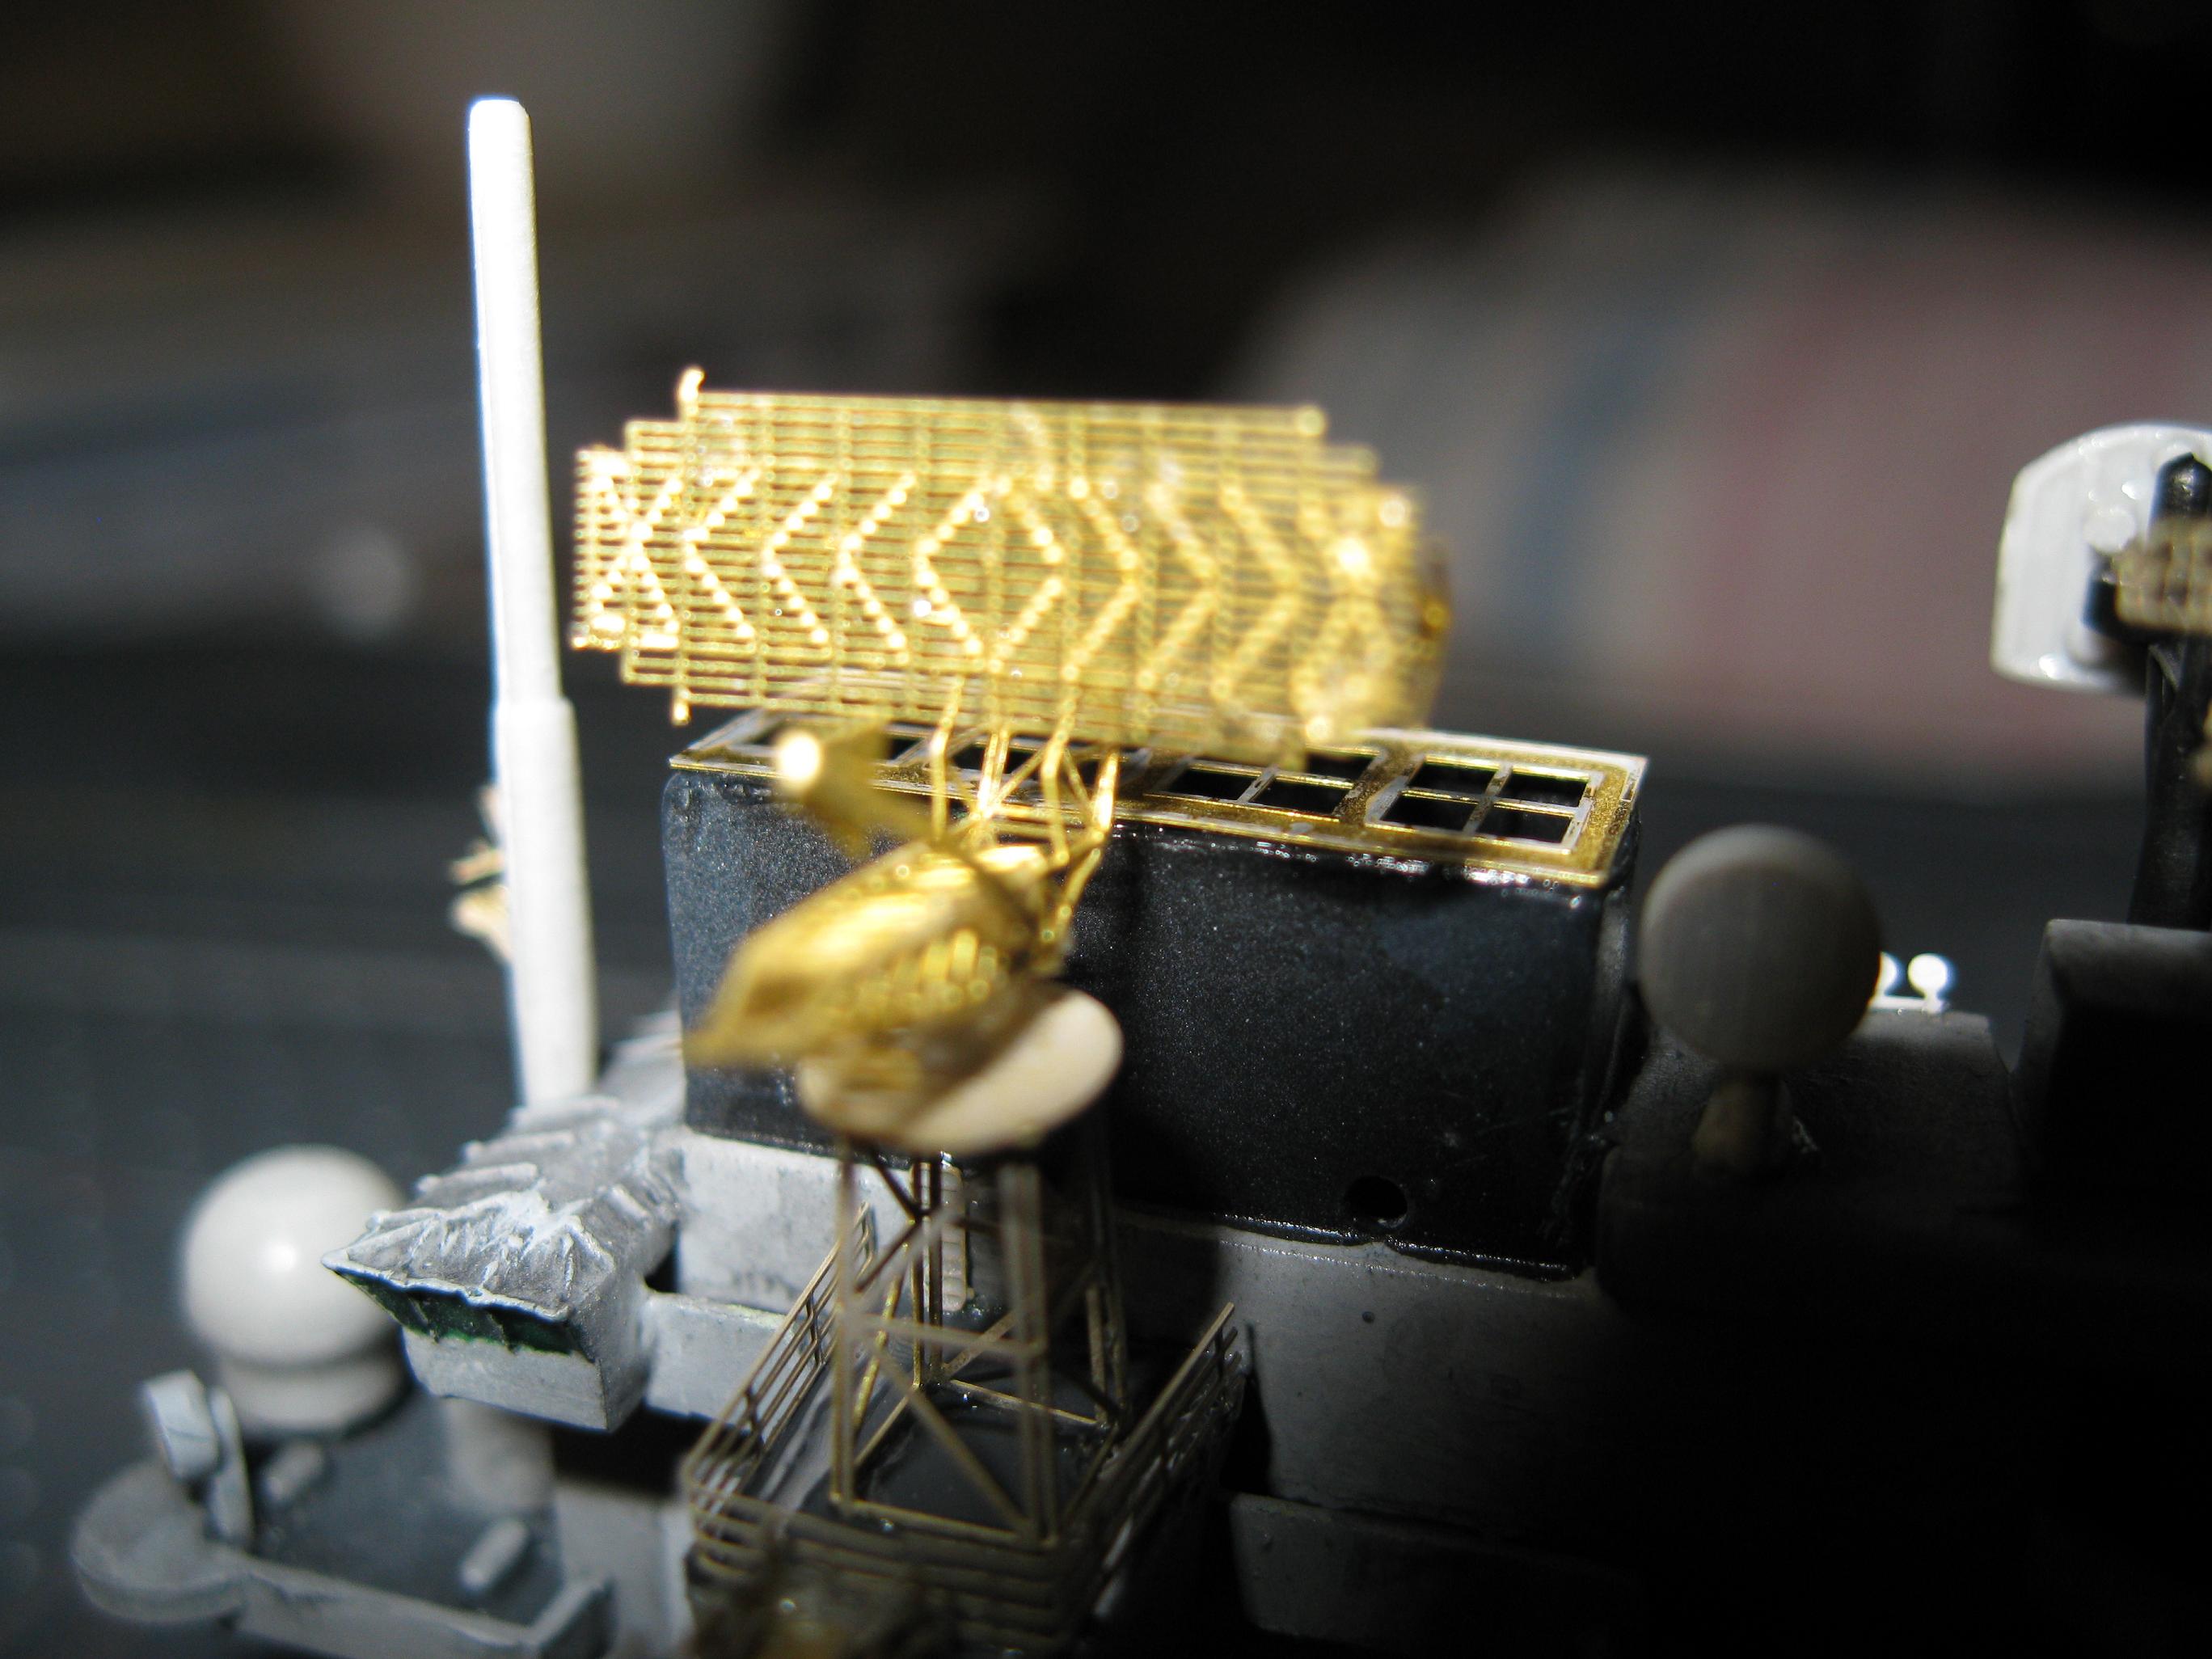
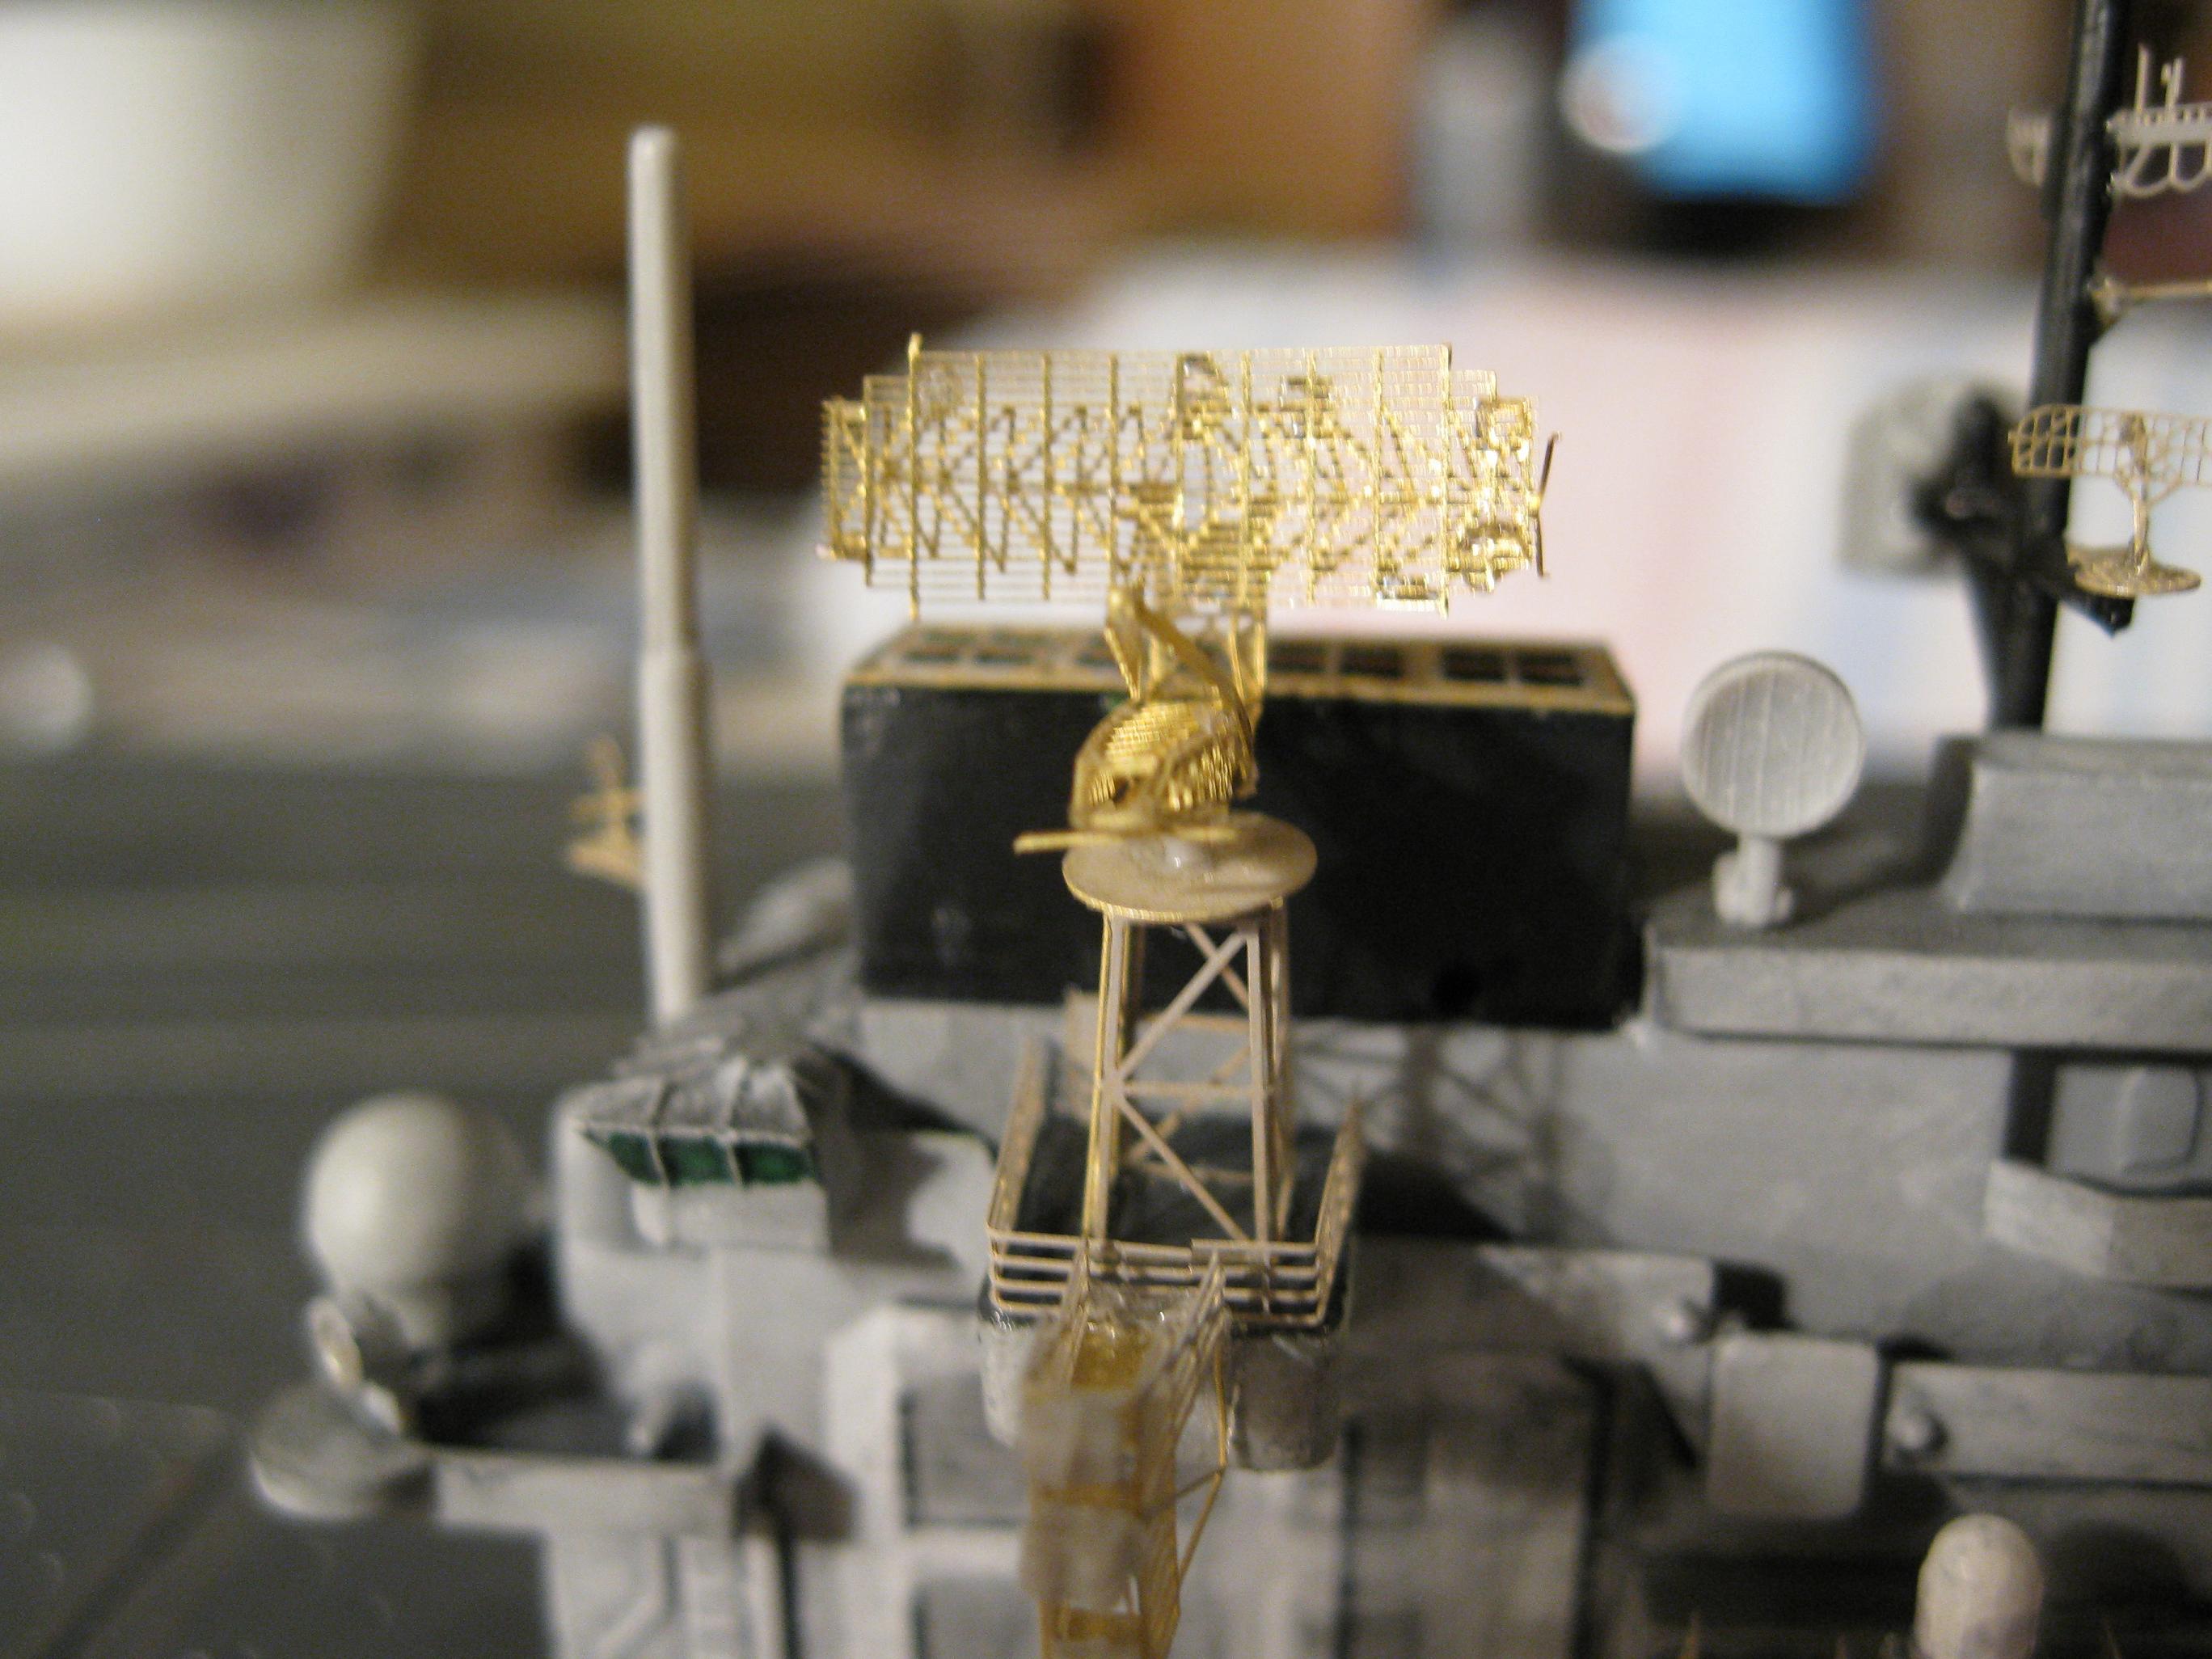
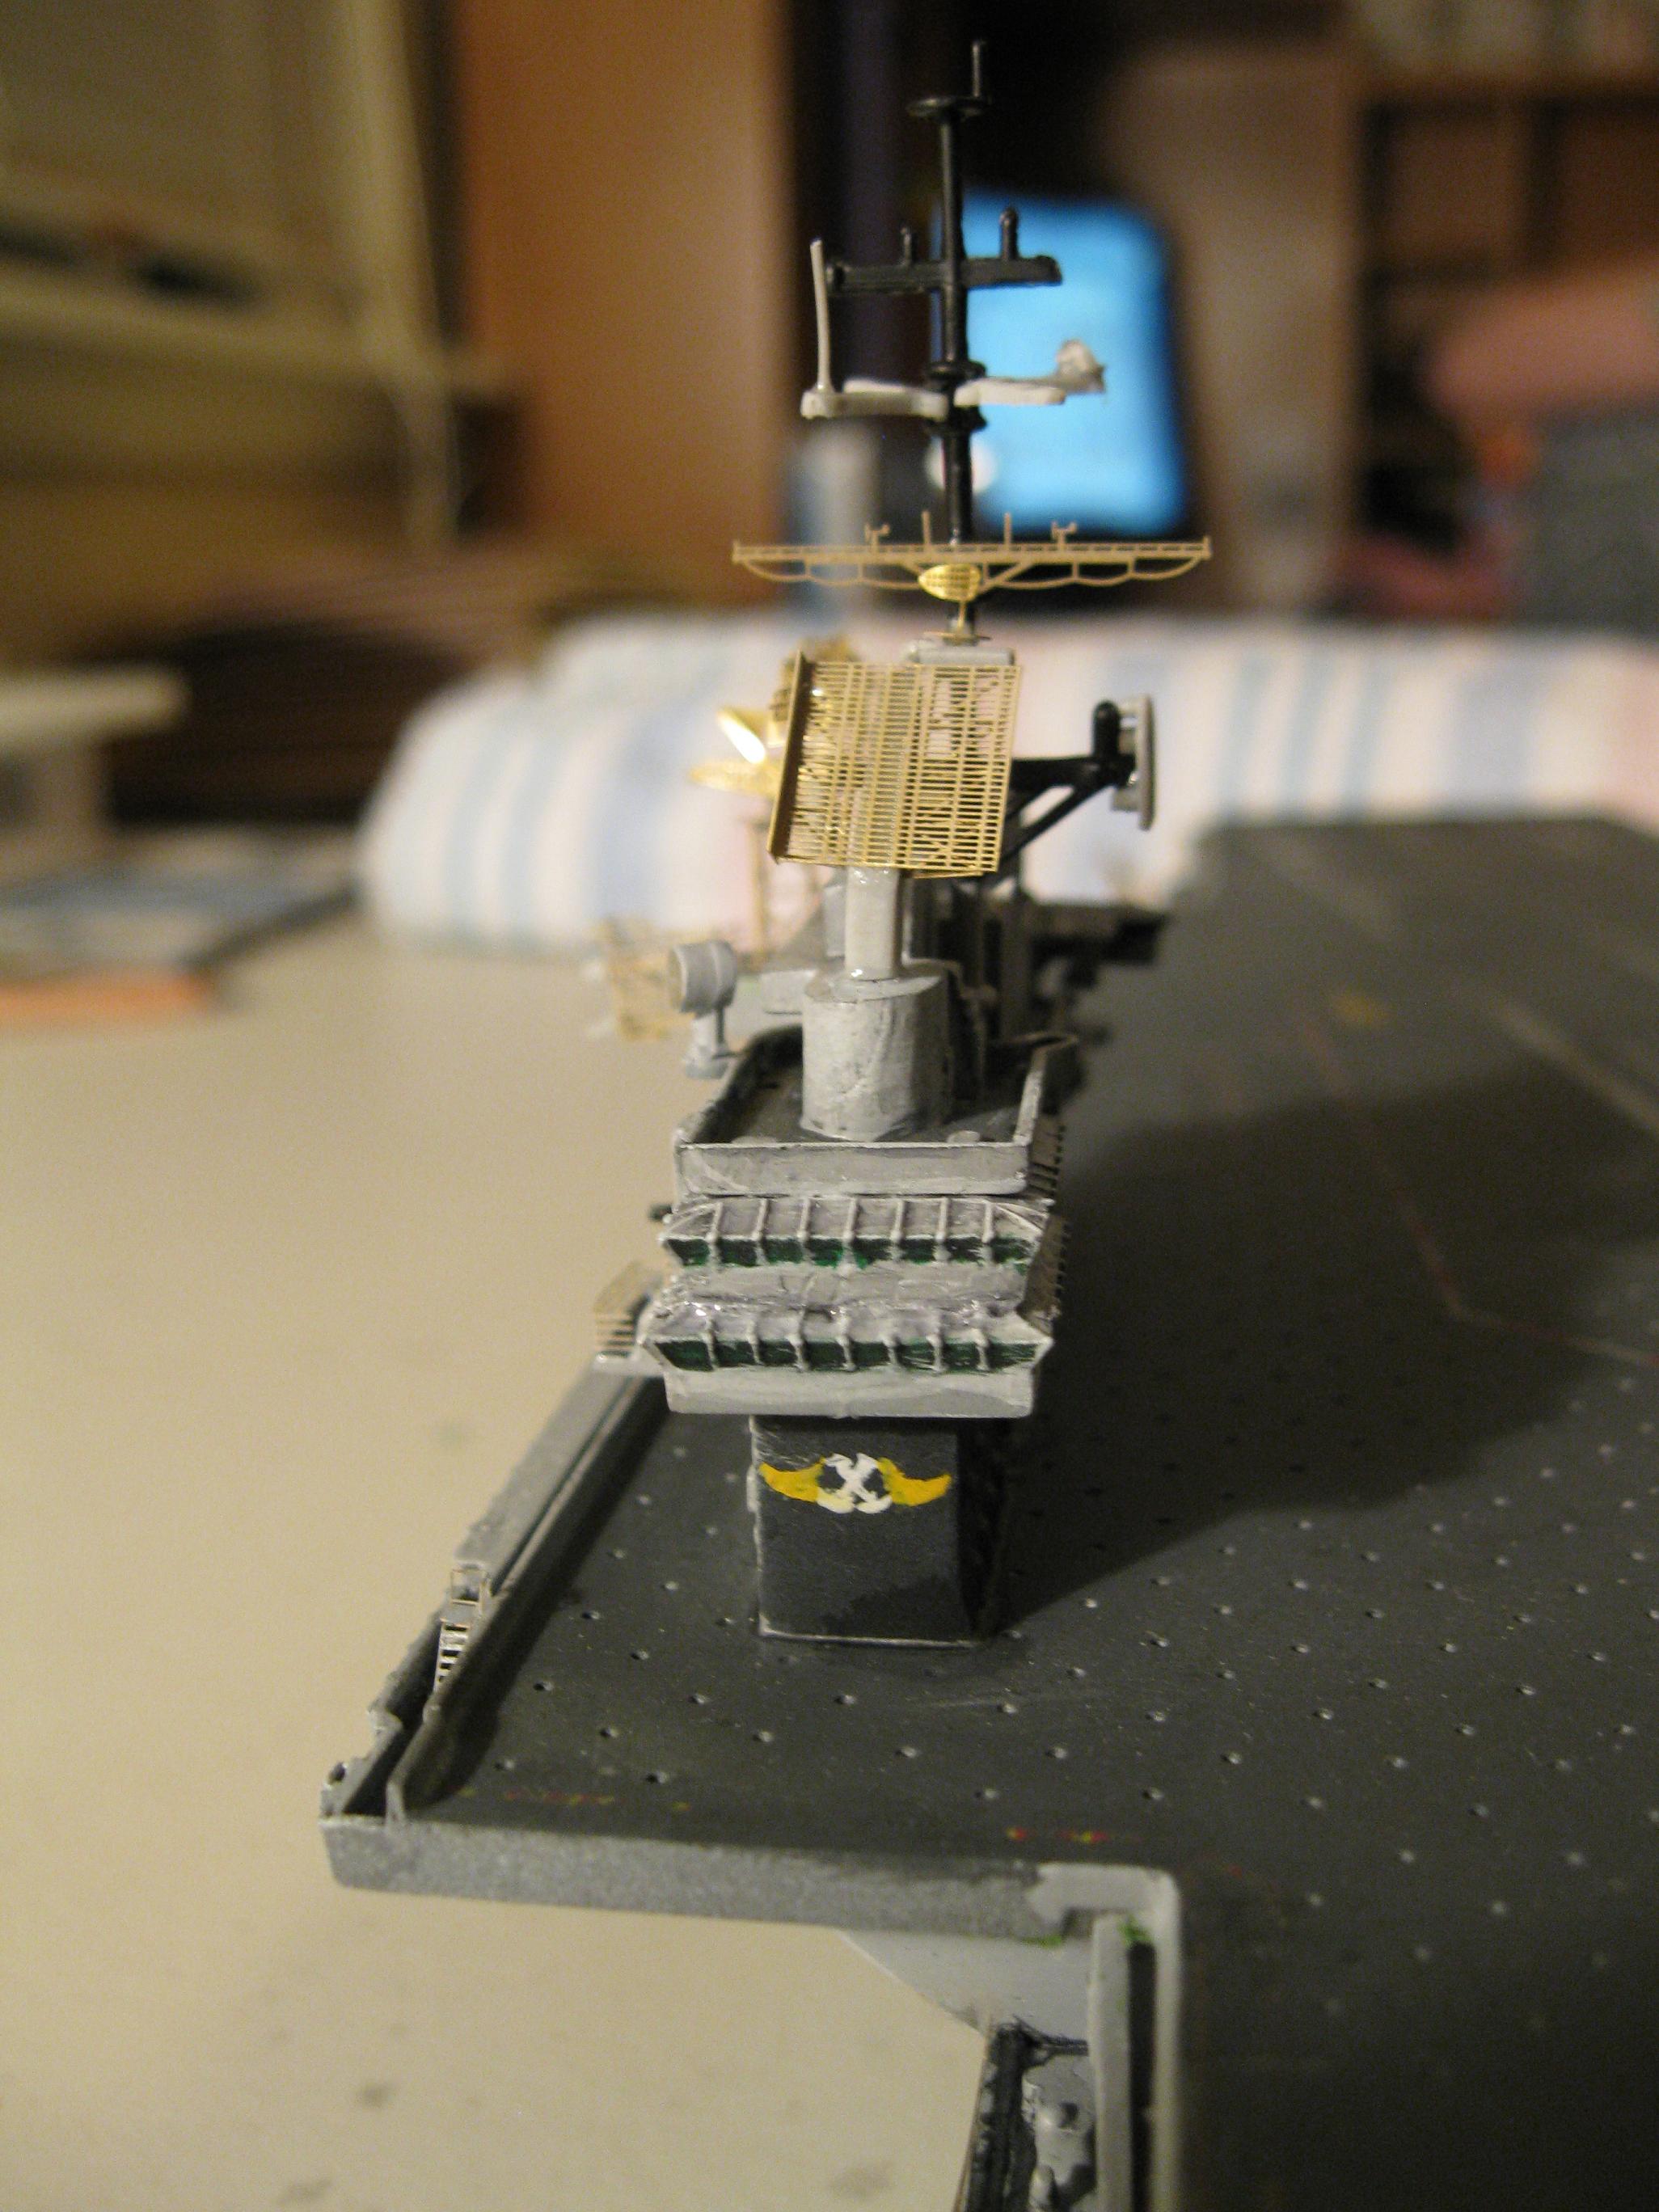
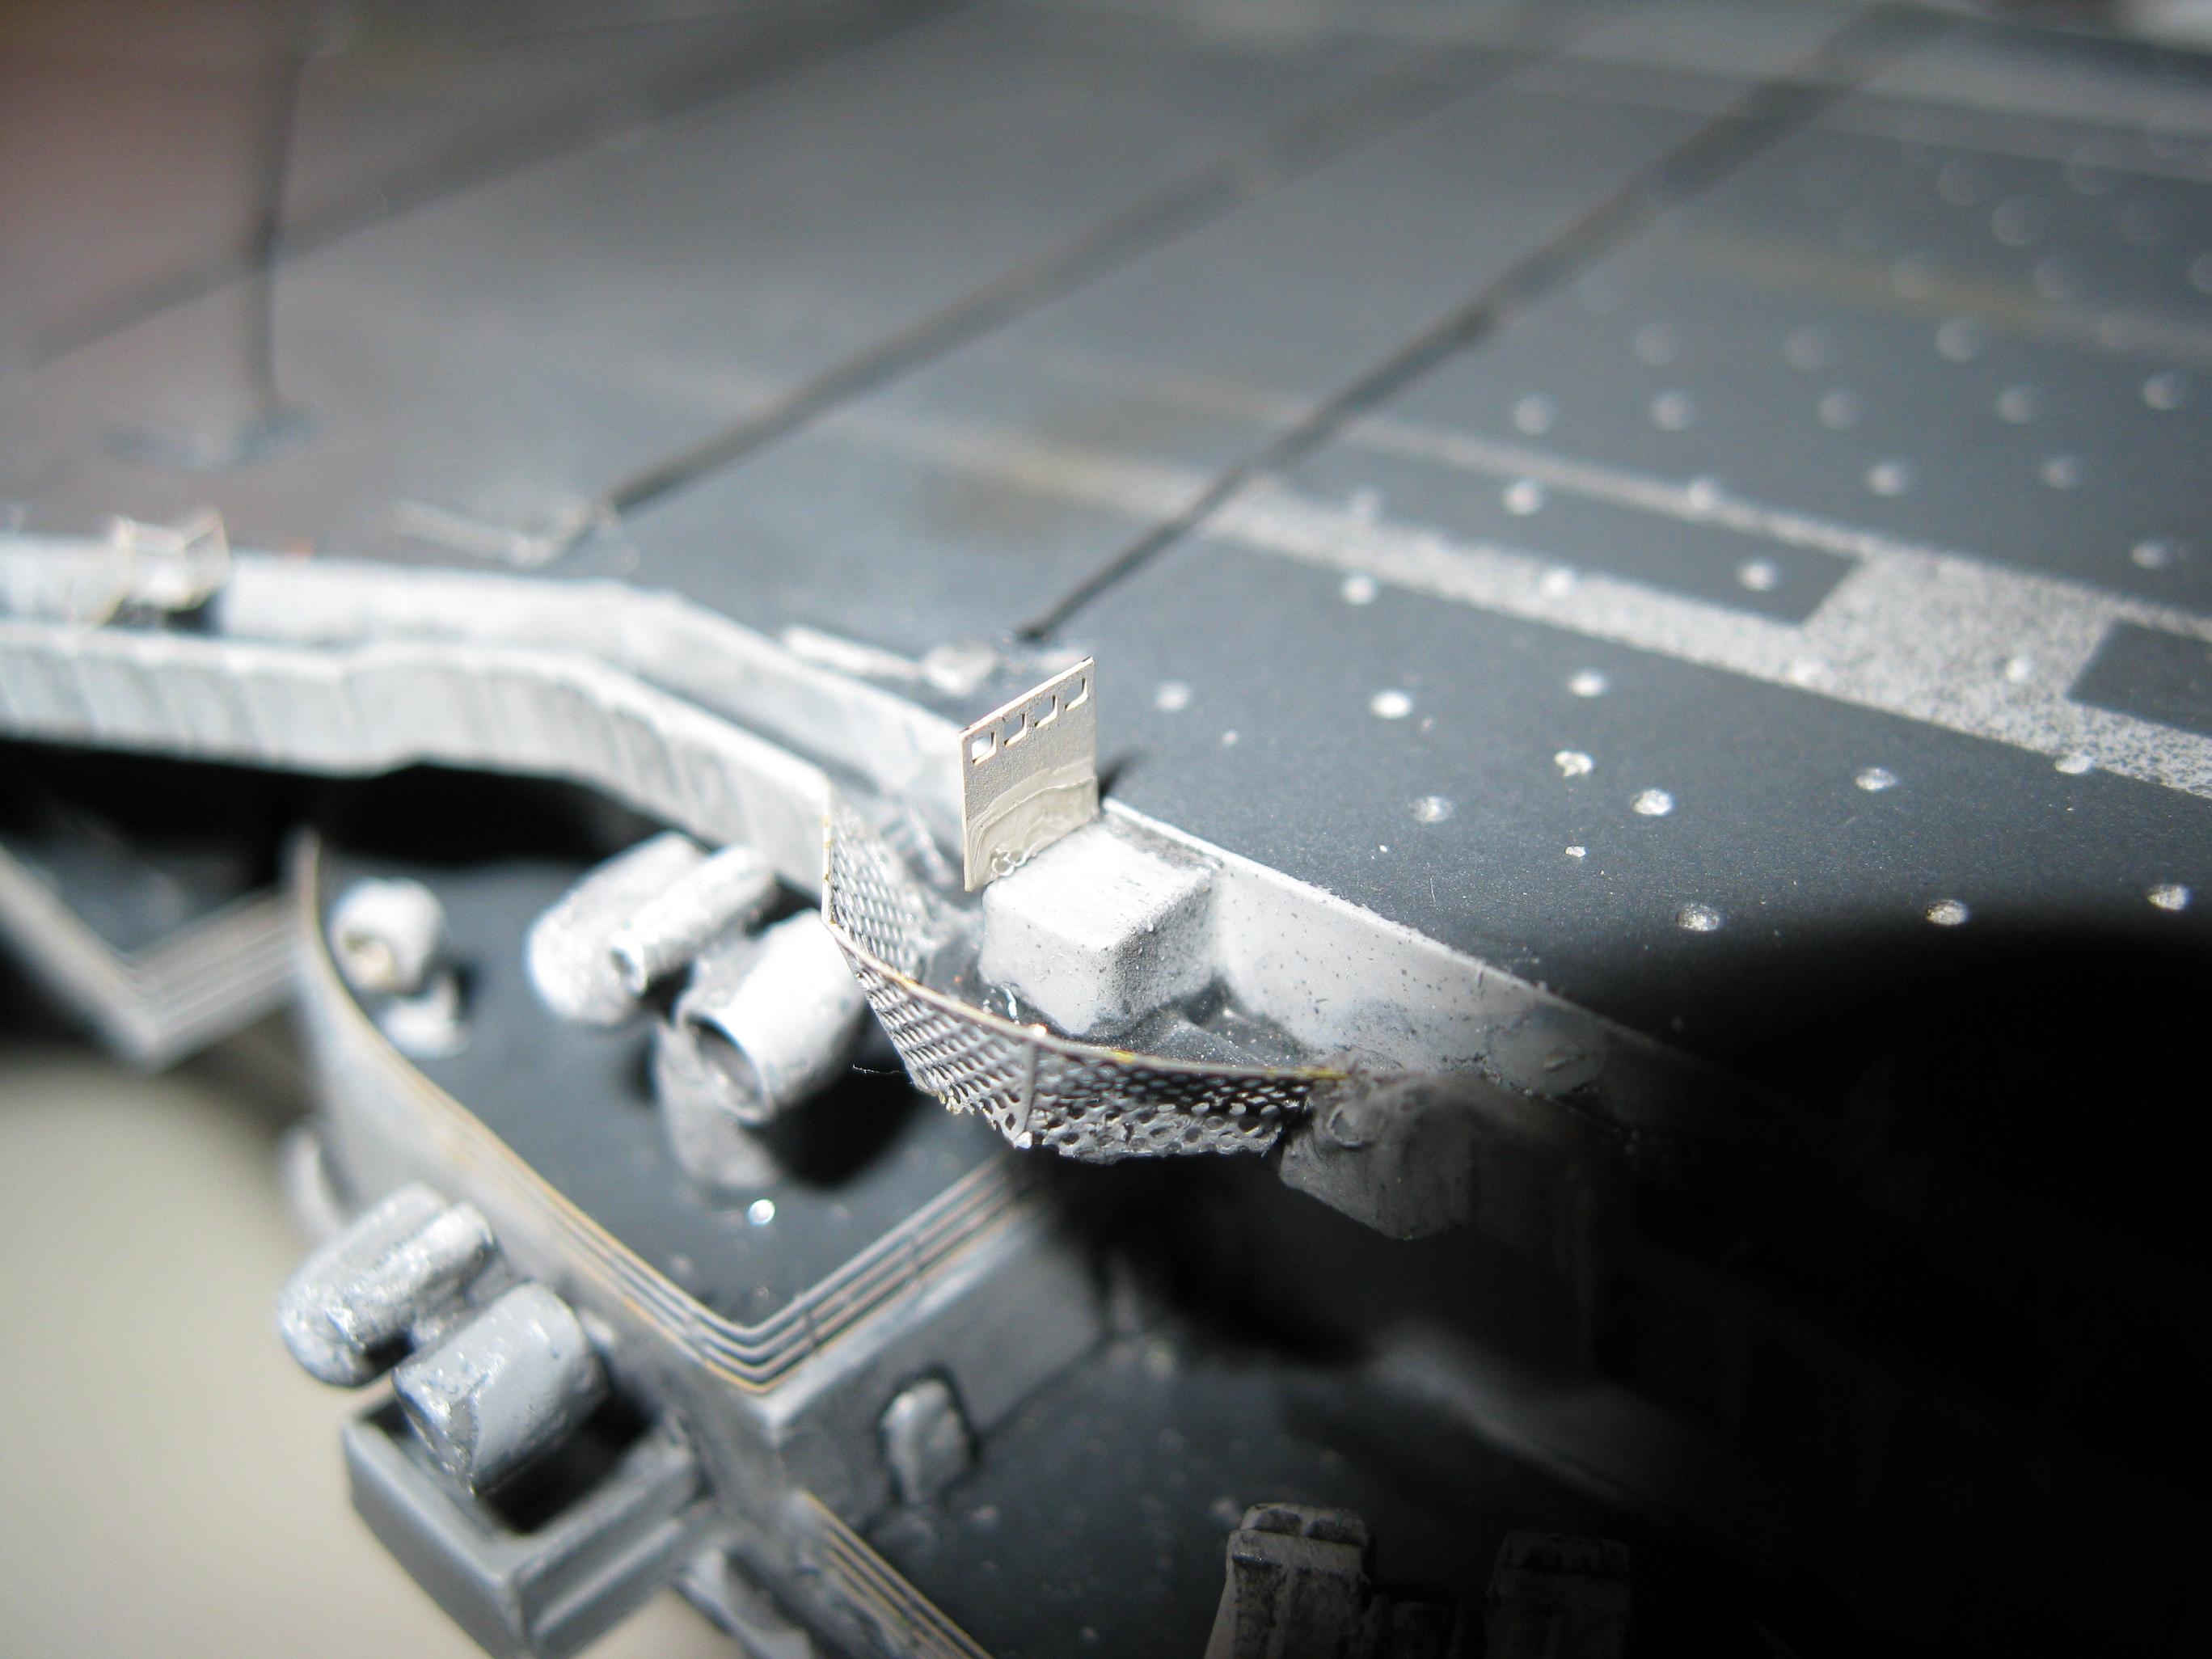
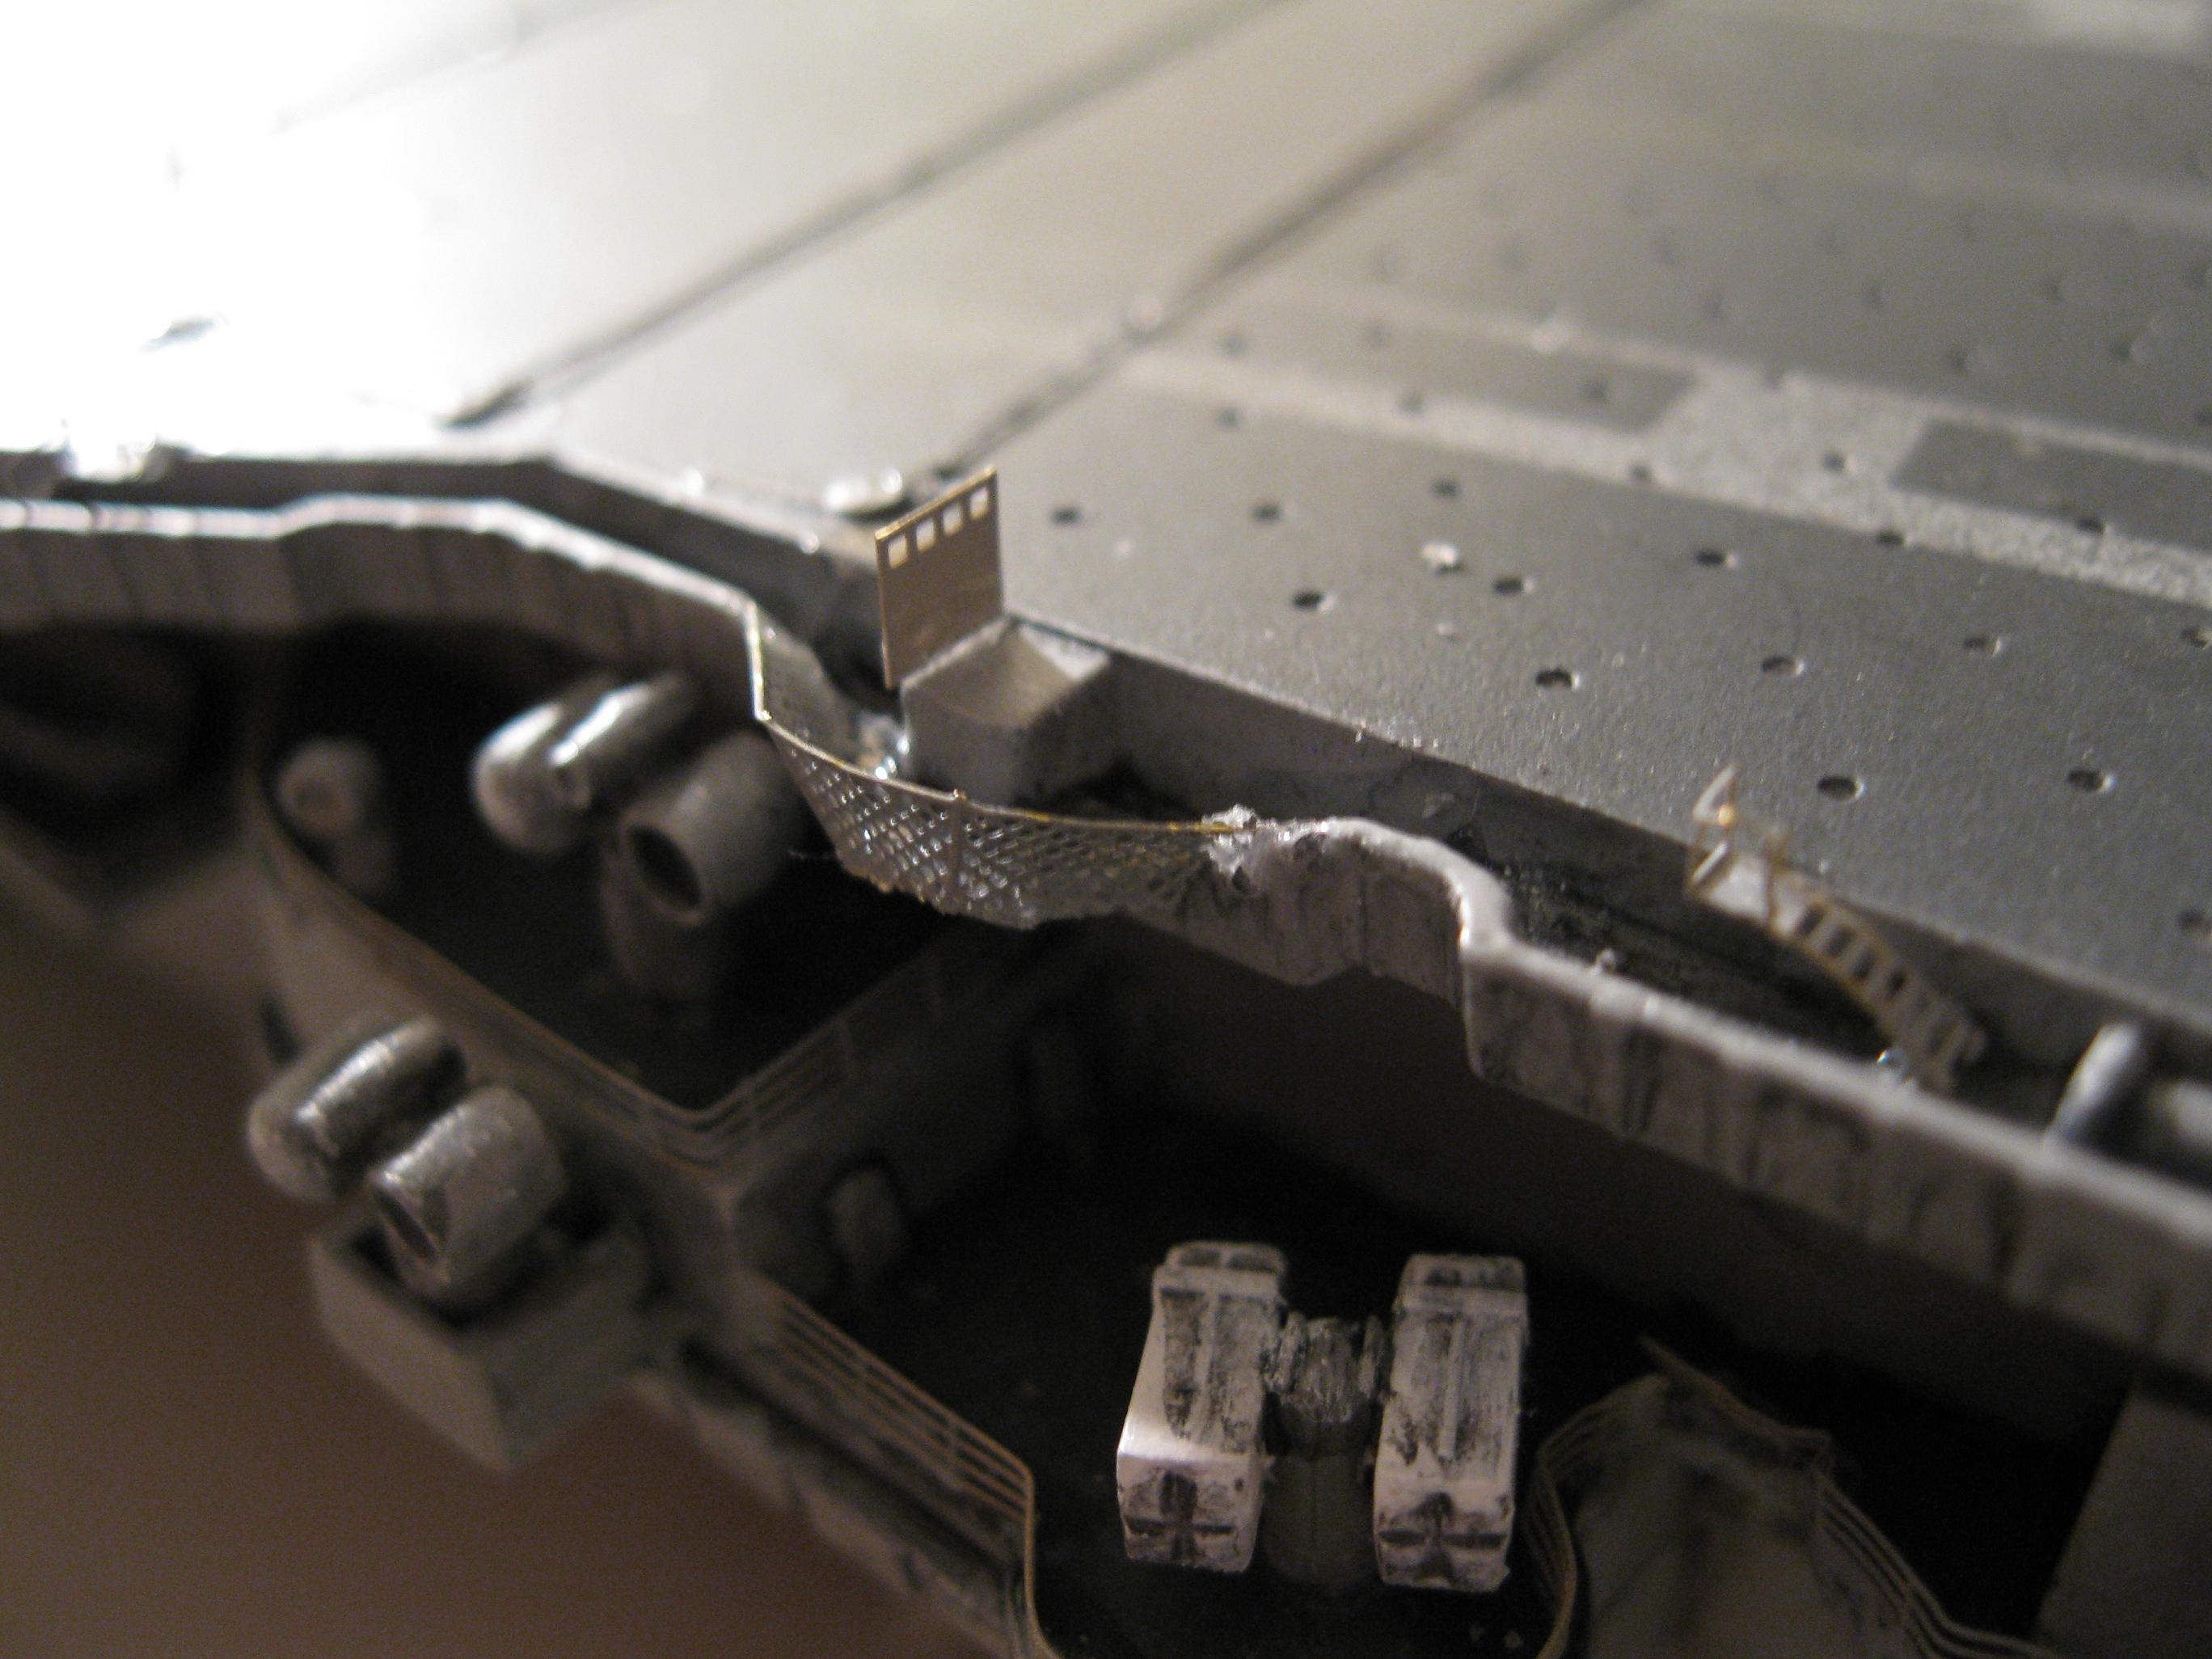
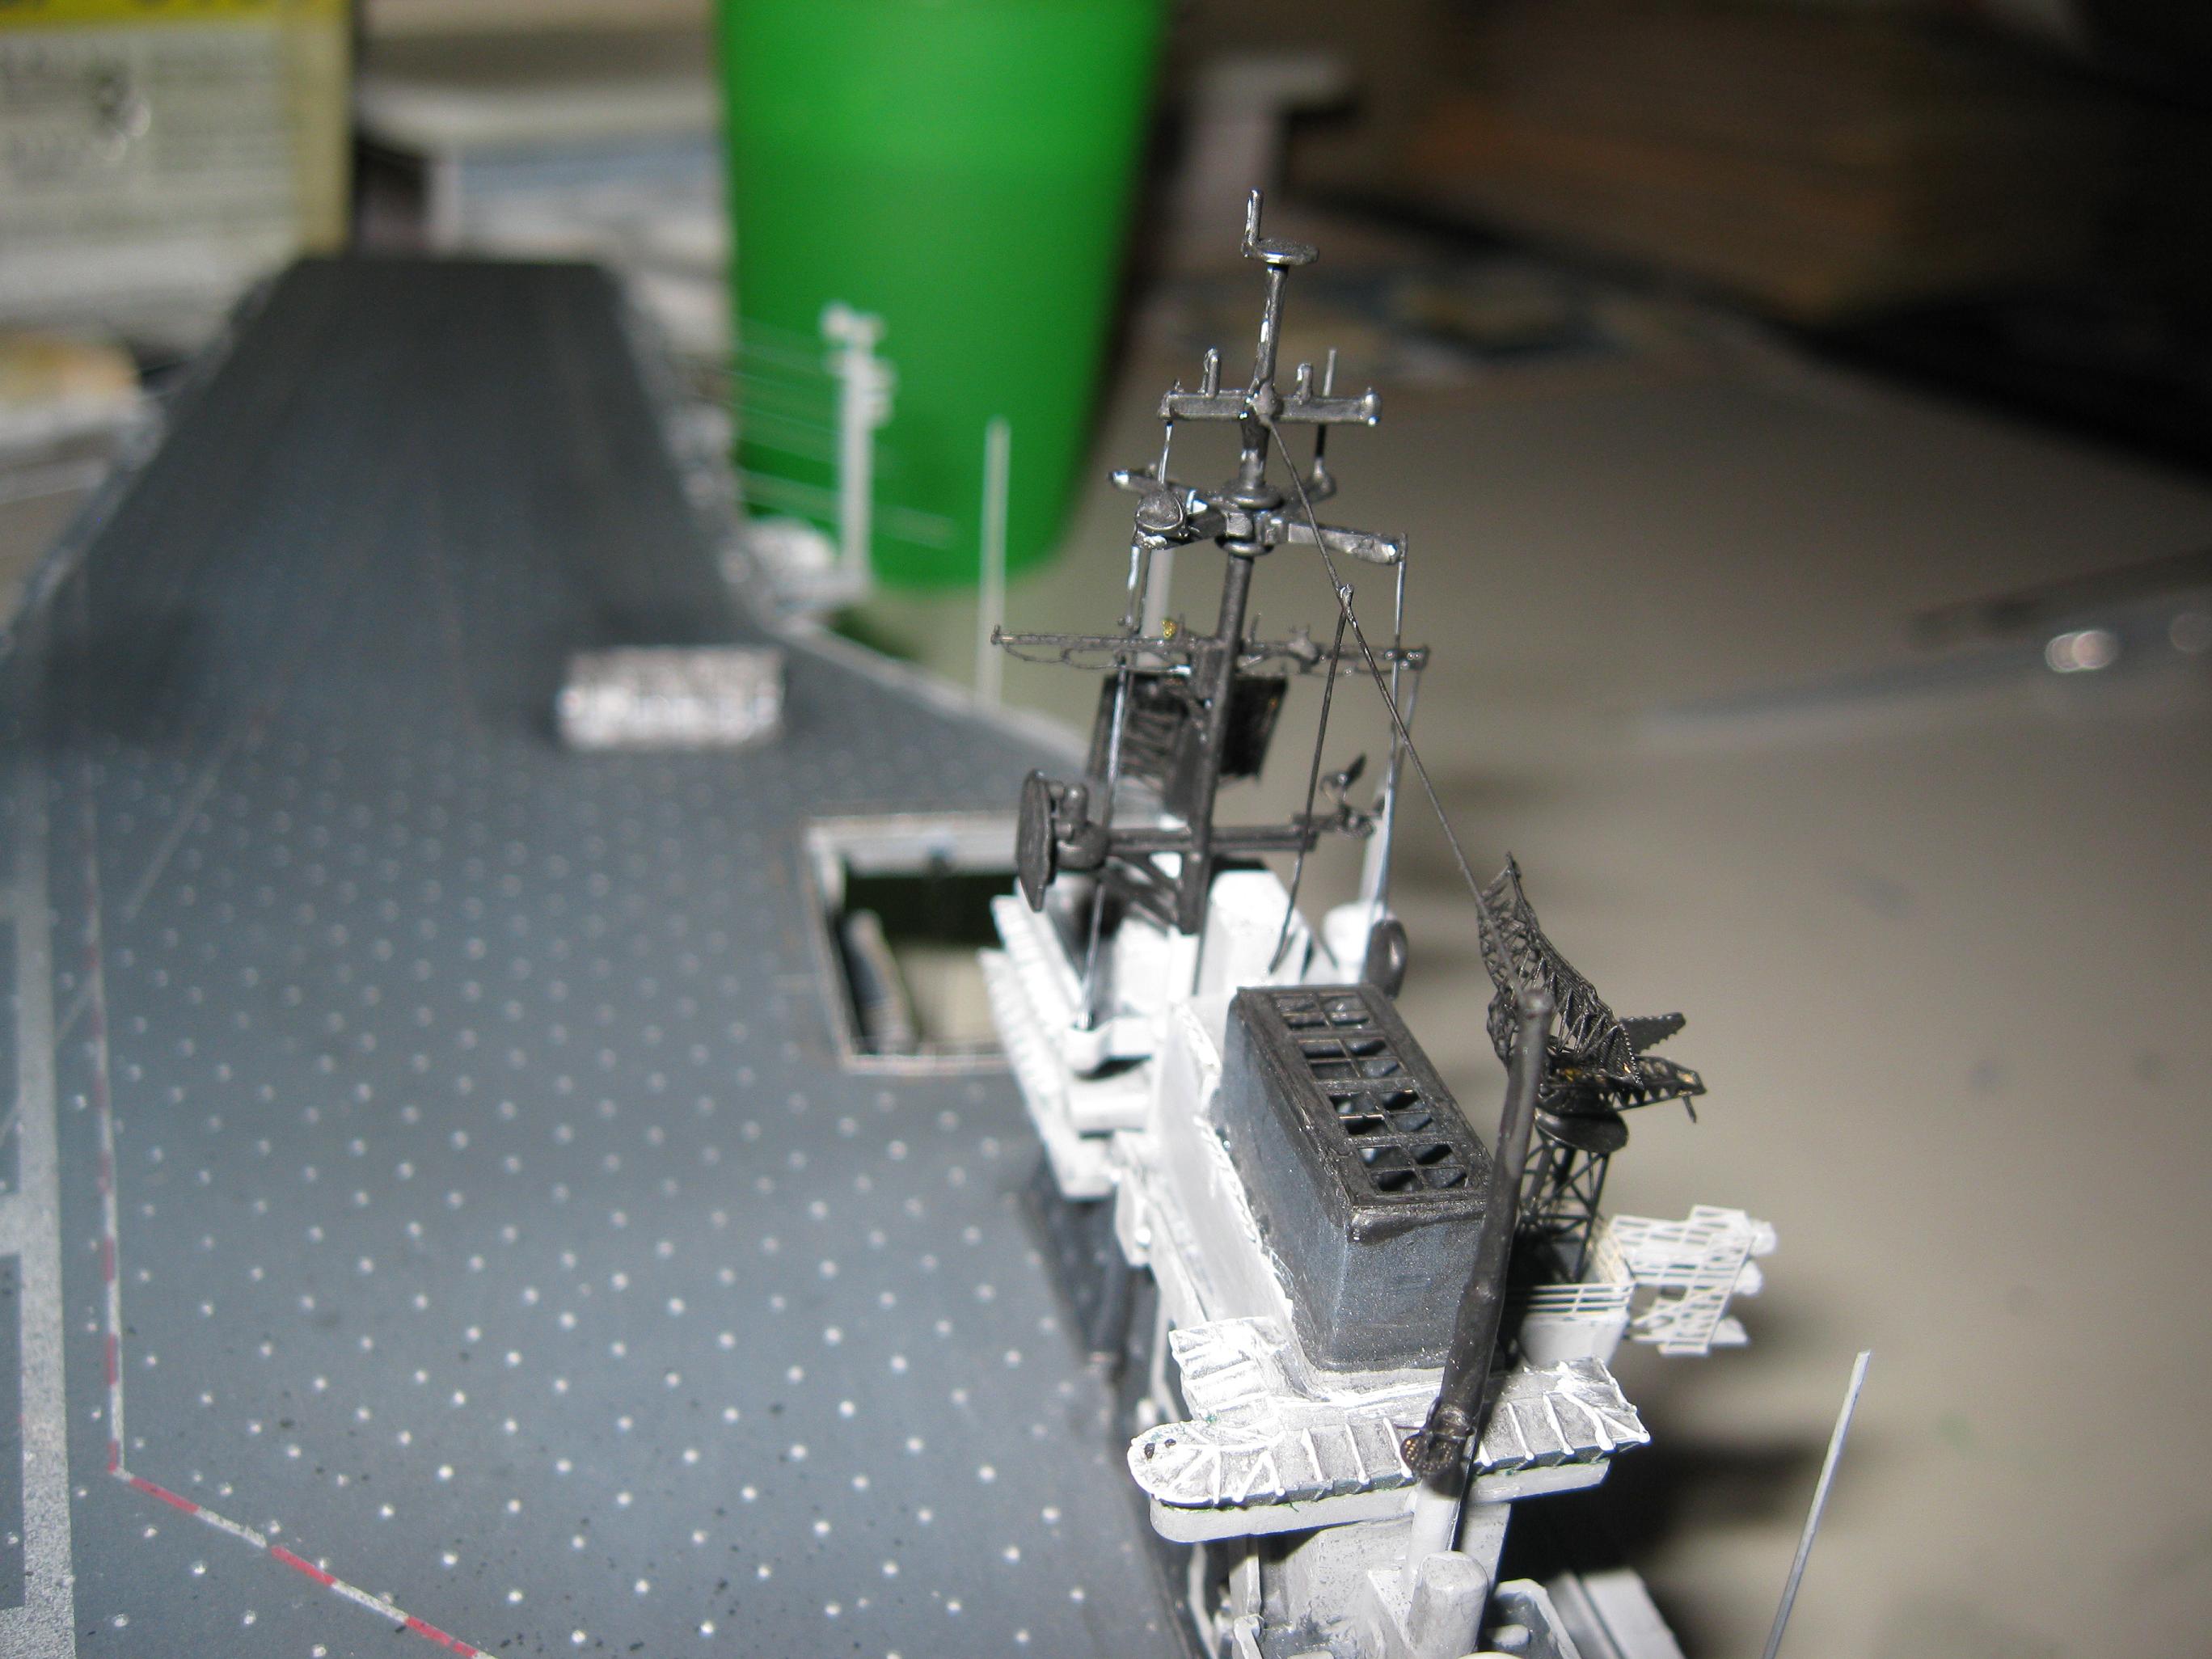
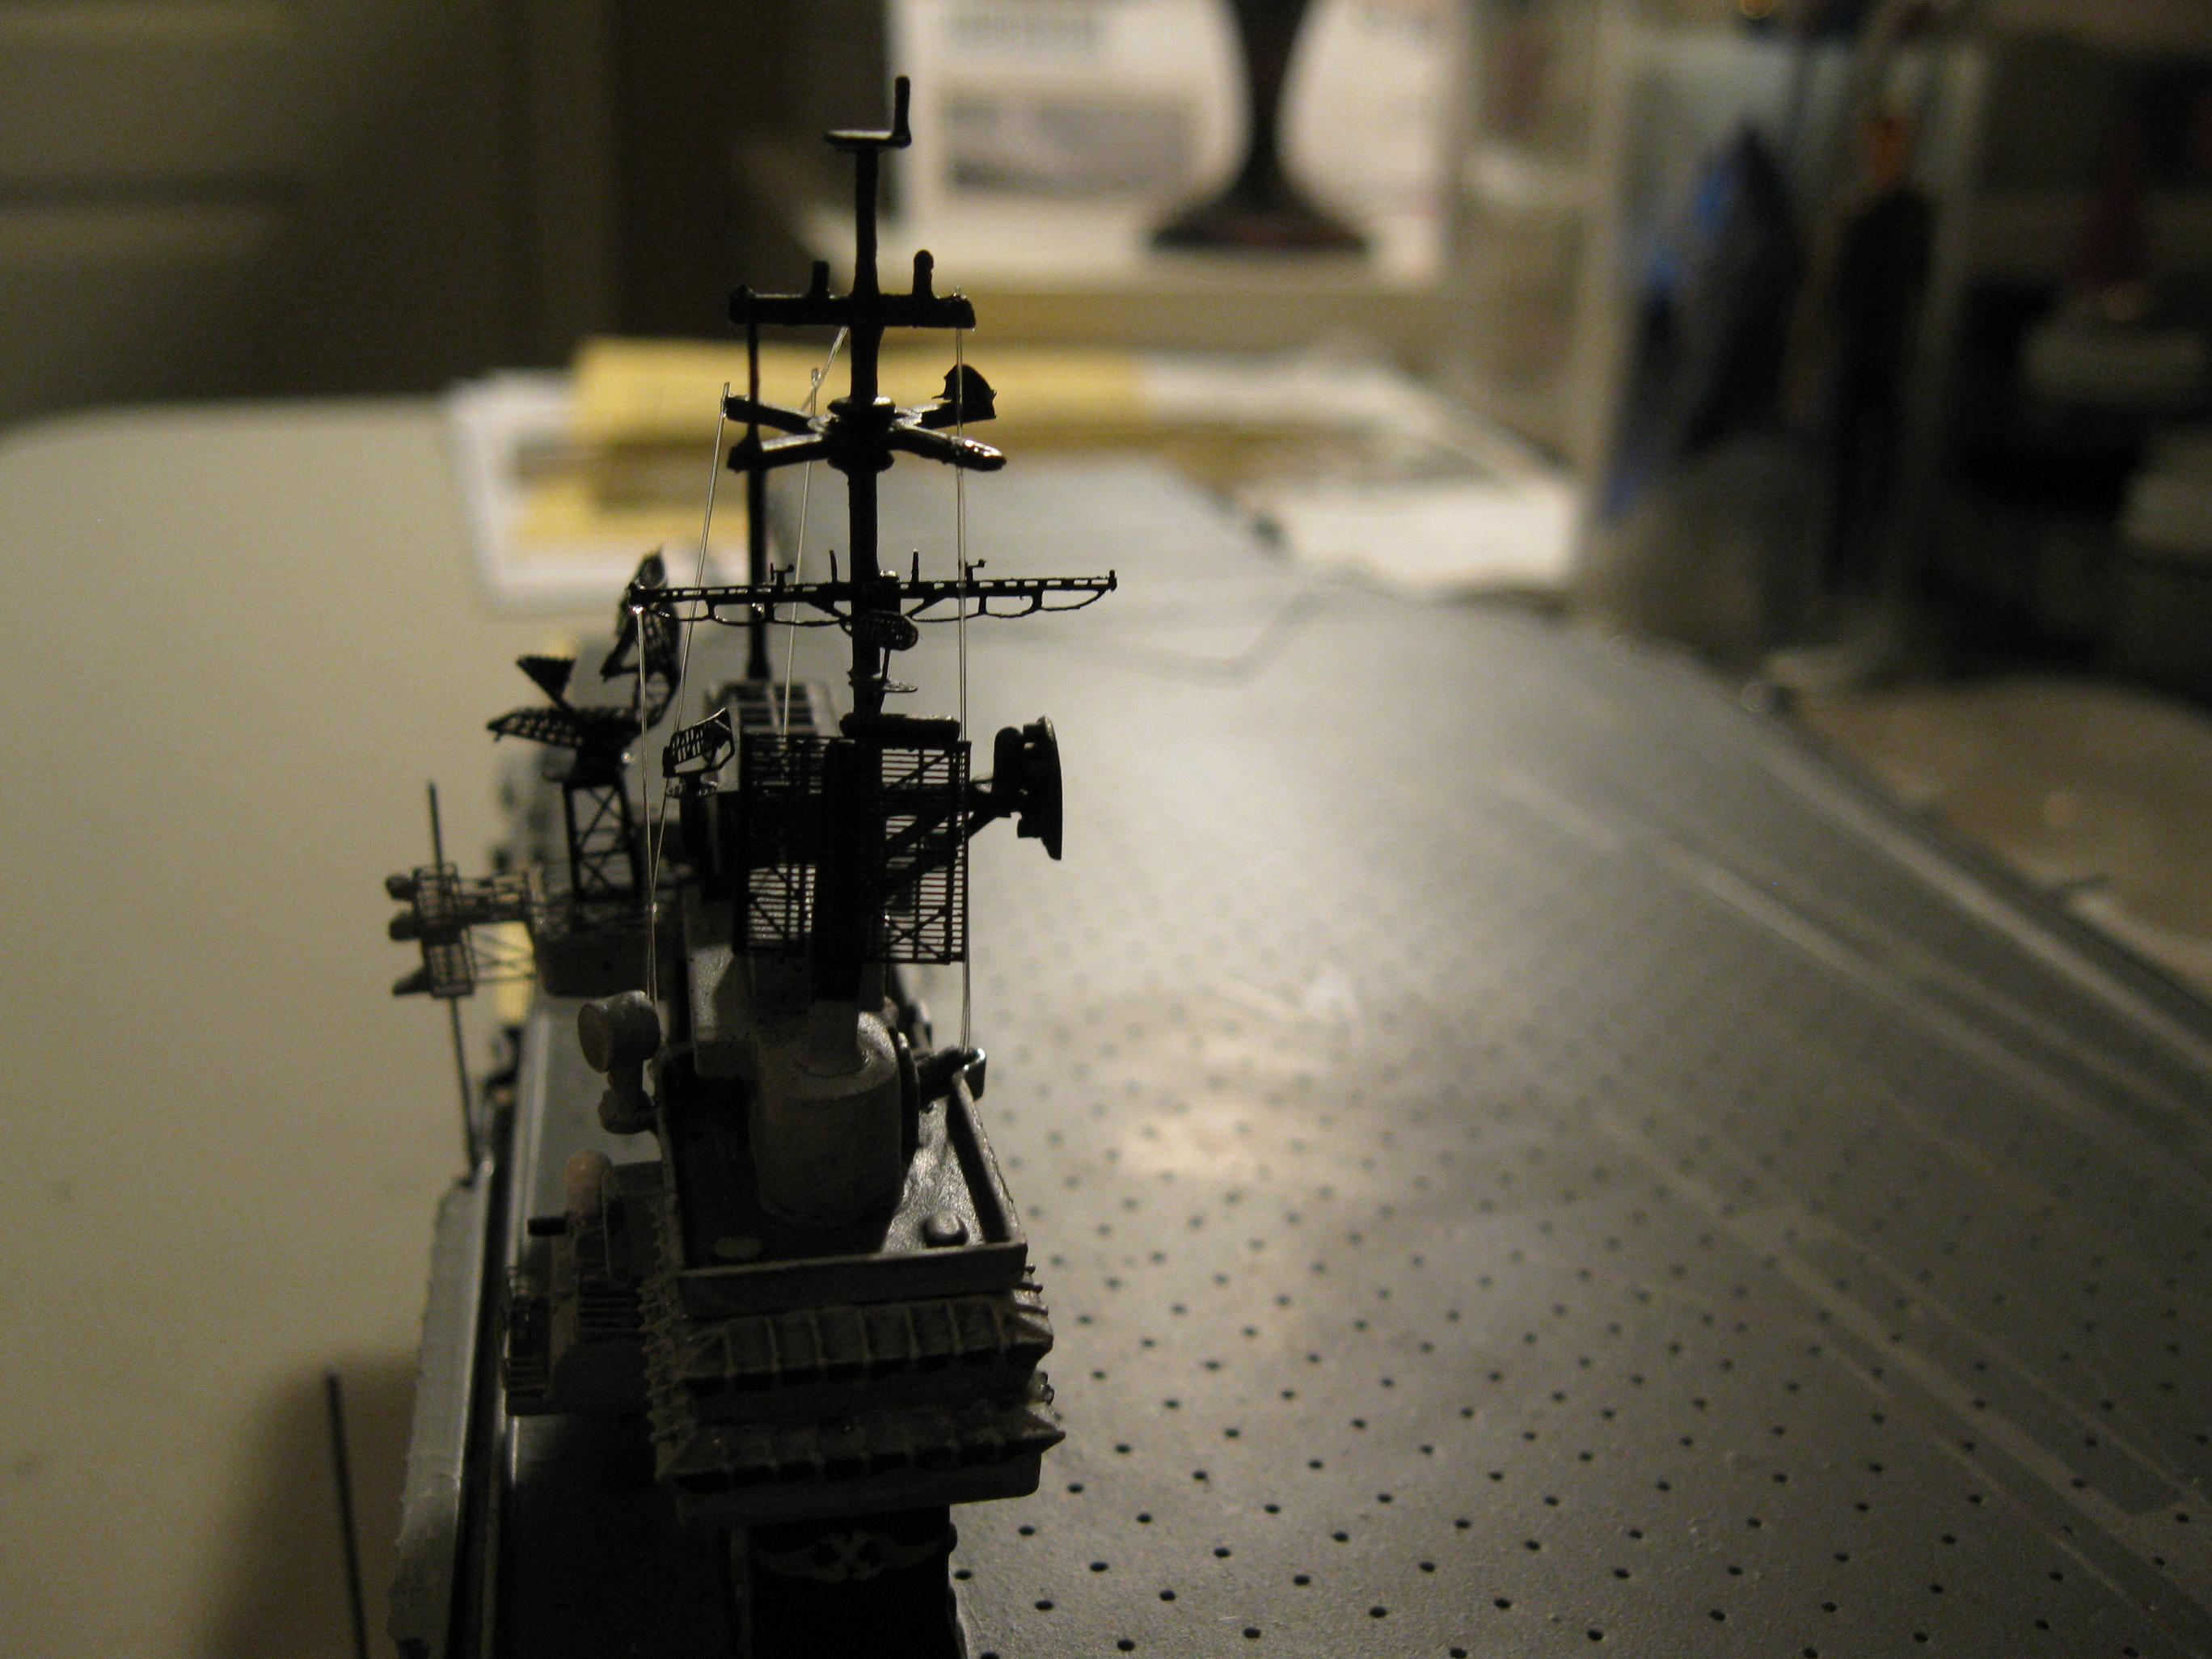
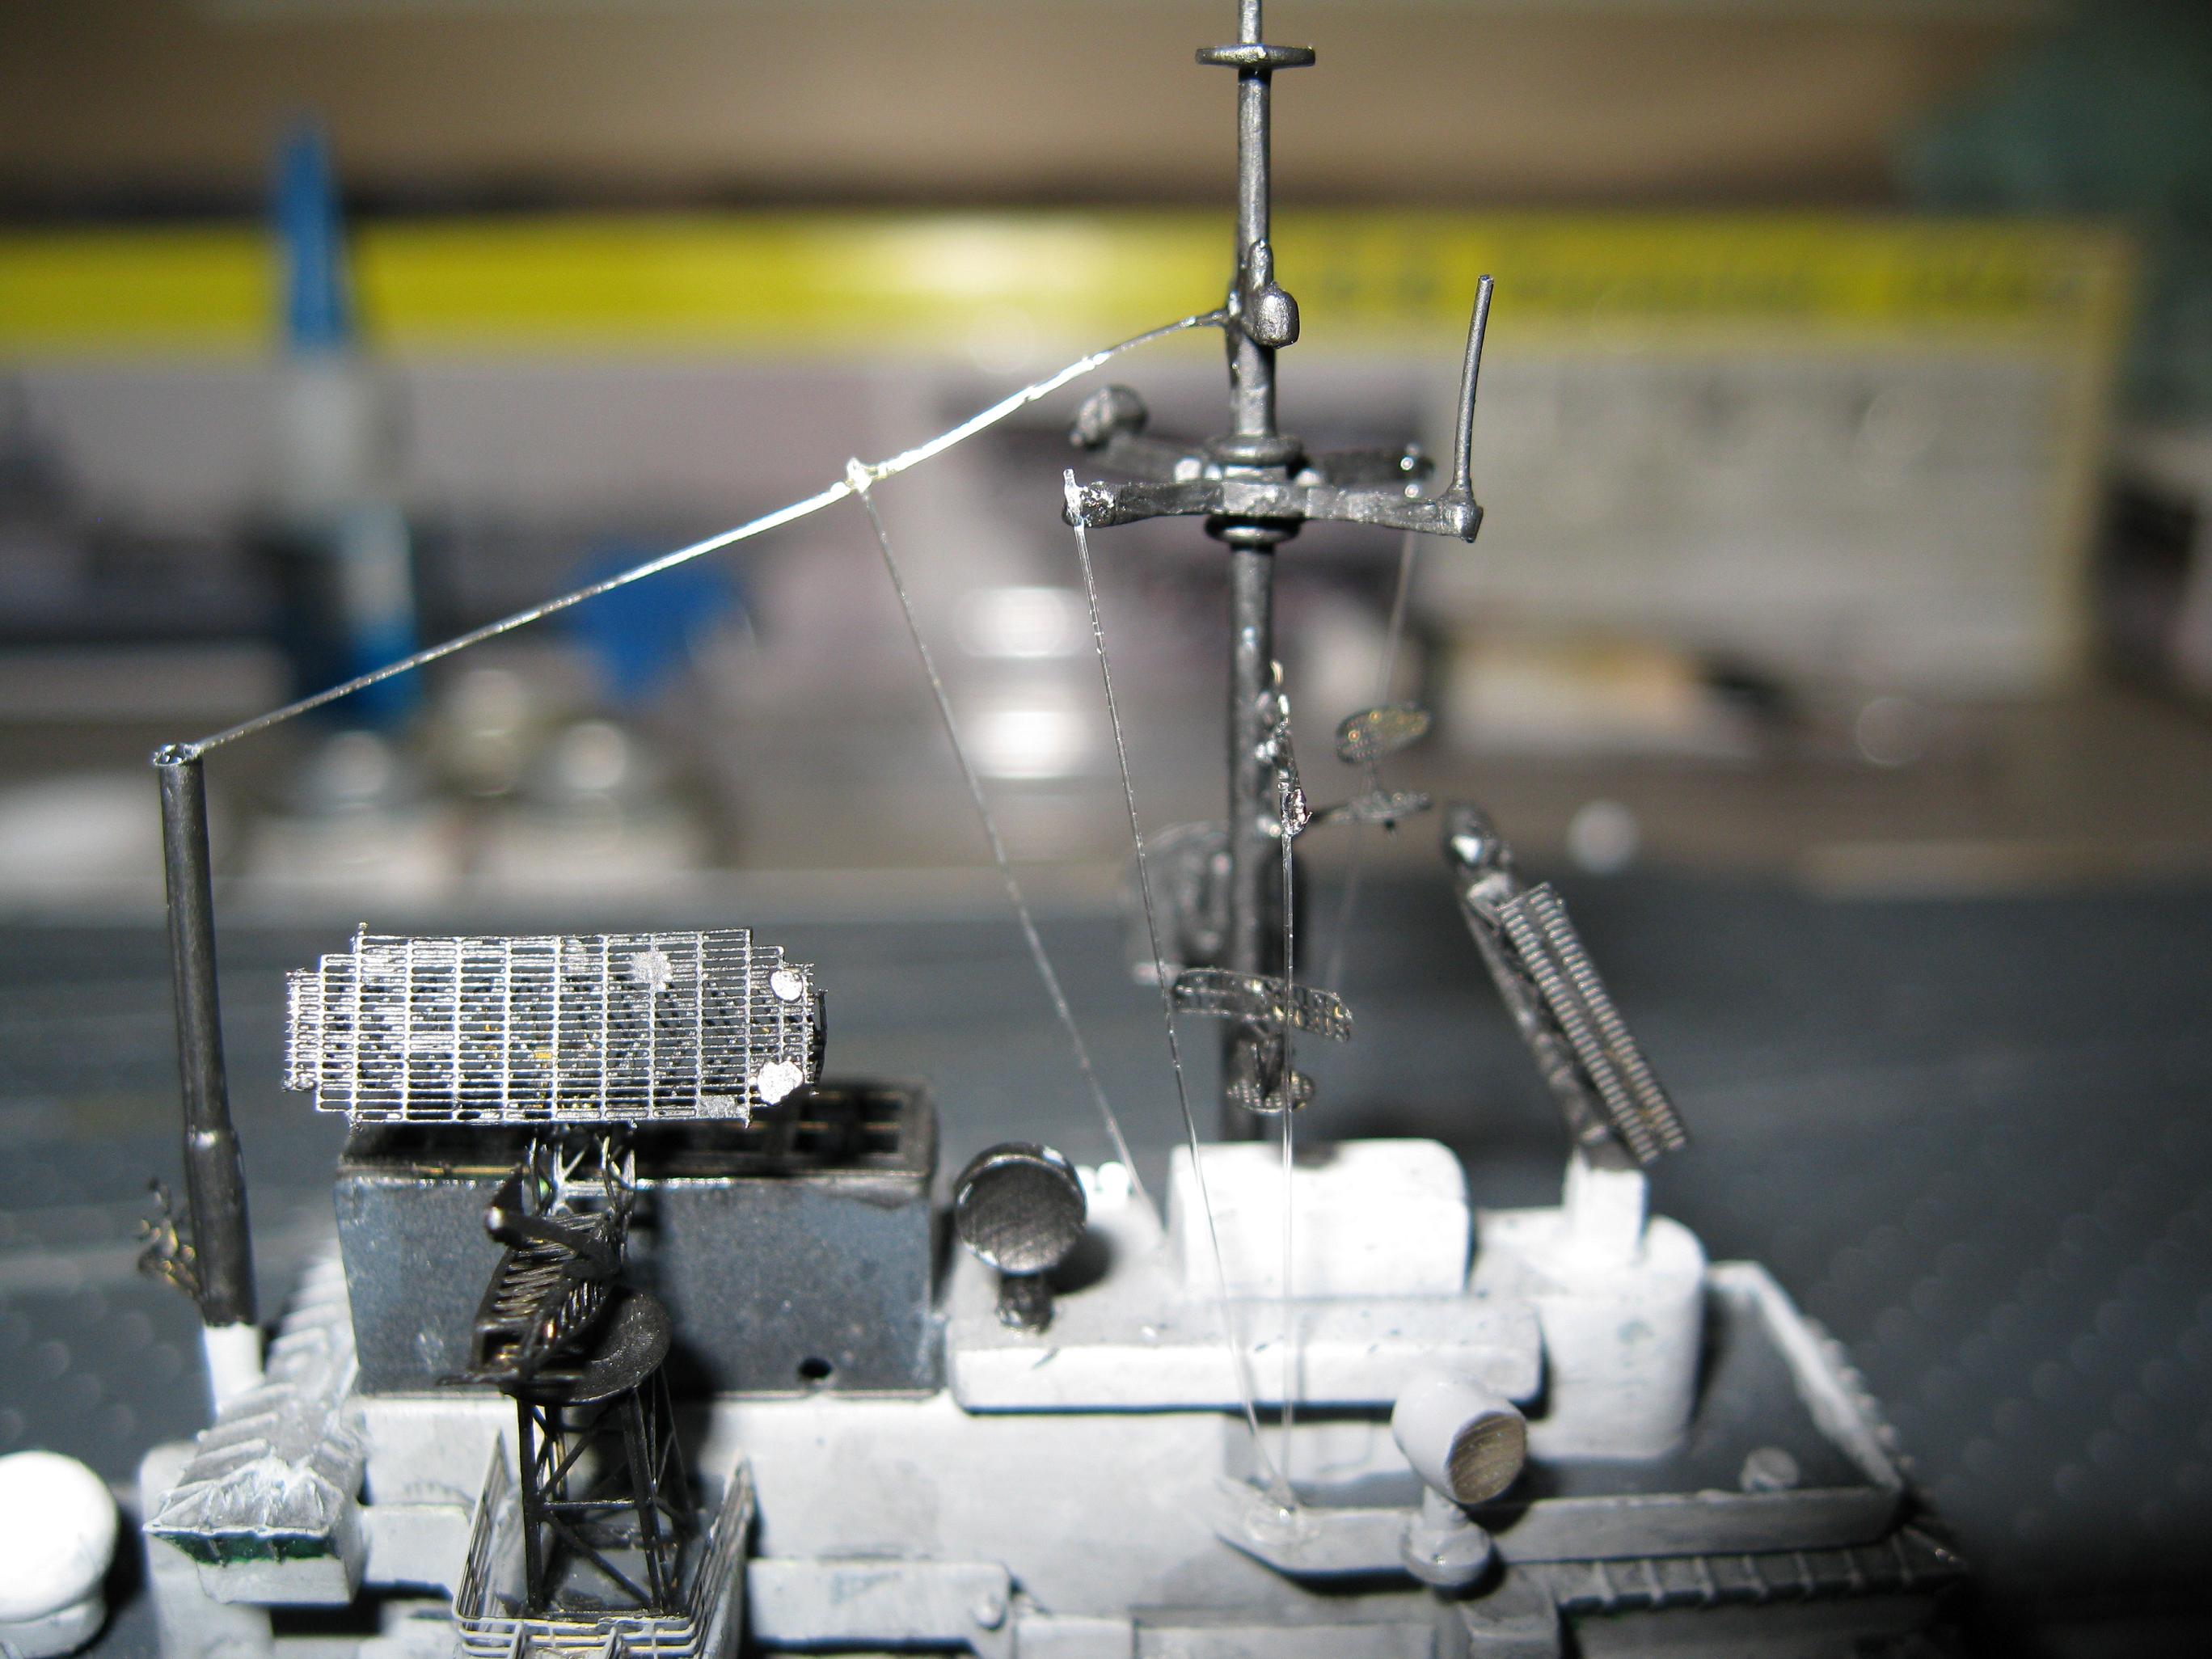
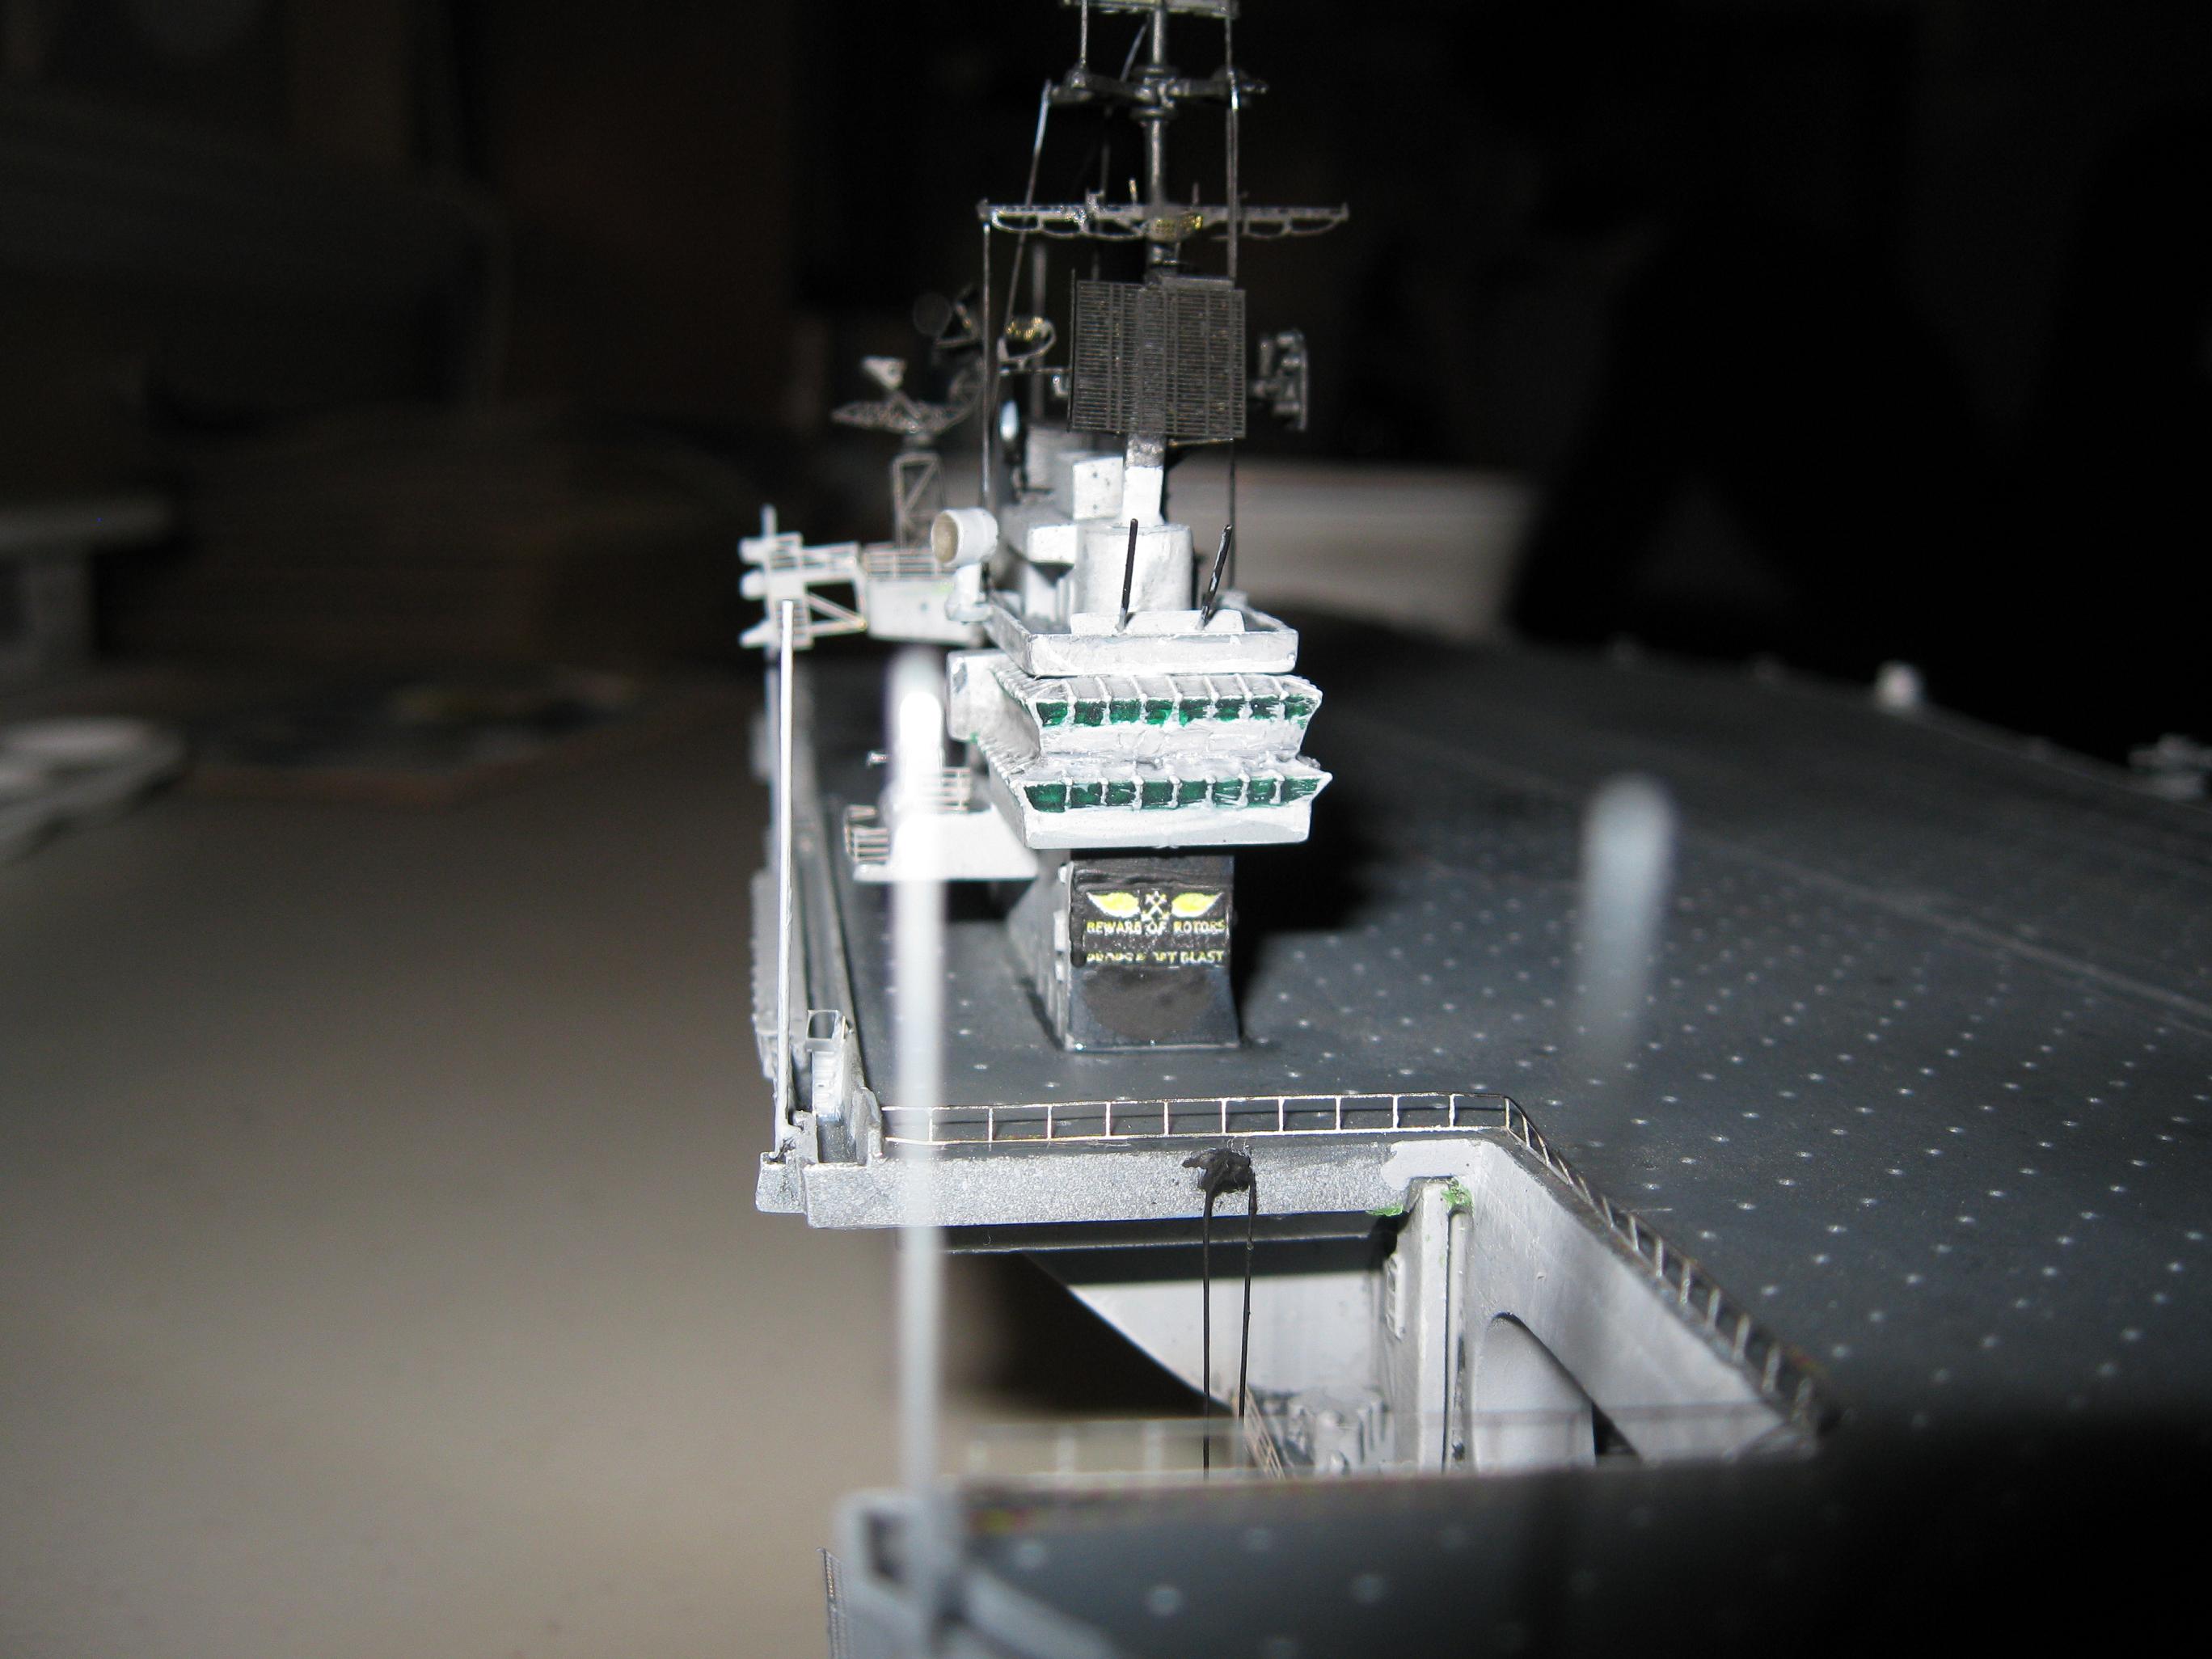
Port Sponson. The Peace De La Resistance -
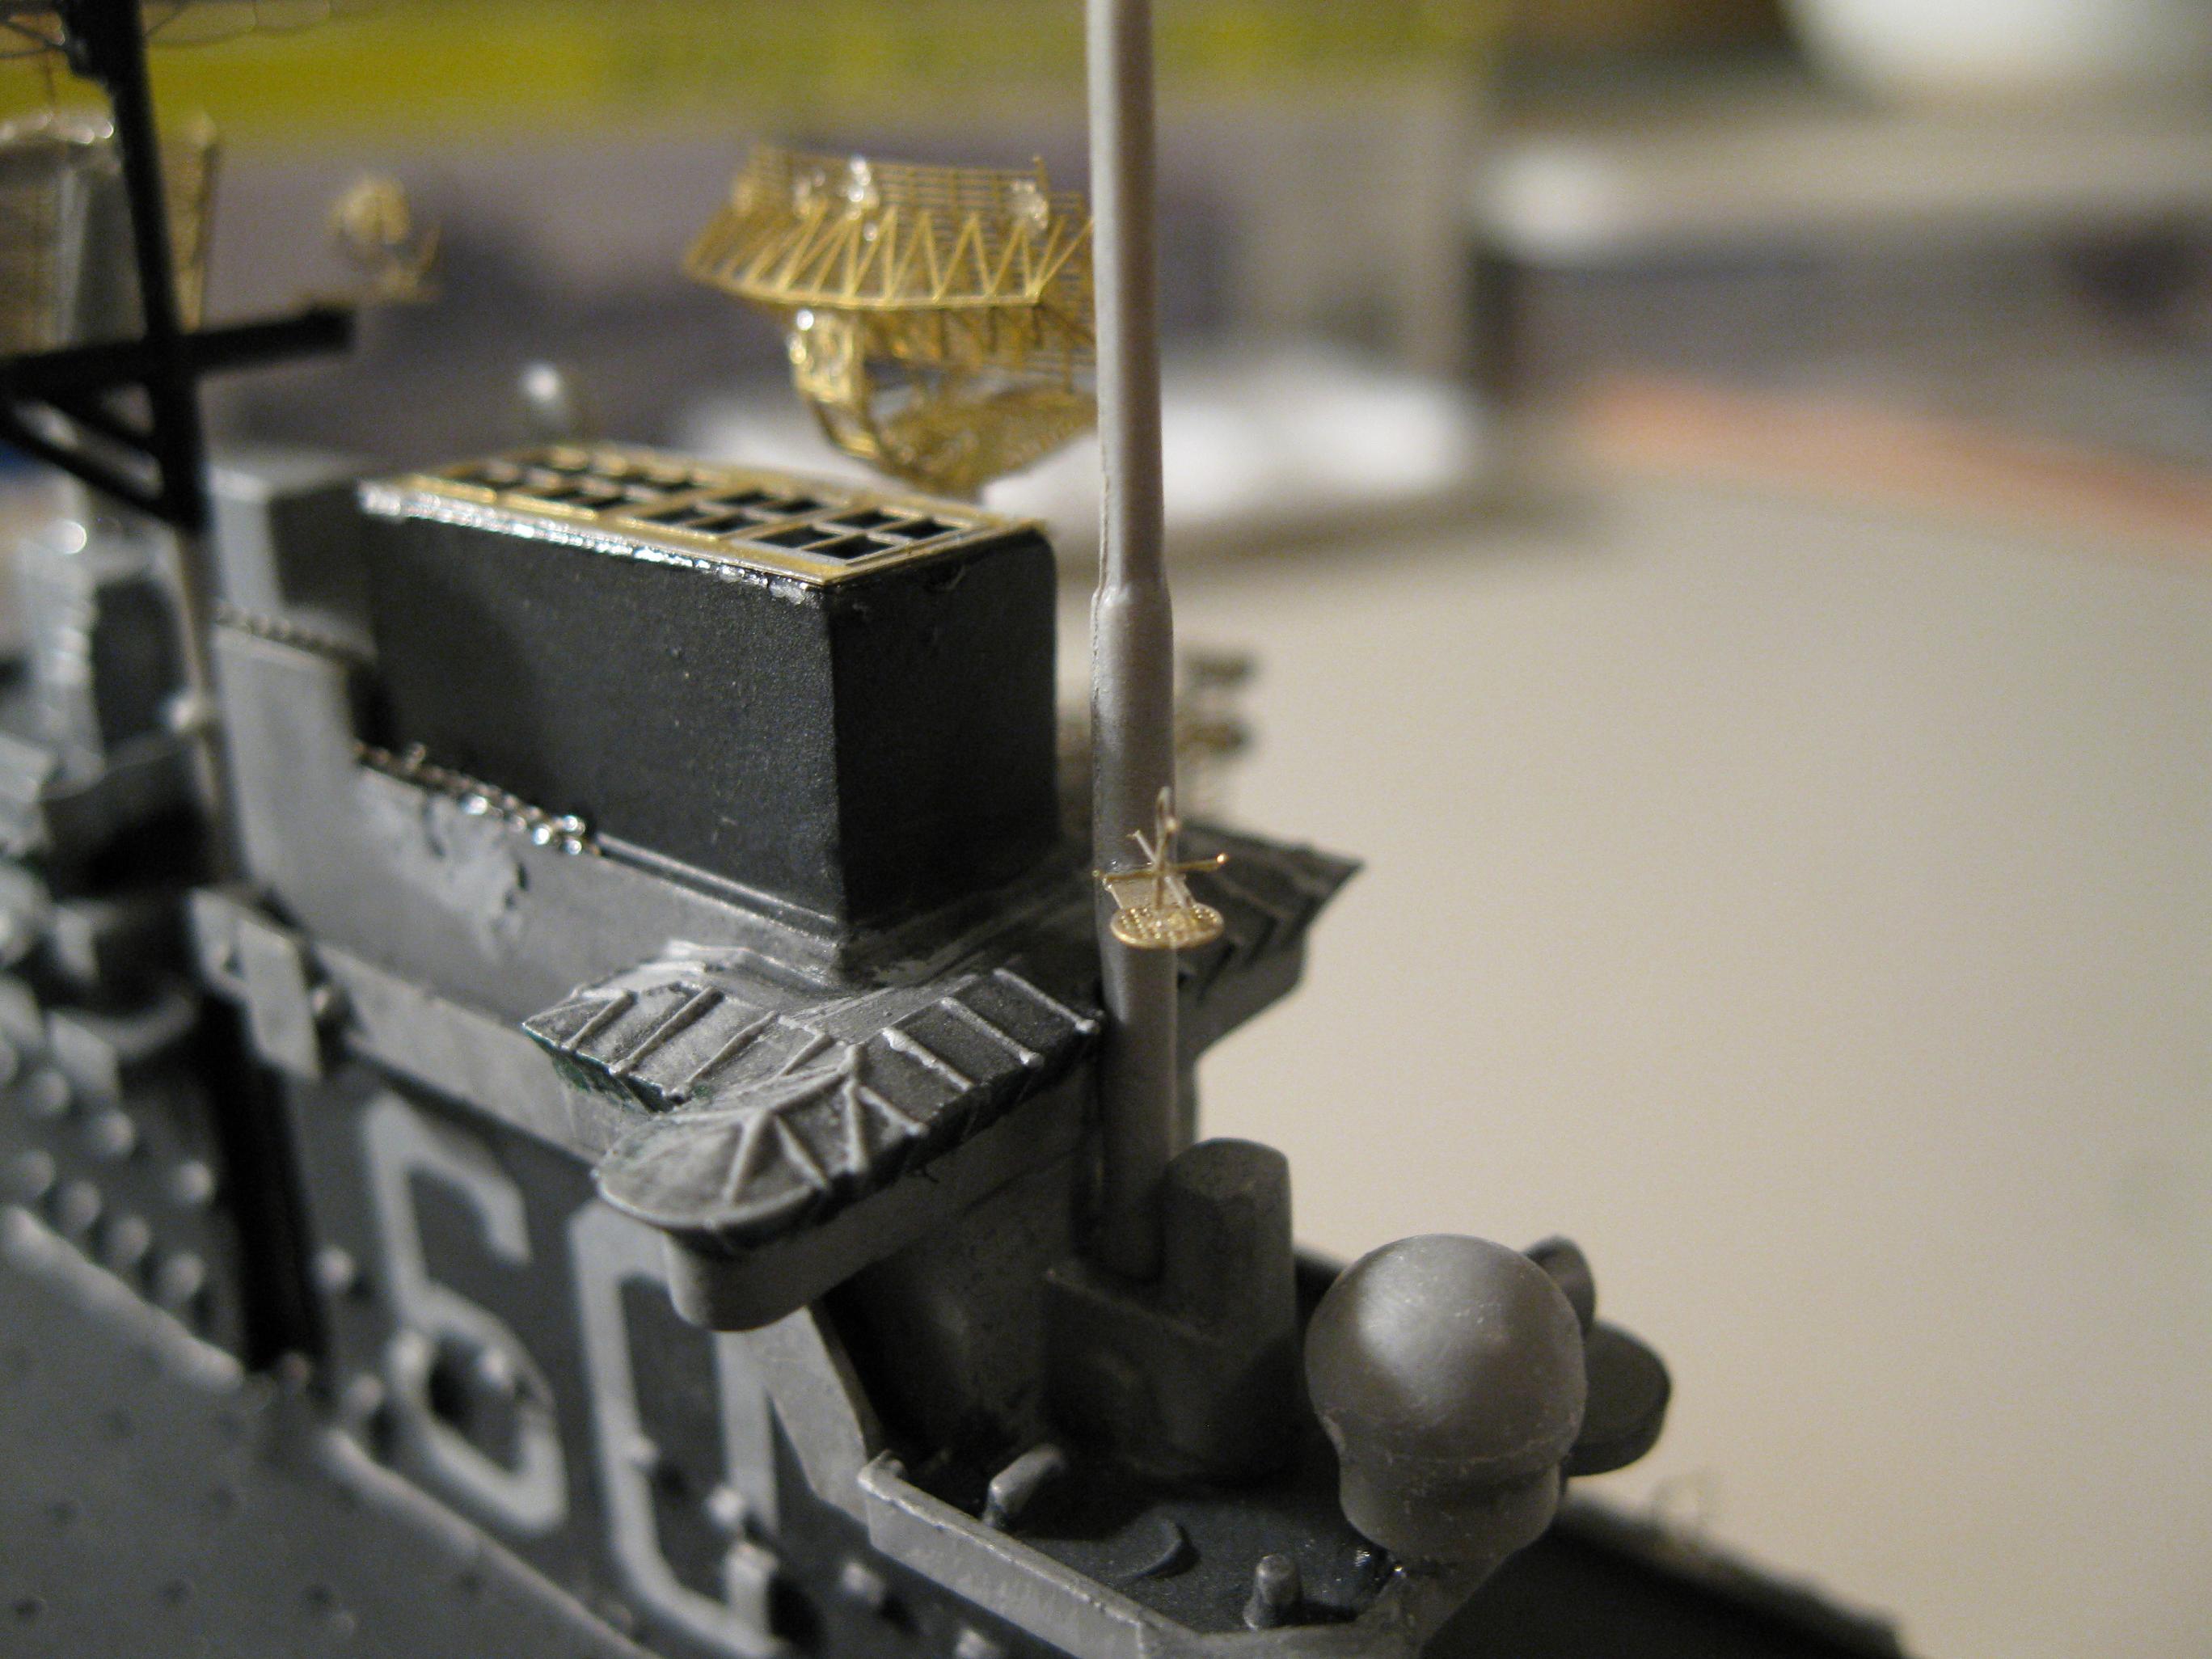
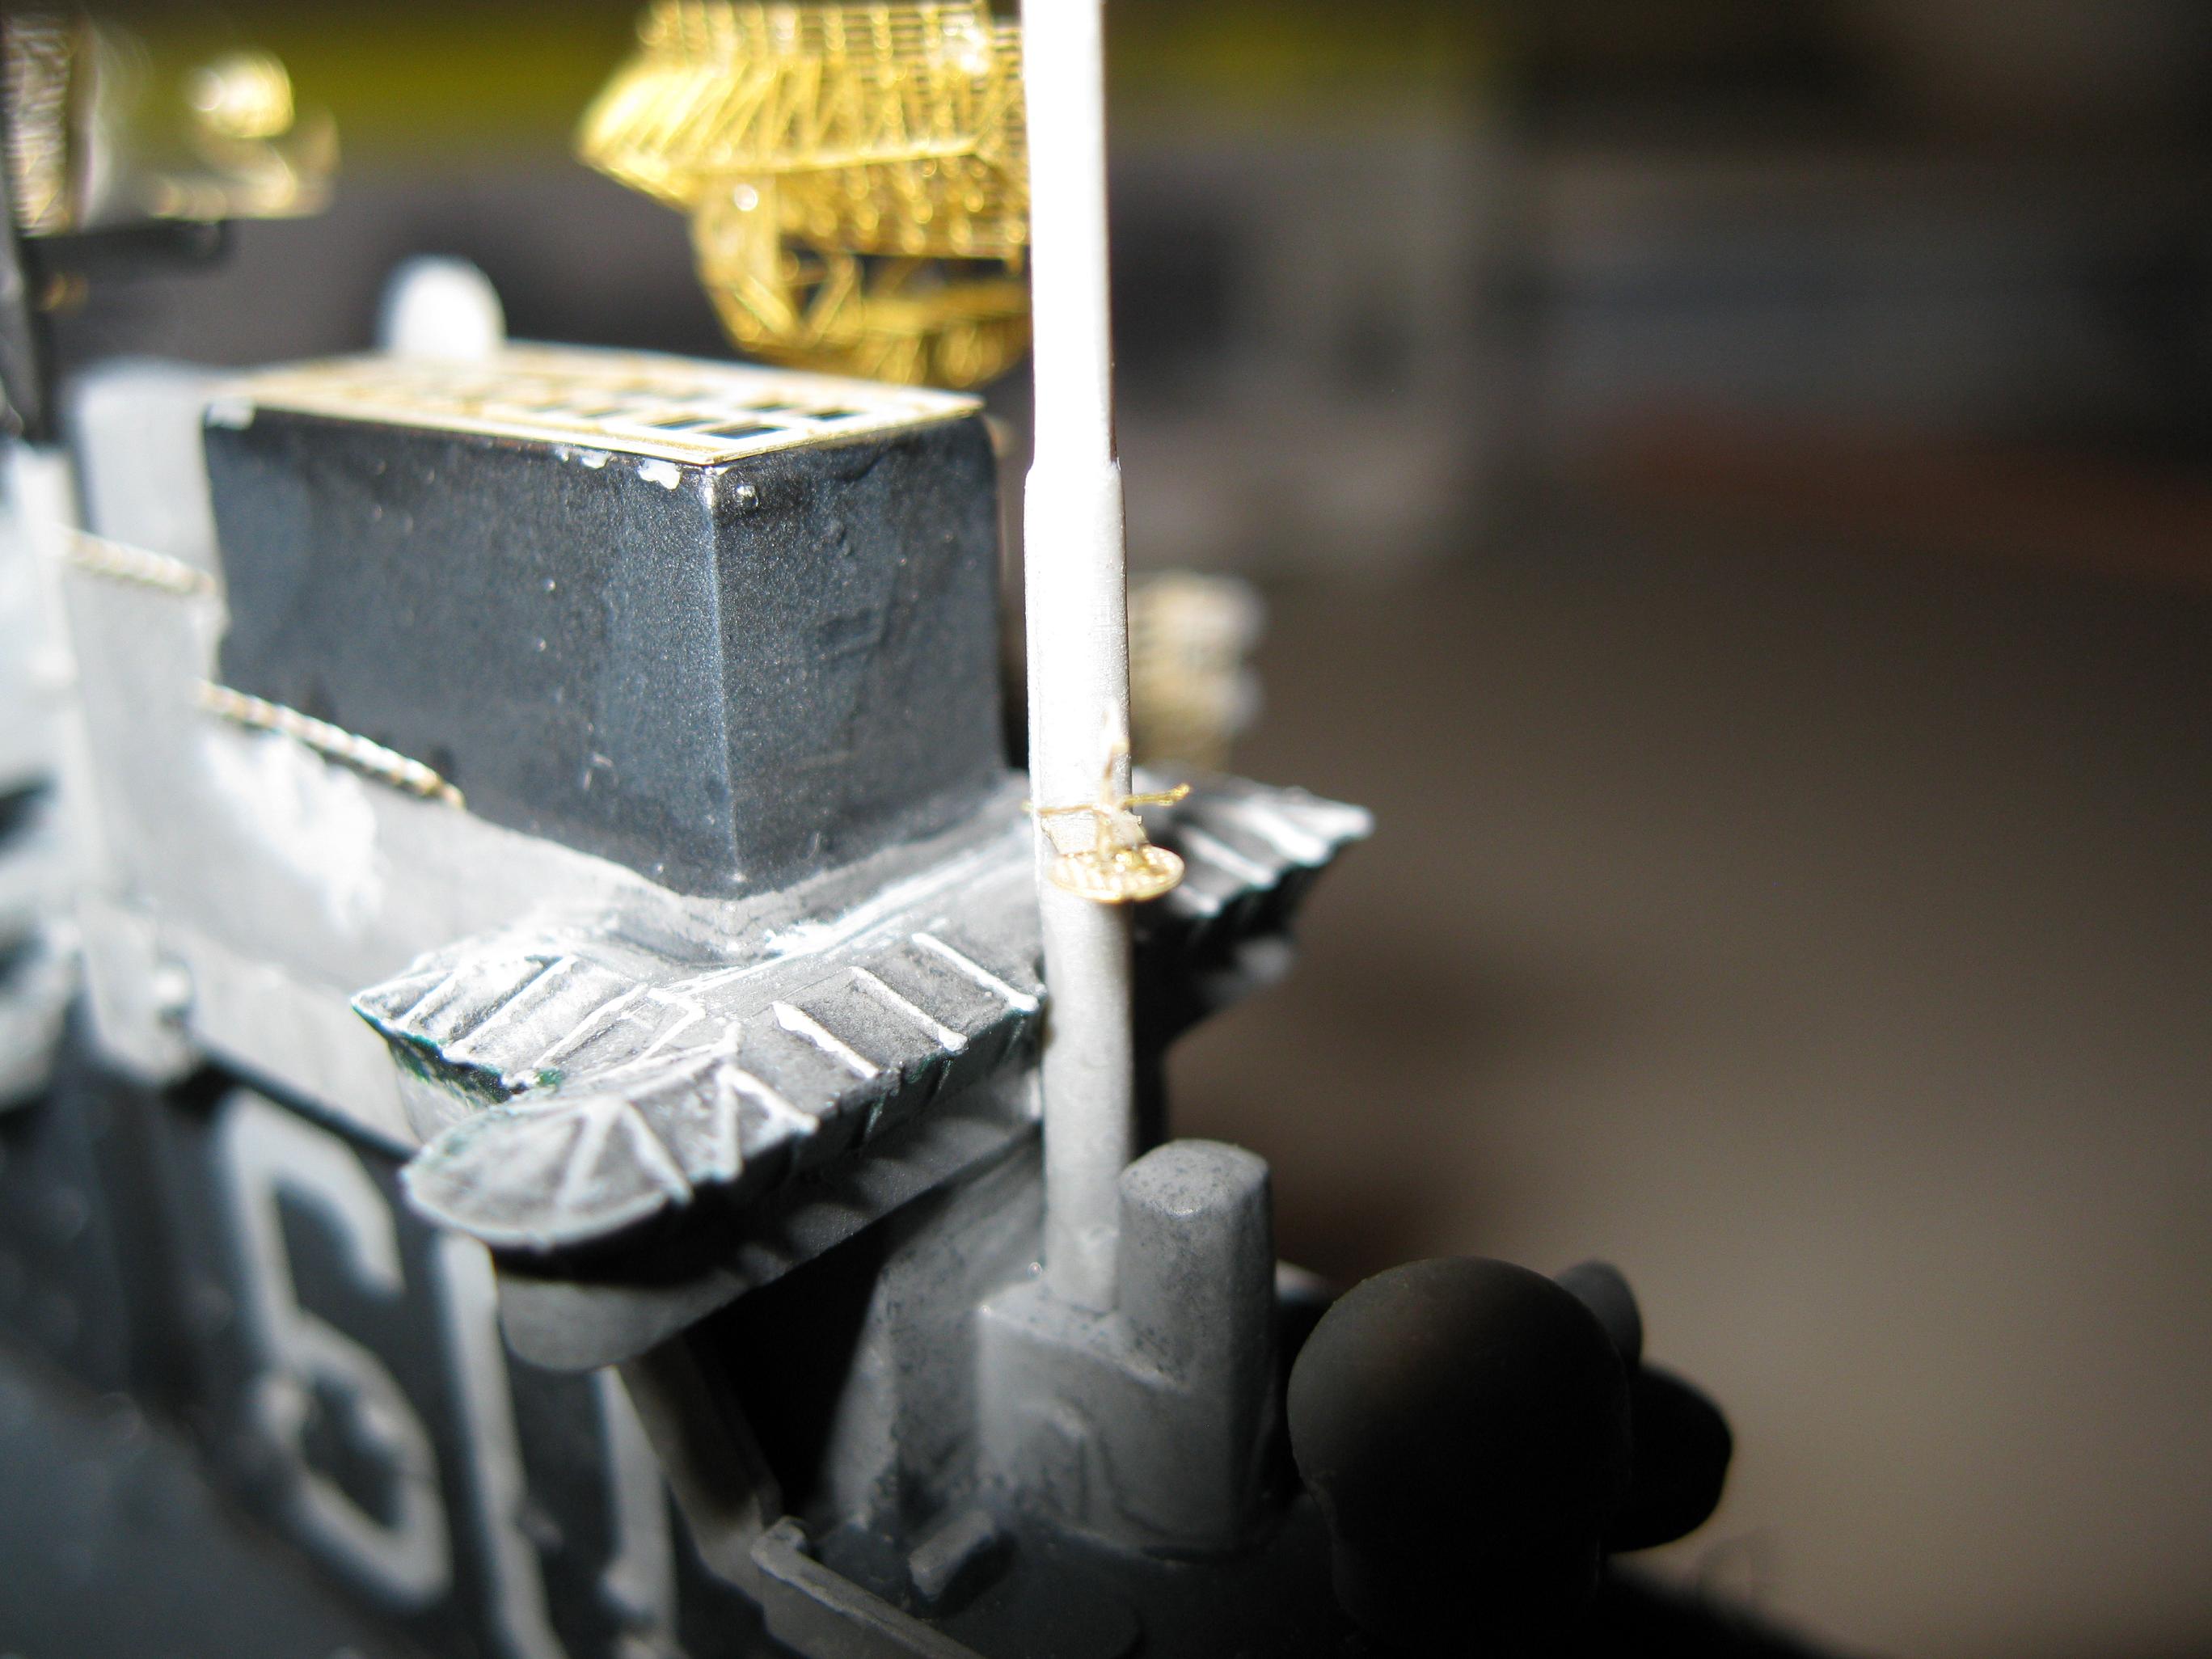
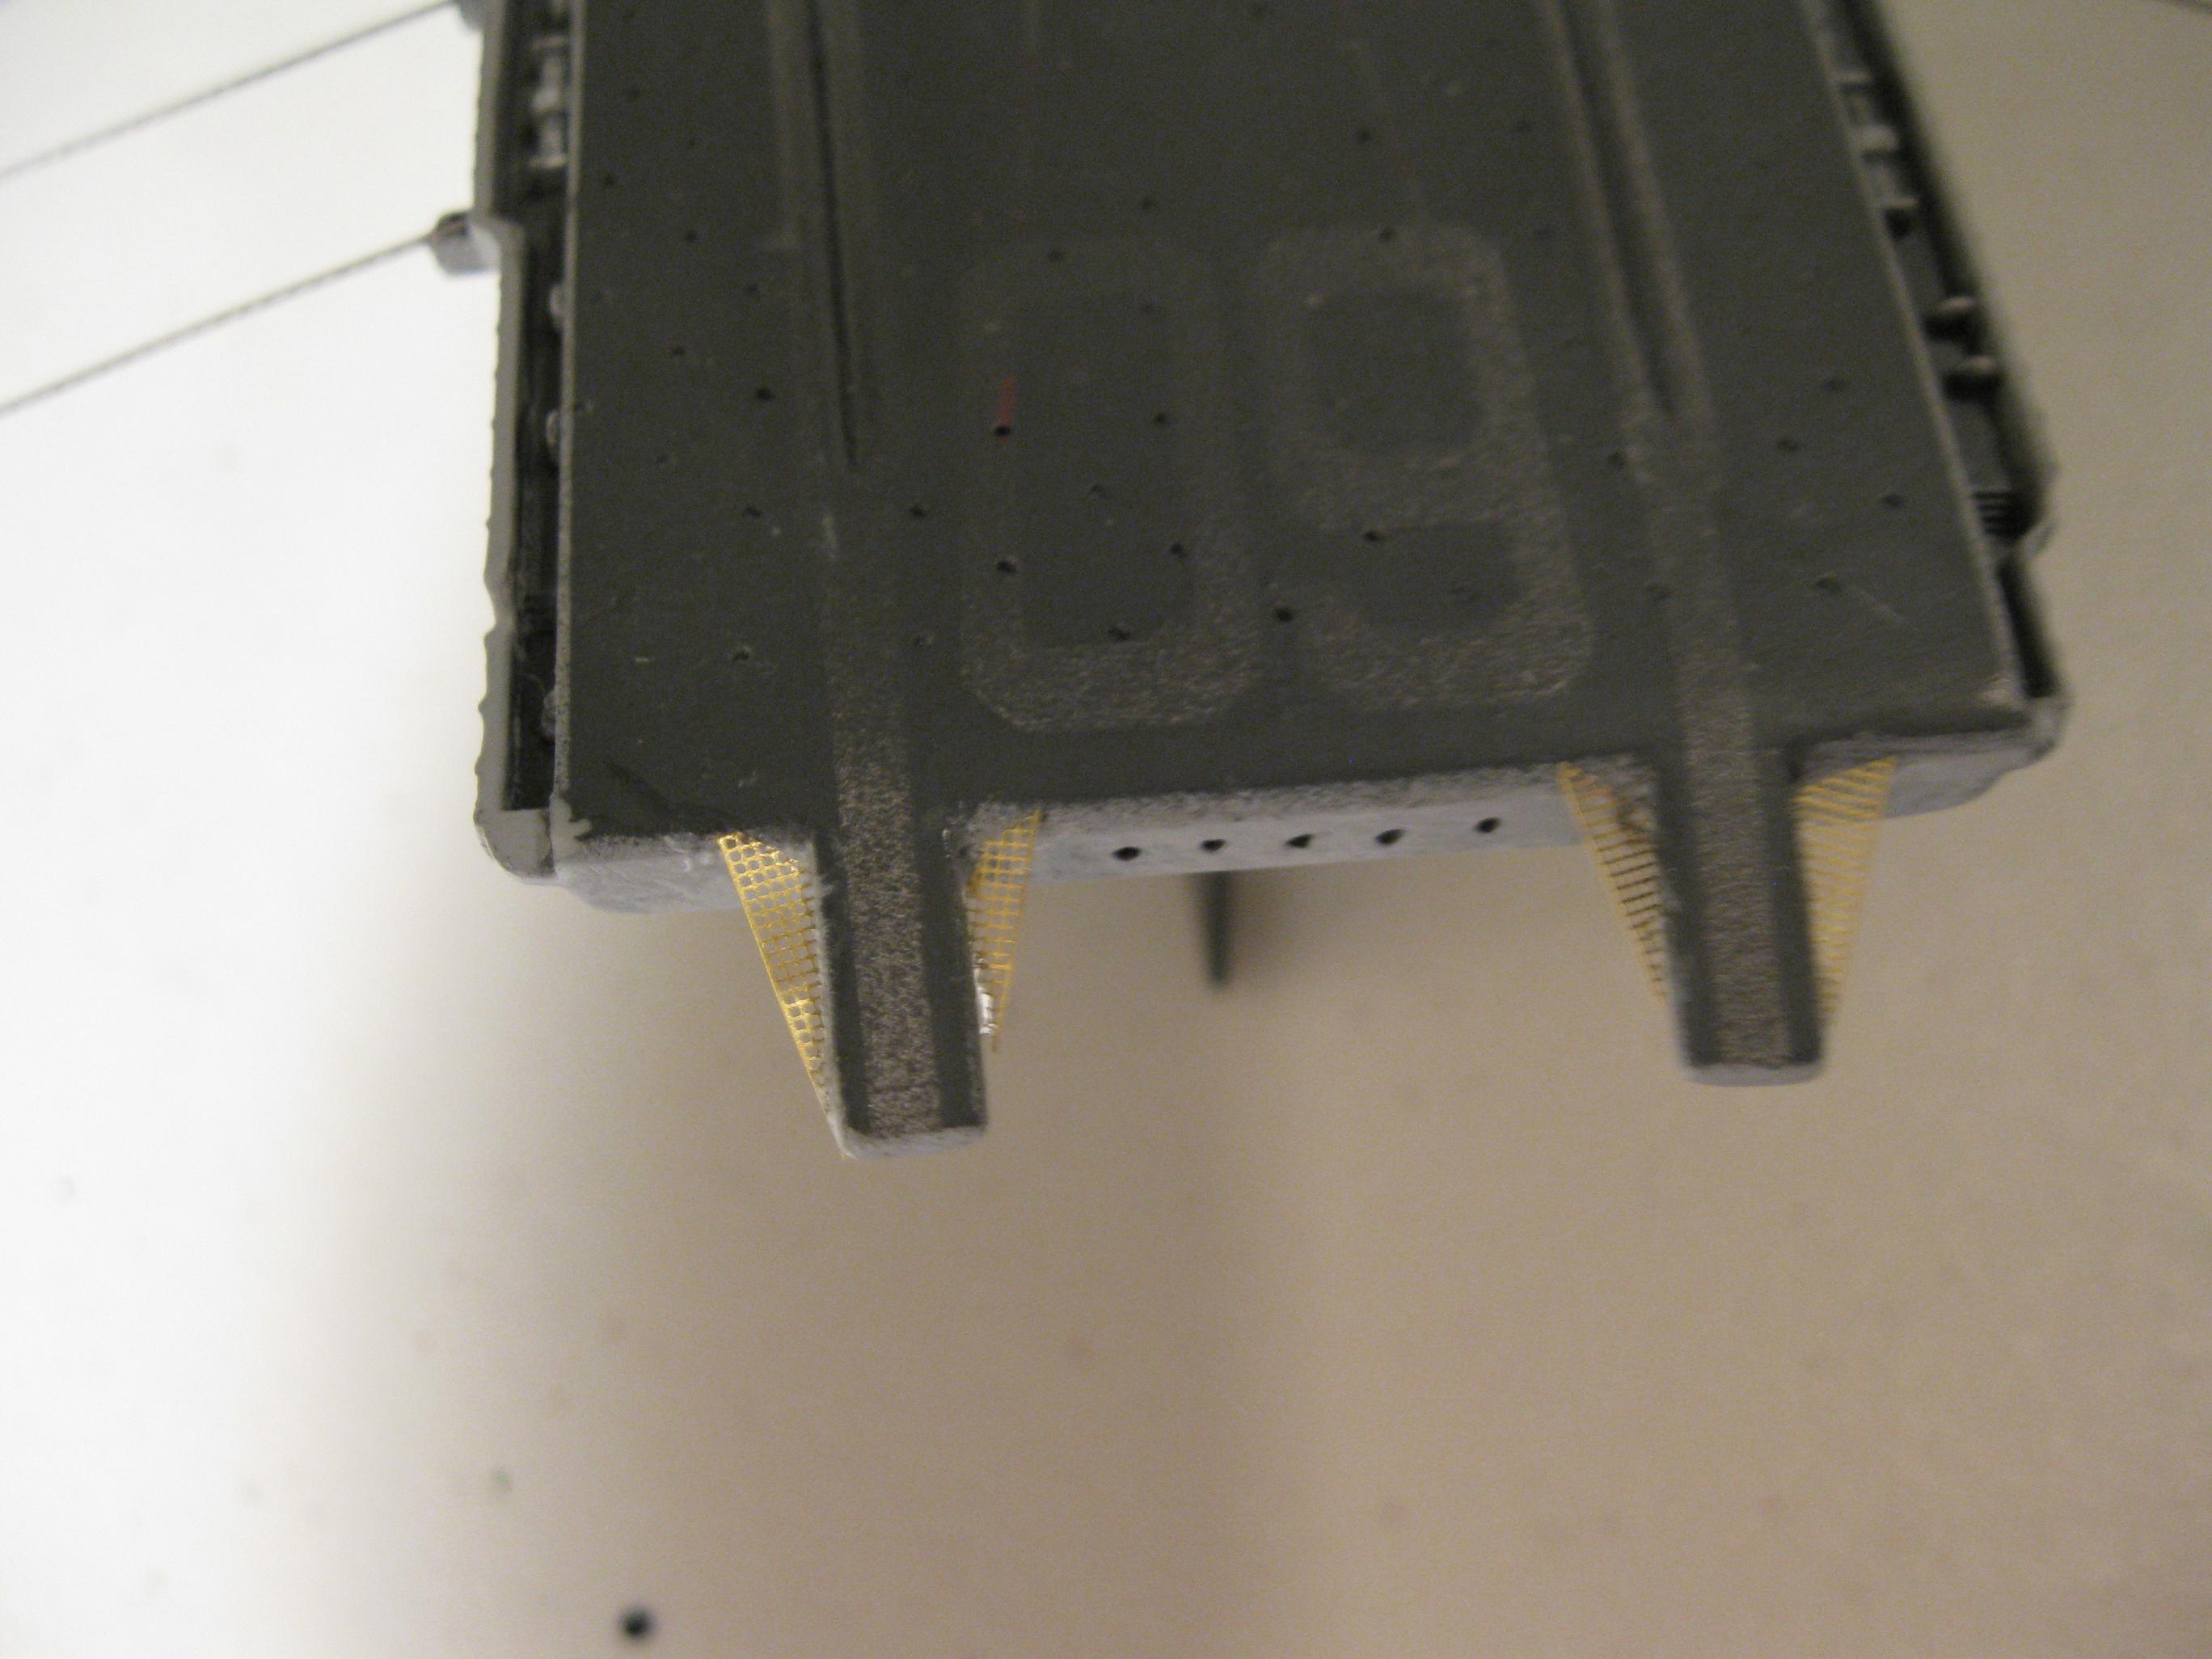
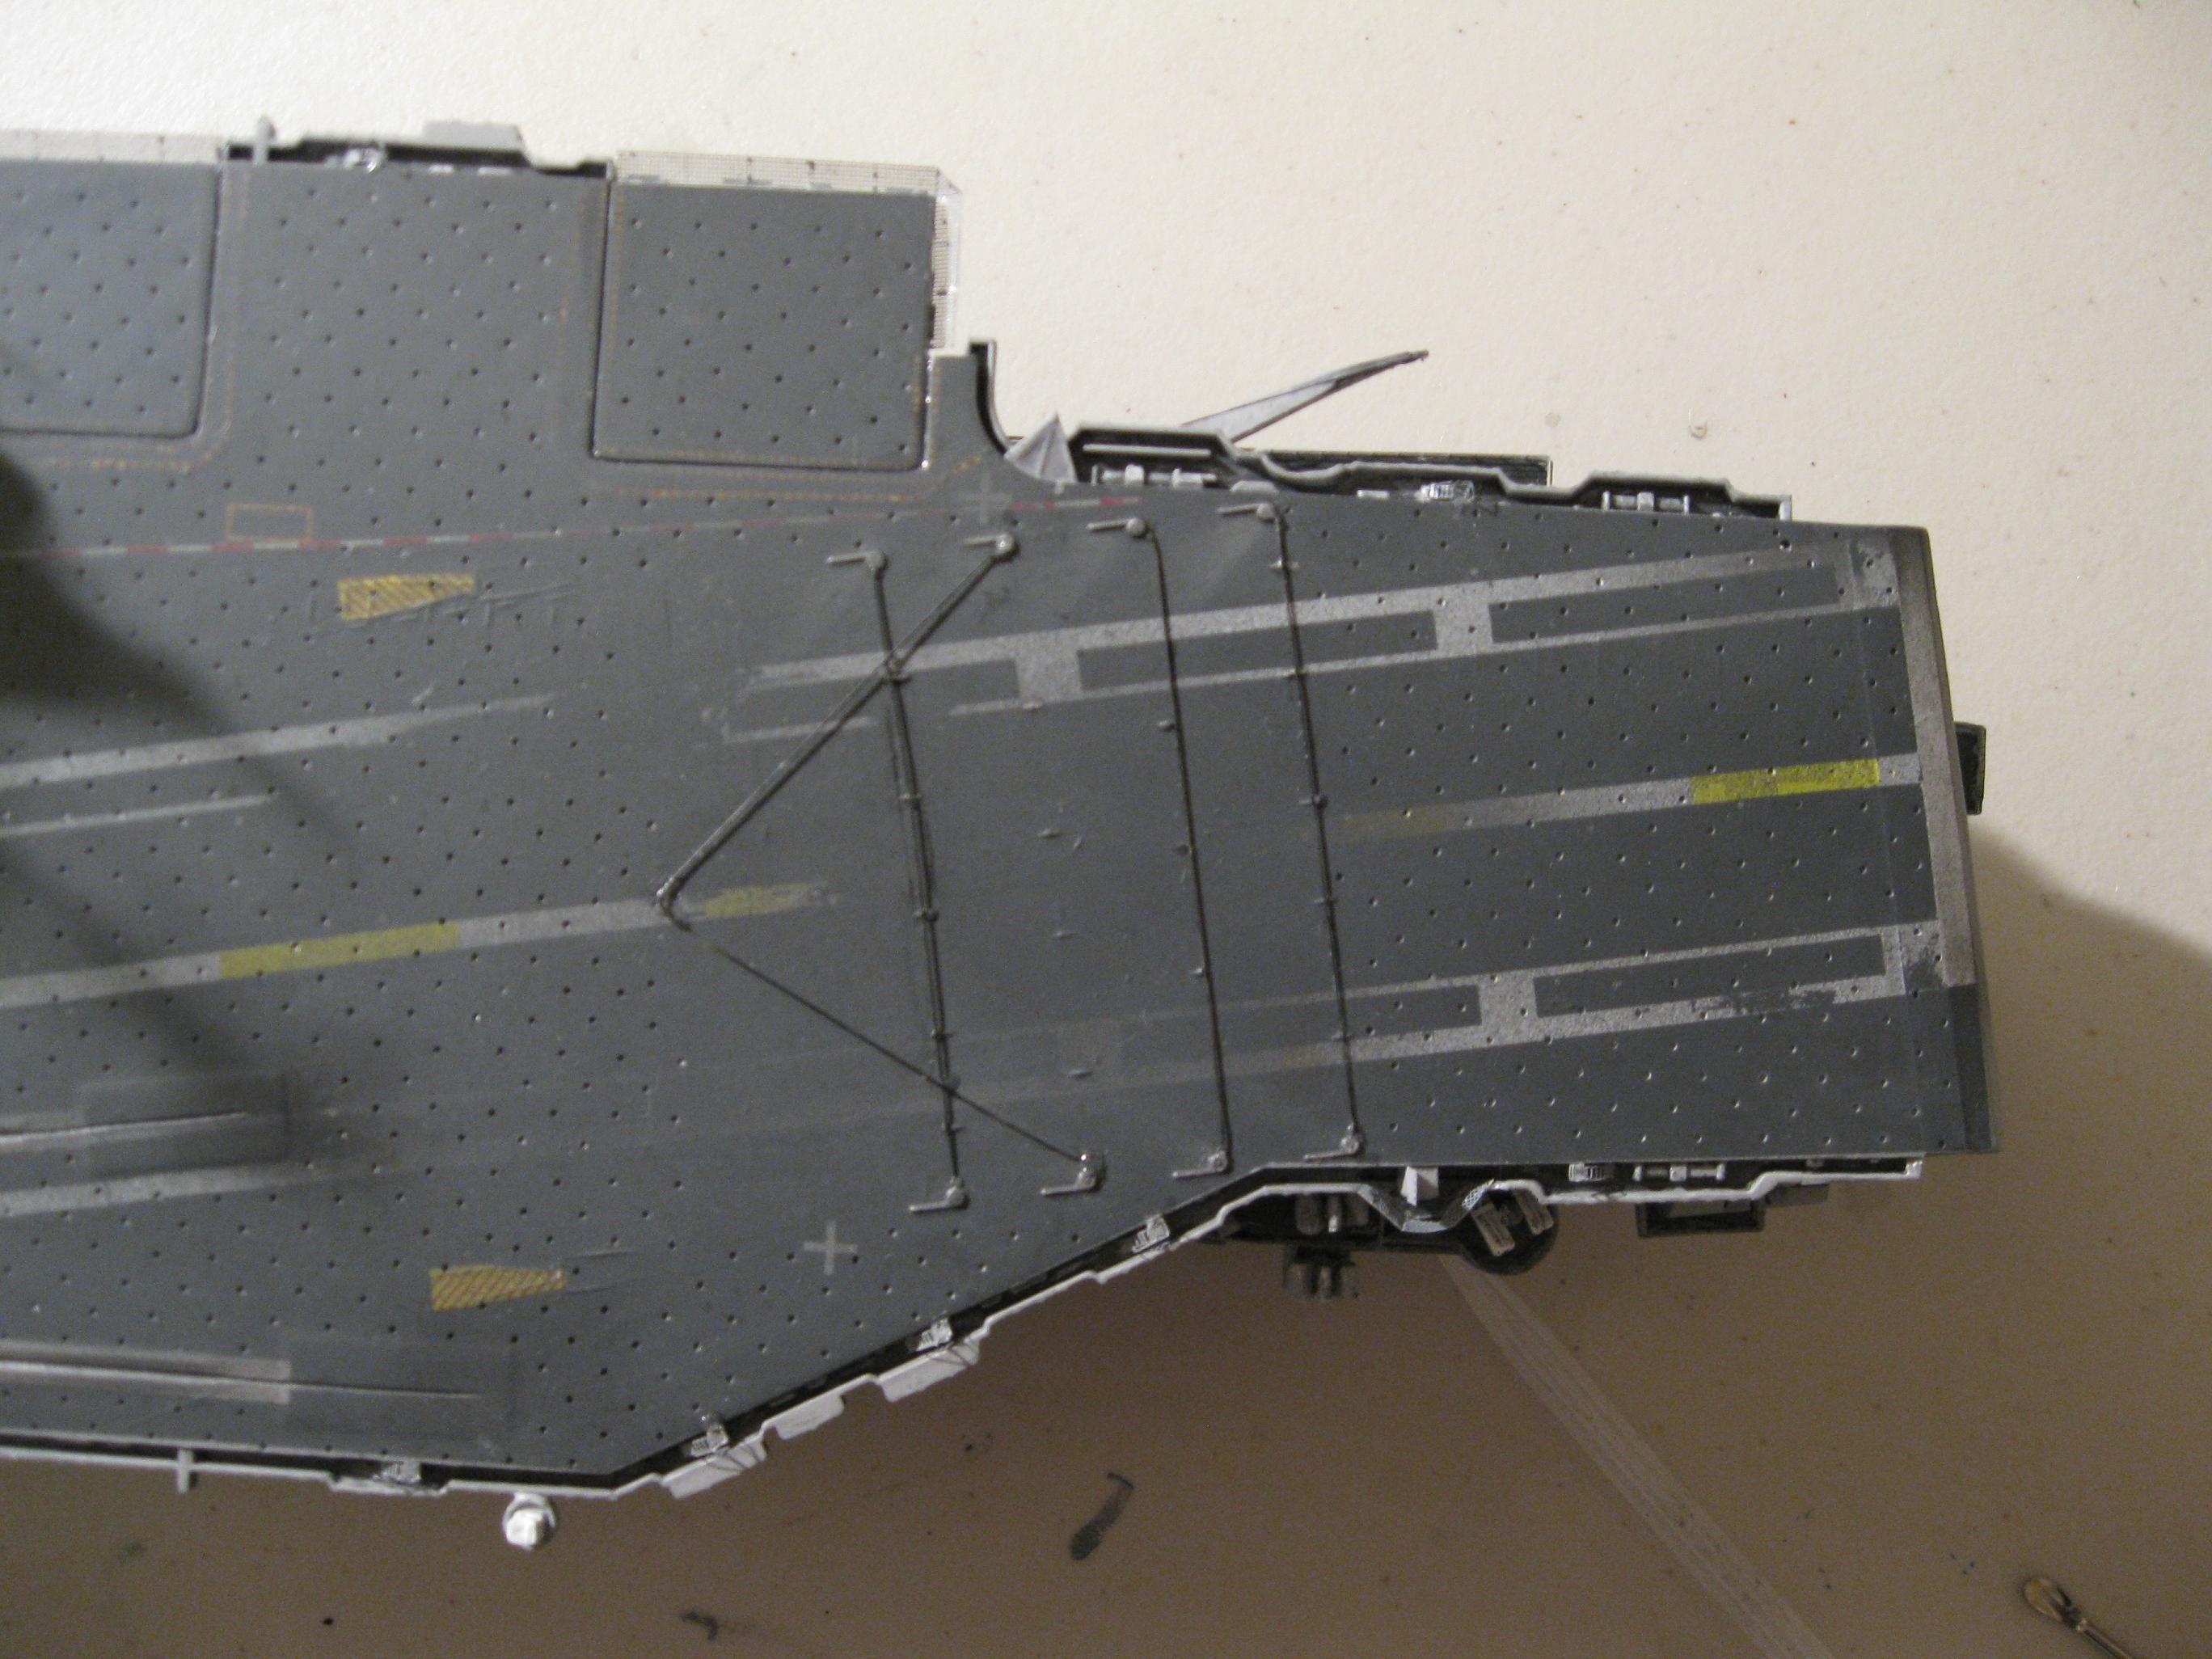
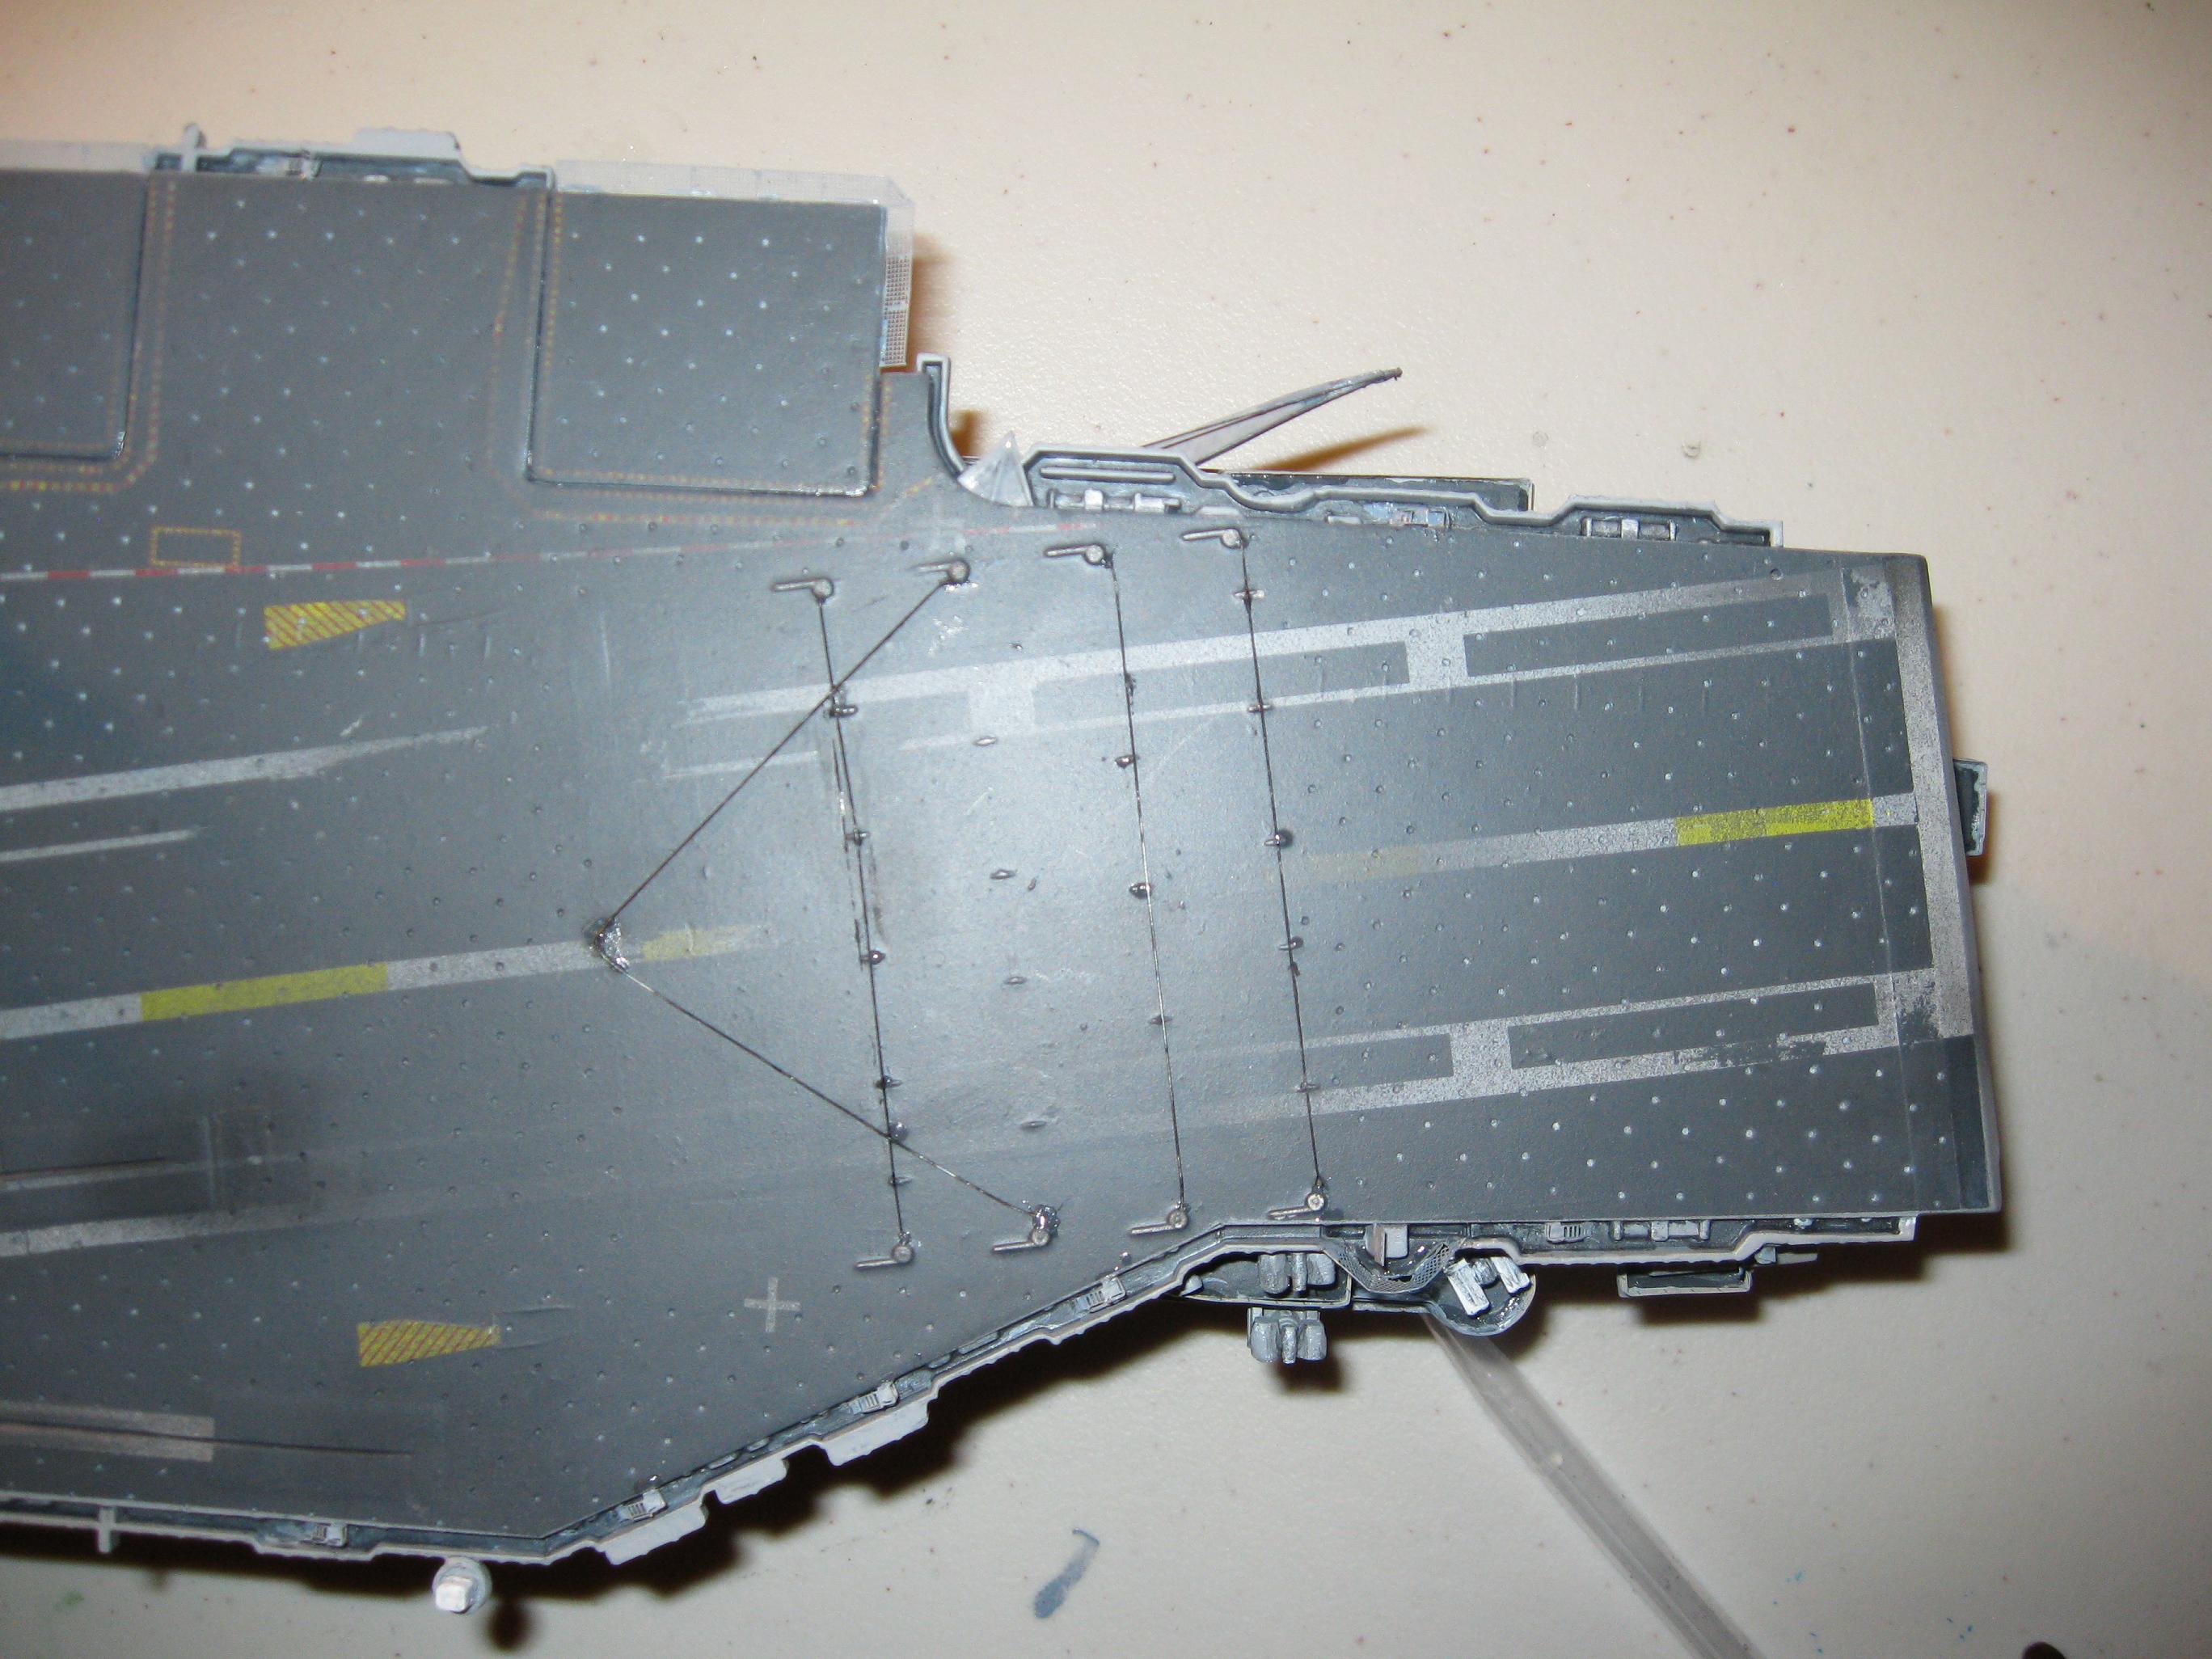
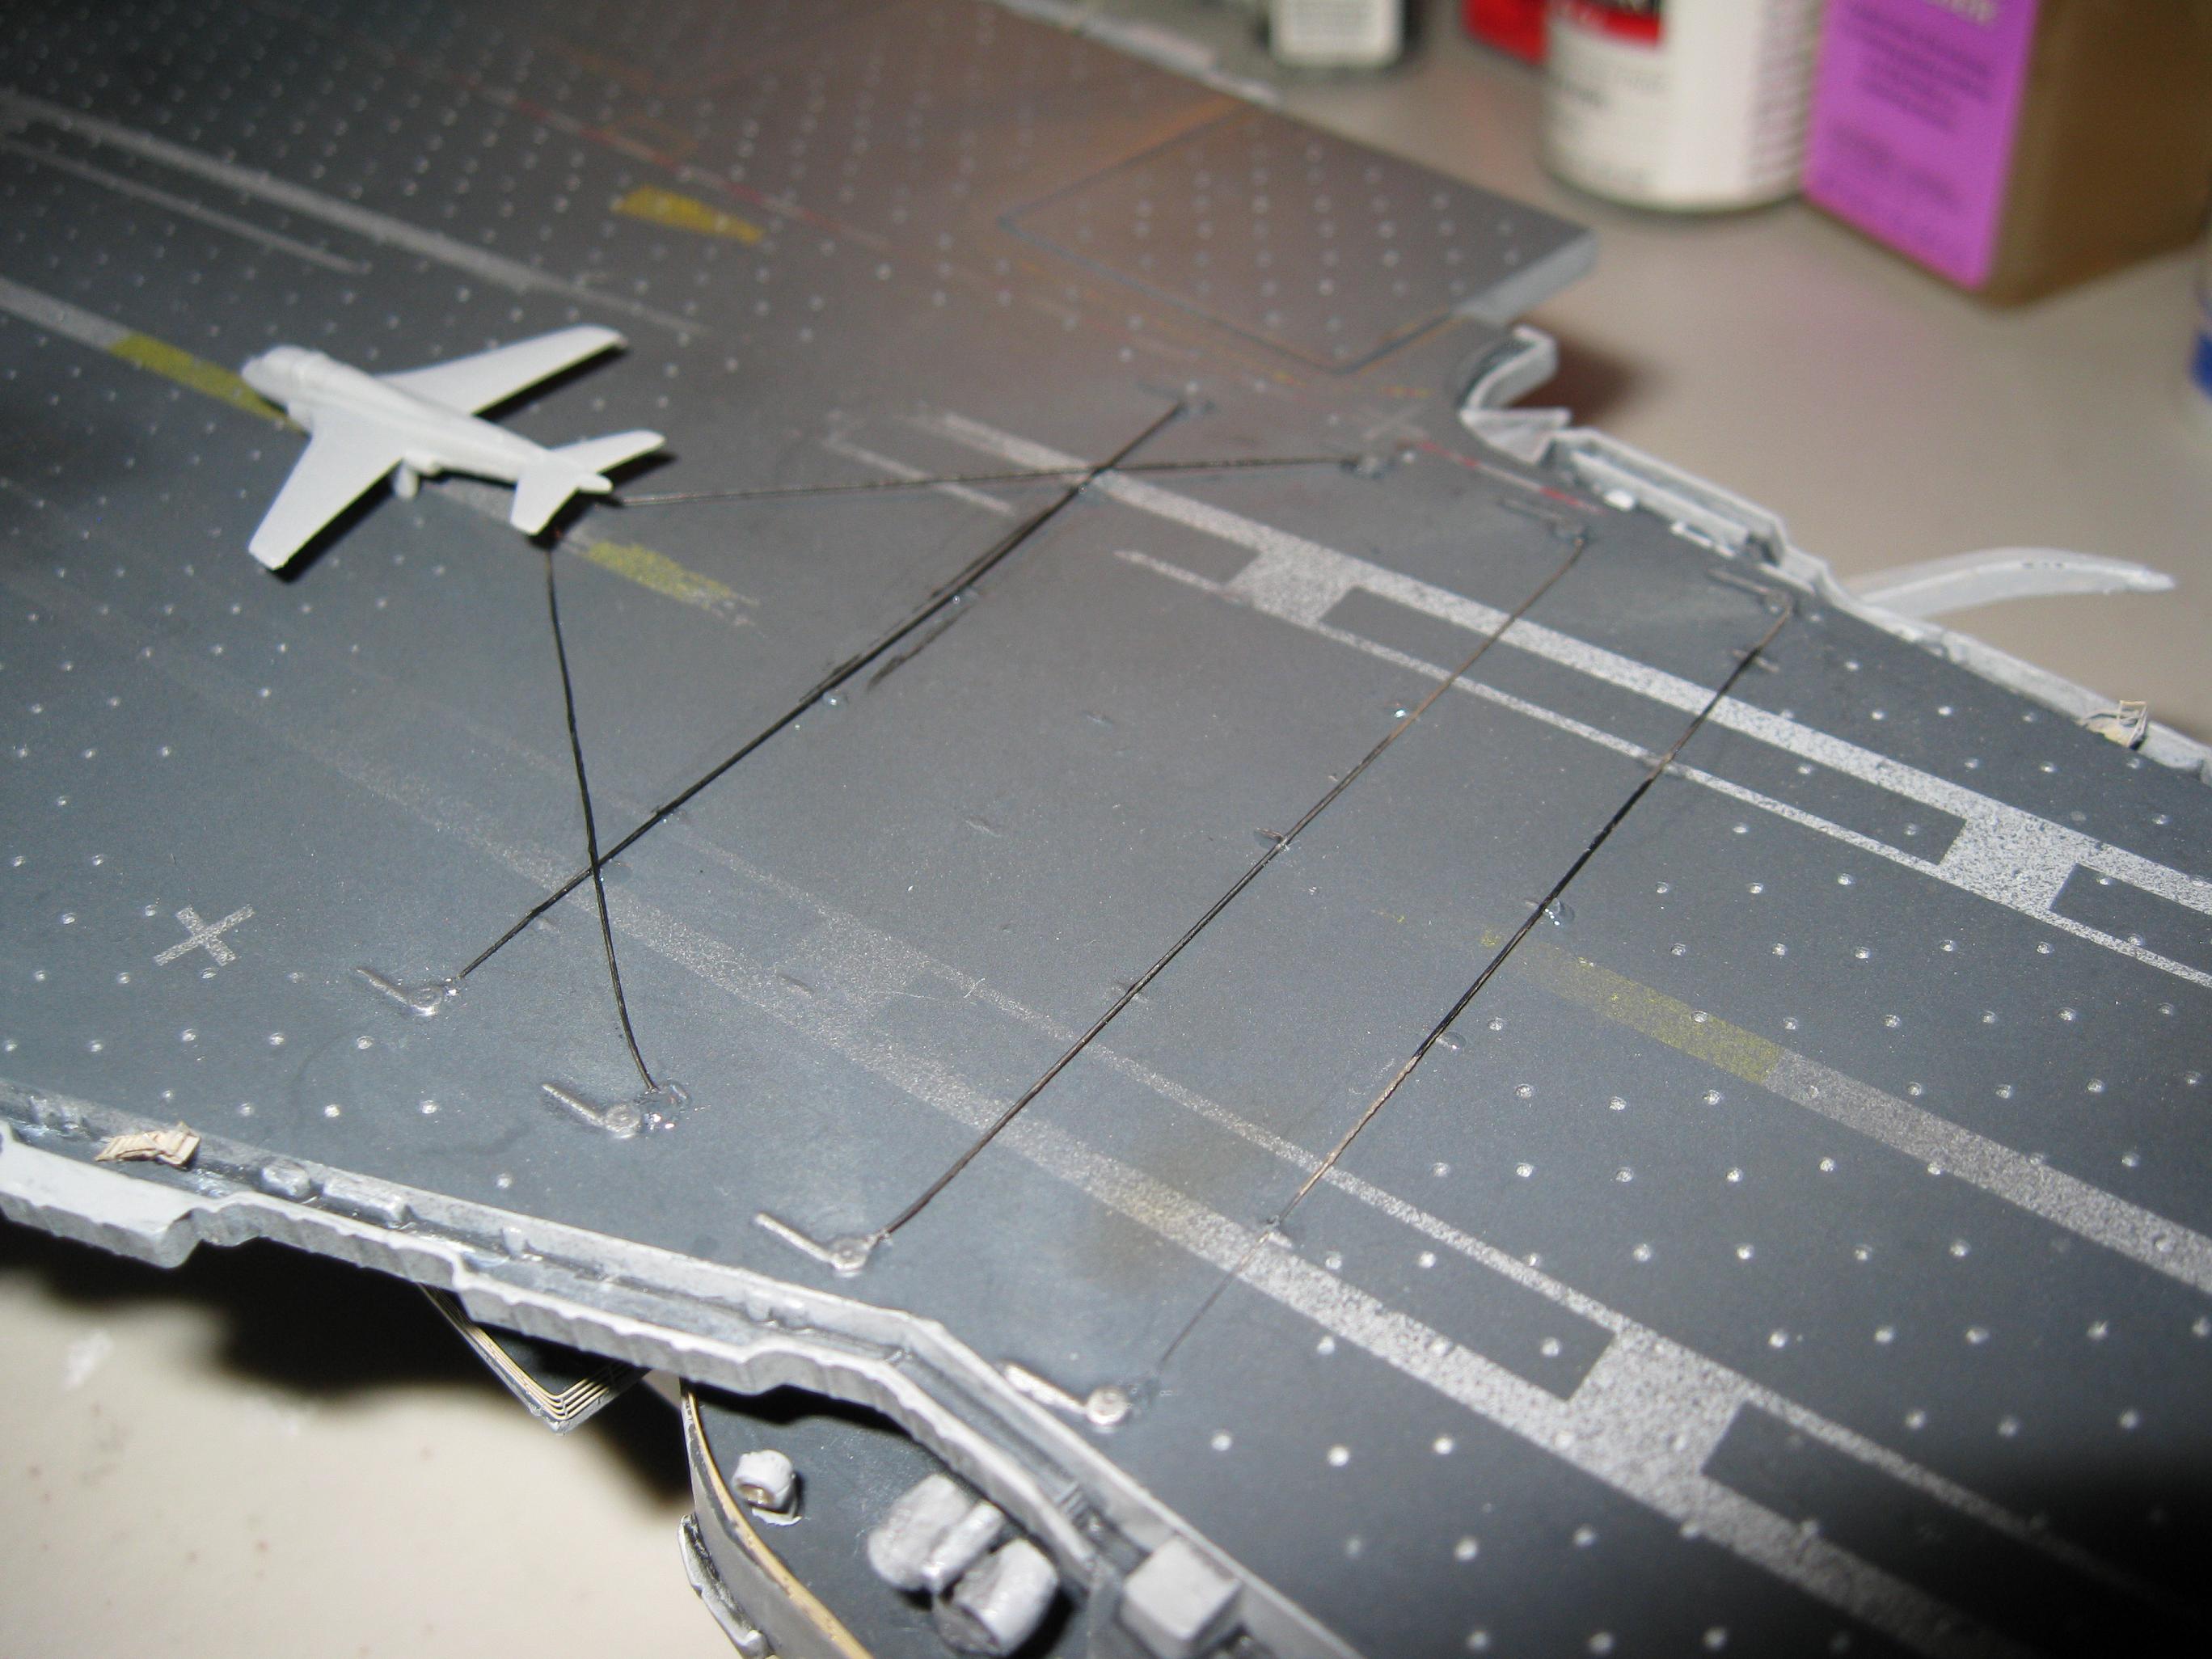
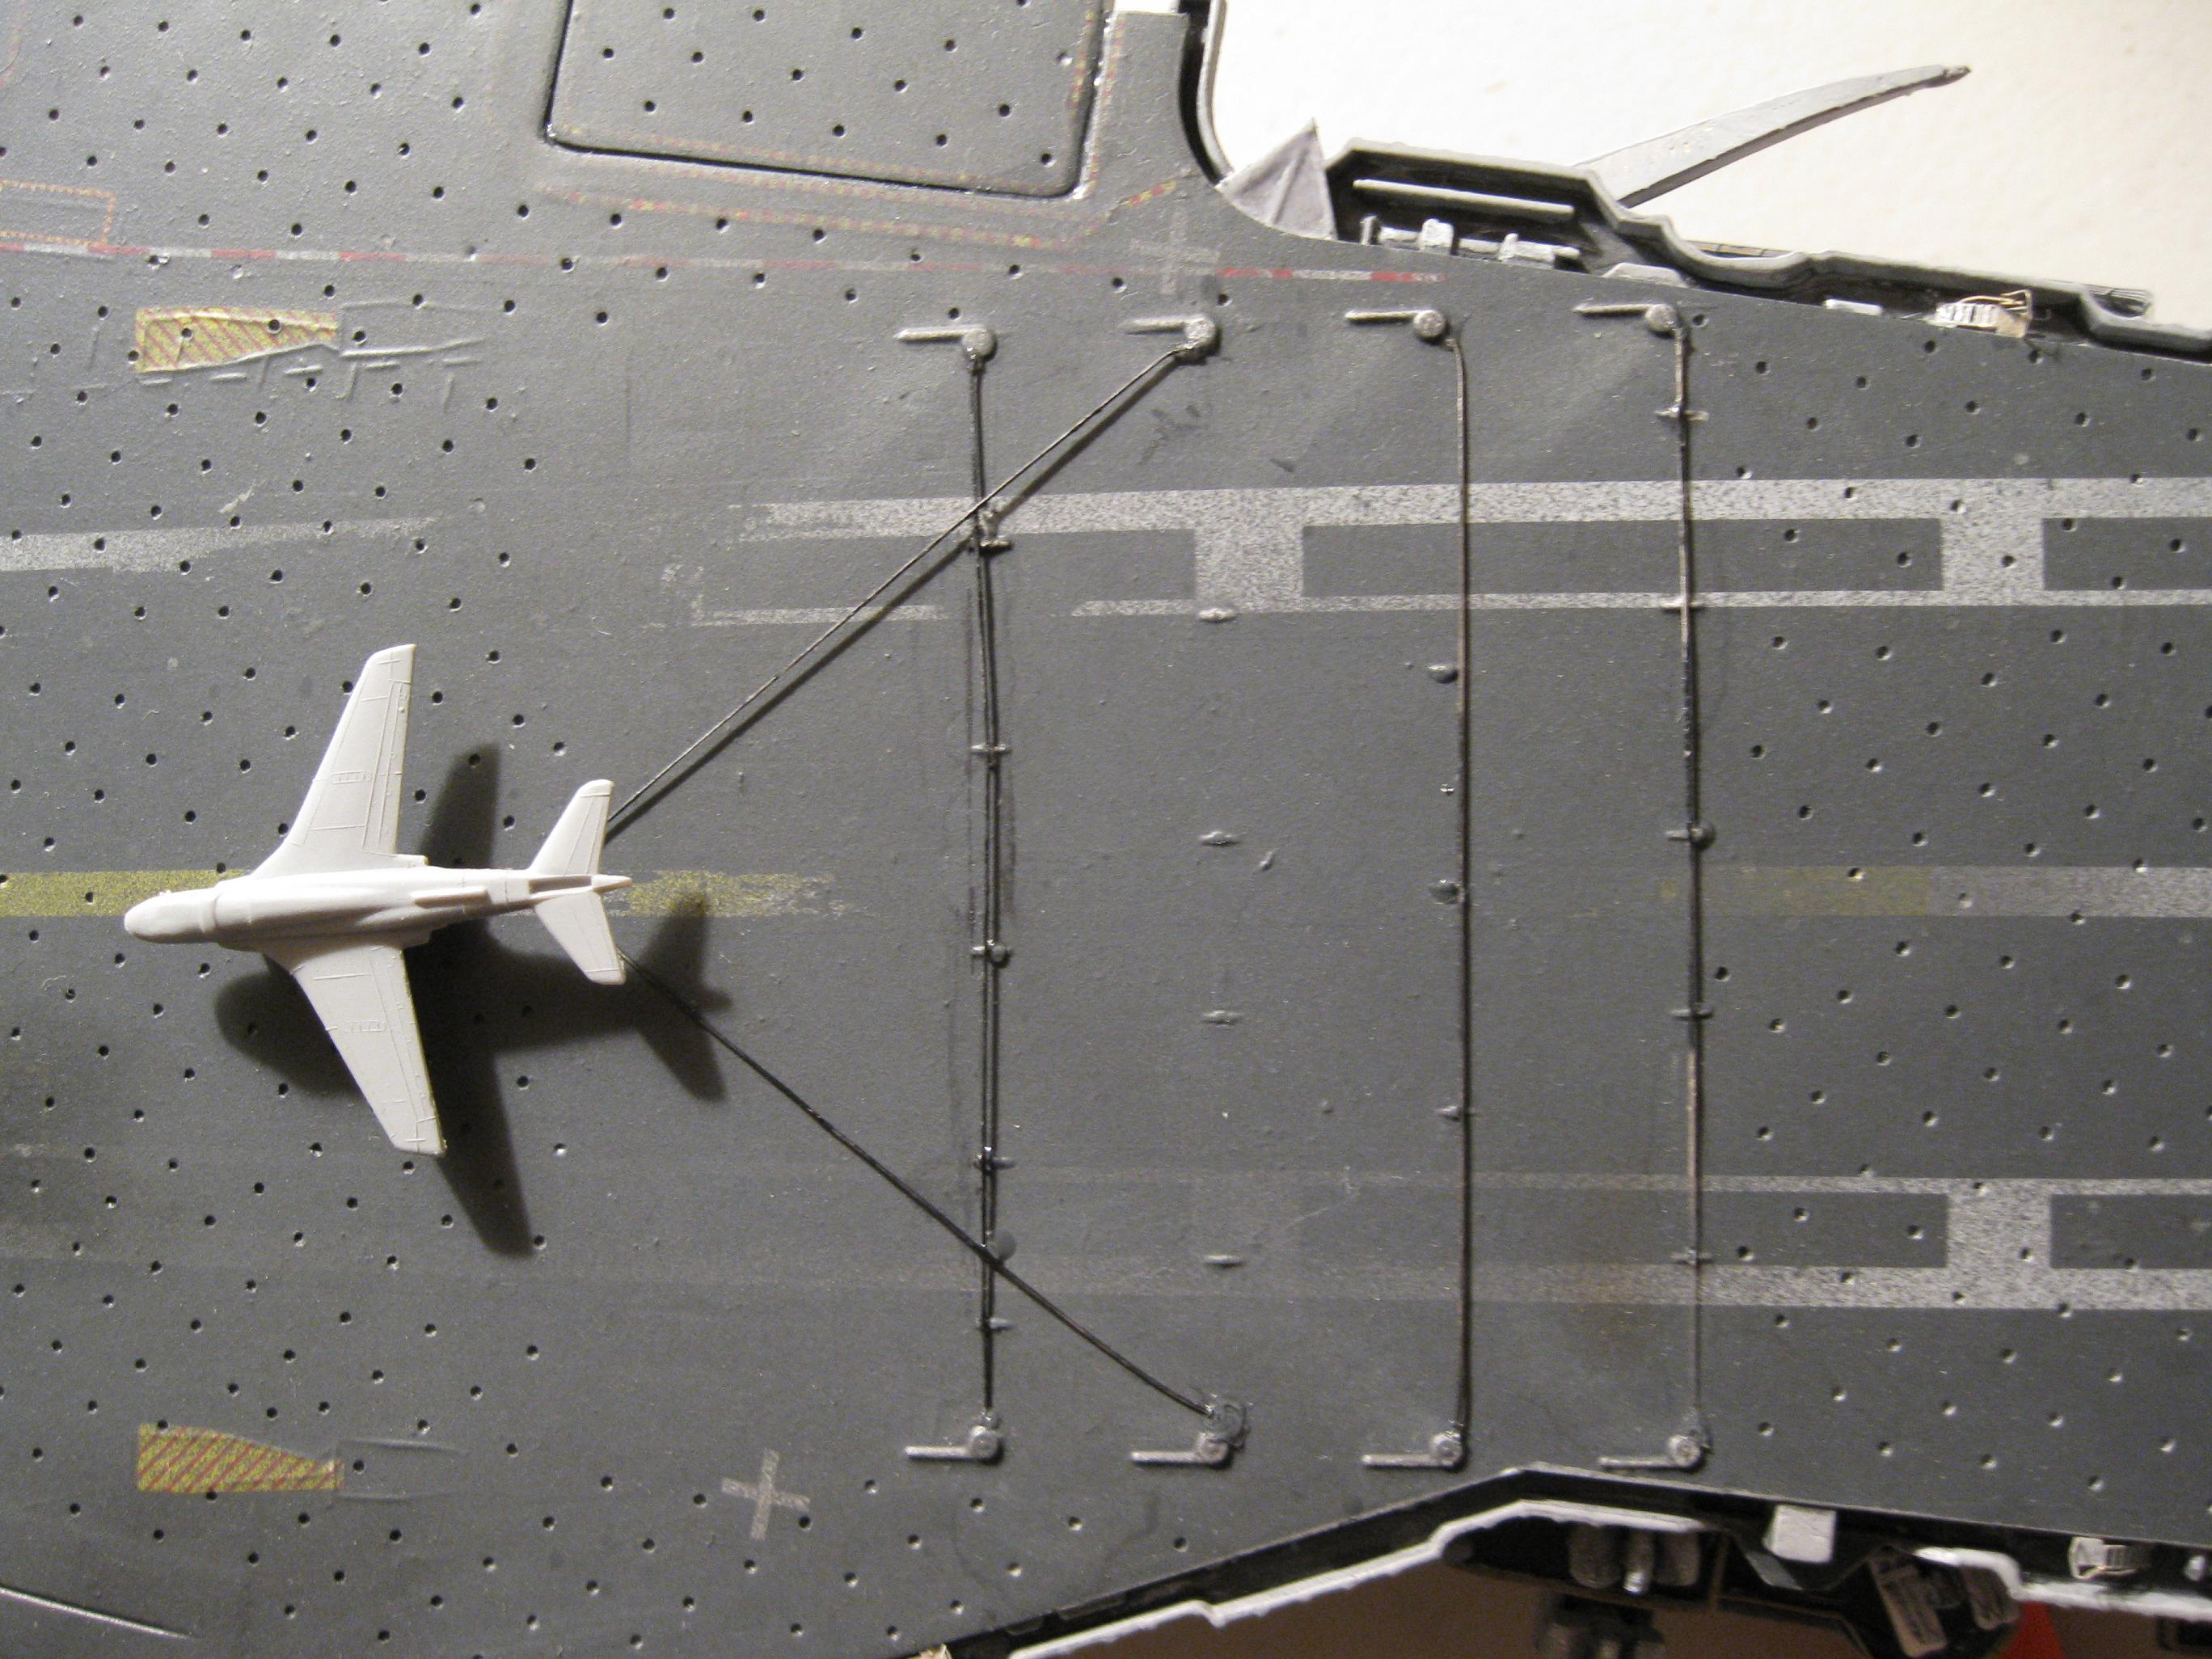
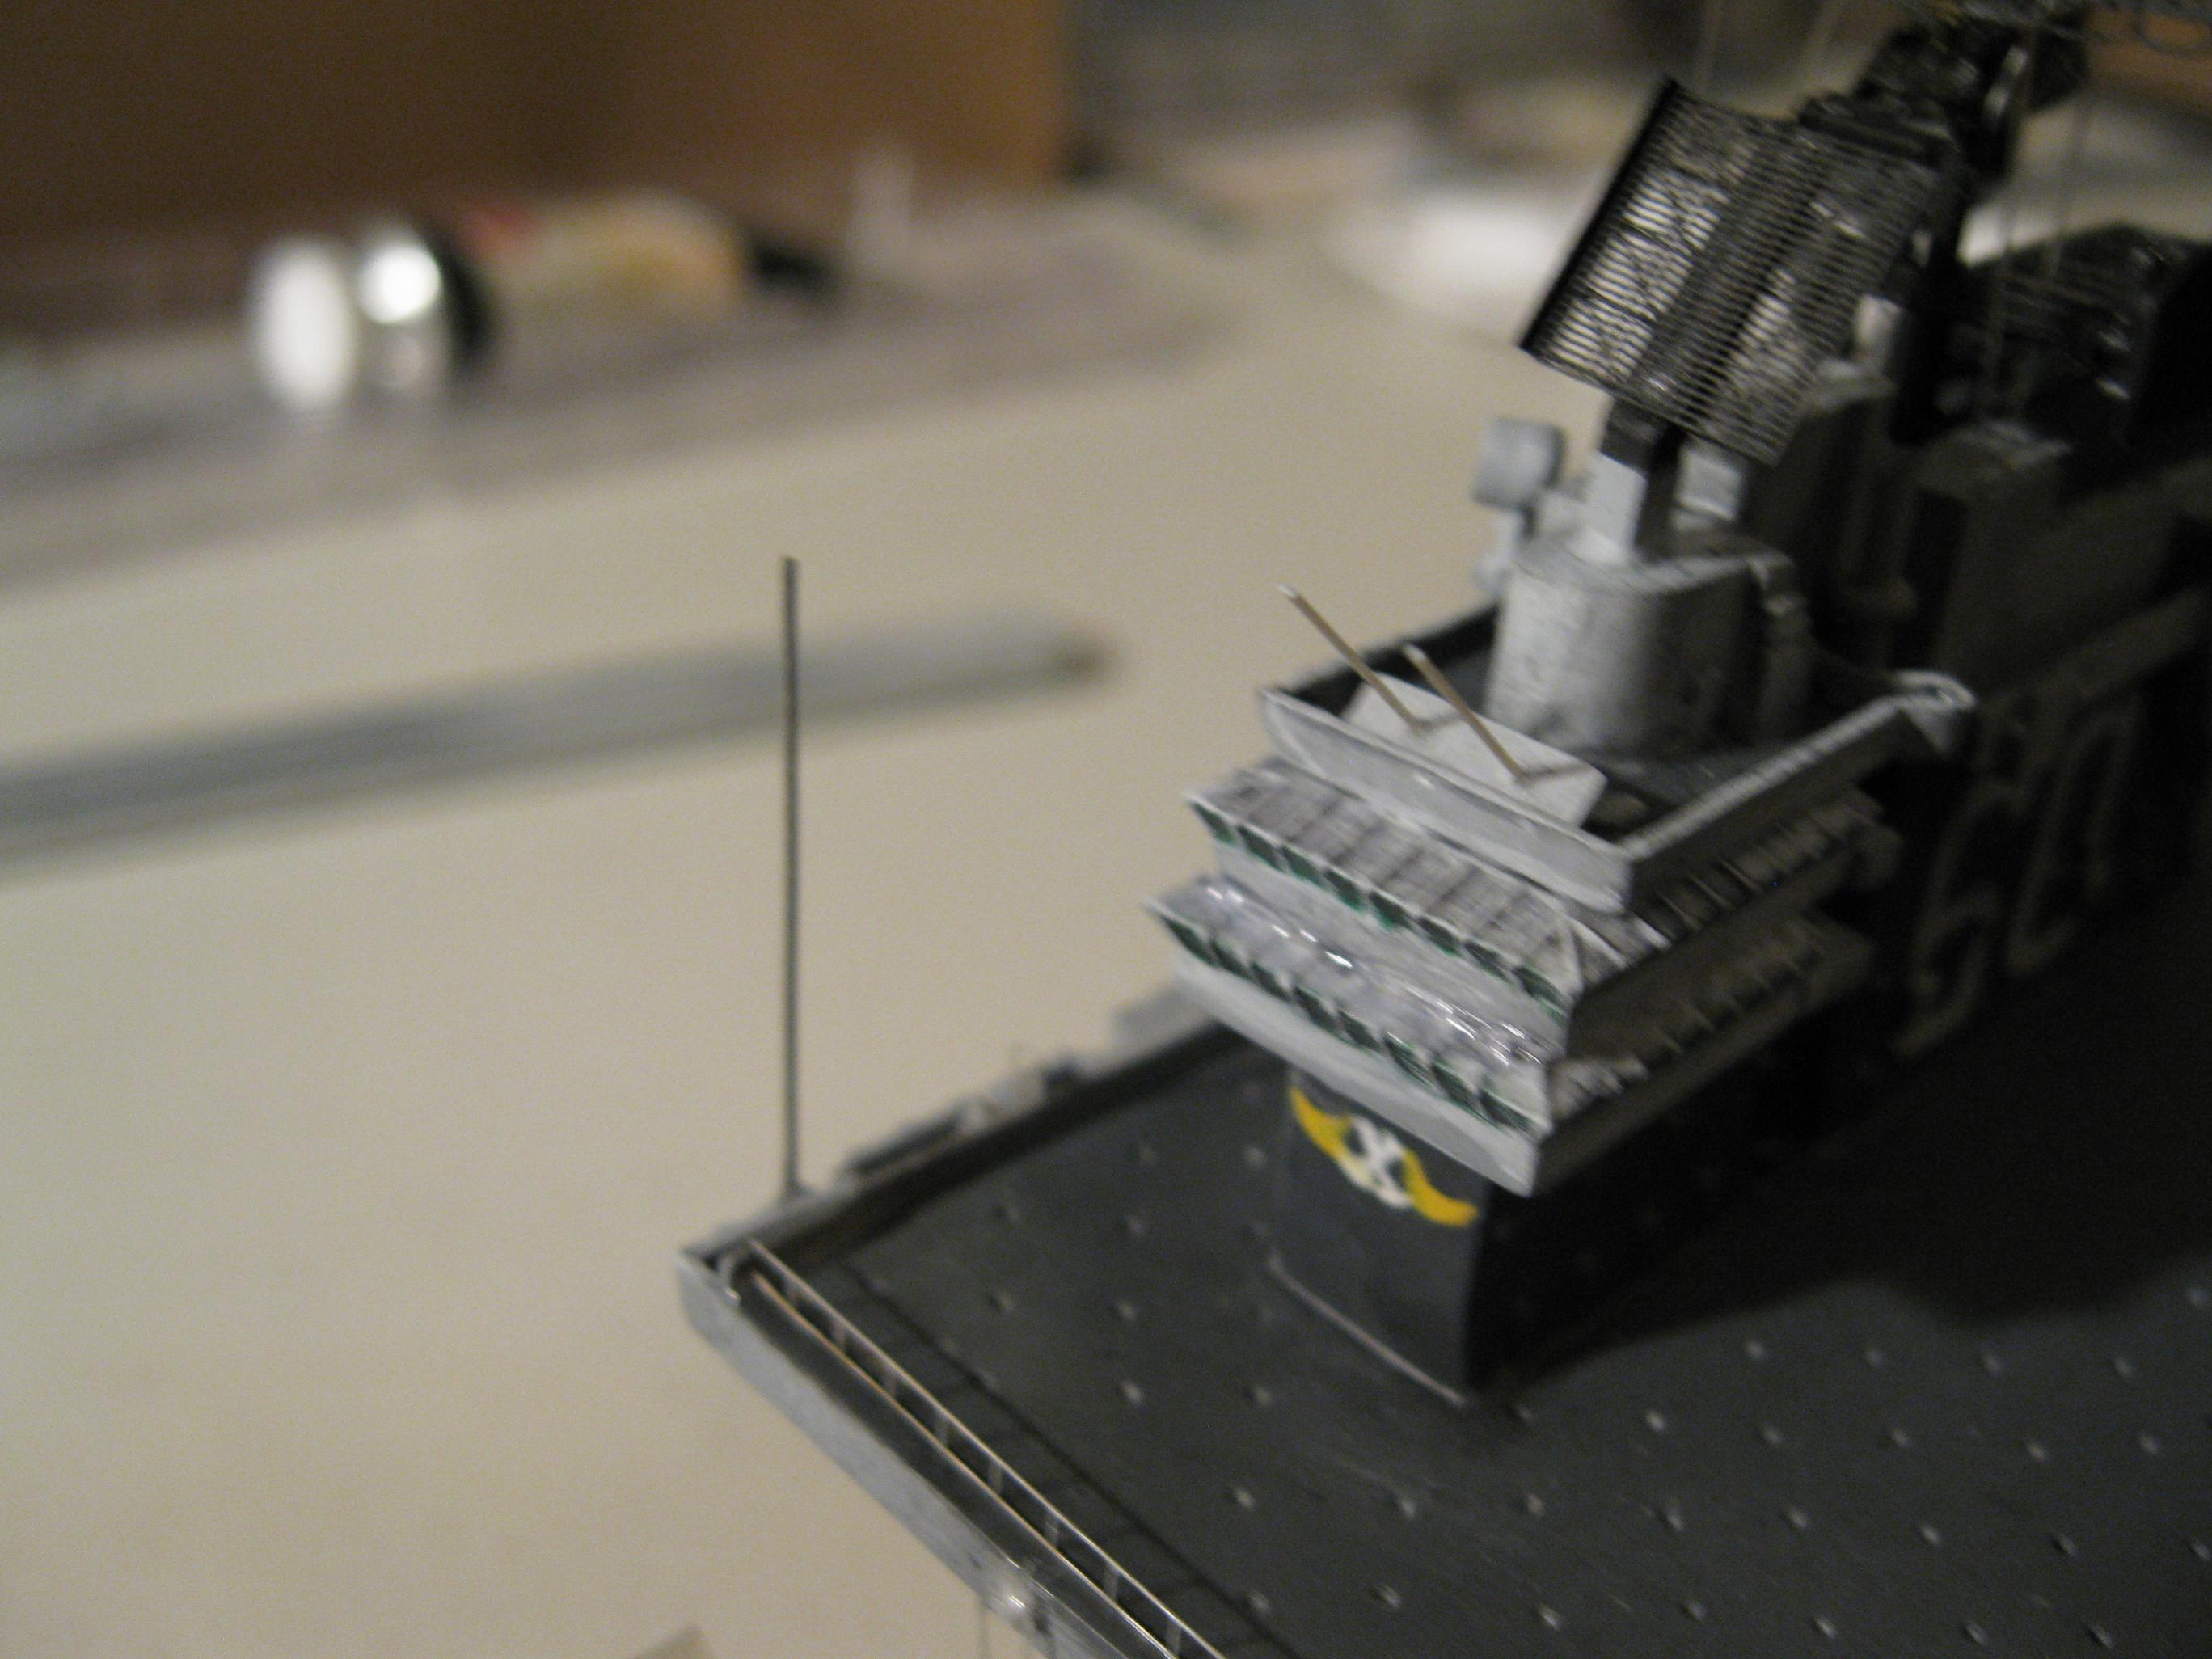
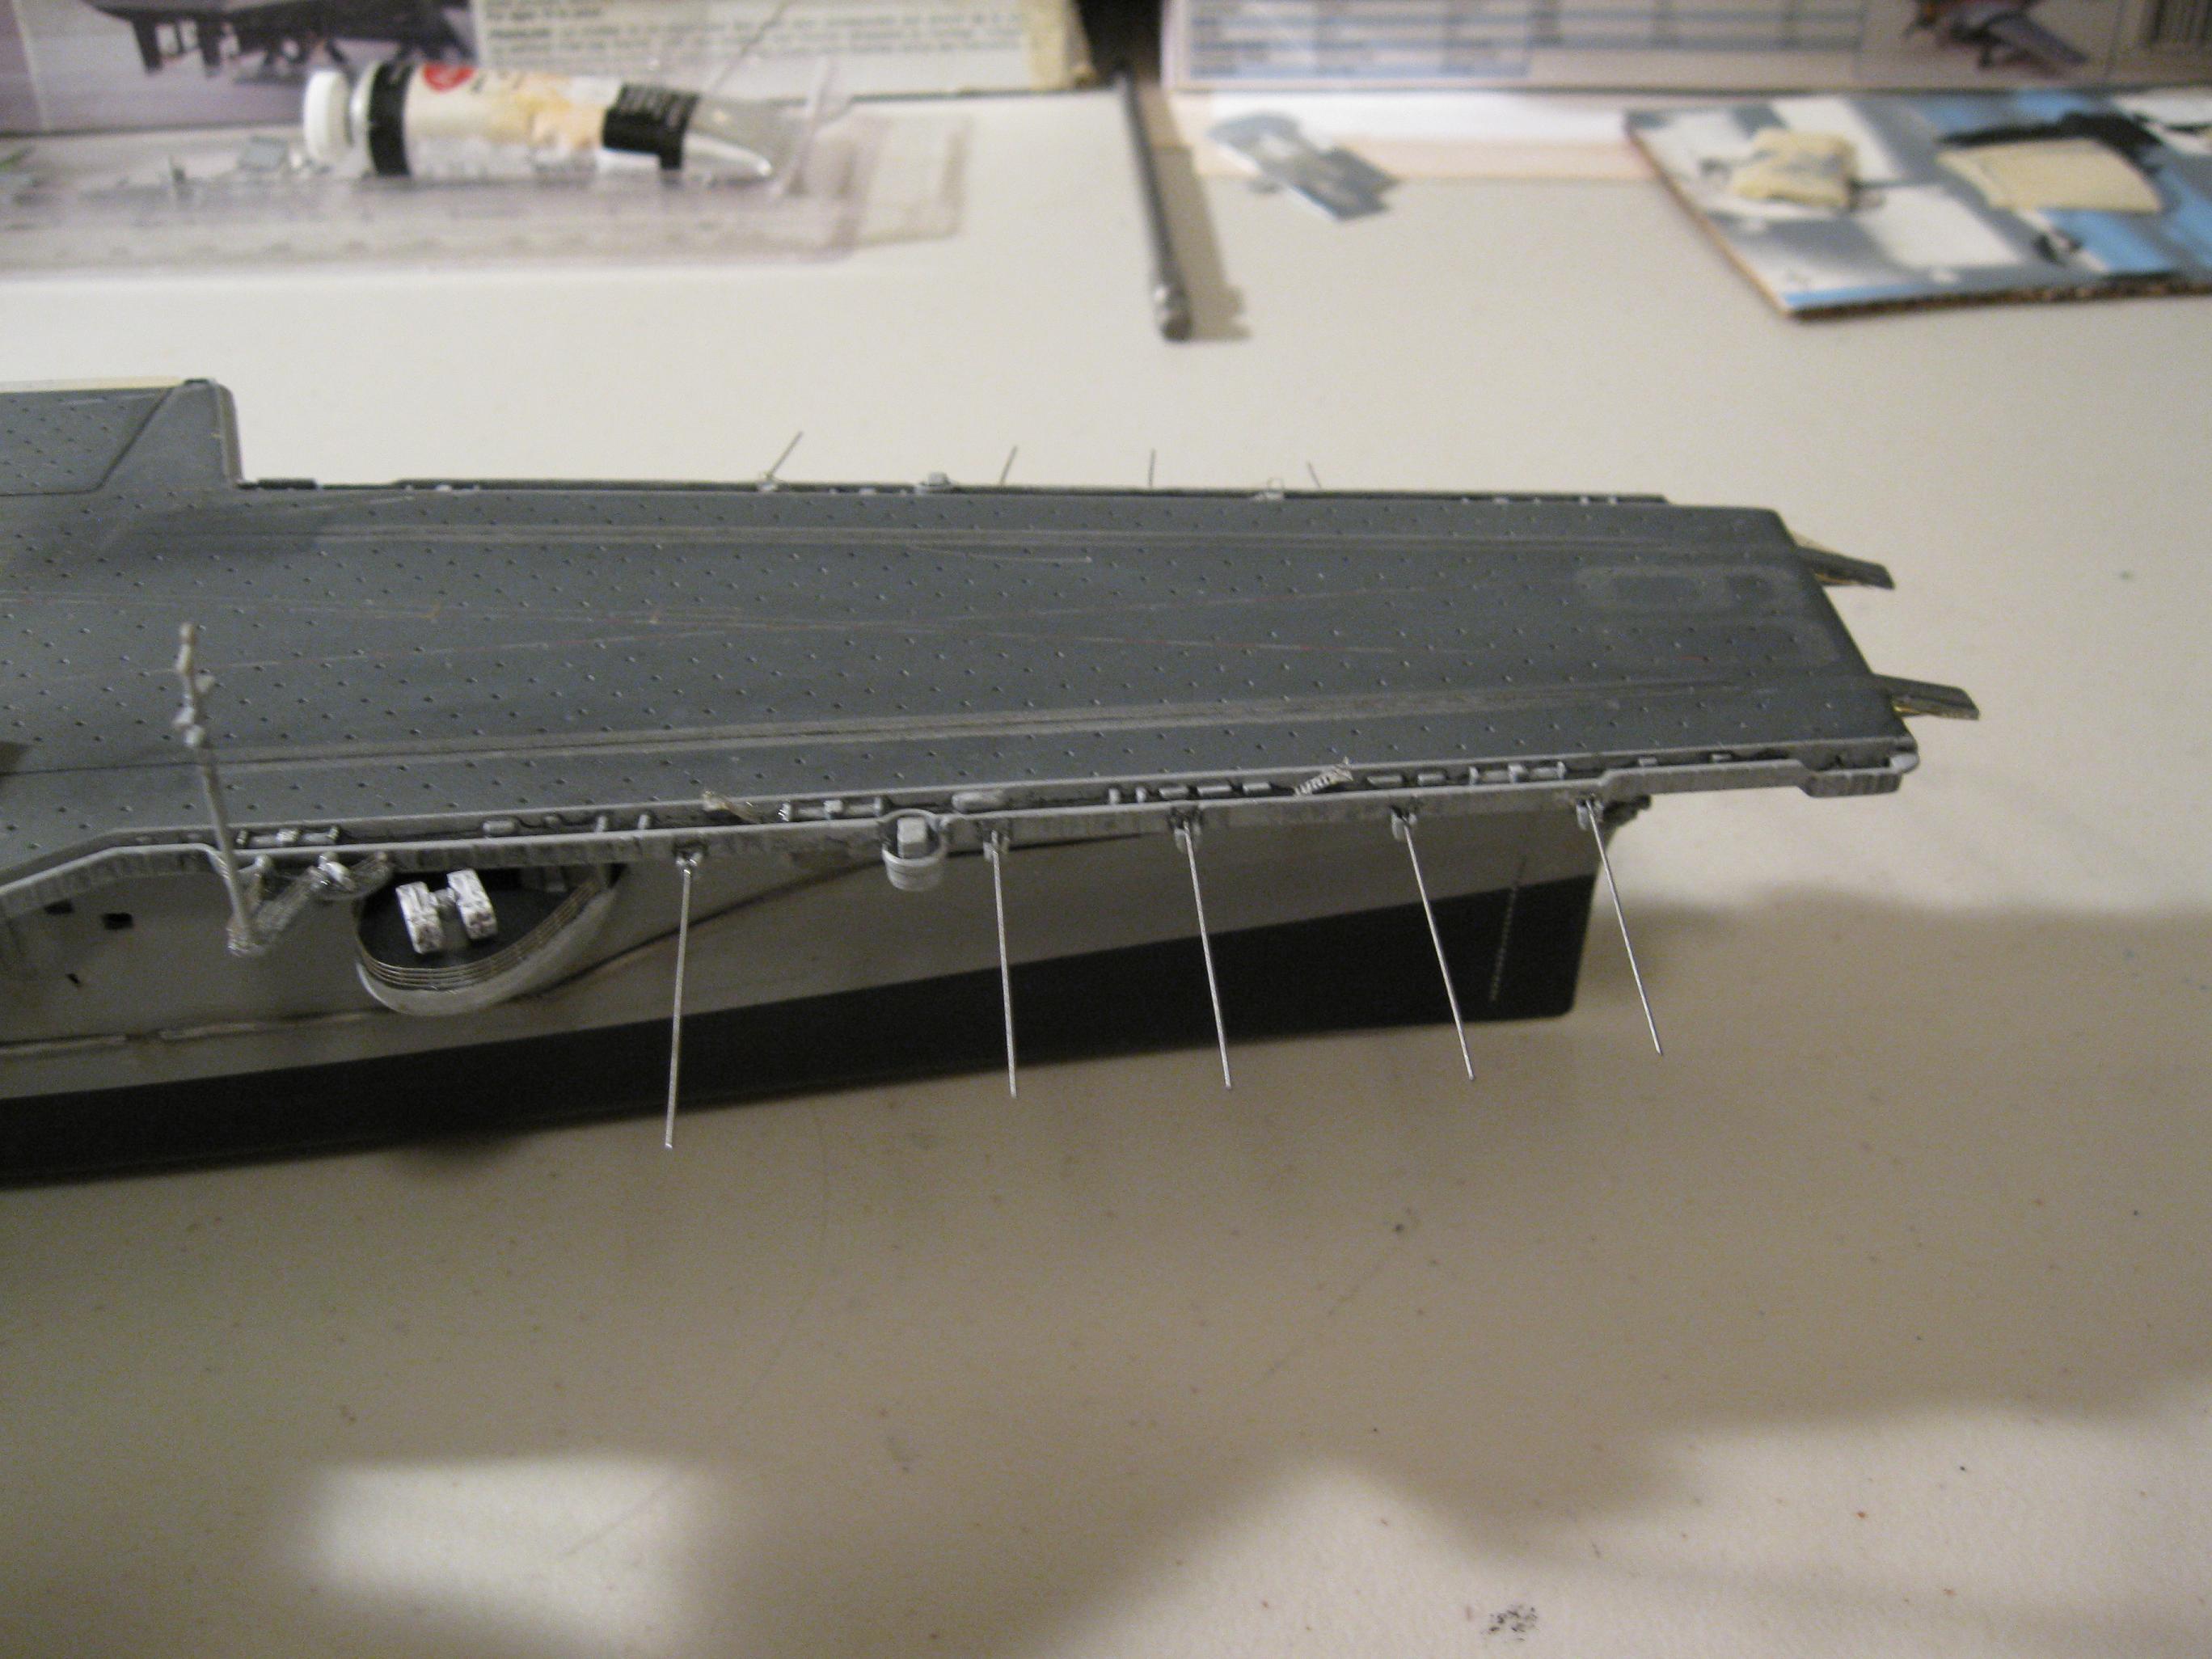
Photo etch radars and such on the island Adding the rest of the photo etch. Arrestor Gear - Made with fly tying
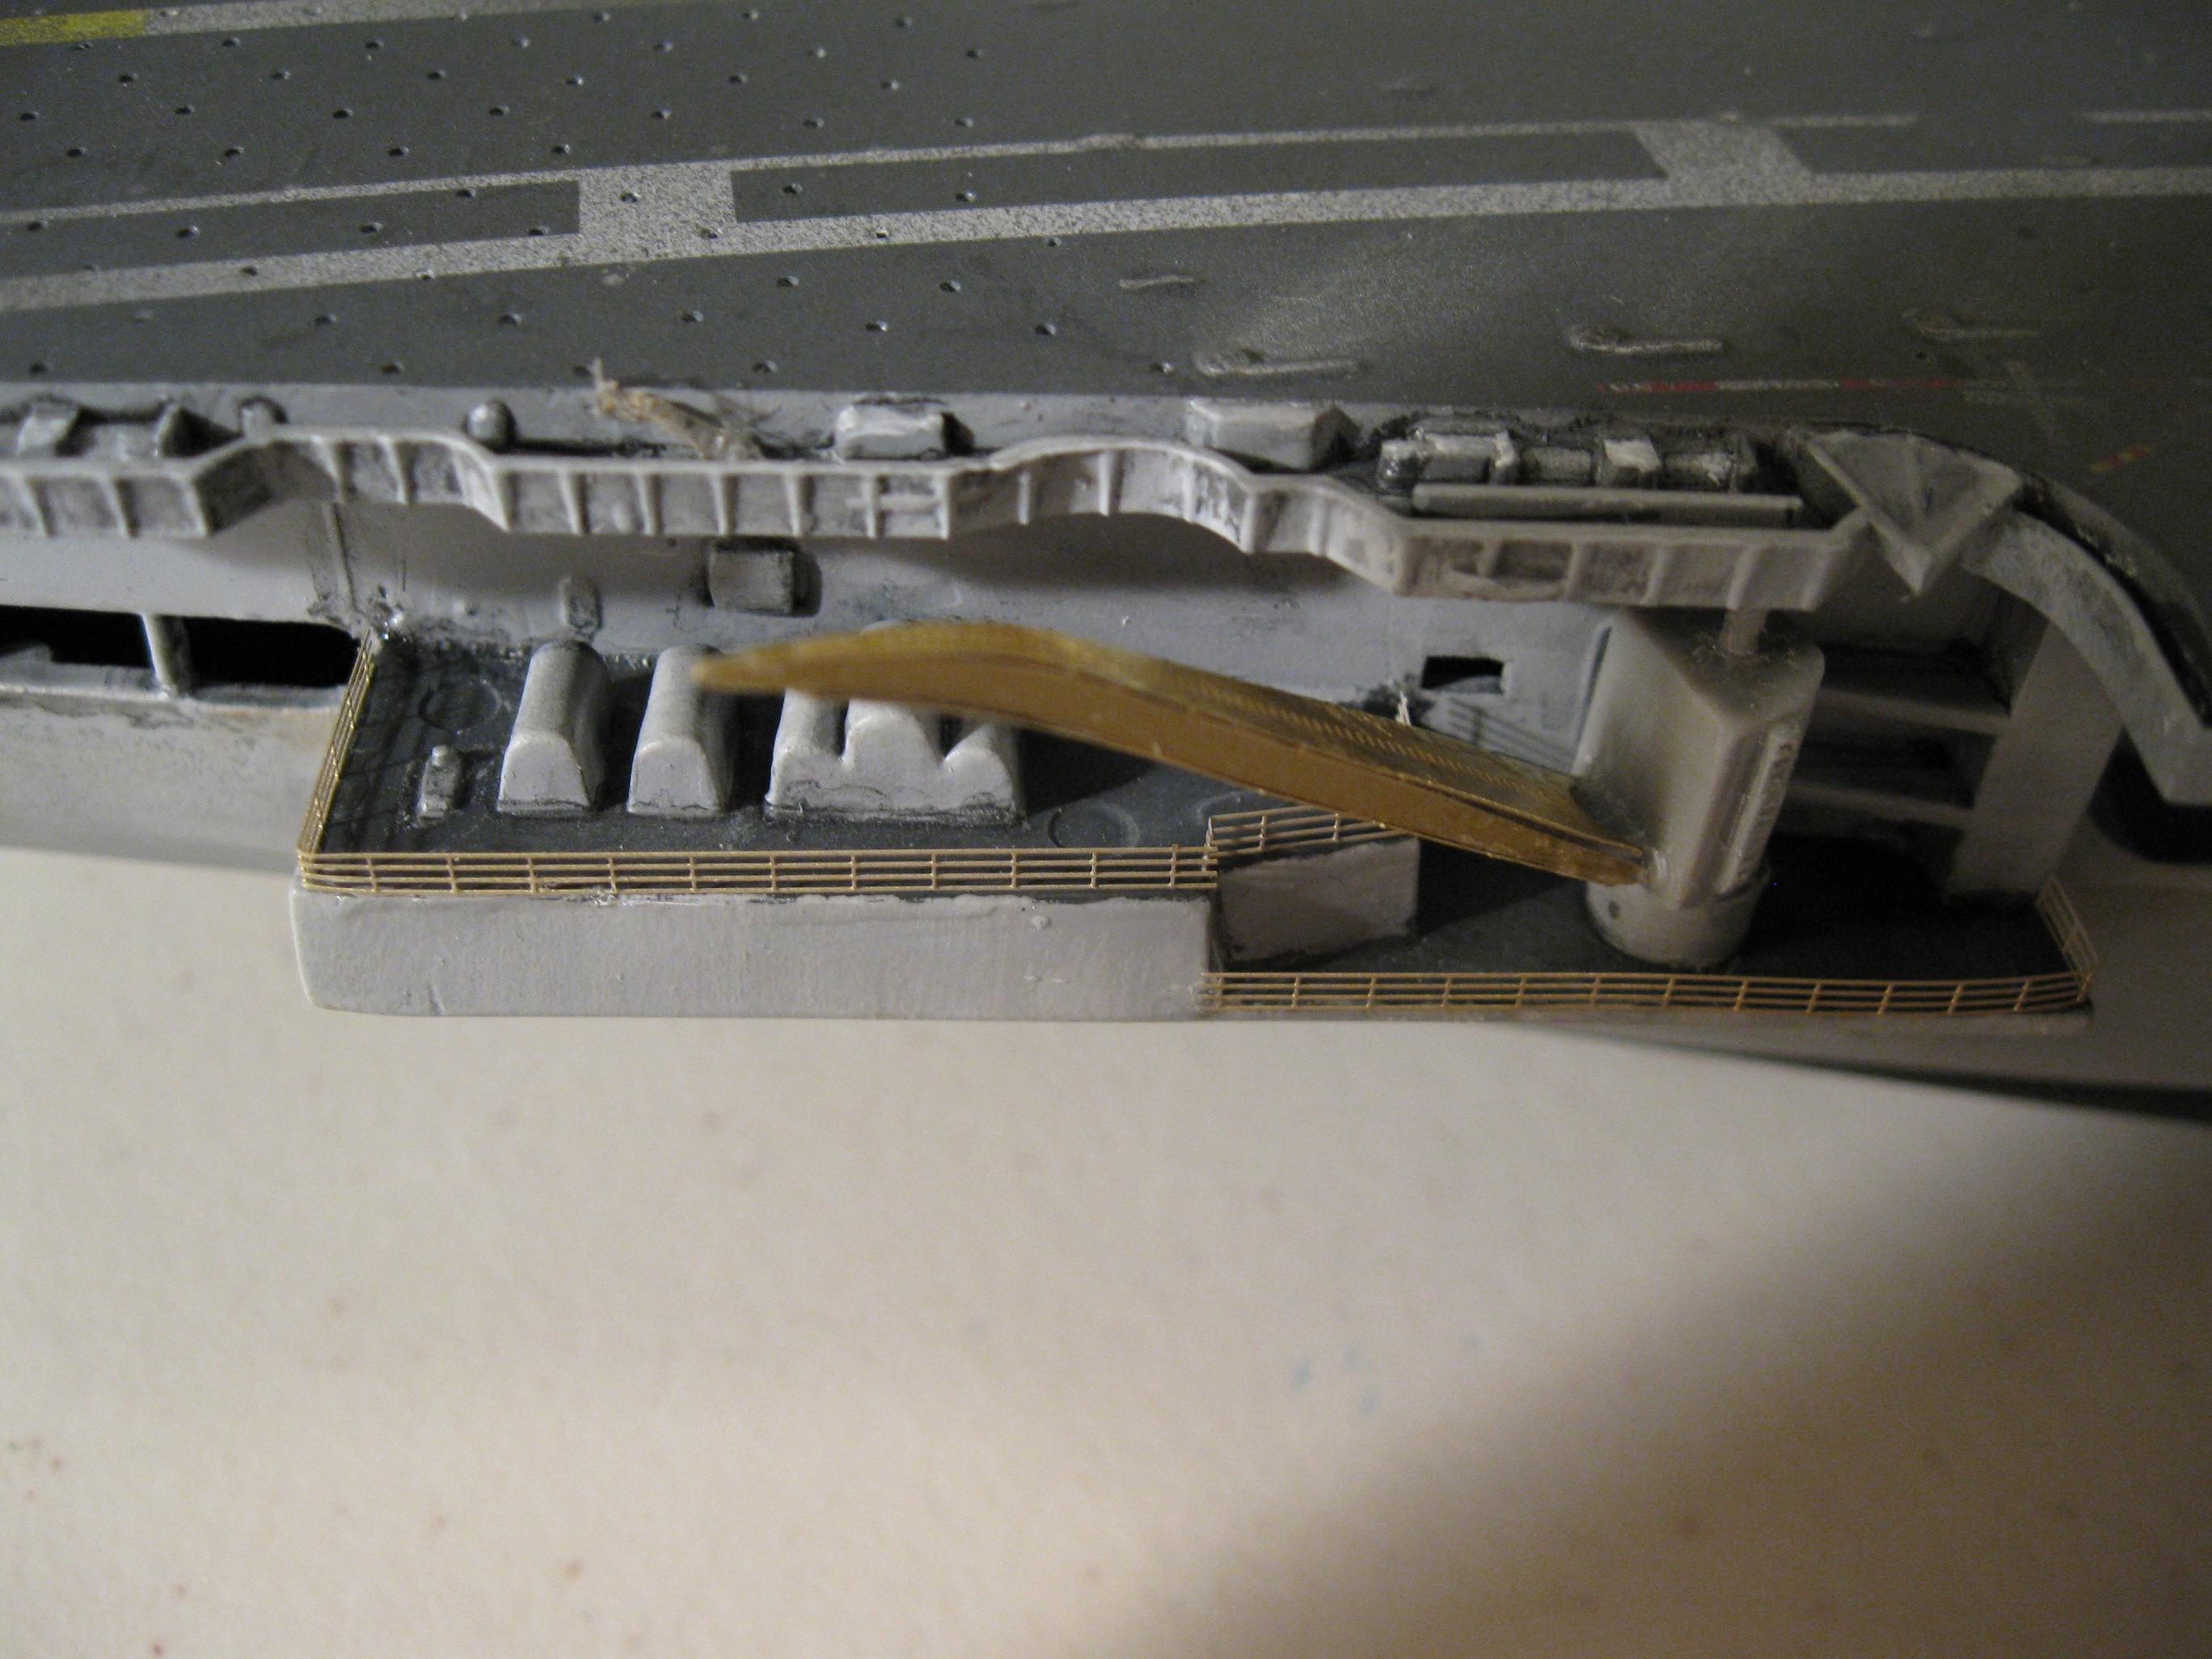
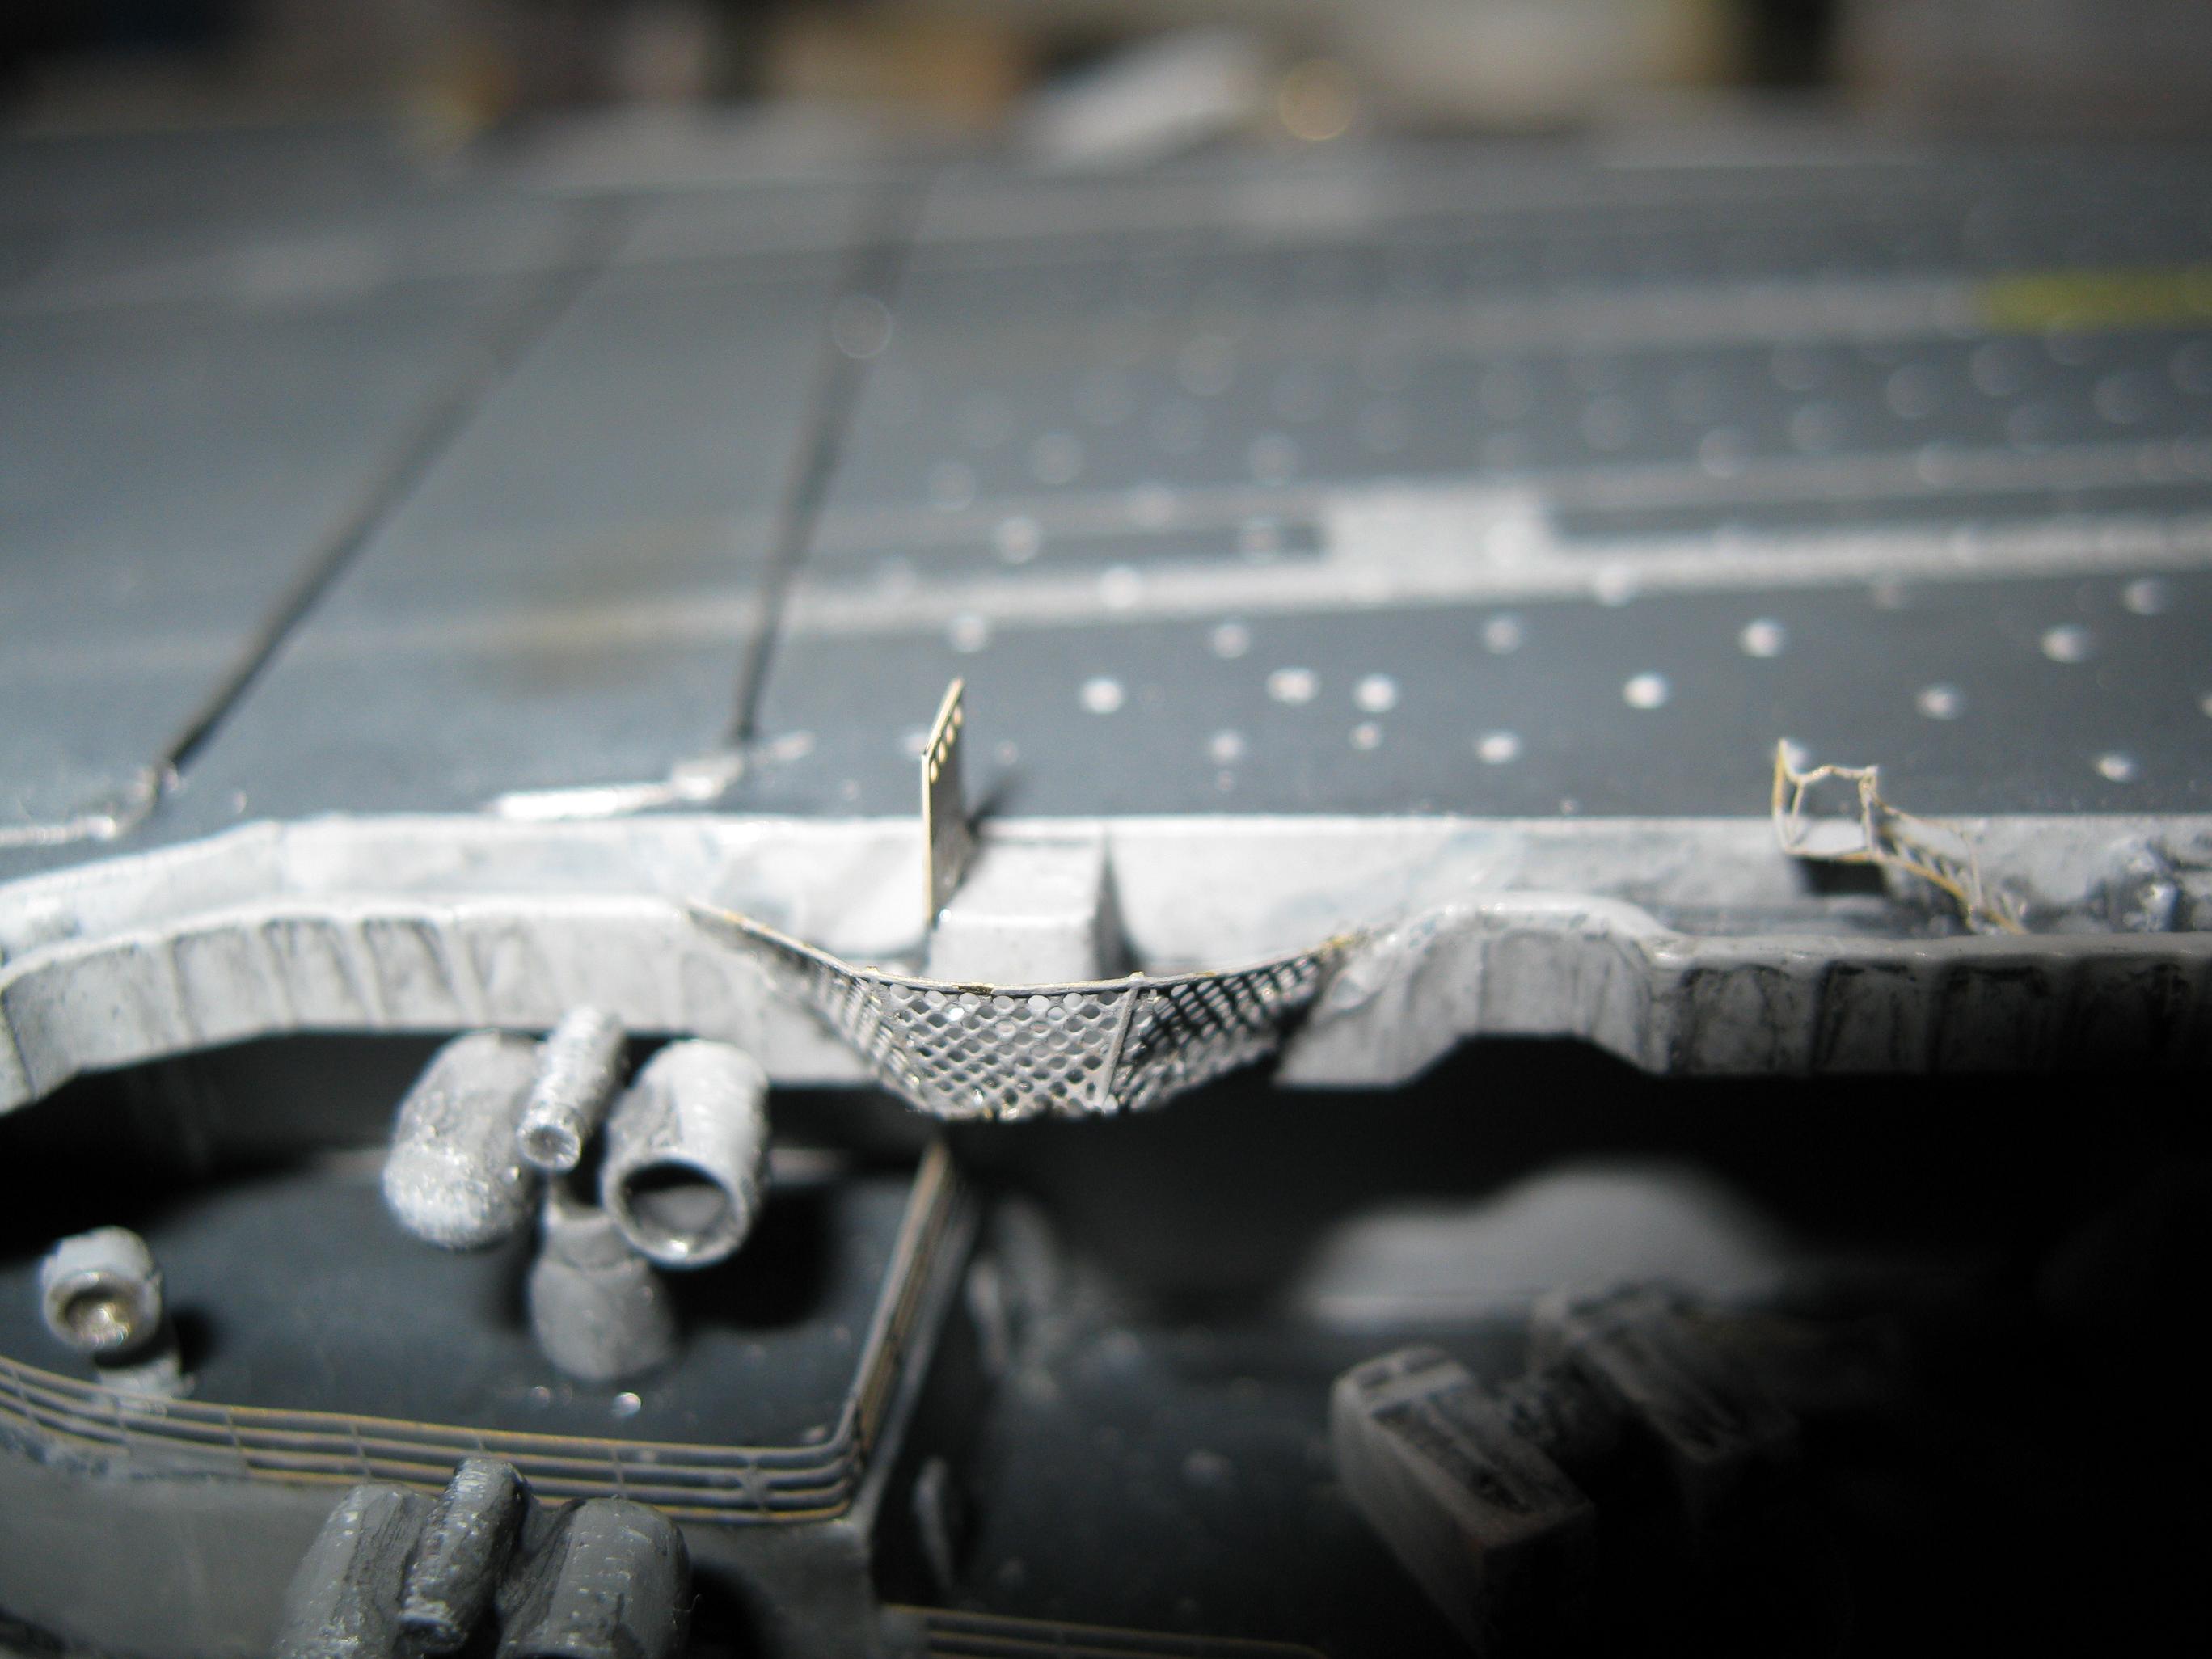
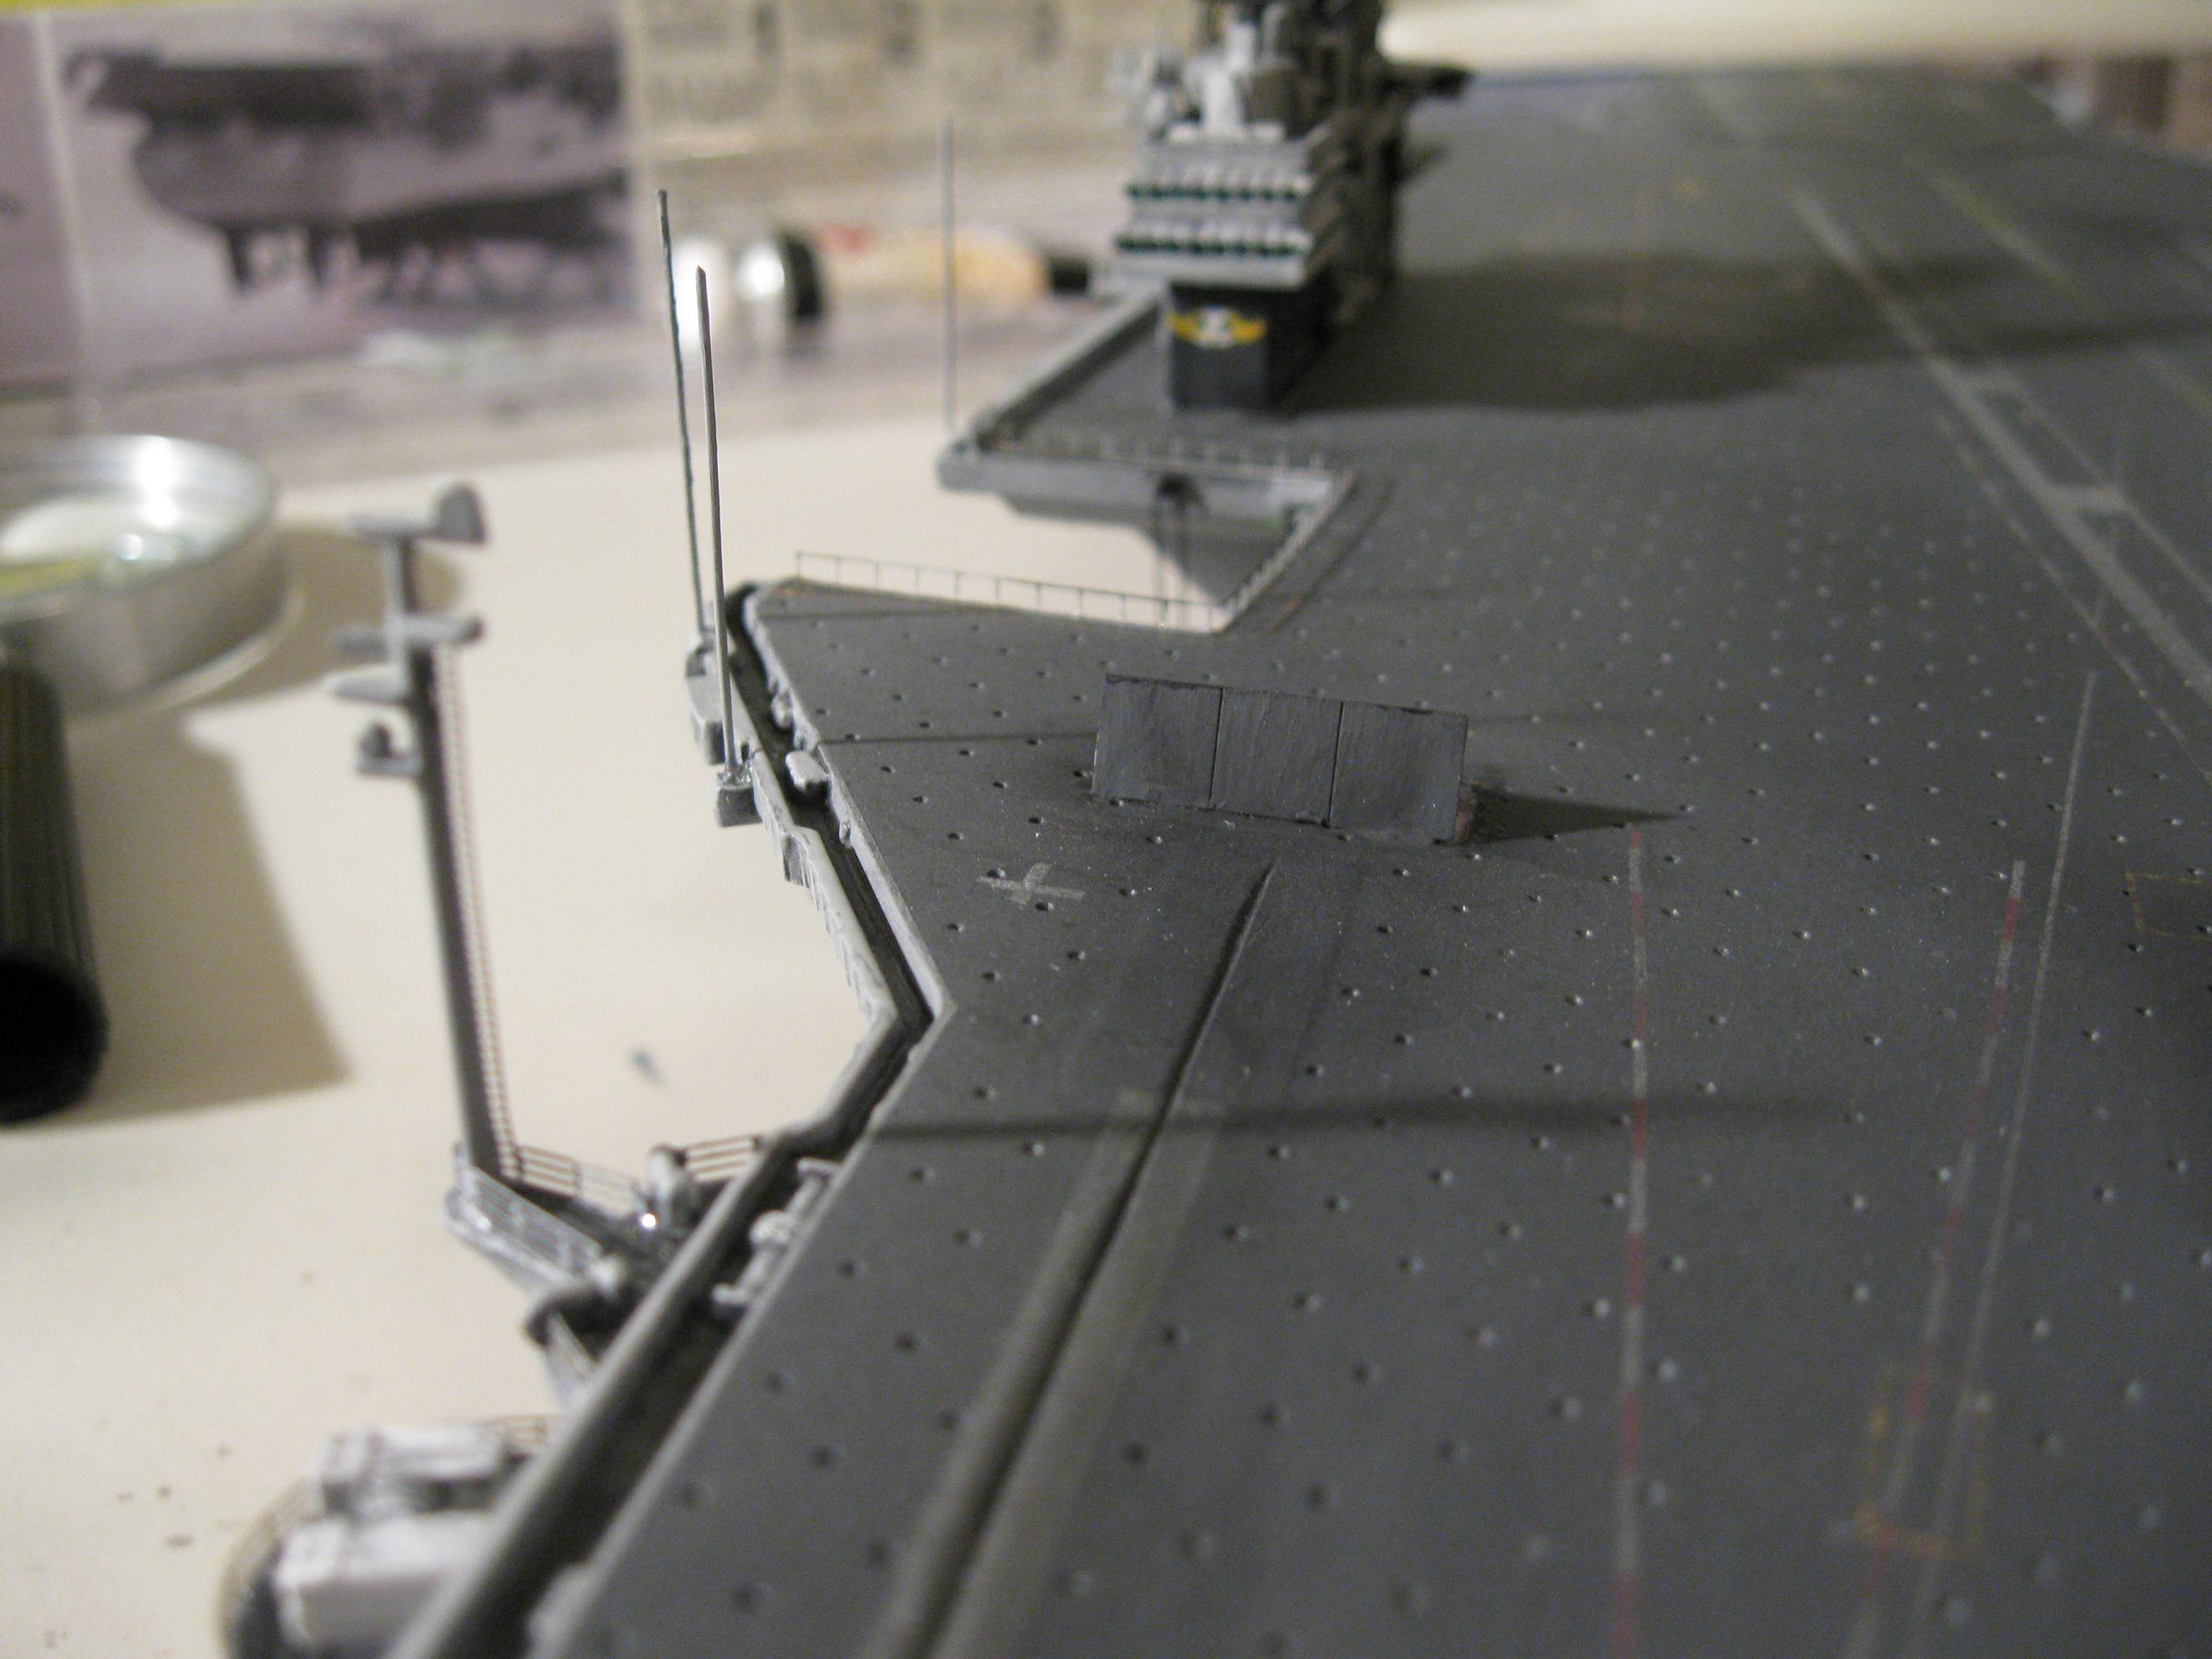
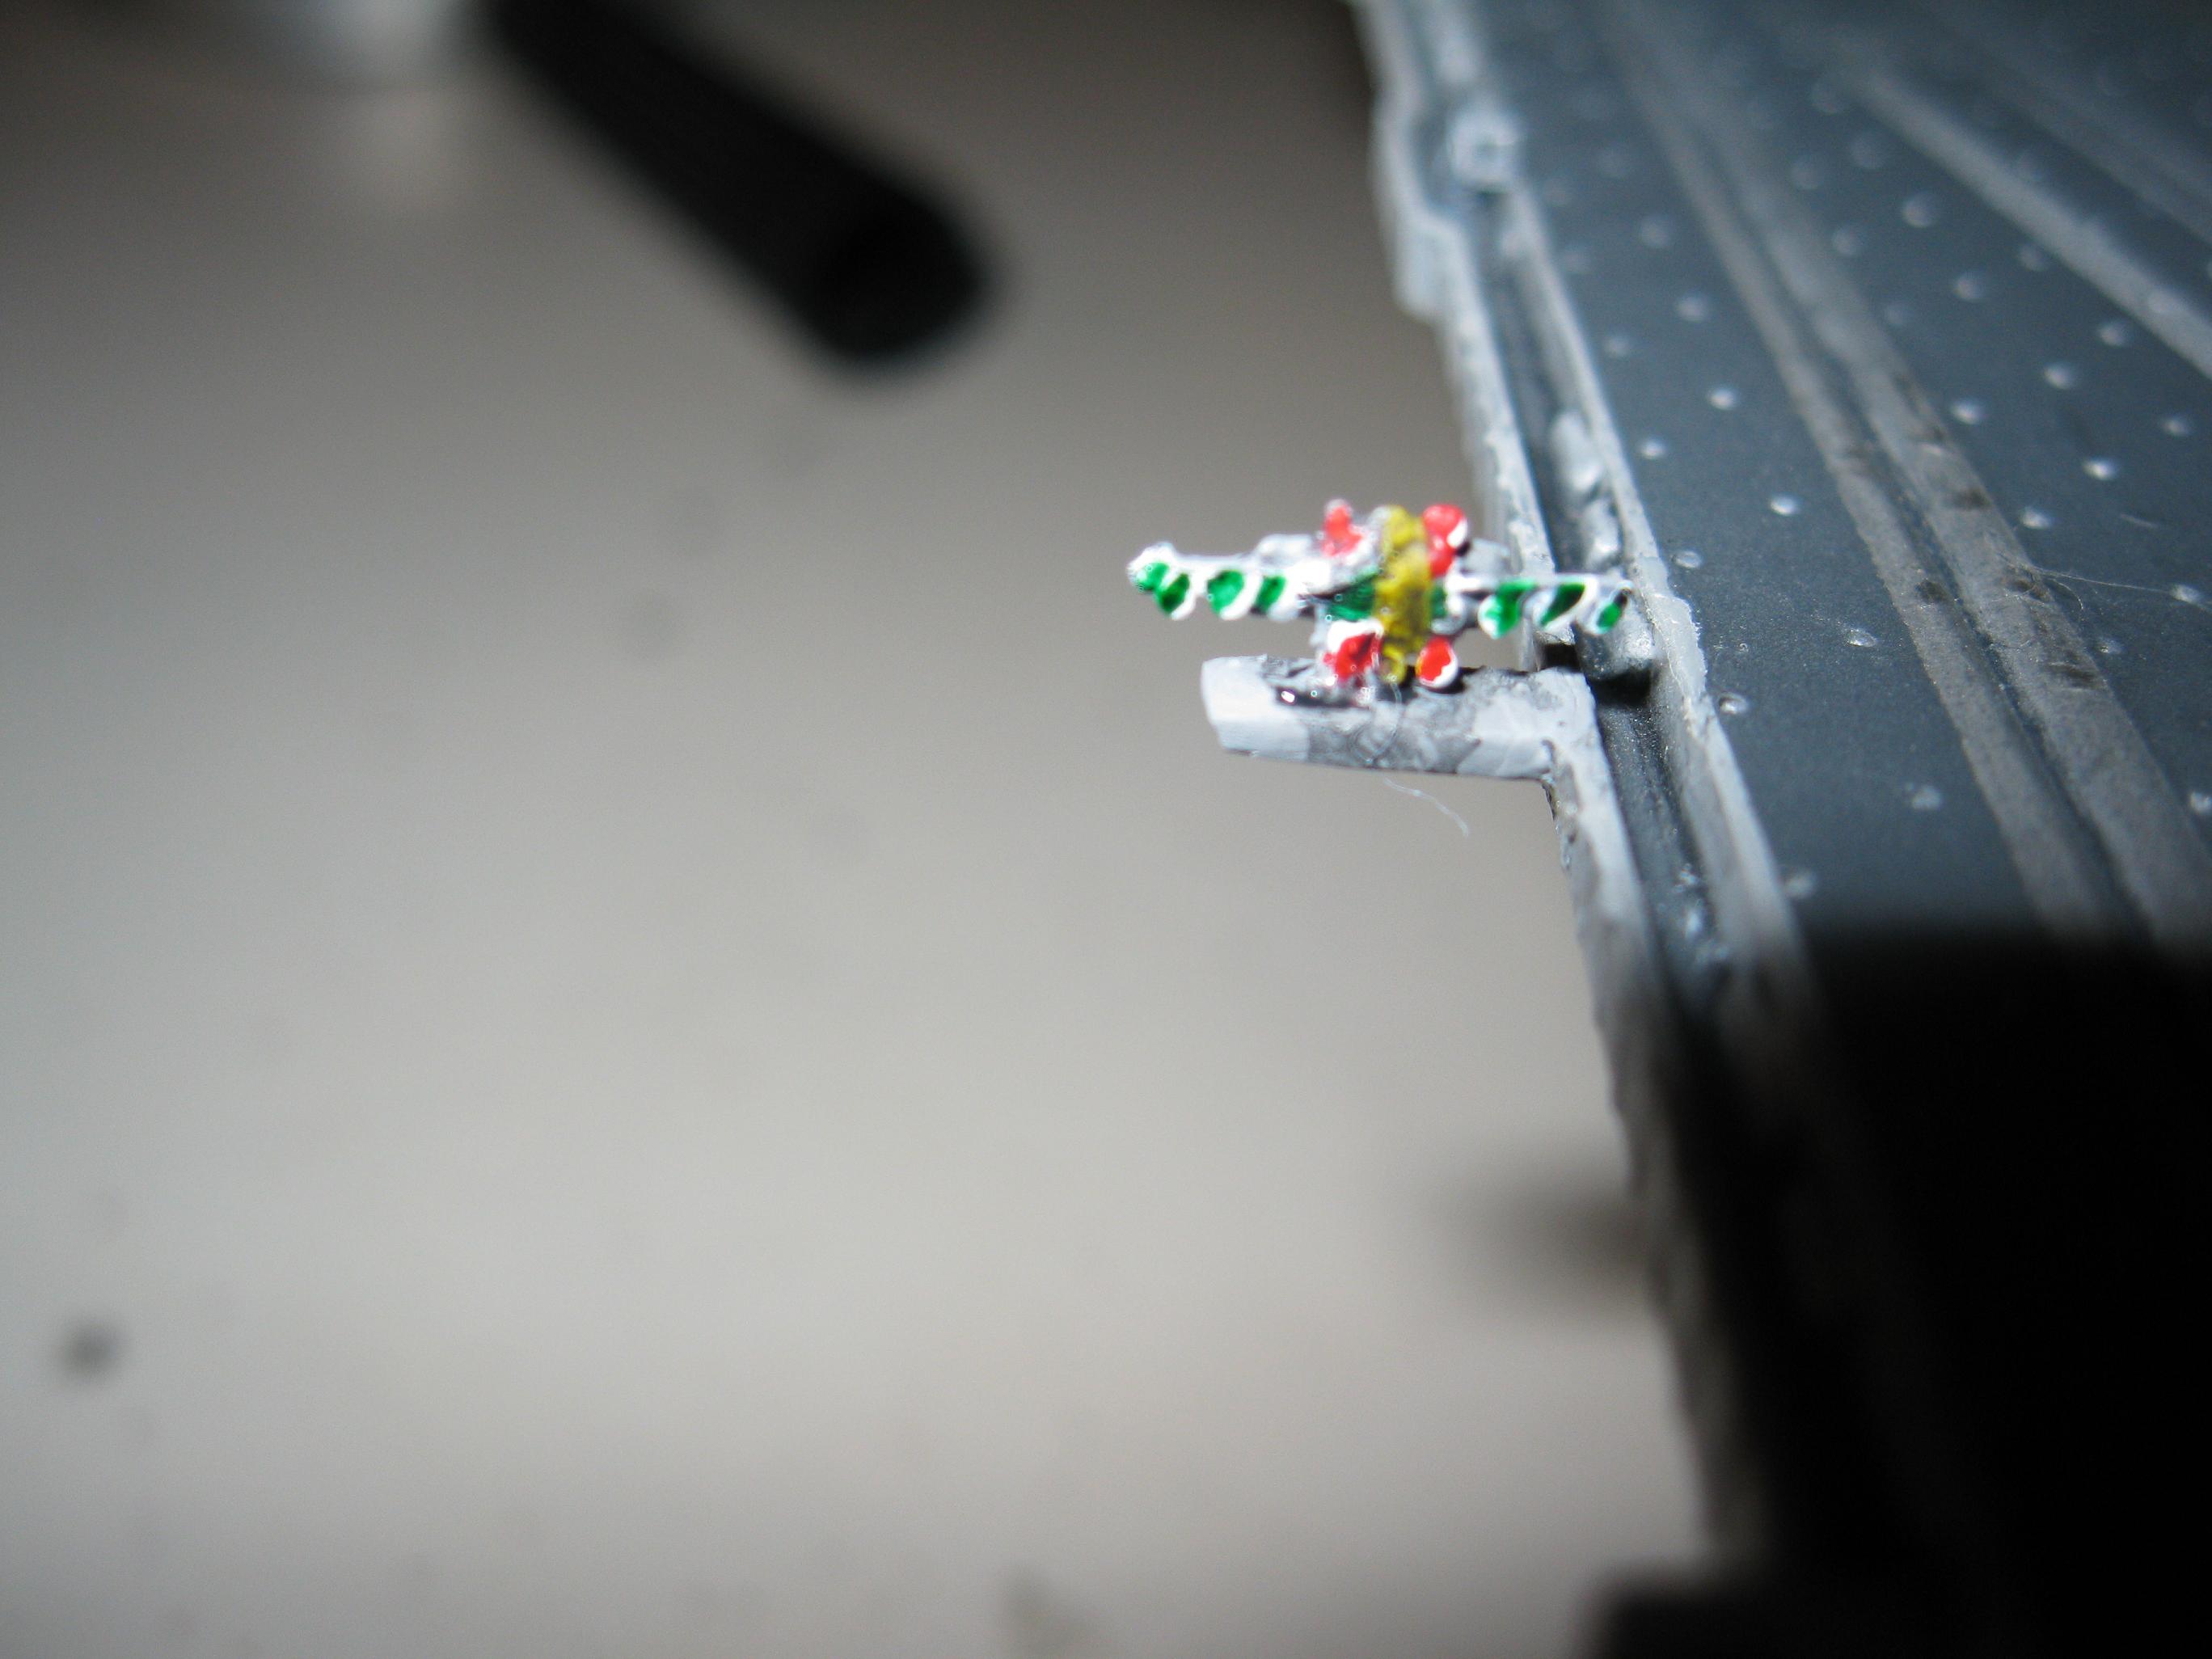
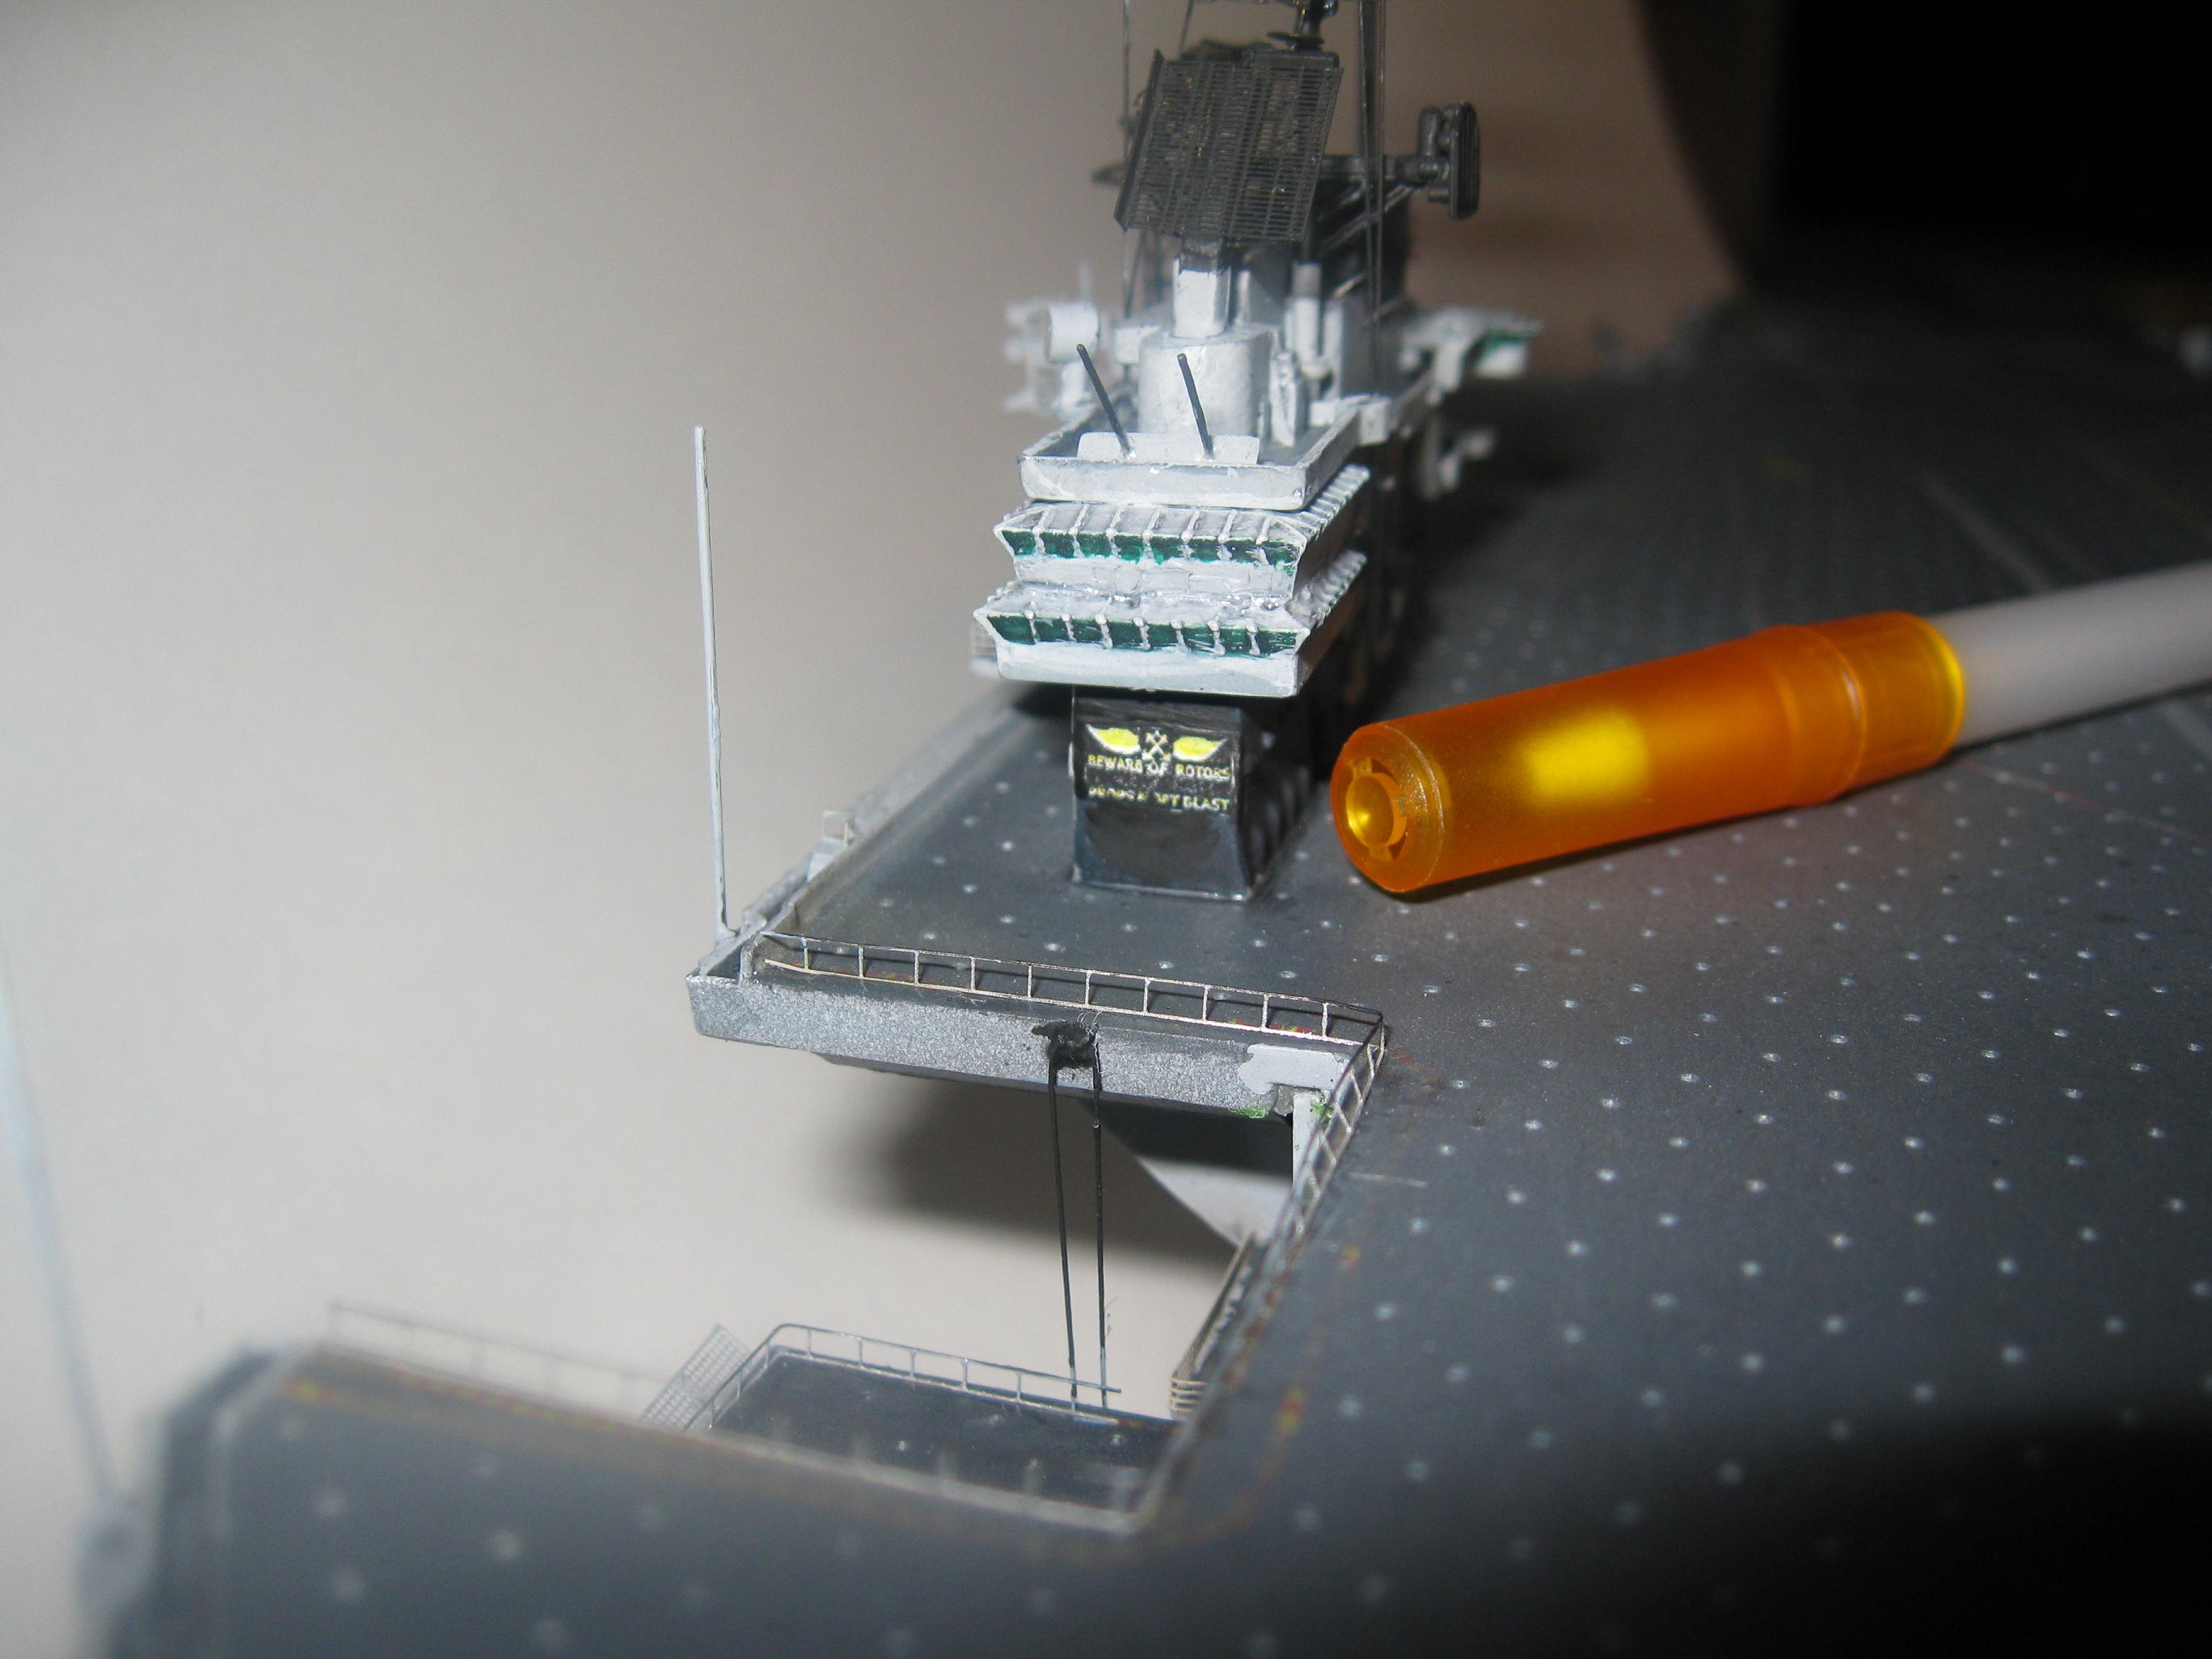
fishing line. Cables Added to the Elevator. Antennas made from steel wire. Added rigging using more fishing line. PE Jet Blast Deflector with my uneven
hydraulic rams (it still looks good I think). My own addition, the Fresnel Lens made
from spare PE and wire. It looked far better
before the paint revealed where the globs of glue were. I
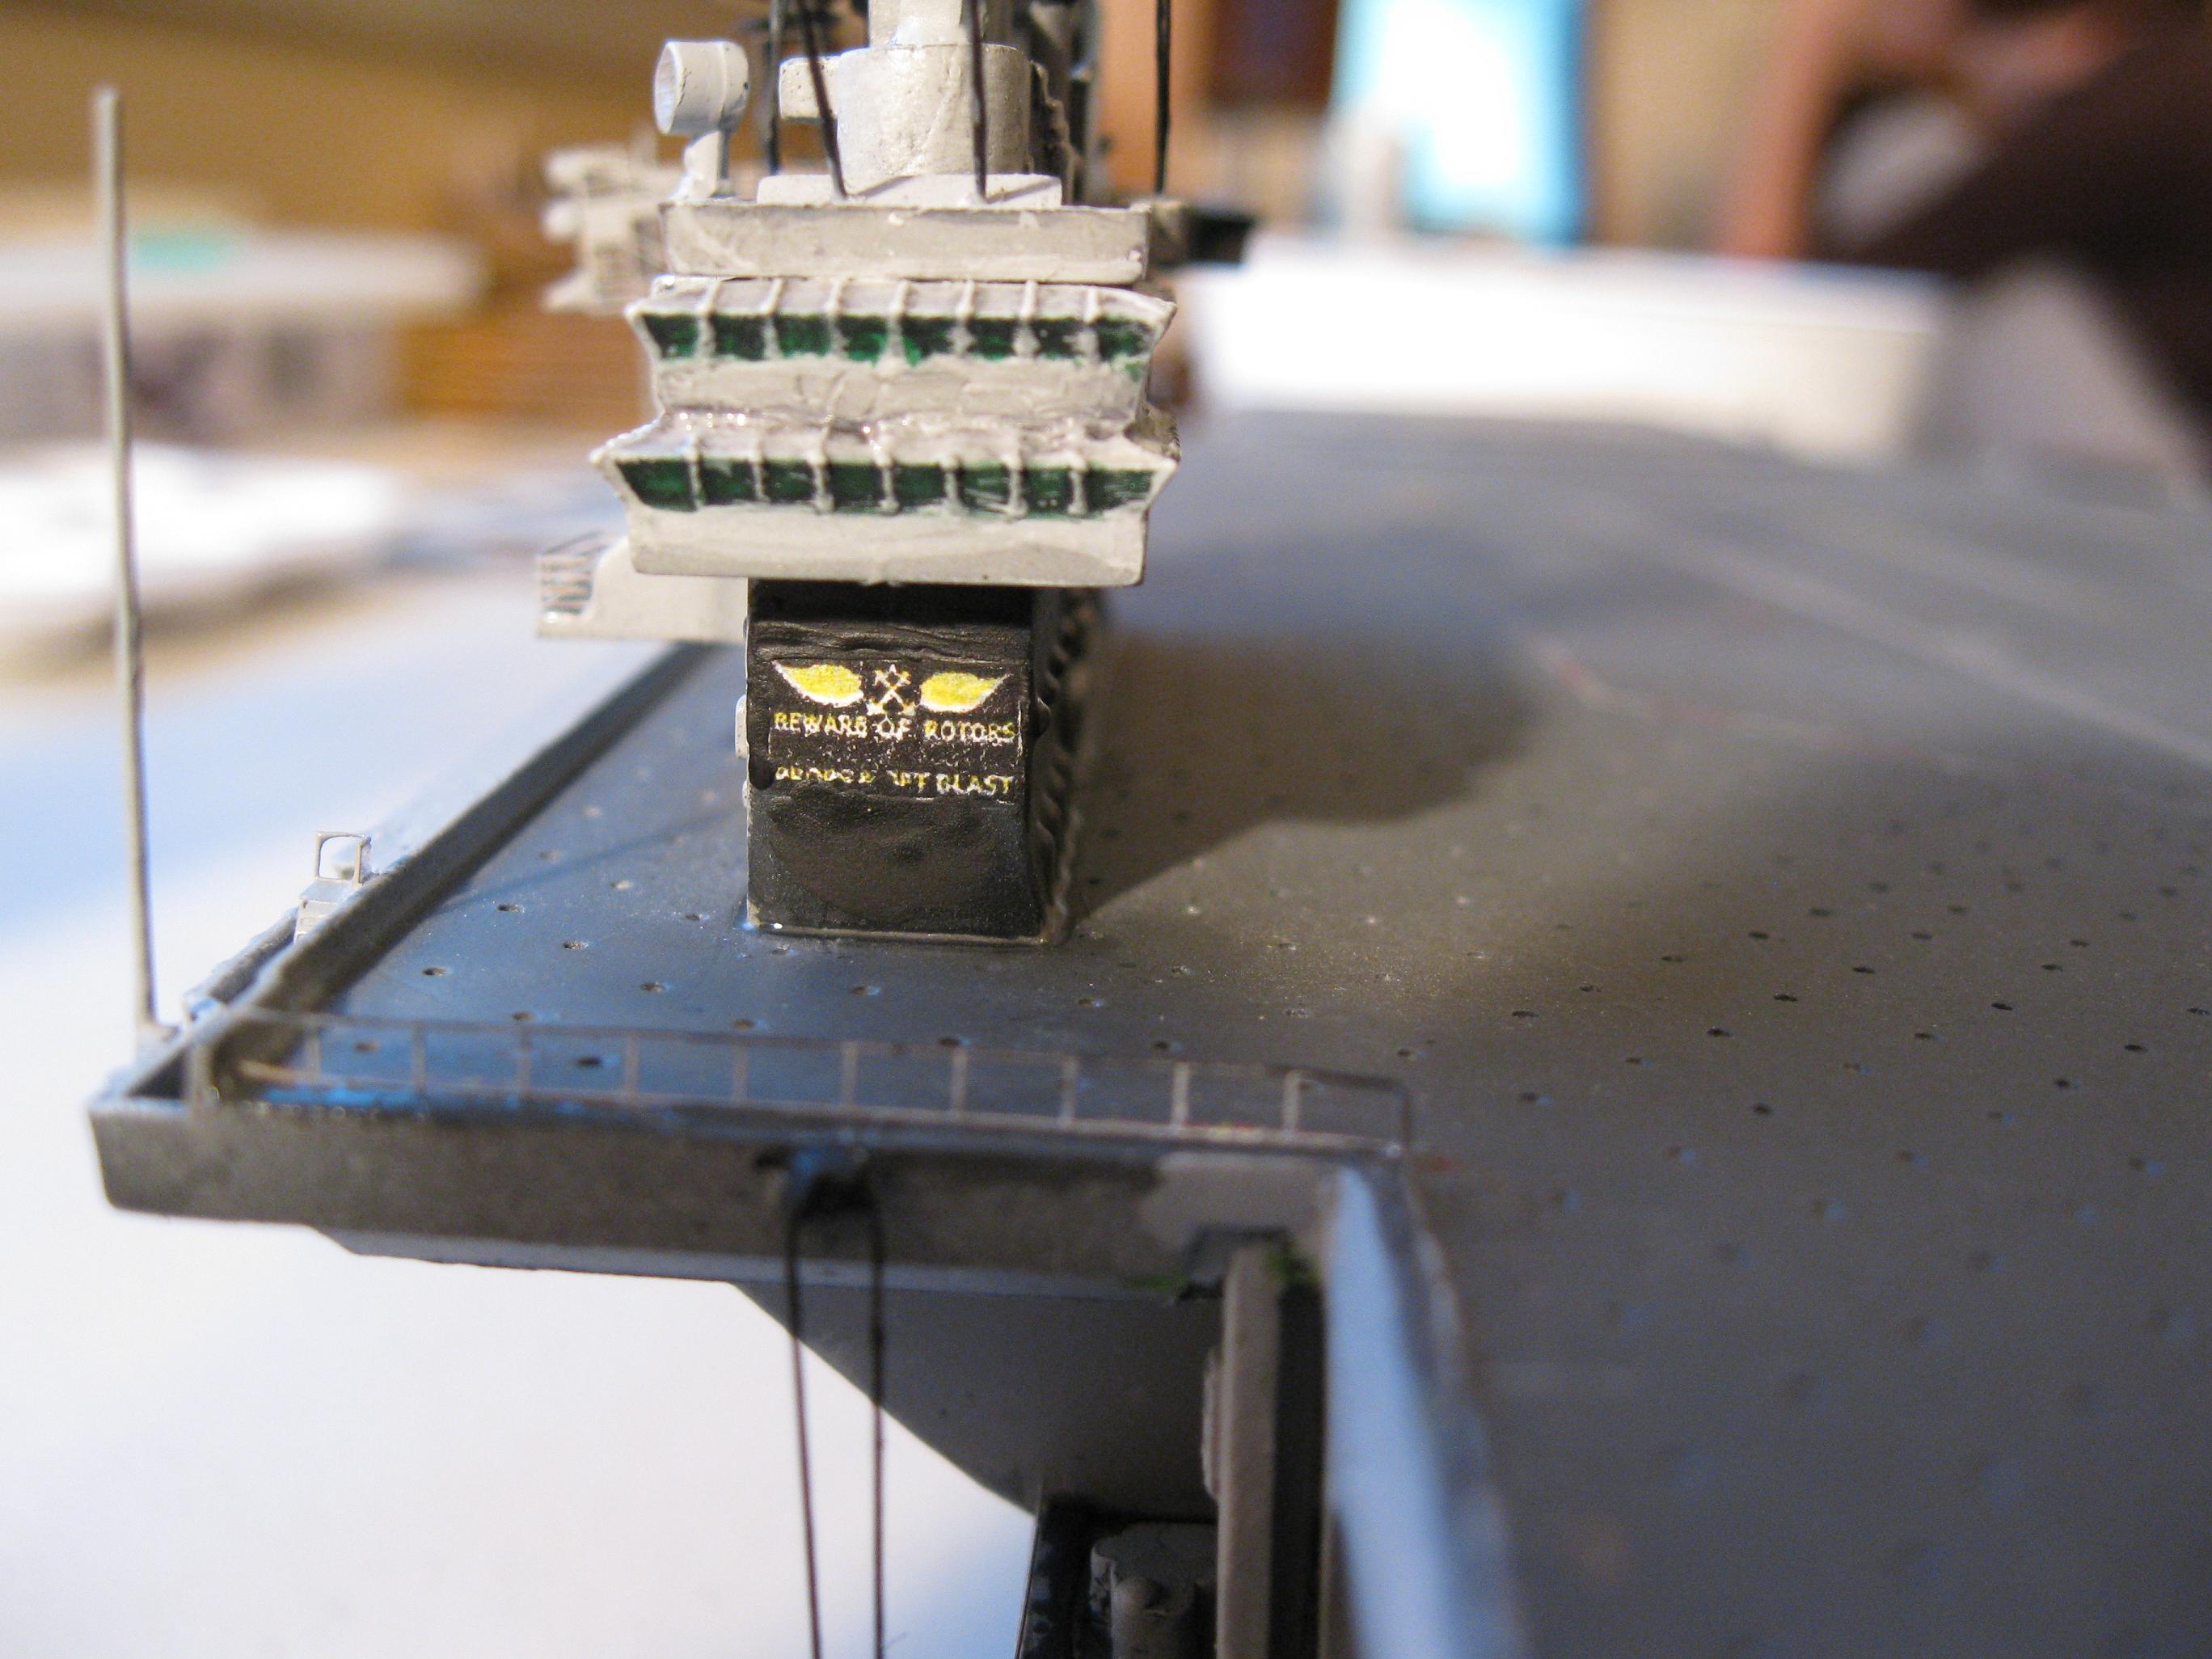
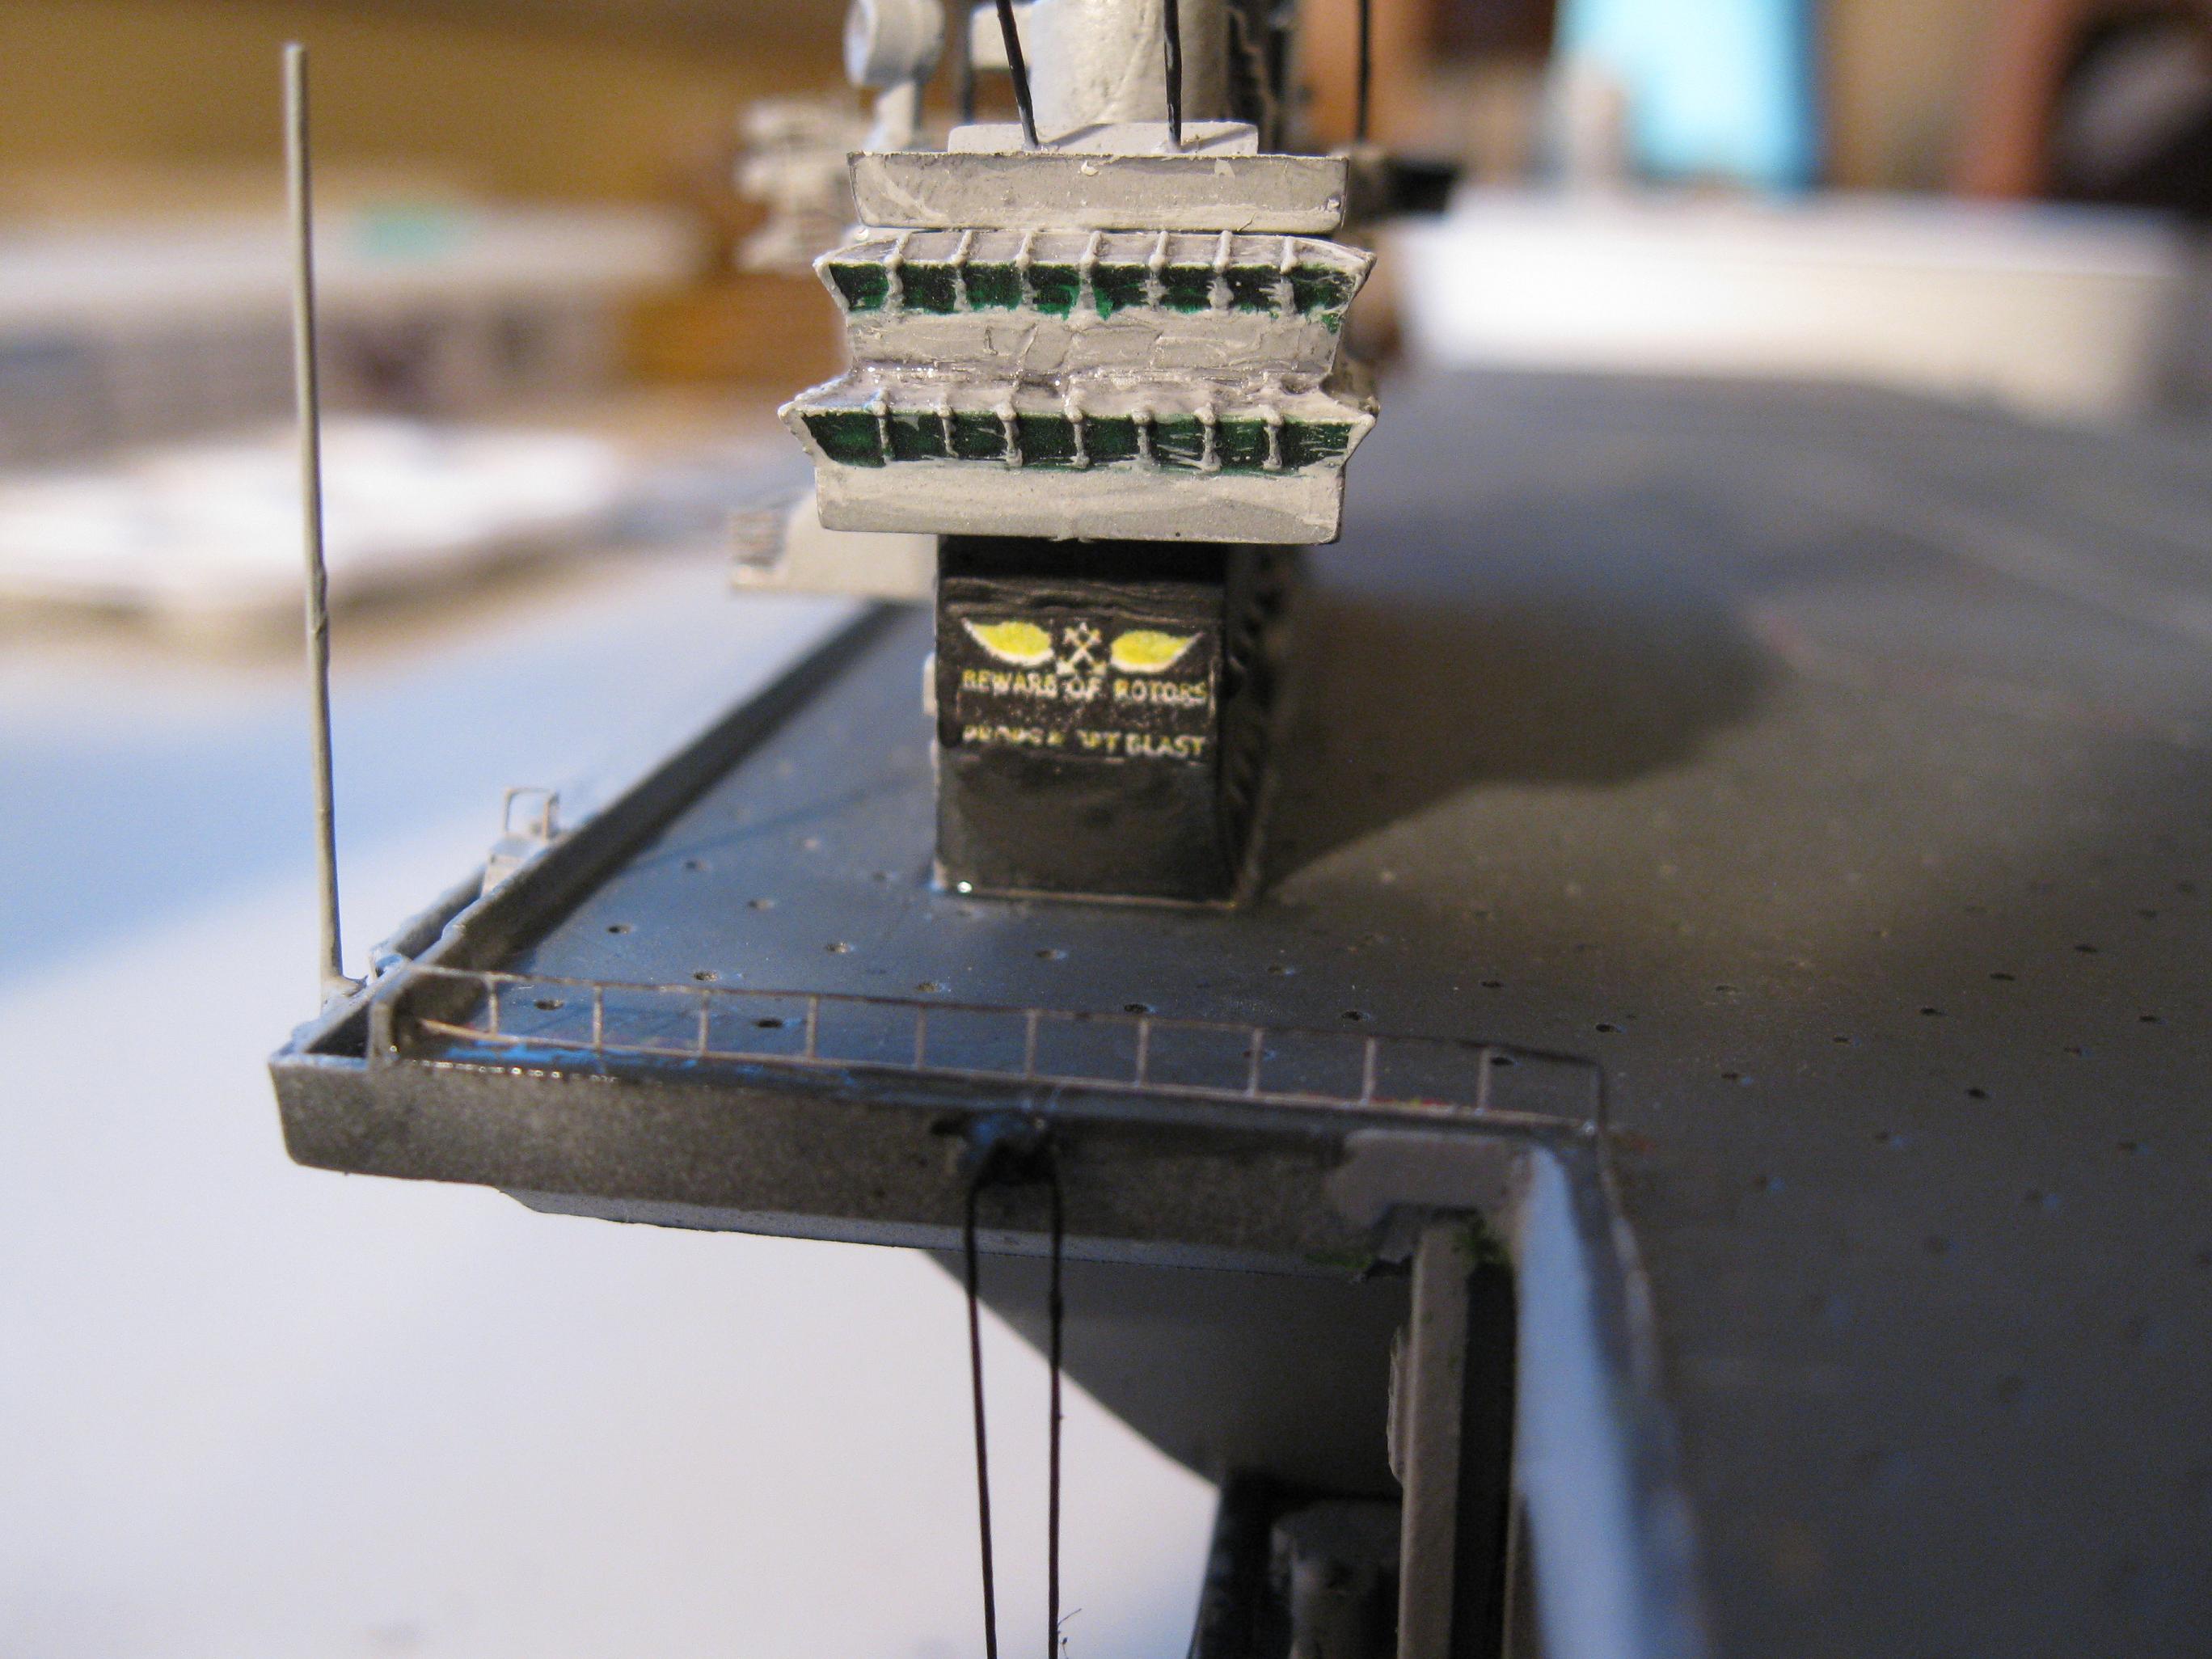
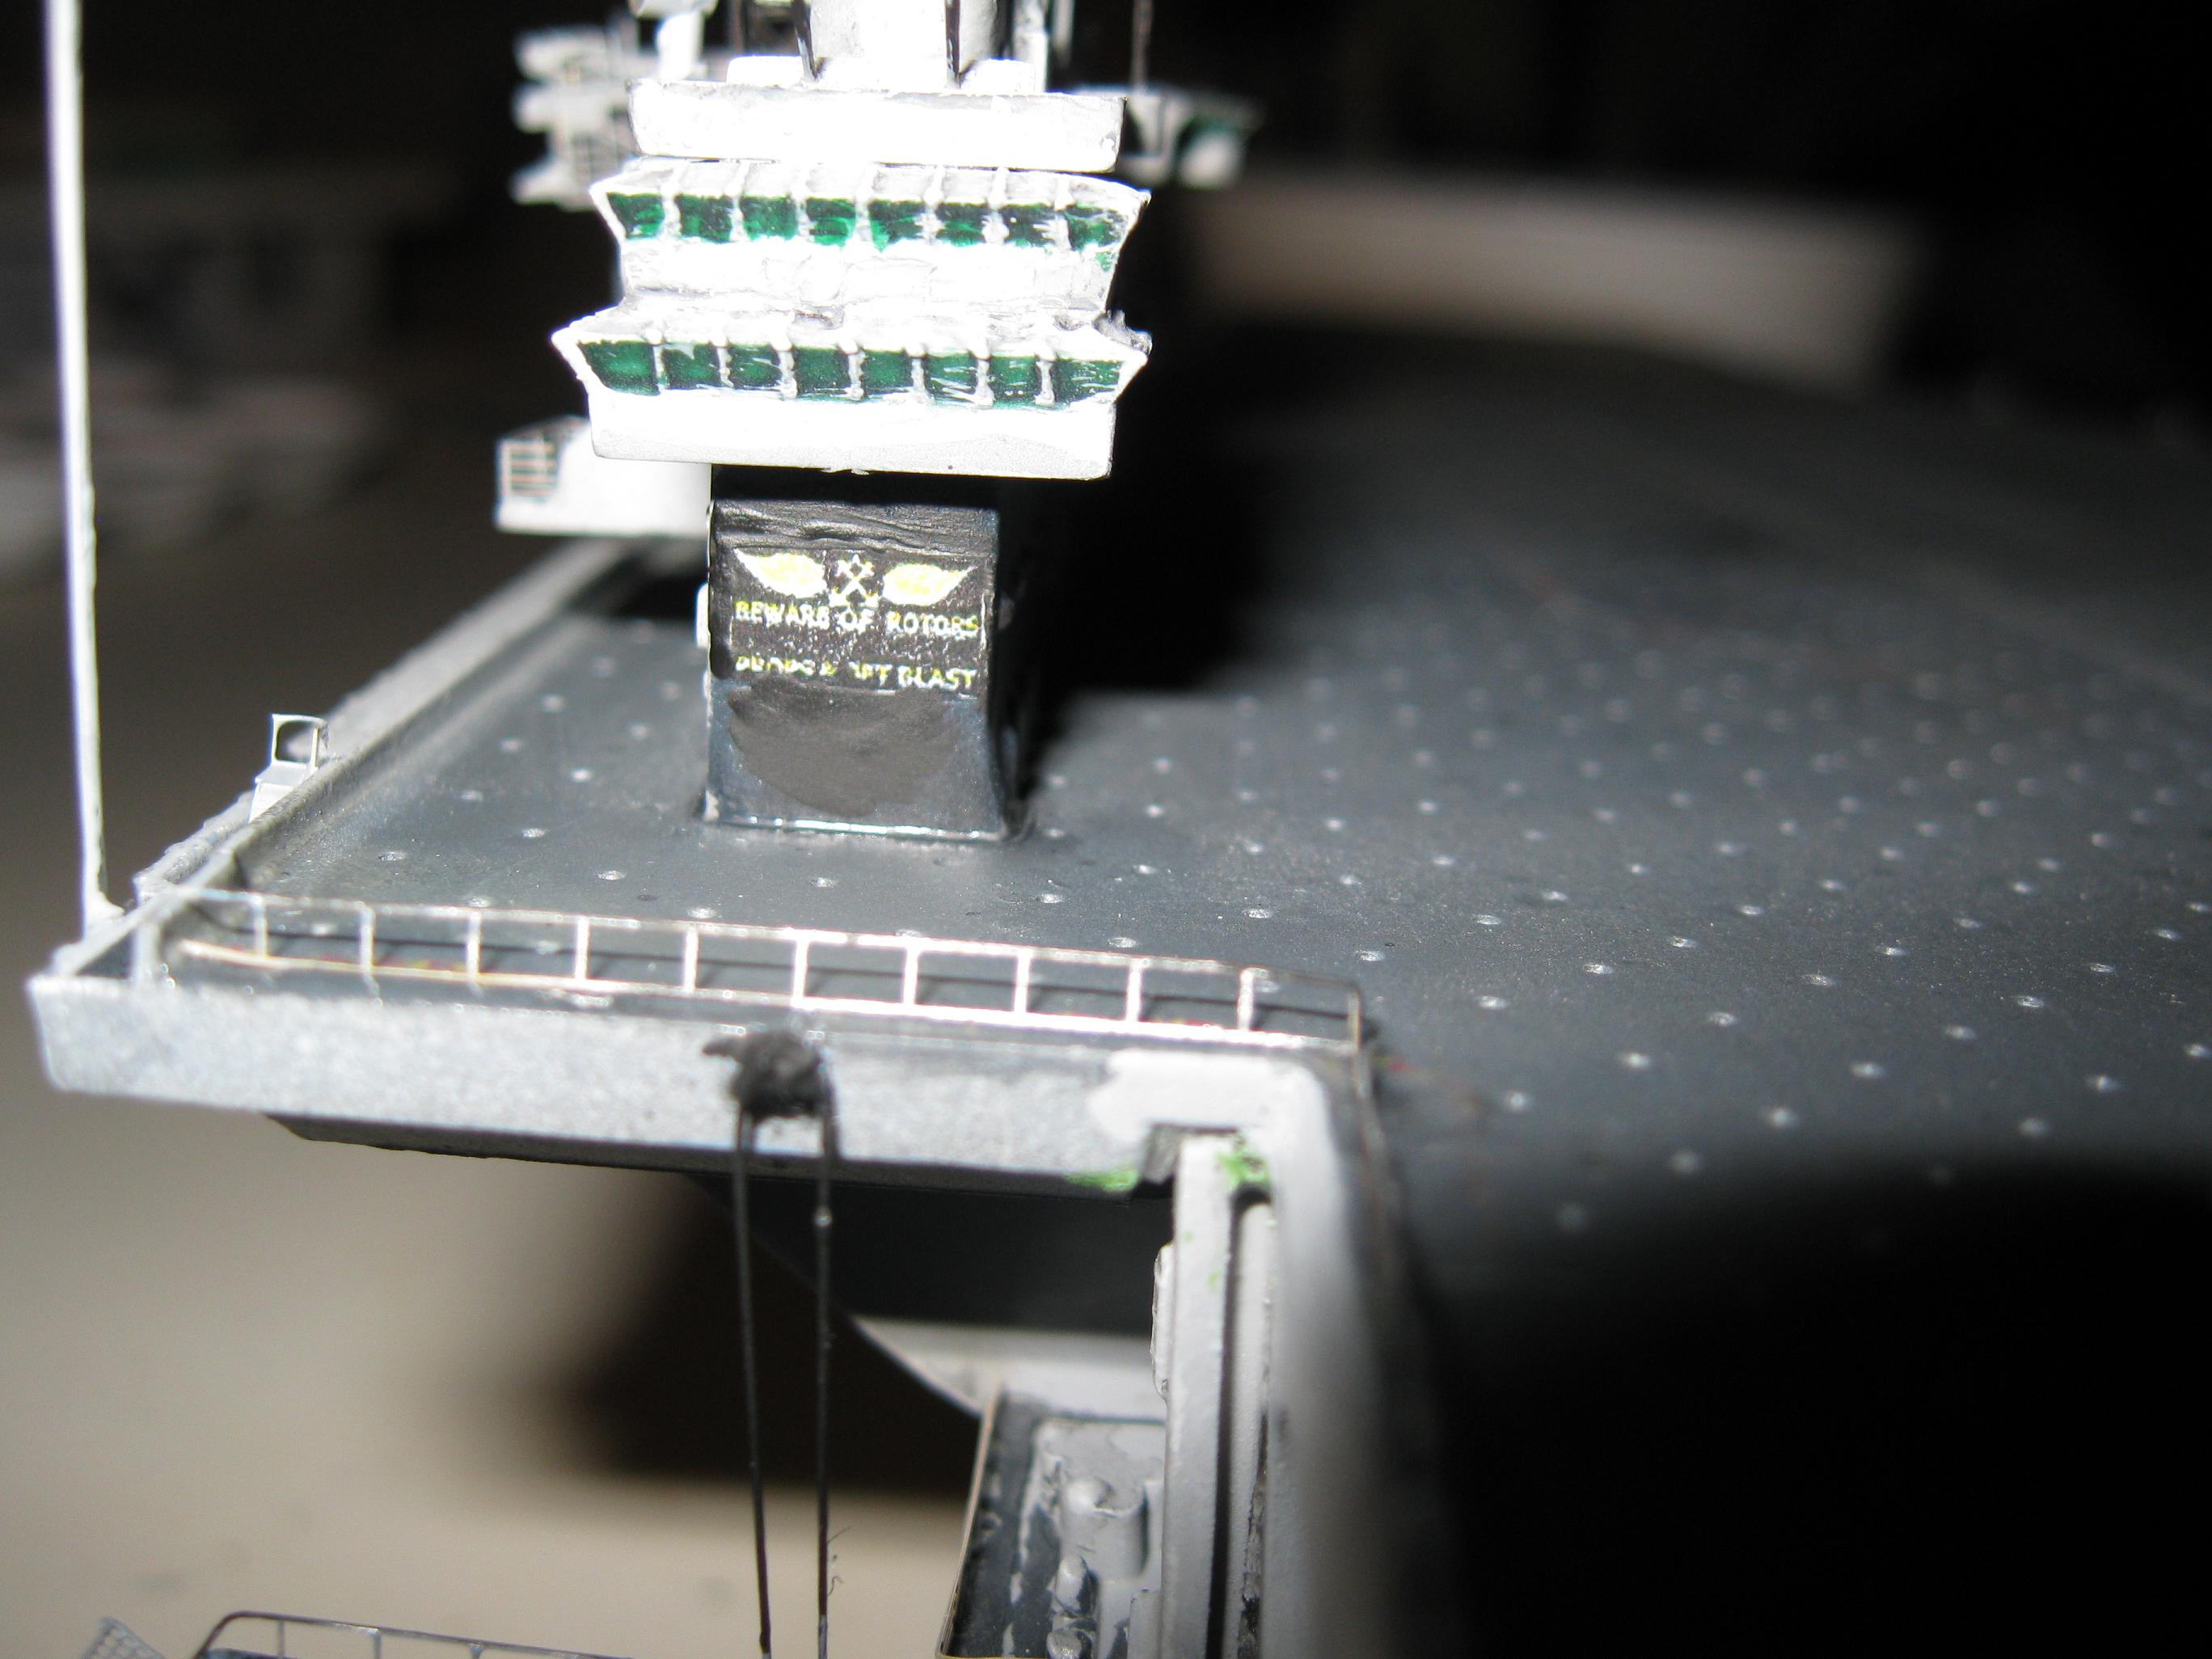
may make another one. I found some laser printer decal paper
so I decided to redo the wings on the island.
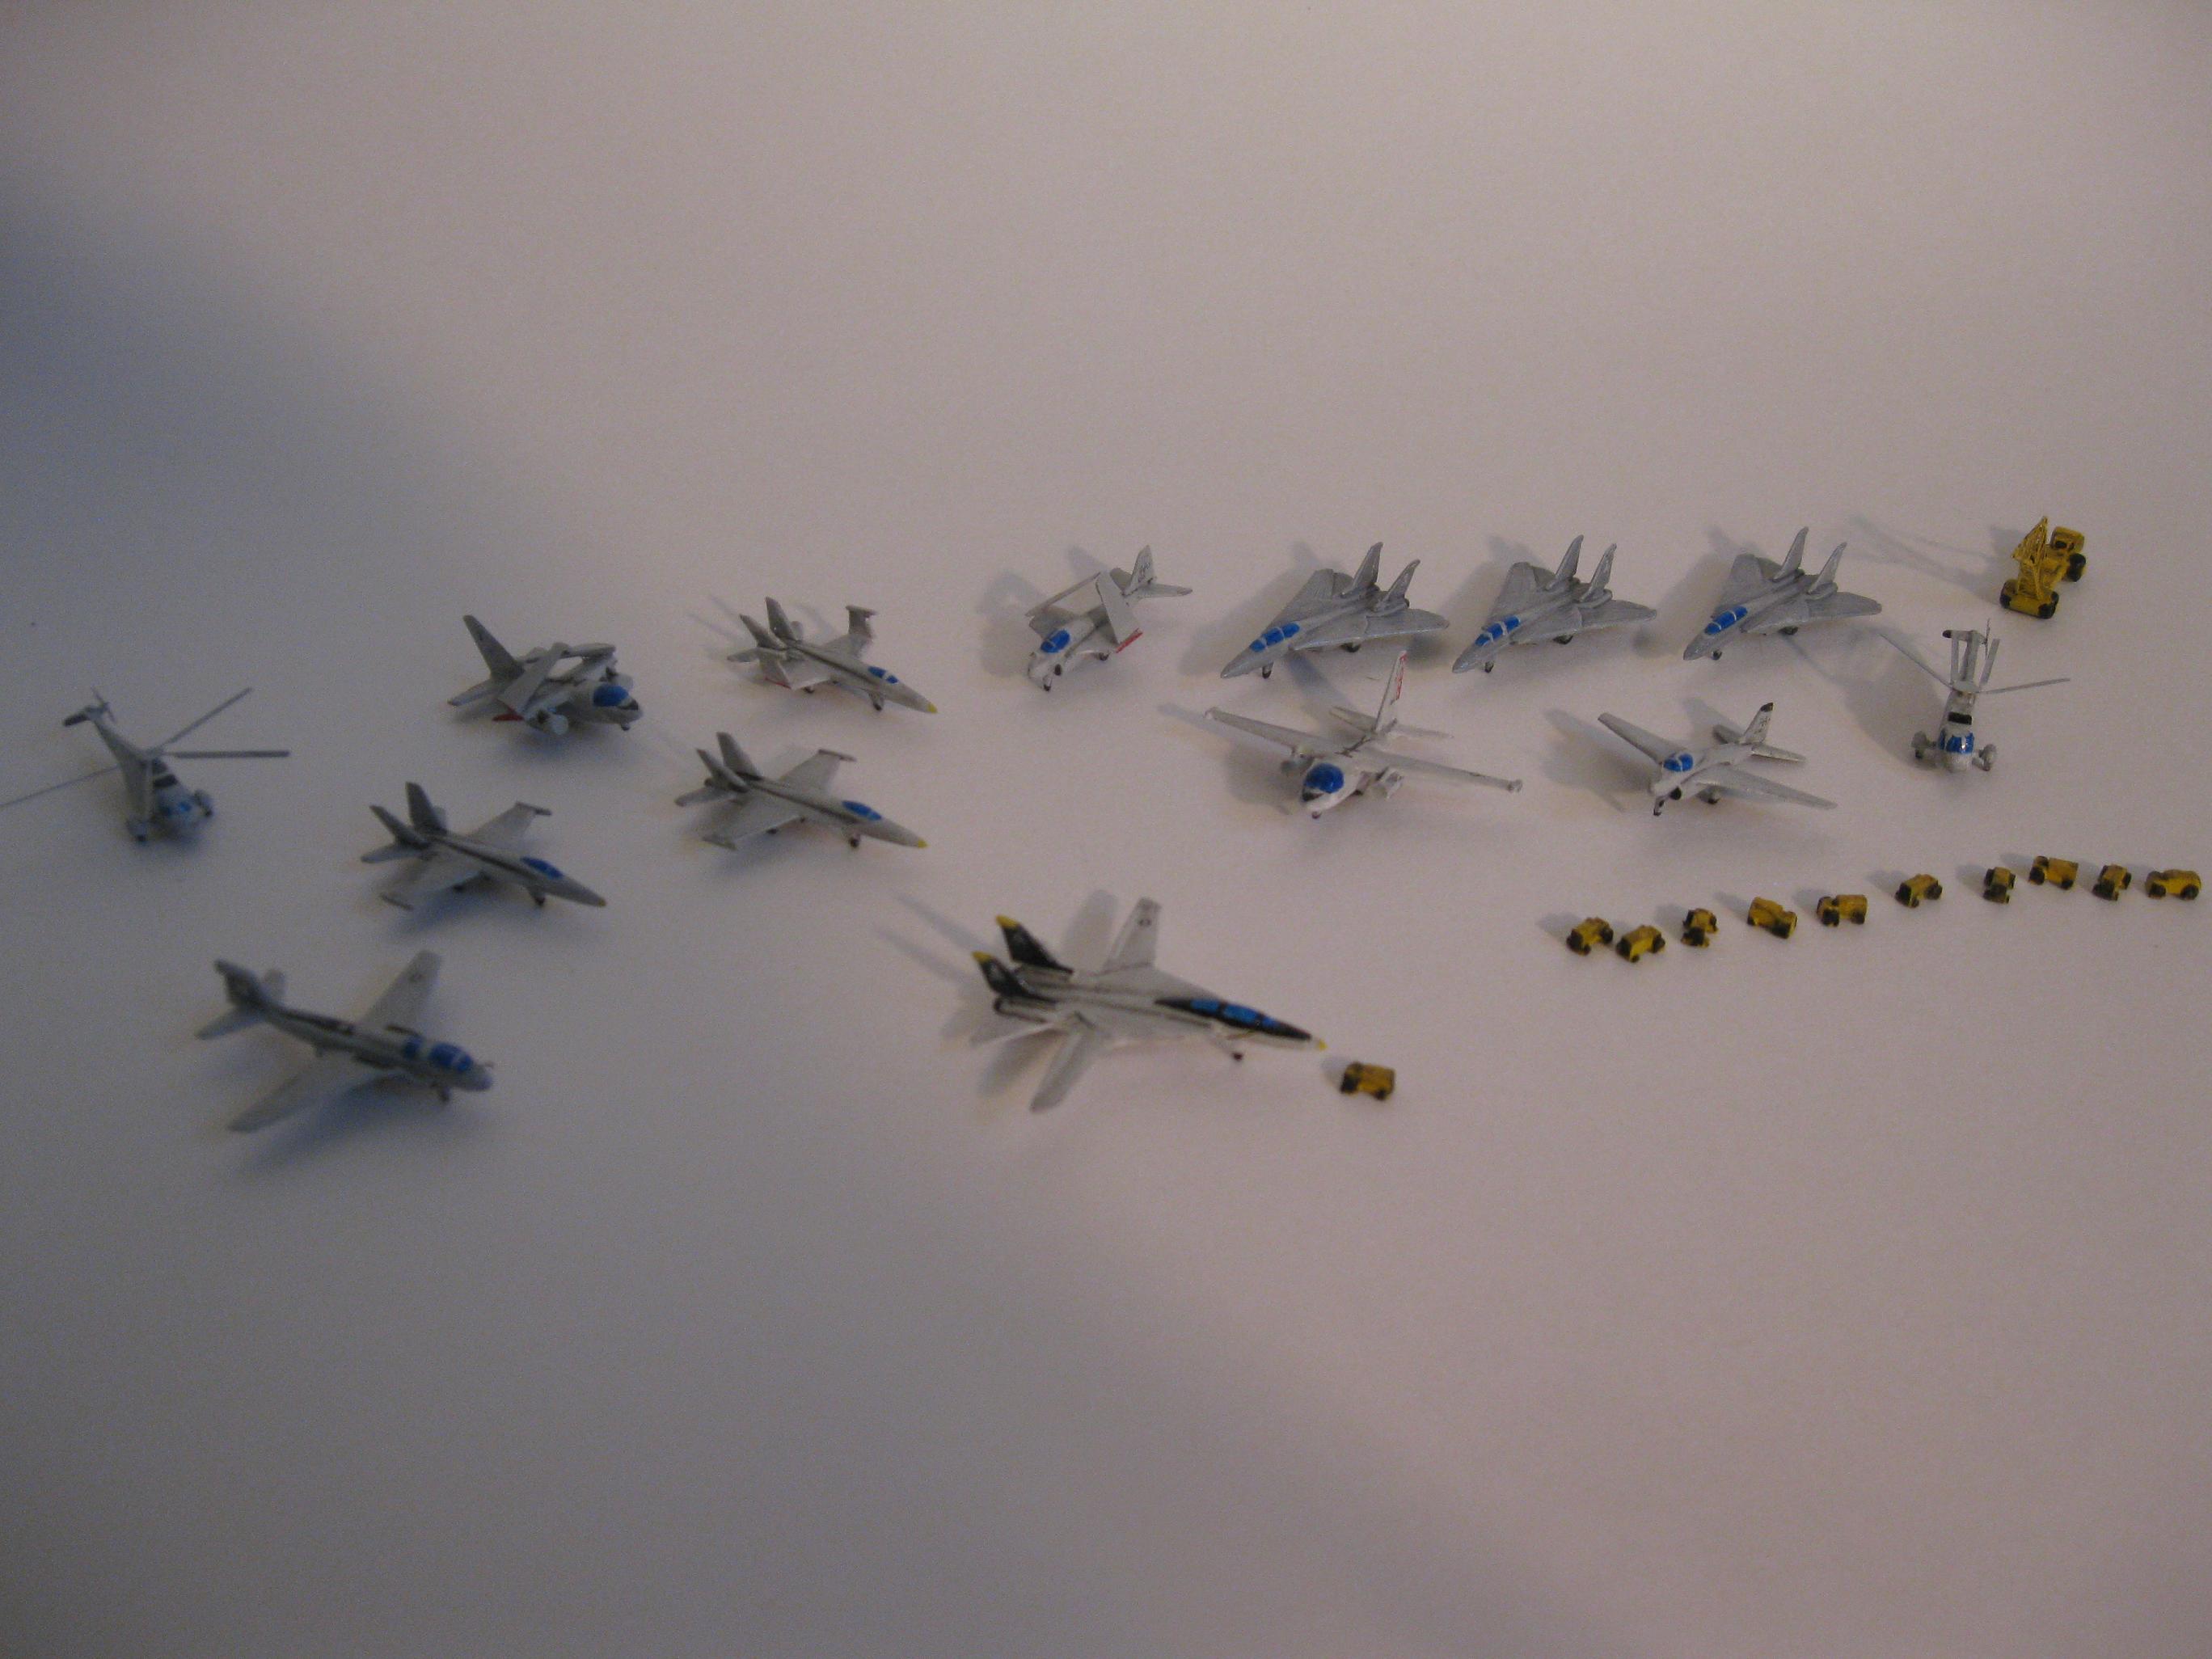
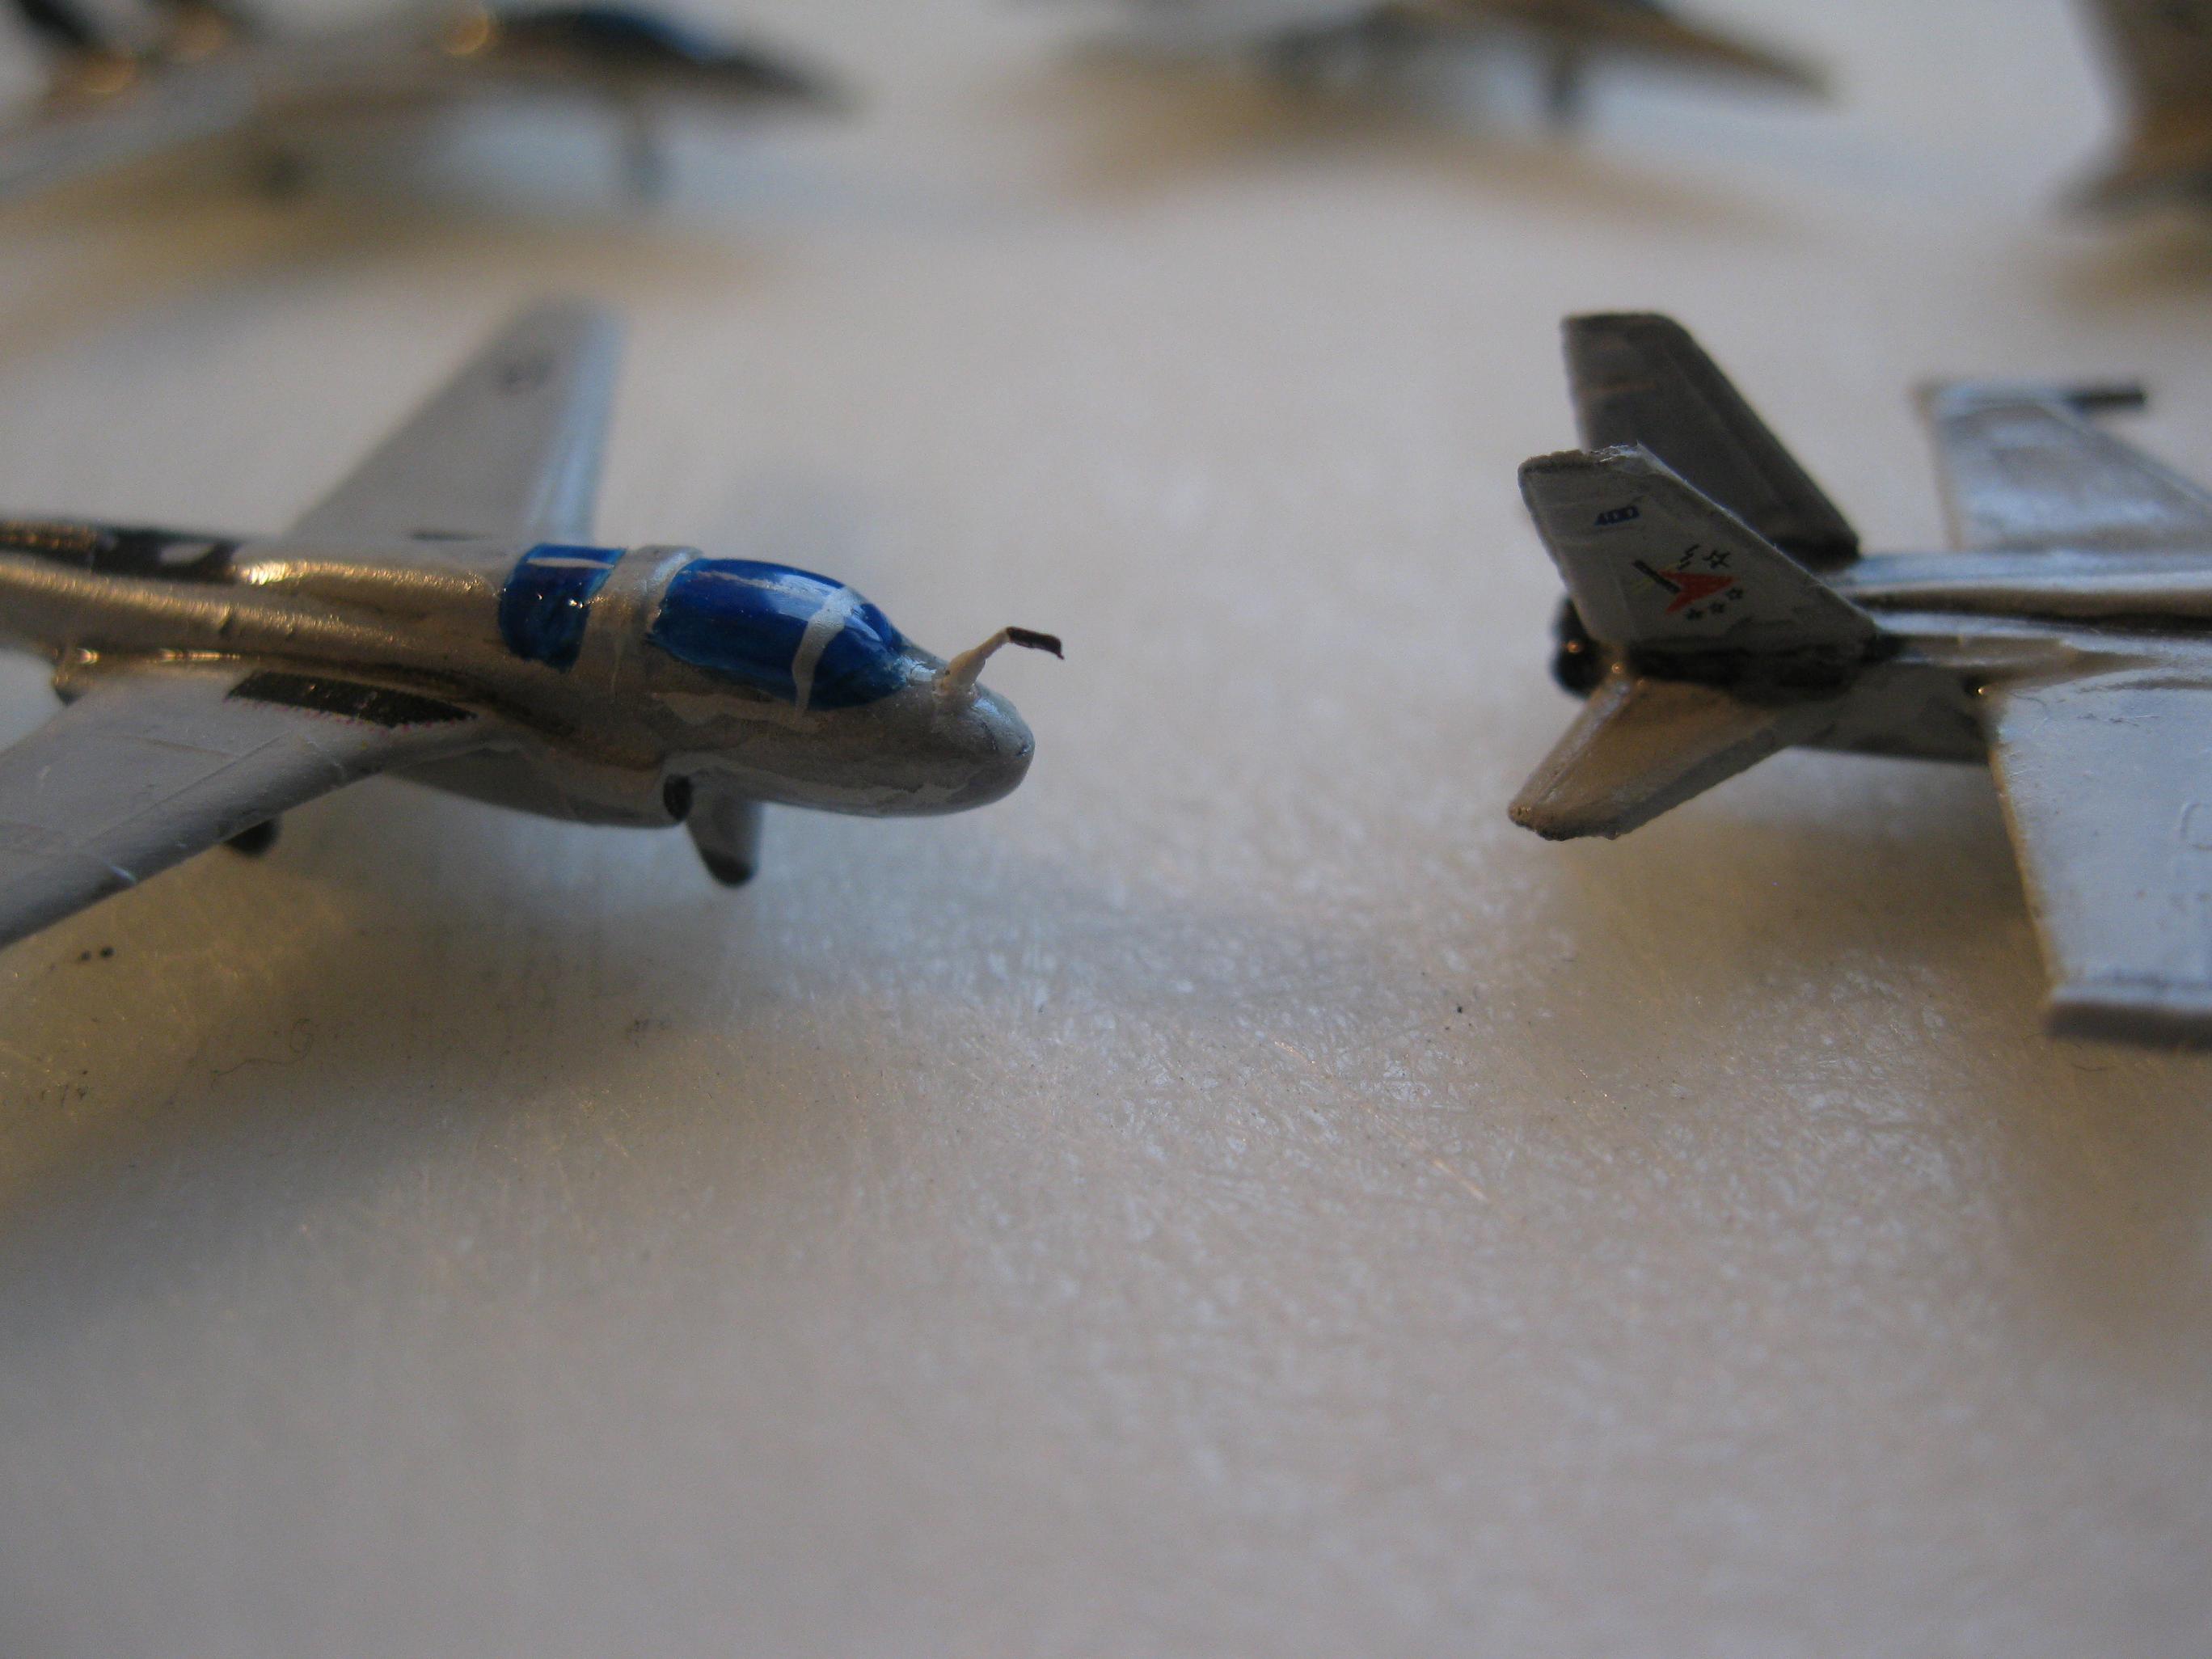
Awesome new way to detail models!!! Note the wings I
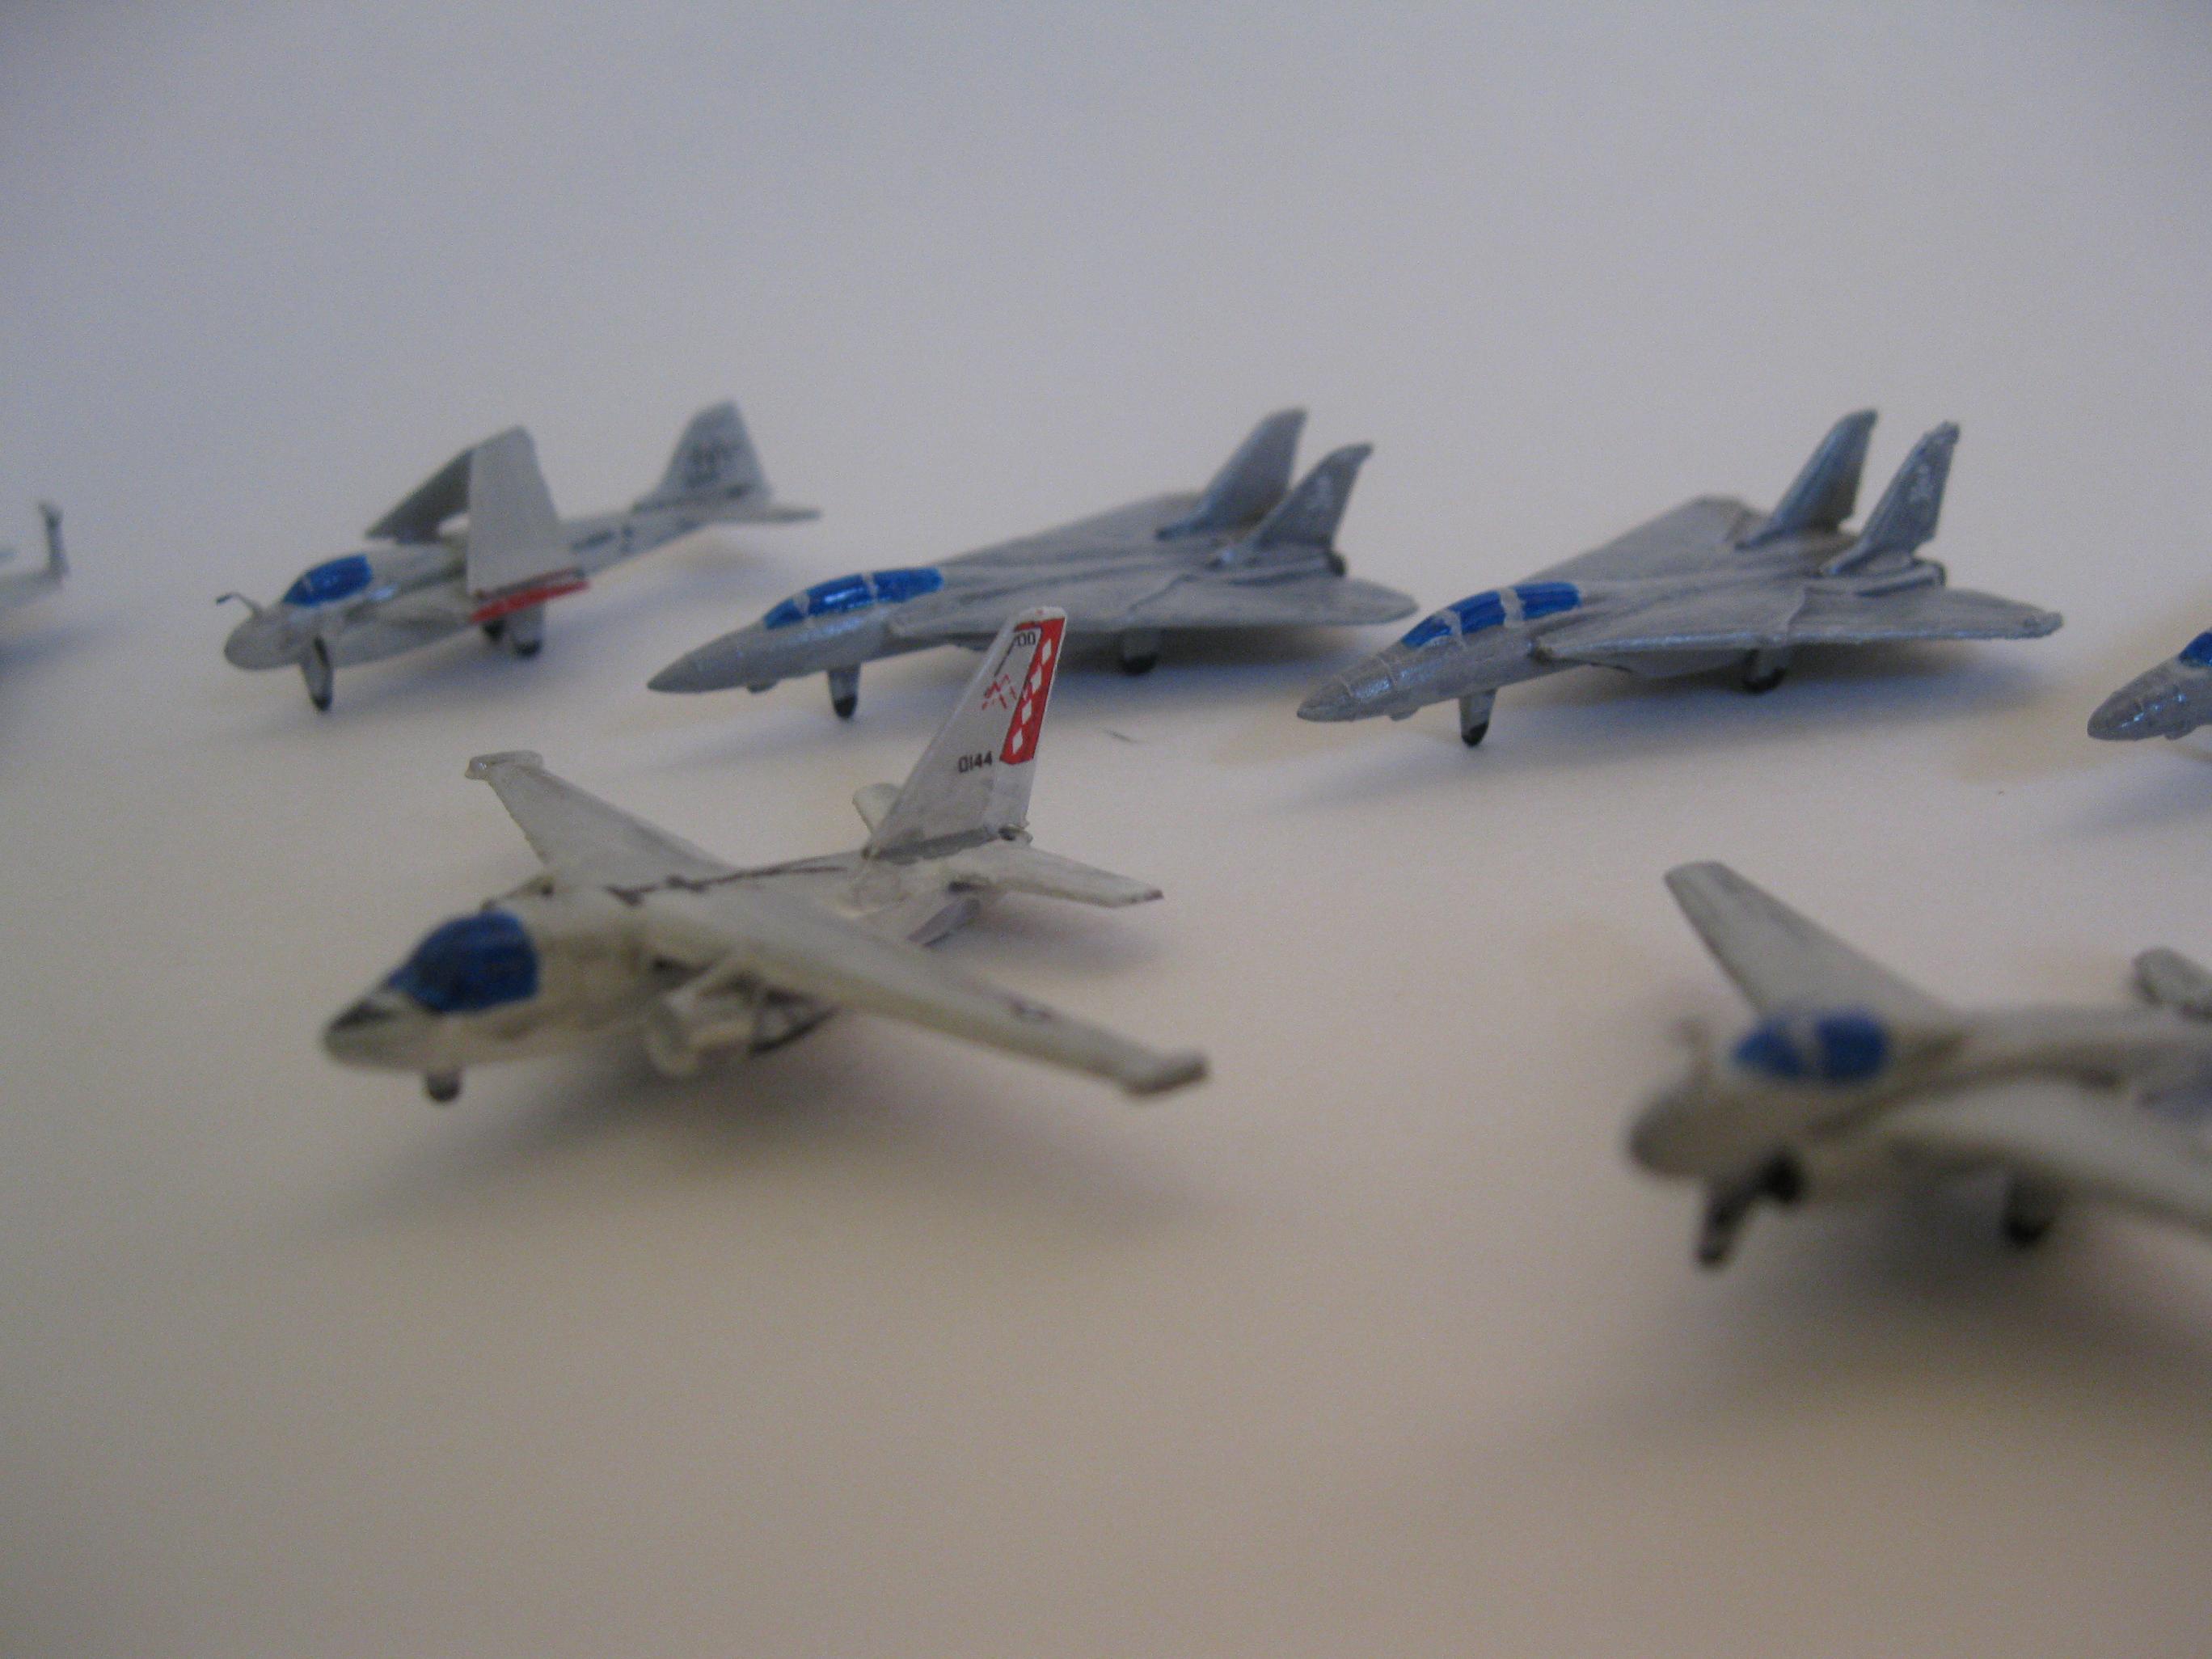
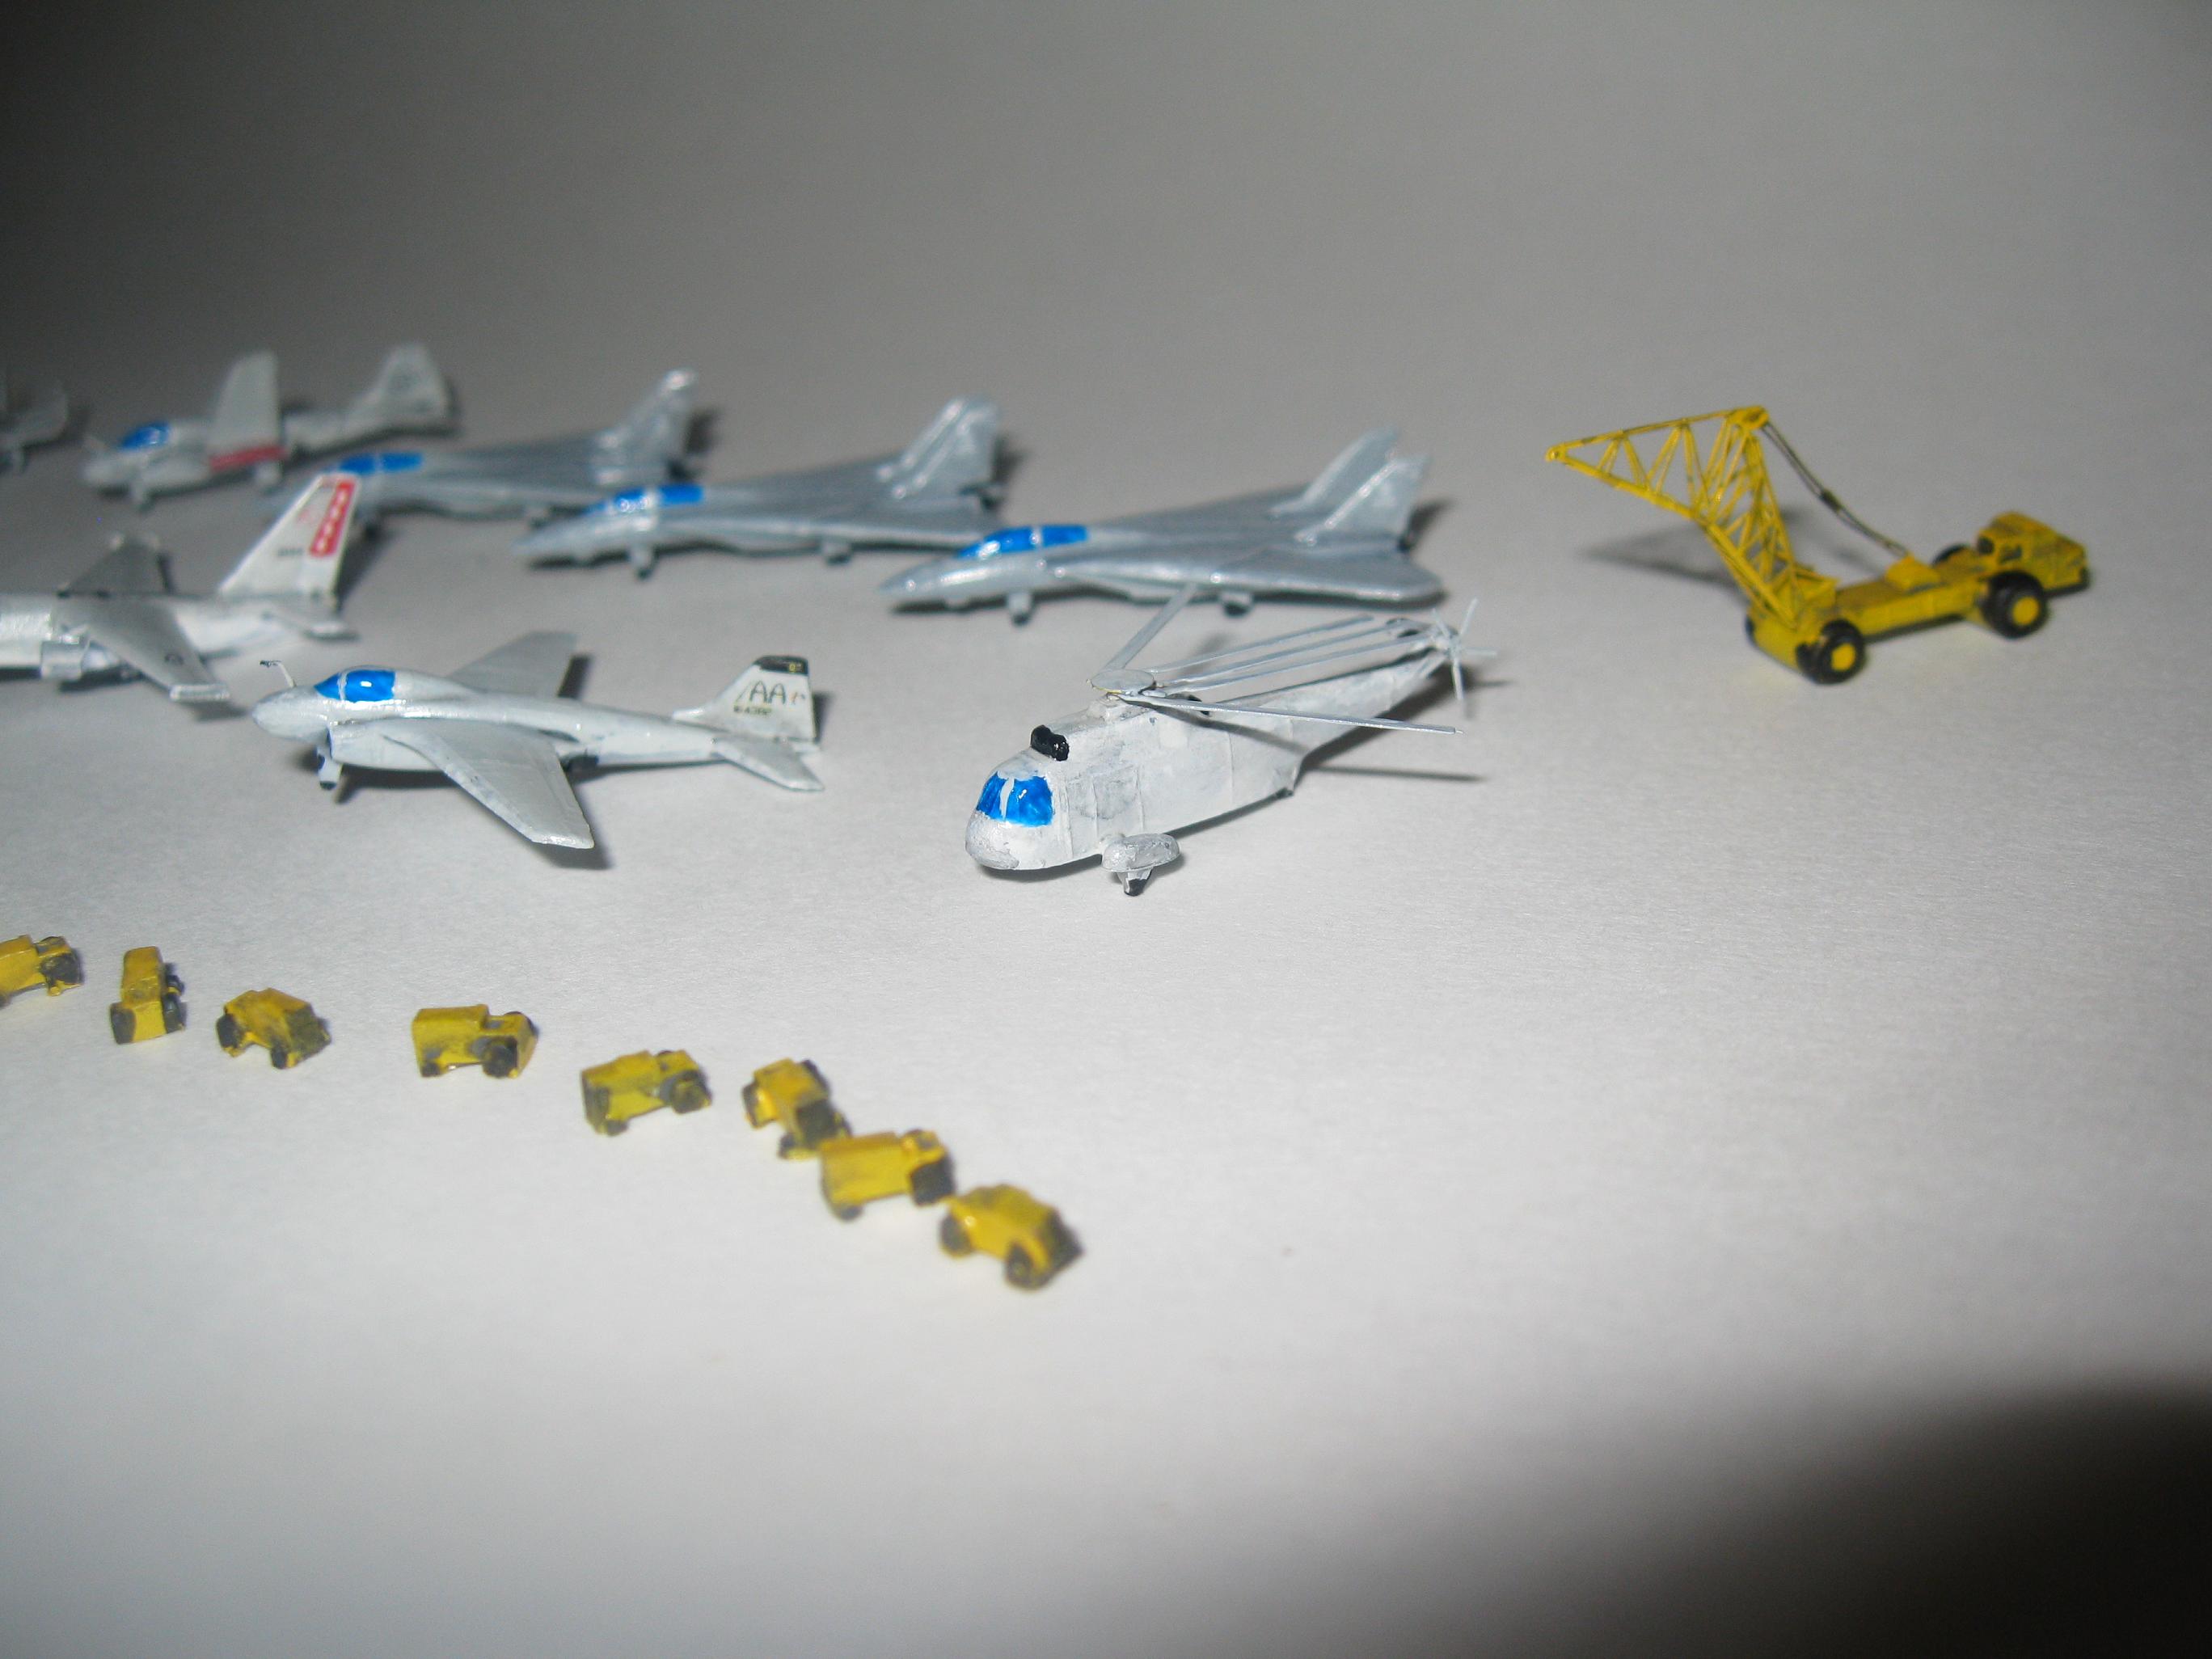
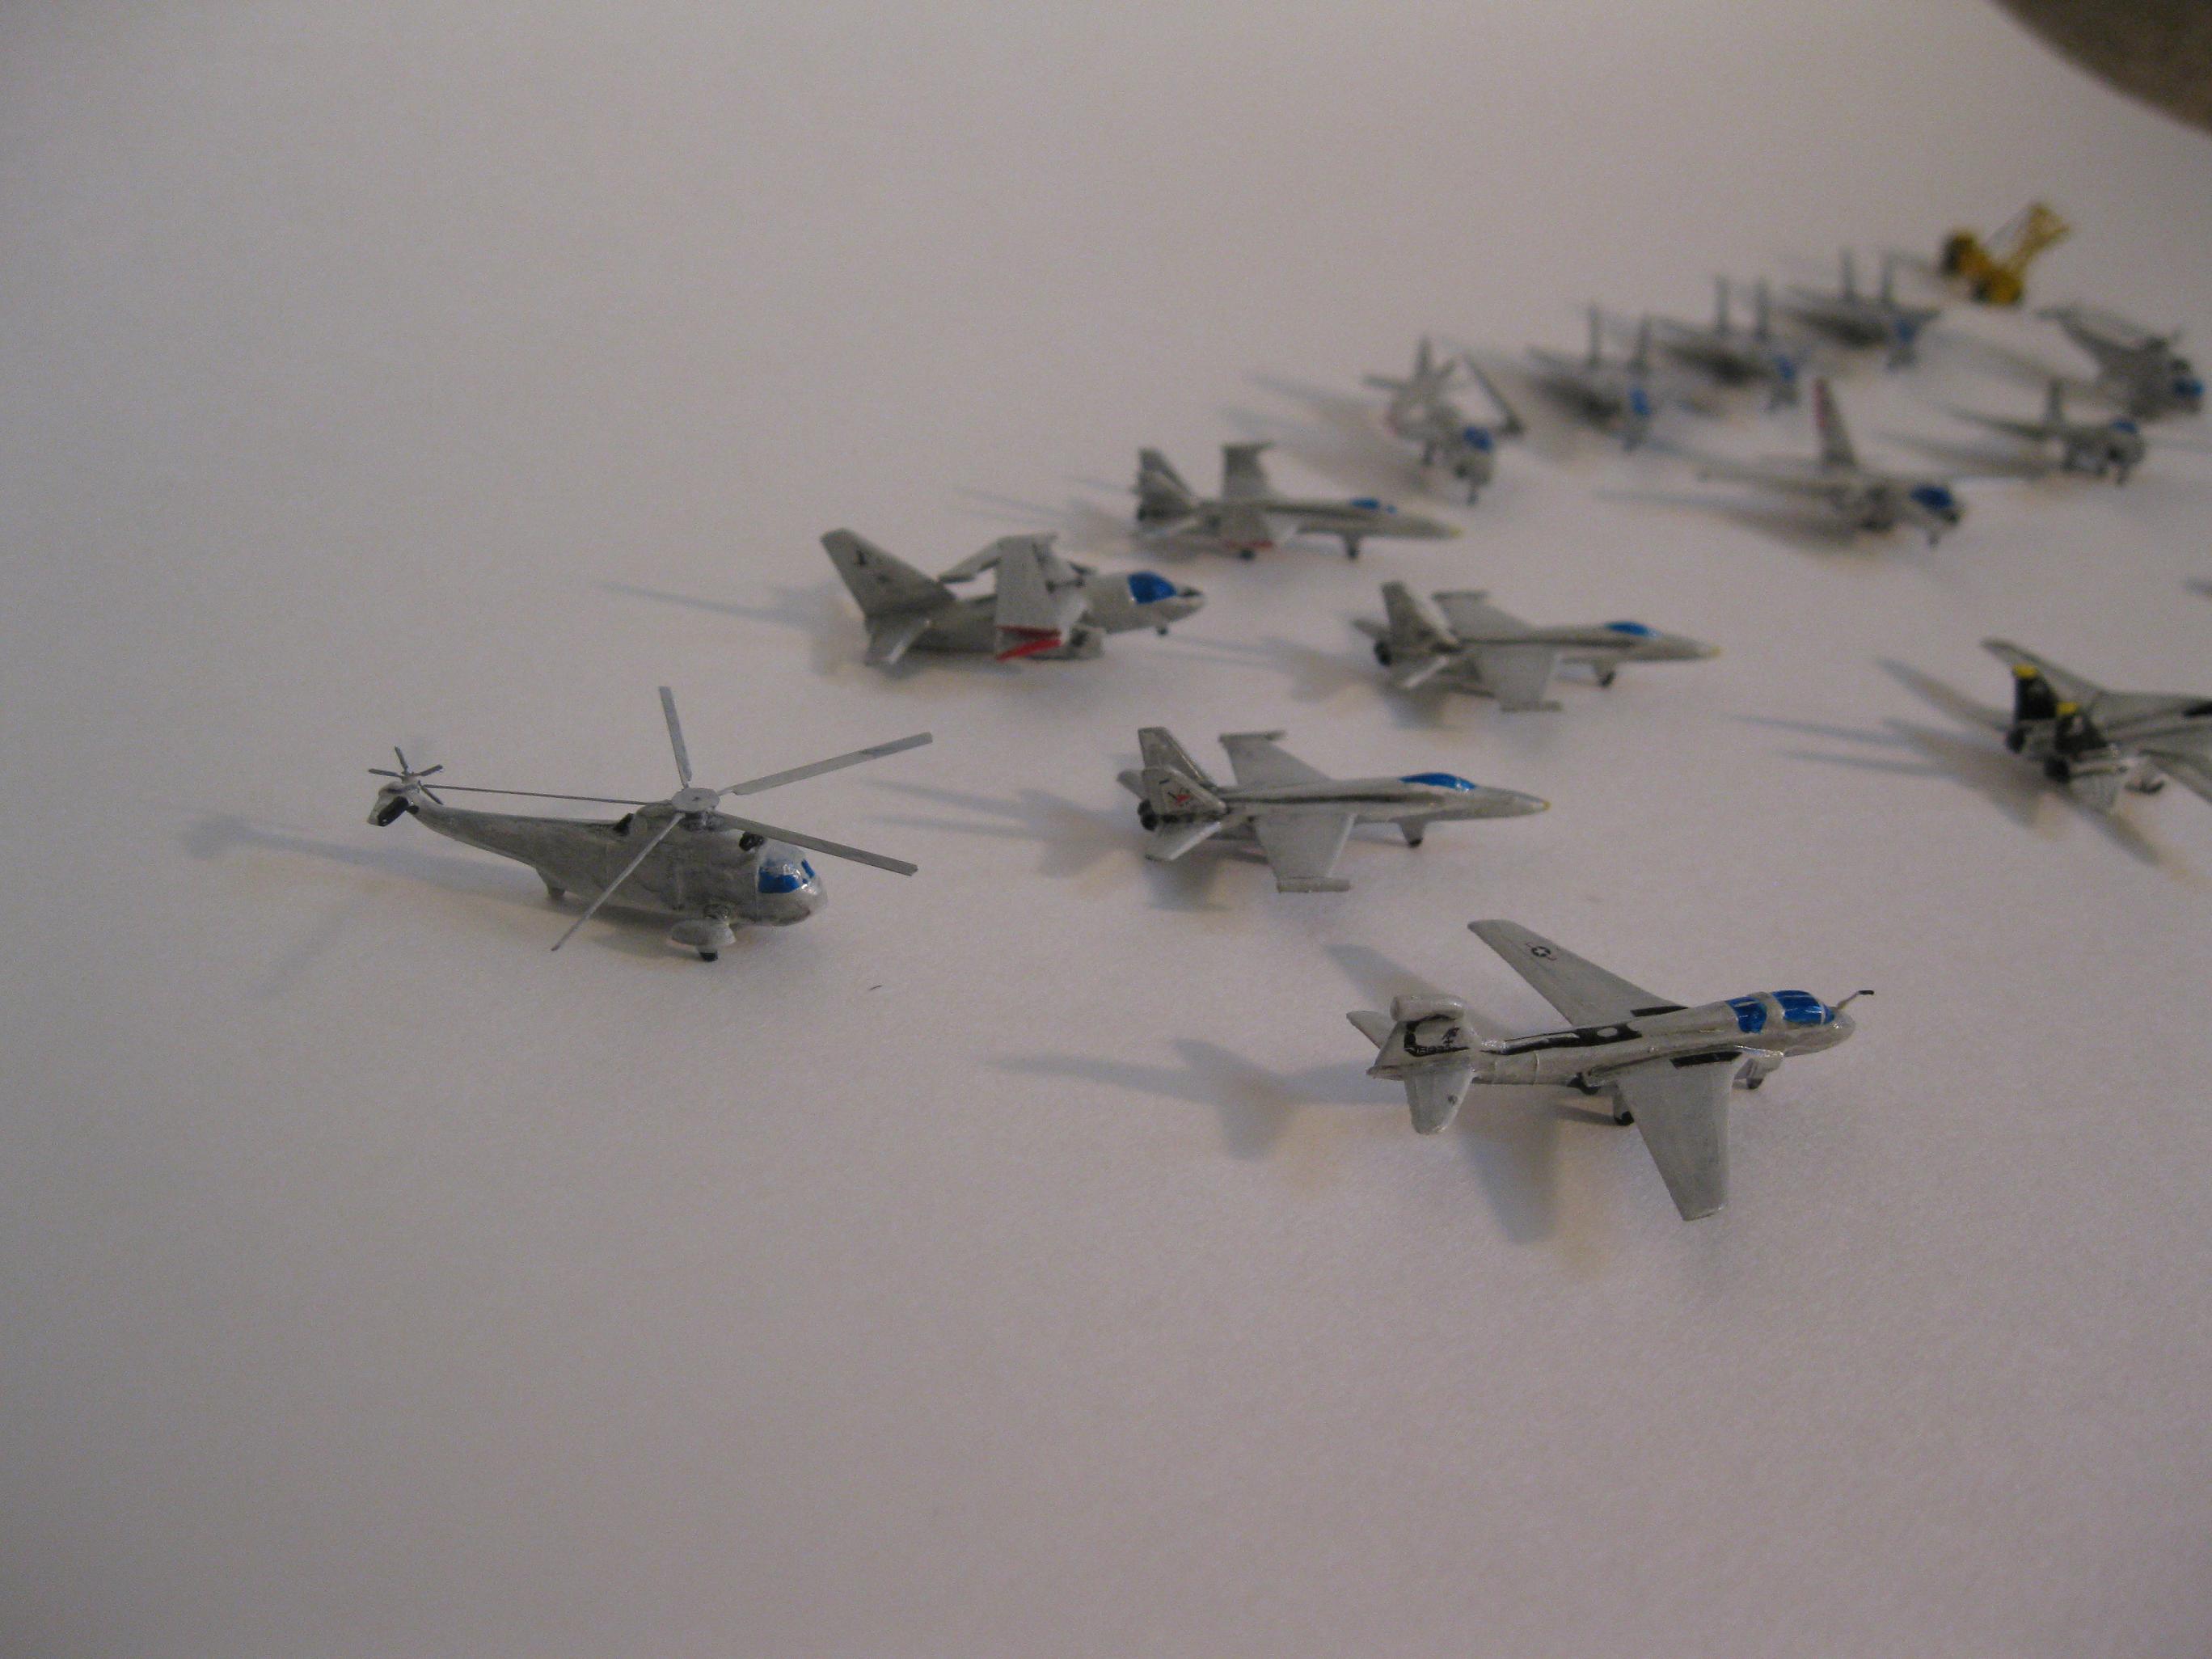
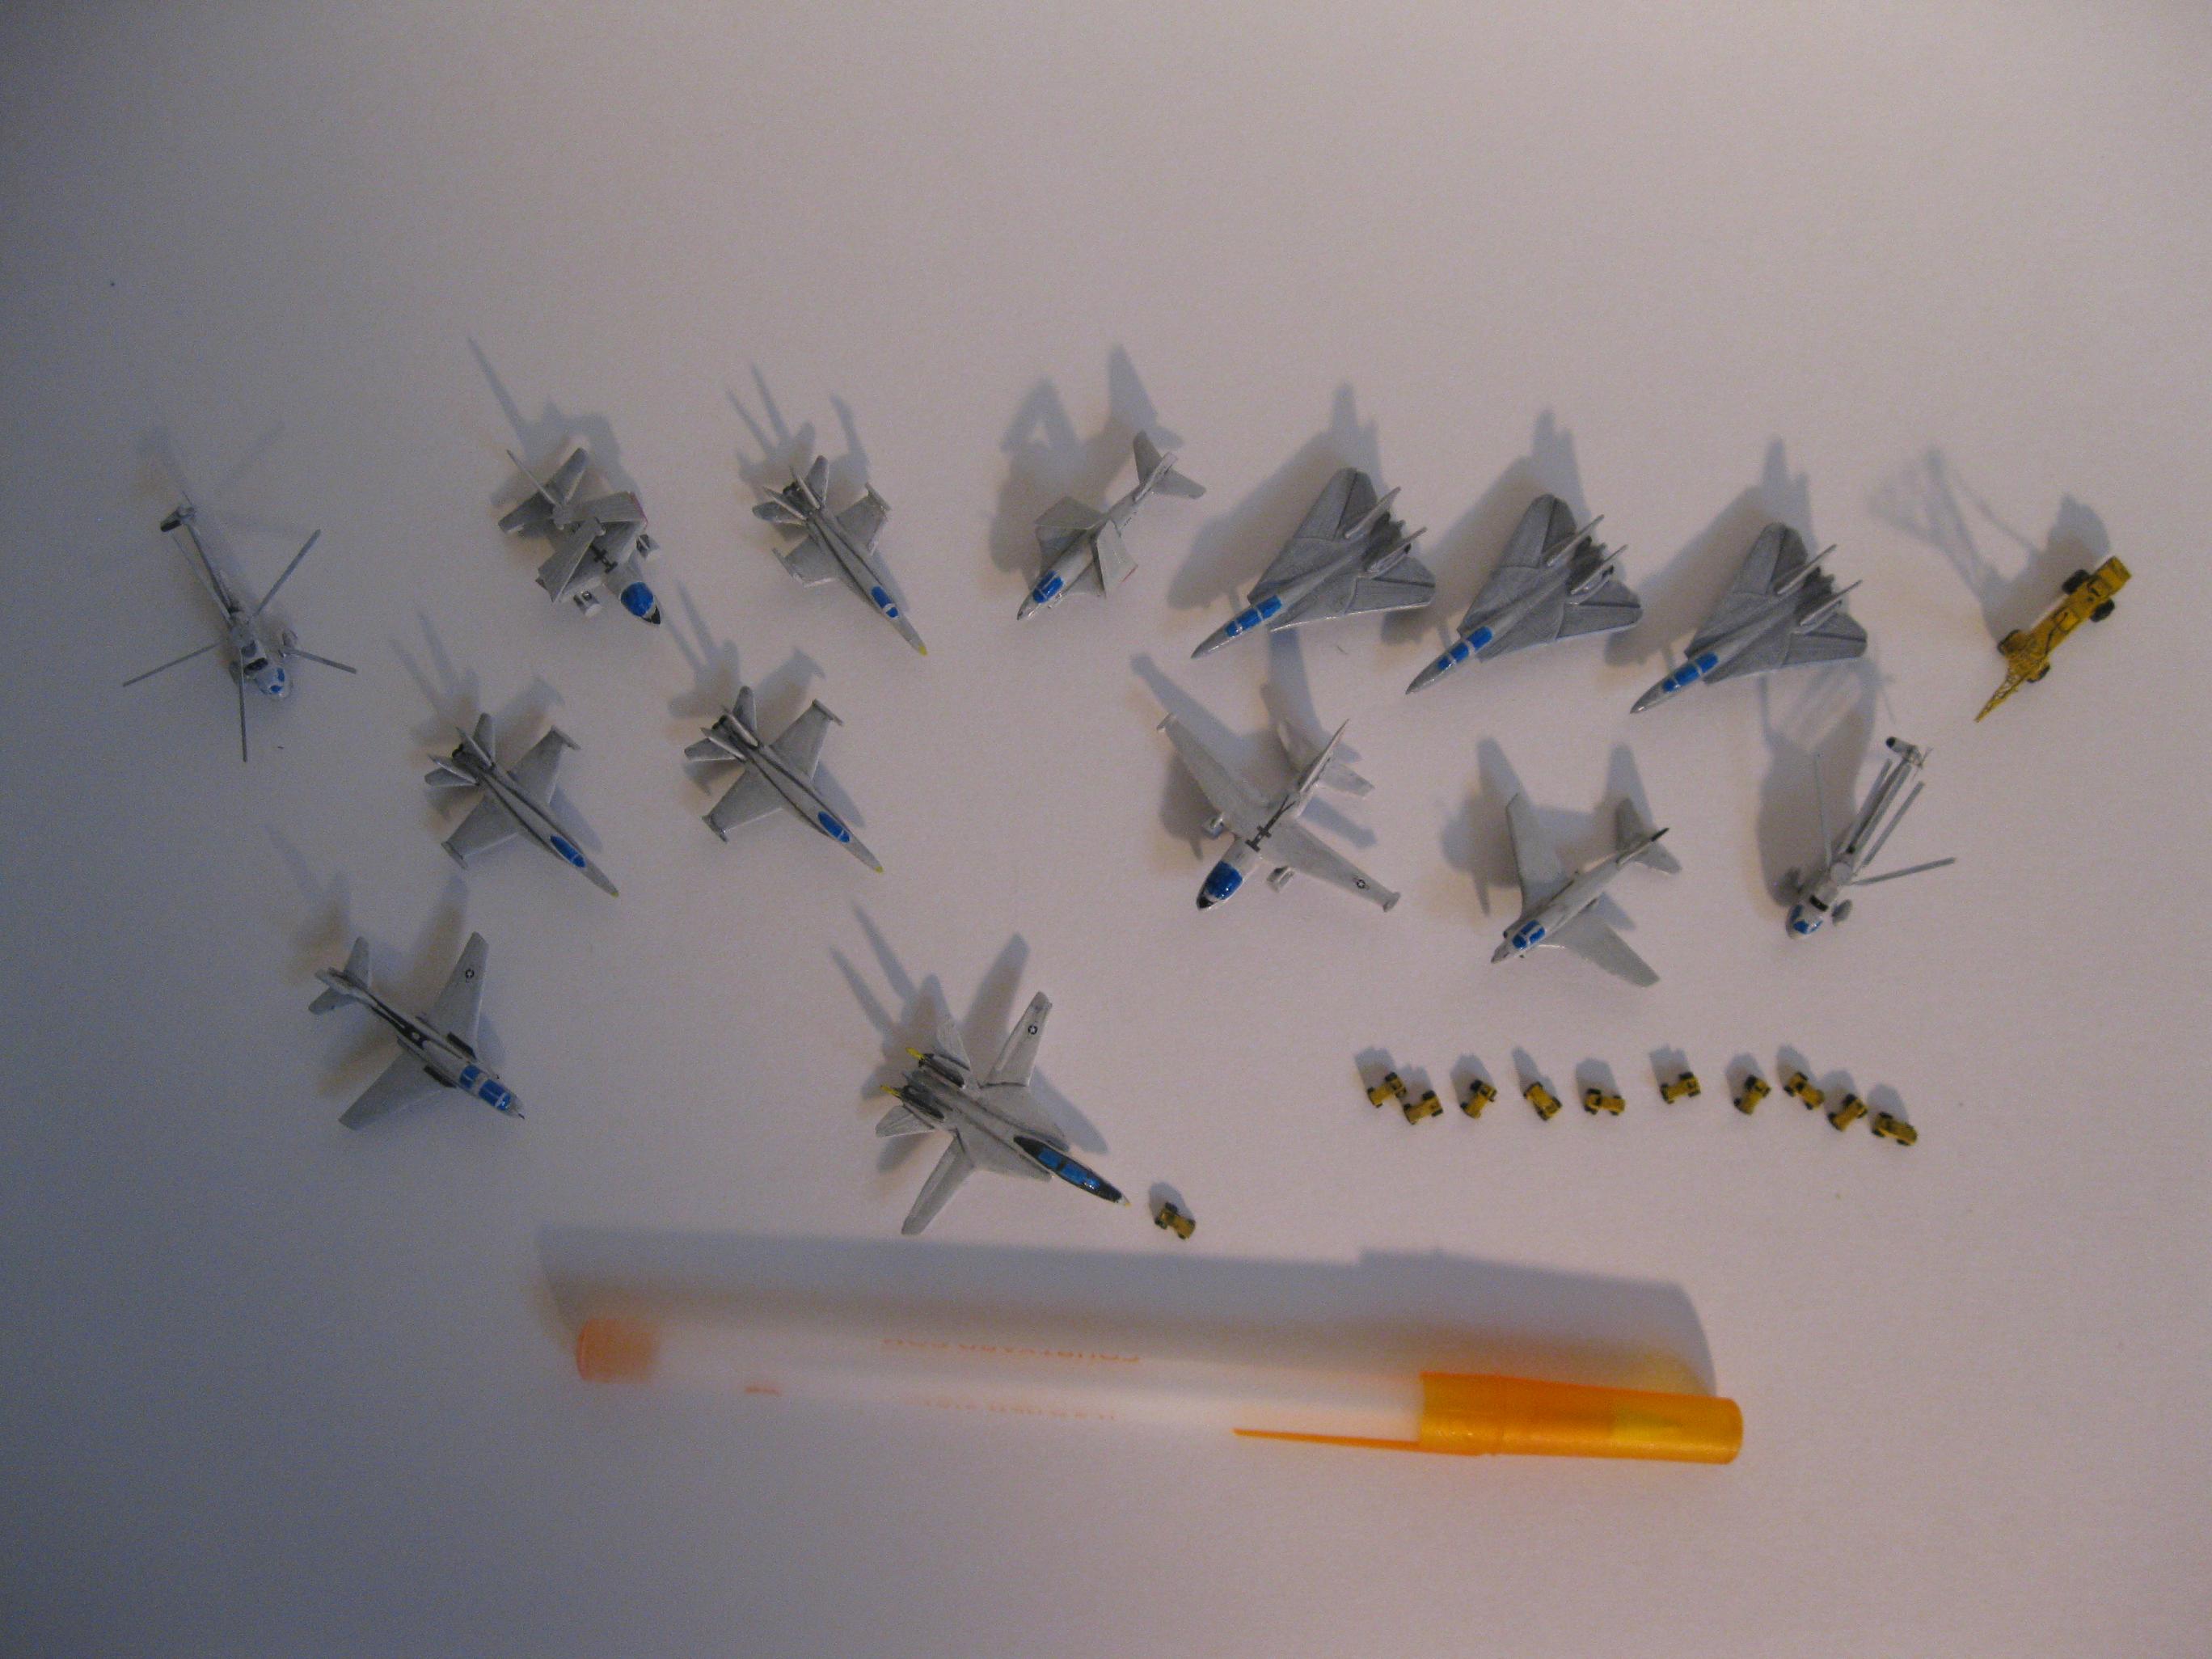
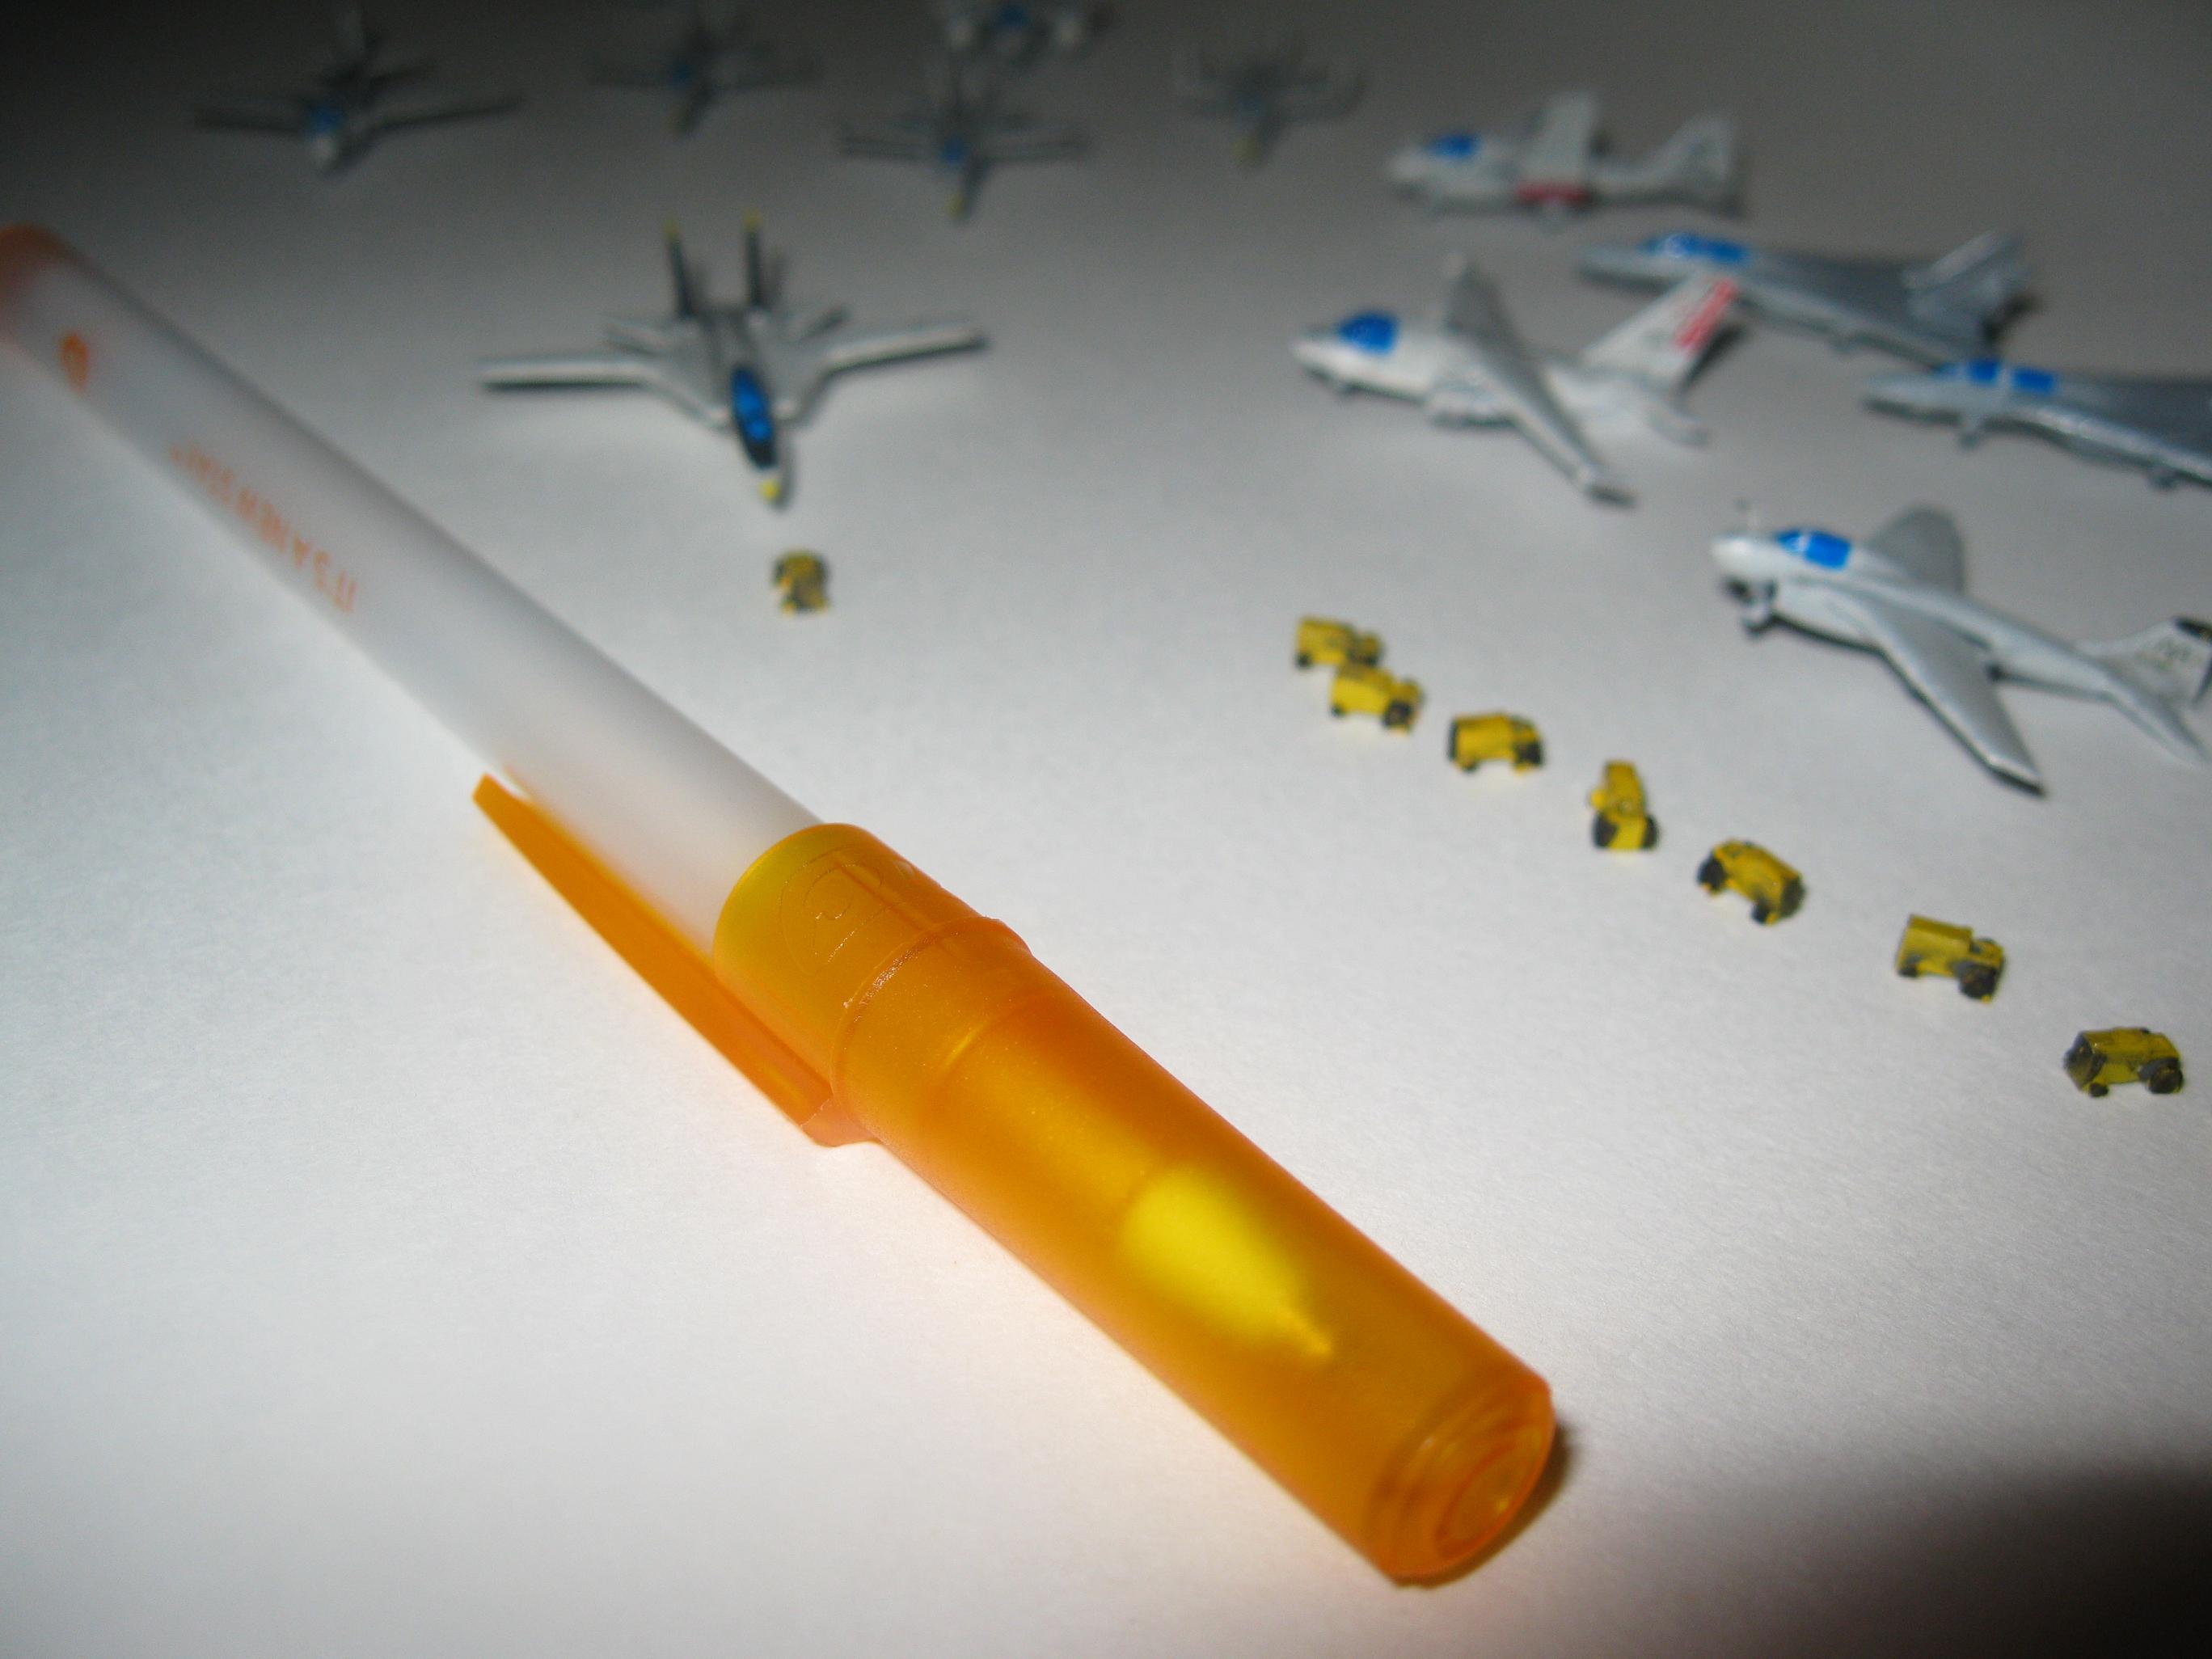
painted previously. The Air Wing with aftert
market decals. I just put on the big ones, but they had
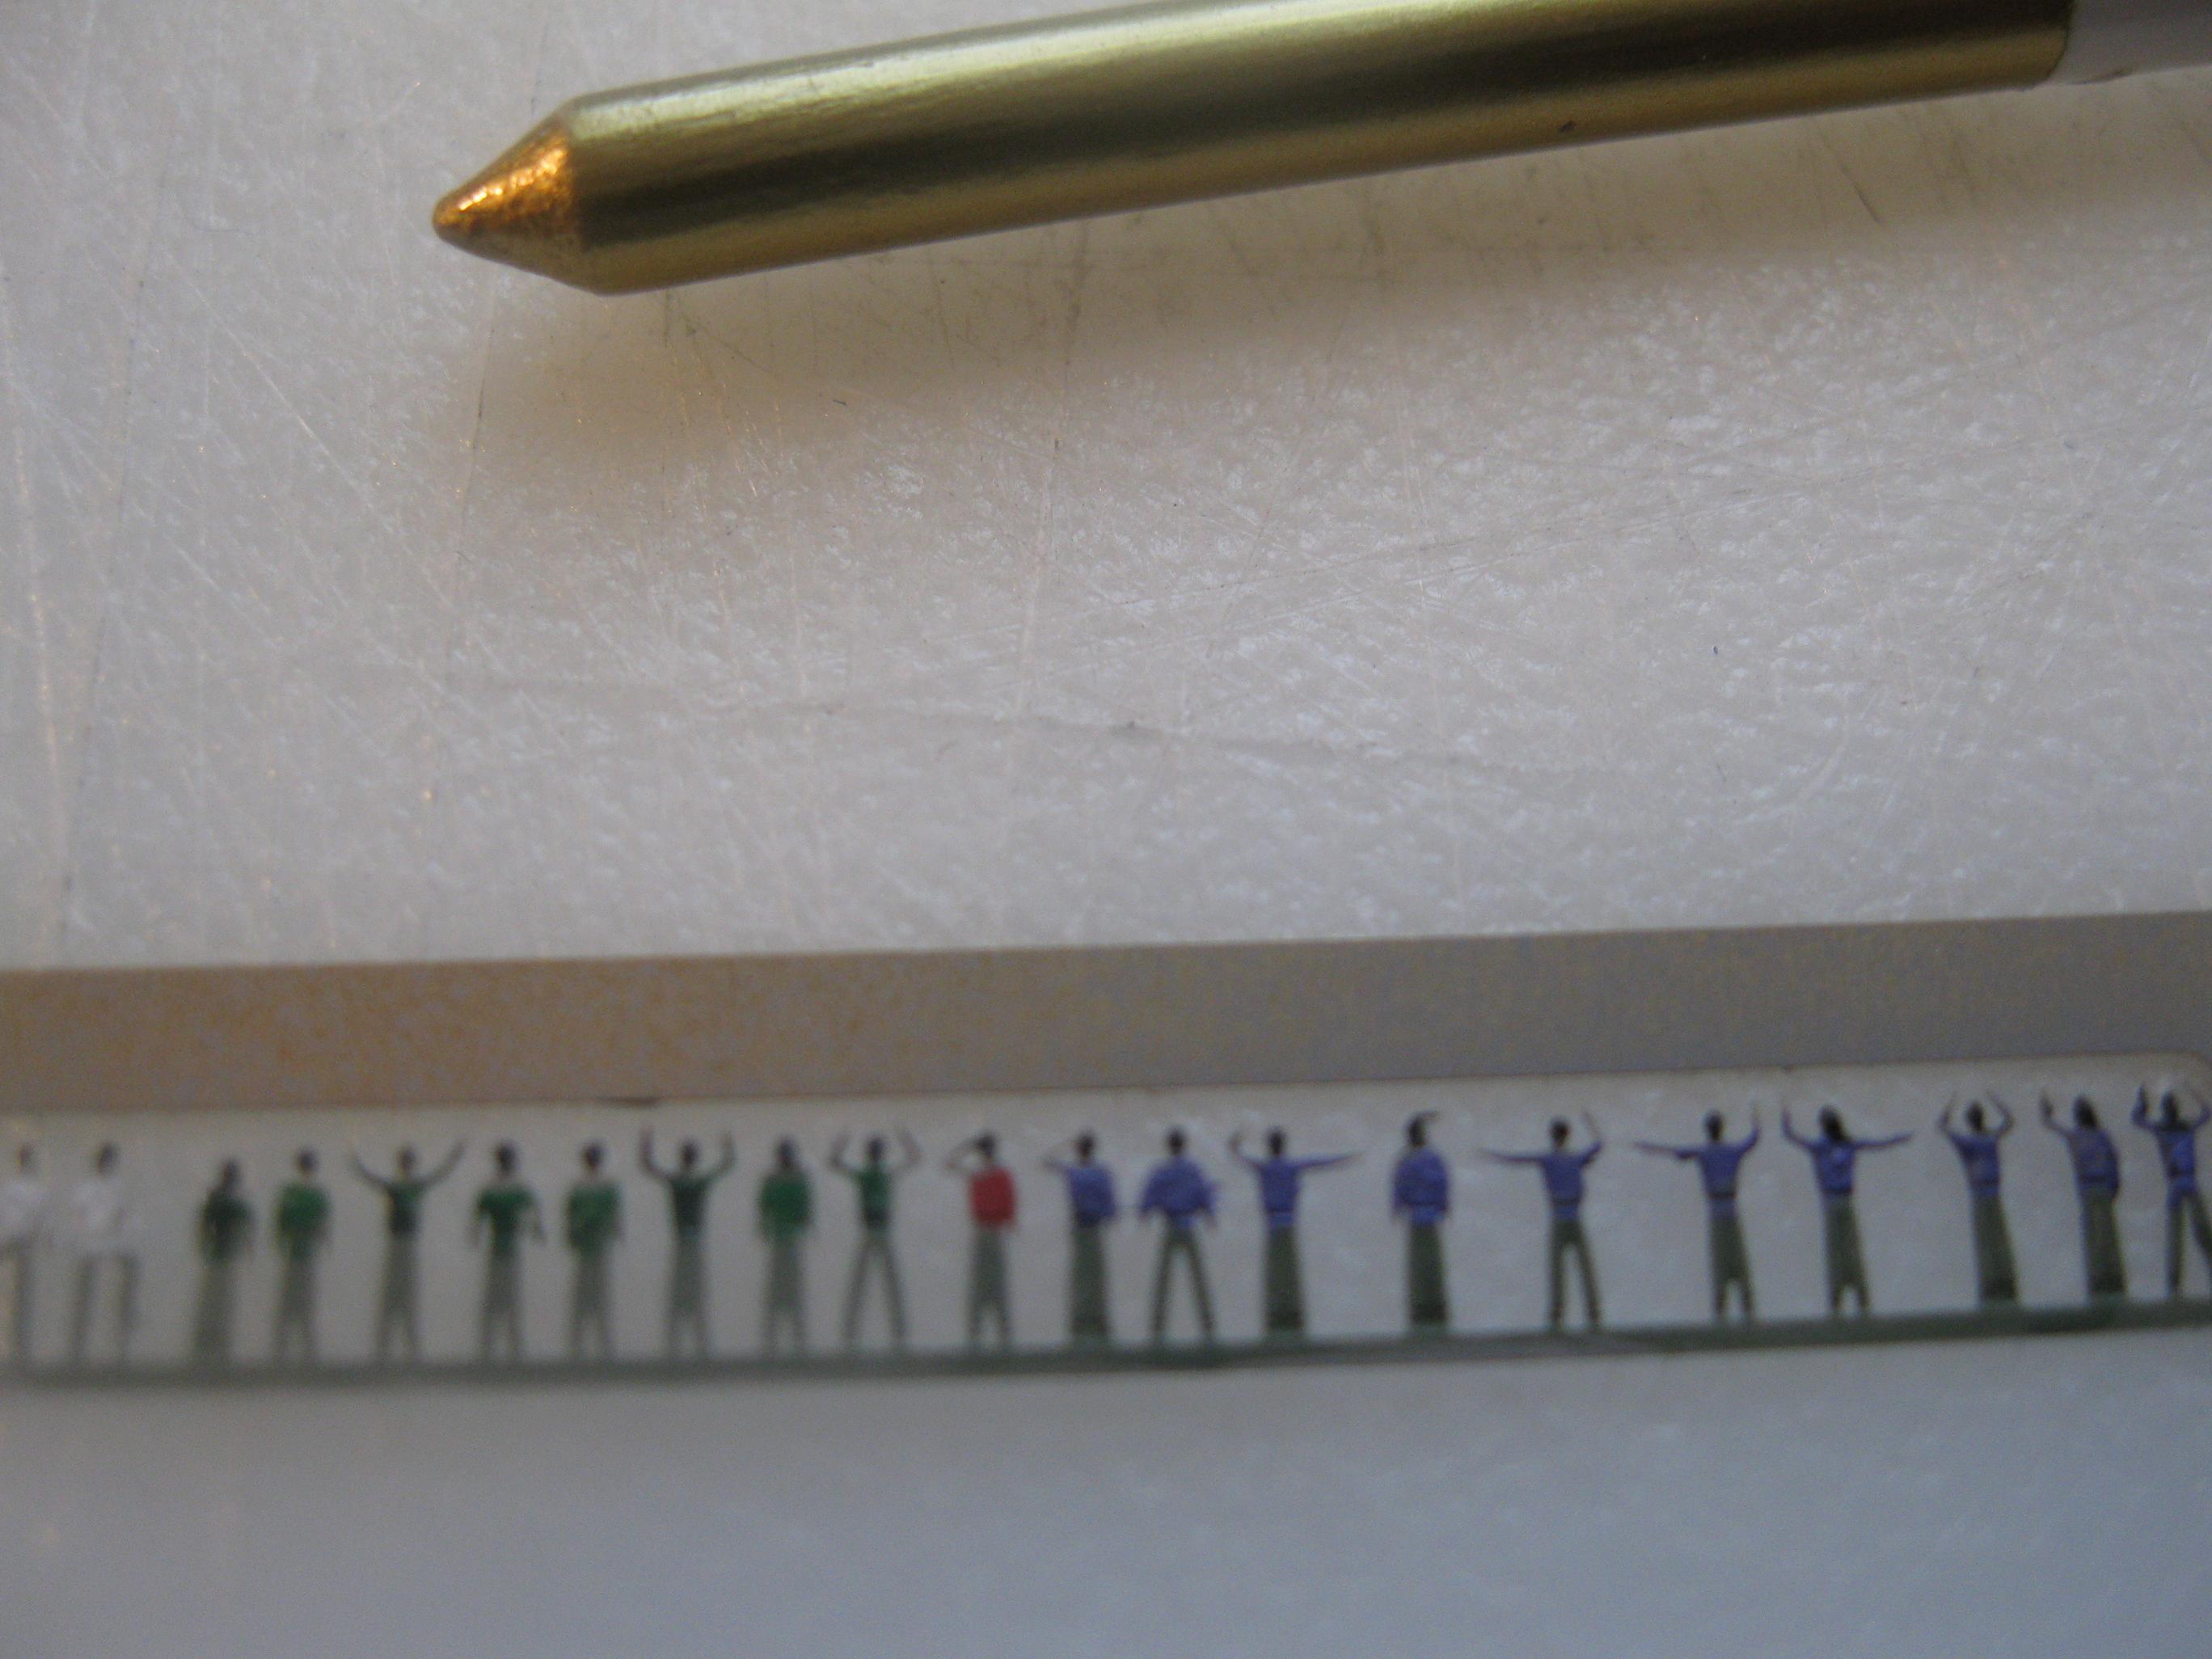
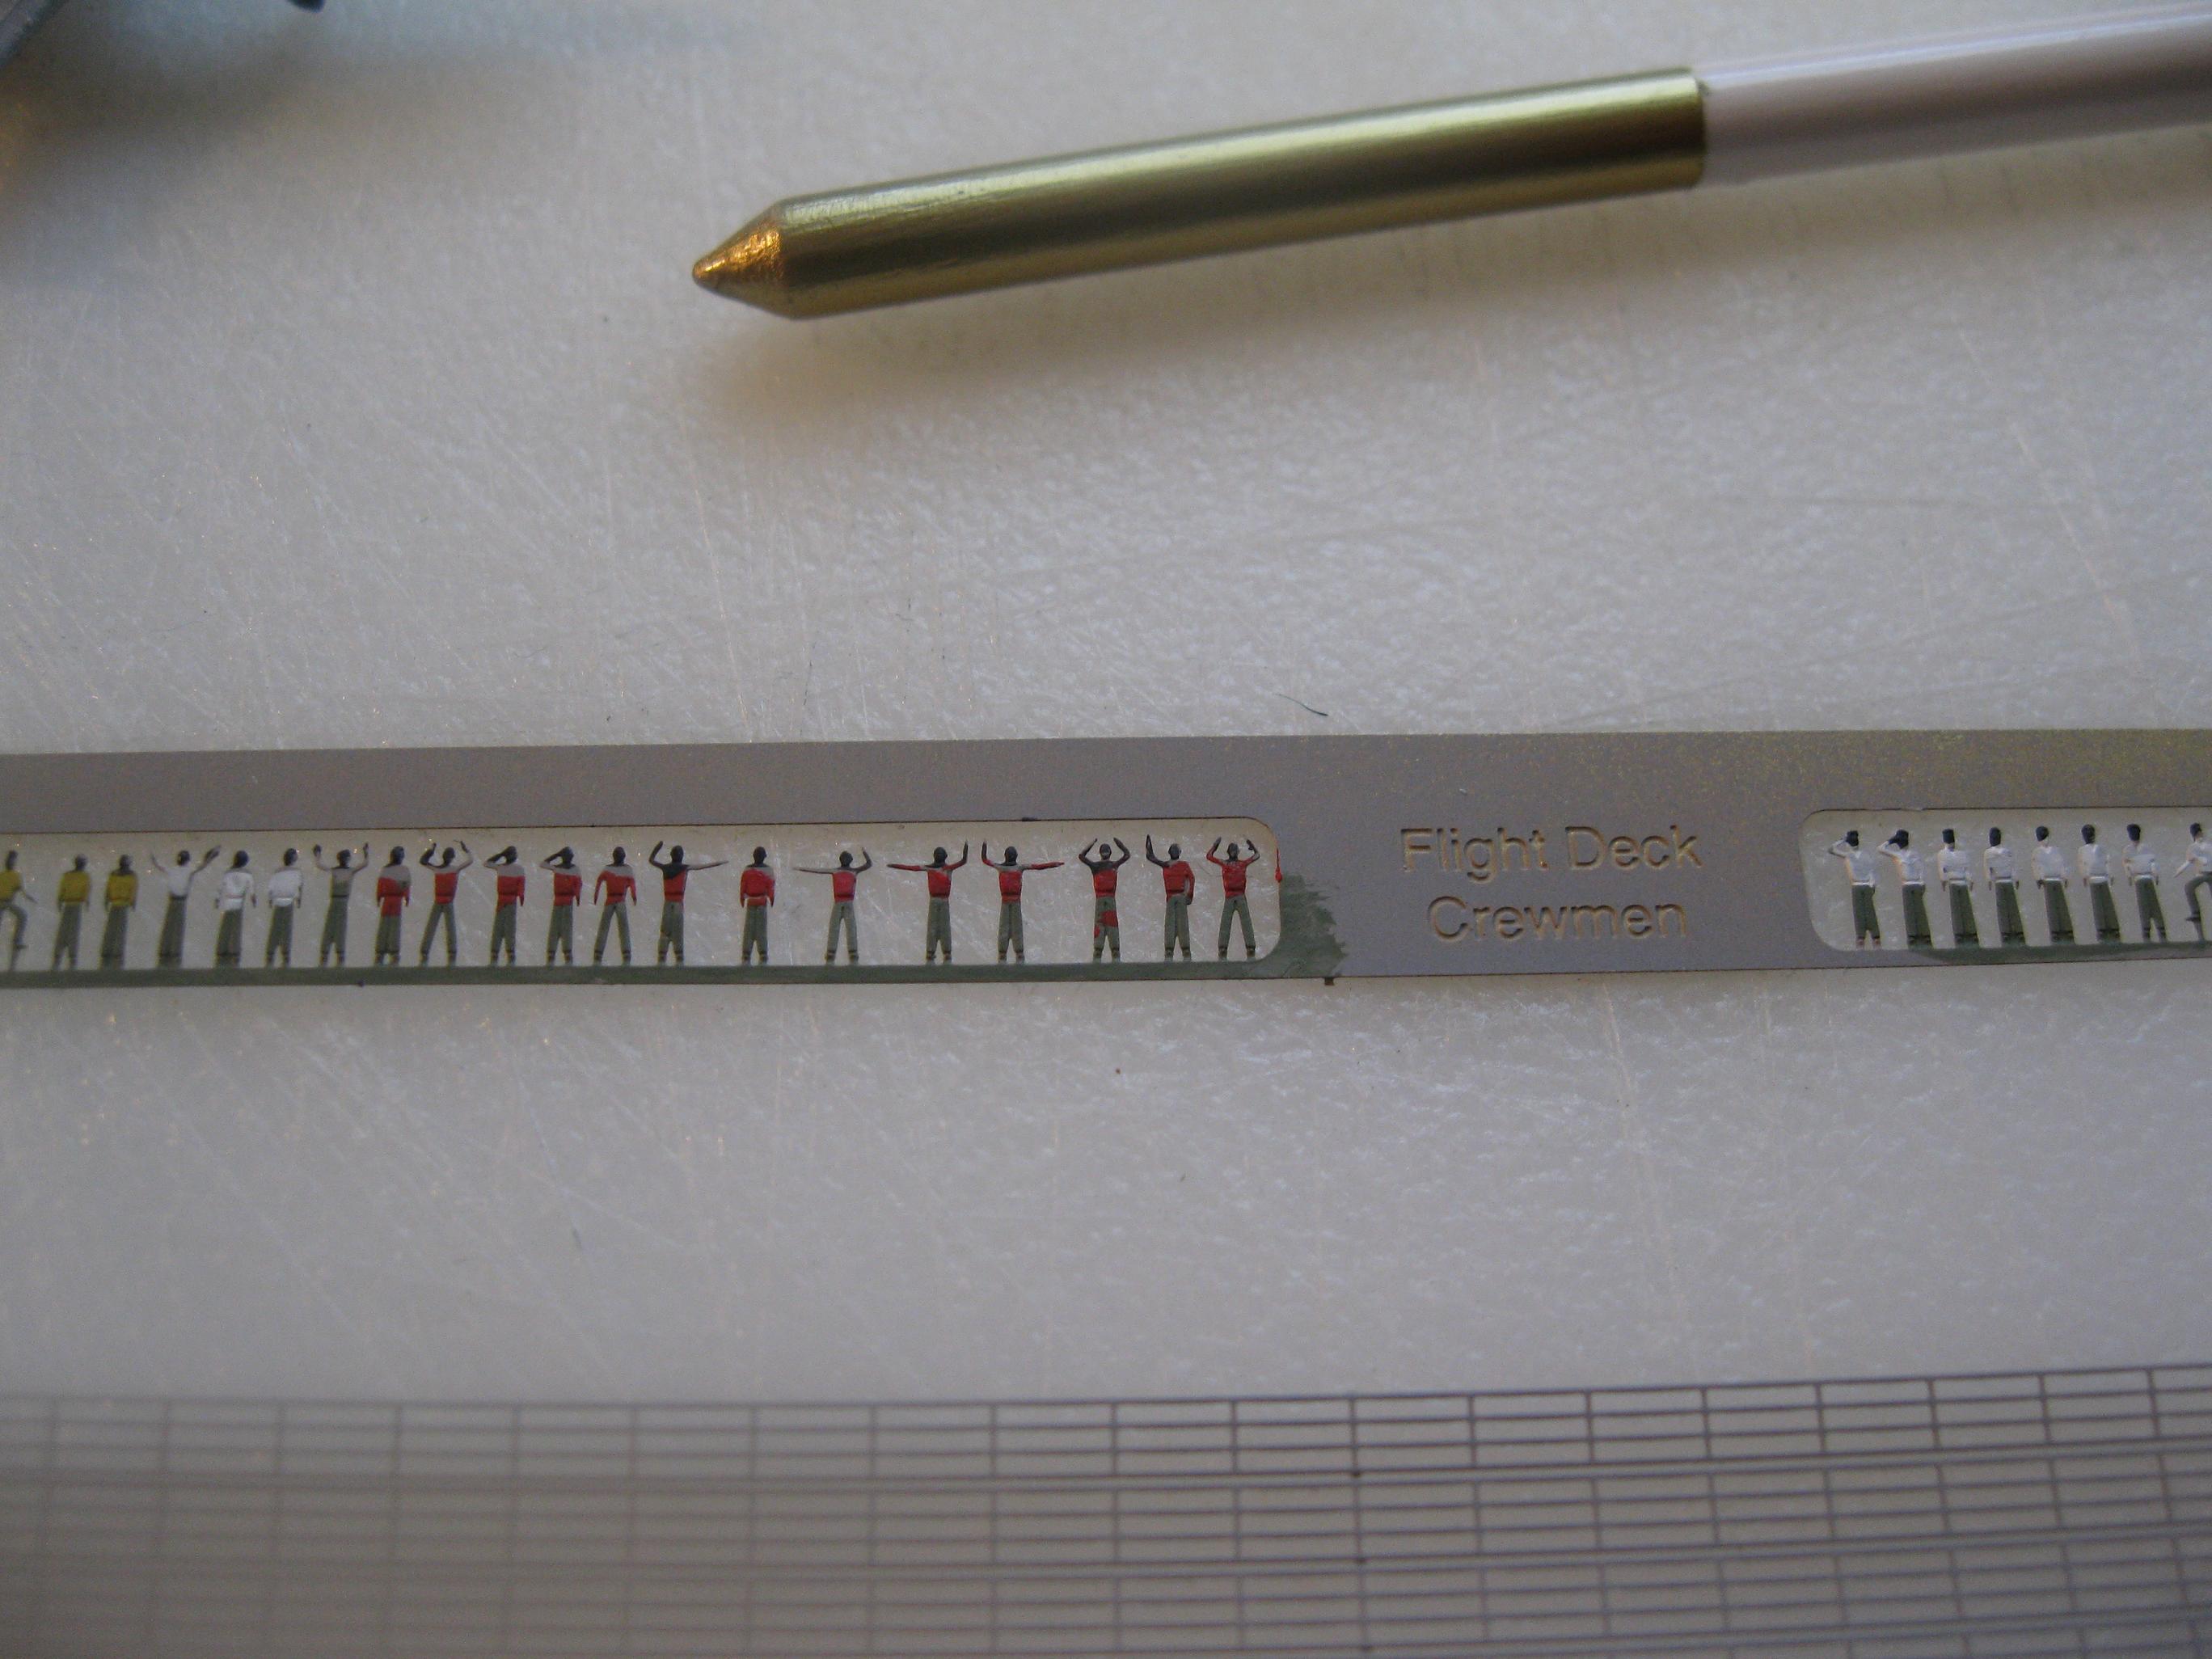
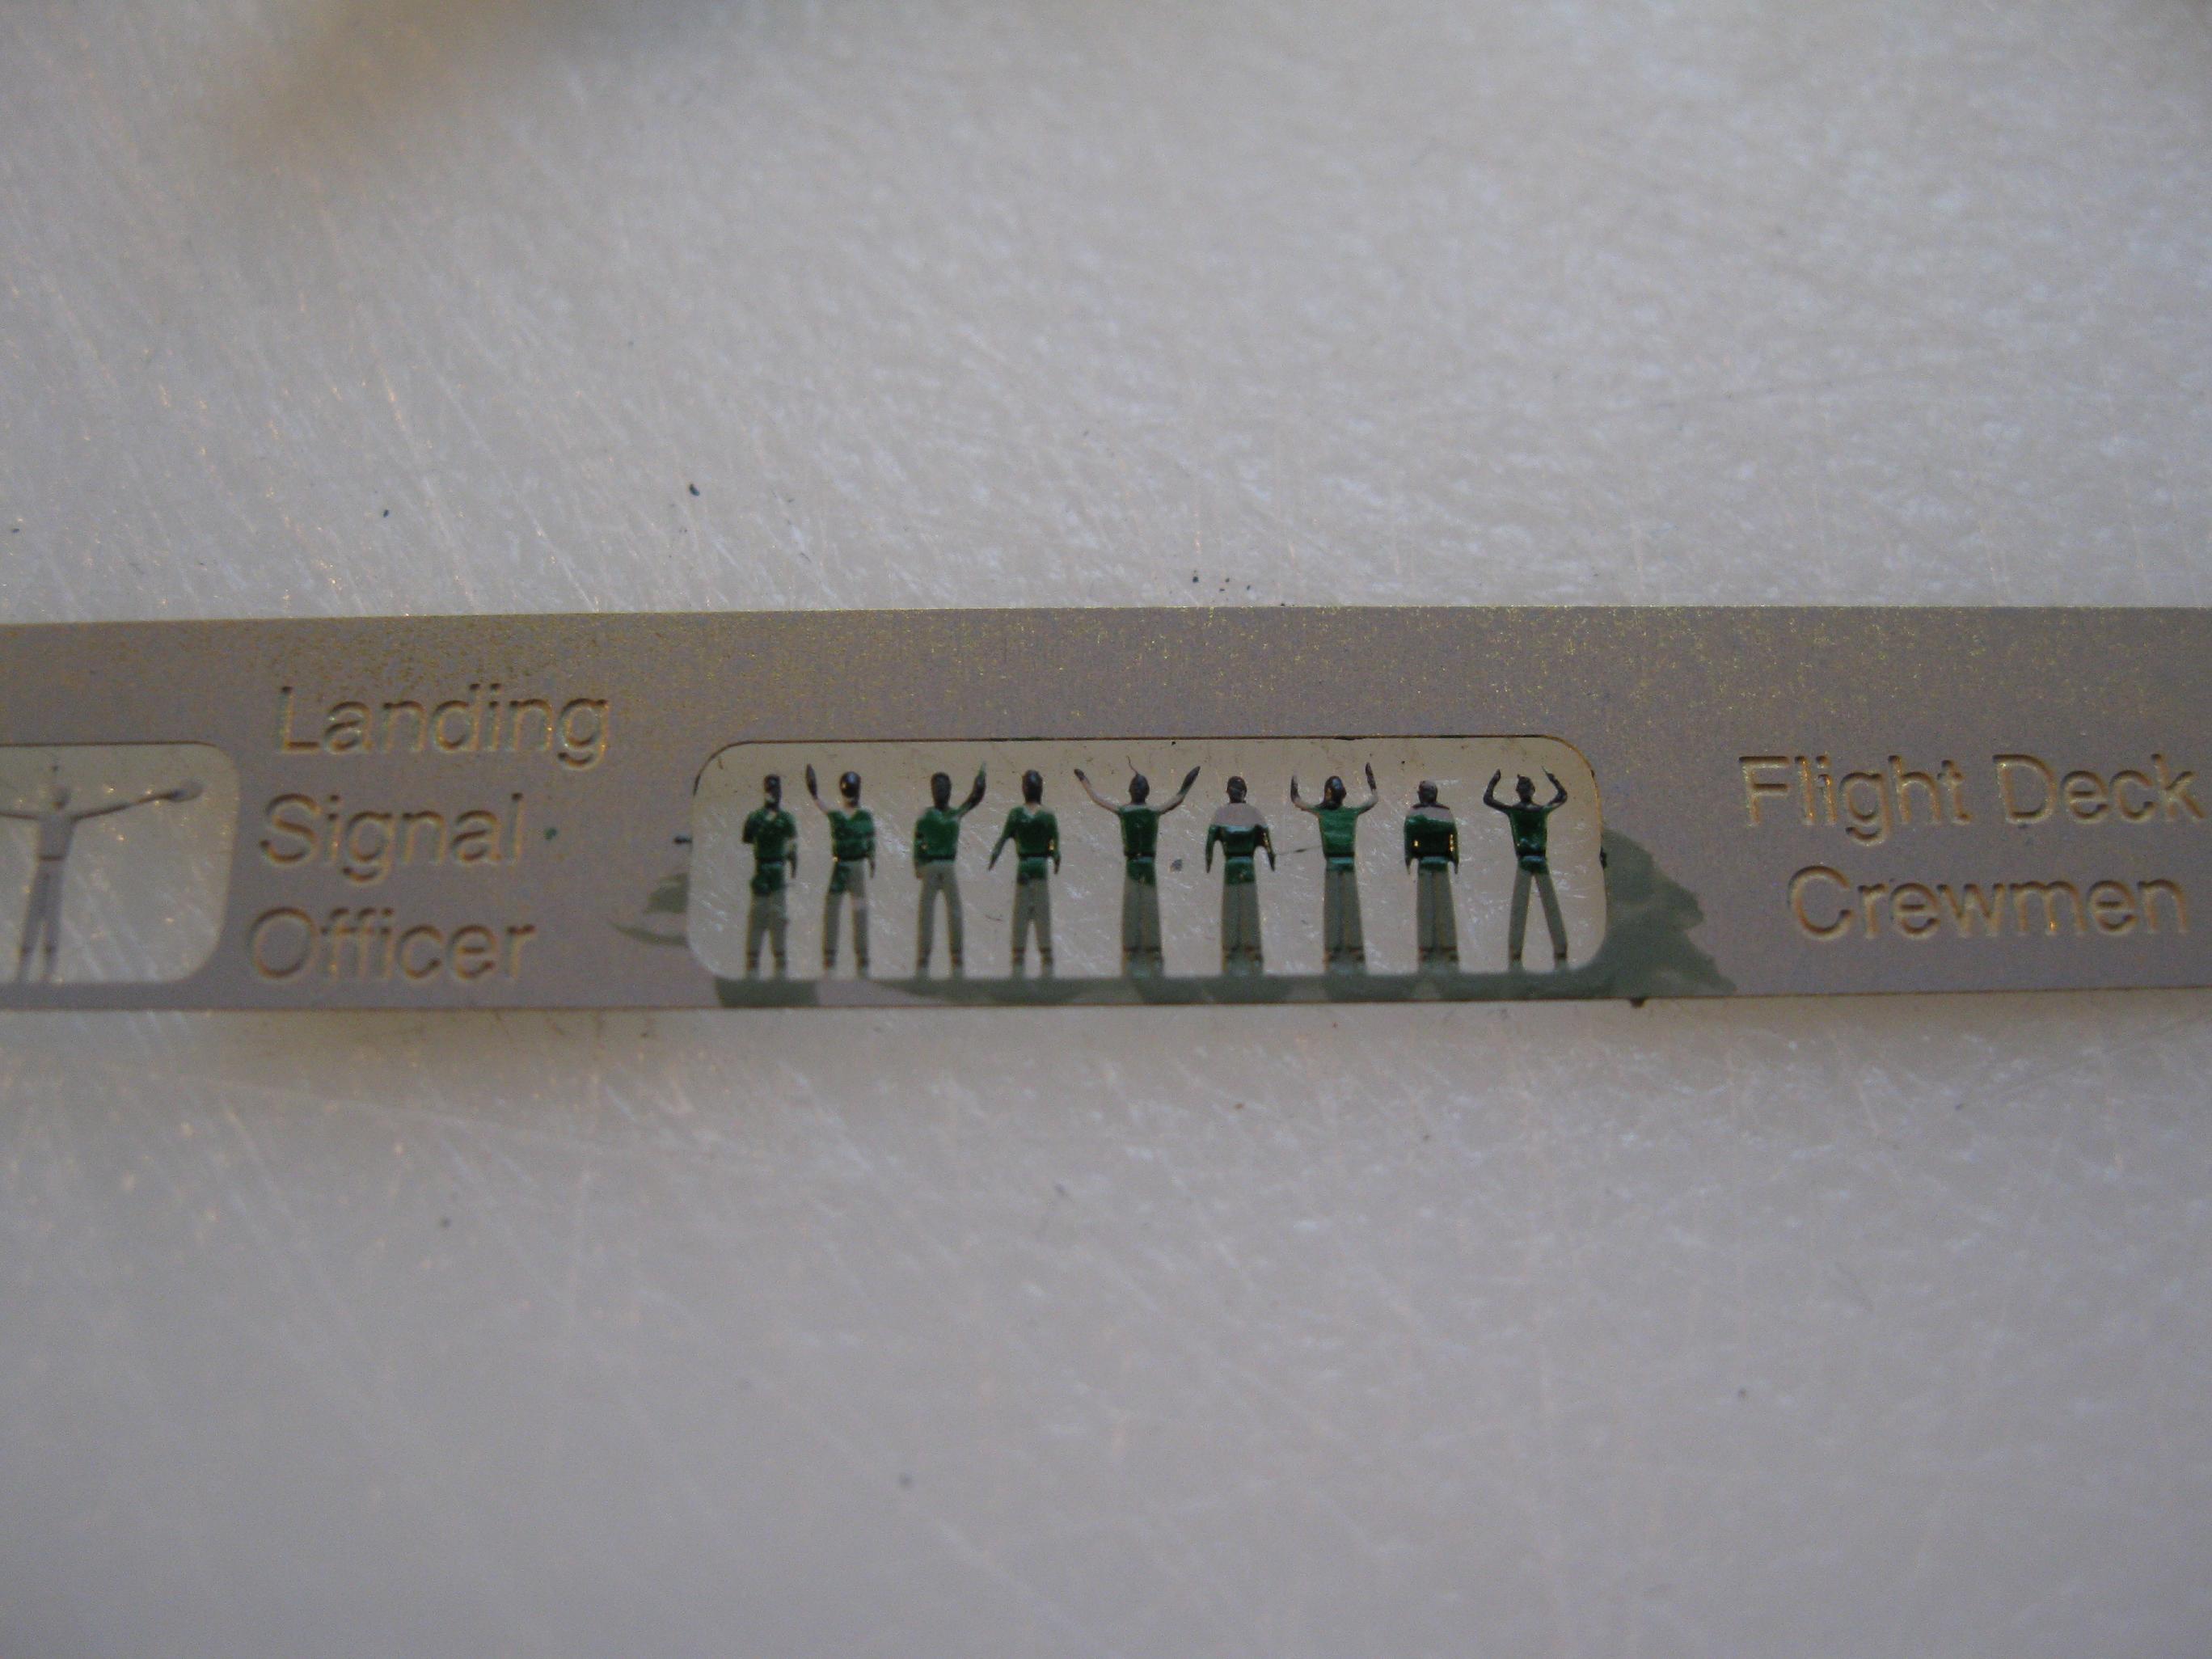
decals so small it would be near impossible to work with them. 1/540 scale crewmen - They
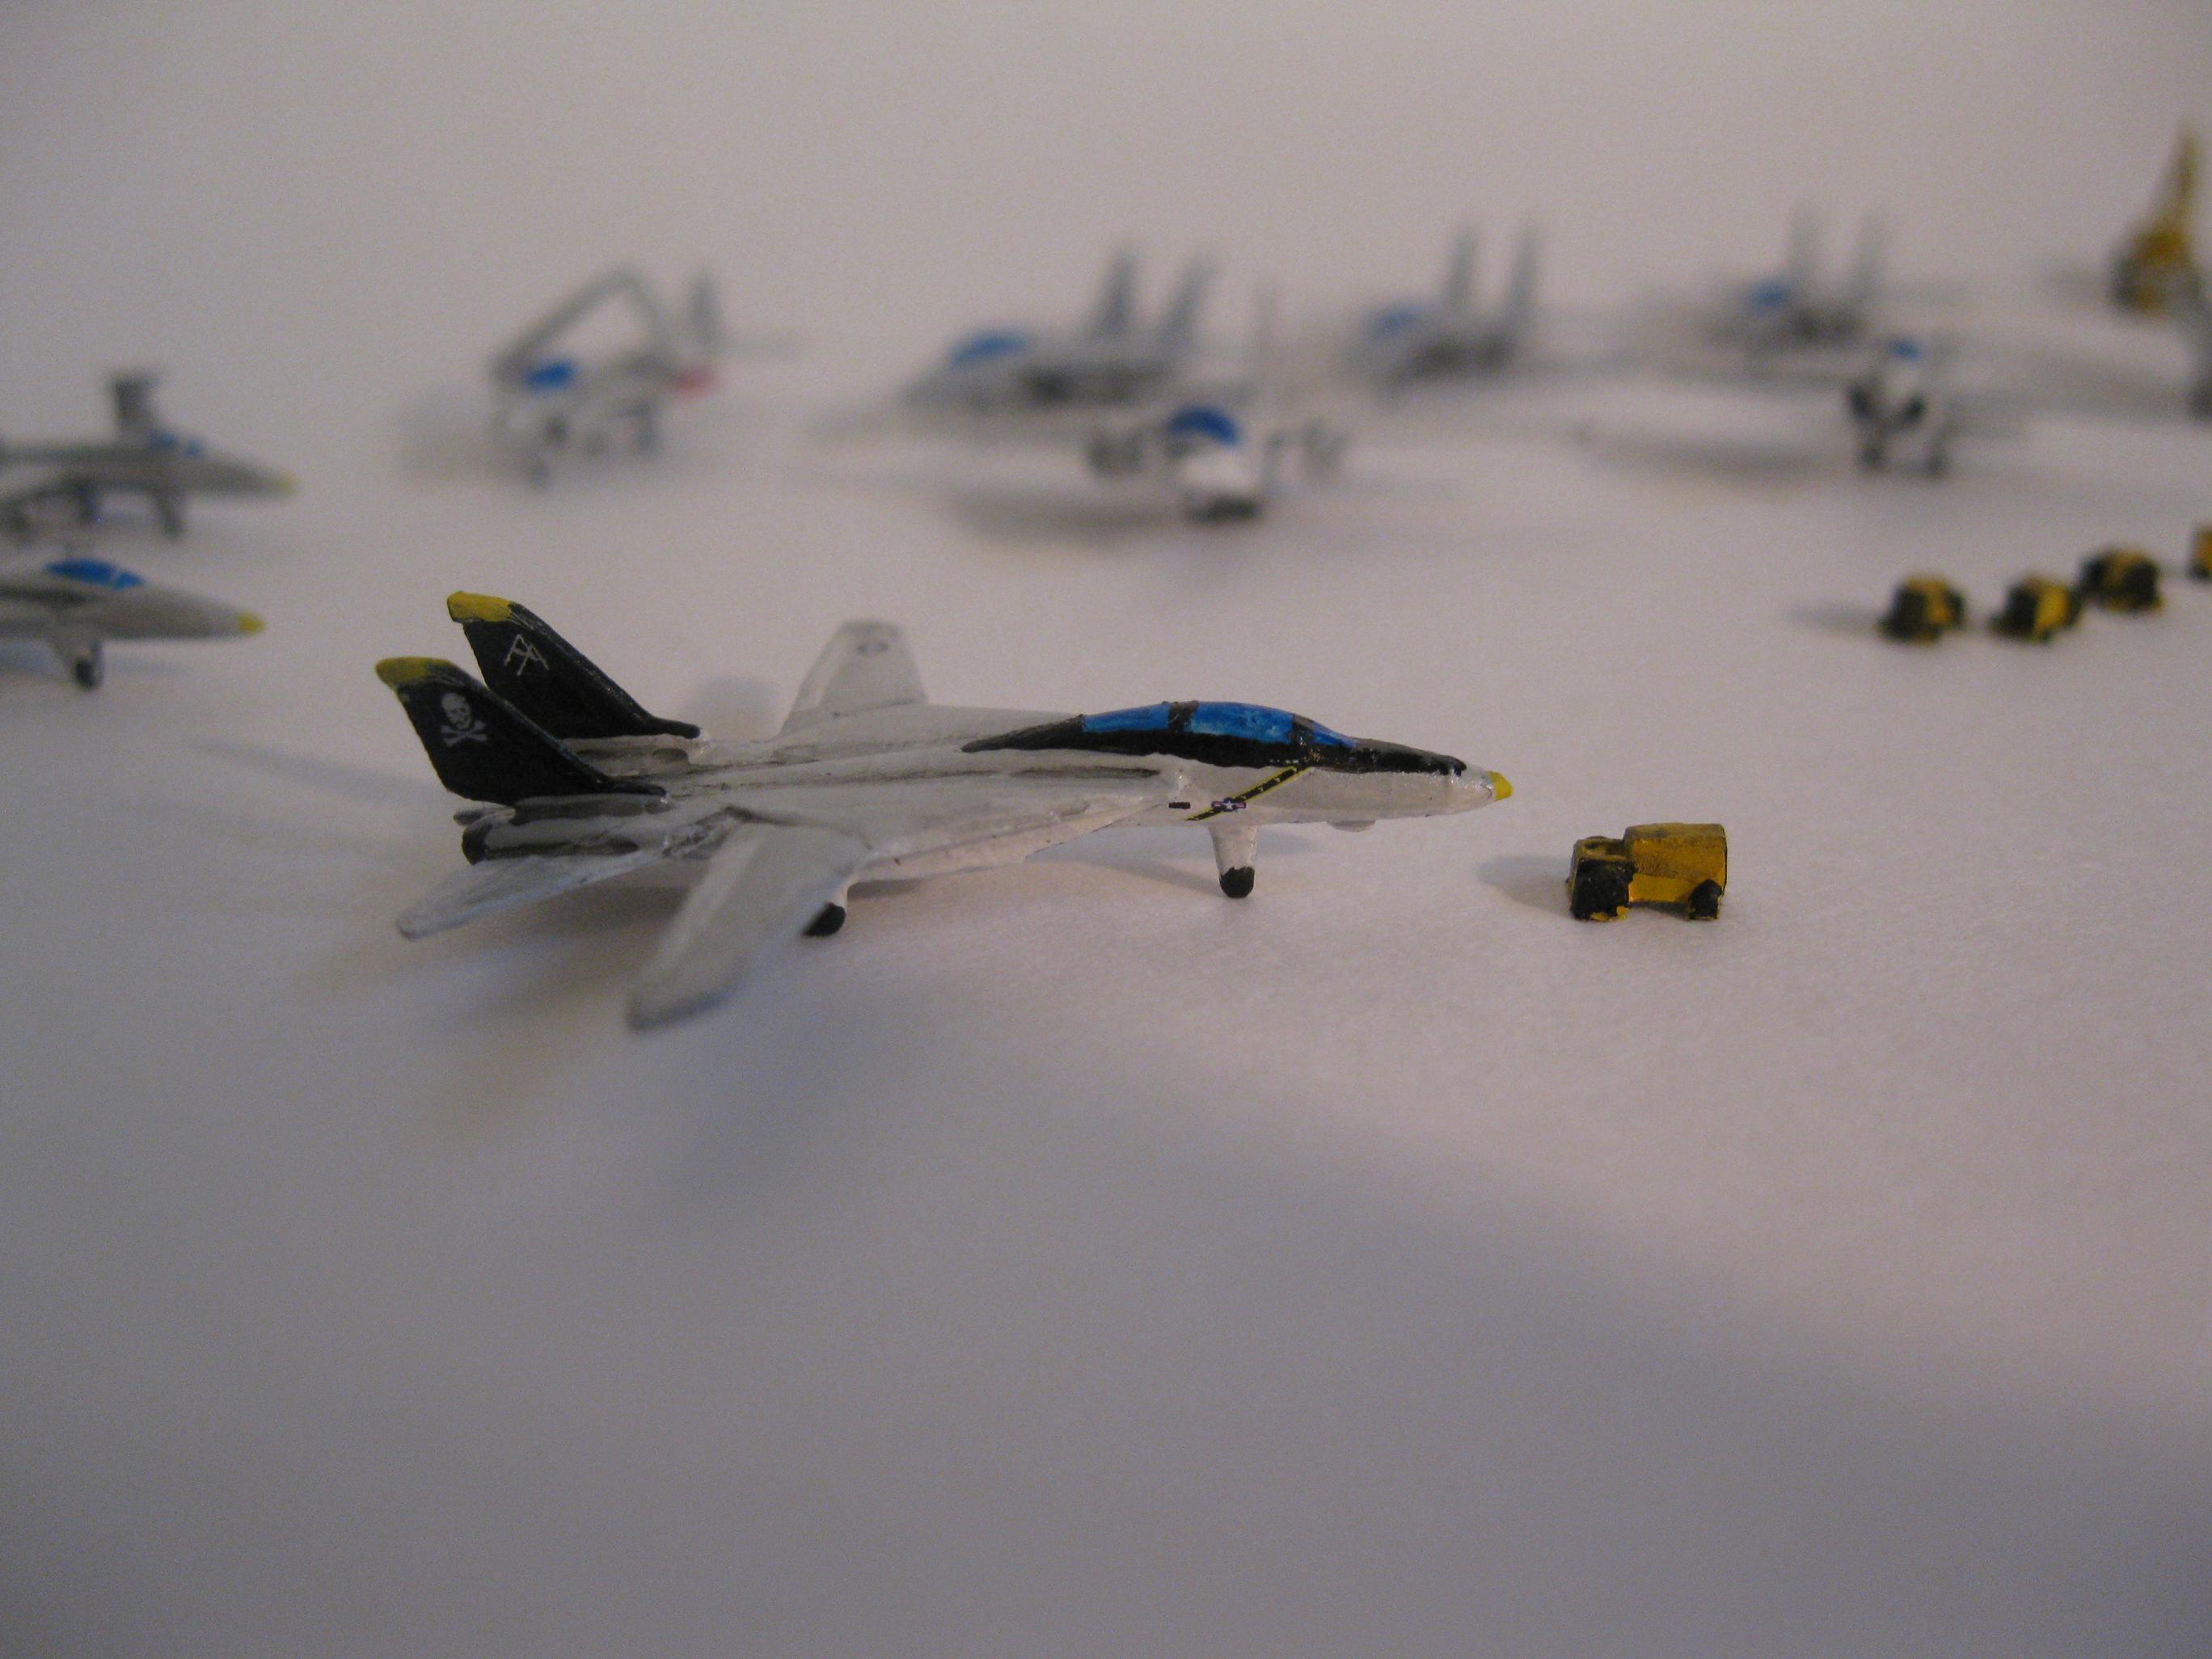
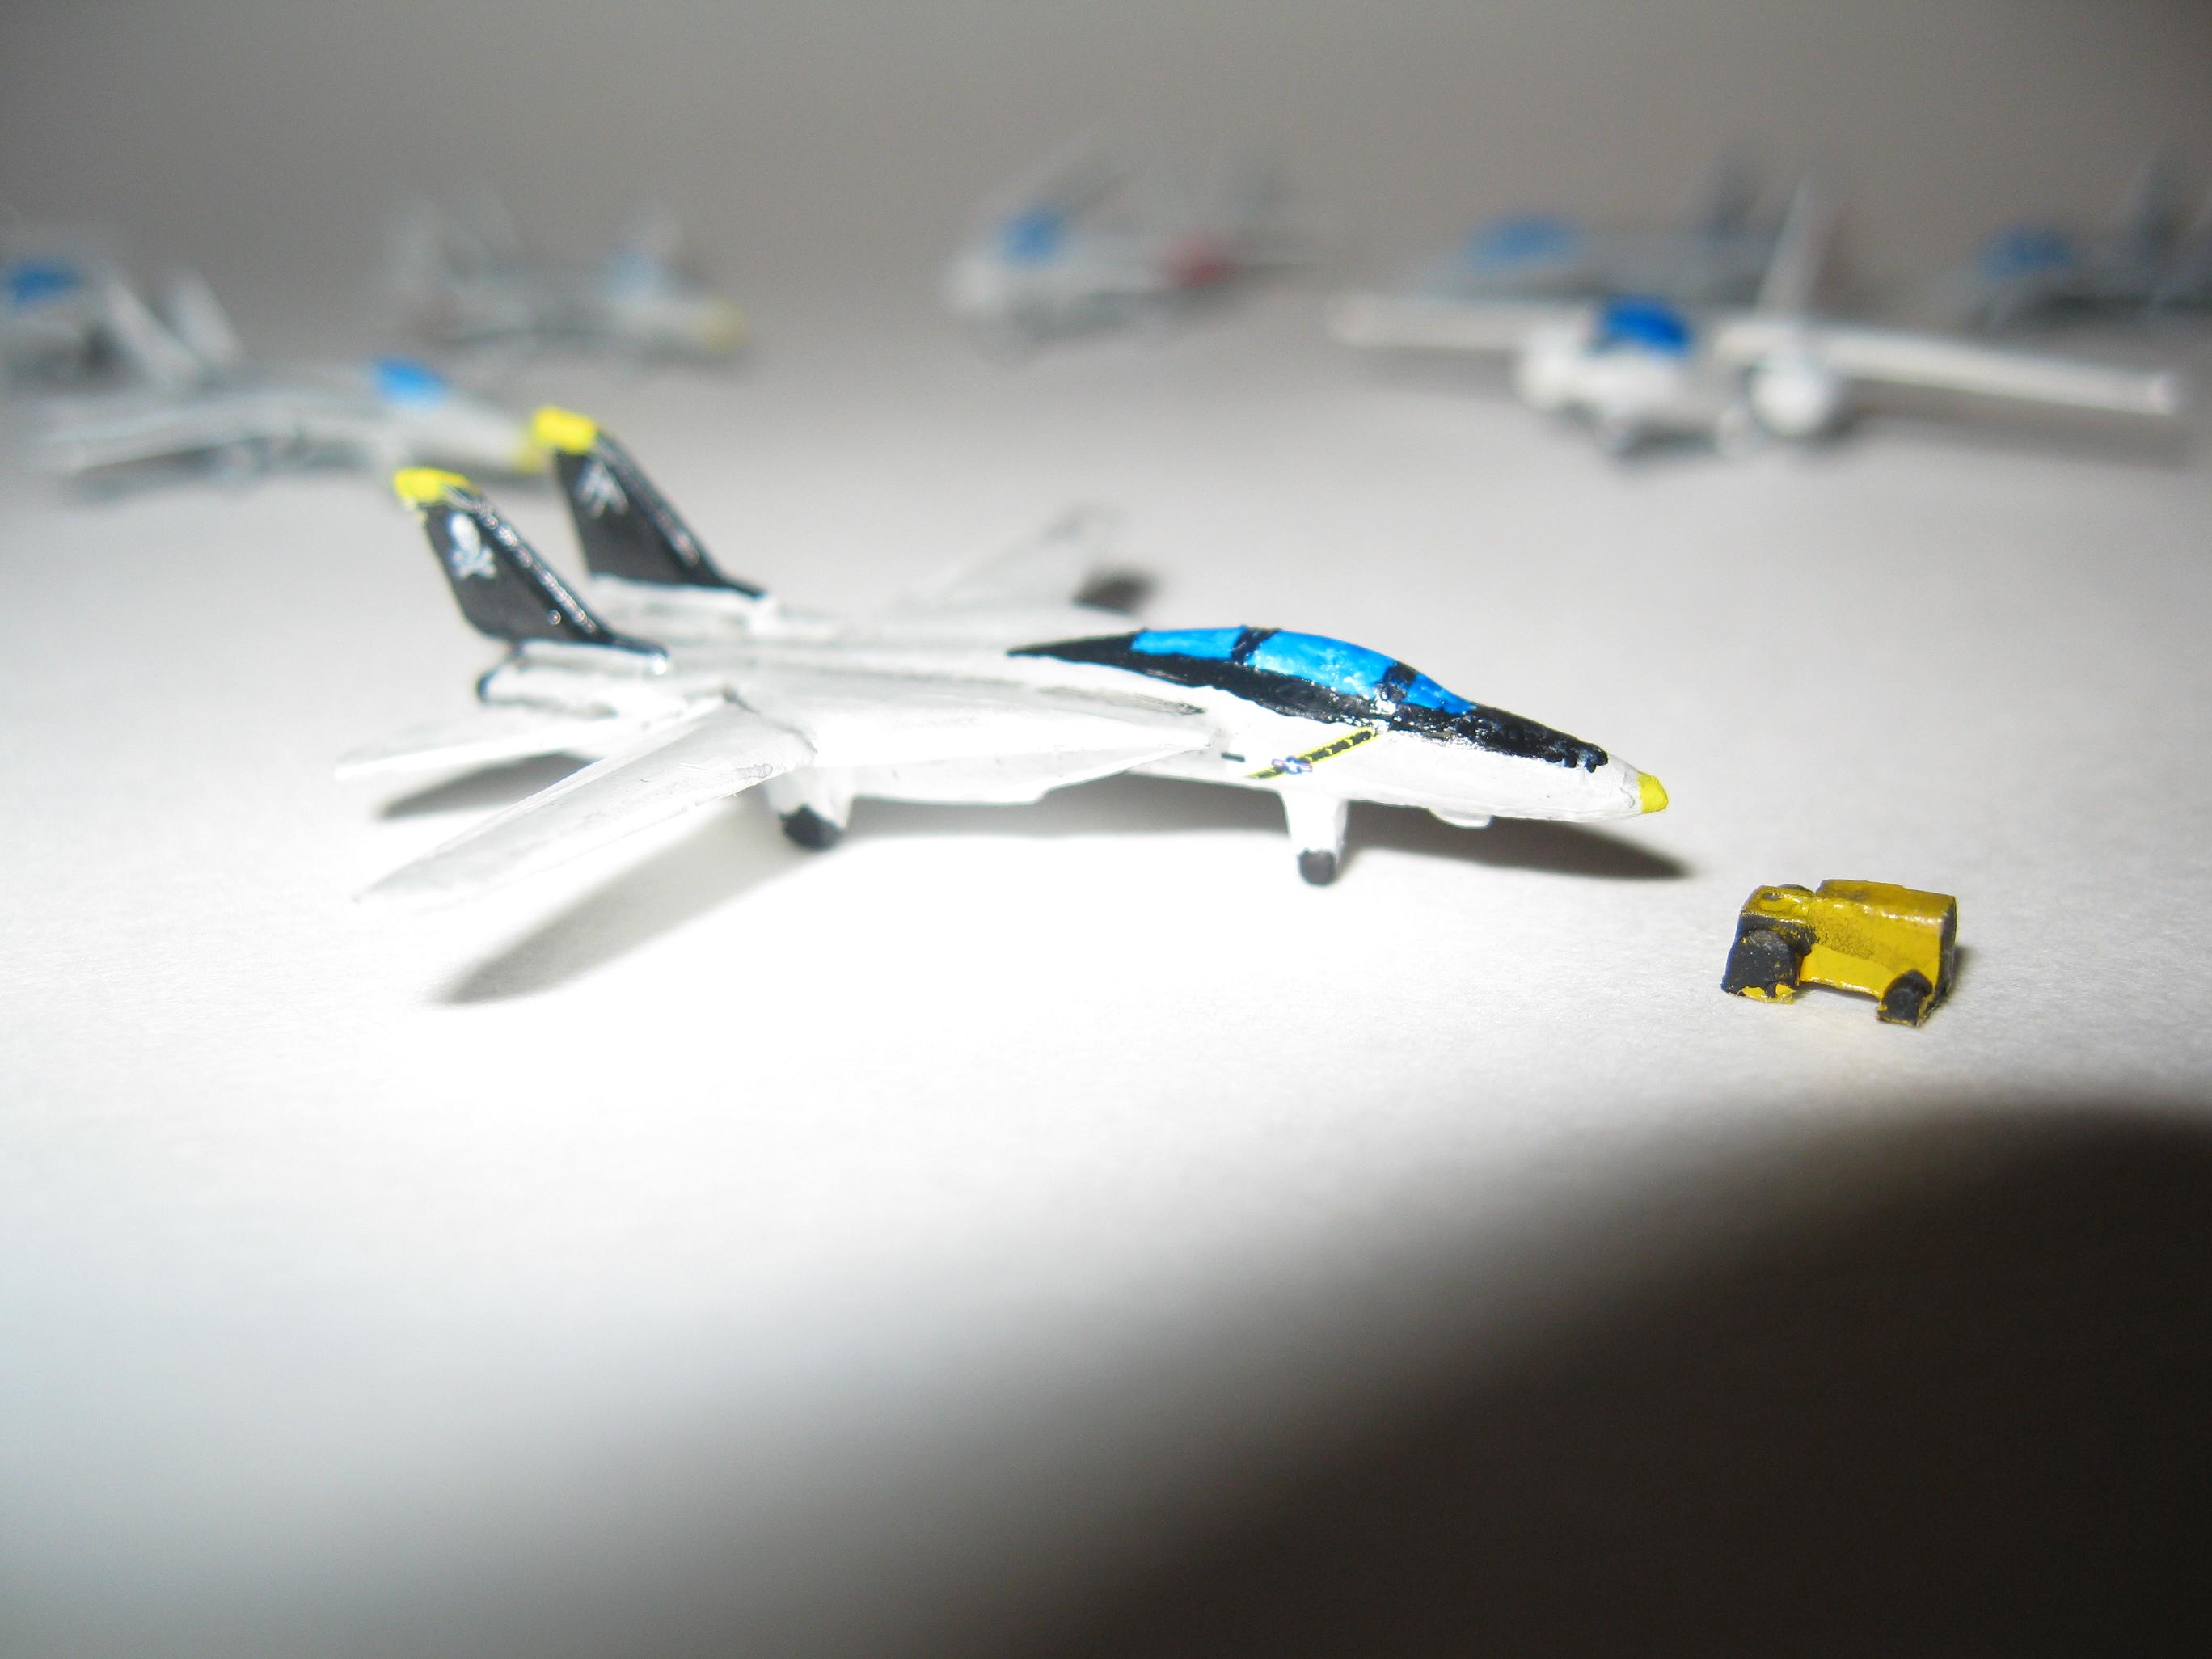
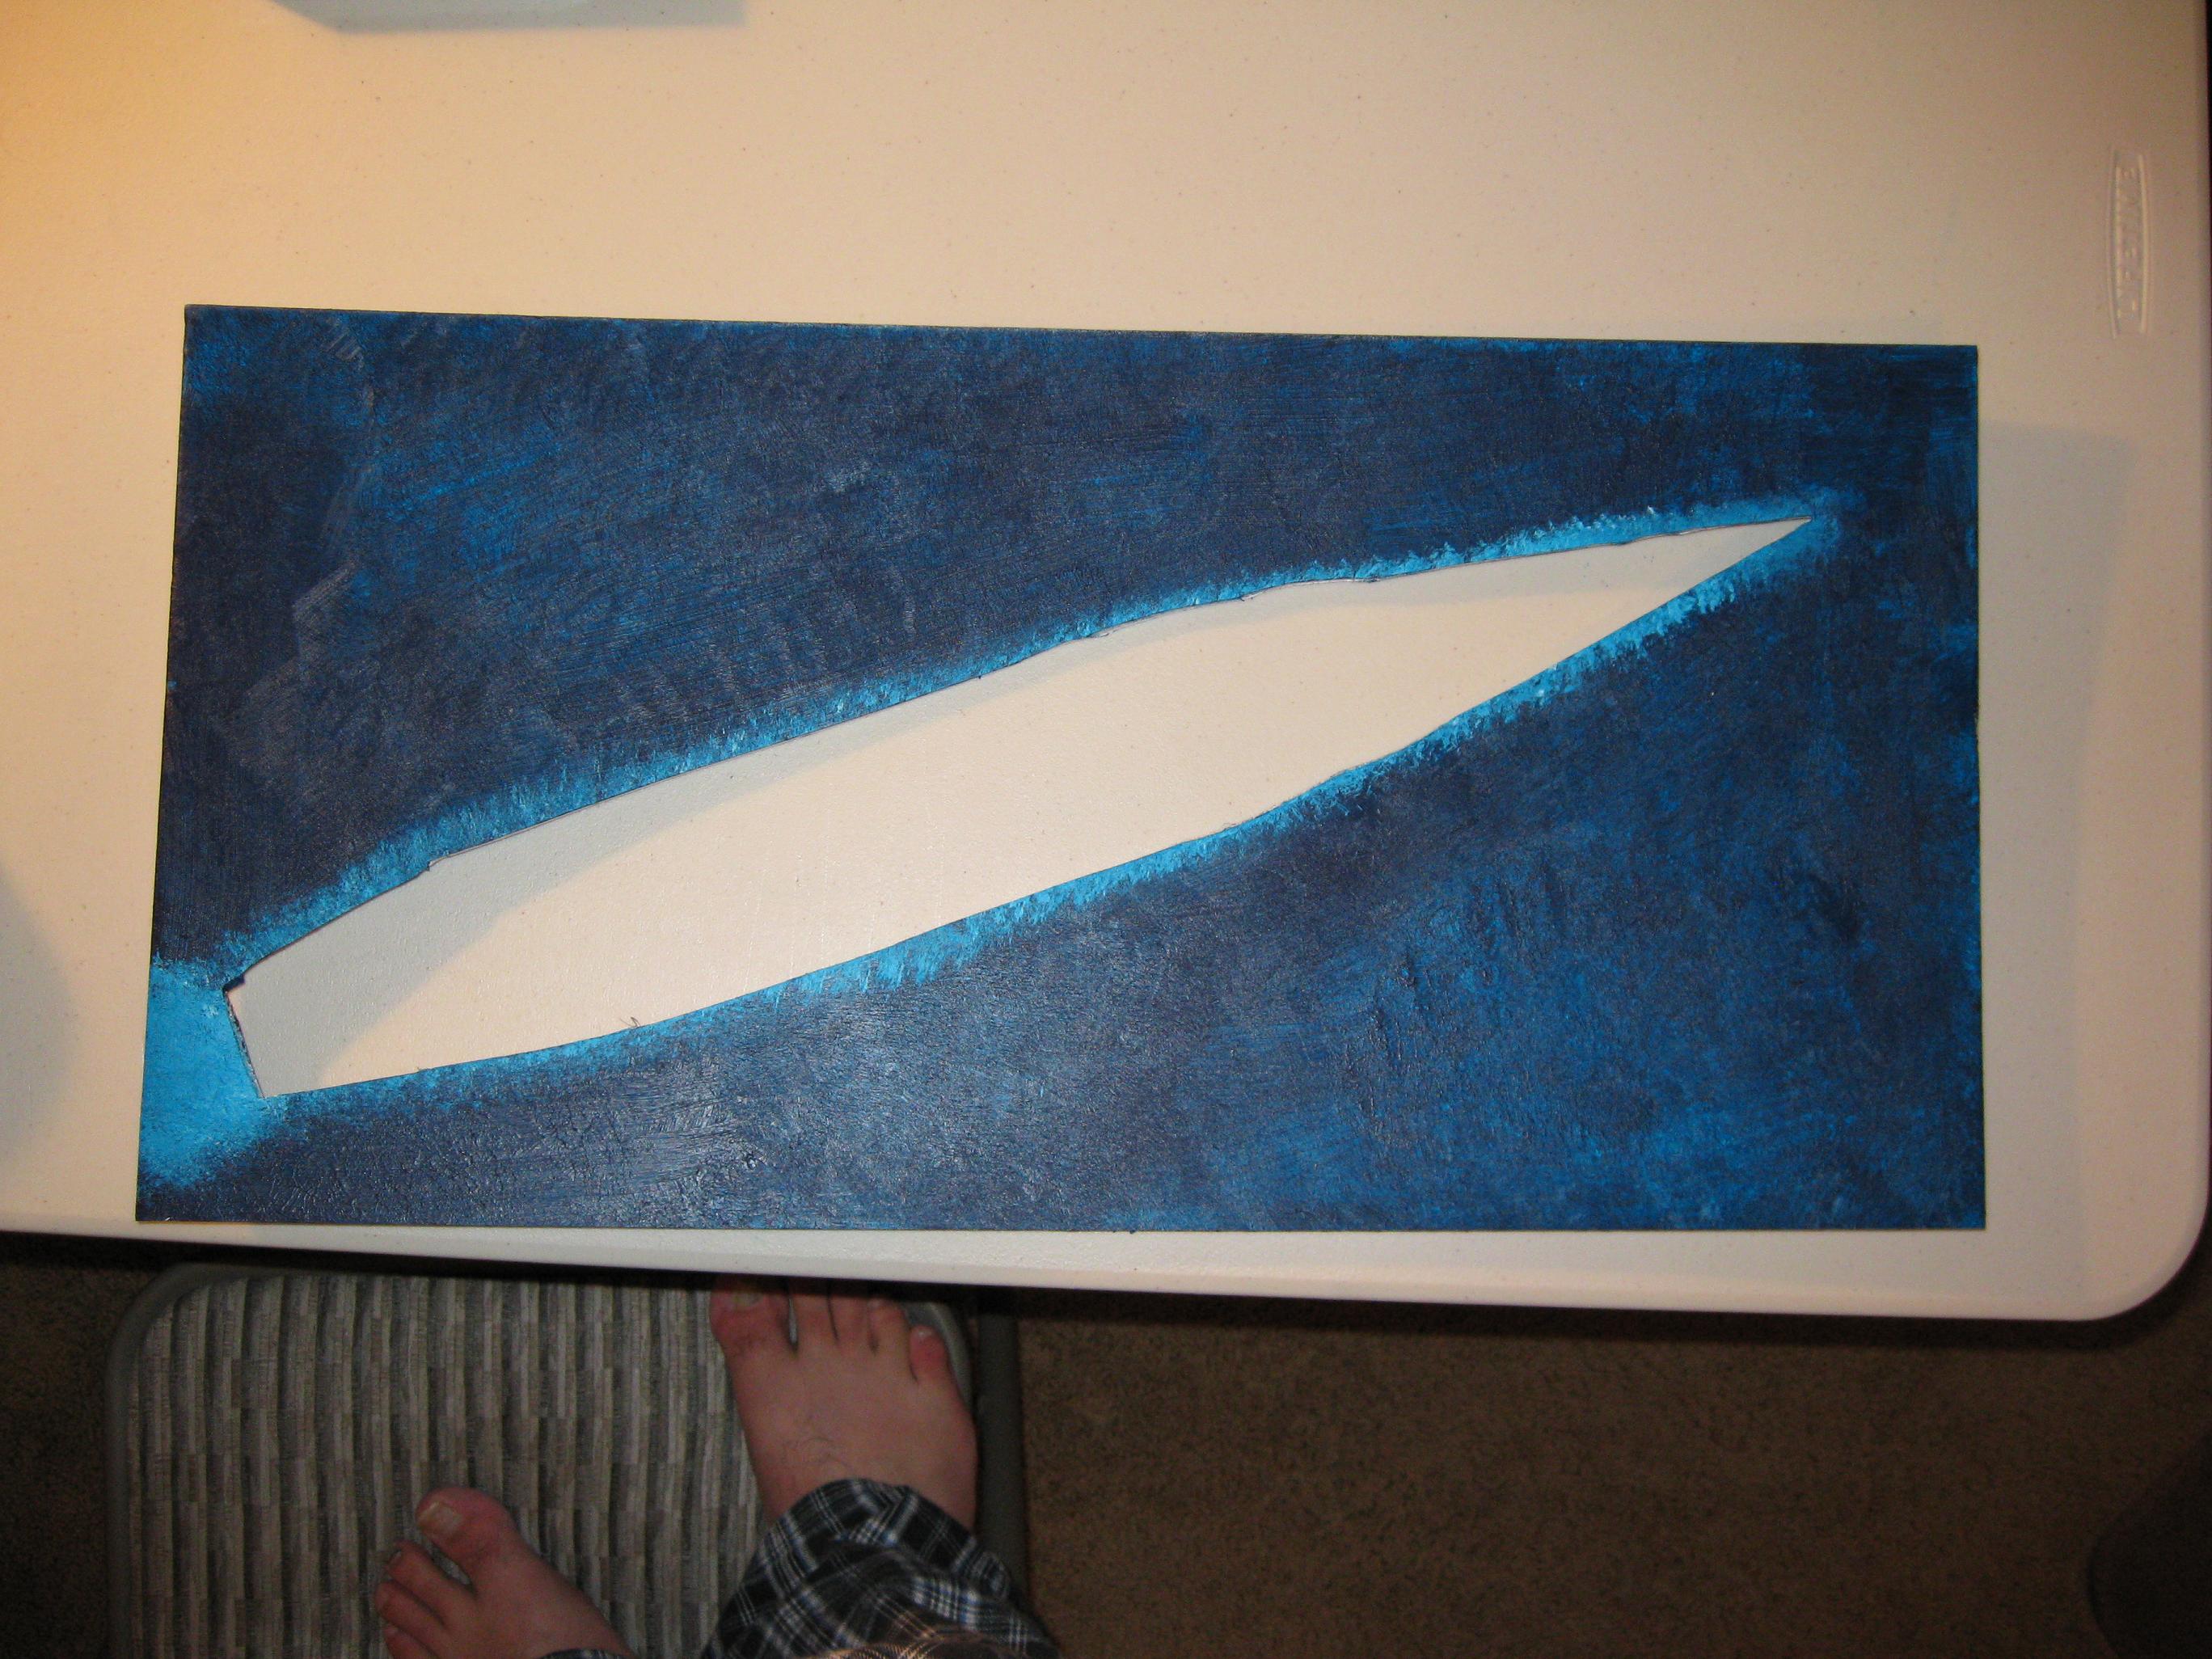
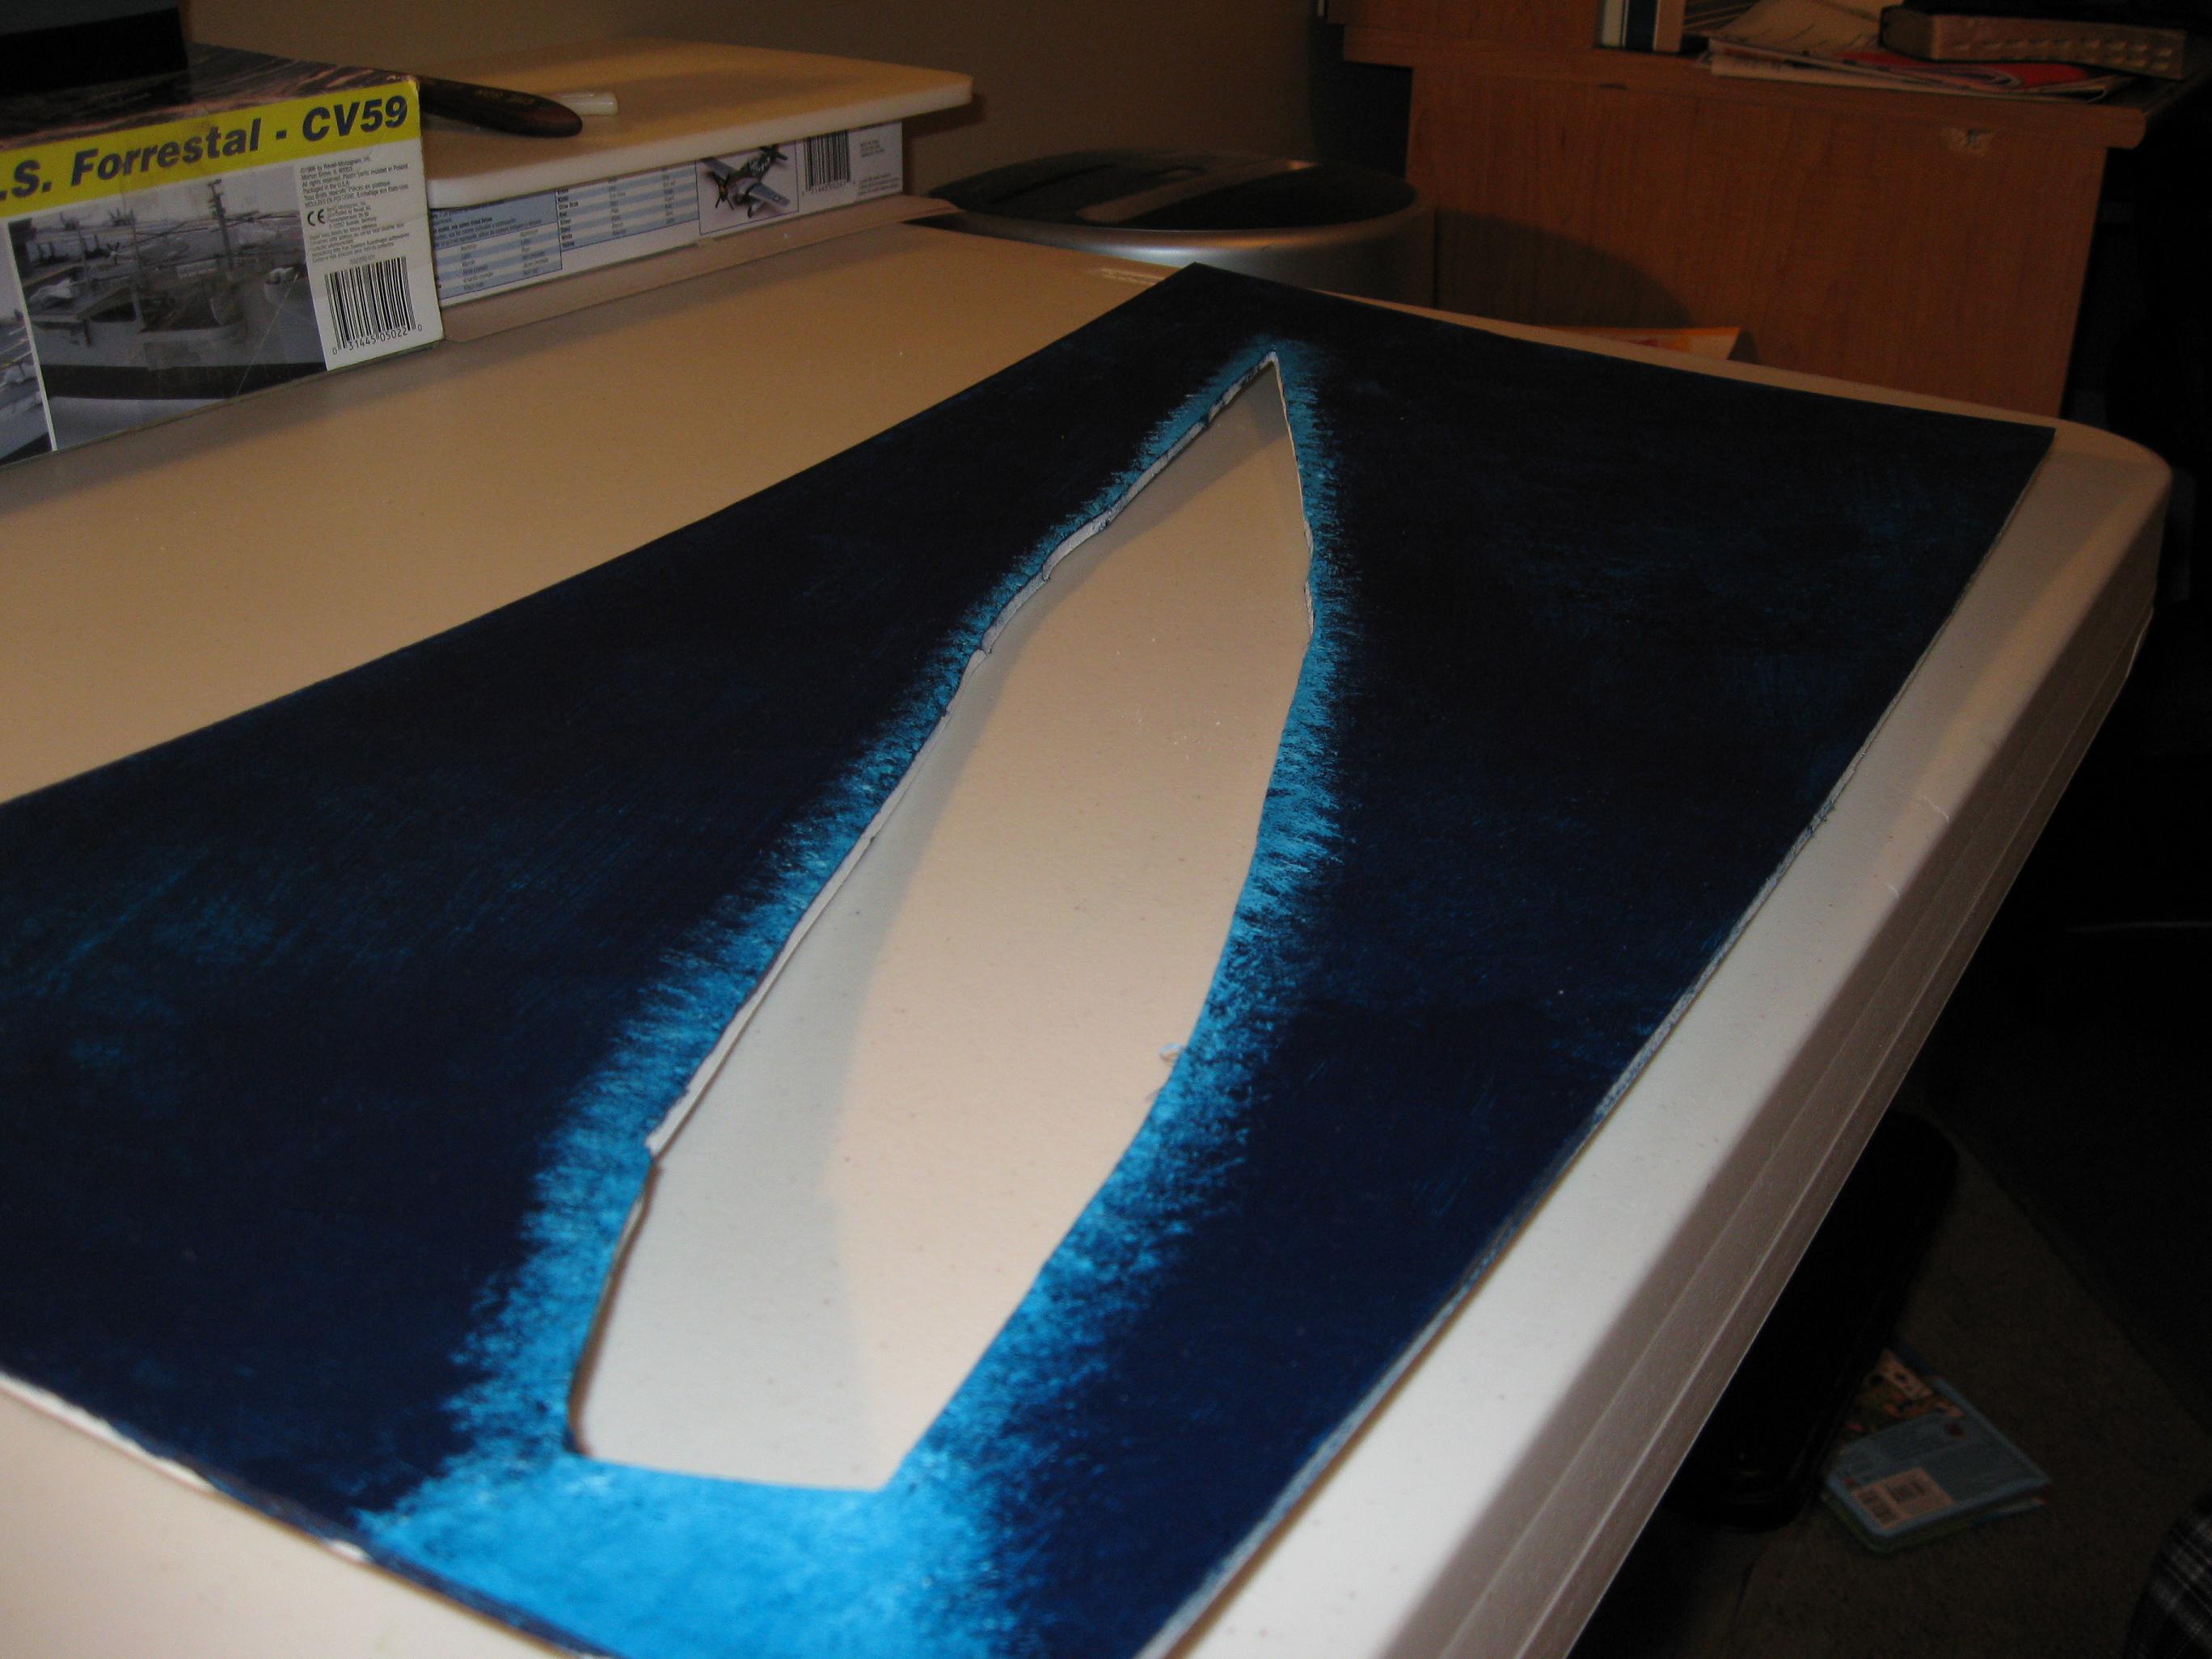
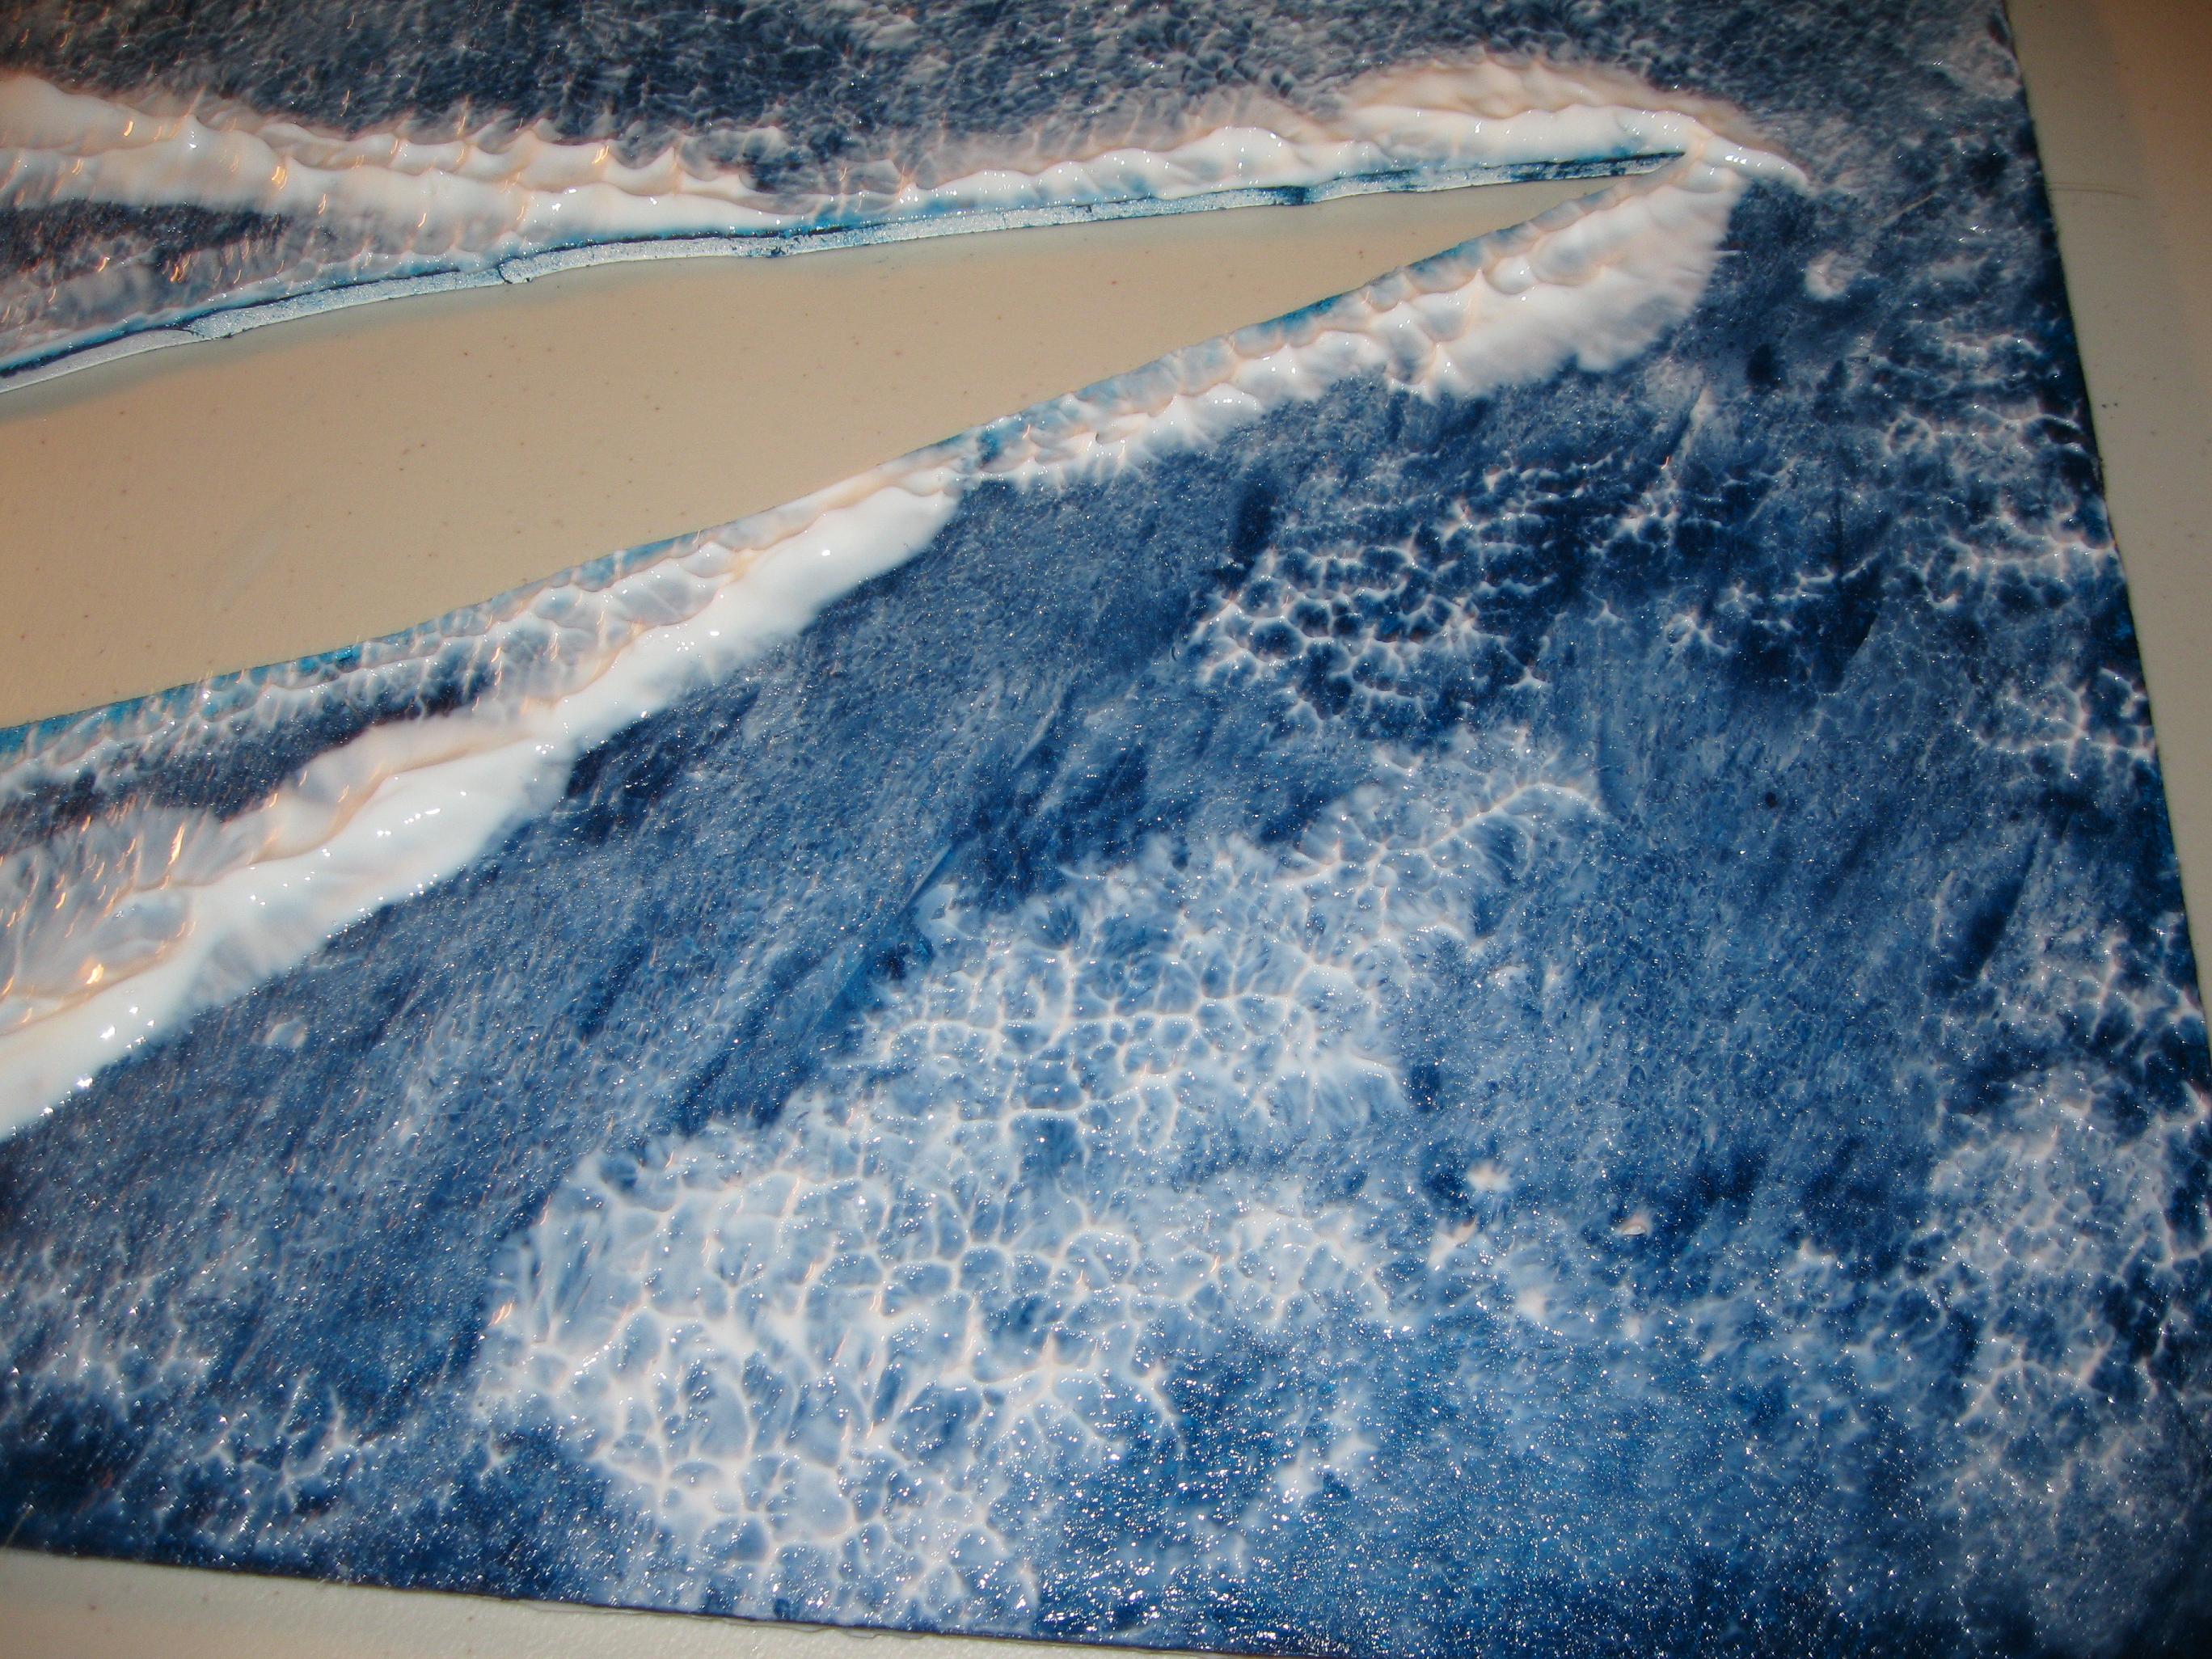
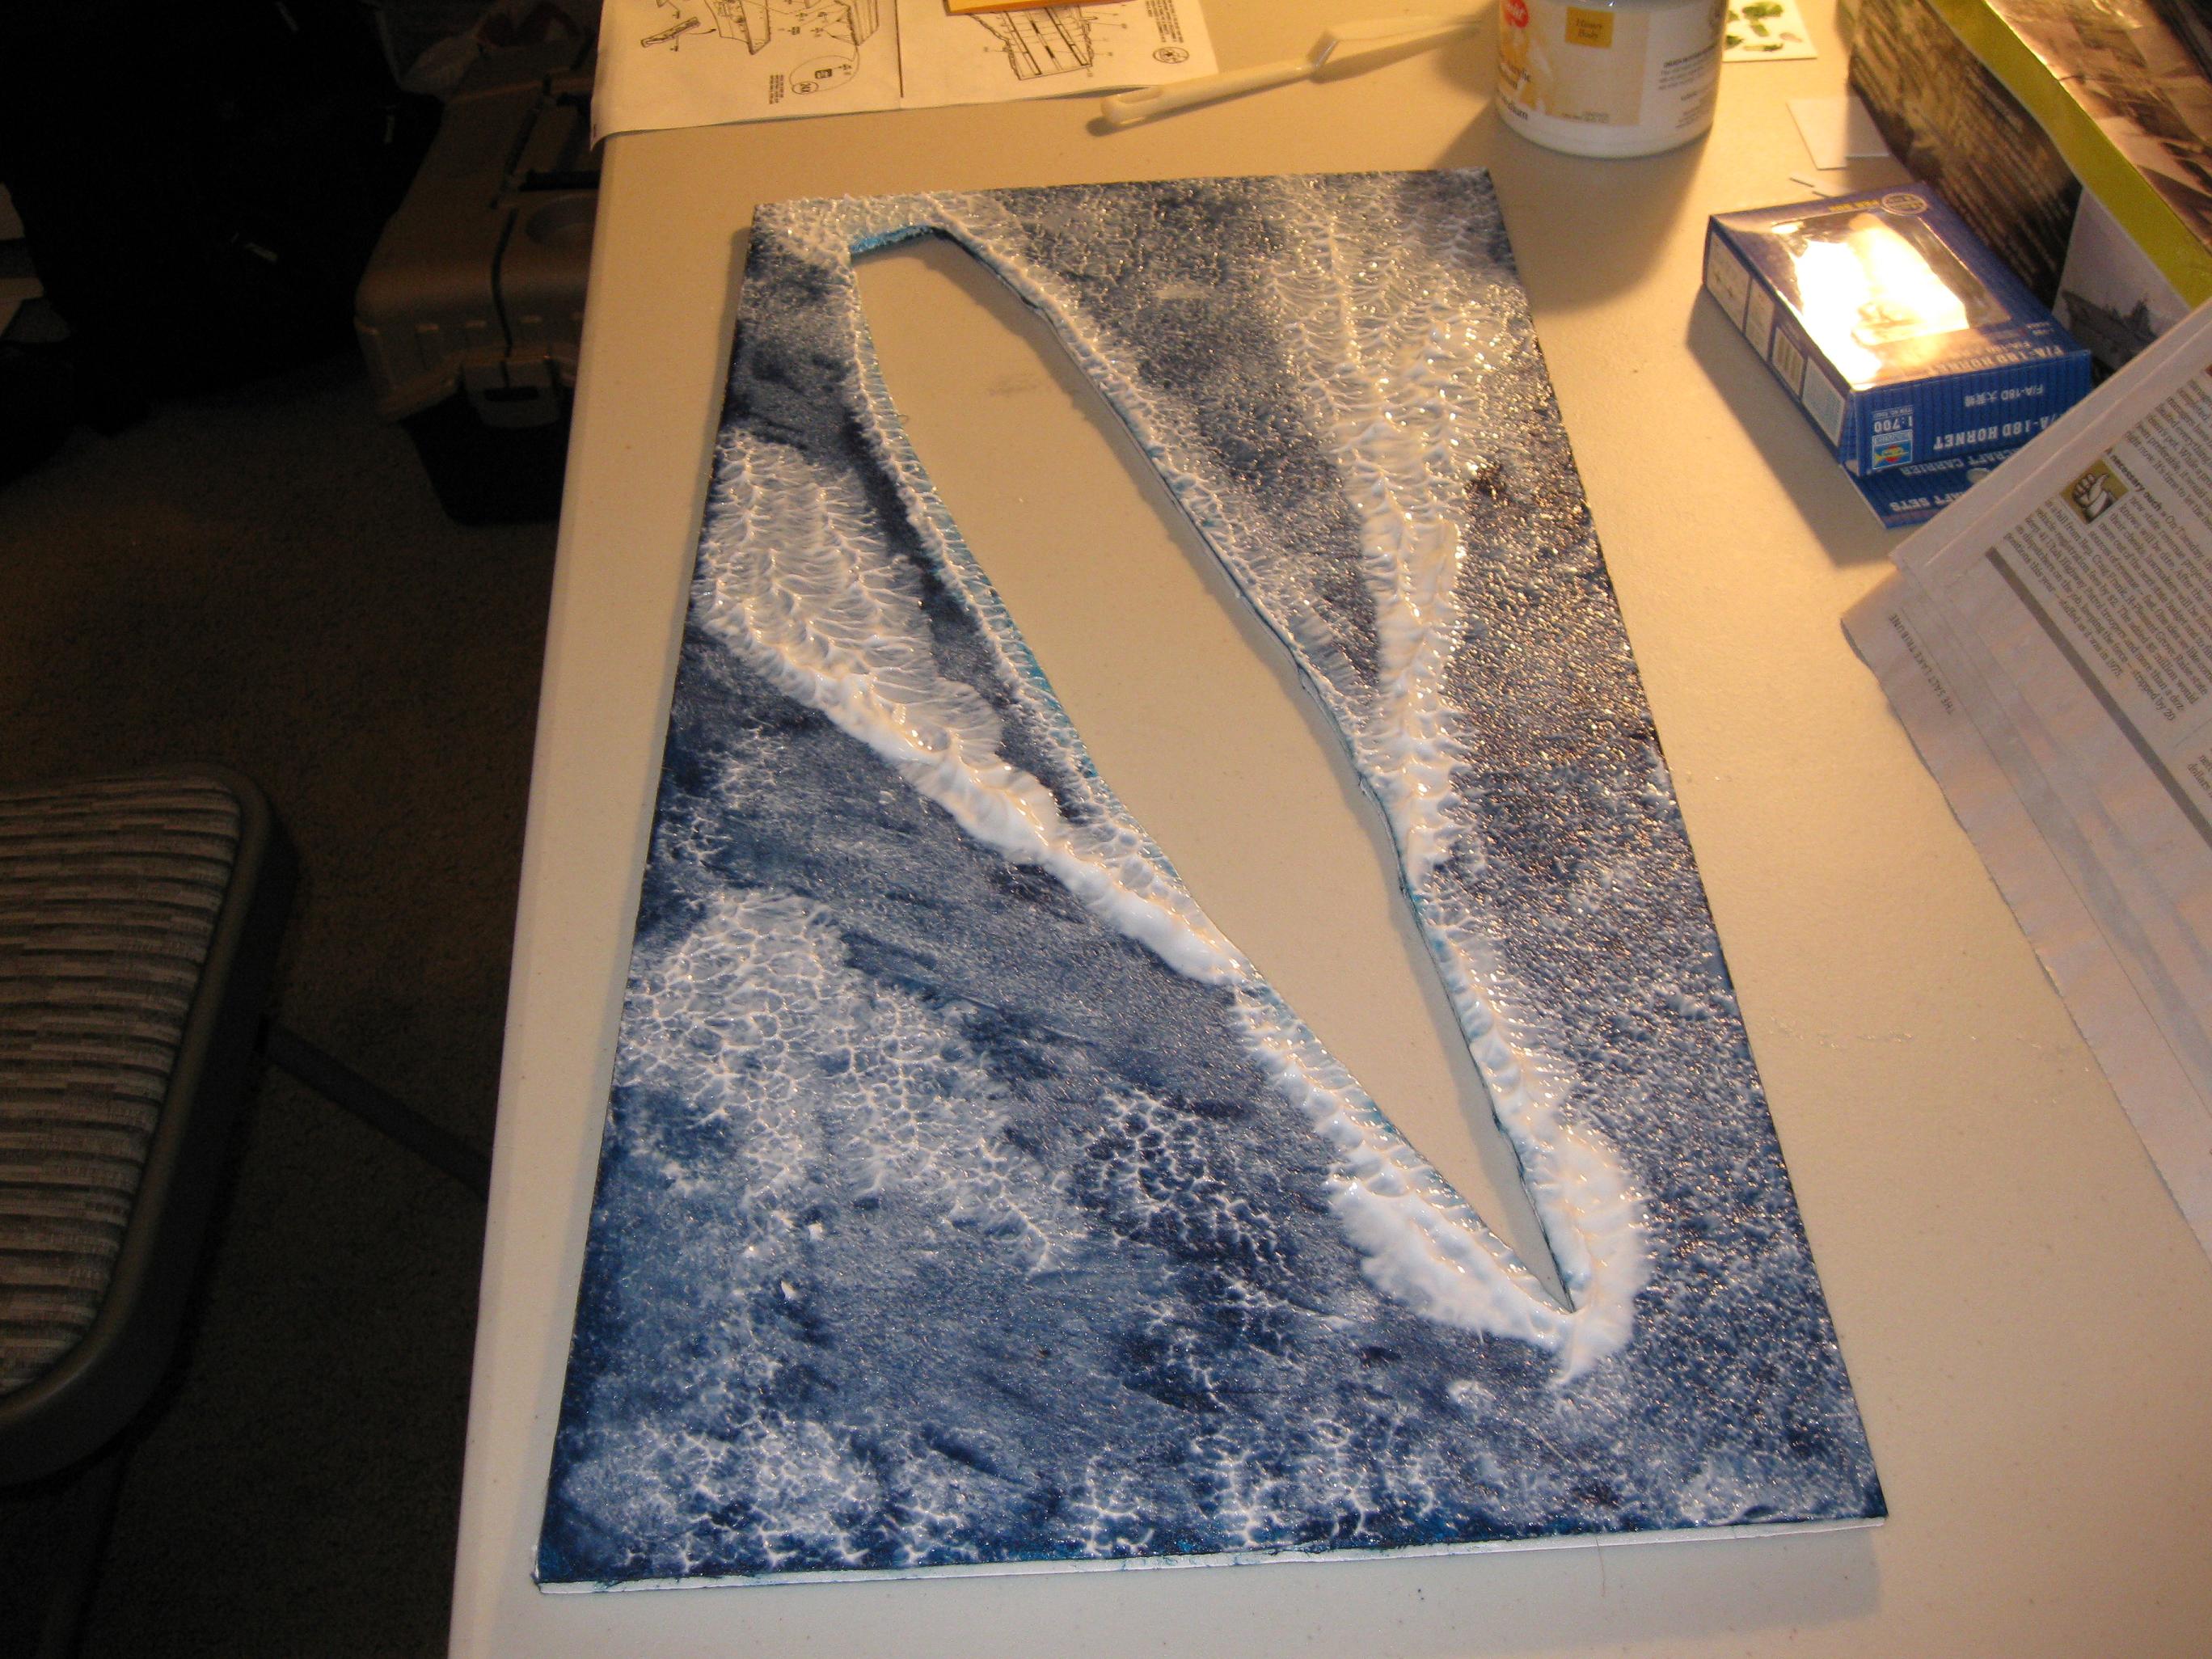
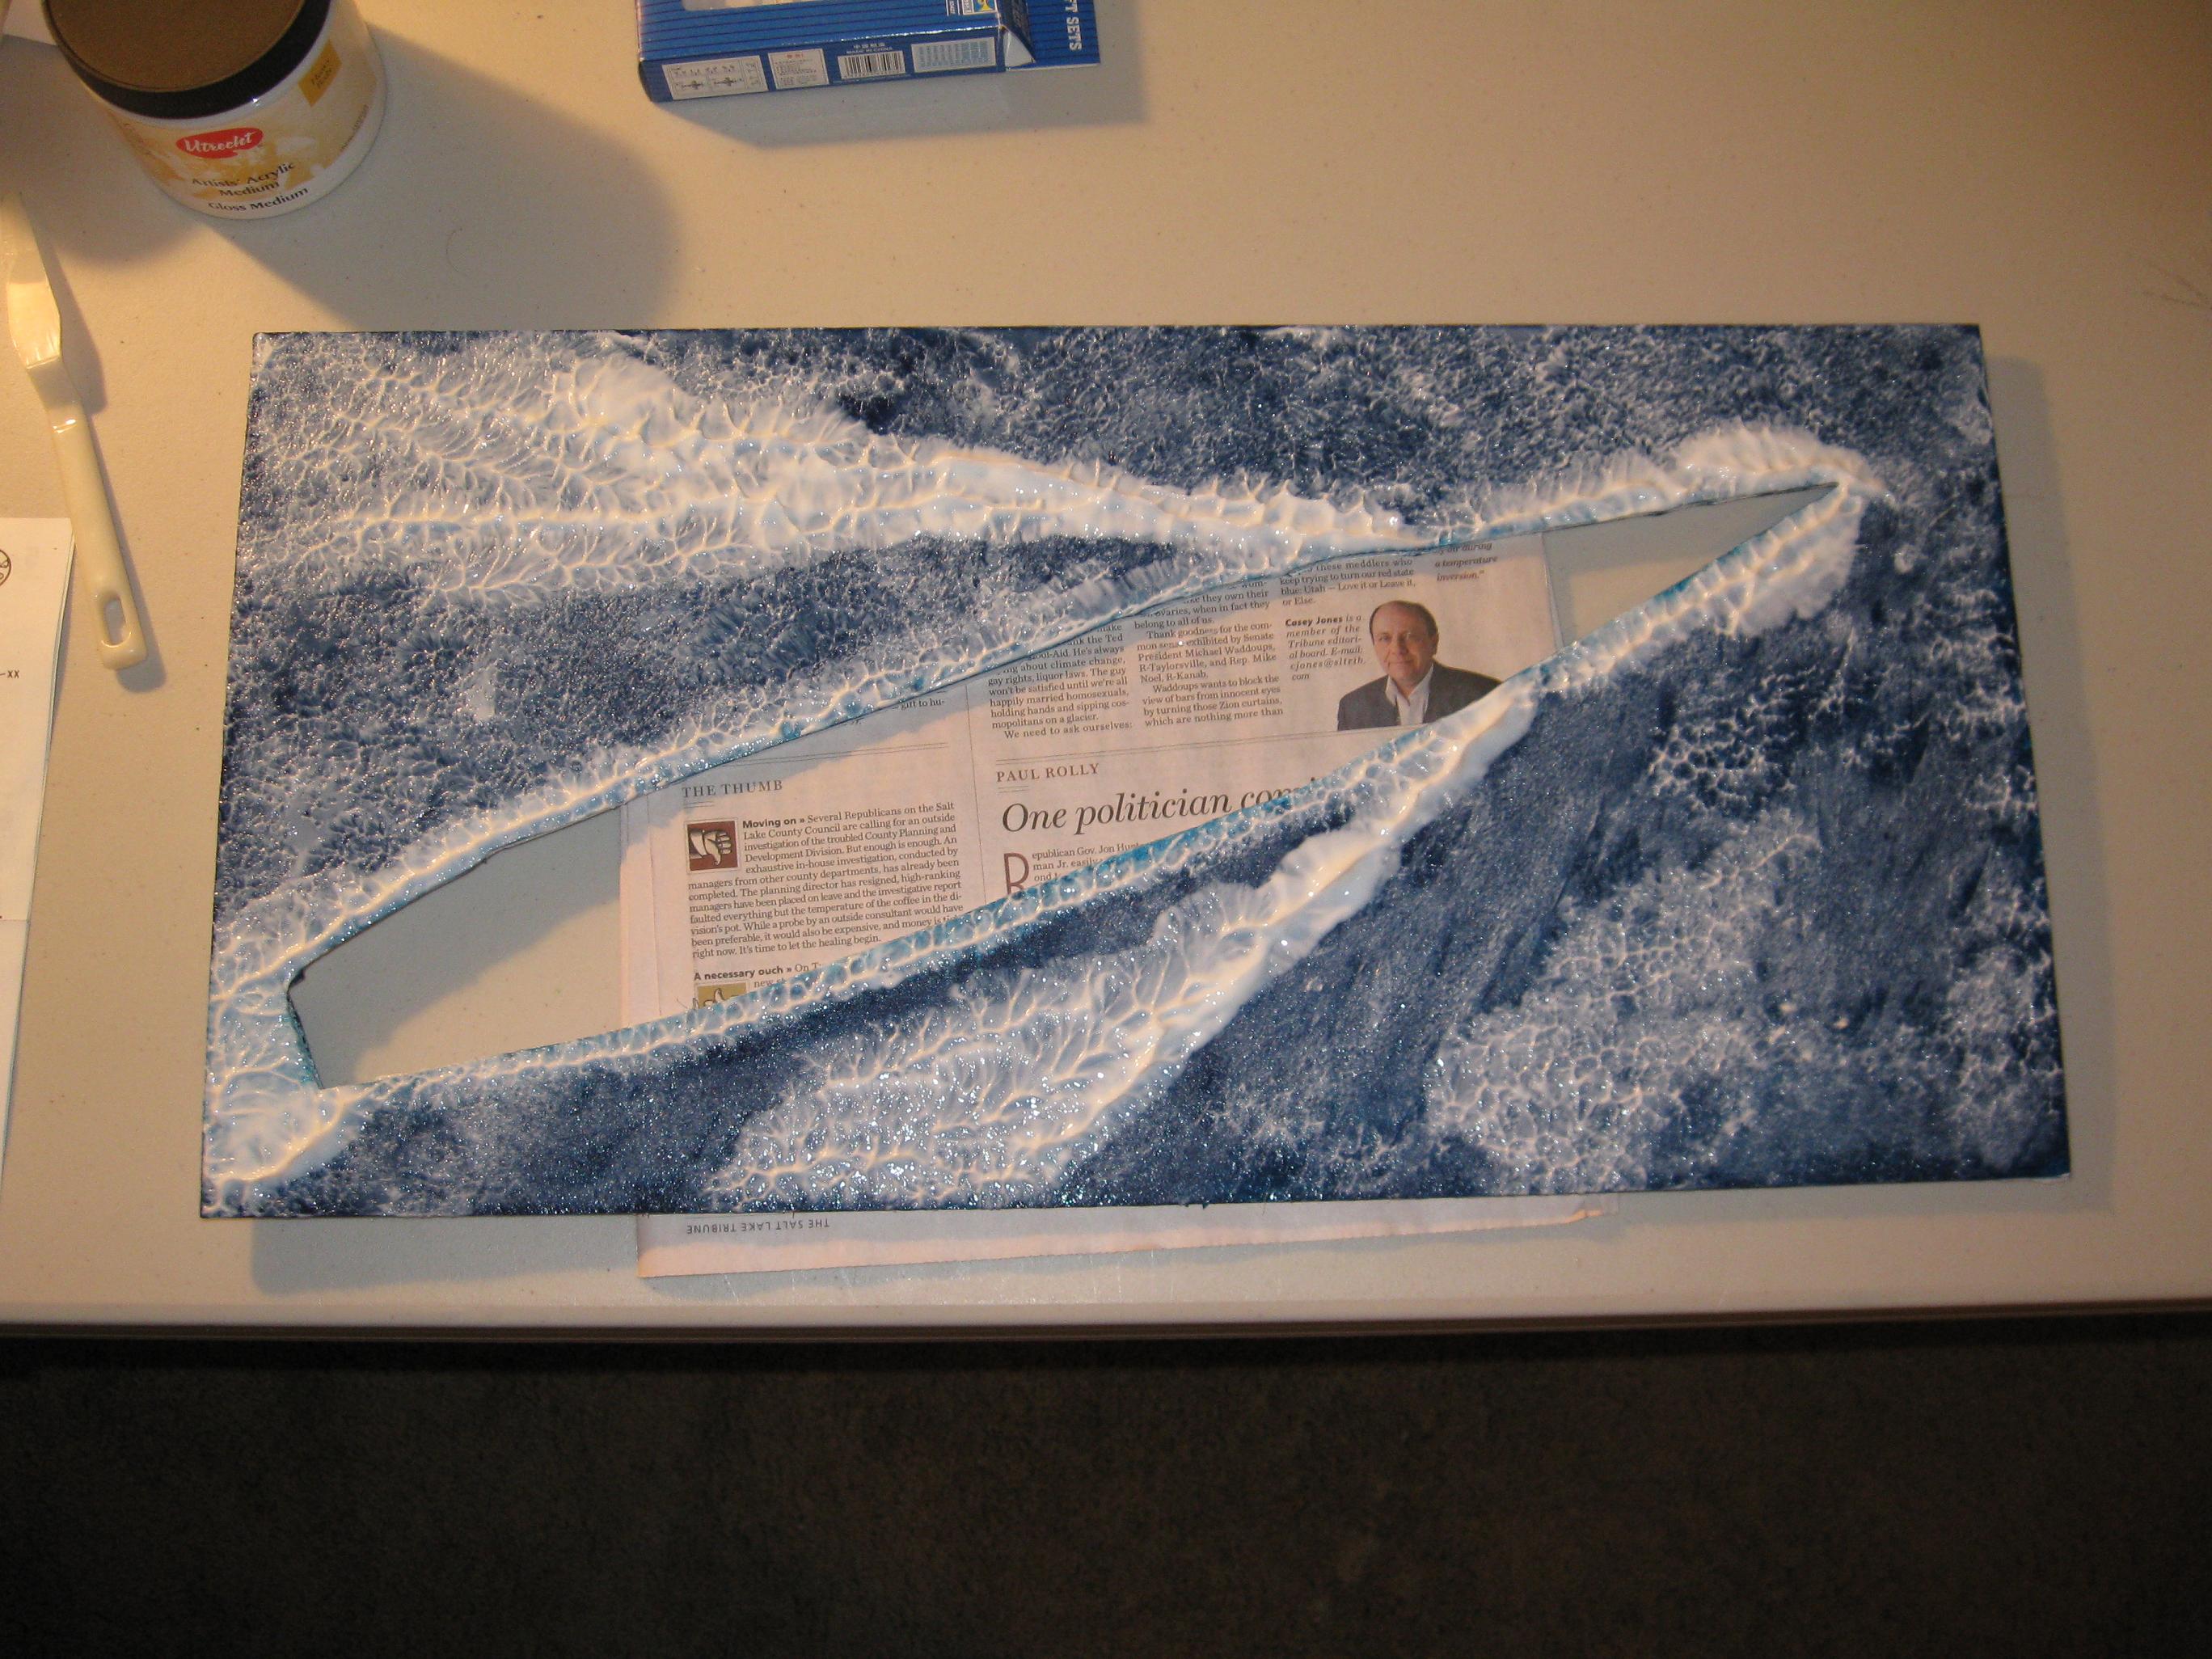
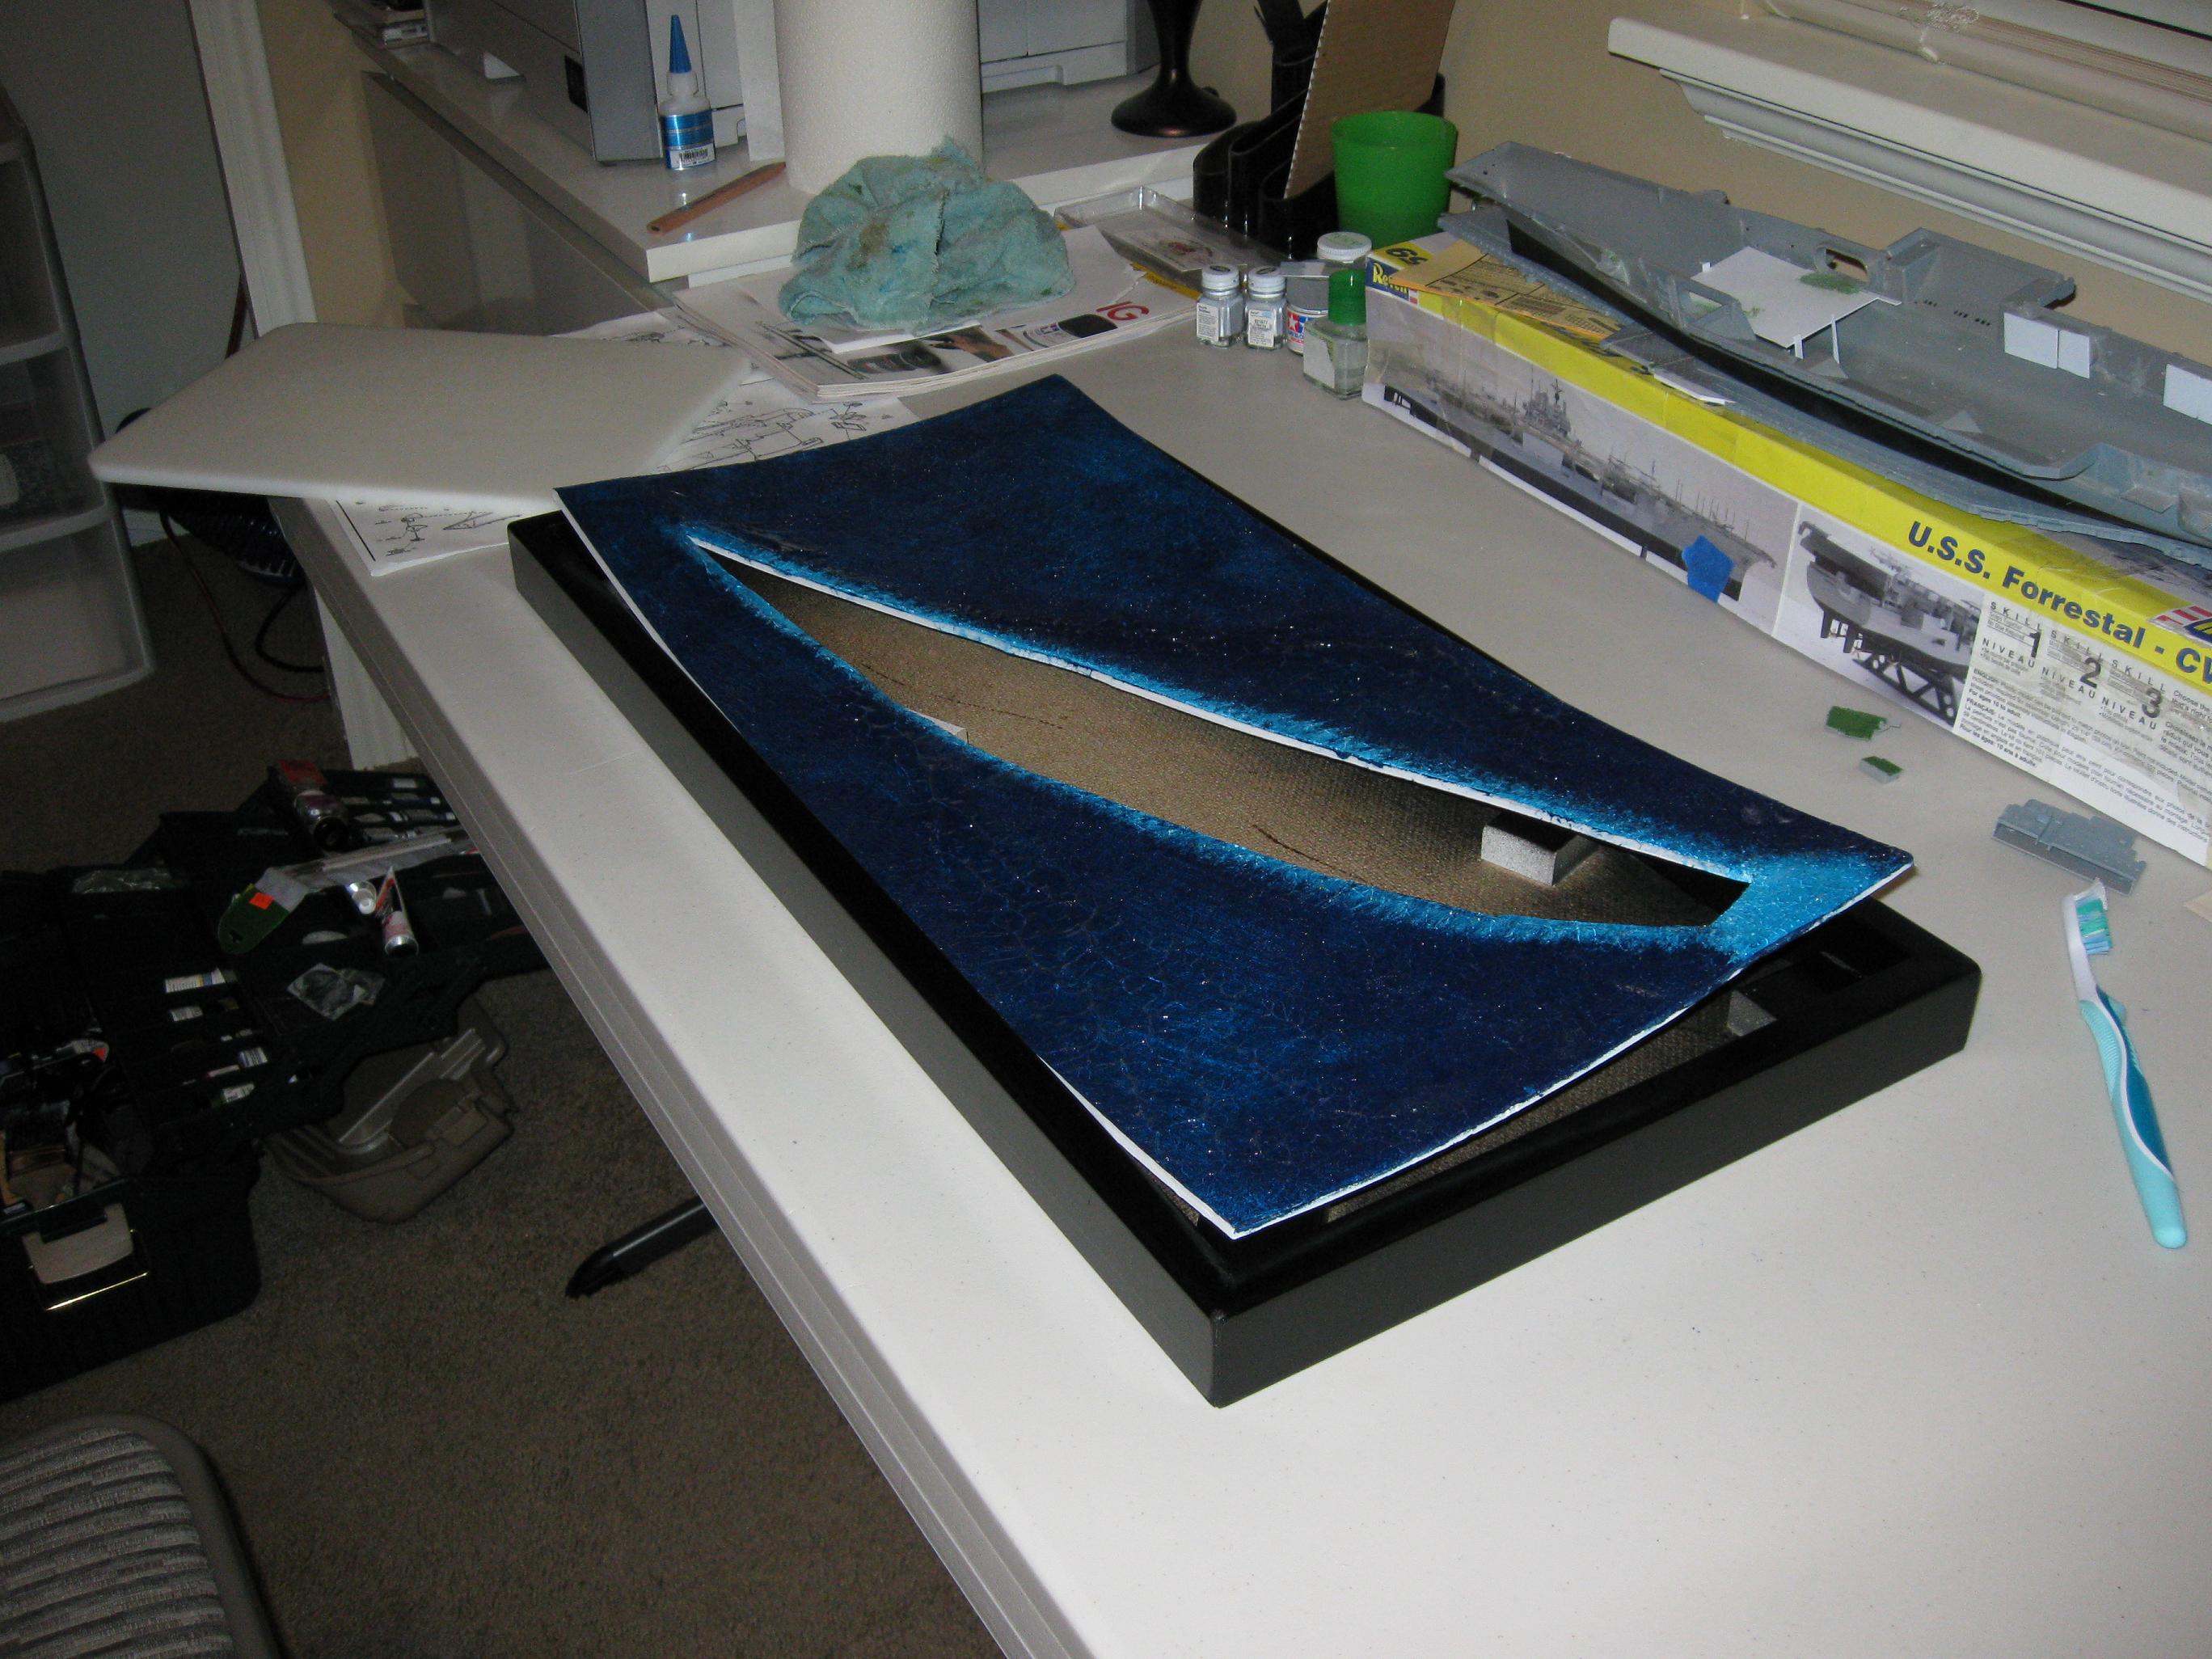
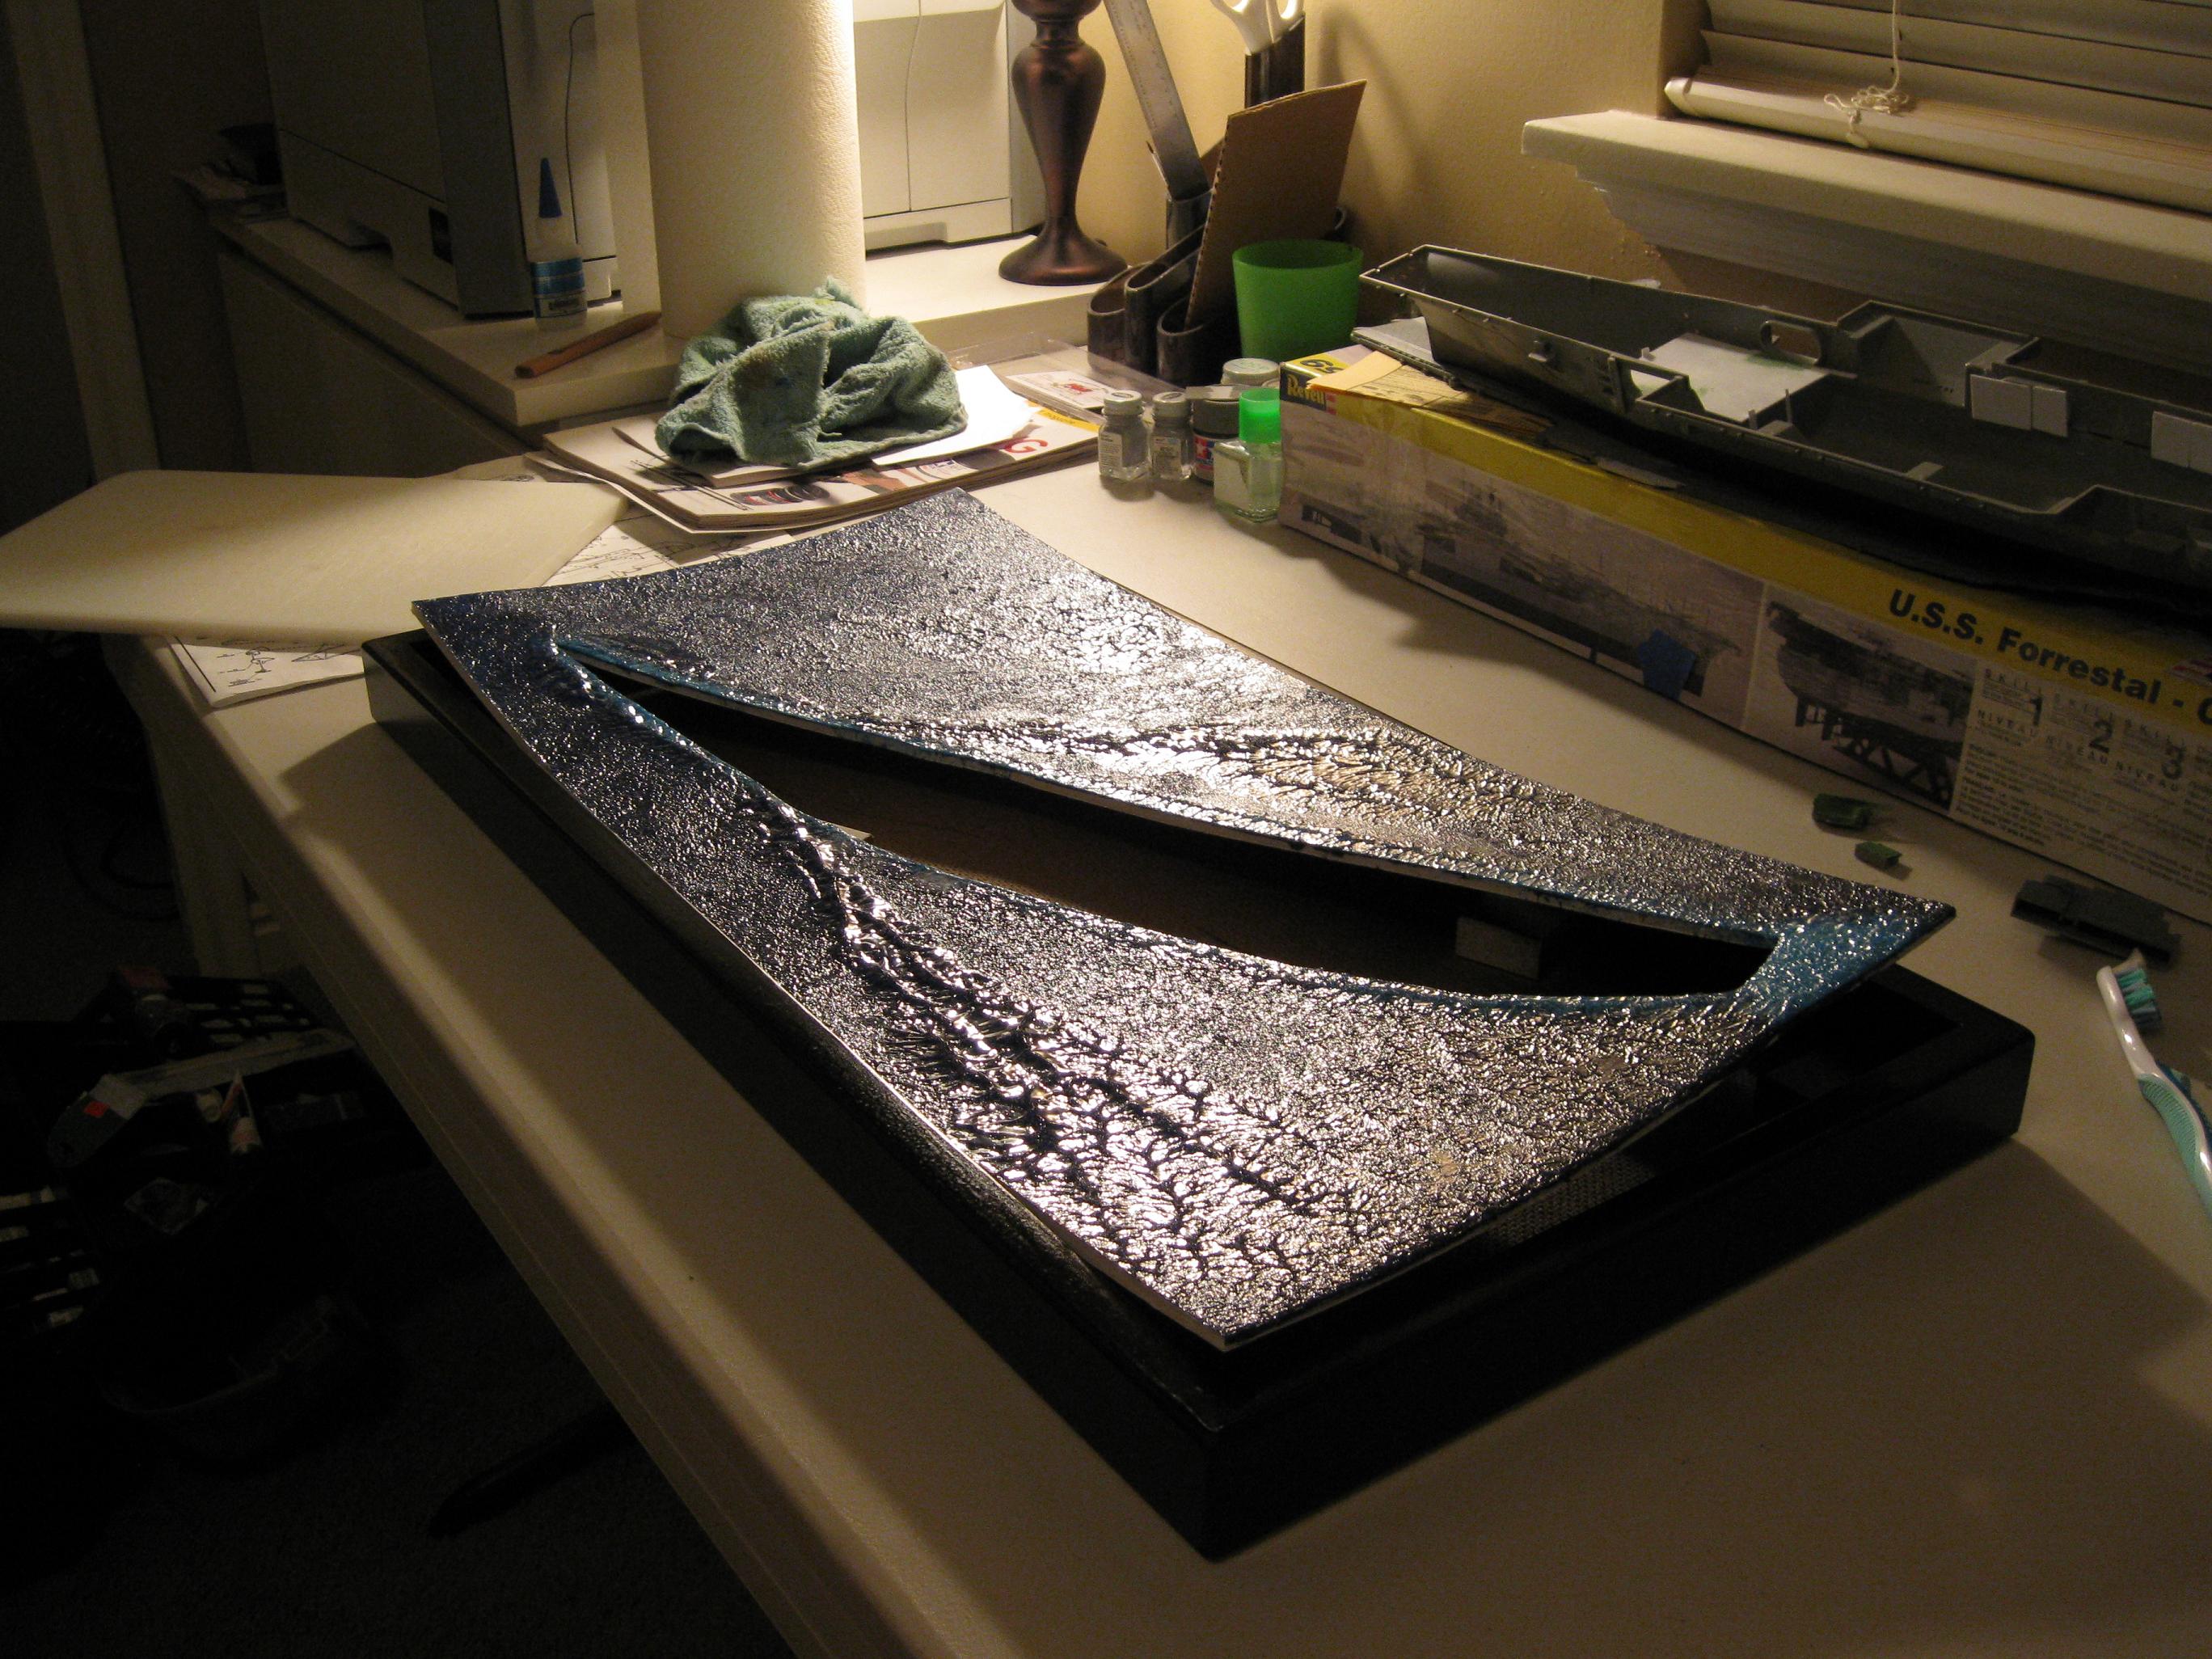
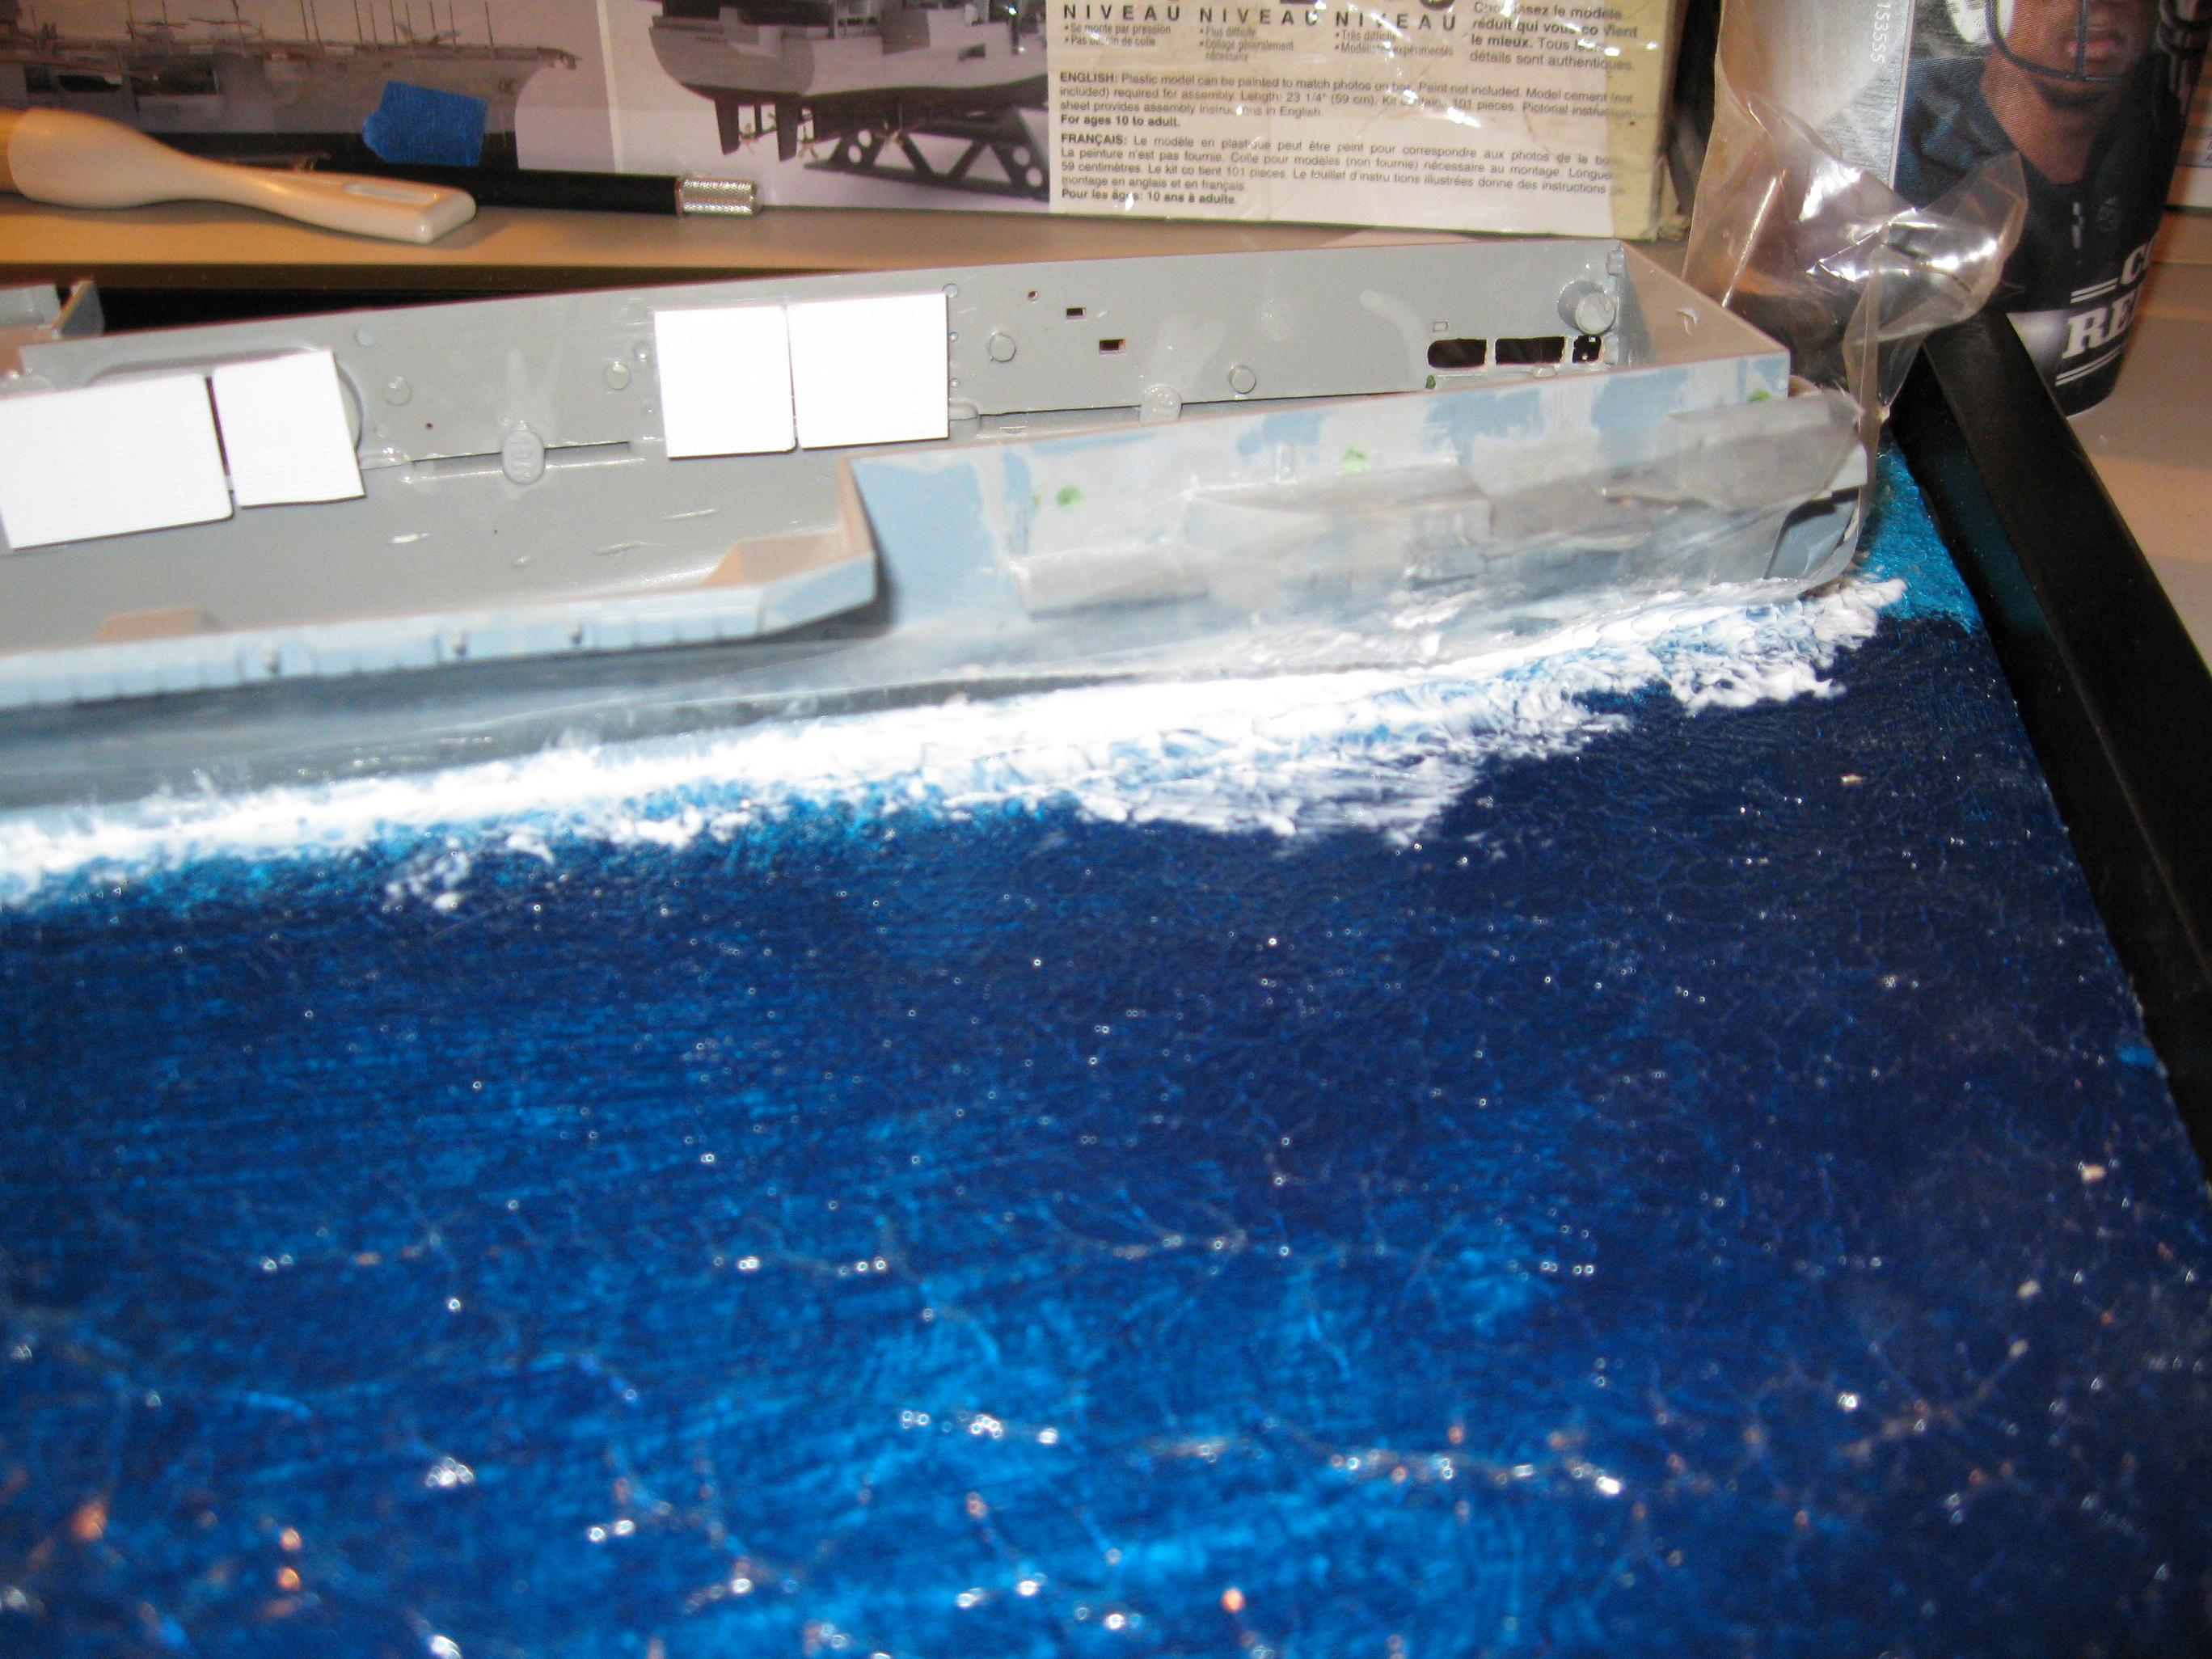
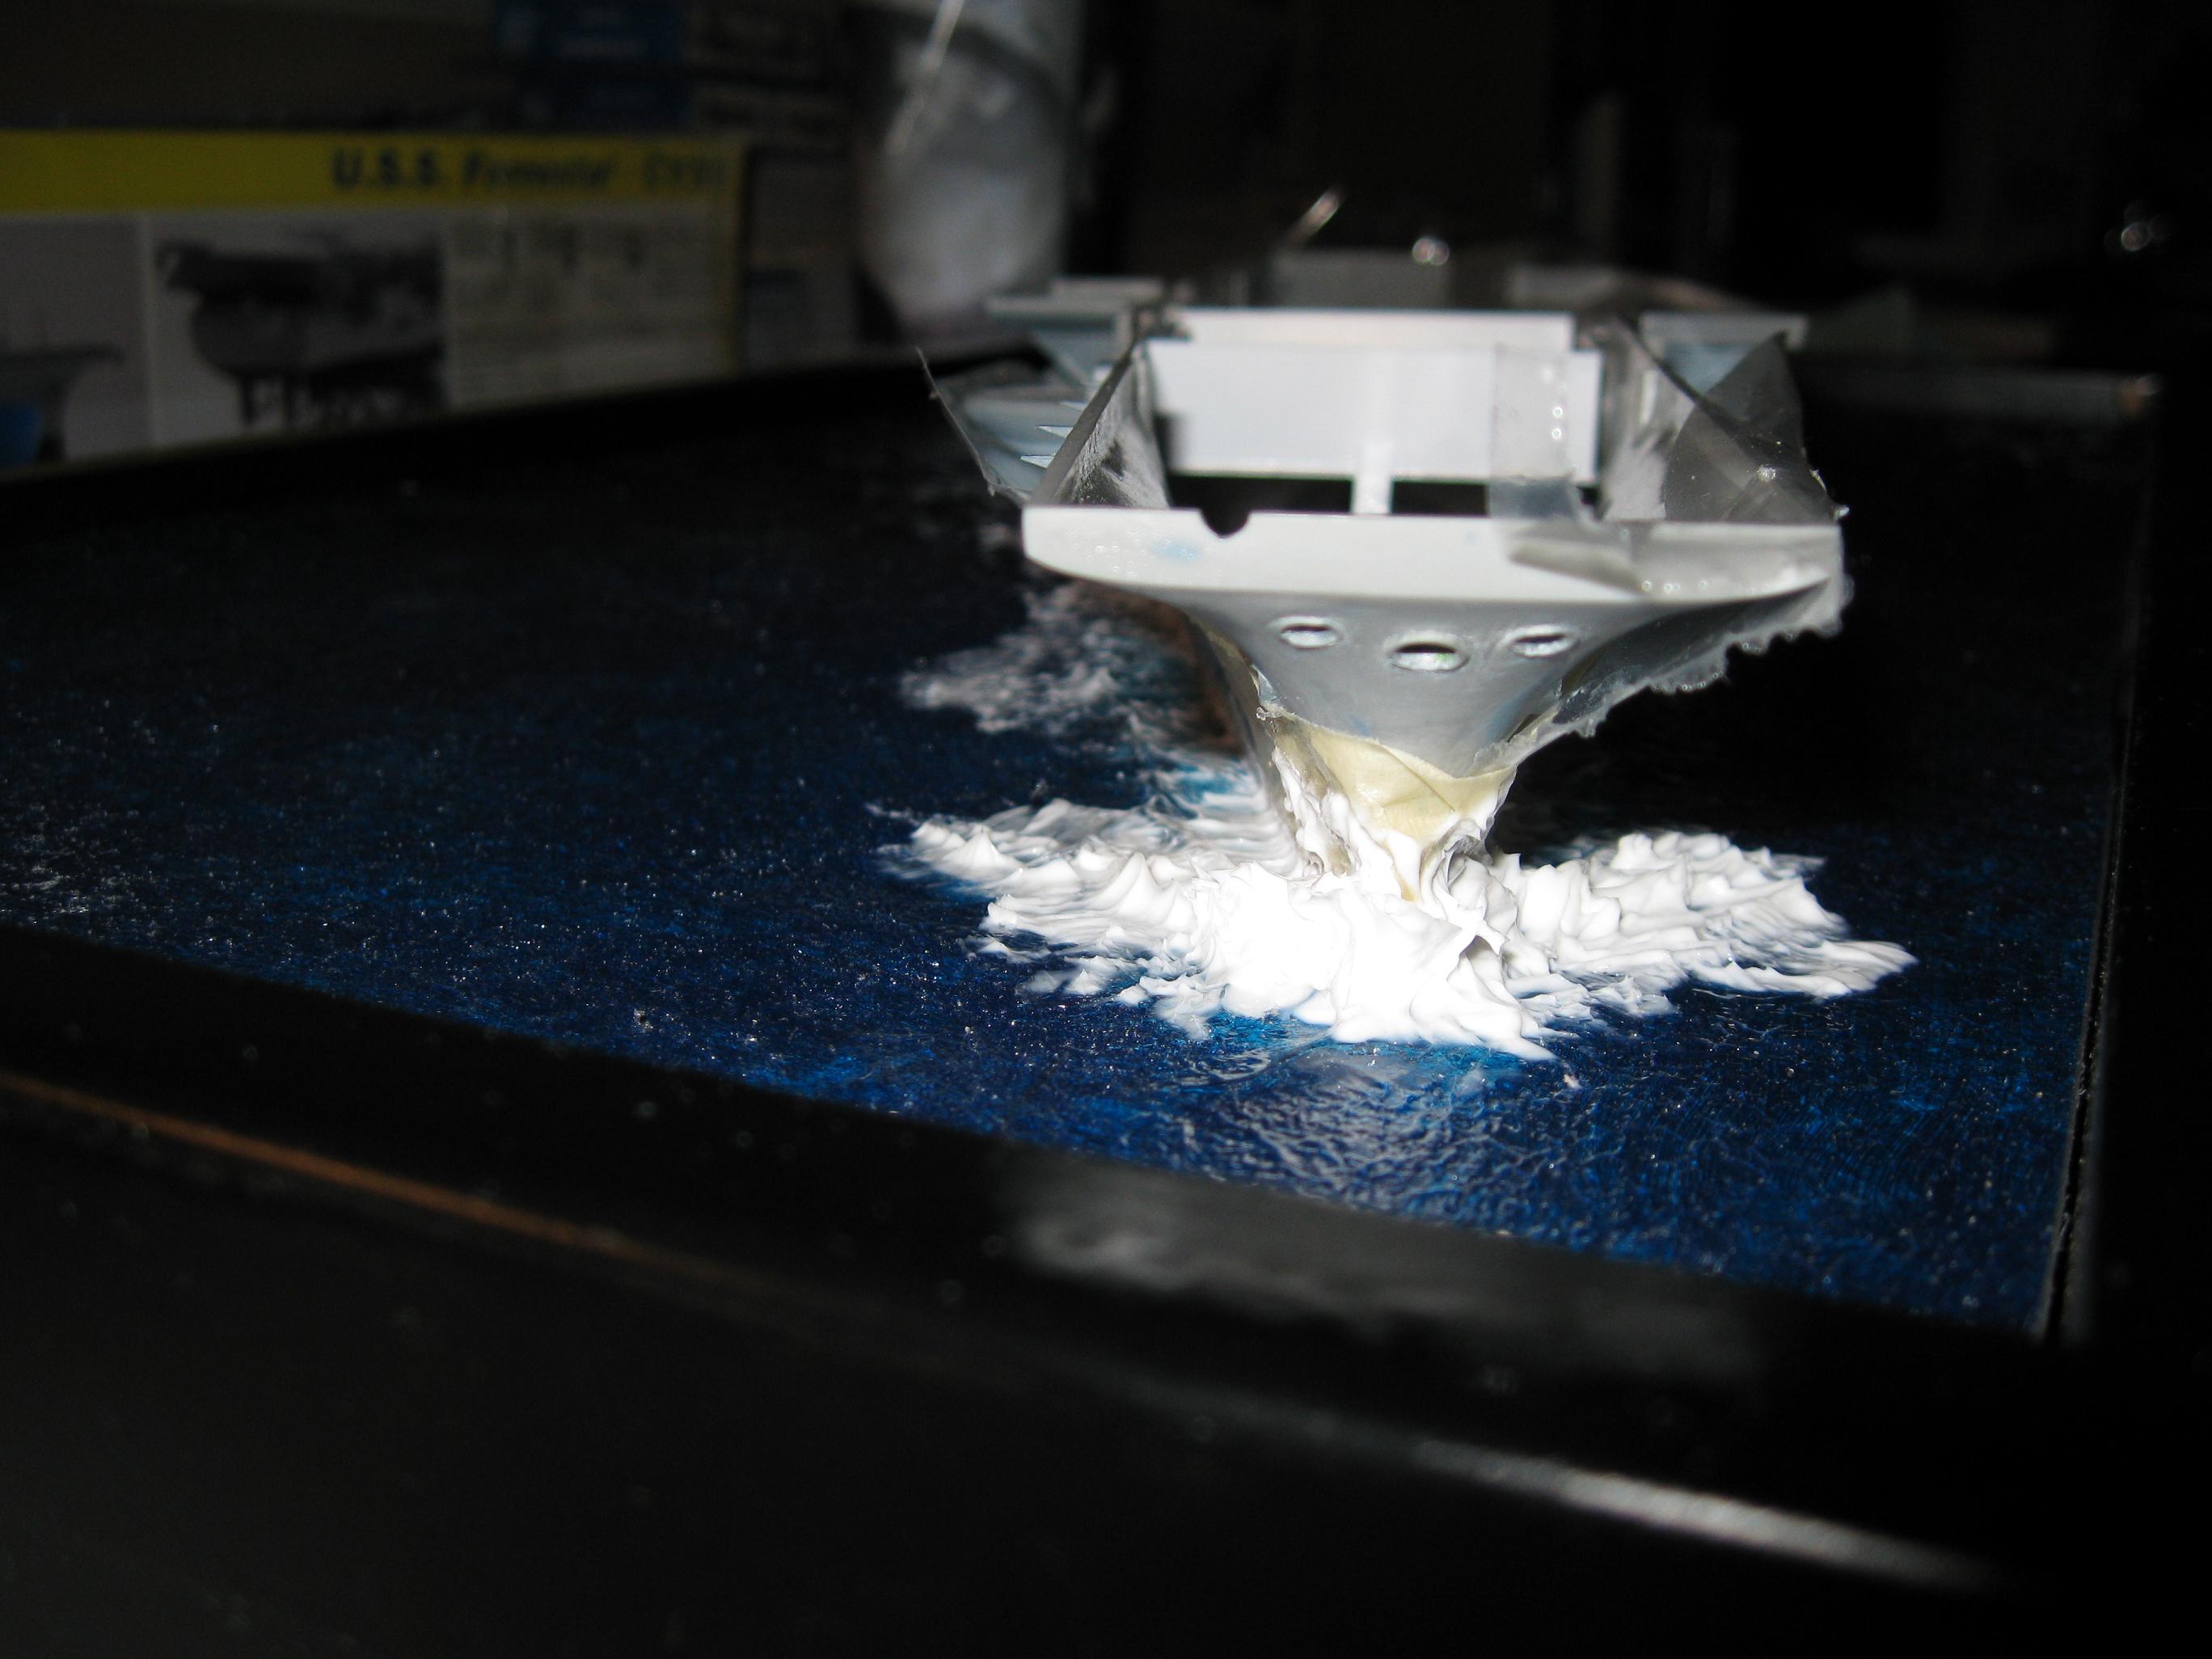
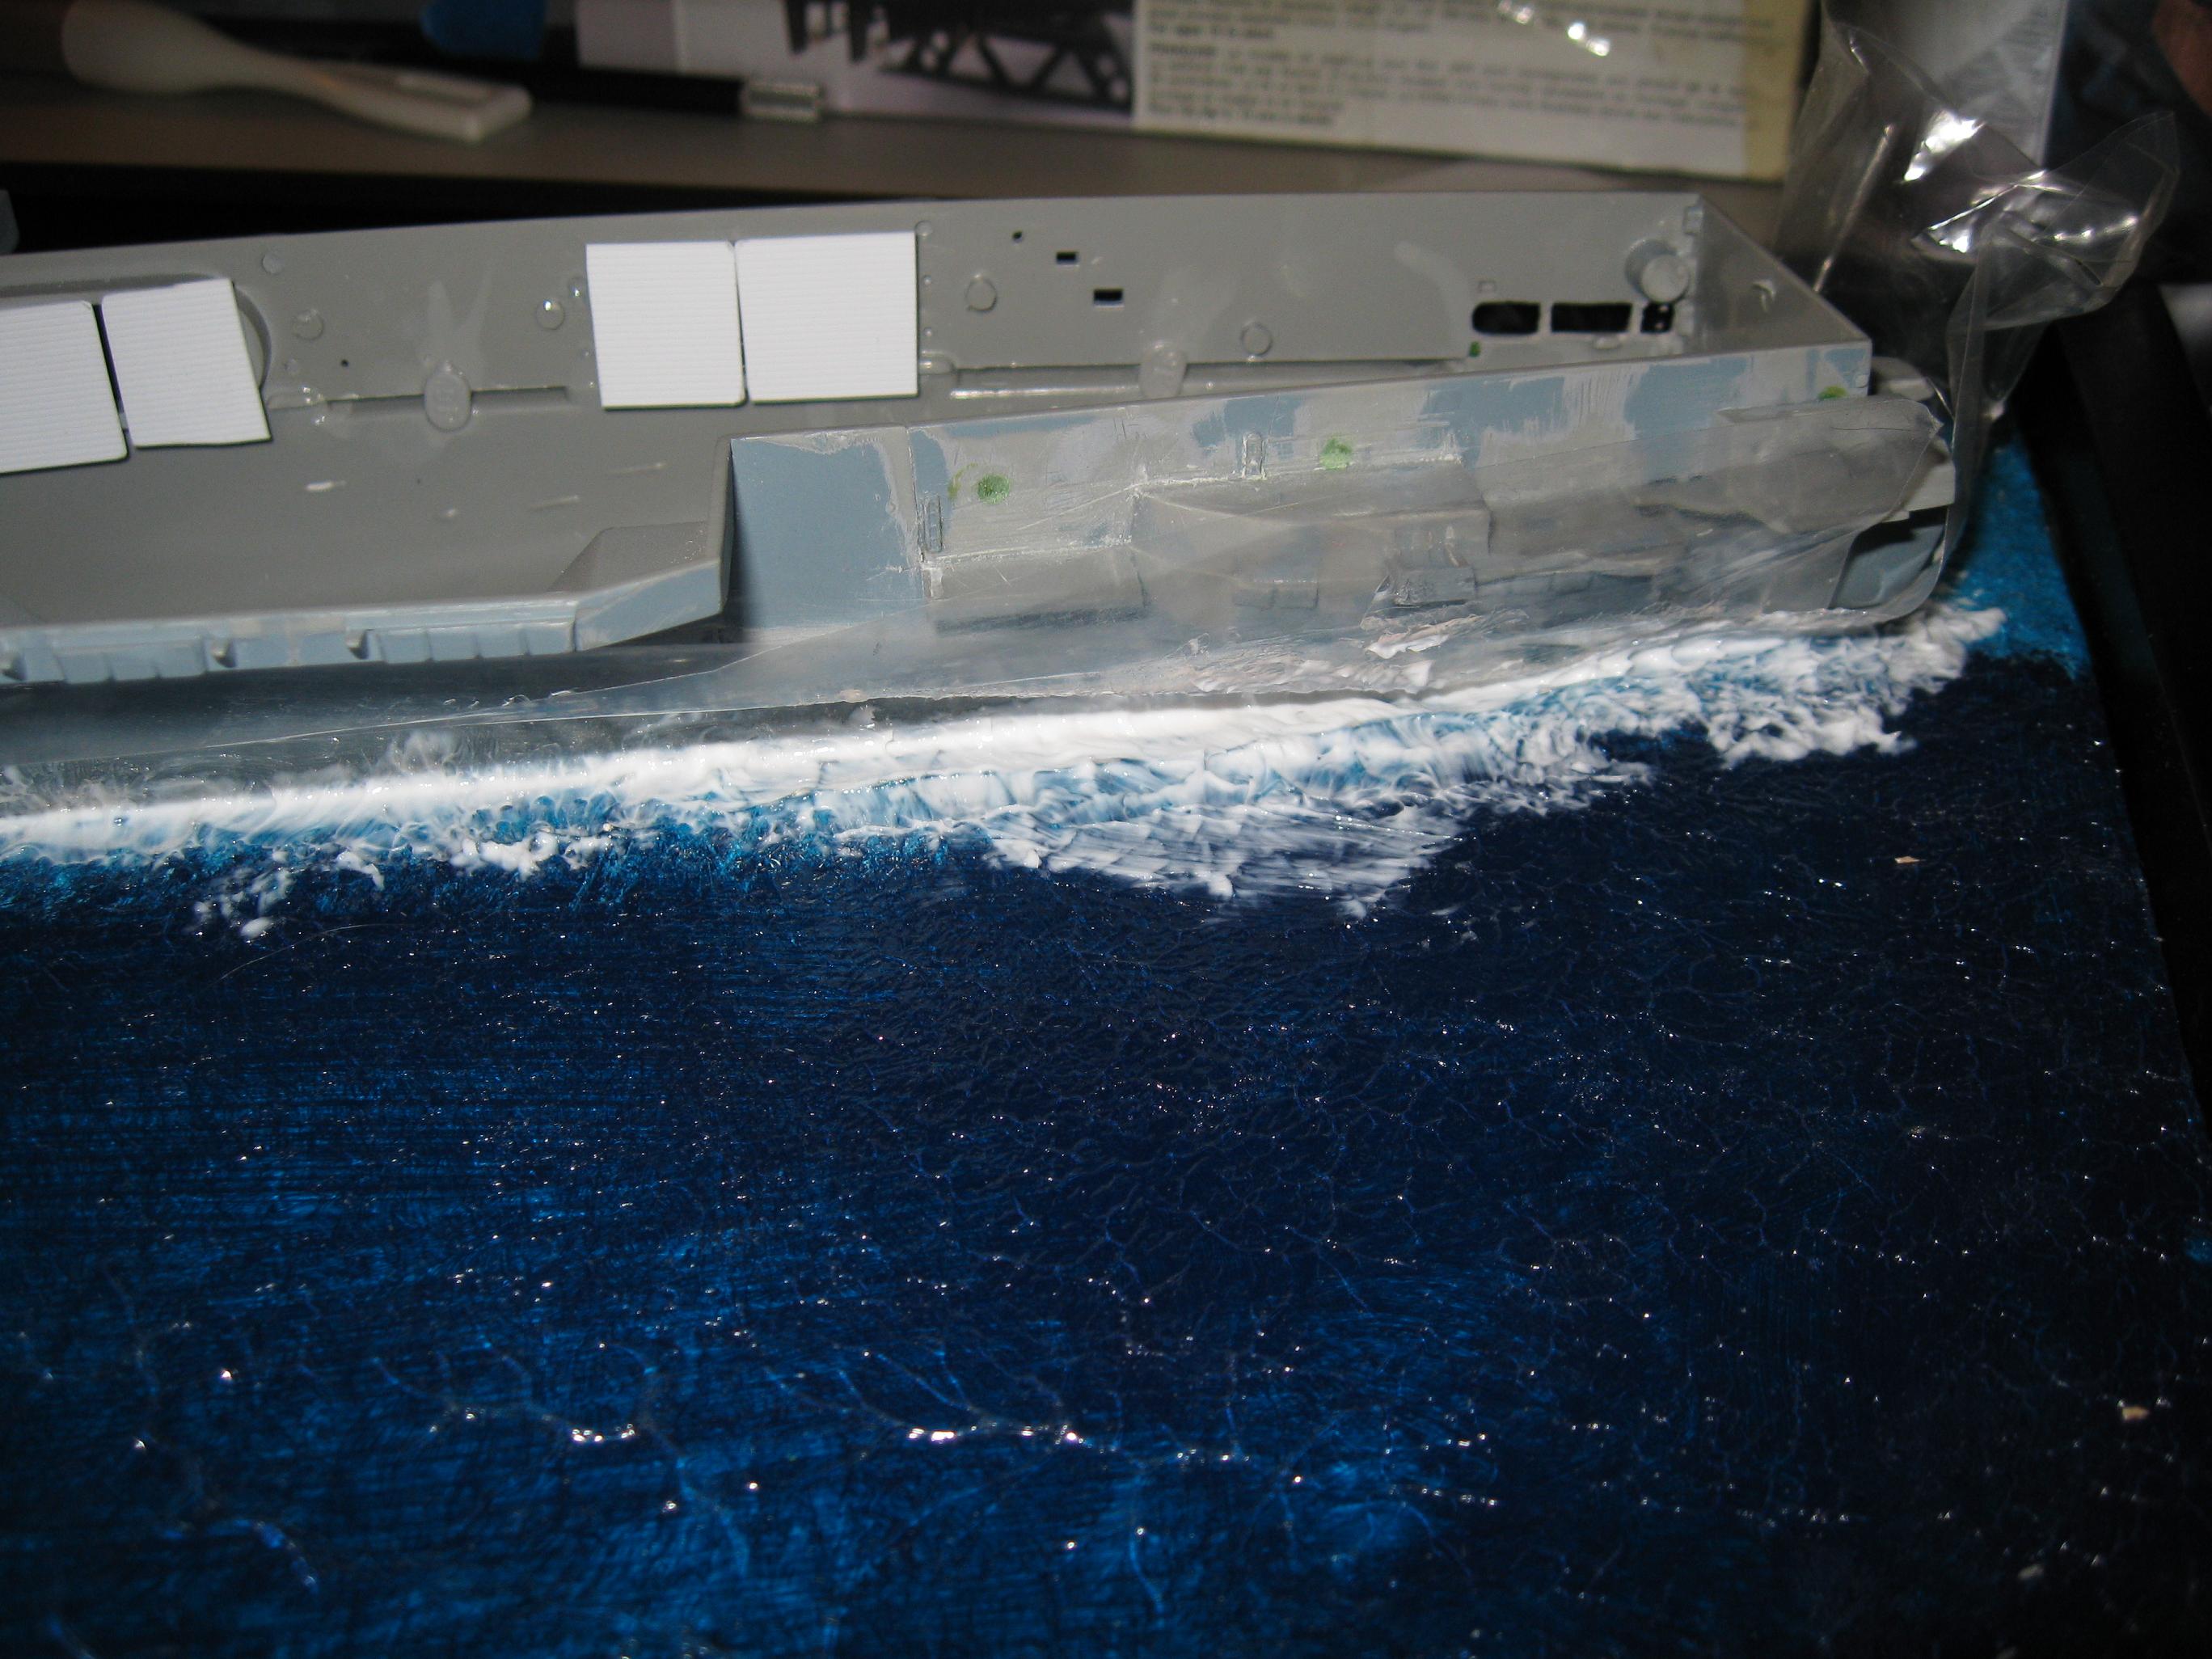
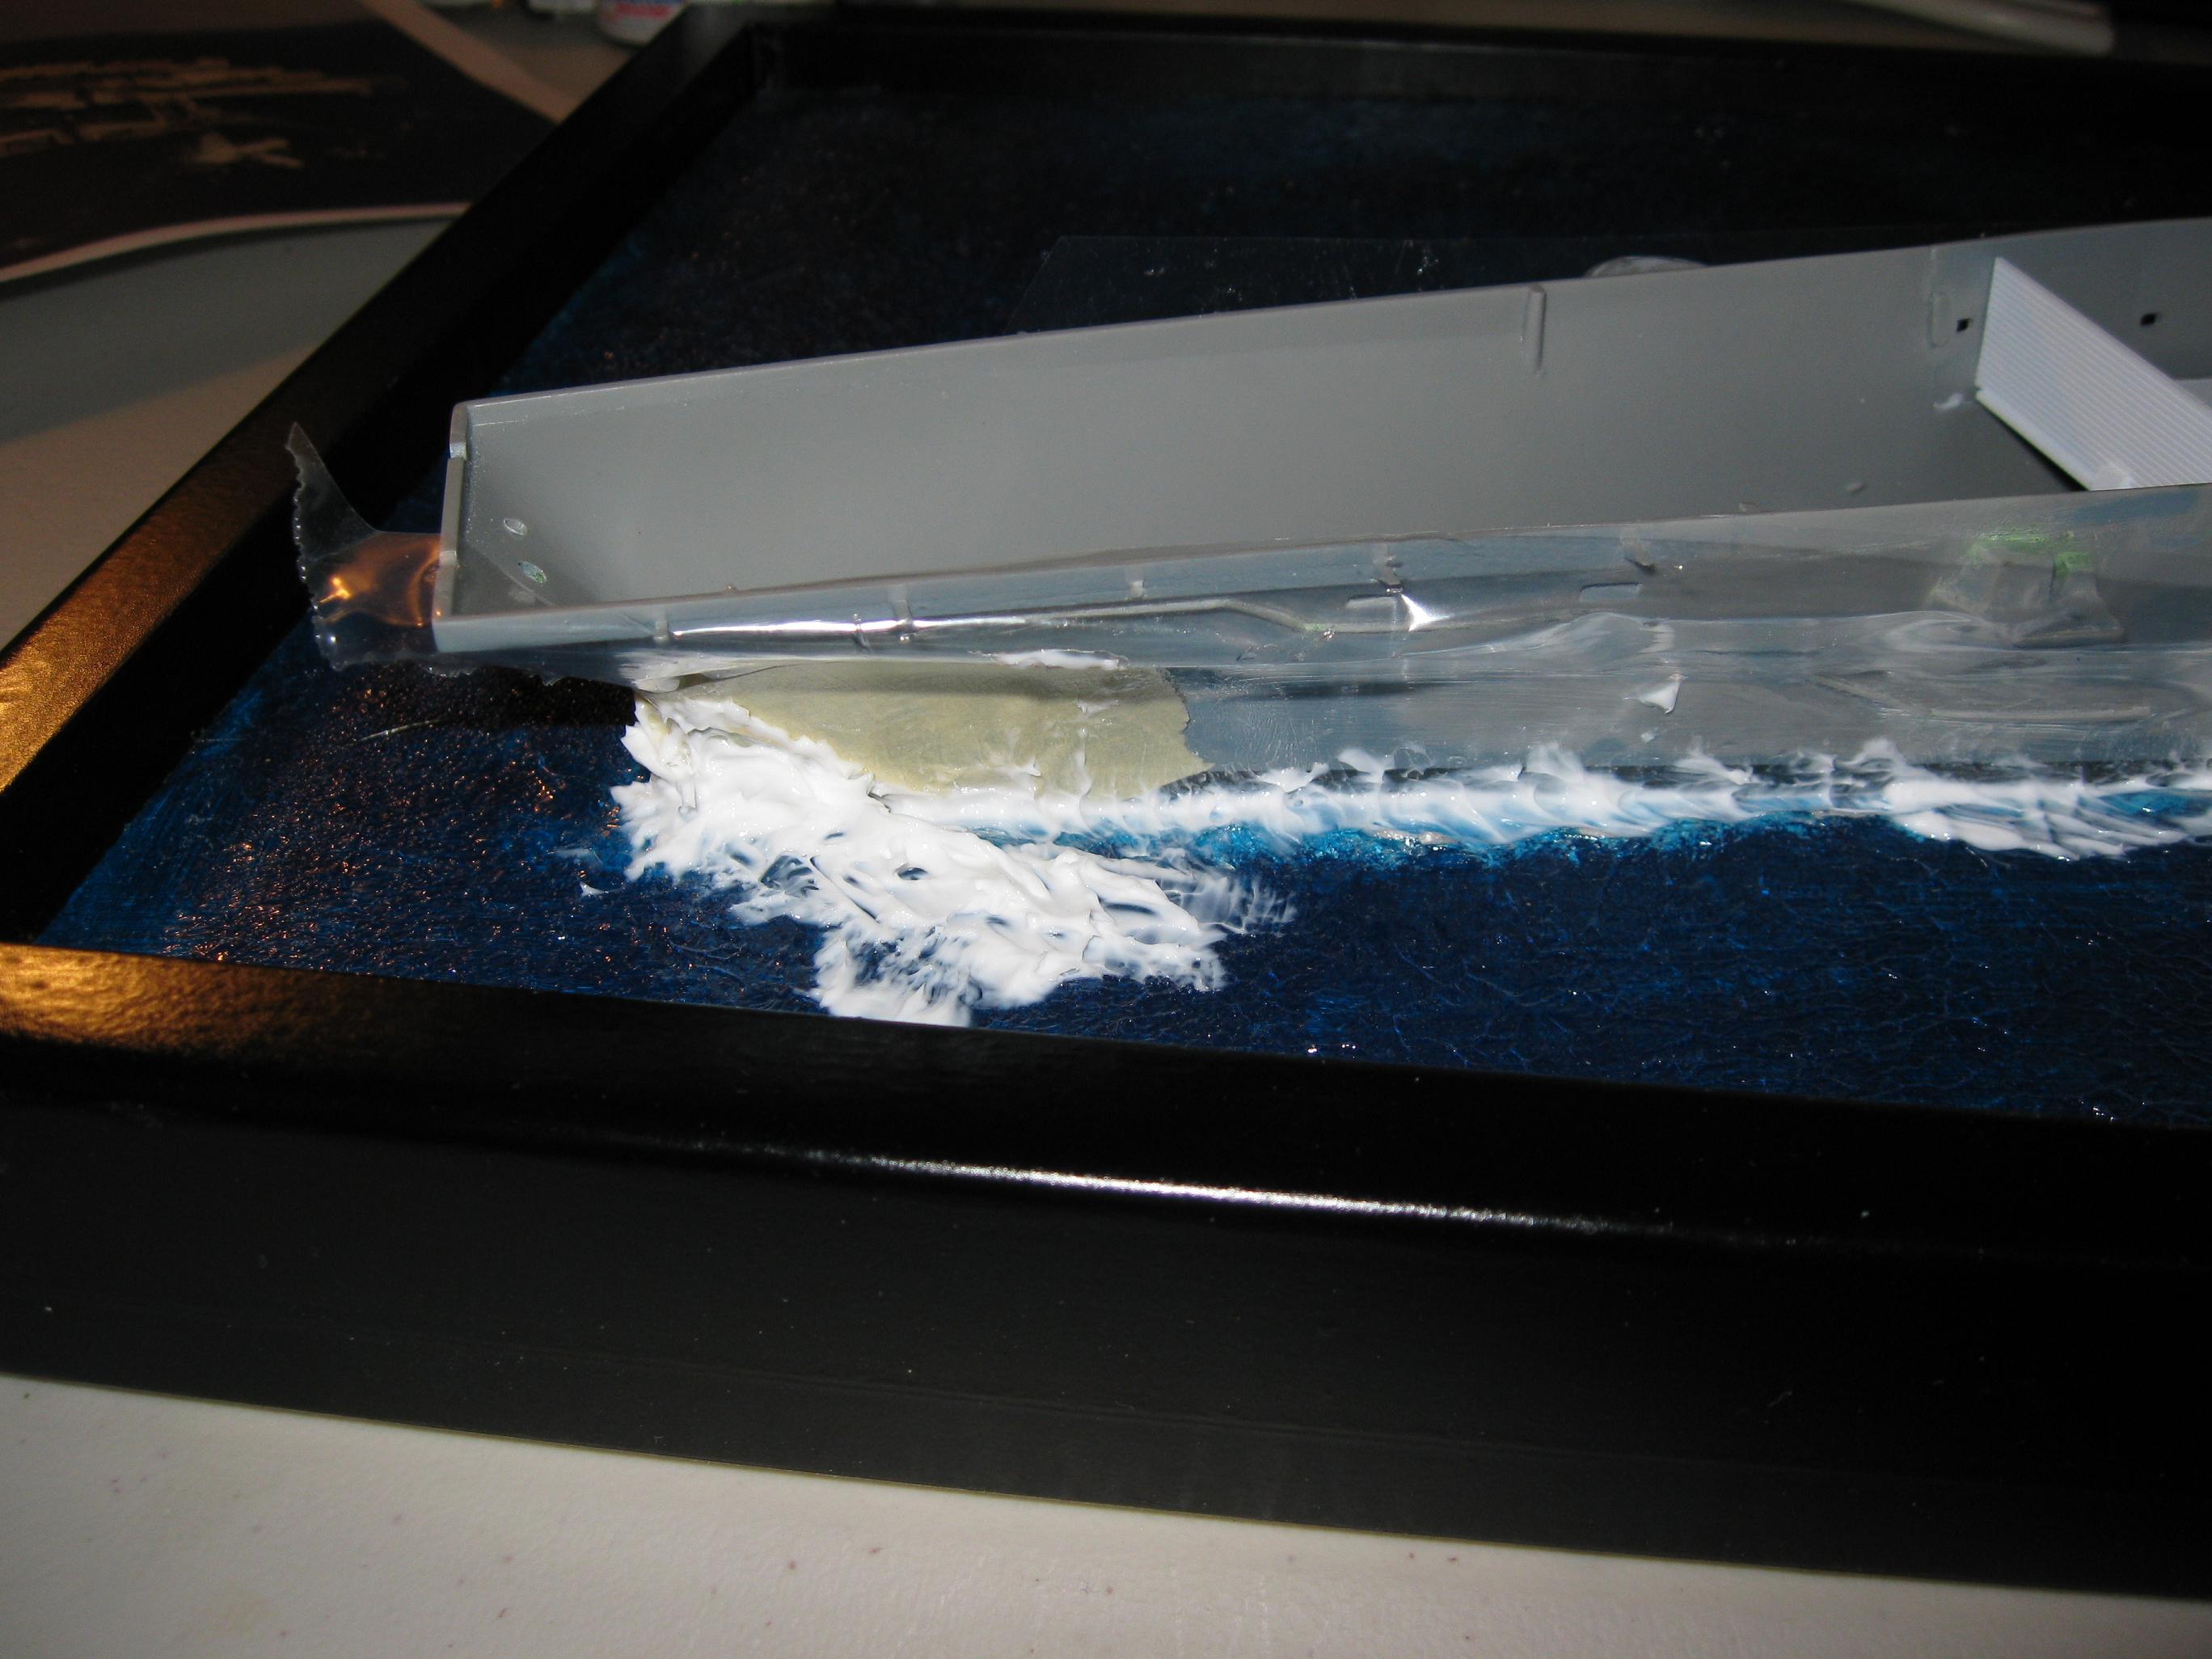
look much better when you are not so close. Some scale shots The Base.
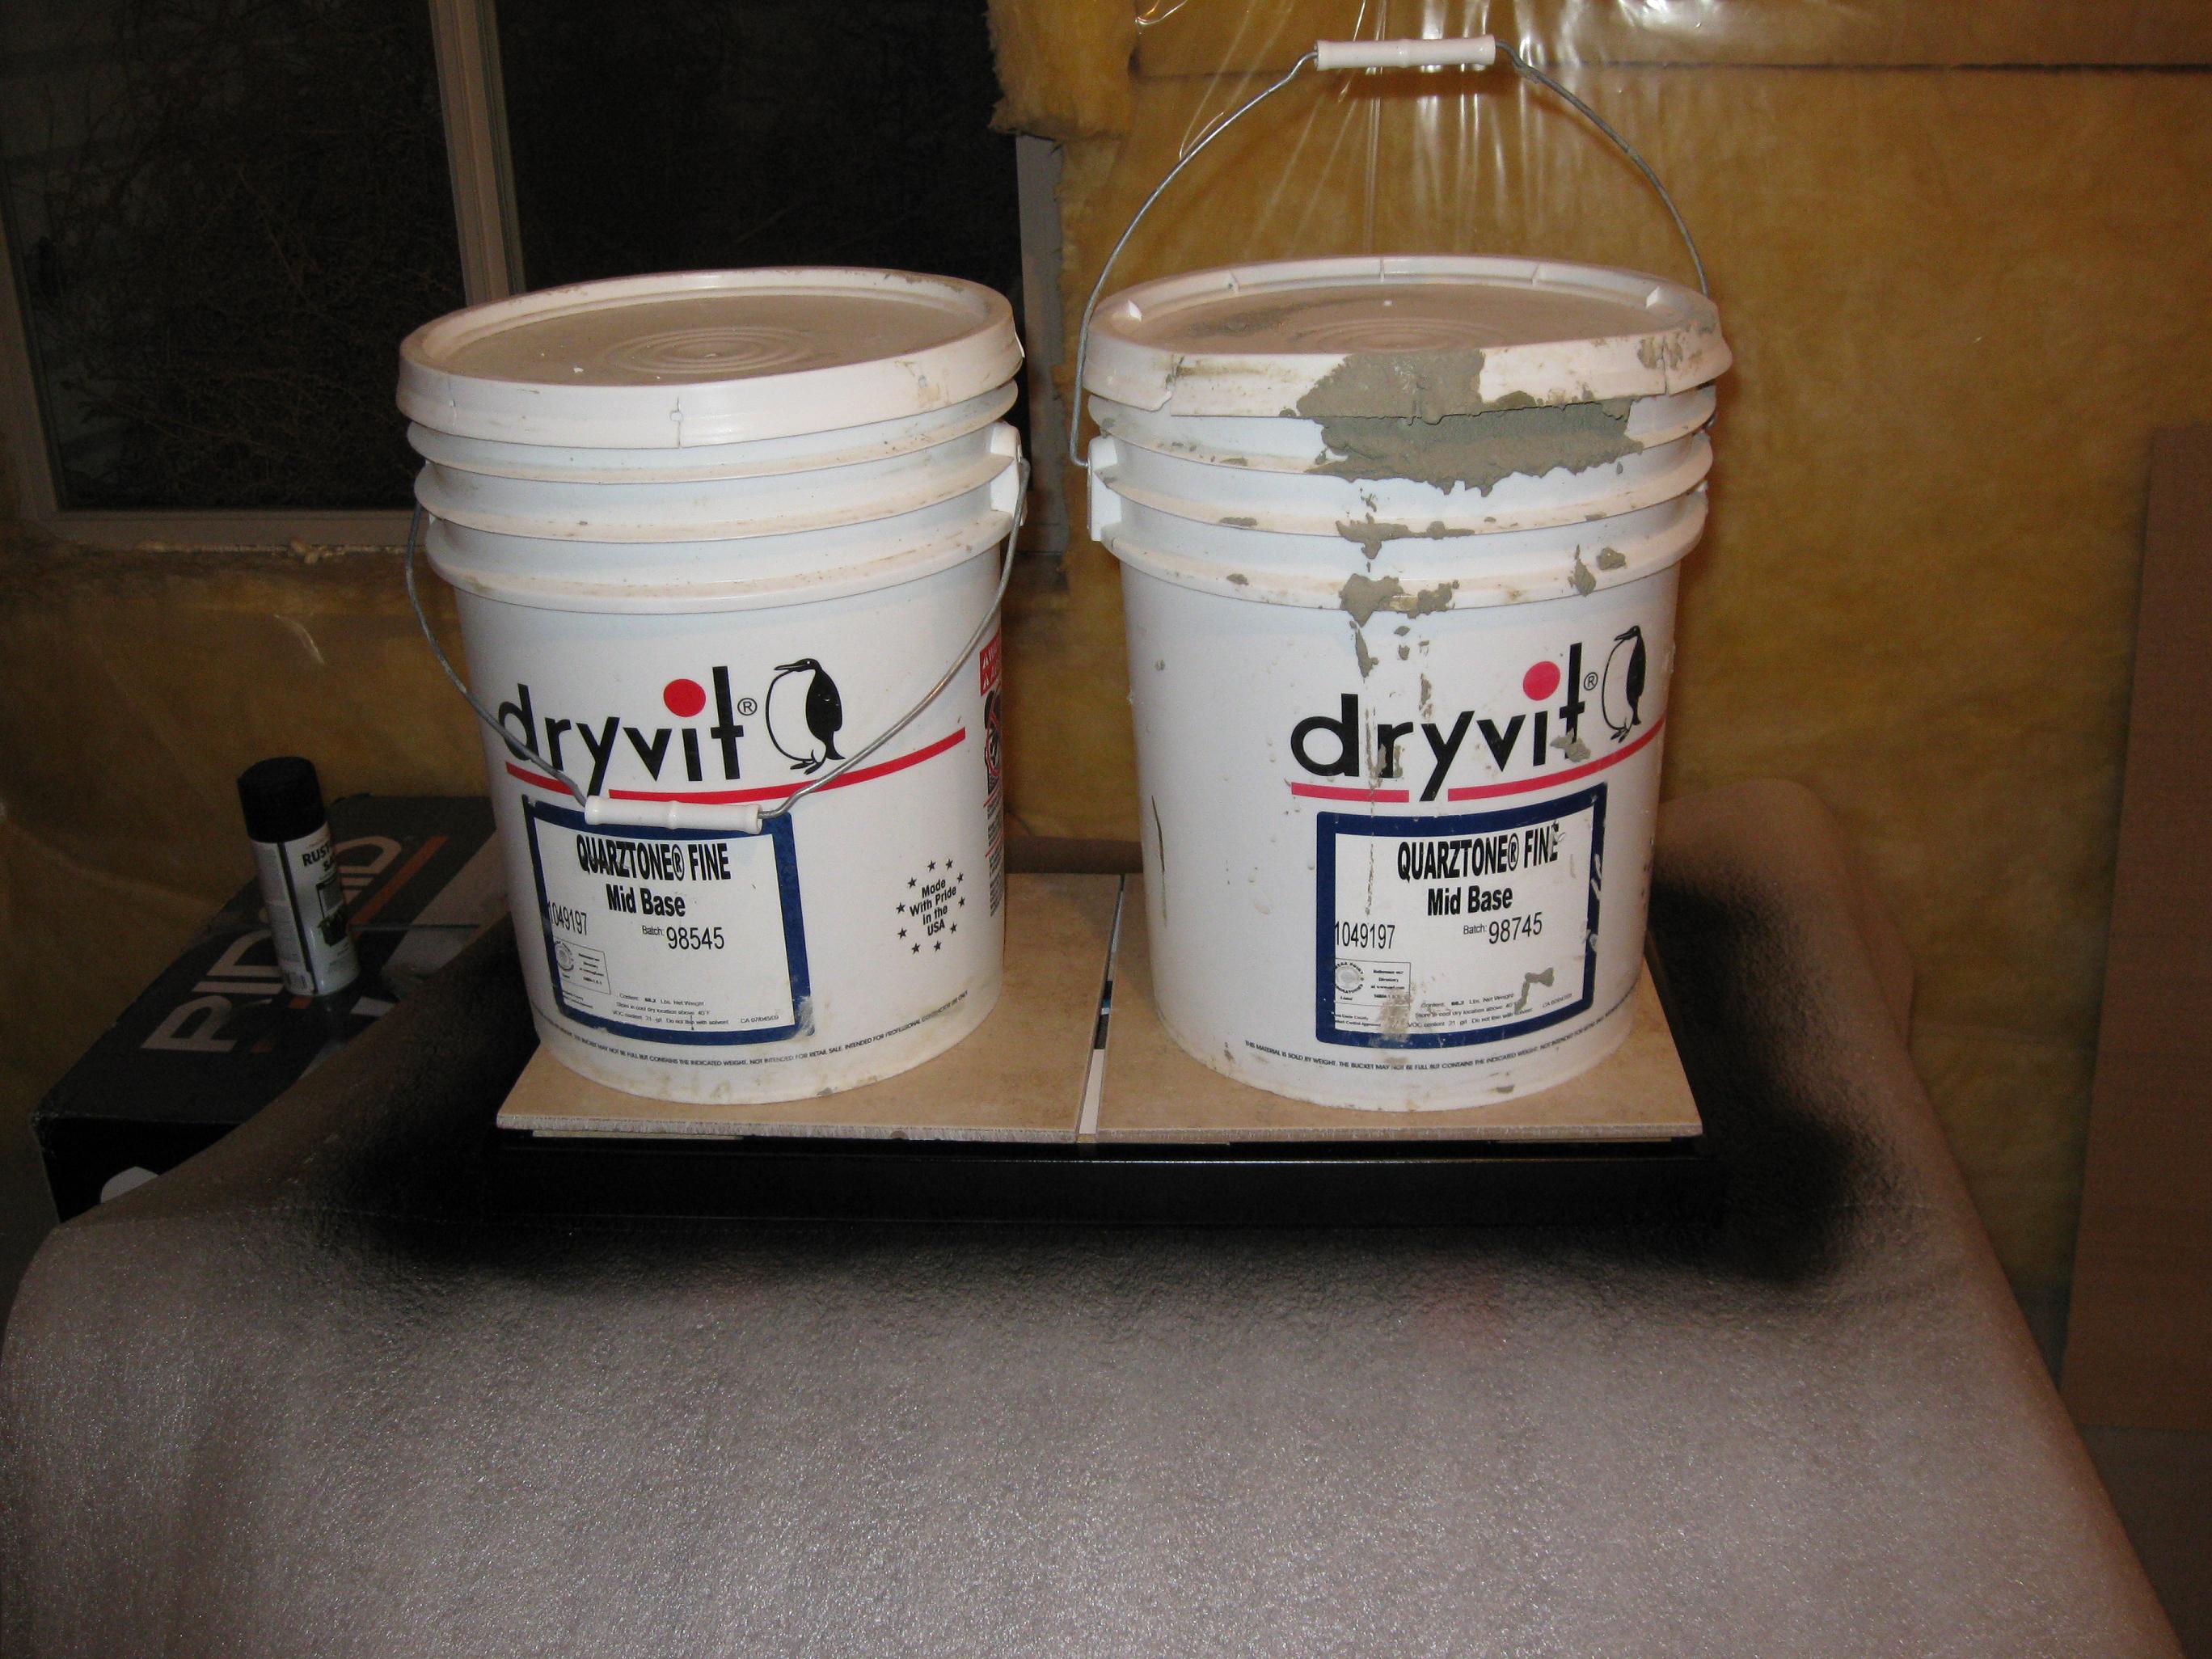
Painted blue, then coated with Liquitex for waves and the foam
backing developed real waves. Took almost 100 pounds to
epoxy it flat into the frame.
|