|
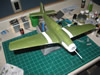
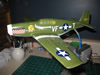
P-51B Mustang "Shangri-la"
Trumpeter 1/32 Scale
PAGE 1
HOME - PAGE 2
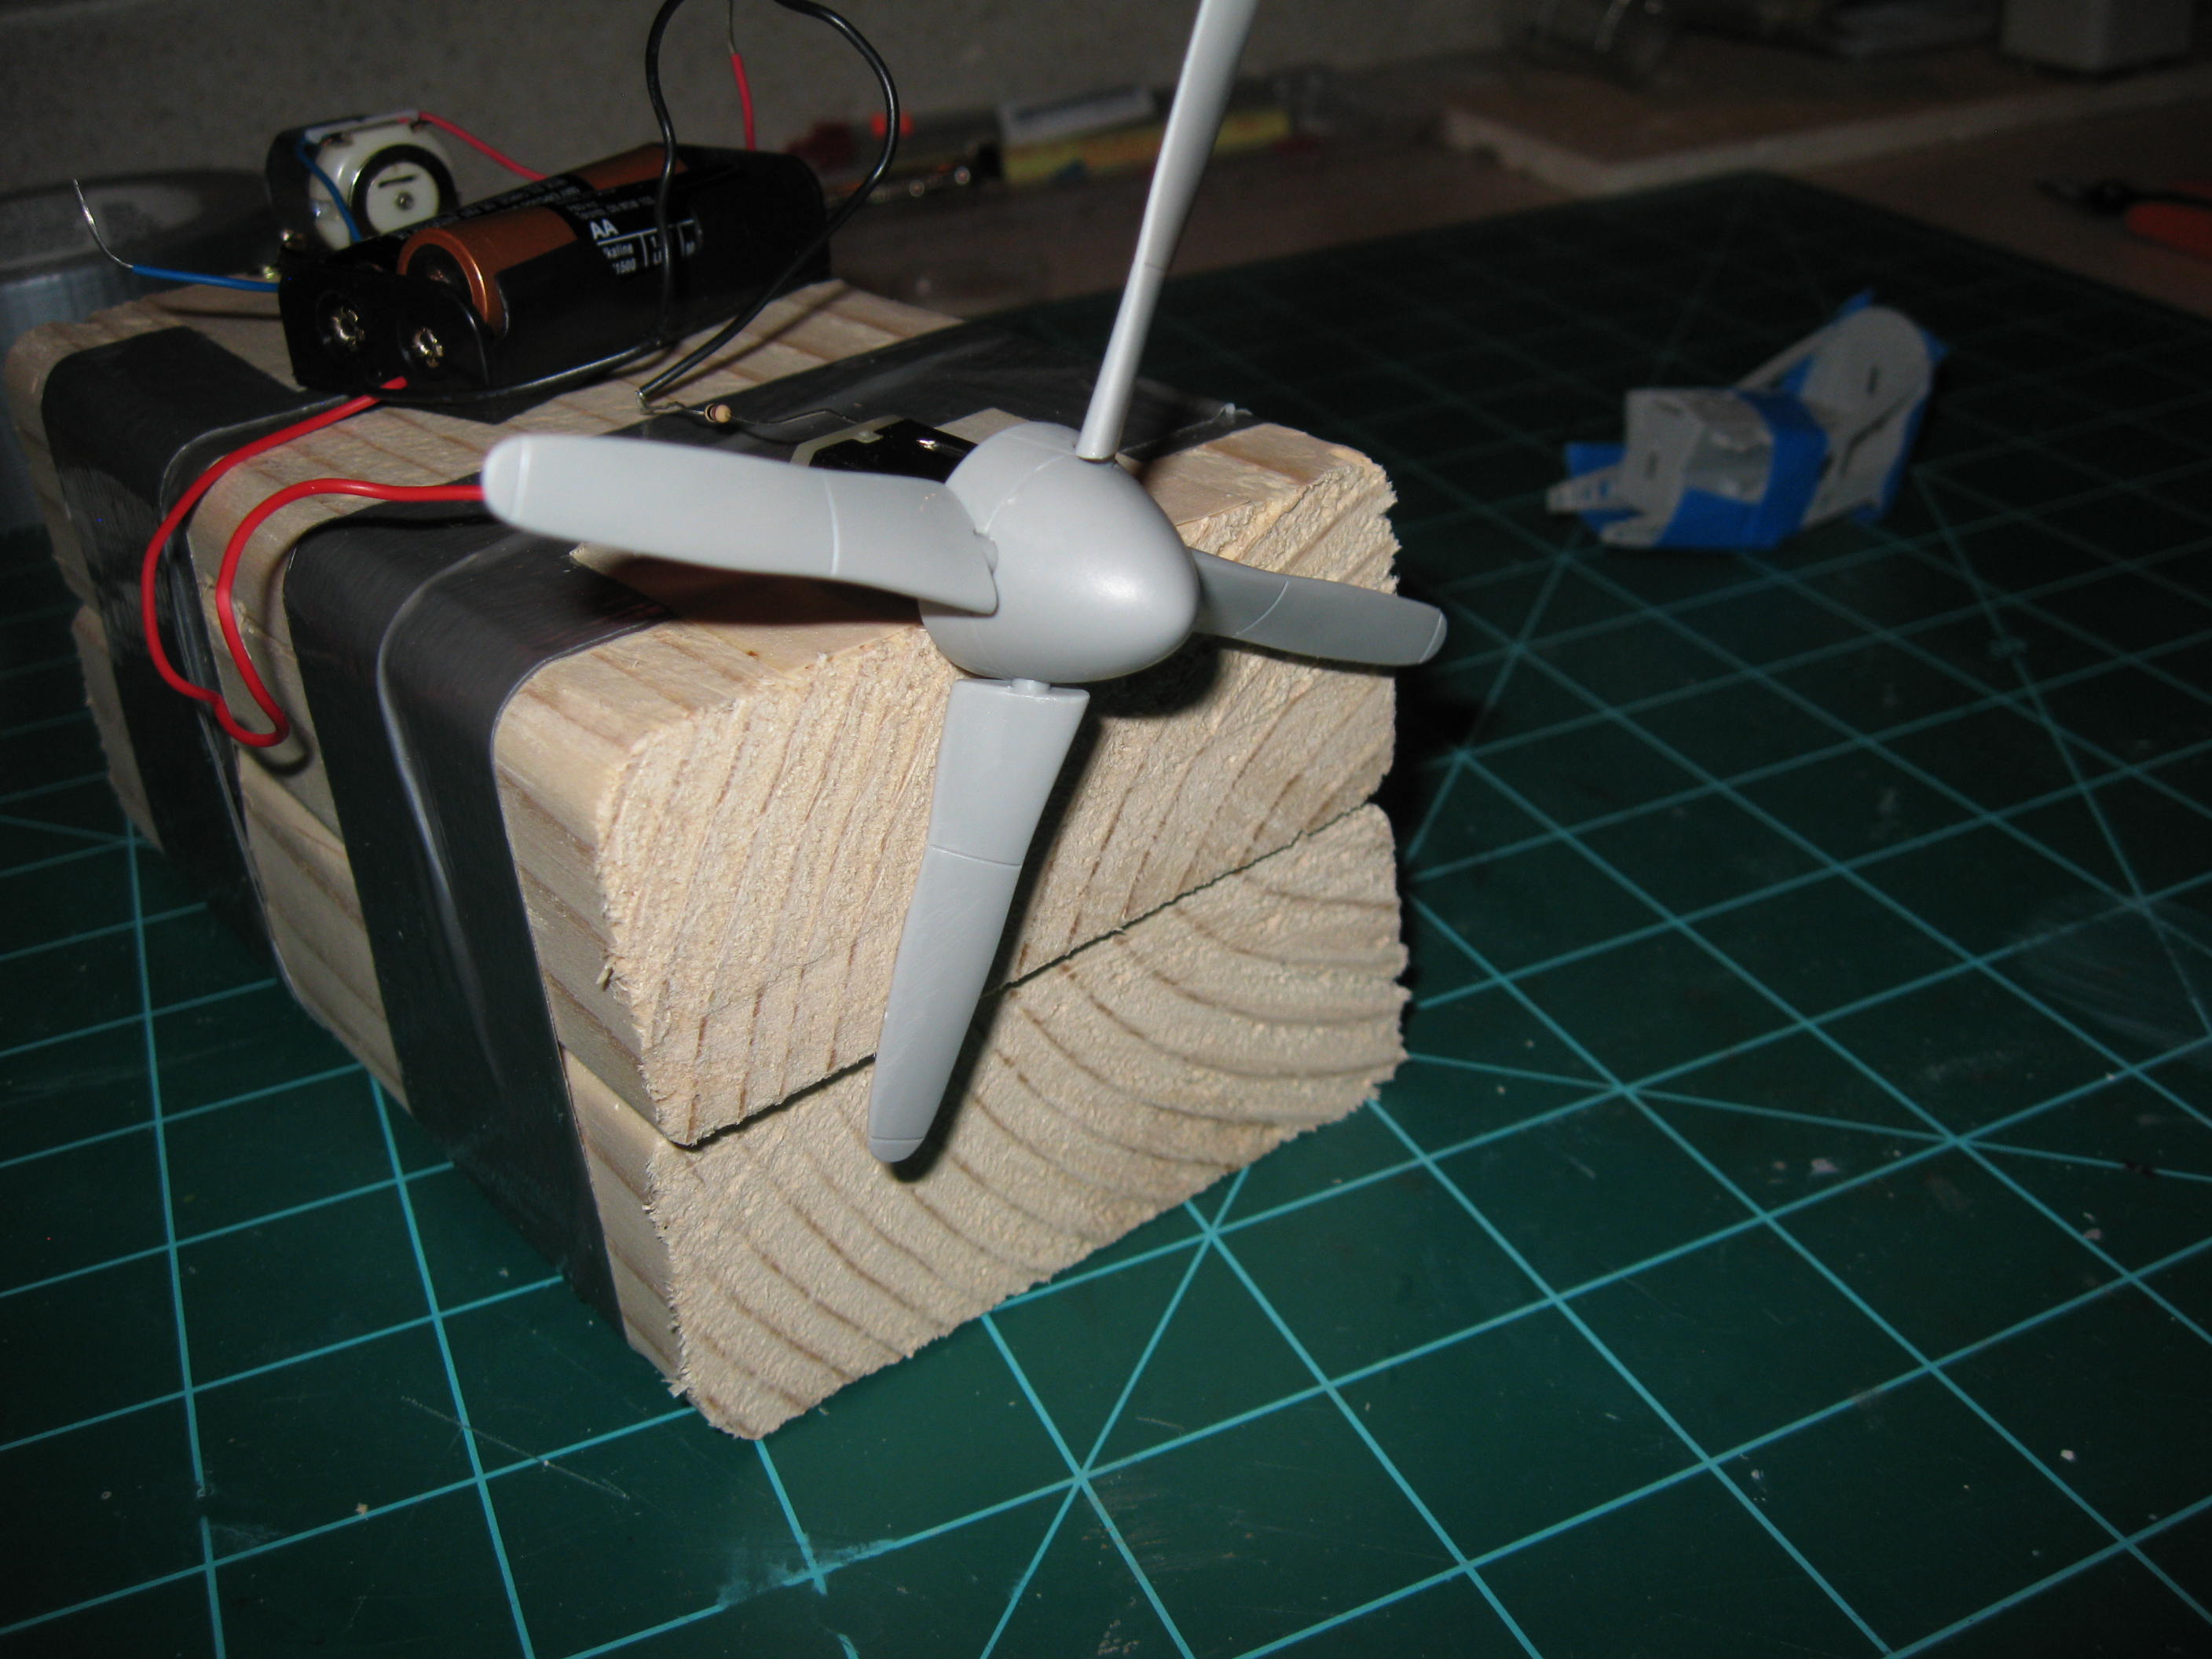
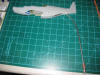
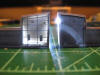
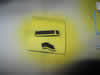
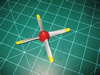
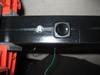
Since my intention is to motorize this kit I
decided to get all the electrical stuff out of the way first. At least
figure out how I wanted to do it so I am not messing around with it when the kit
is half built. I found little motors at Hobby Lobby, a Model store and at
Radio Shack. I tried them all and I like the Radio Shack one the best.
It is the smallest but takes a greater voltage to run - thus it can run slower.
I really don't want the prop to turn that fast. Just fast enough to look
authentic.
| |
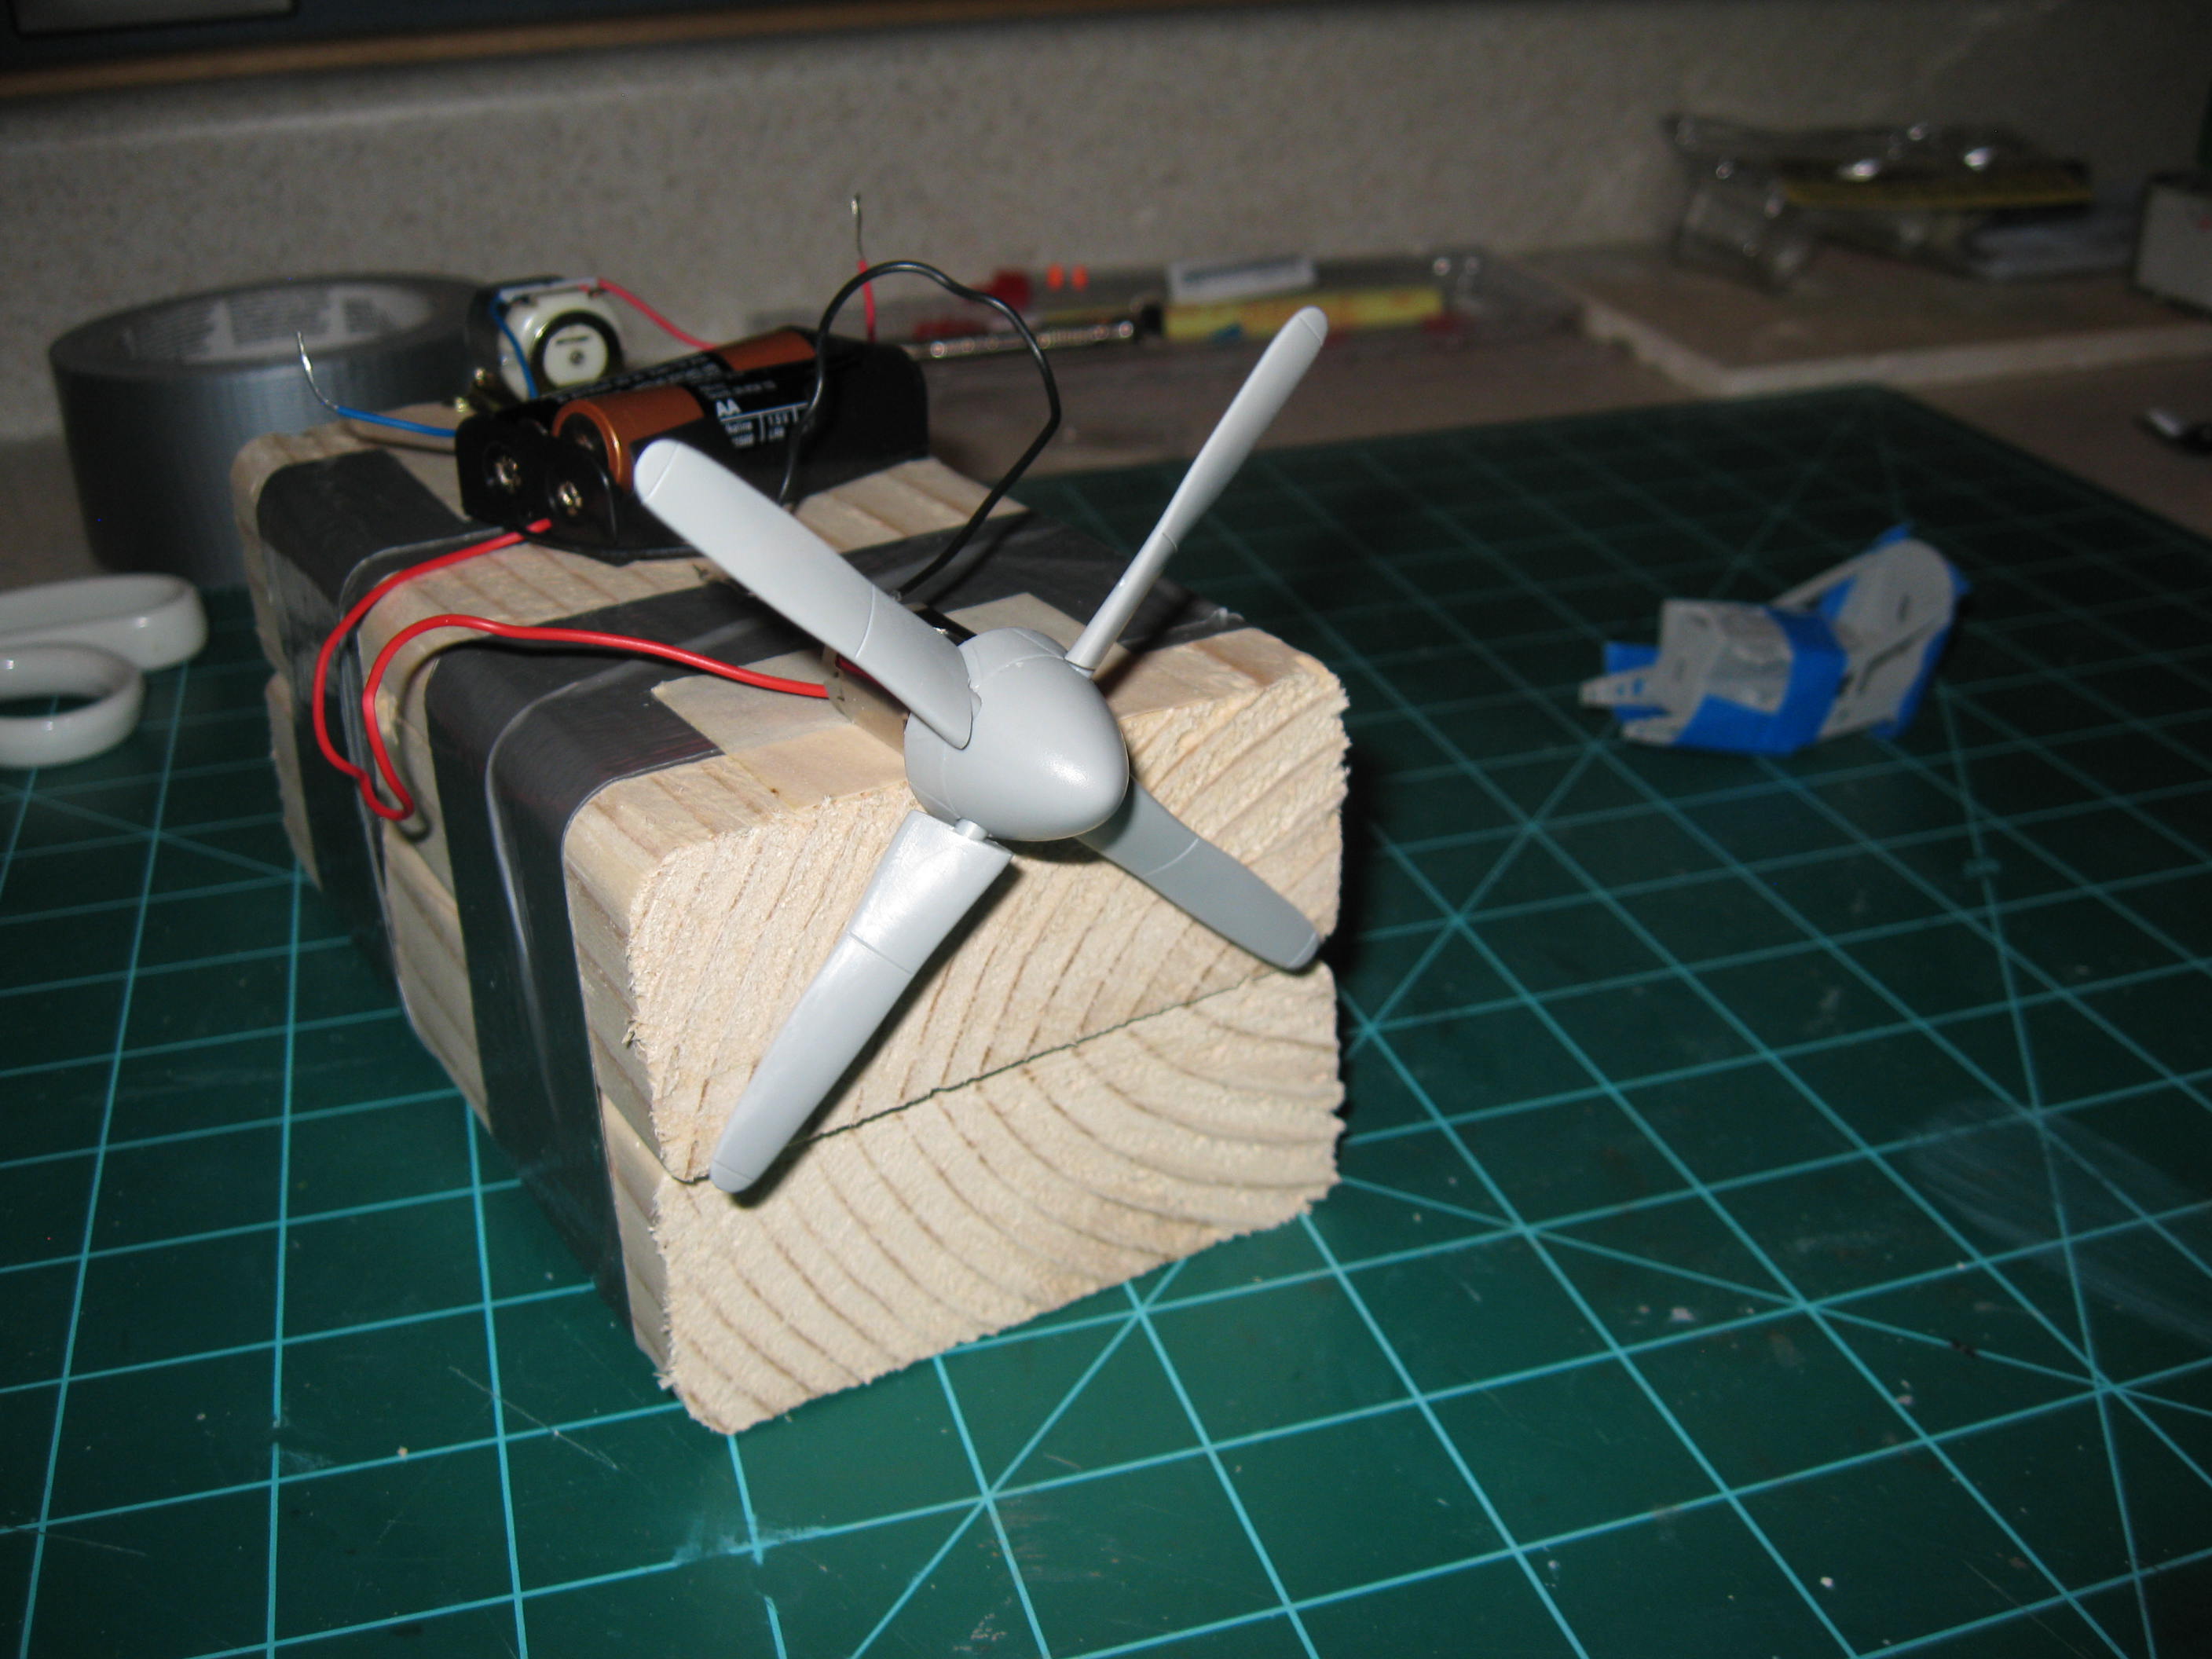
So here is the setup ready for testing.
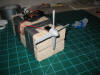
In this one the prop is turning at low speed.
And here it is turning really fast and making all kinds of noise (believe
it or not). I guess I will have to try a picture with the flash off so
there is a little blur in the shot. Regardless, the low speed test looked
excellent.(Oct 6, 2011)
 |
|
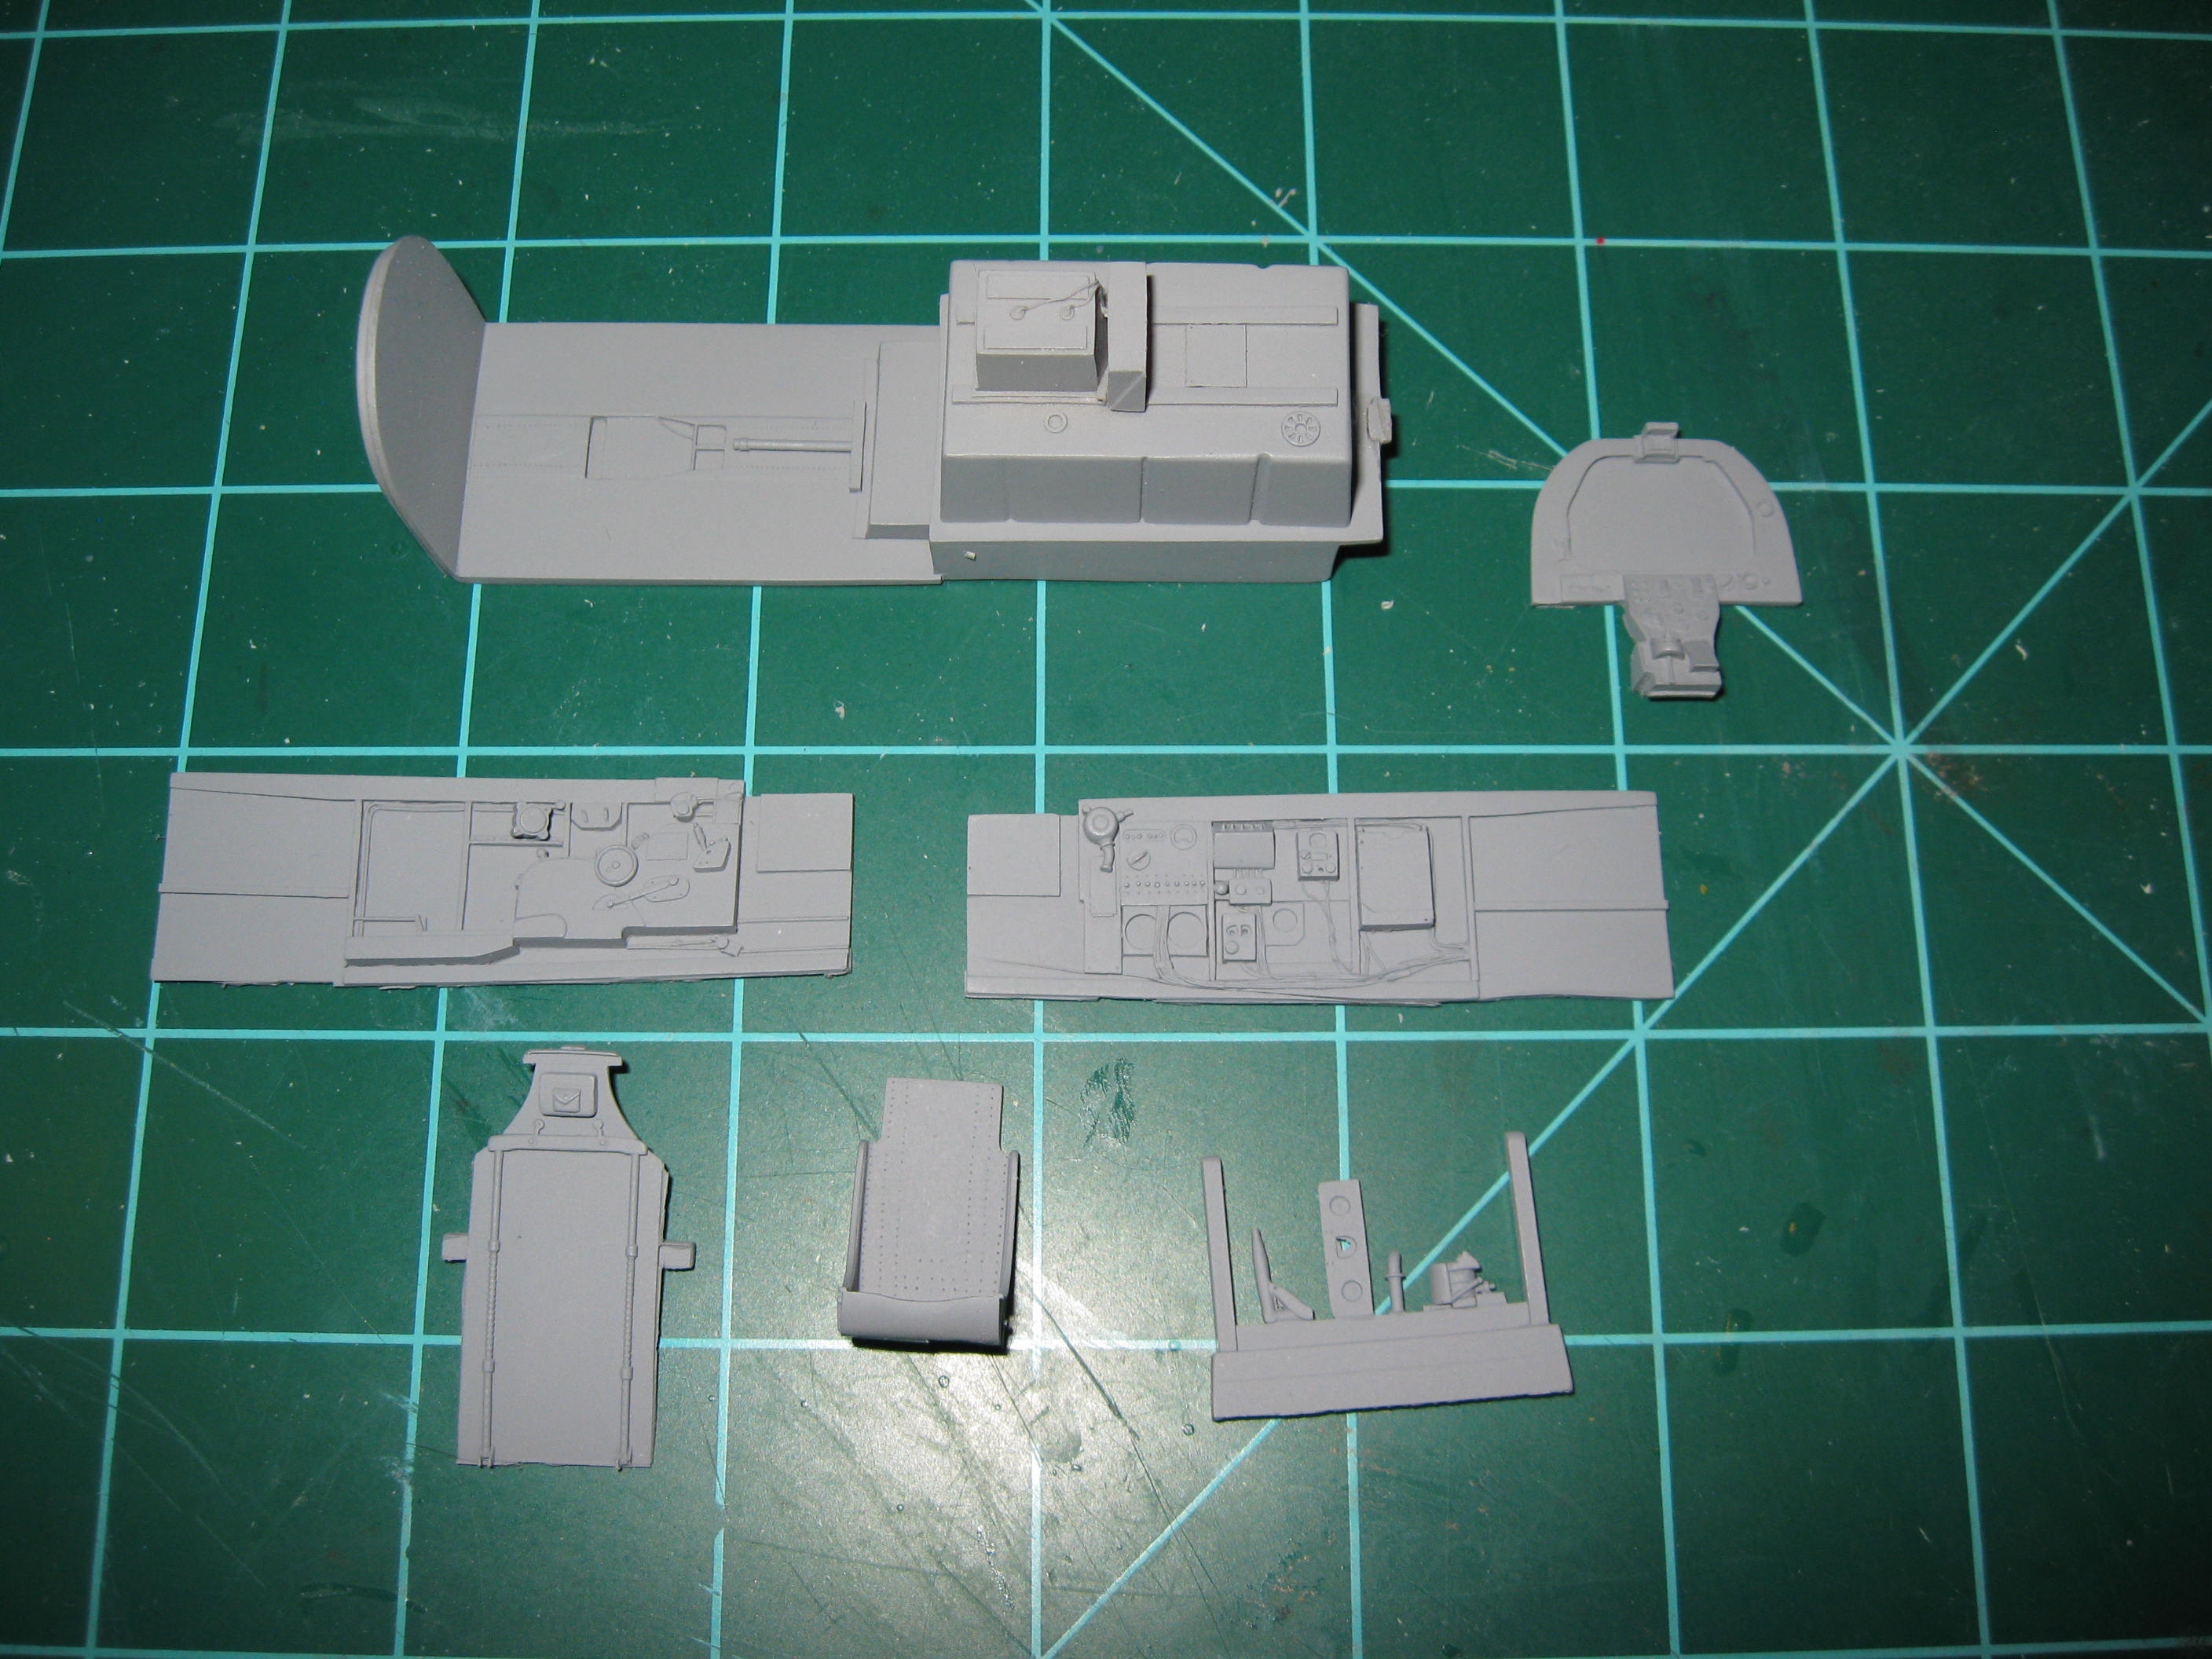
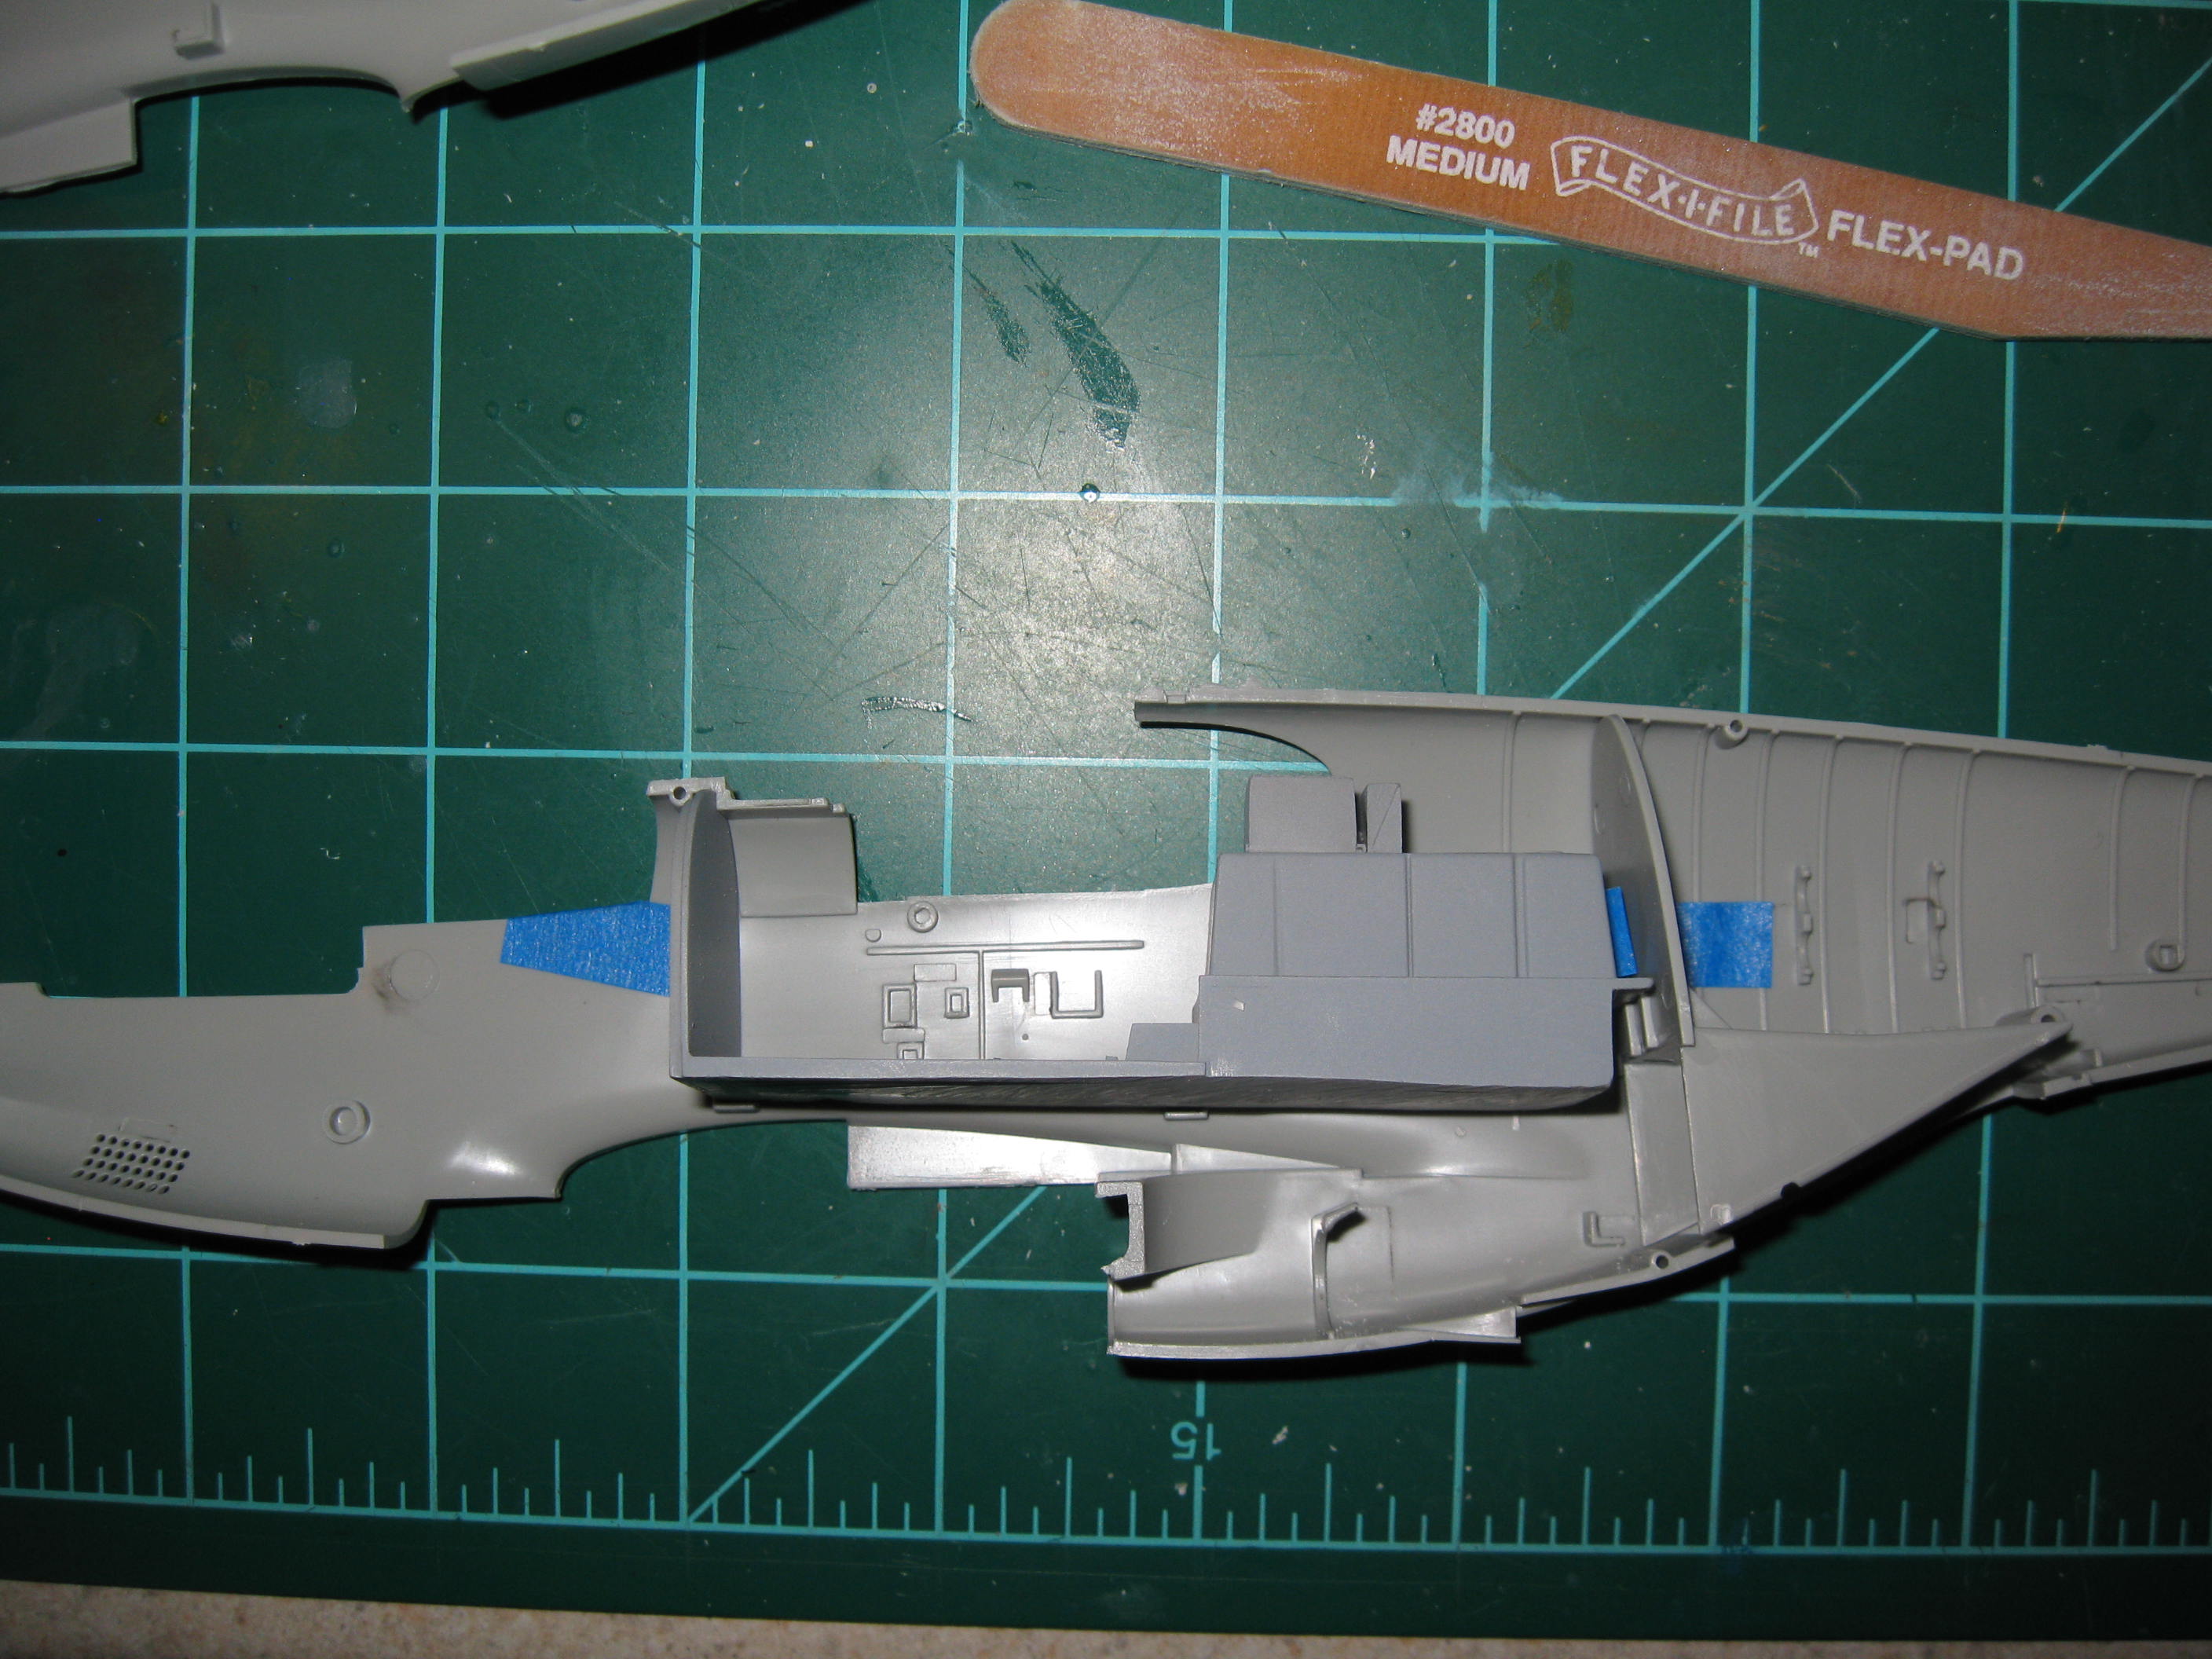
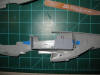
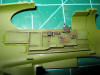
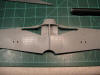
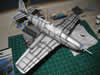
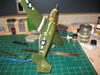
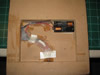
On my last build (F-15) I
did not test fit the resin cockpit very well and ended up having
to do major surgery on it after I had painted it and added
fiddly little PE parts. This time I am test fitting
everything correctly before any painting or gluing.
Because I want to make sure everything fits right I am not
really following the directions right now. I will do
everything in order once I am confident in the after market
parts.
| |
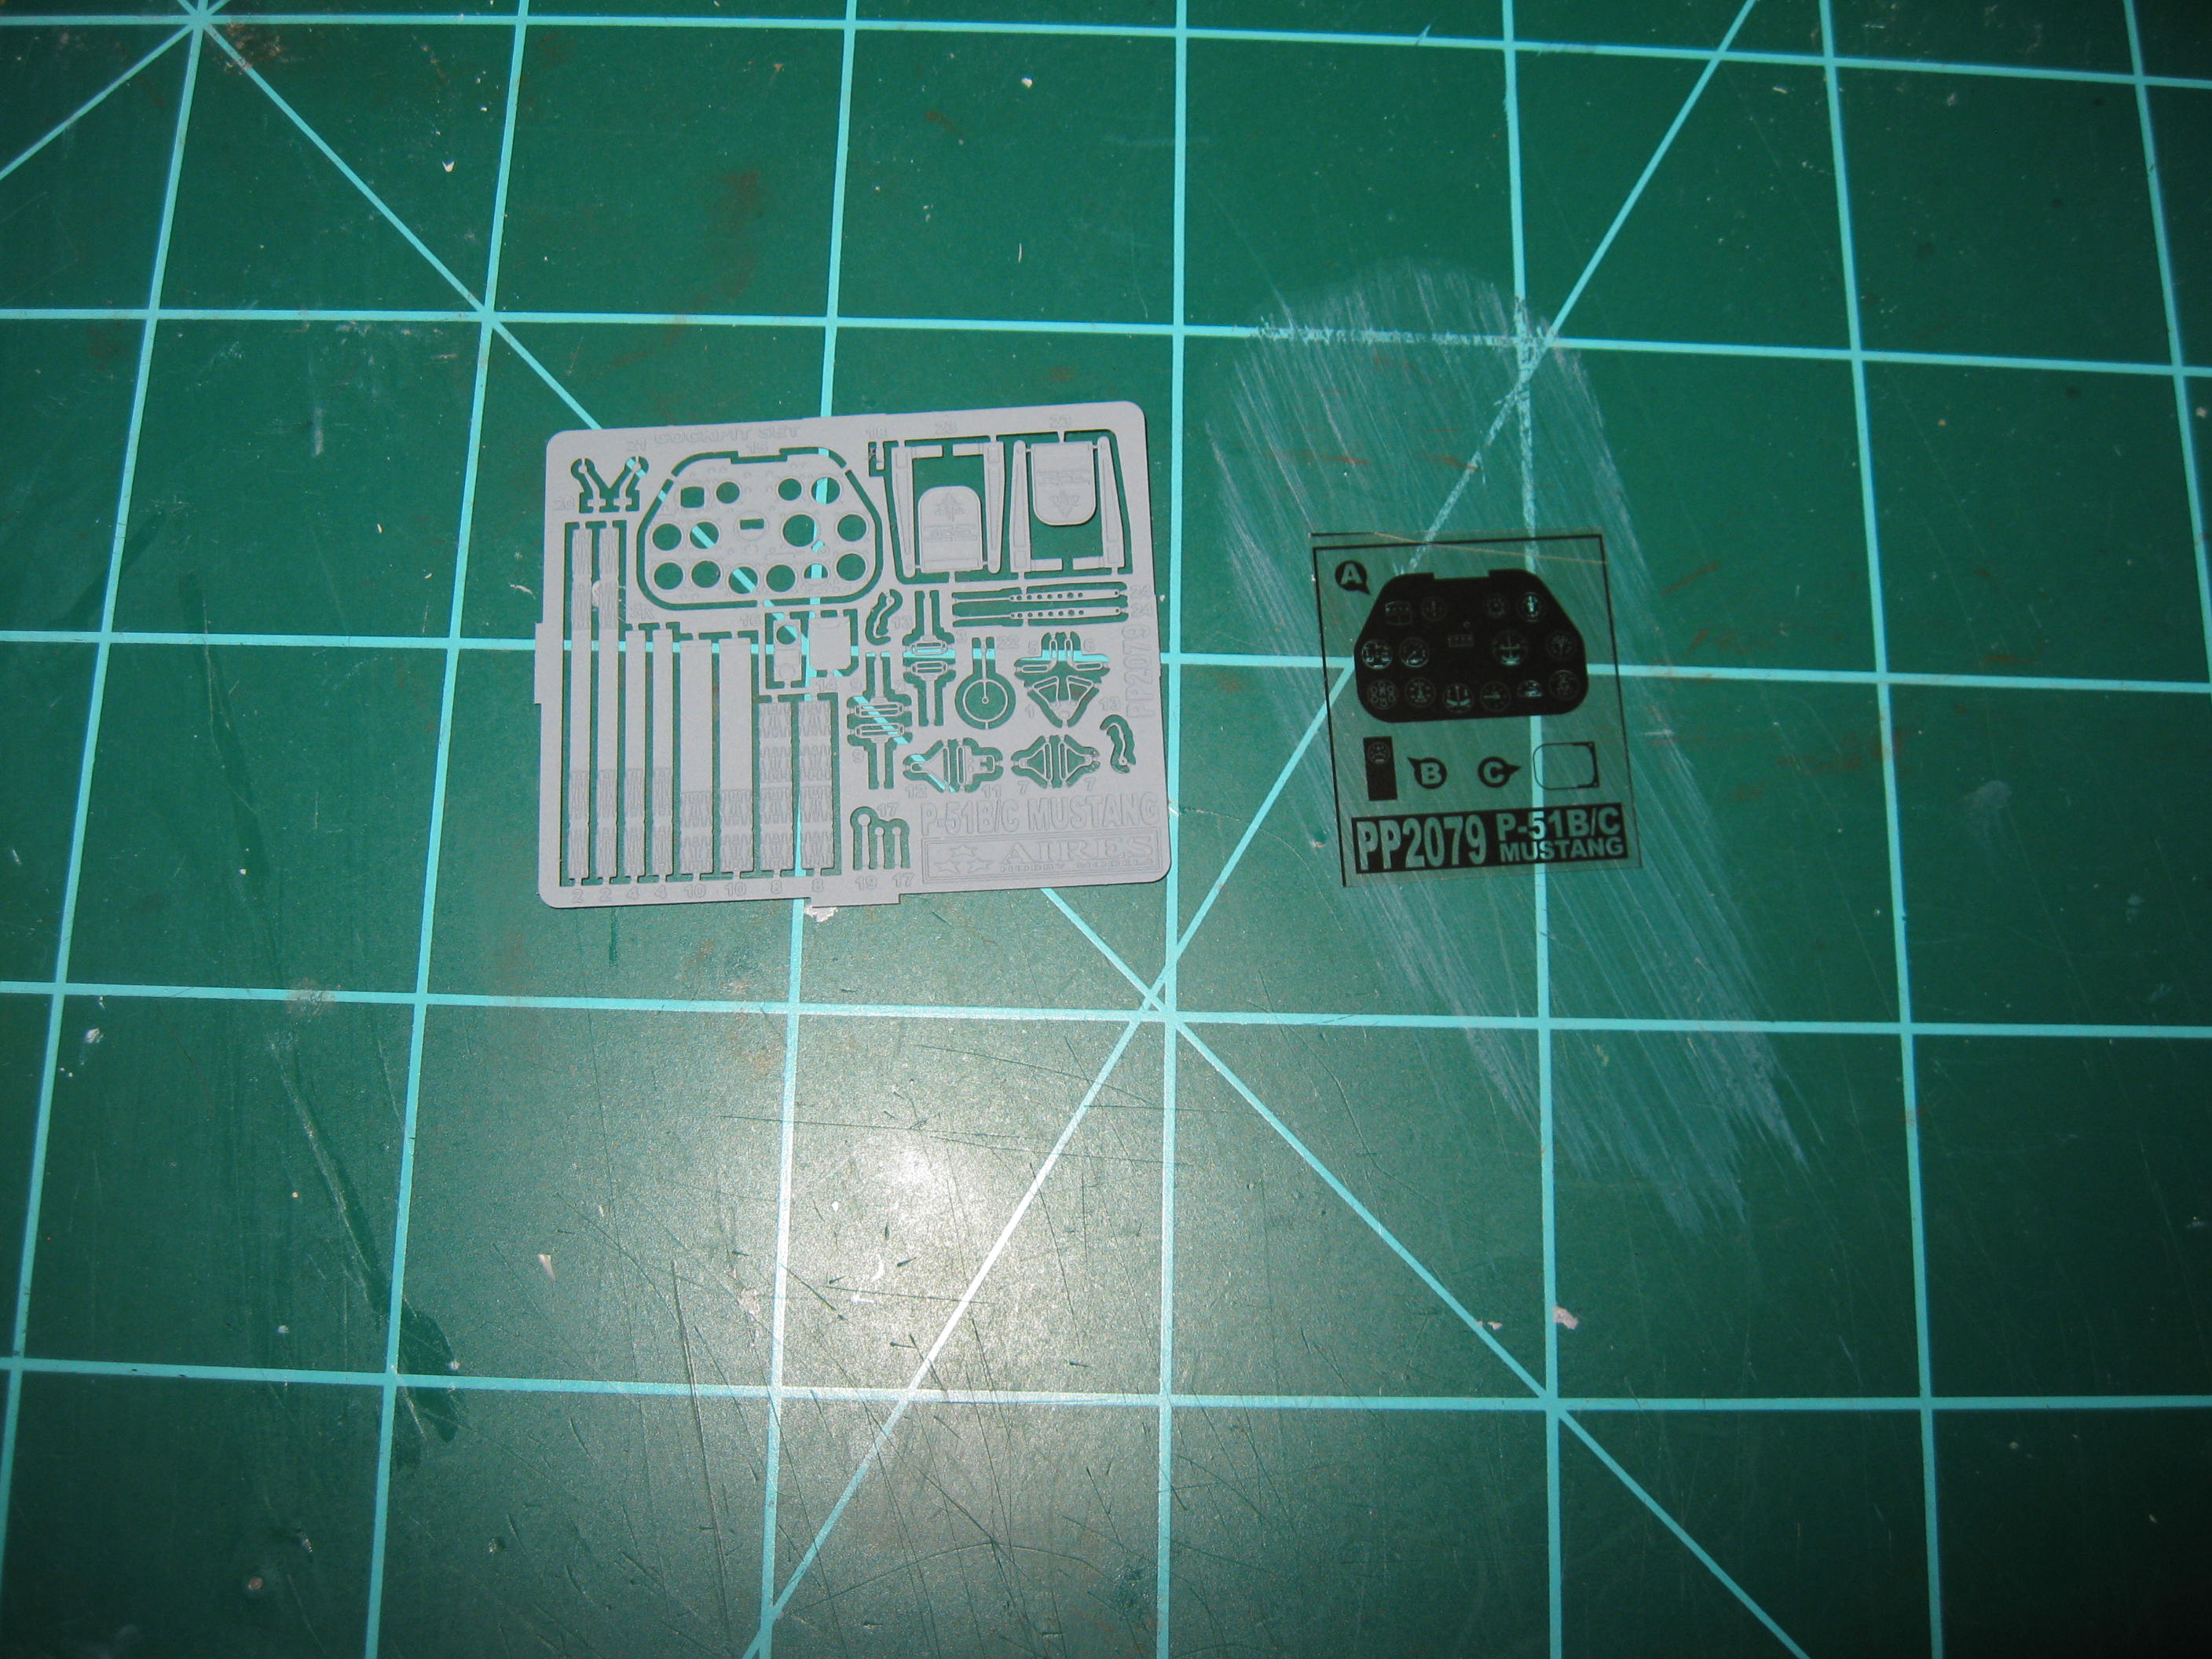
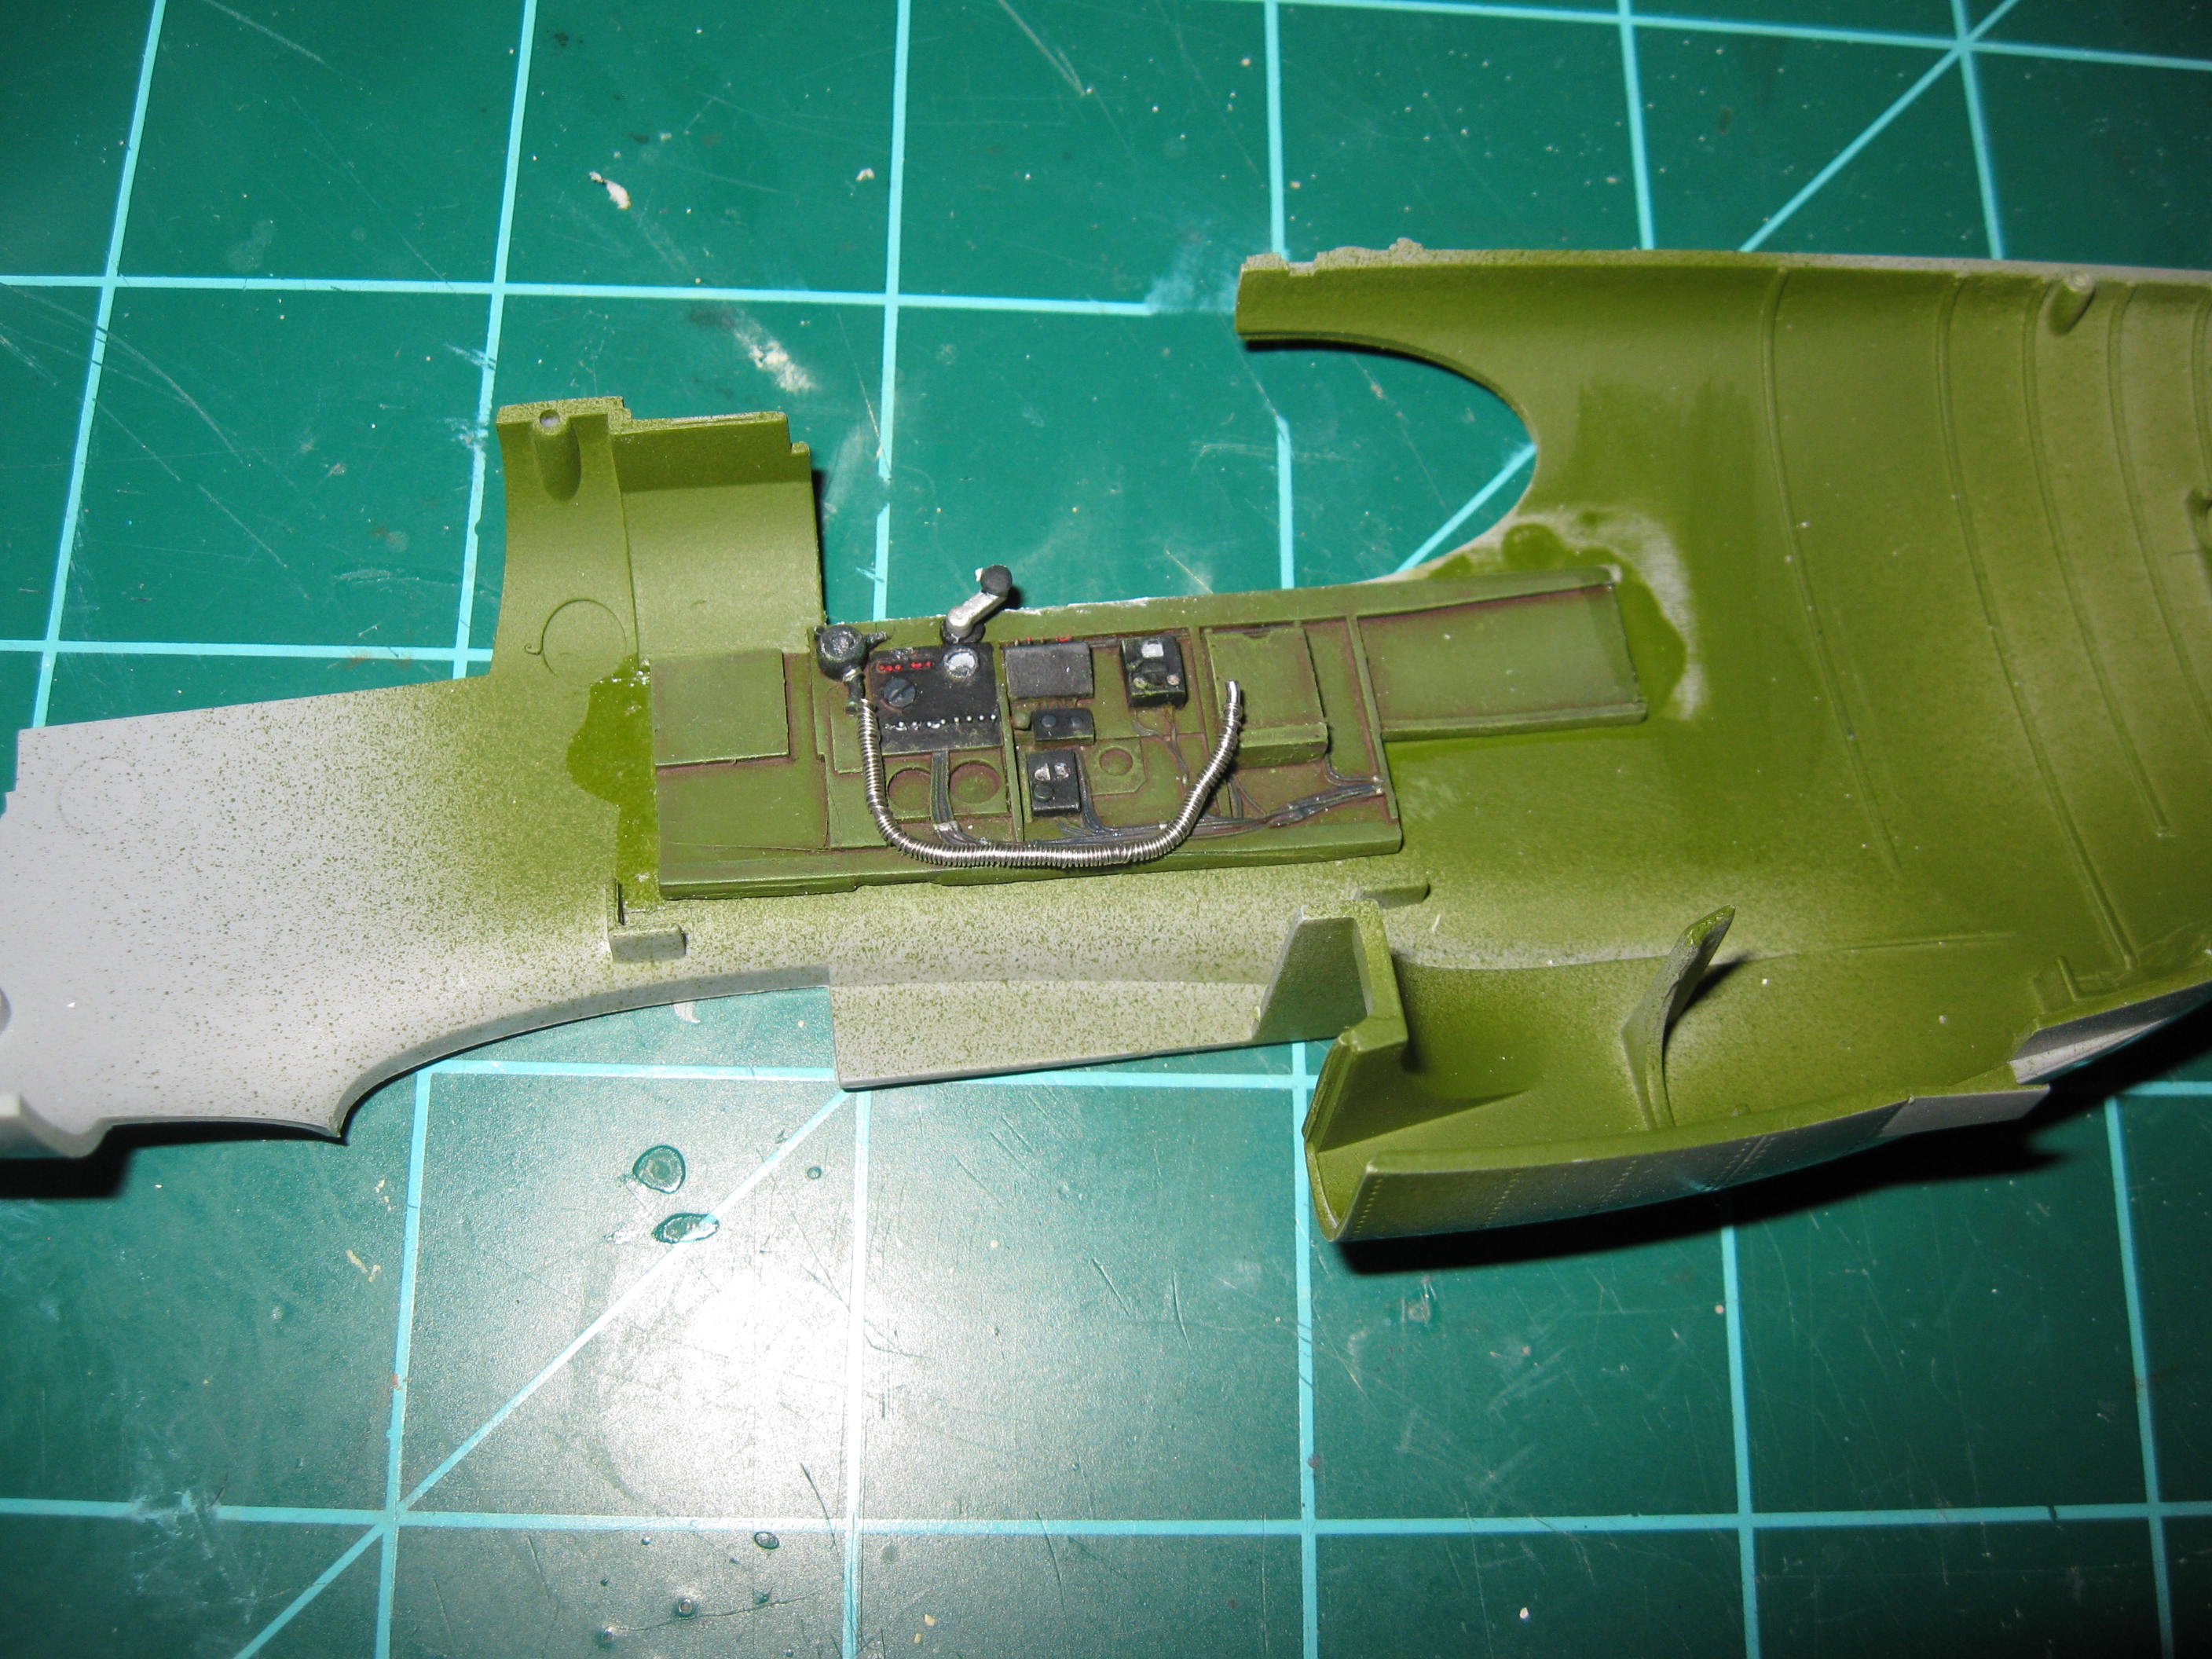
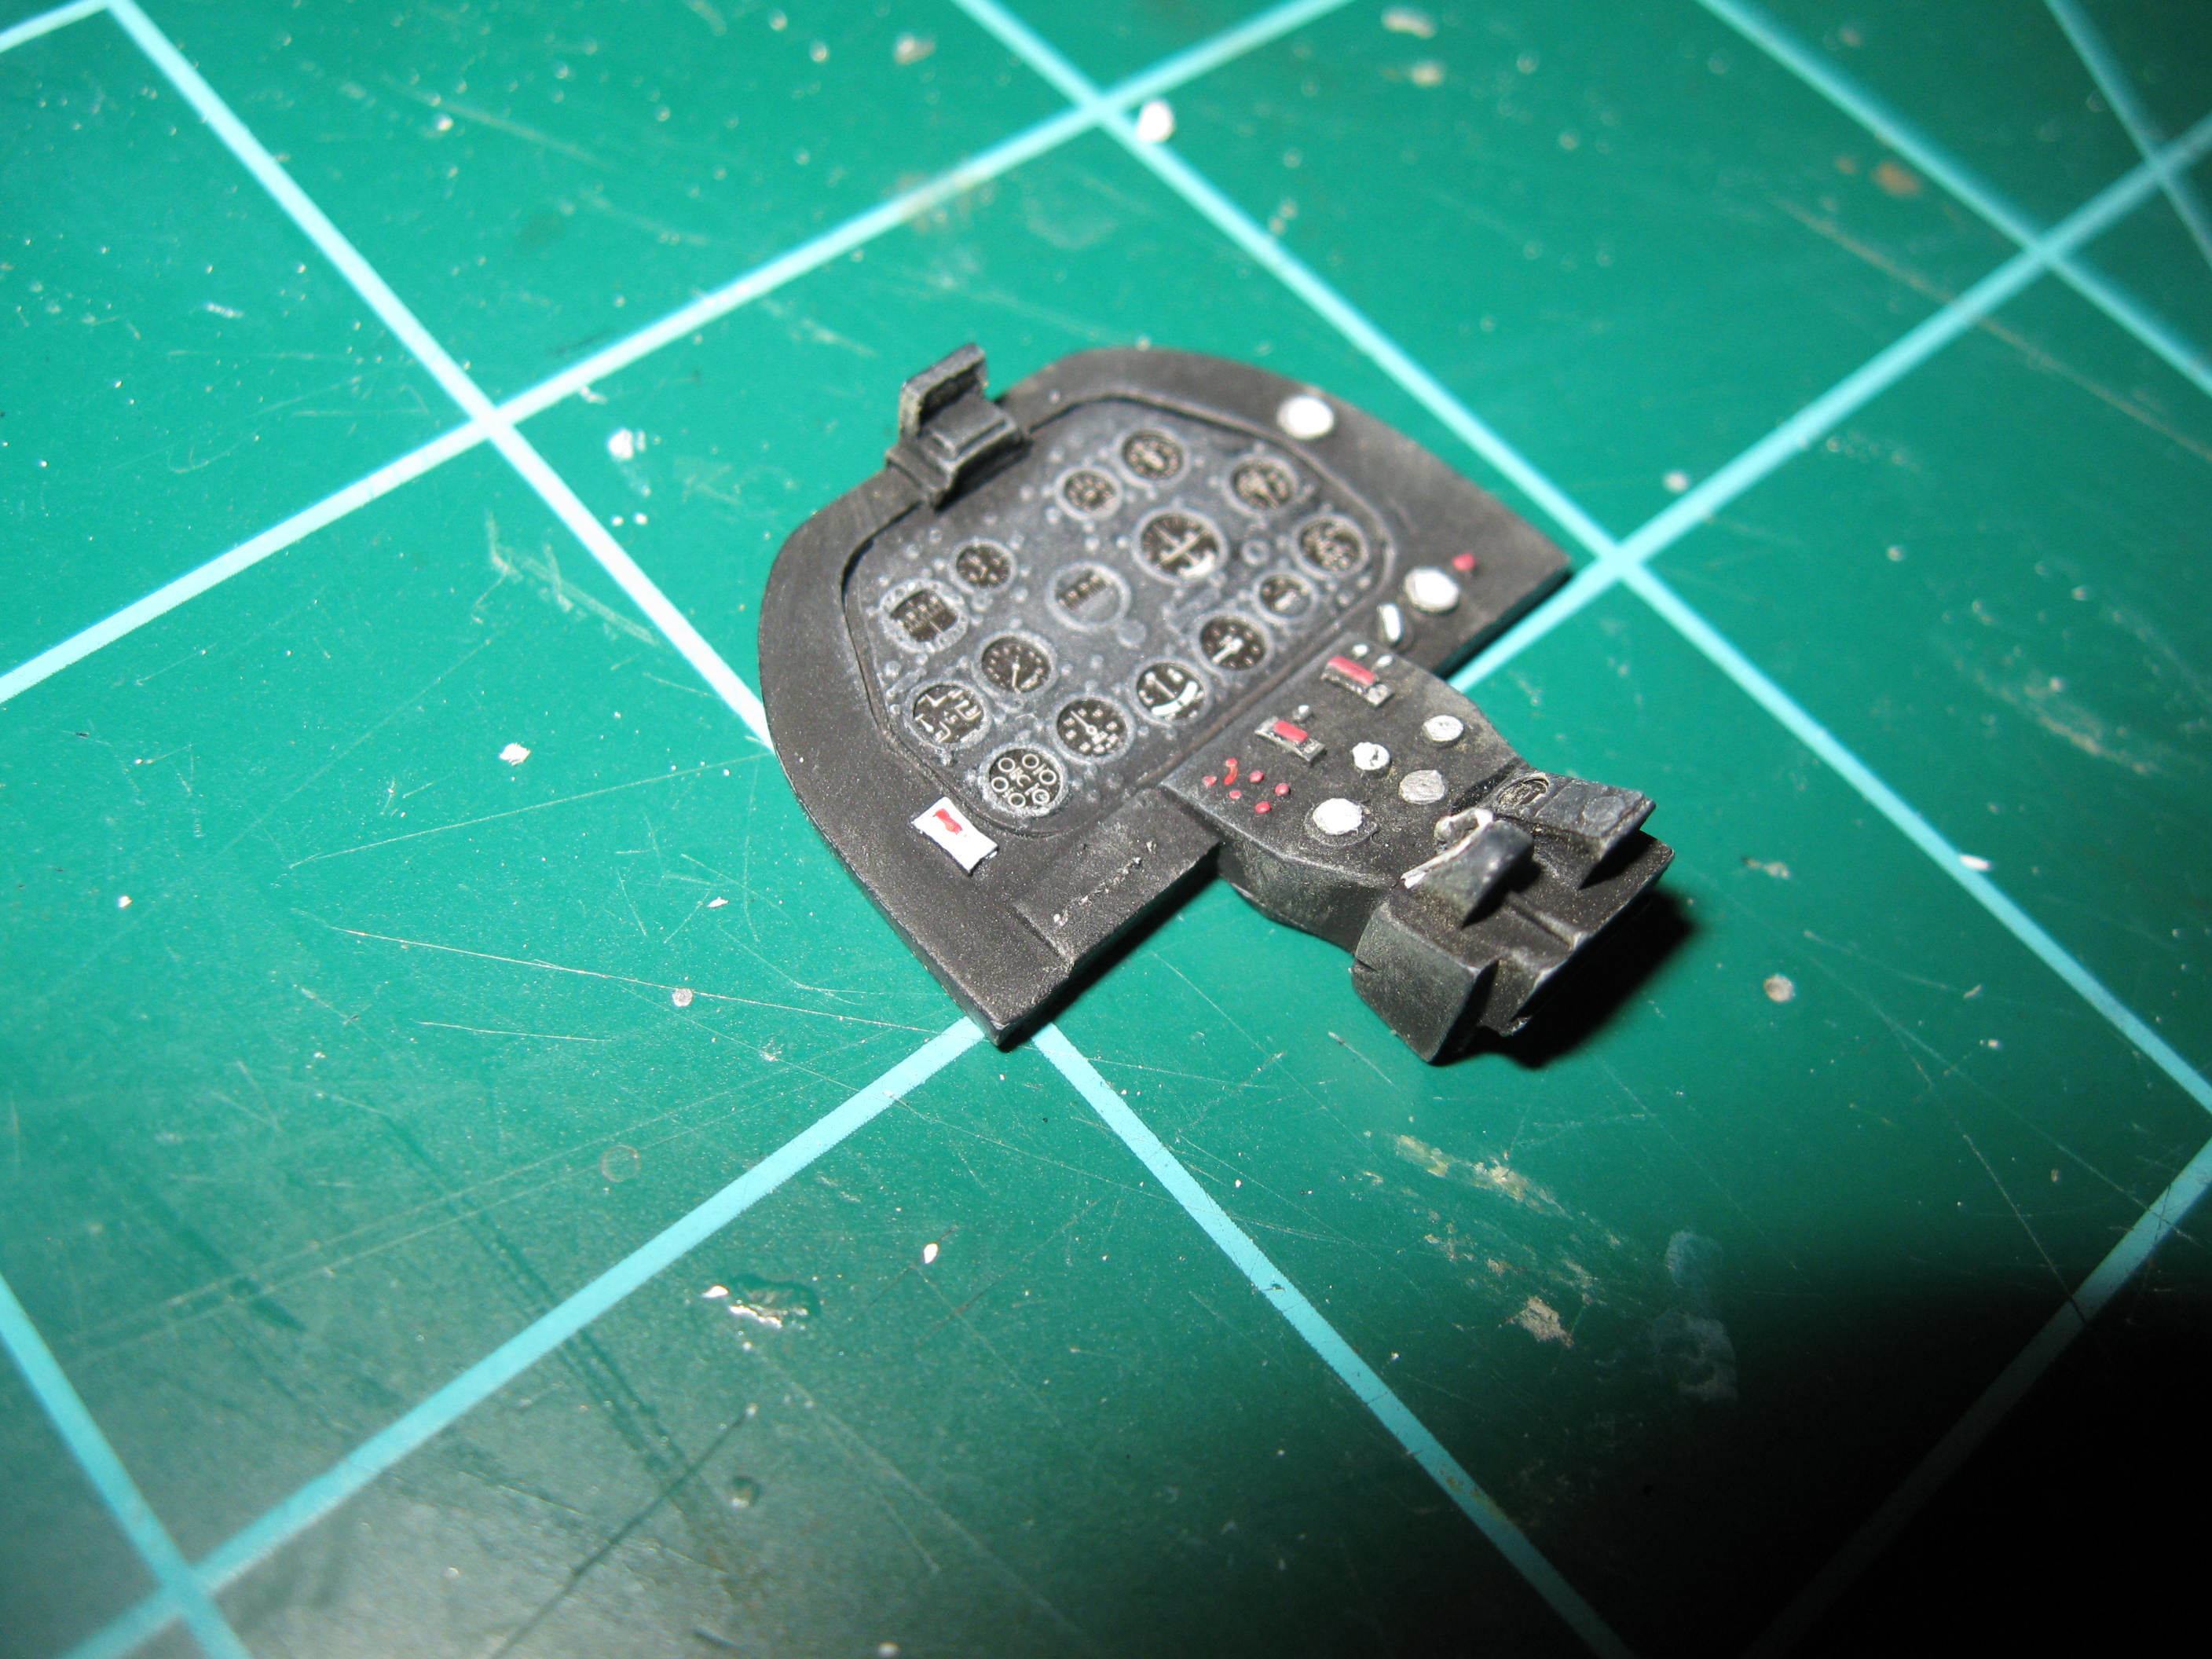
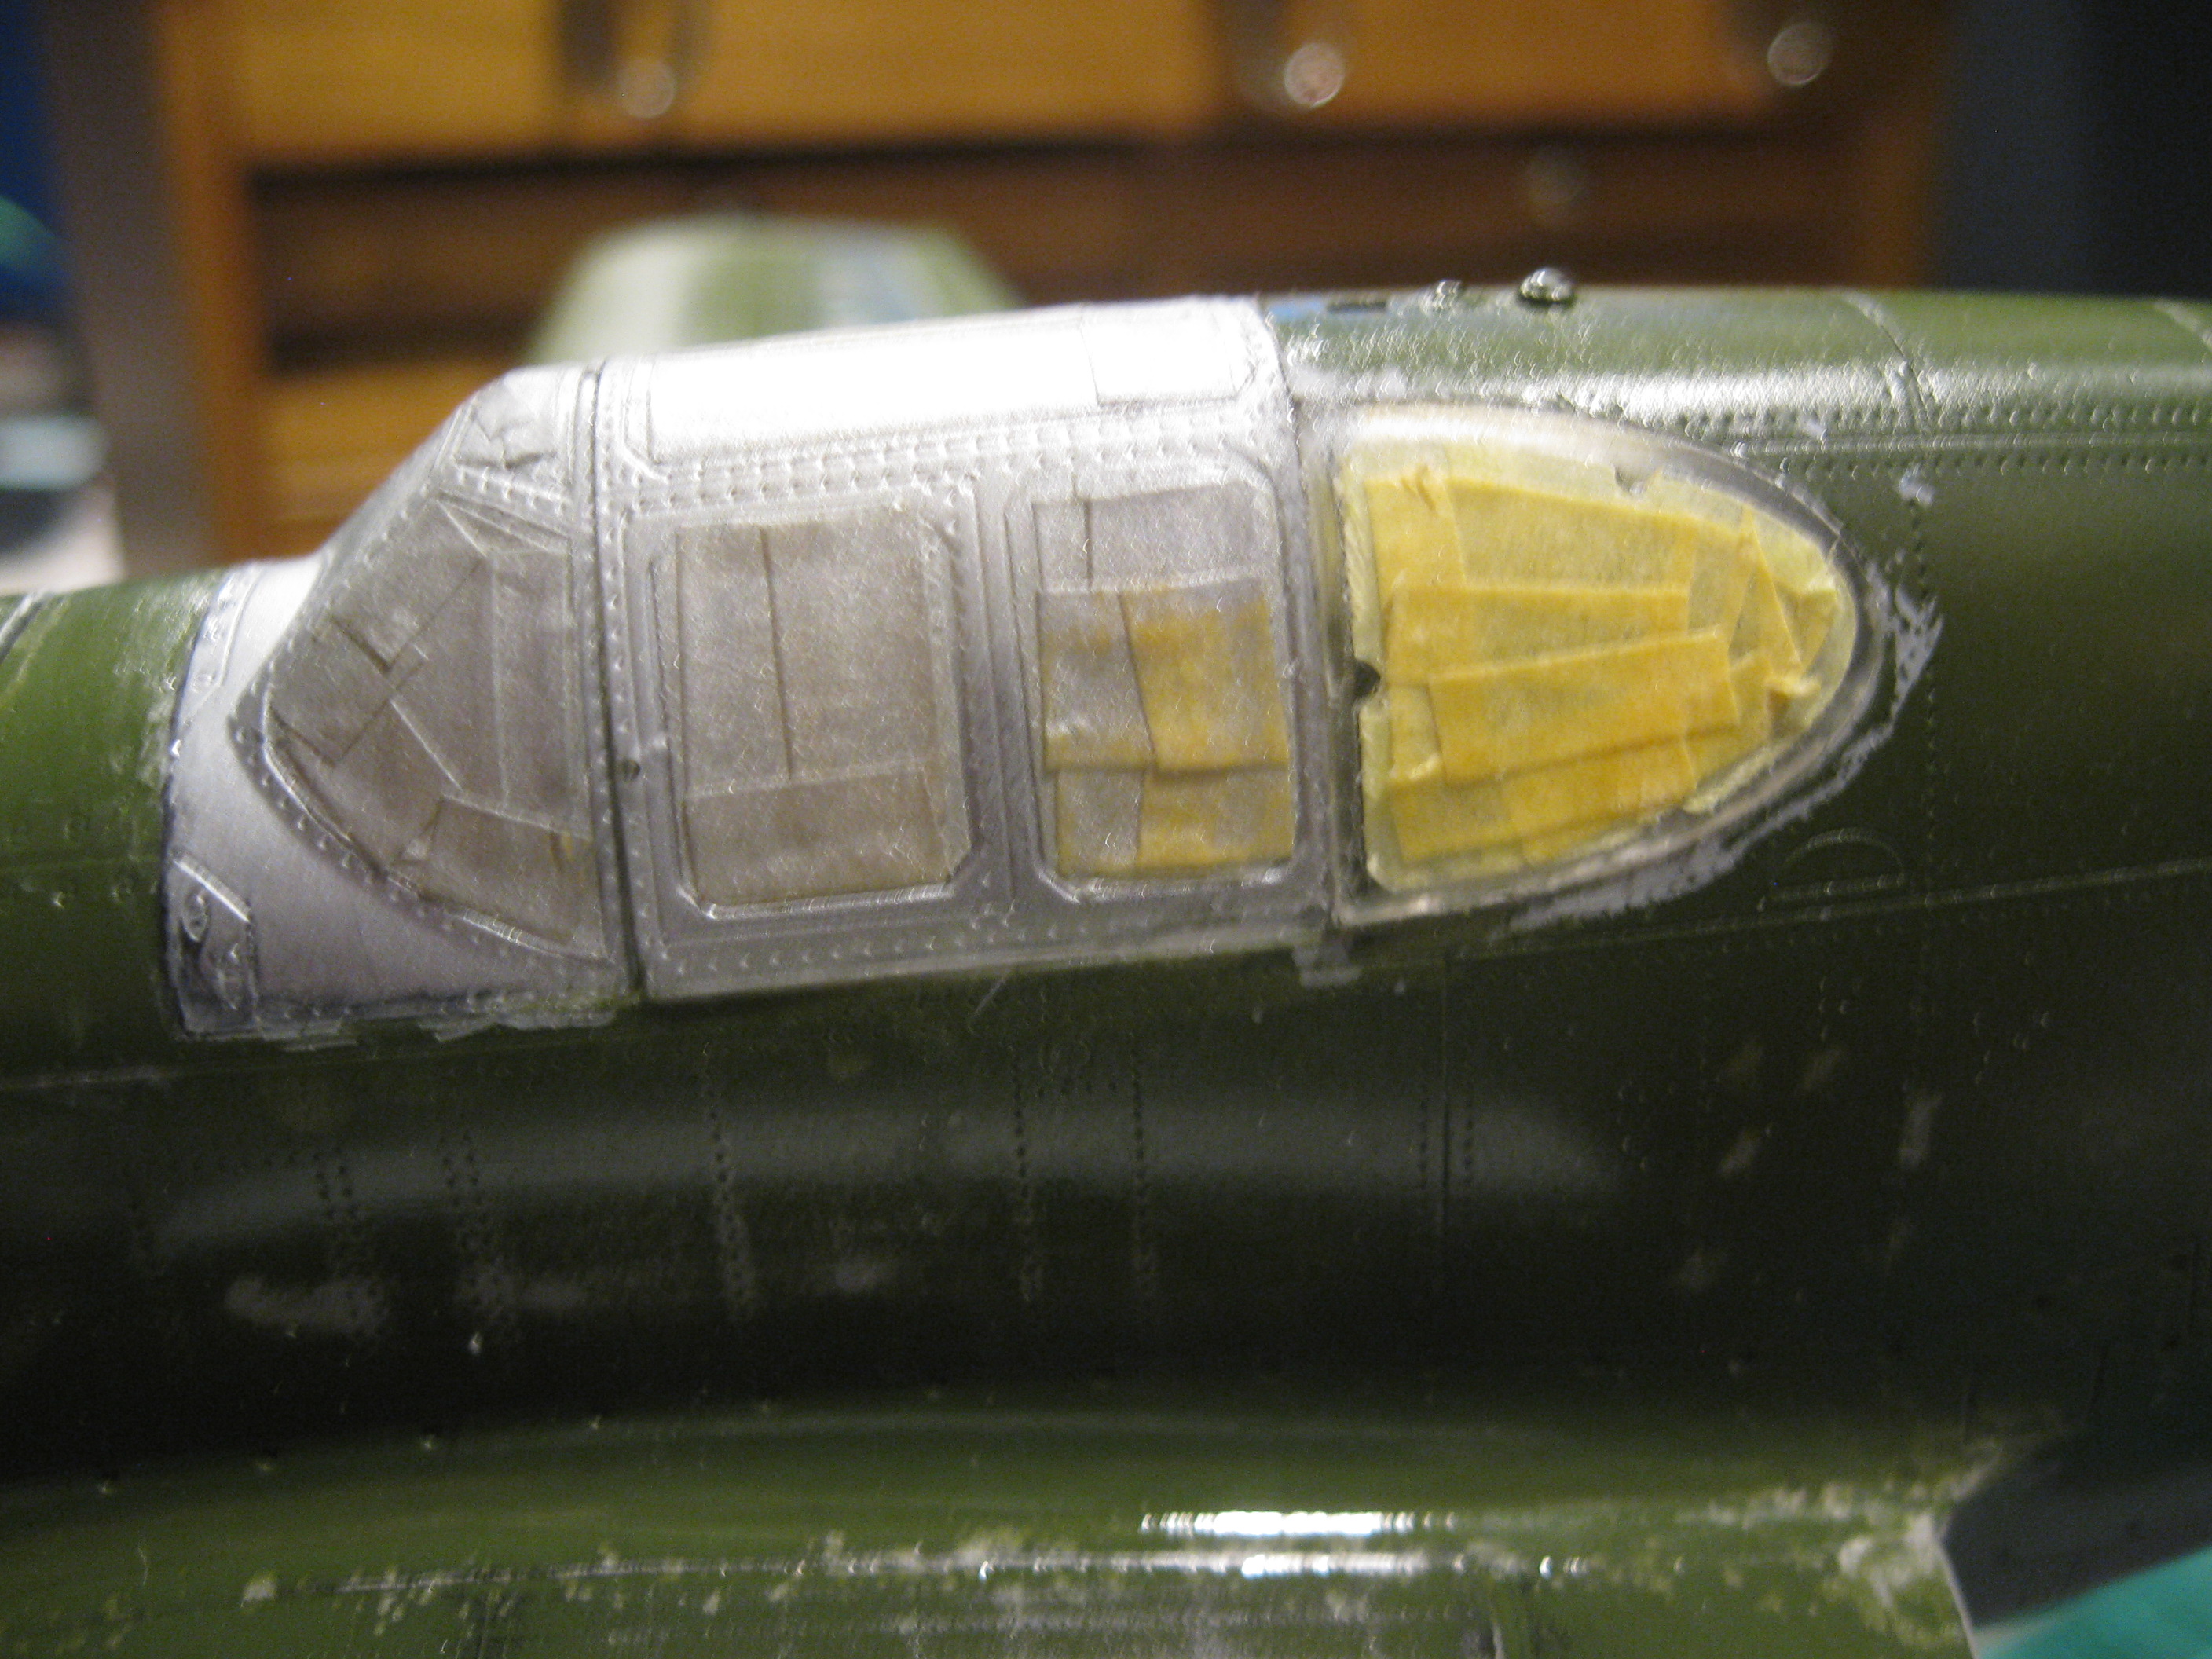
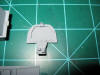
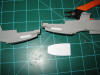
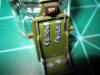
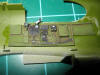
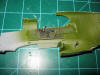
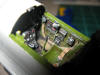
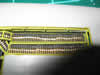
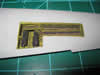
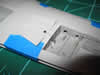
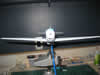
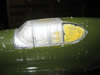
Here are the parts of the Aires cockpit
set primed and ready for paint. The detail is very nice.
I have not checked the accuracy of the instrument panel
configuration yet but it is different from the one that came
with the kit. The one in the kit is supposedly wrong.(Oct
10, 2011)
 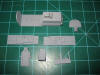  
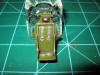
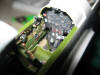
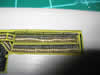
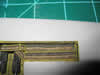
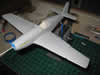
Here is everything test fitted. I had to trim off the rear
locator tab below the radio block because it was blocking the
fuselage halves from fitting together. Compared to the
F-15 though, this is a piece of cake.(Oct
10, 2011)
   |
|
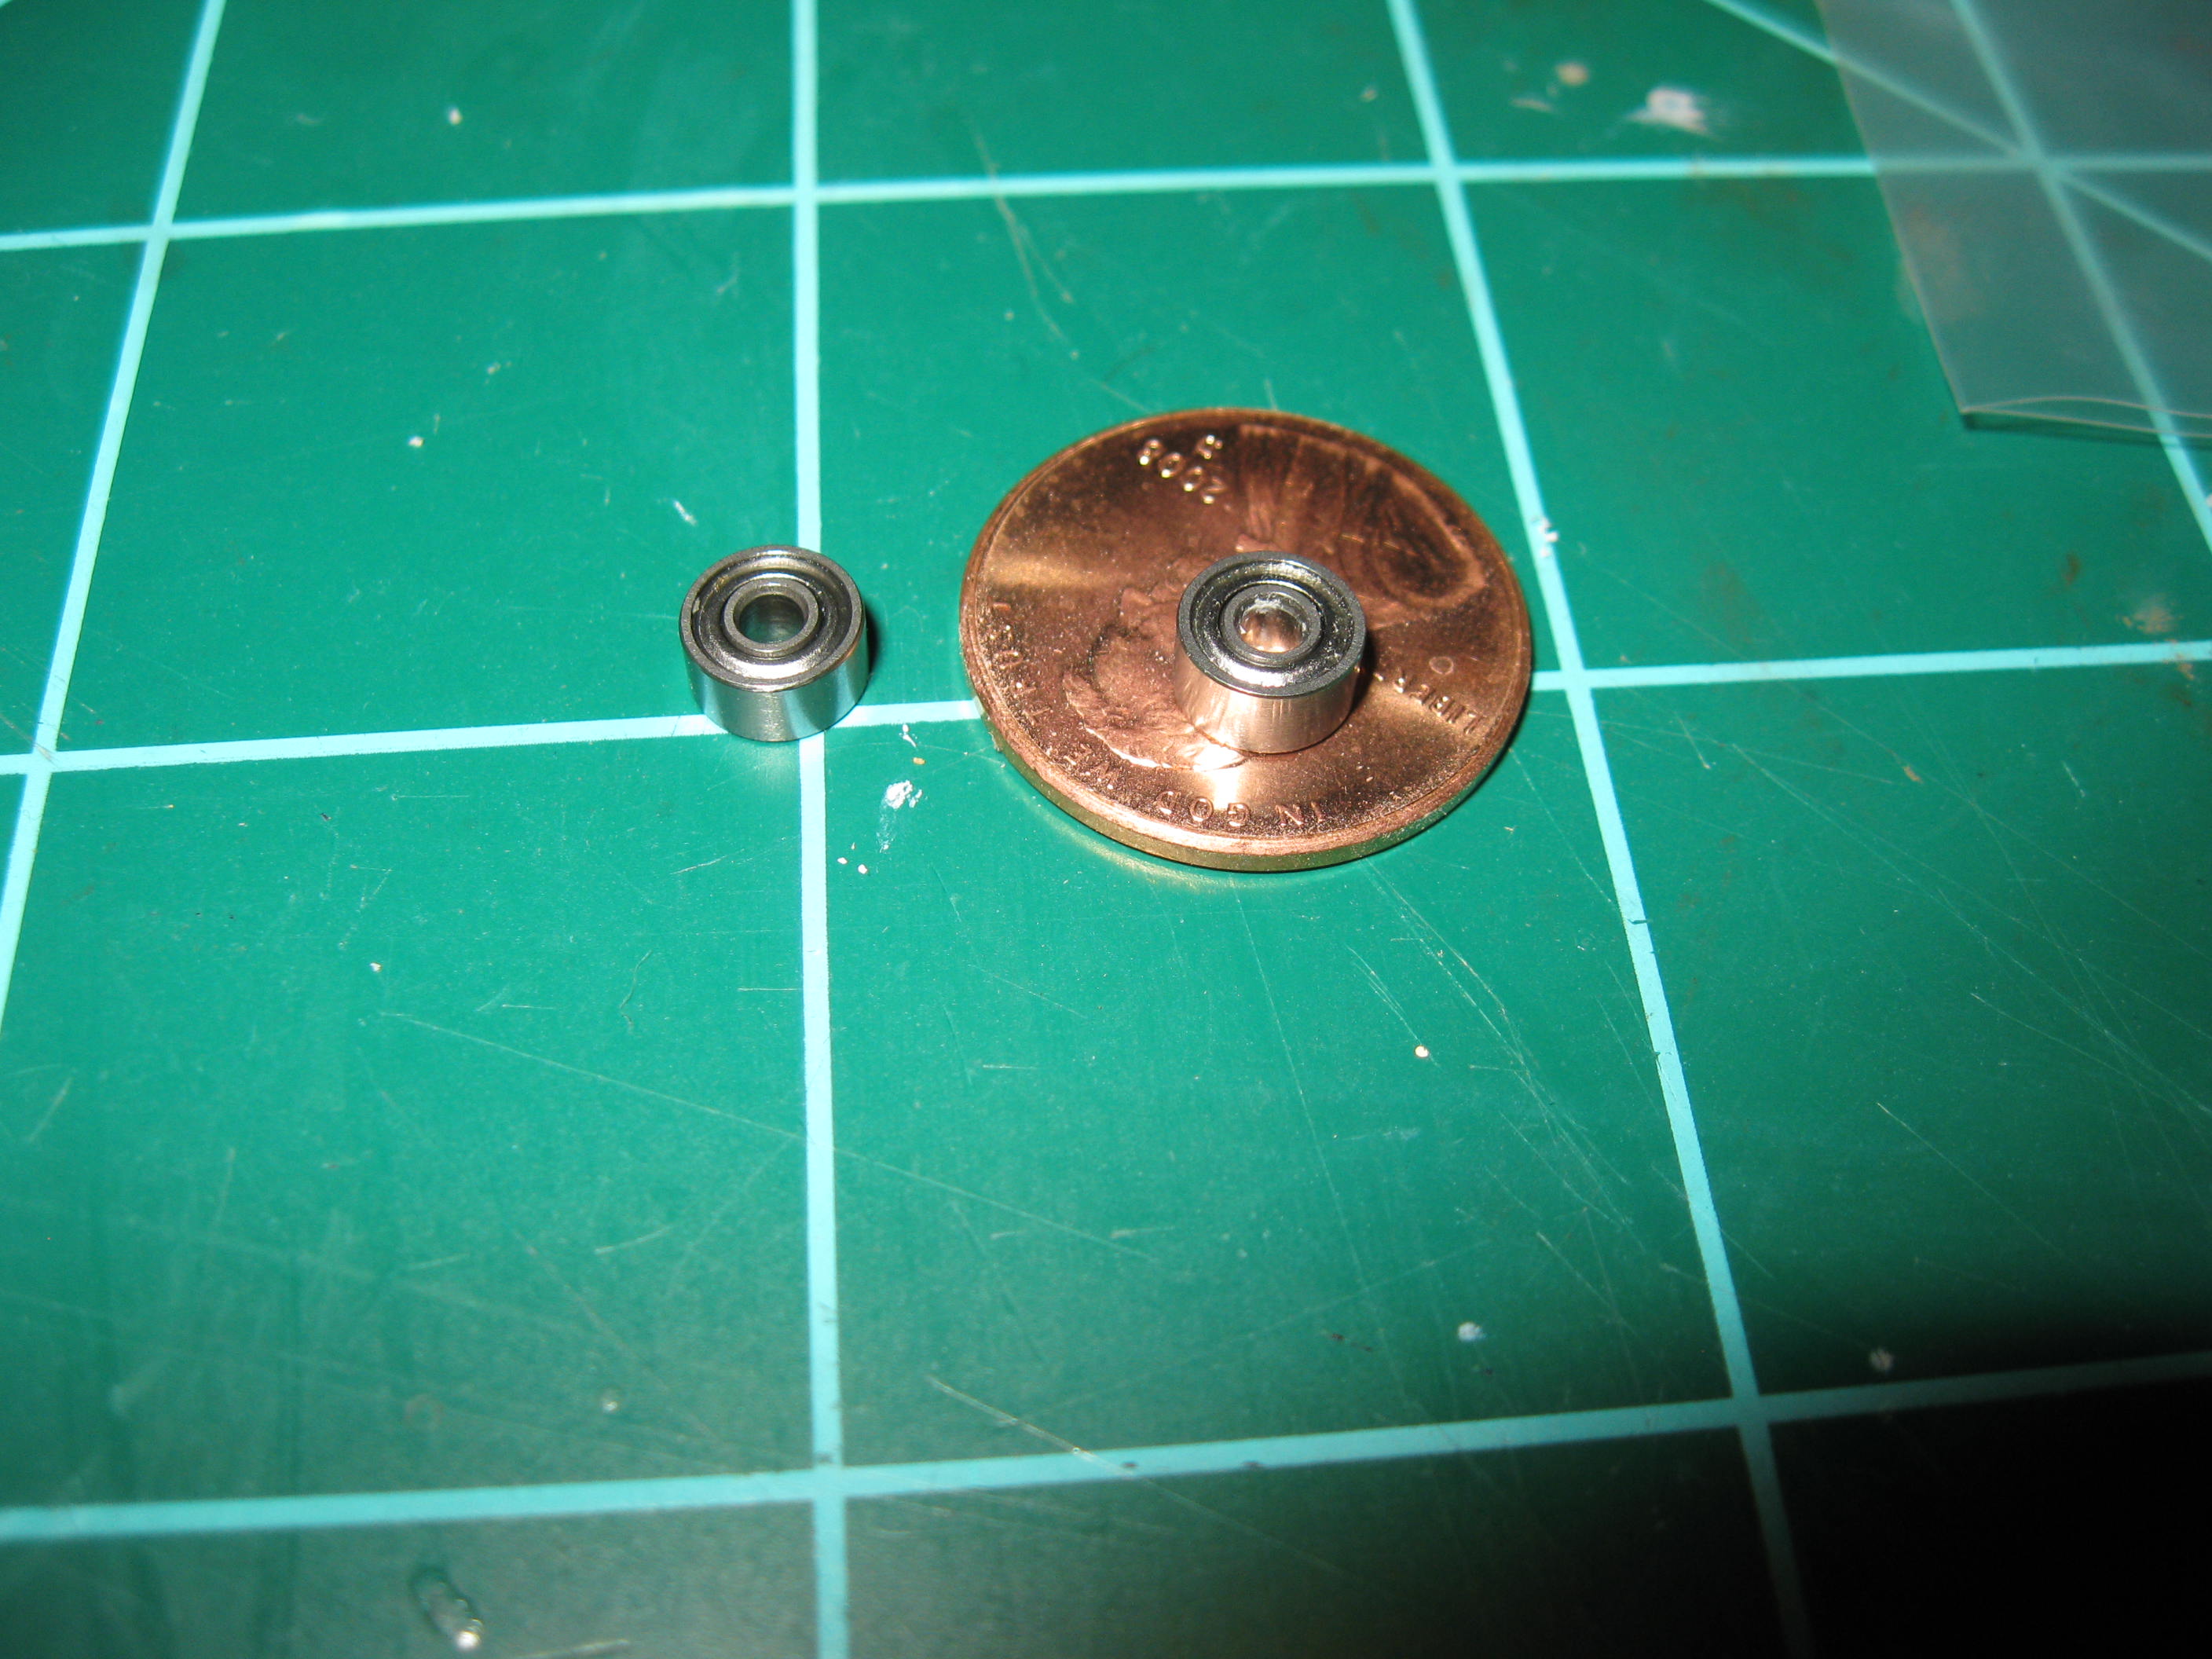
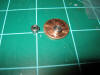
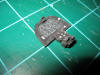
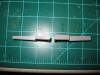
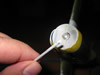
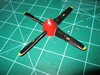
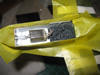
I did a little more work on
the prop. I did not just want the plastic shaft turning in
a plastic hole so I did a little research on bearings that could
go in the front of the plane. Turns out that RC cars have
the perfect bearings for this.
| |
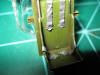
Here is the 2mm bearing that I bought to
use for the prop spinner and the shelf I am building in the
engine compartment to hold the motor.(Oct
19, 2011)
  |
|
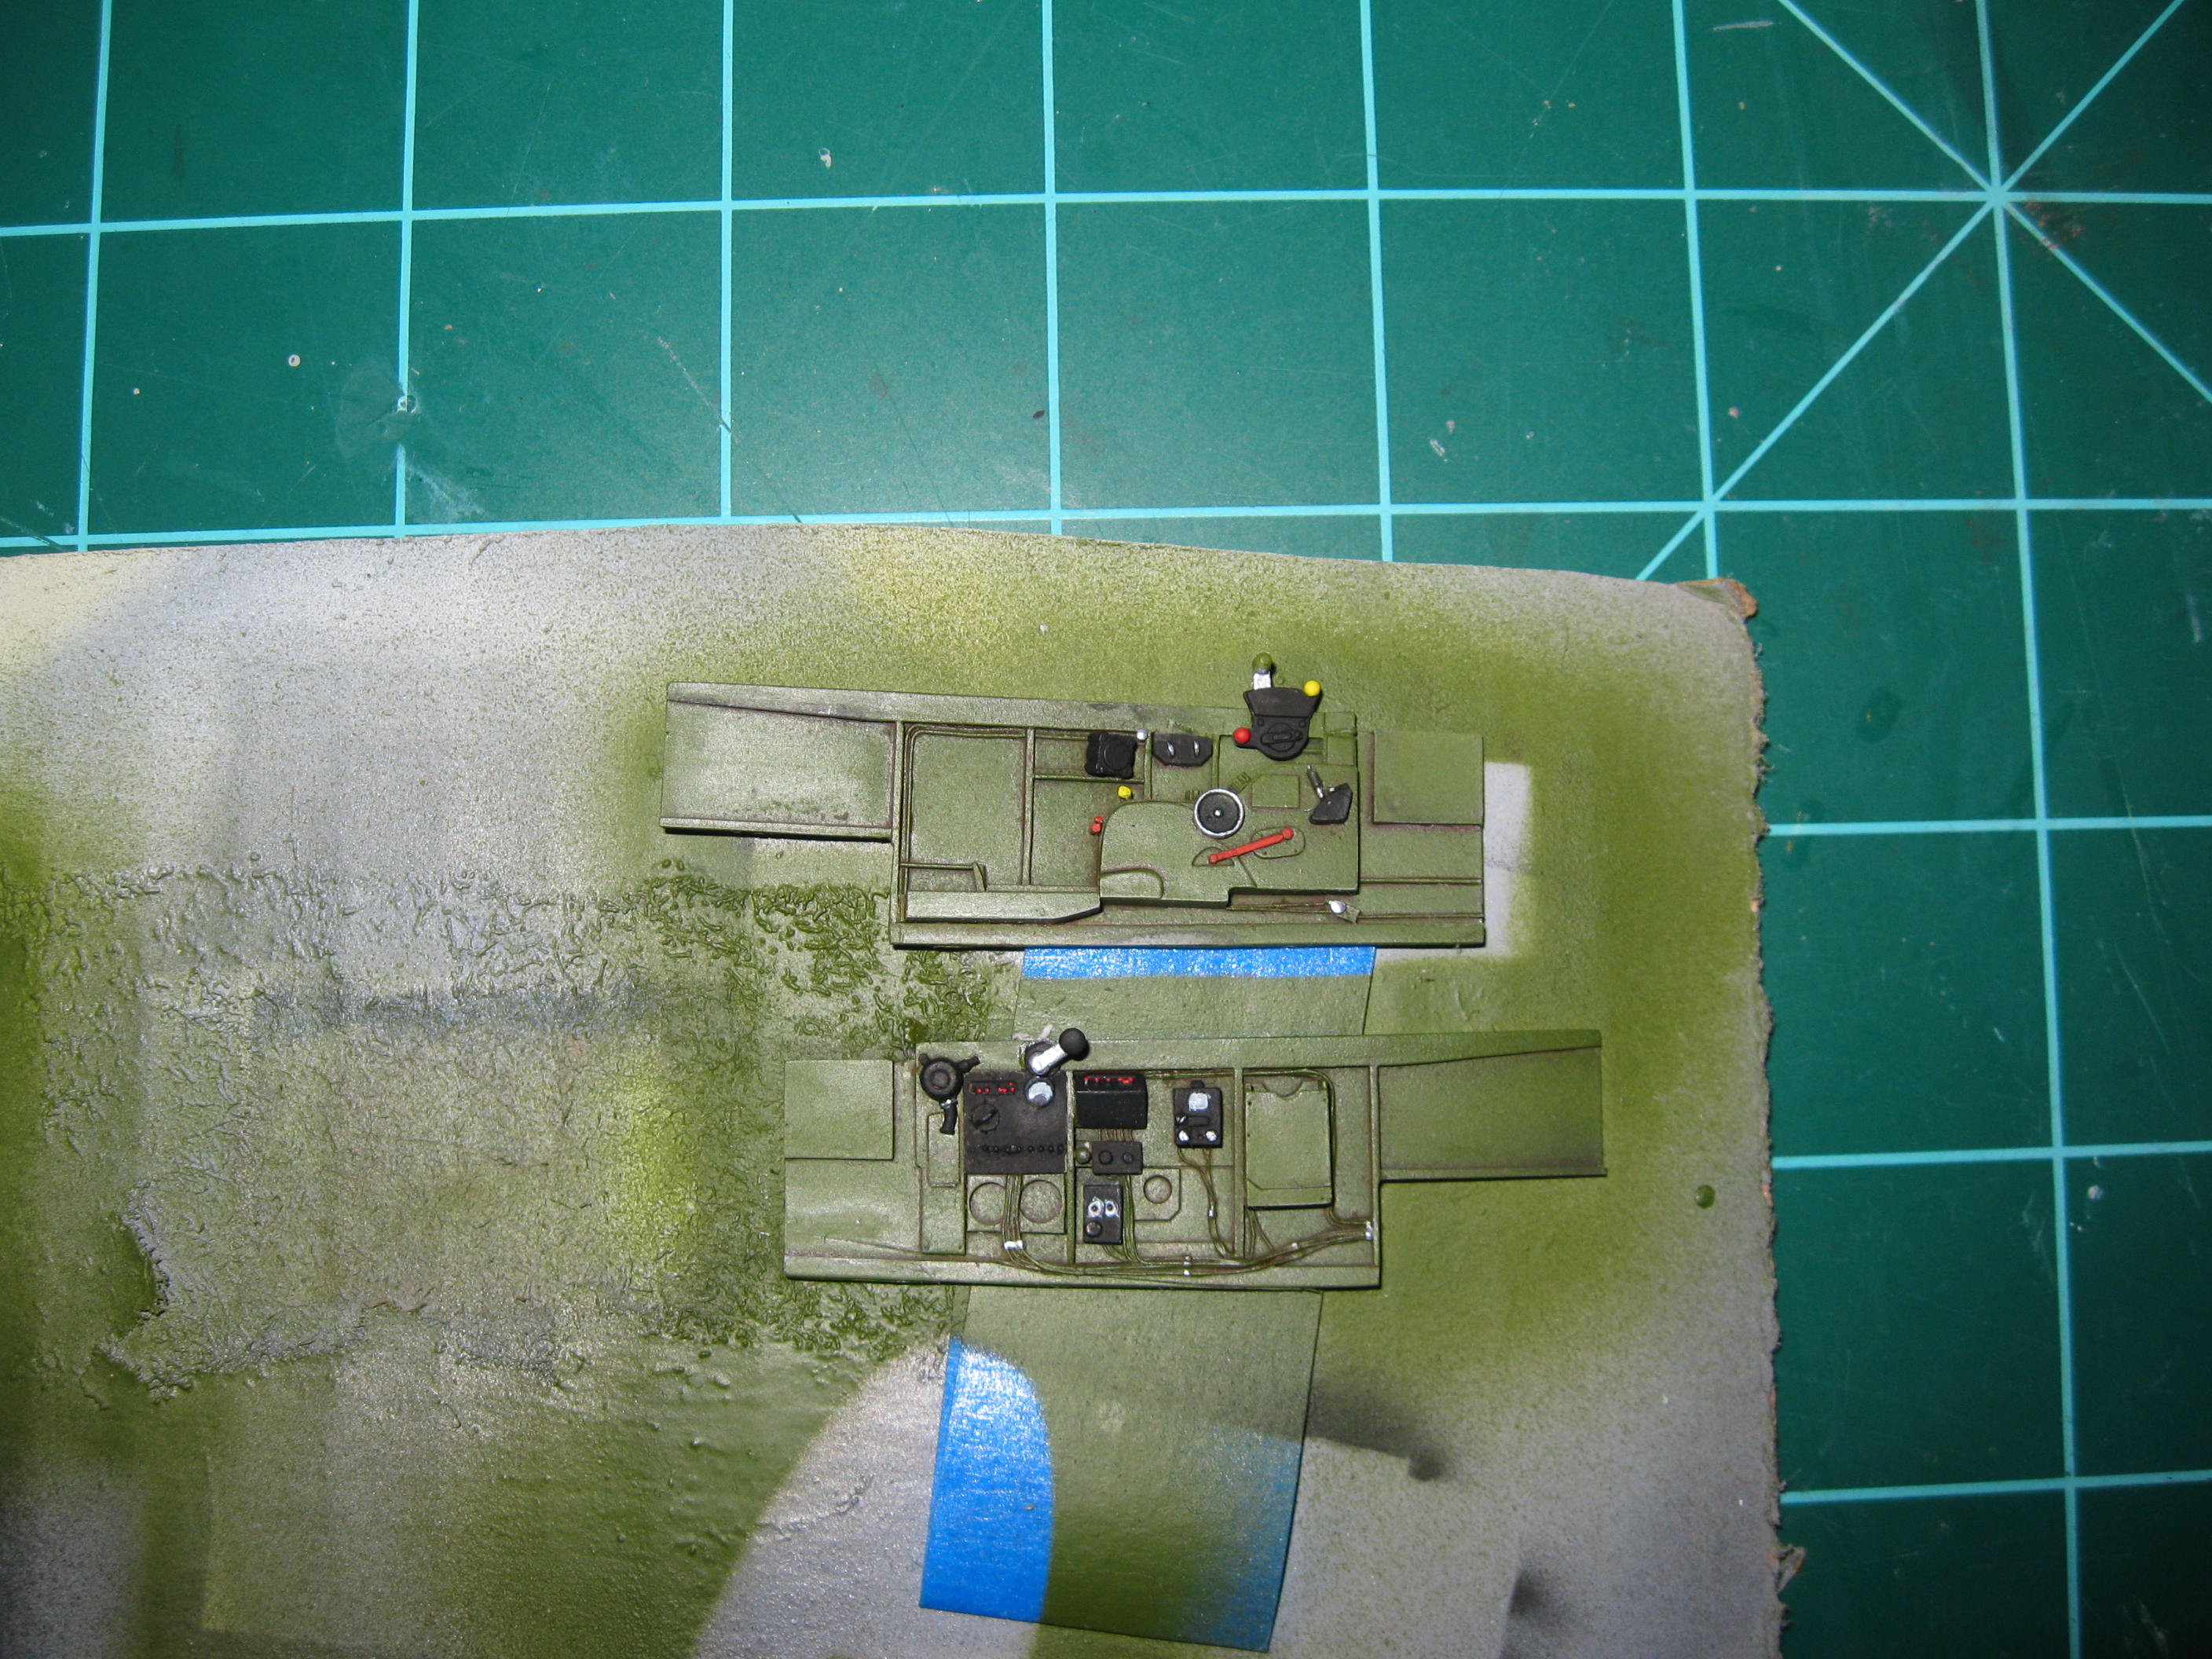
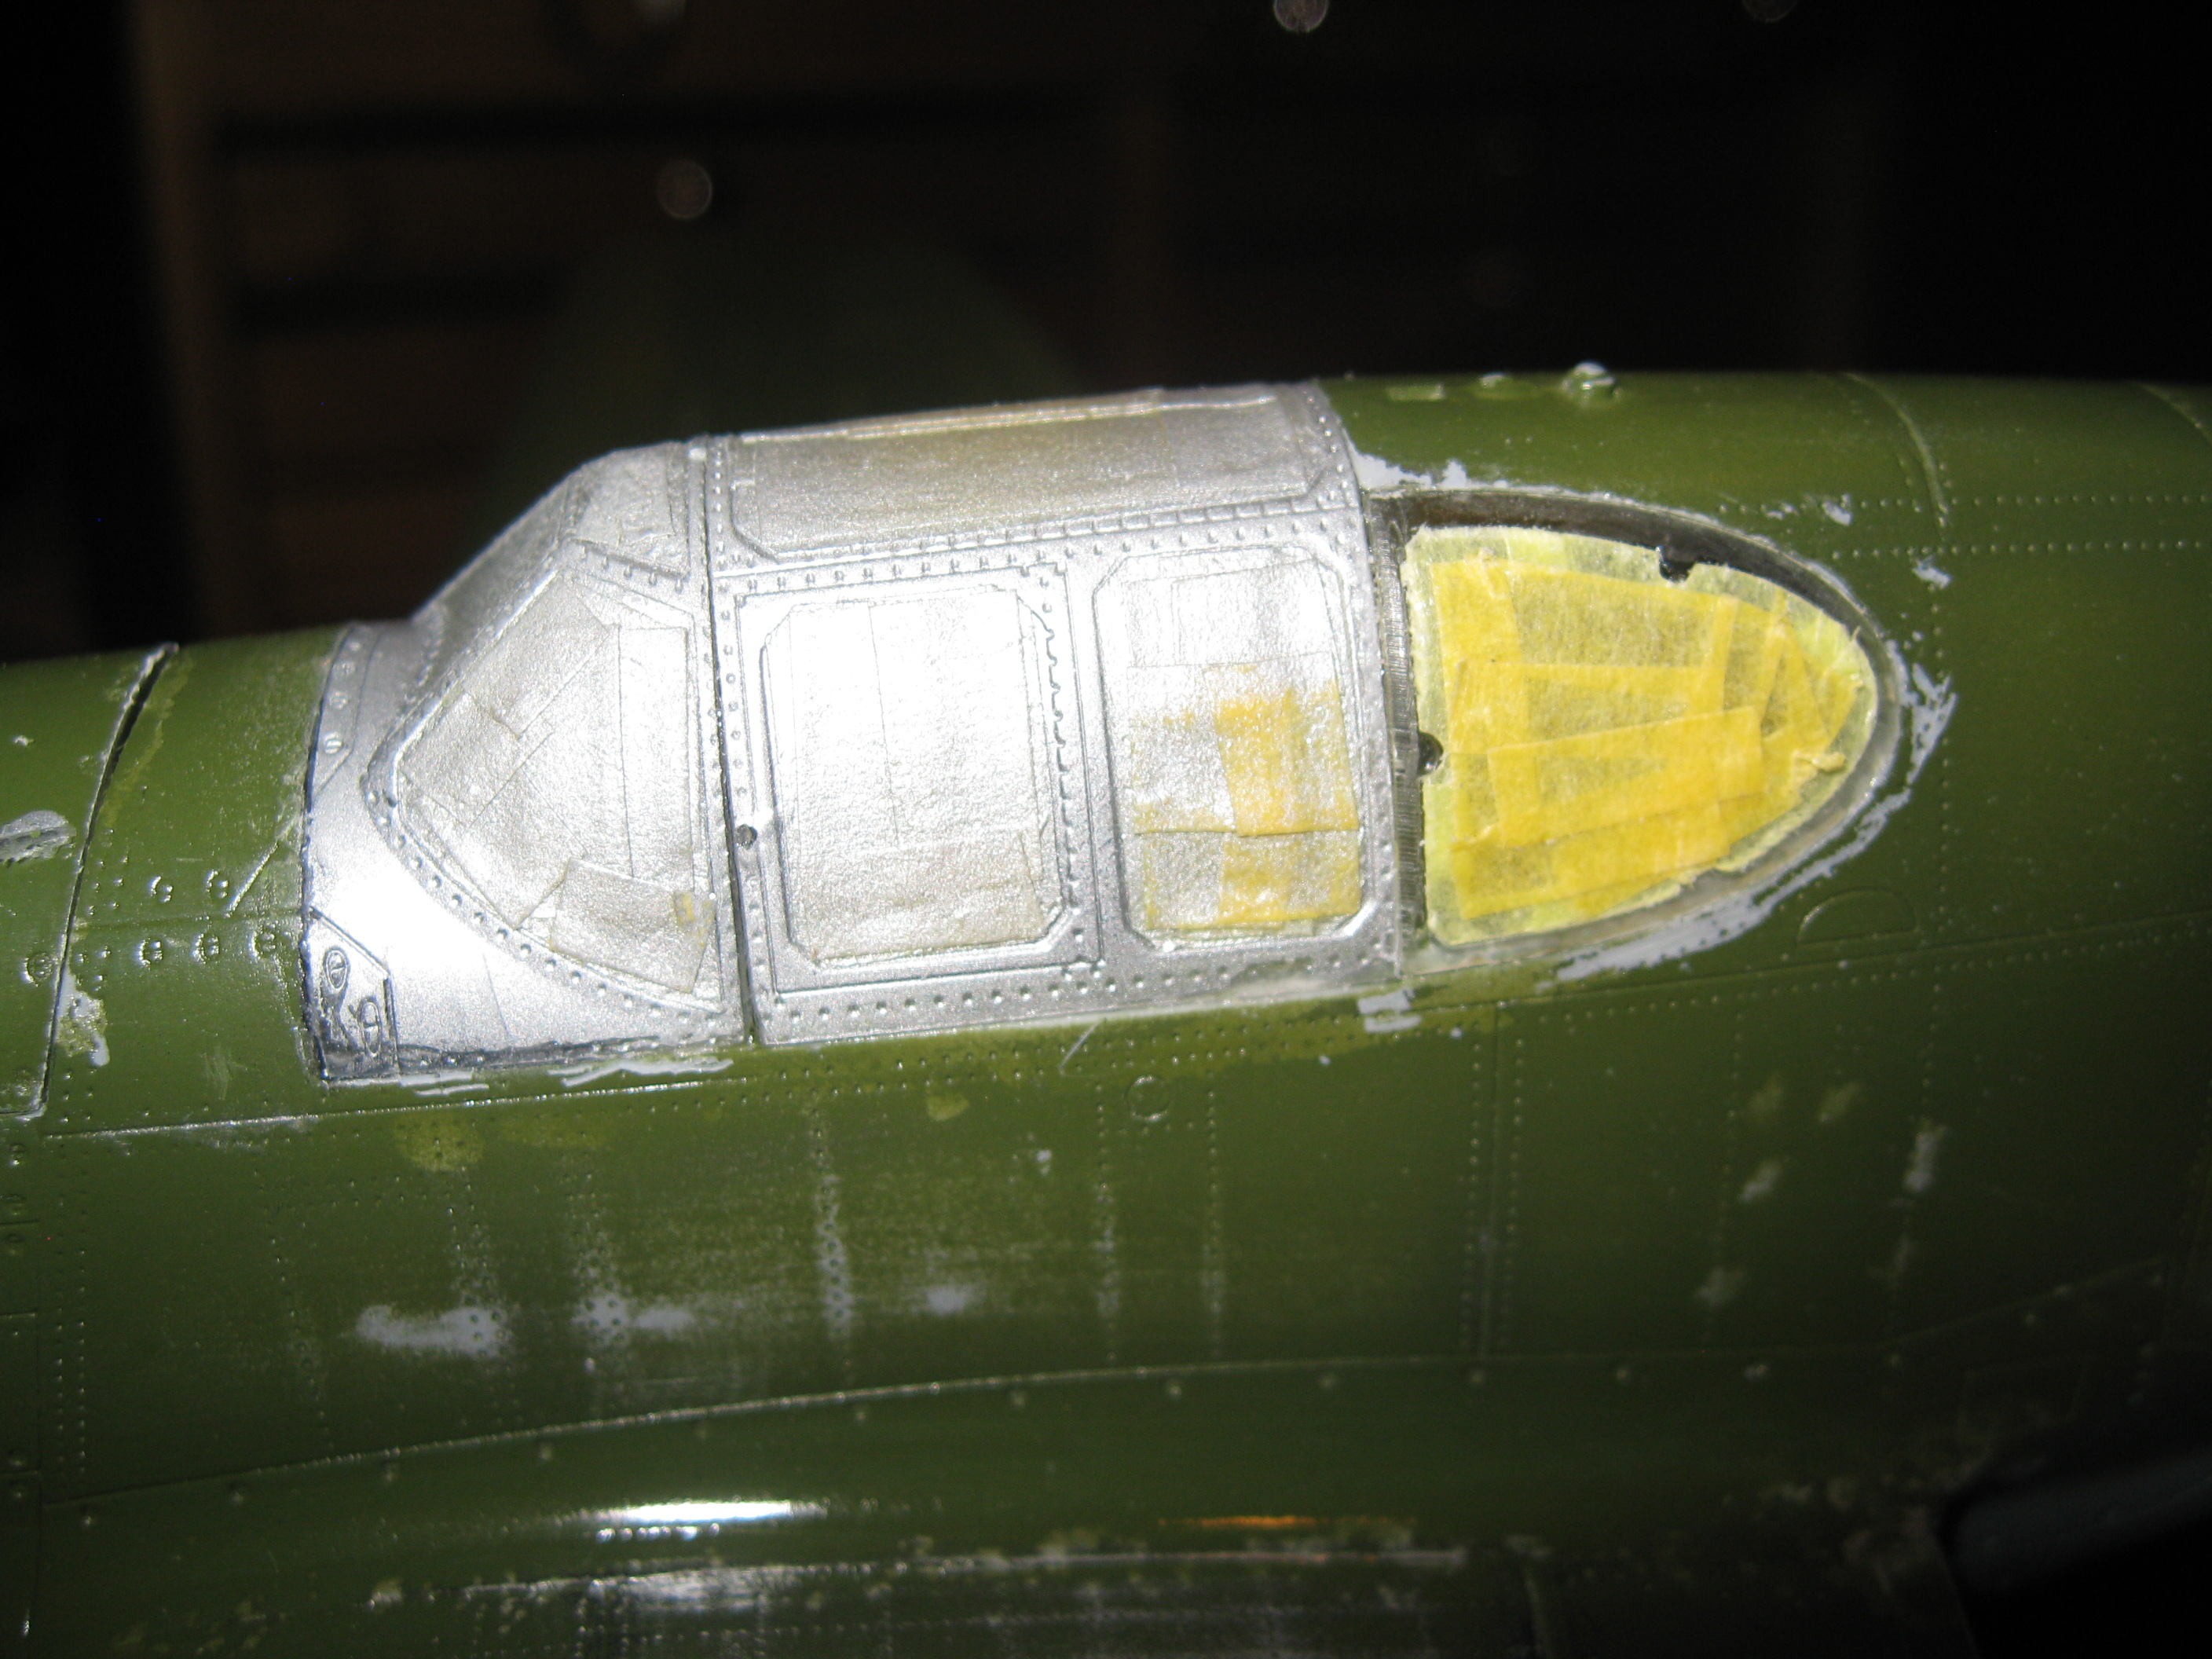
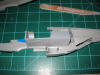
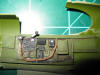
Most of the builds I have
seen use a darker green in the cockpit rather than bright zinc
chromate. I decided to use Model Master Forest Green which
is a really nice shade. Apparently there was a mix of
primer colors on the real planes so whichever color you use is
historically accurate.
| |
The work on the interior is in progress but this shows how it is
coming along. The floor was made of plywood and either
painted black or with a black non-skid surface. The black
would wear off showing the wood underneath.(Oct
15, 2011)

Removing some of the kit detail so the side panels can go in.(Oct
11, 2011)
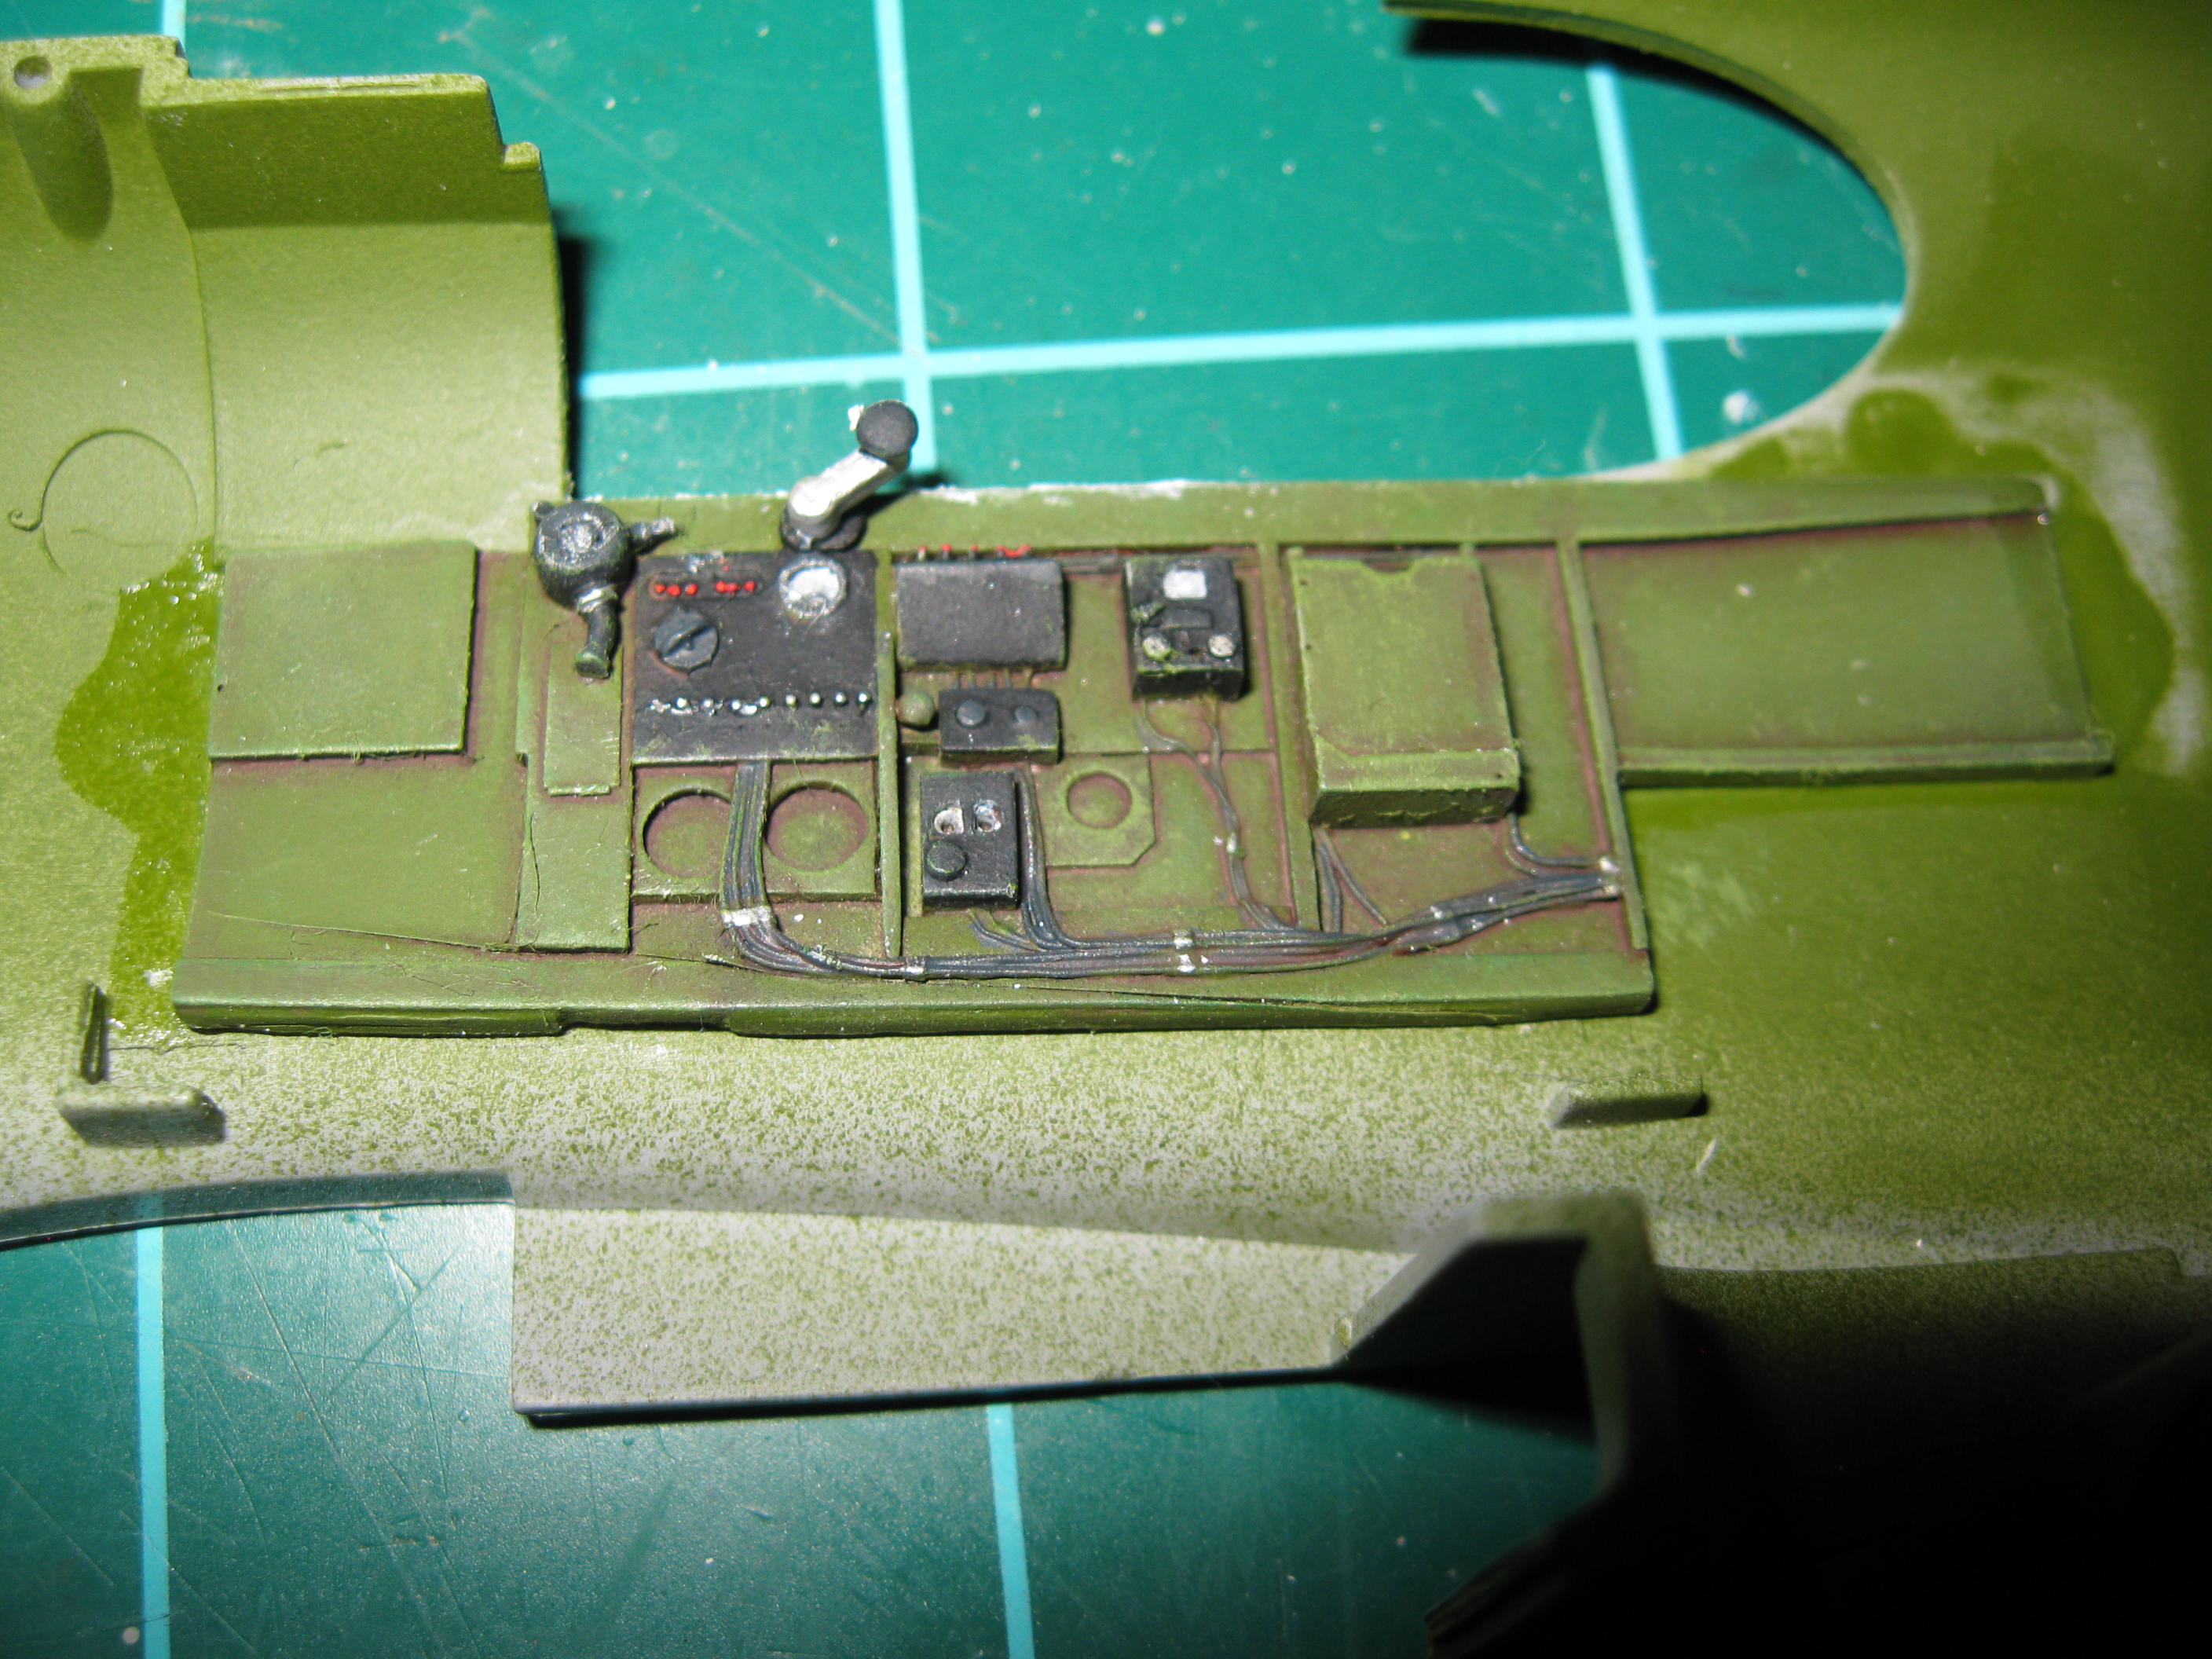
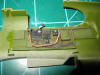
These are the side panels with some of the controls and things.(Oct
22, 2011)
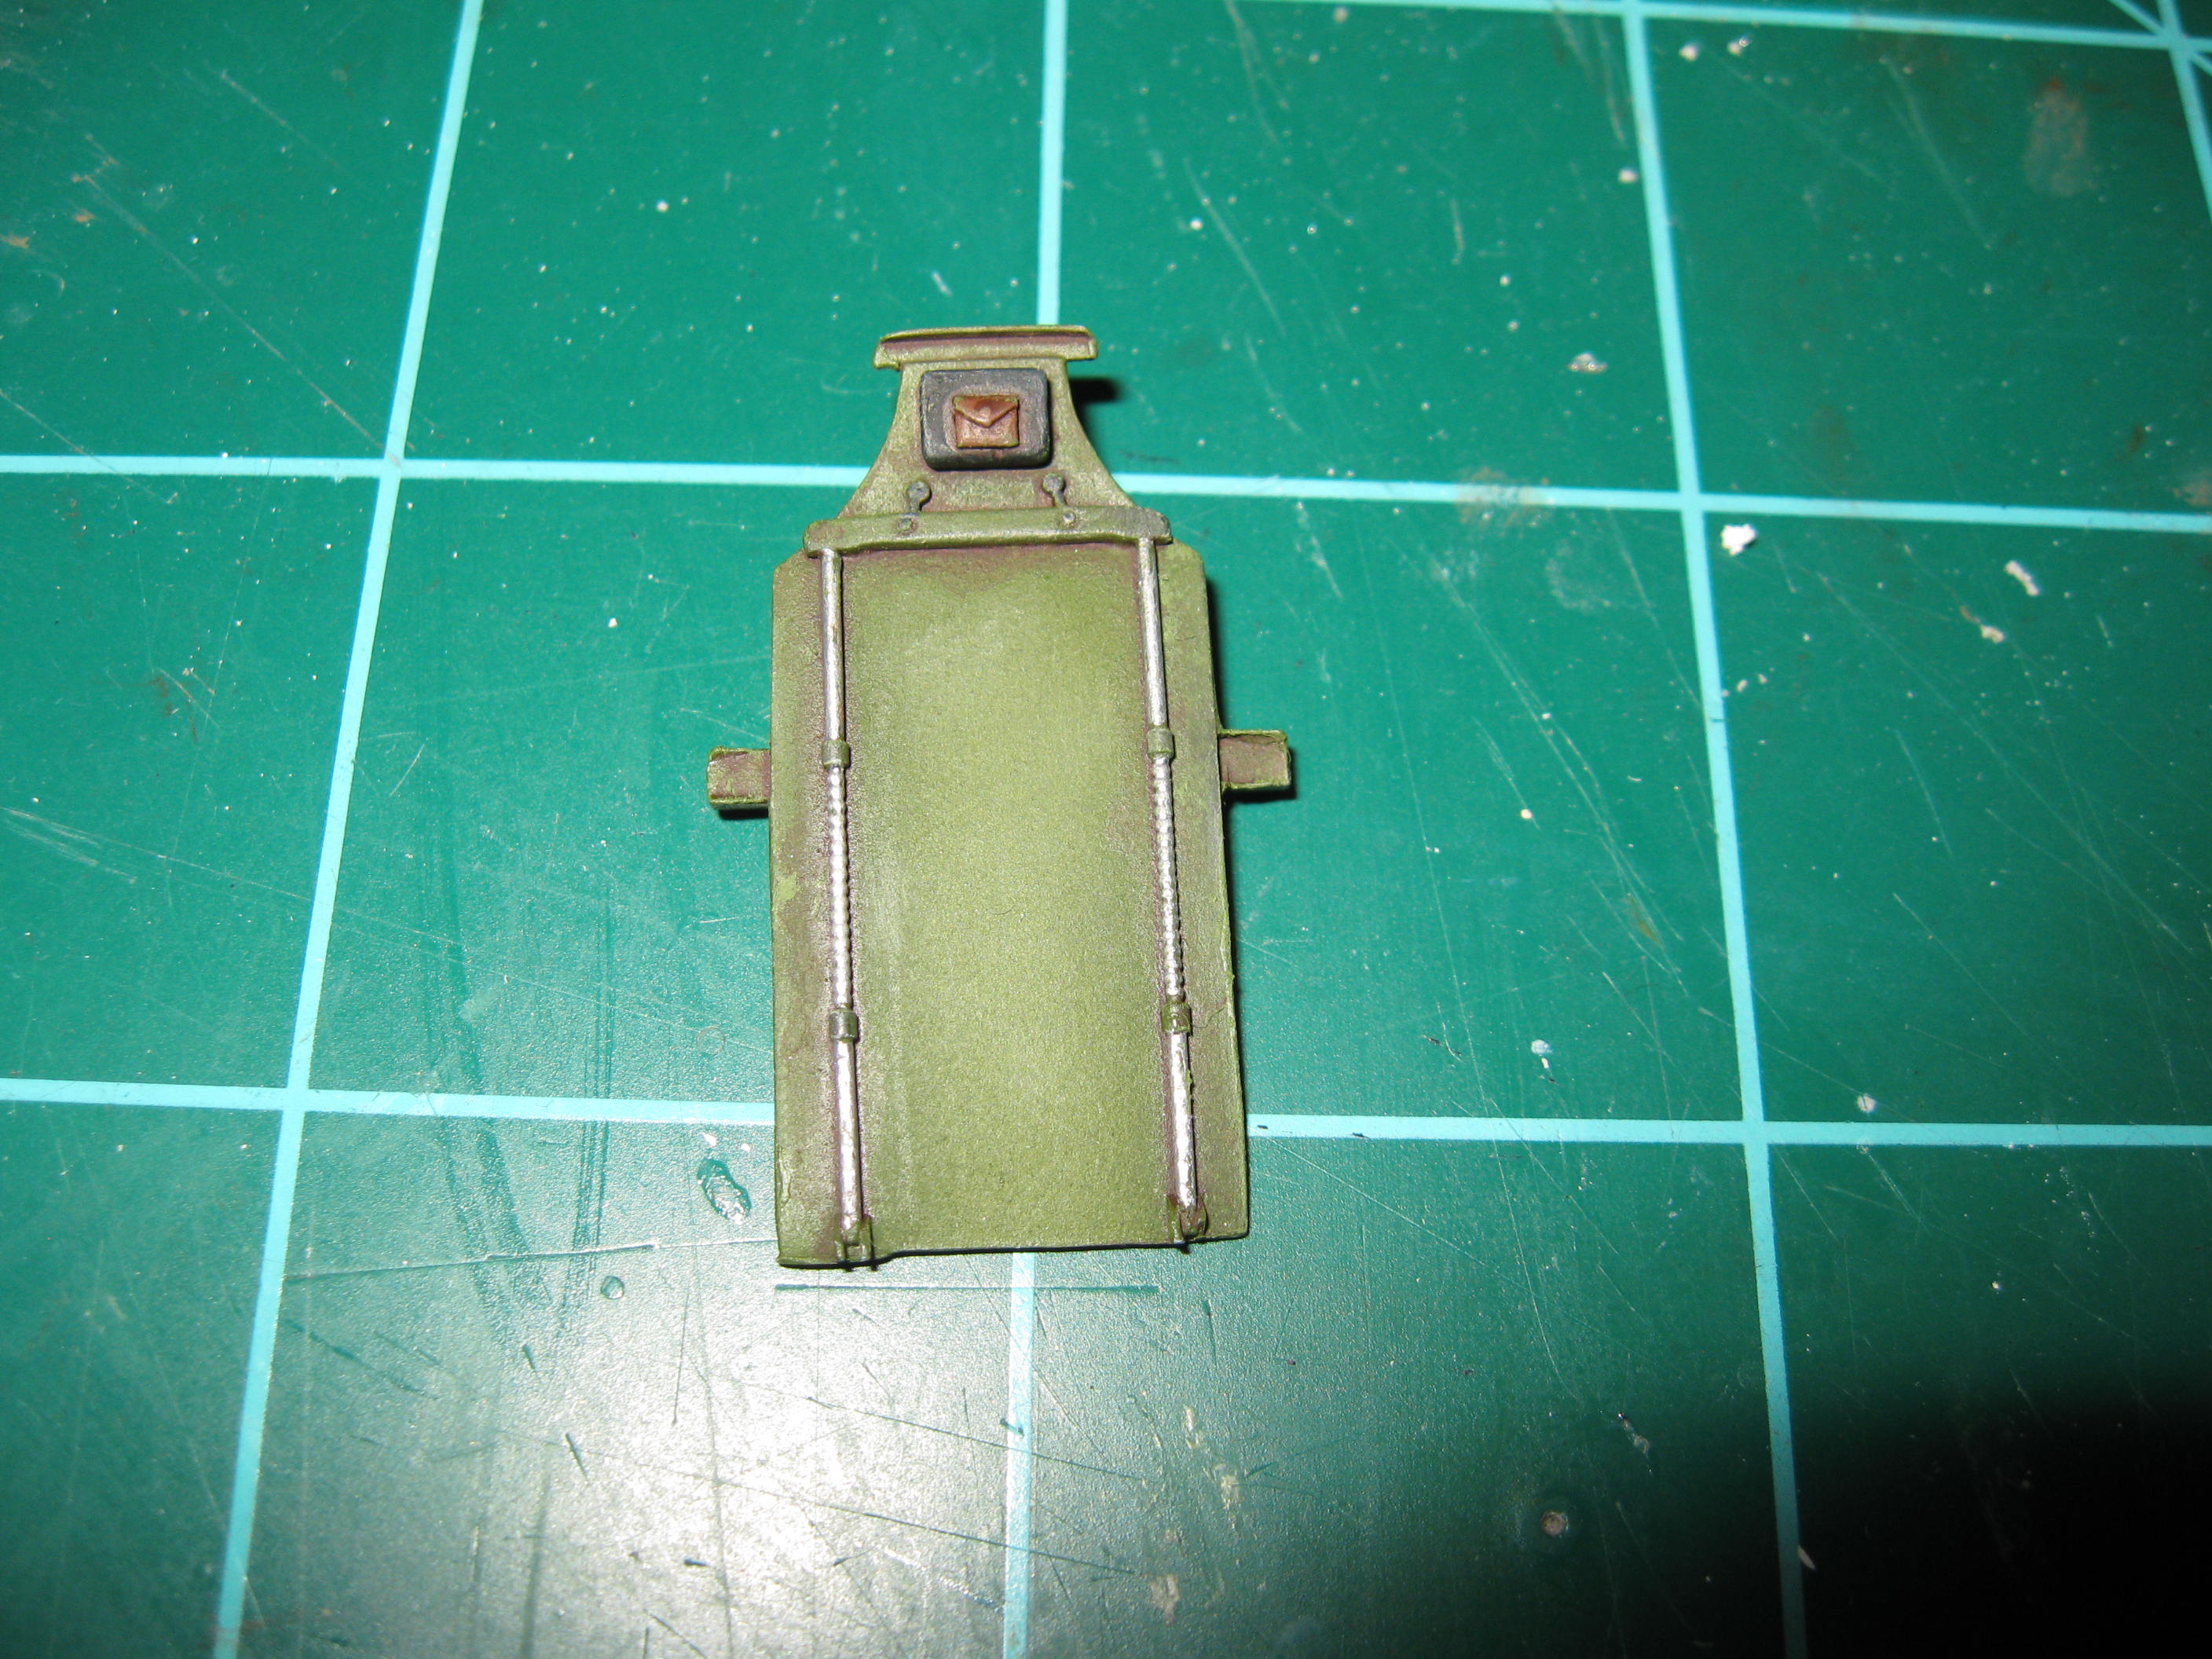
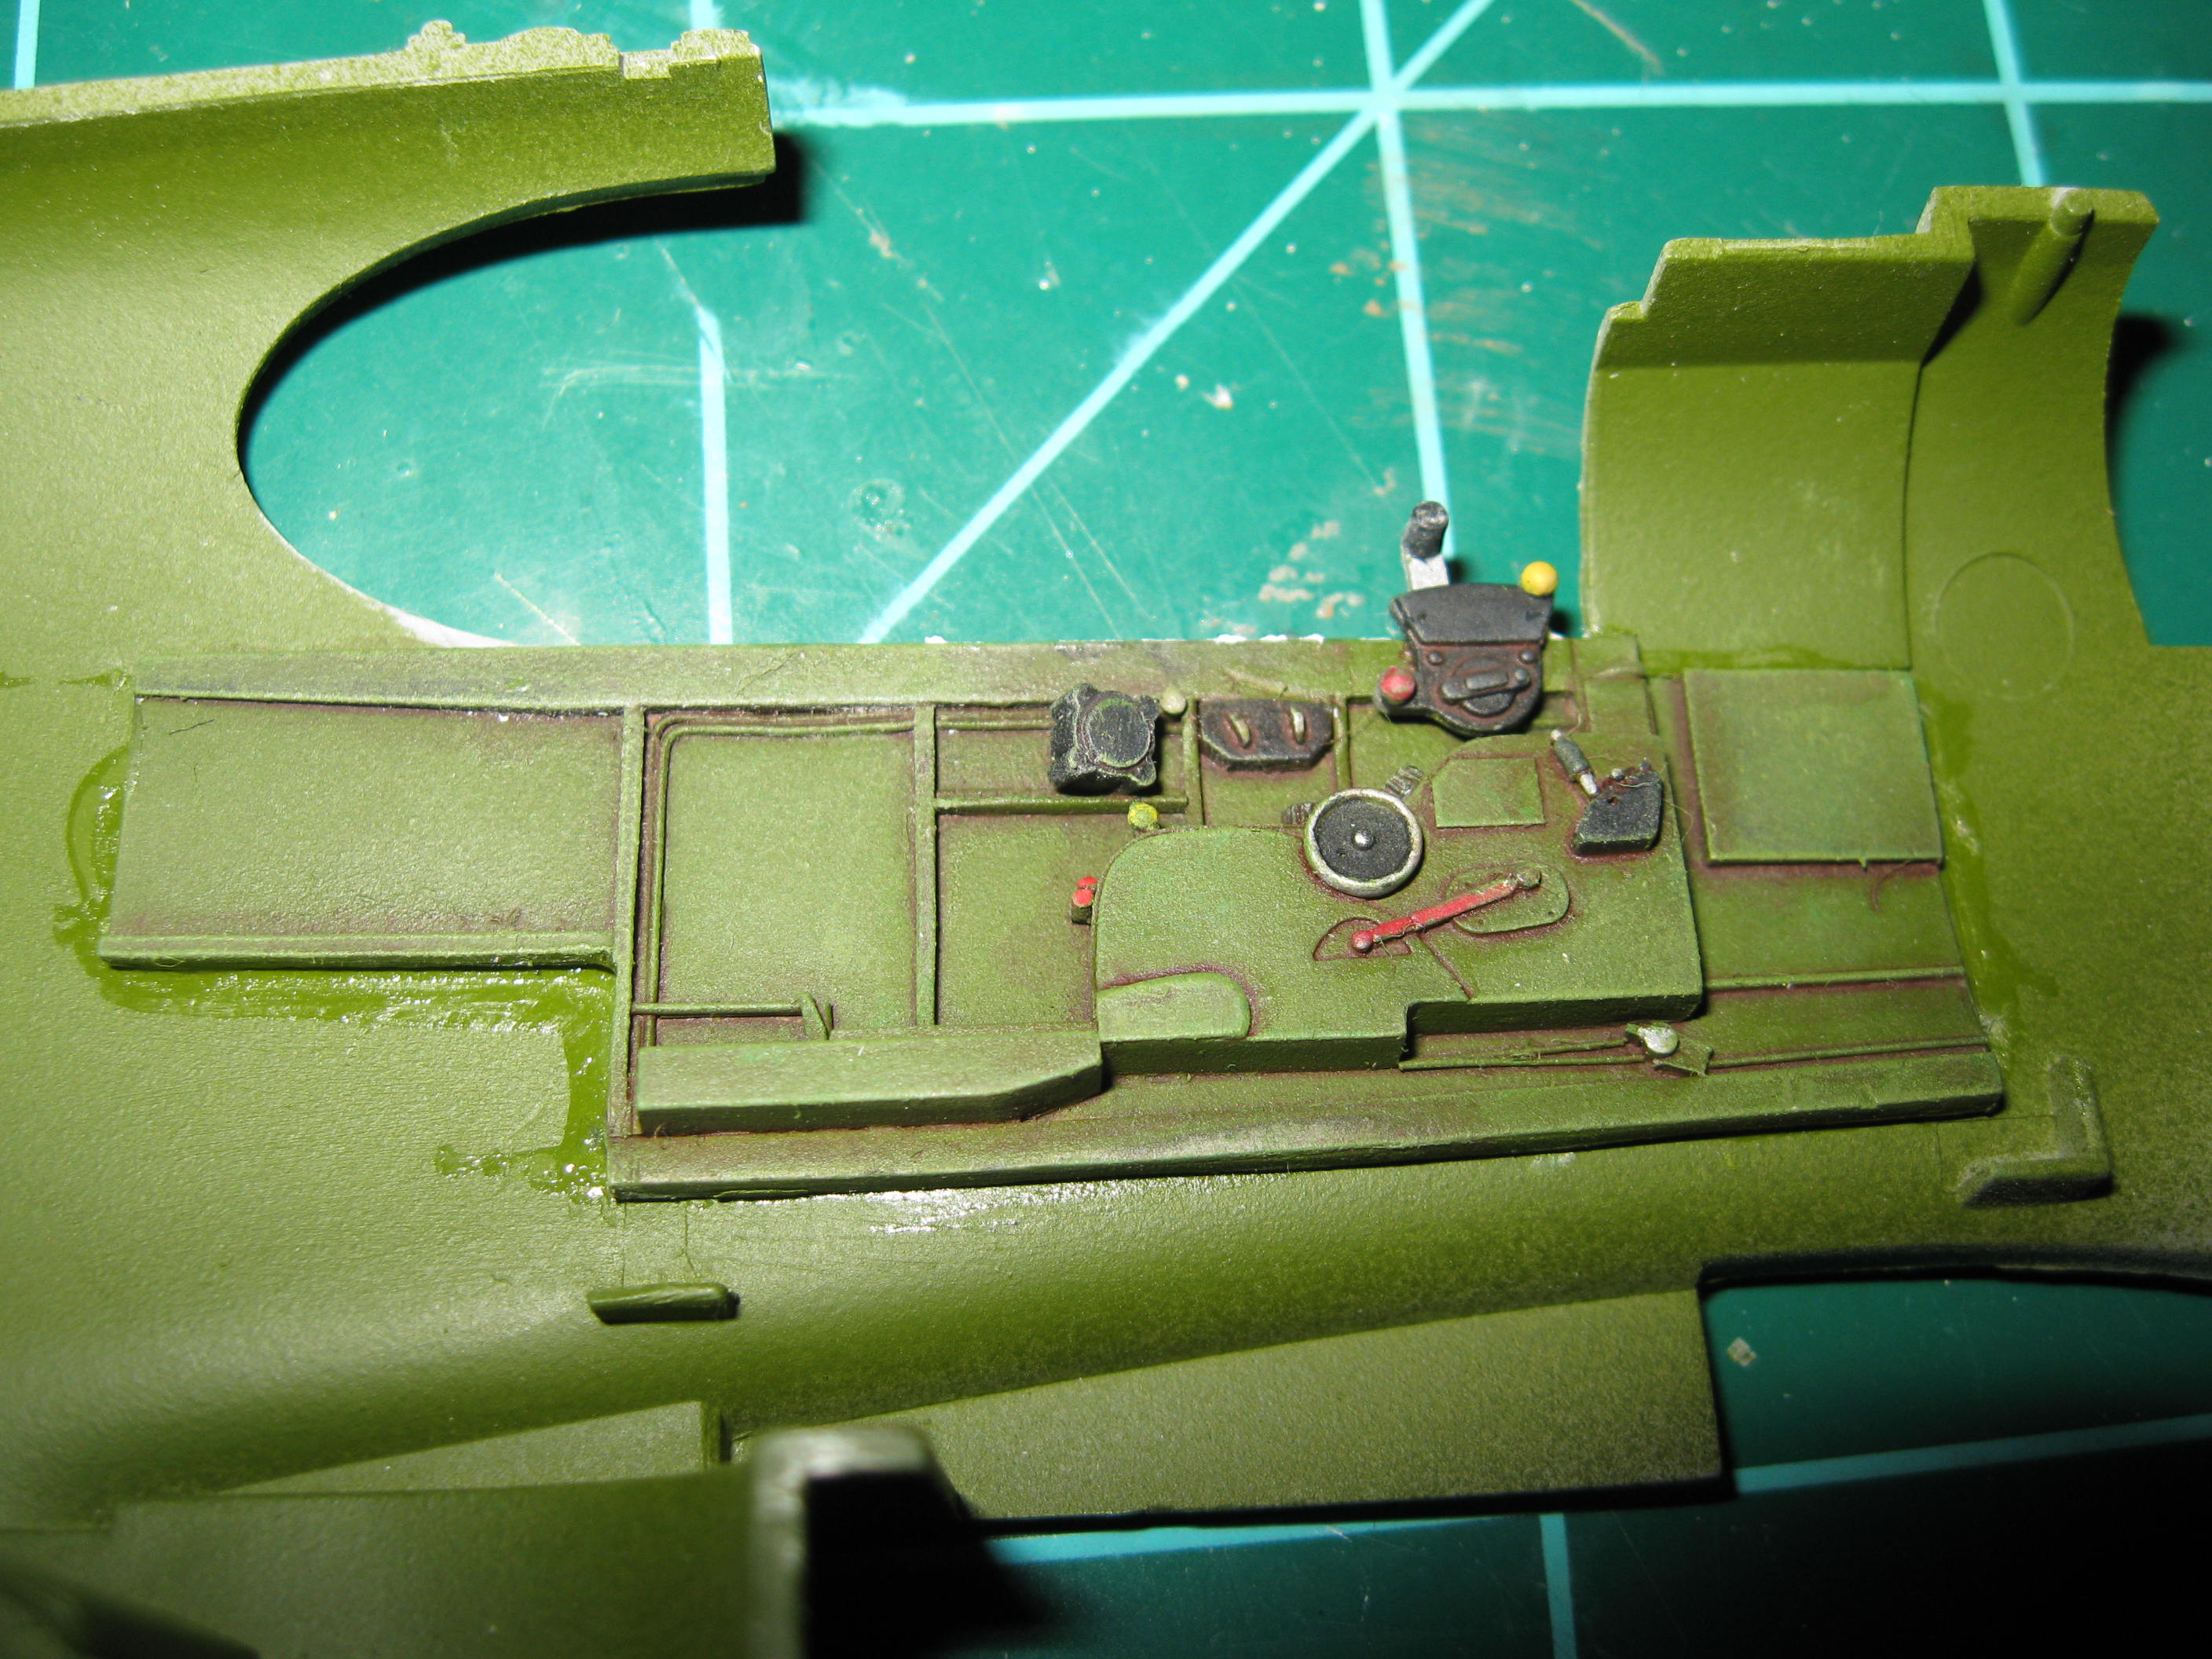
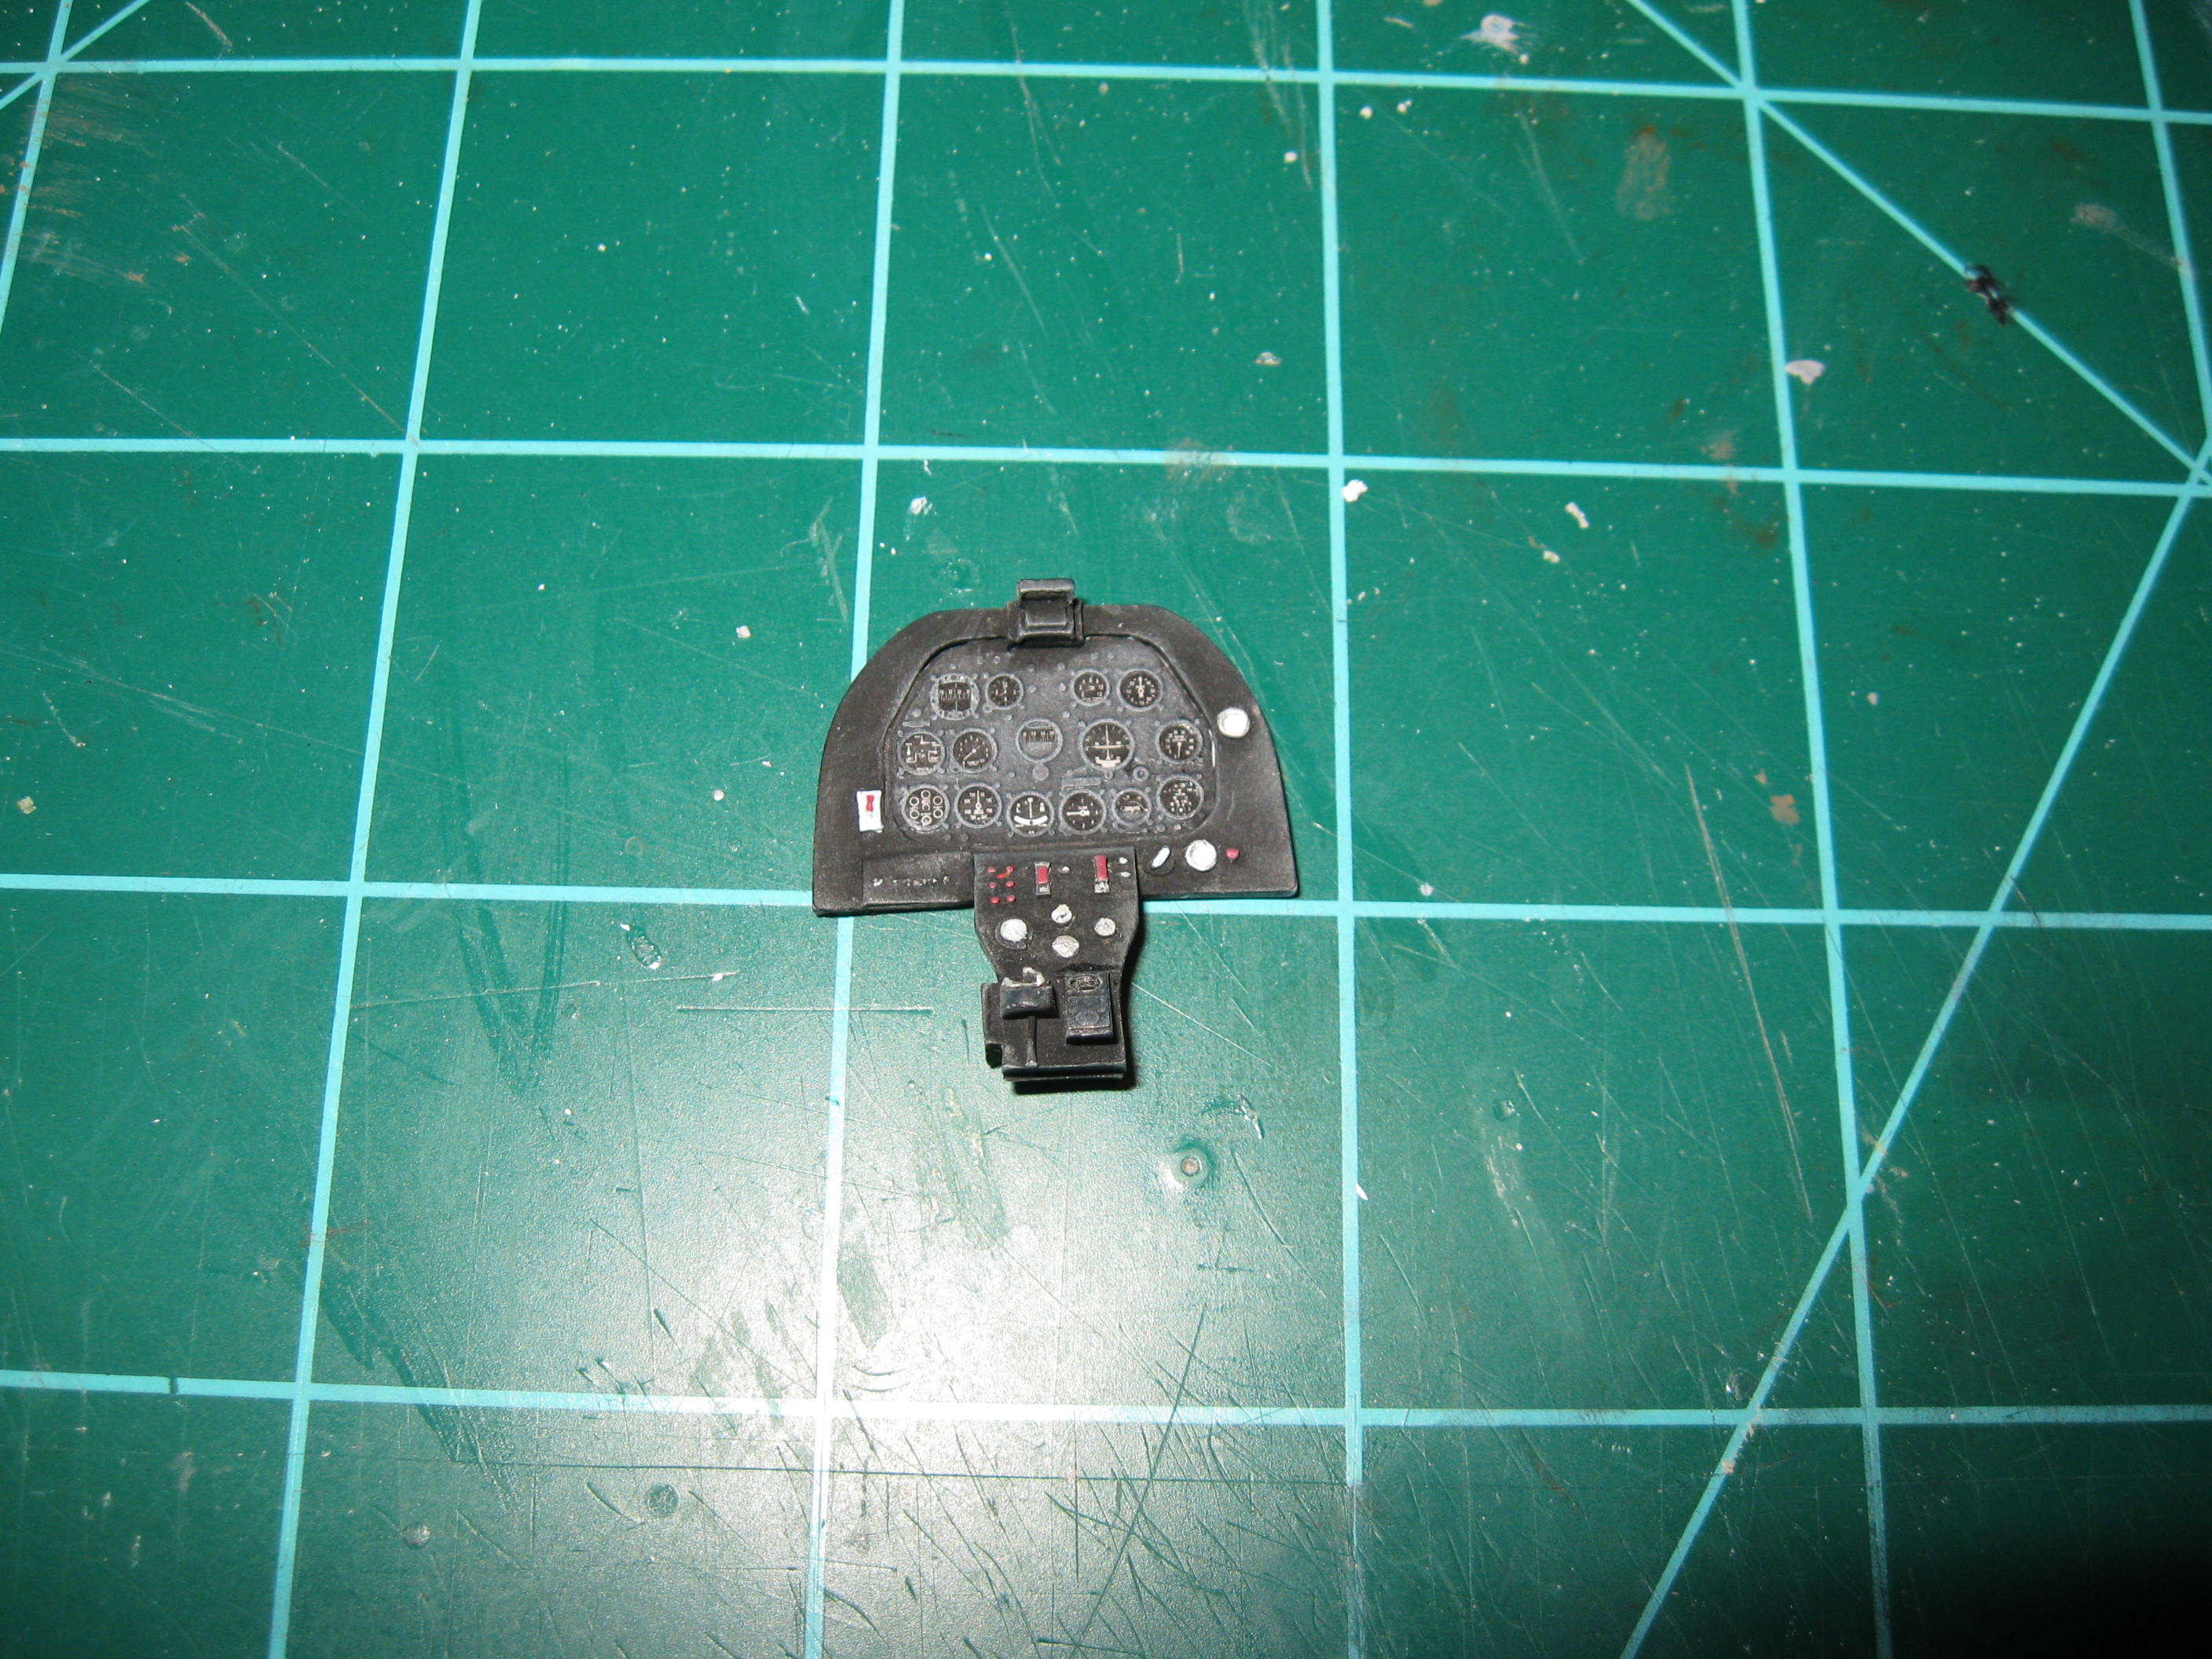
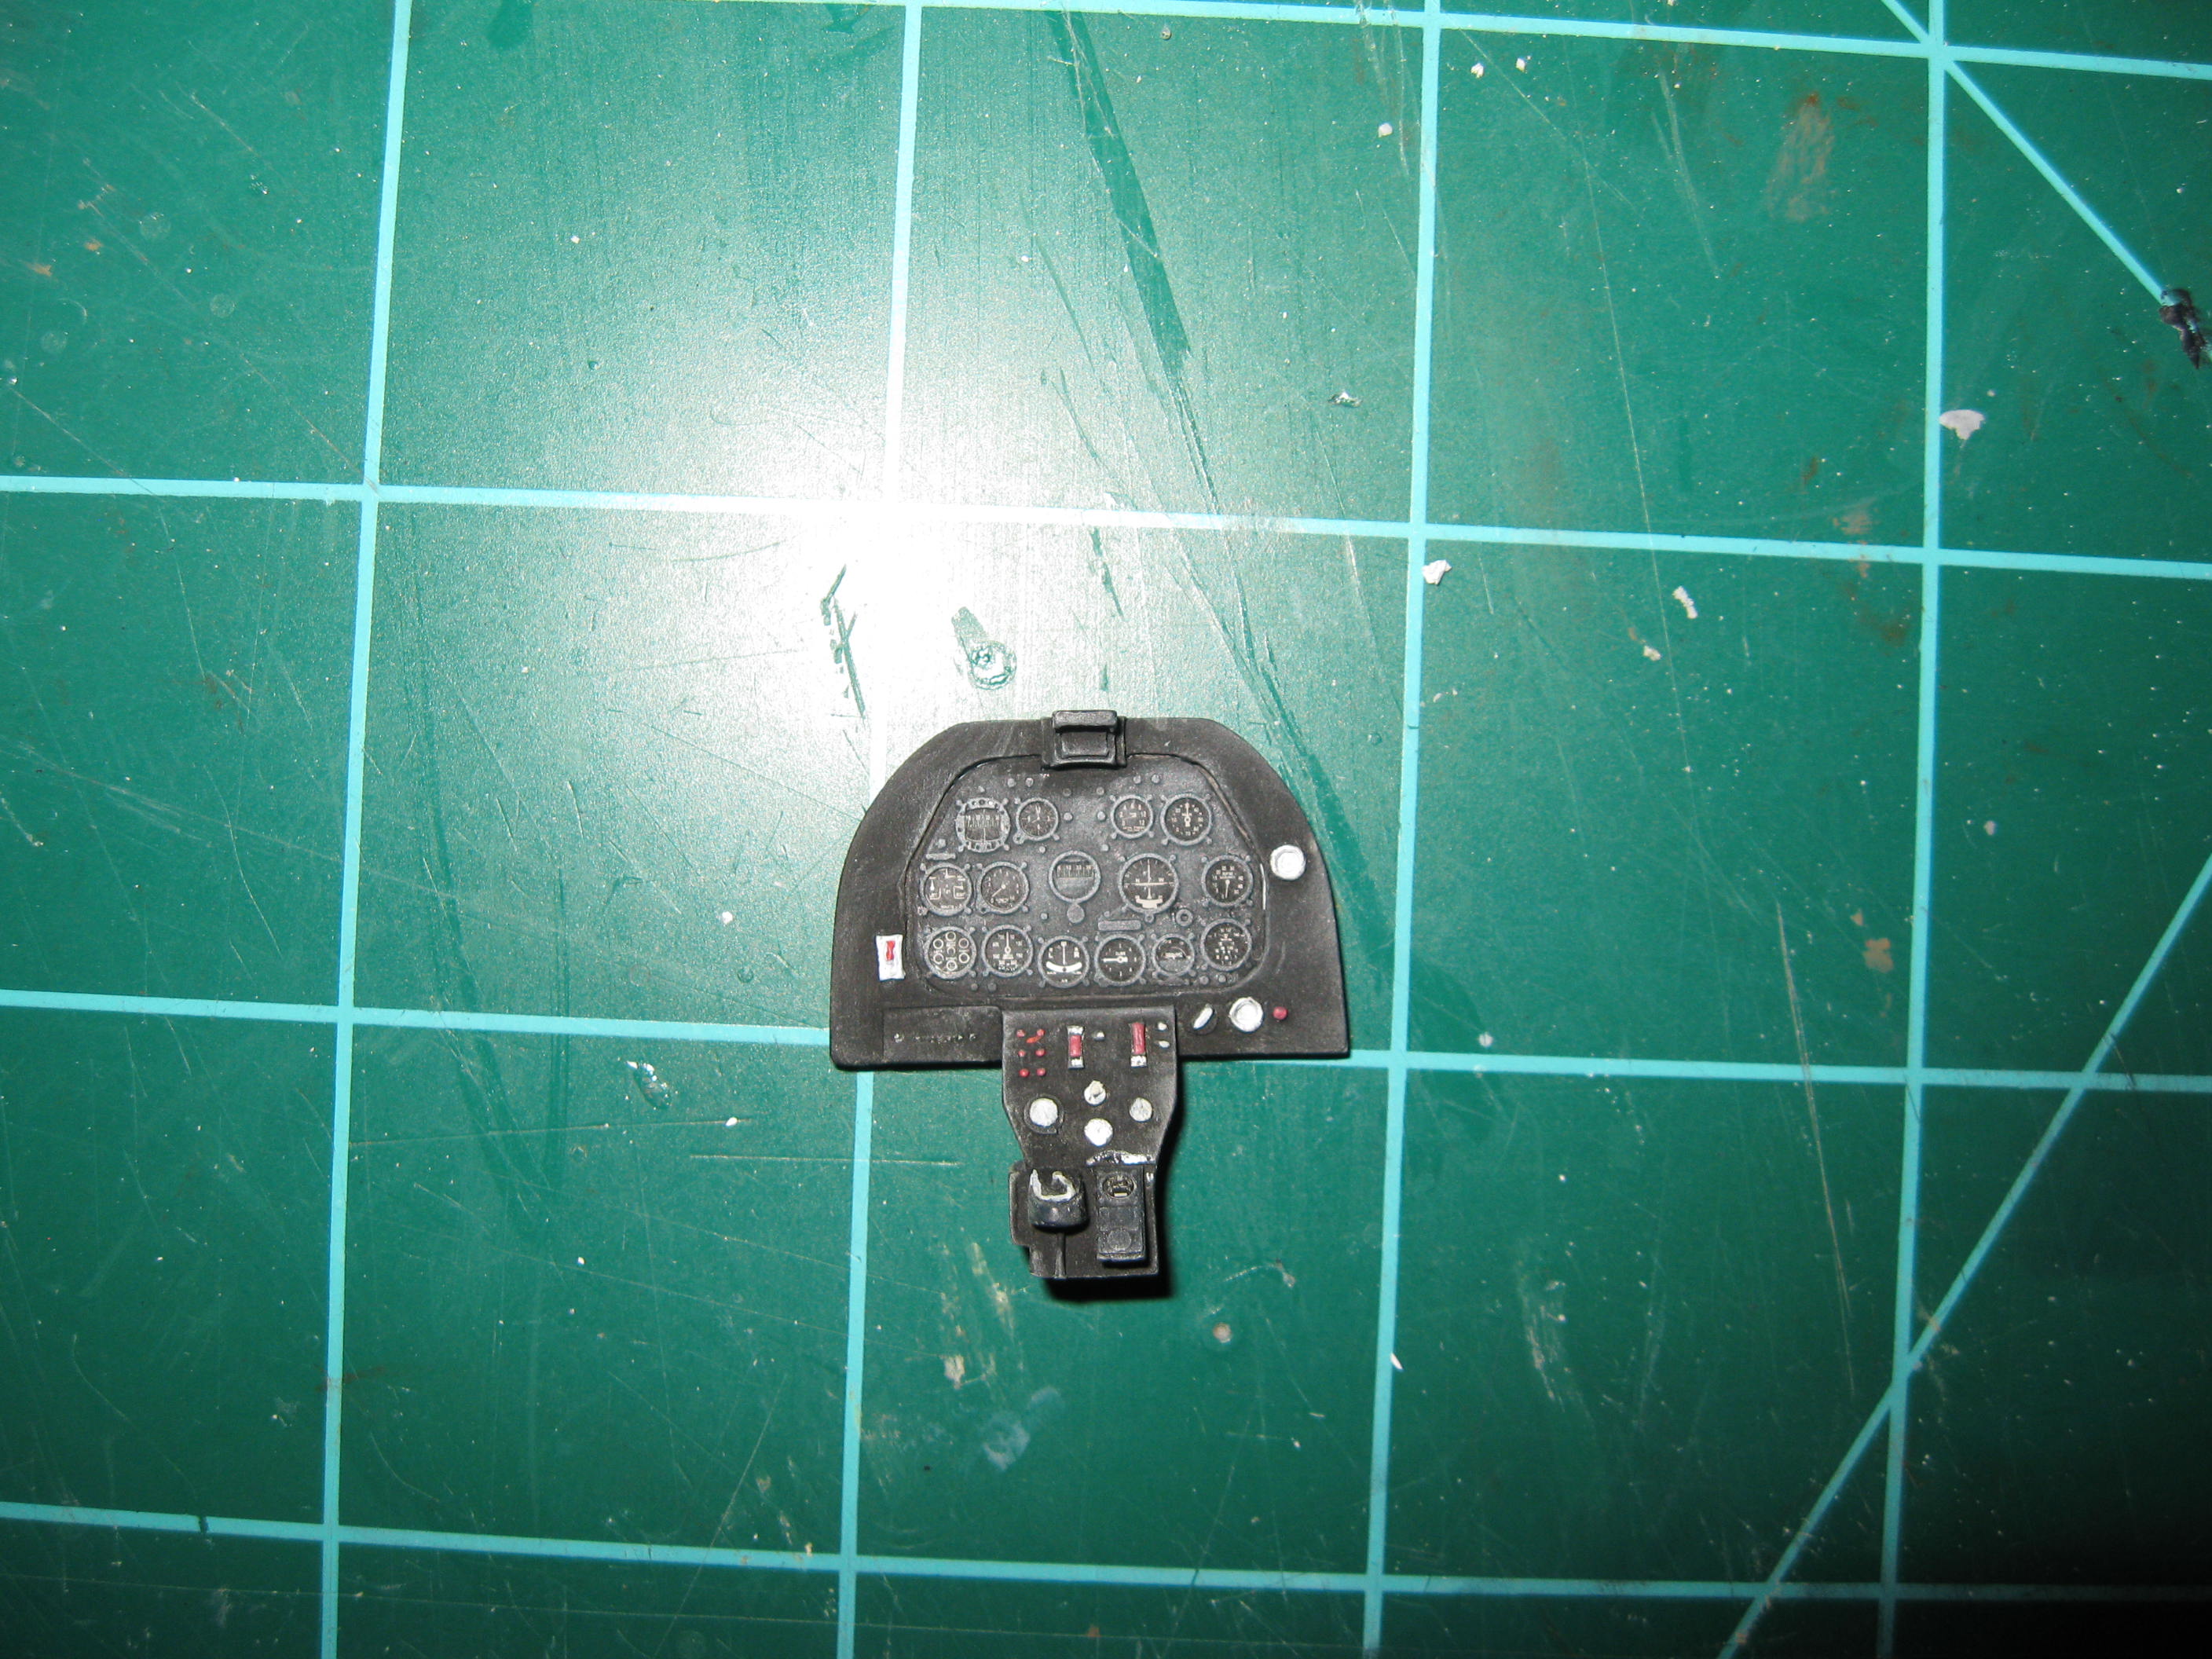
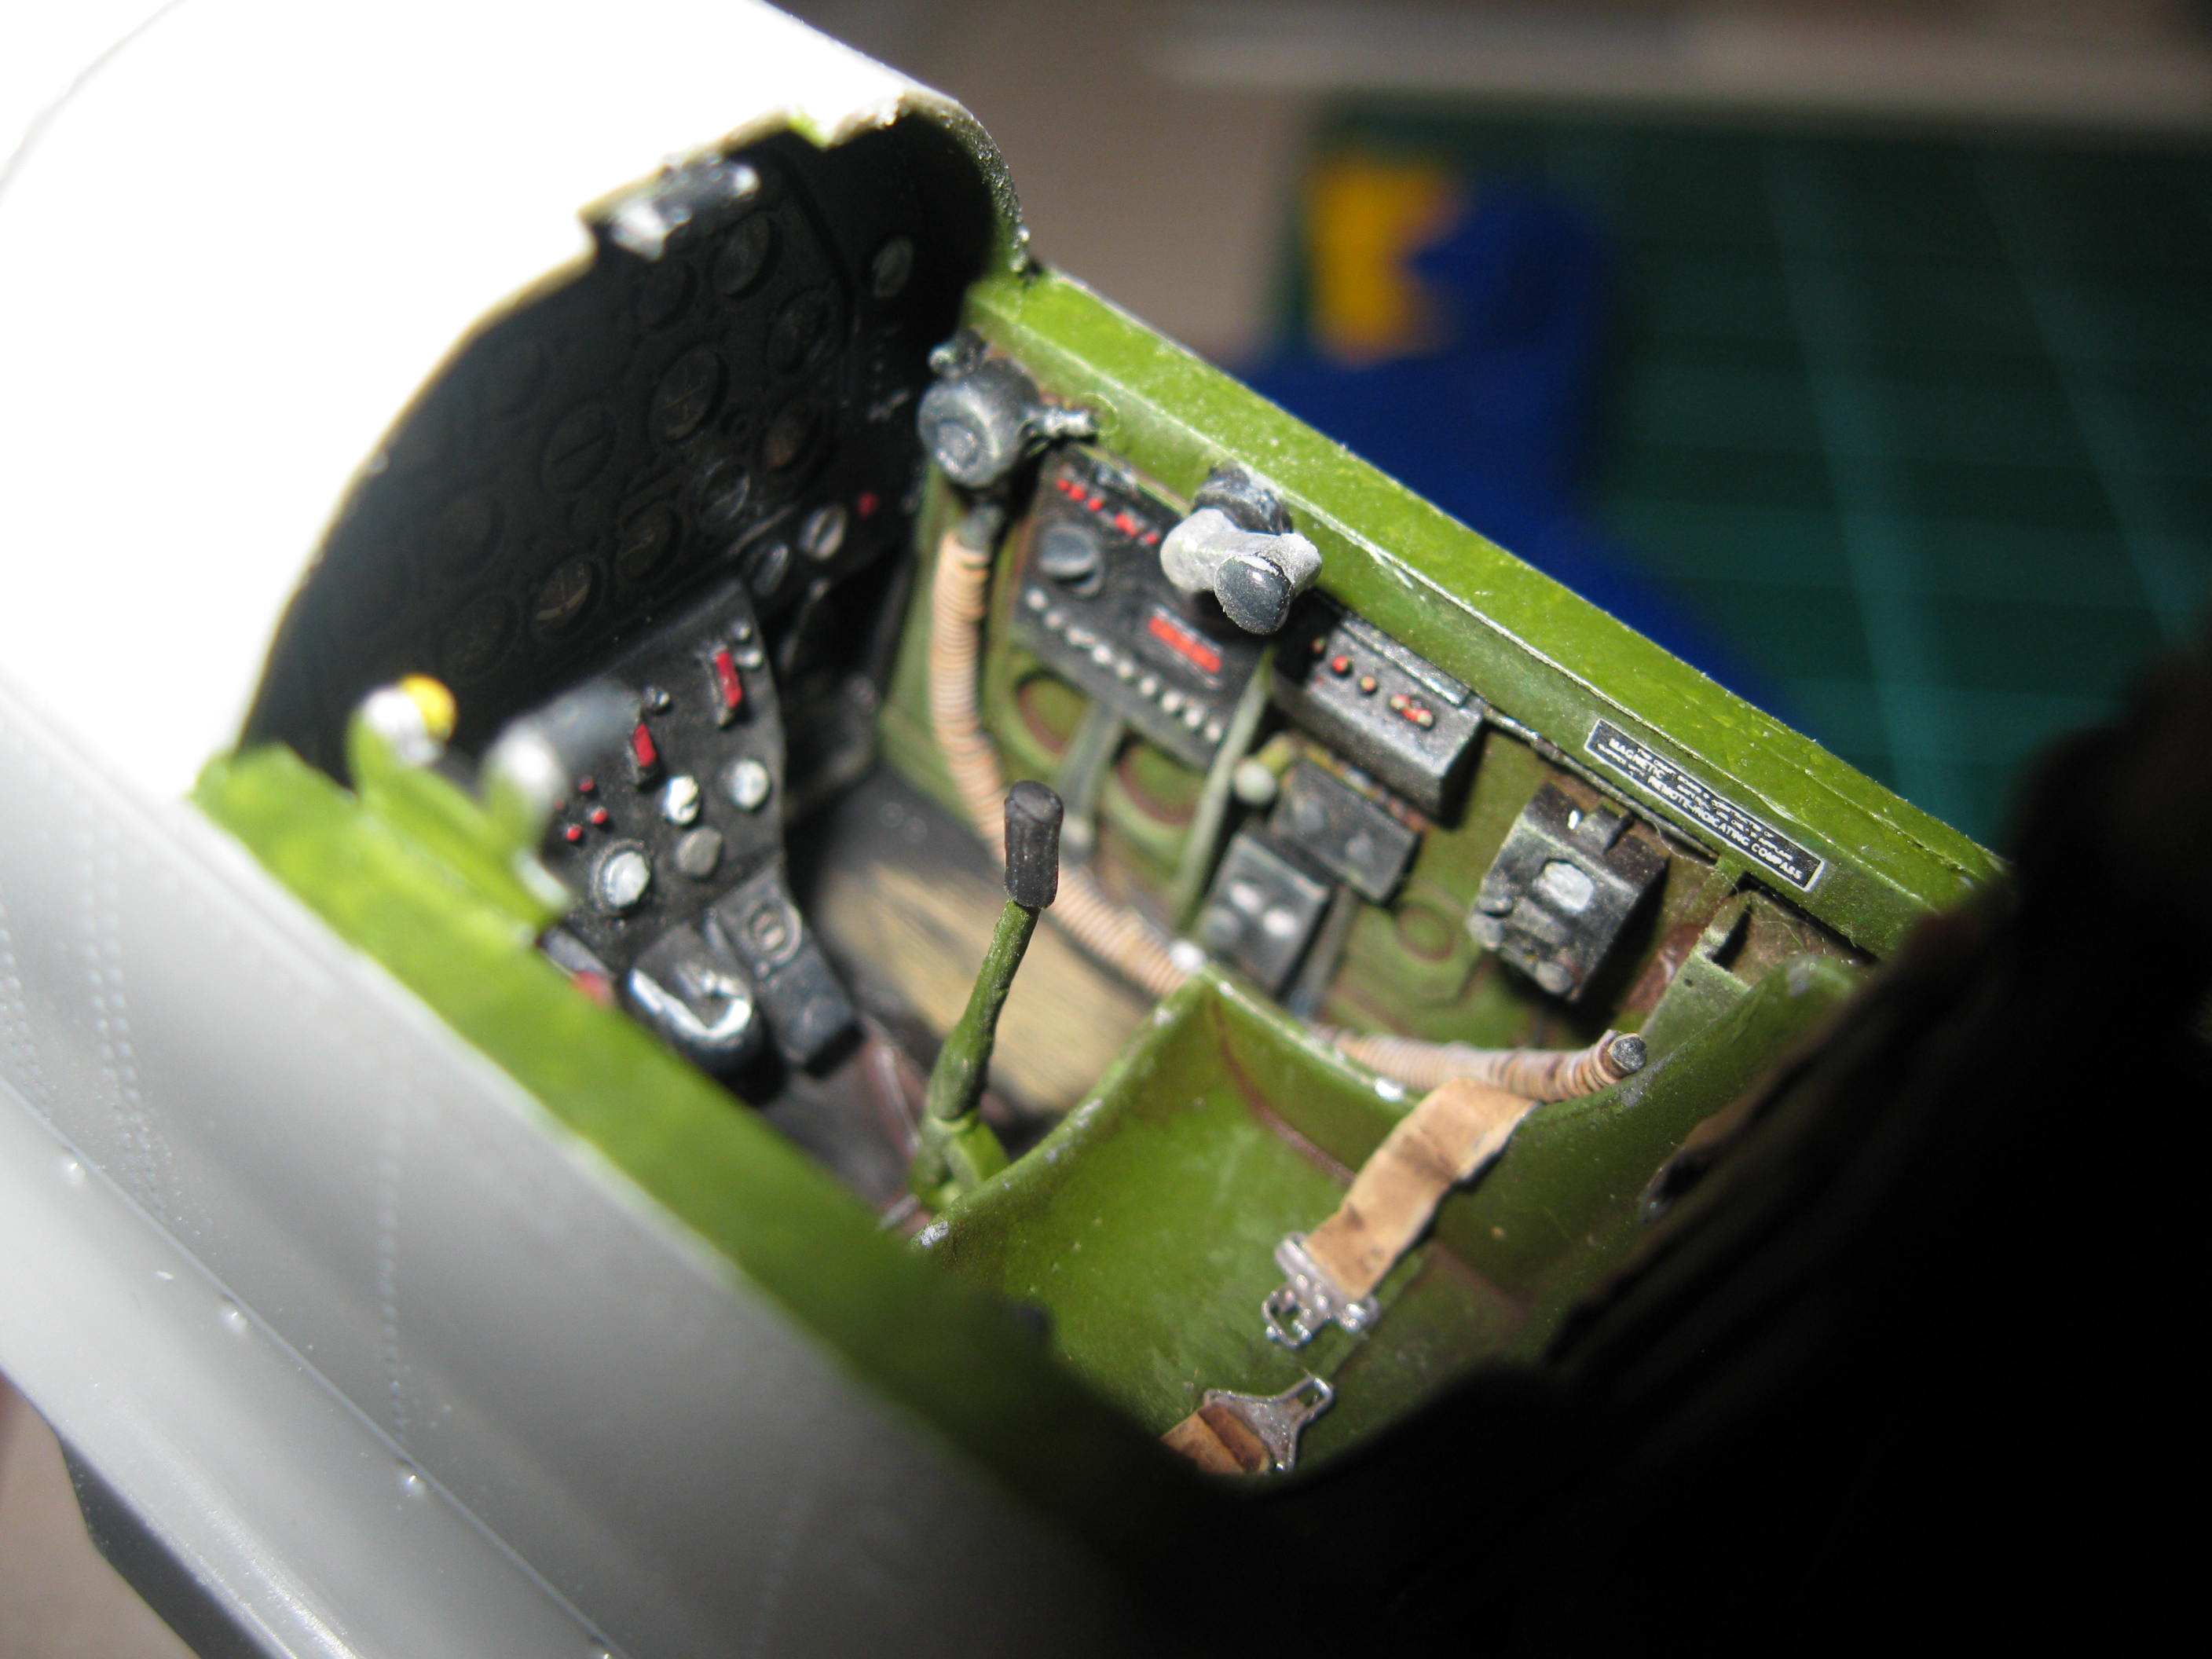
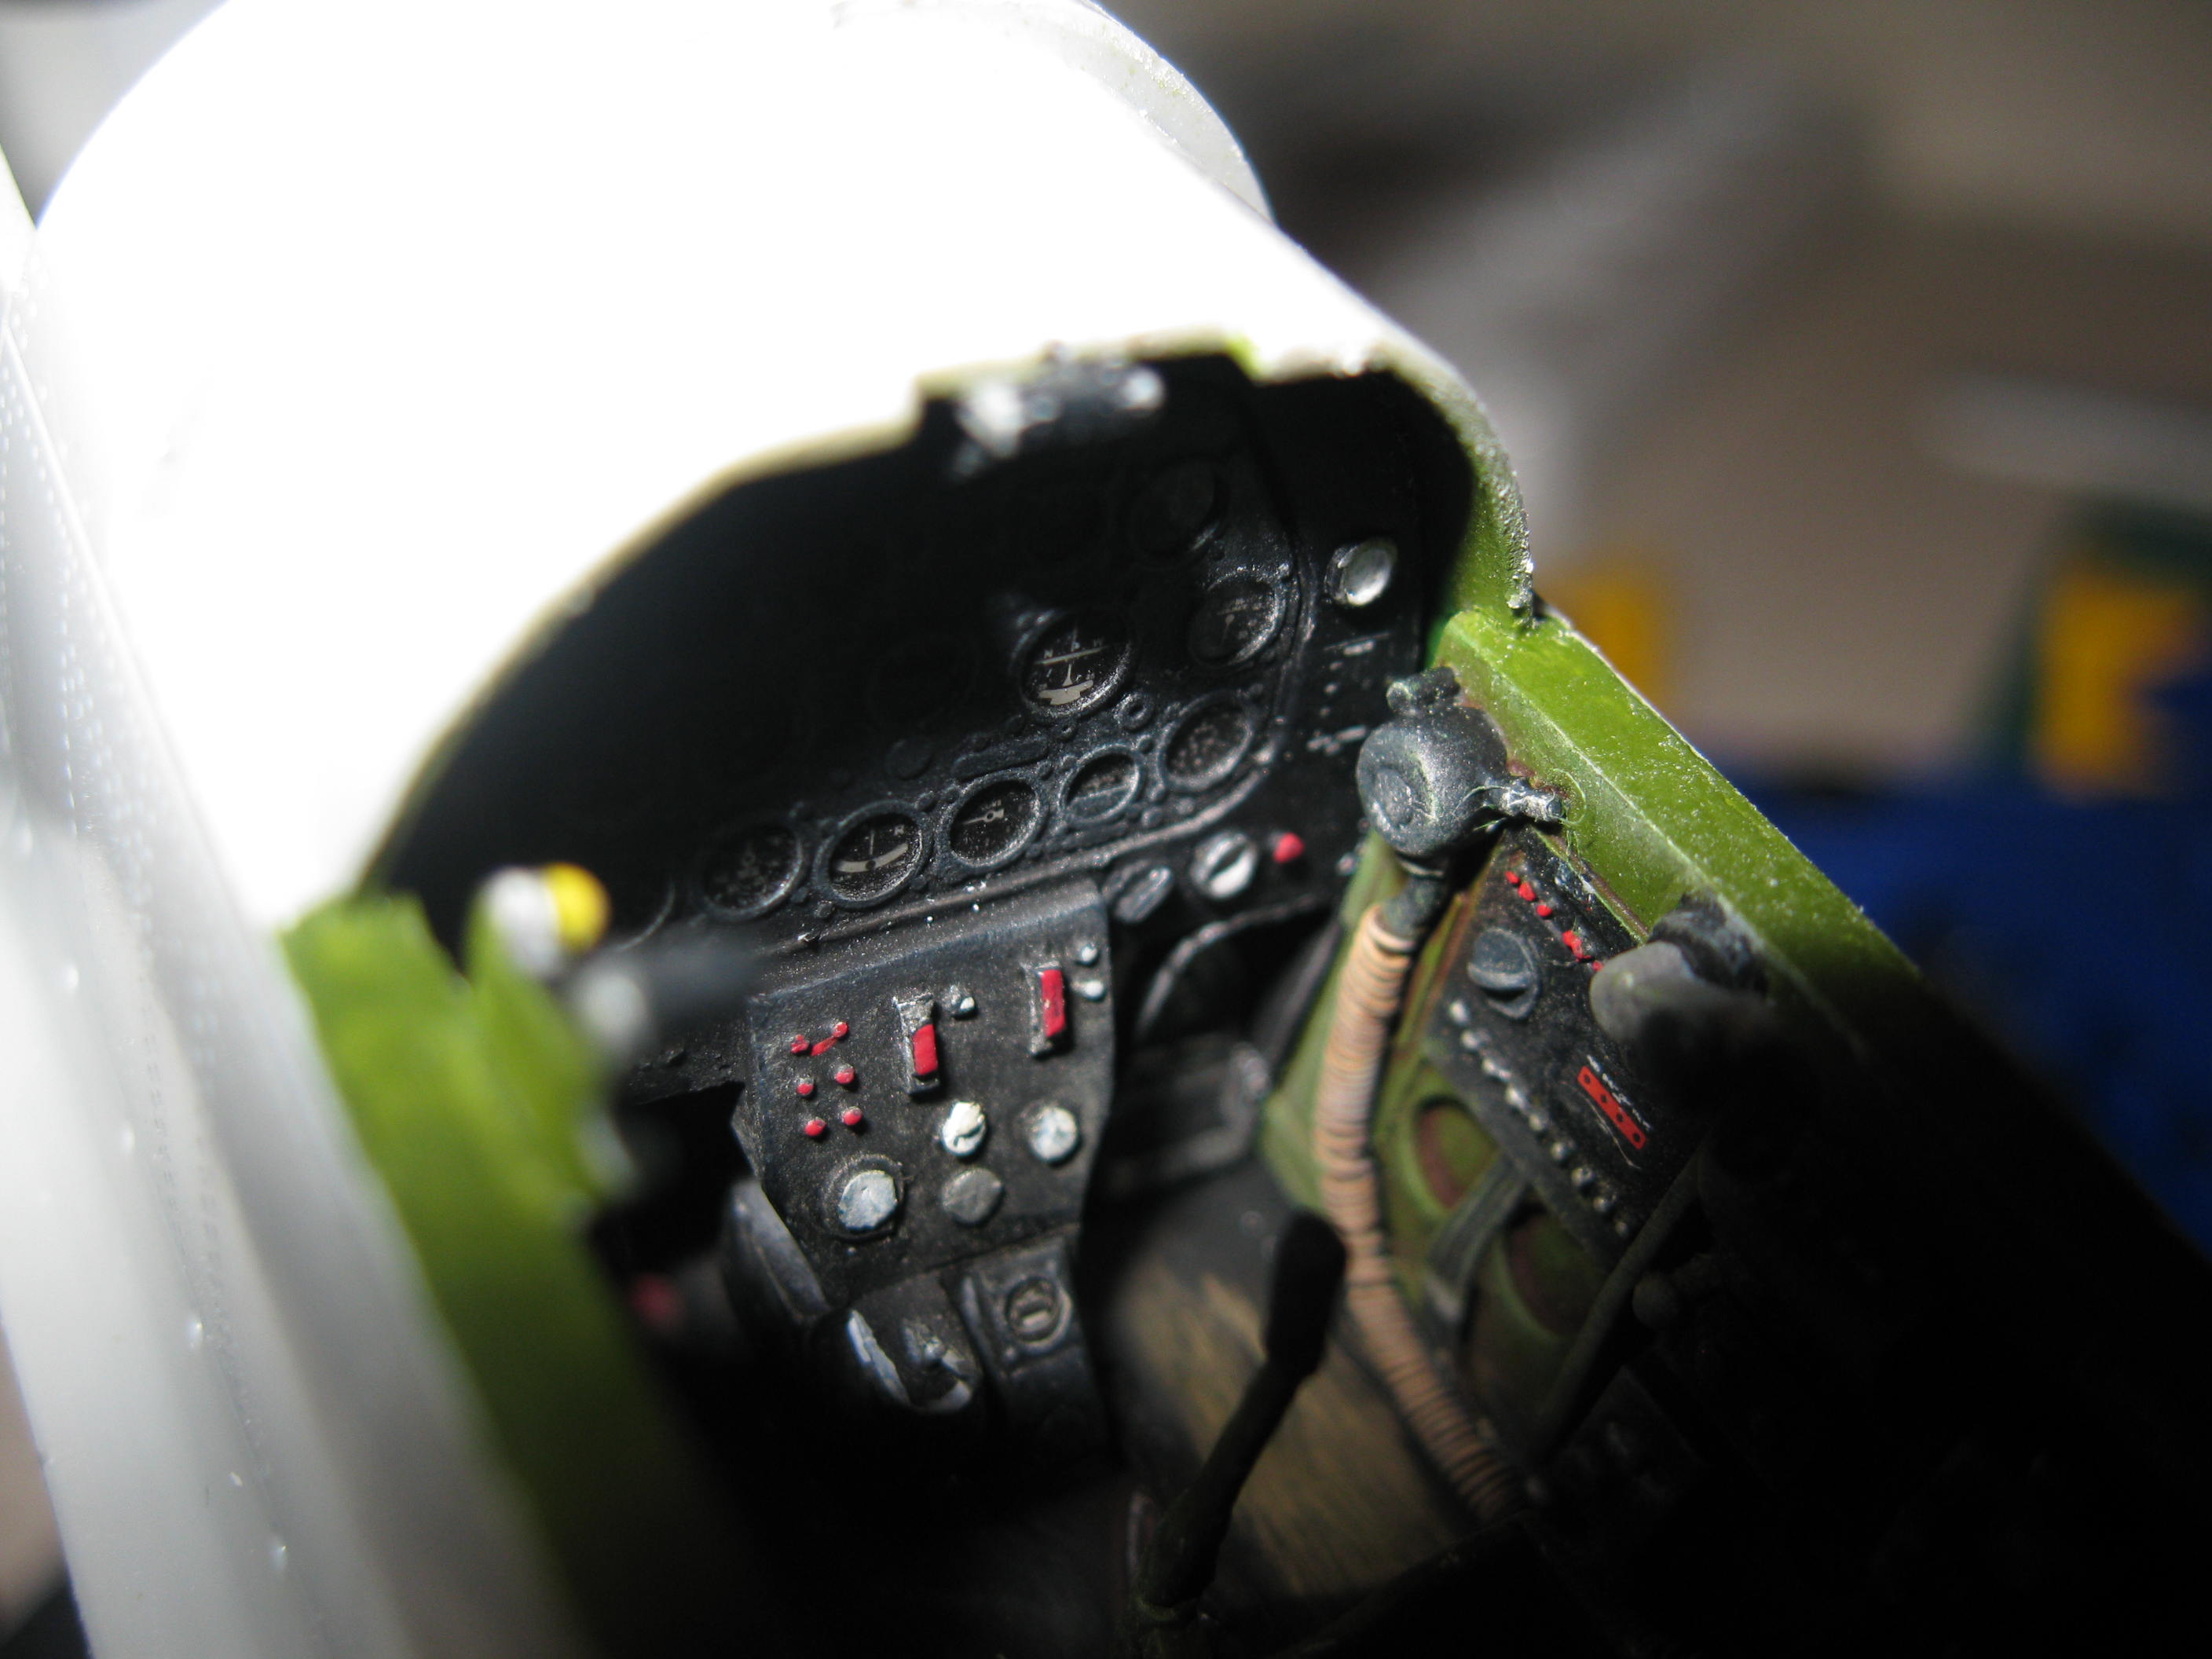
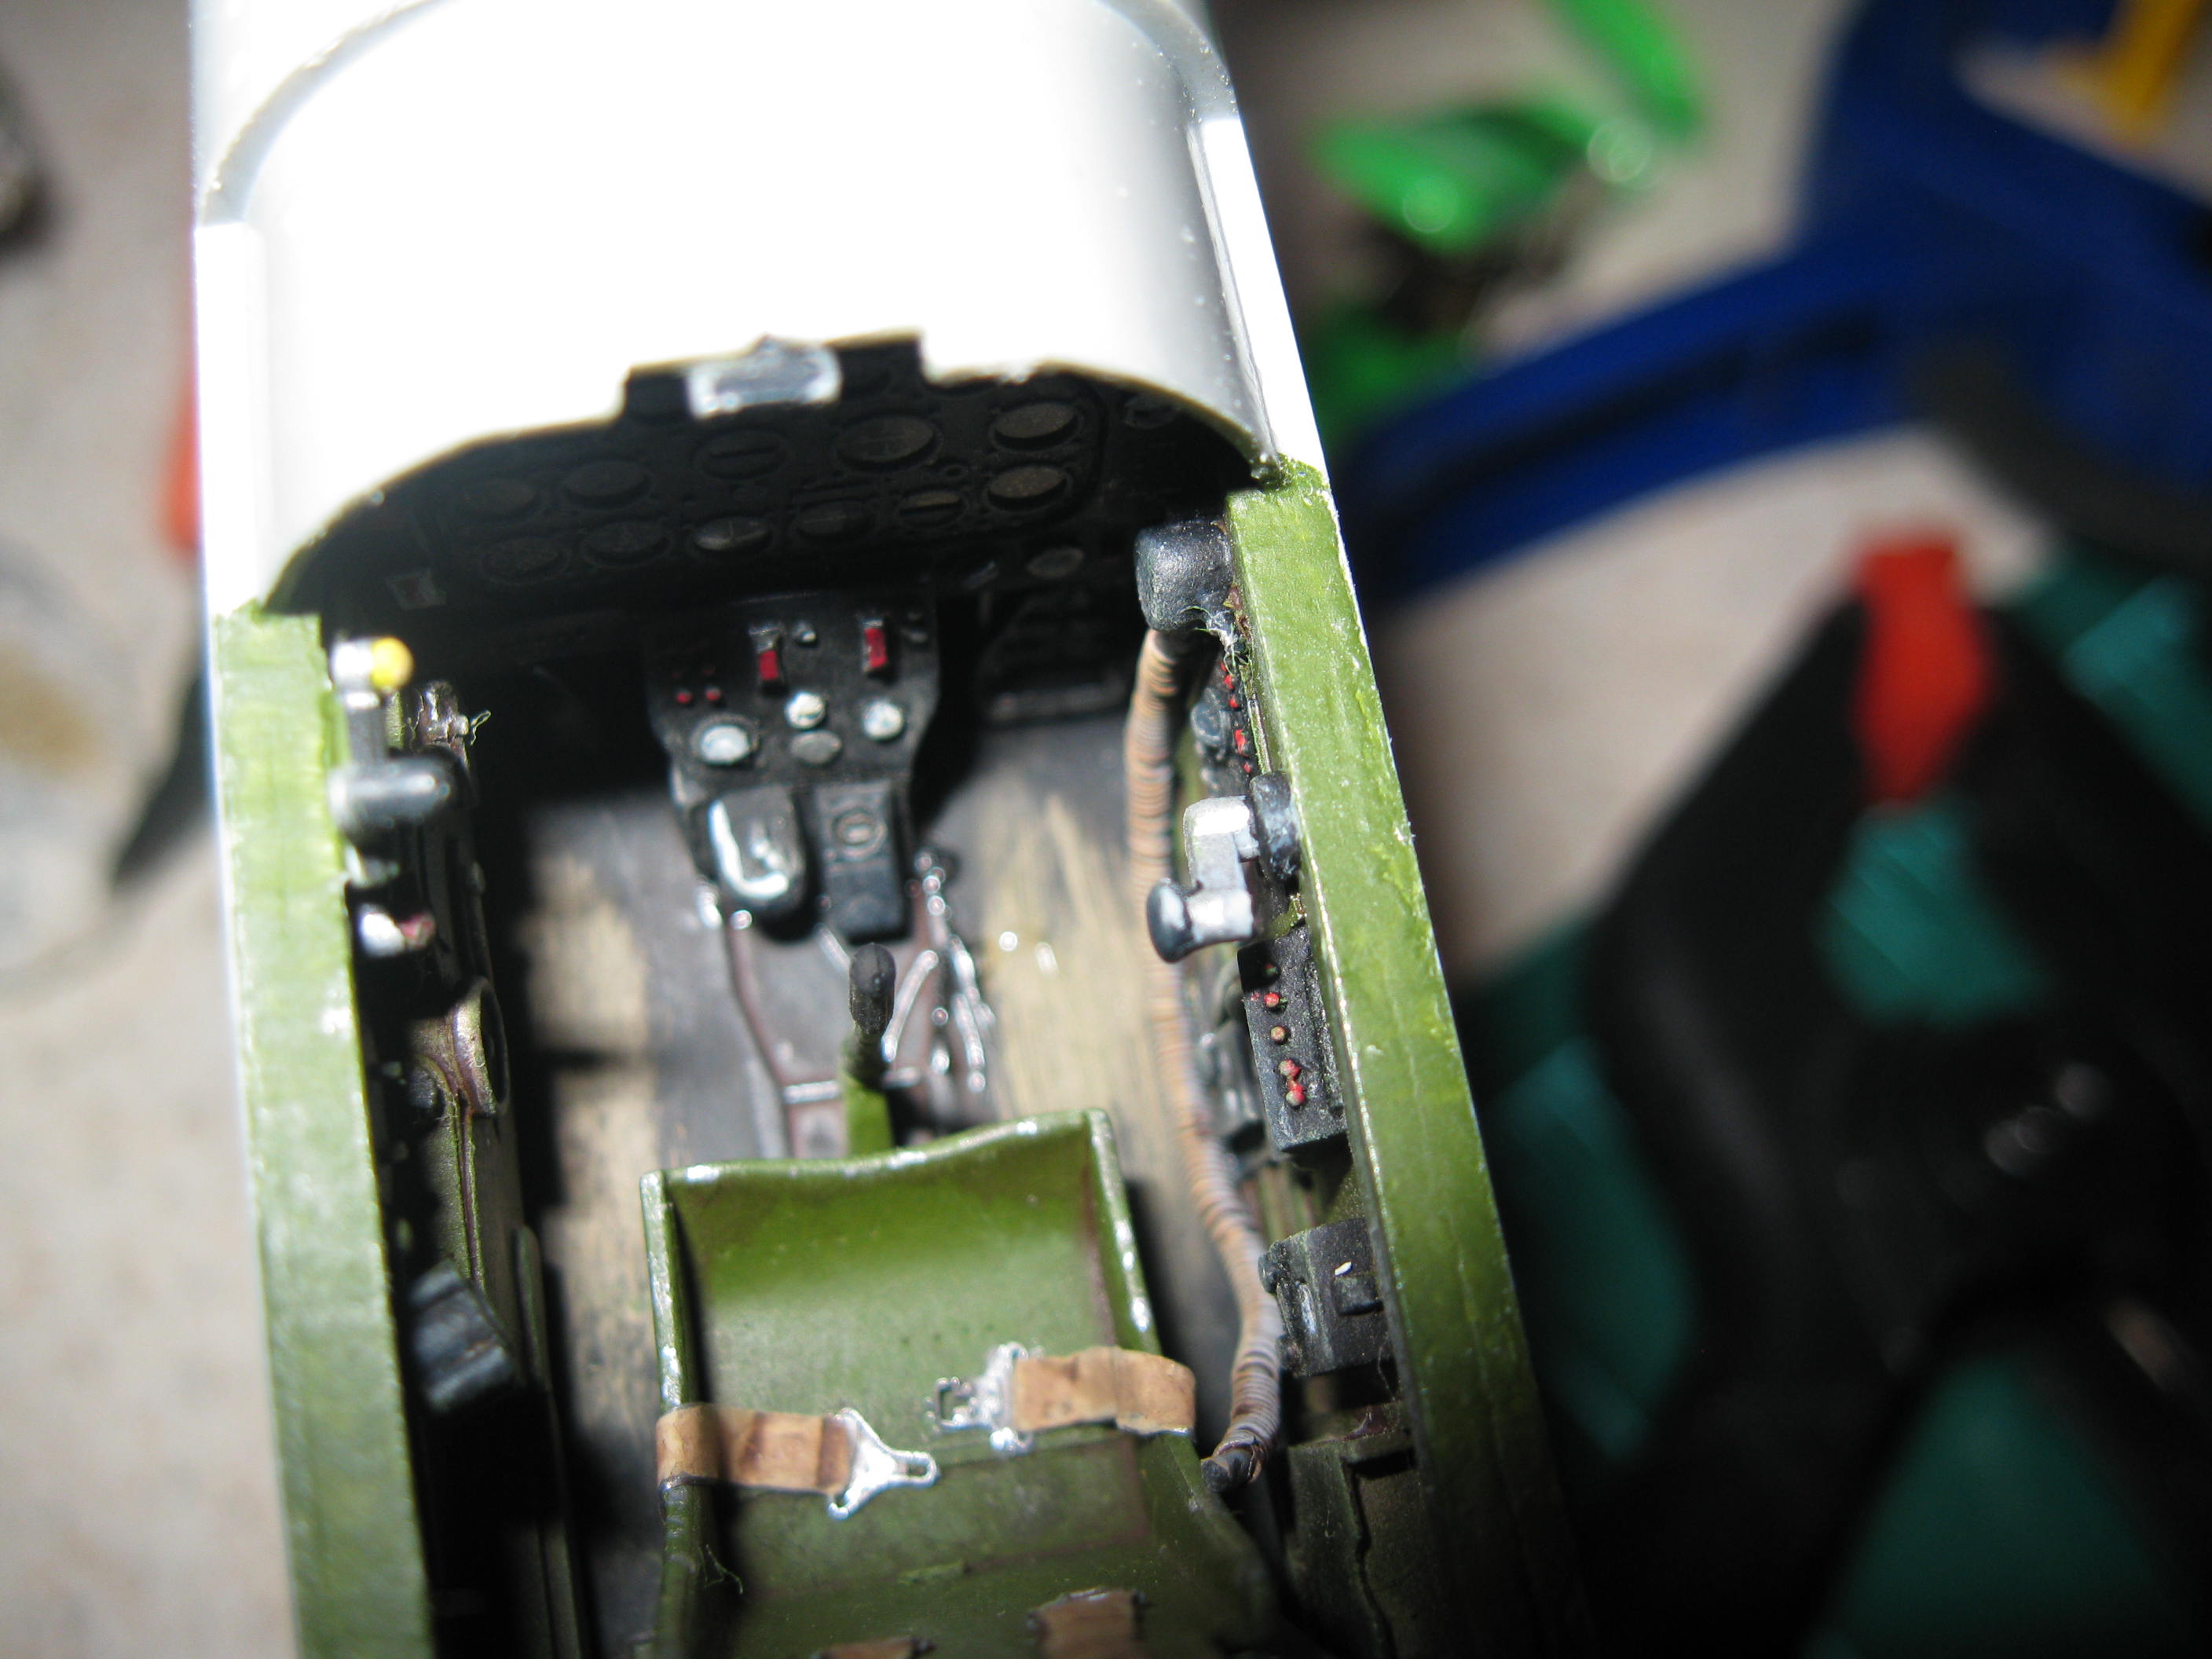
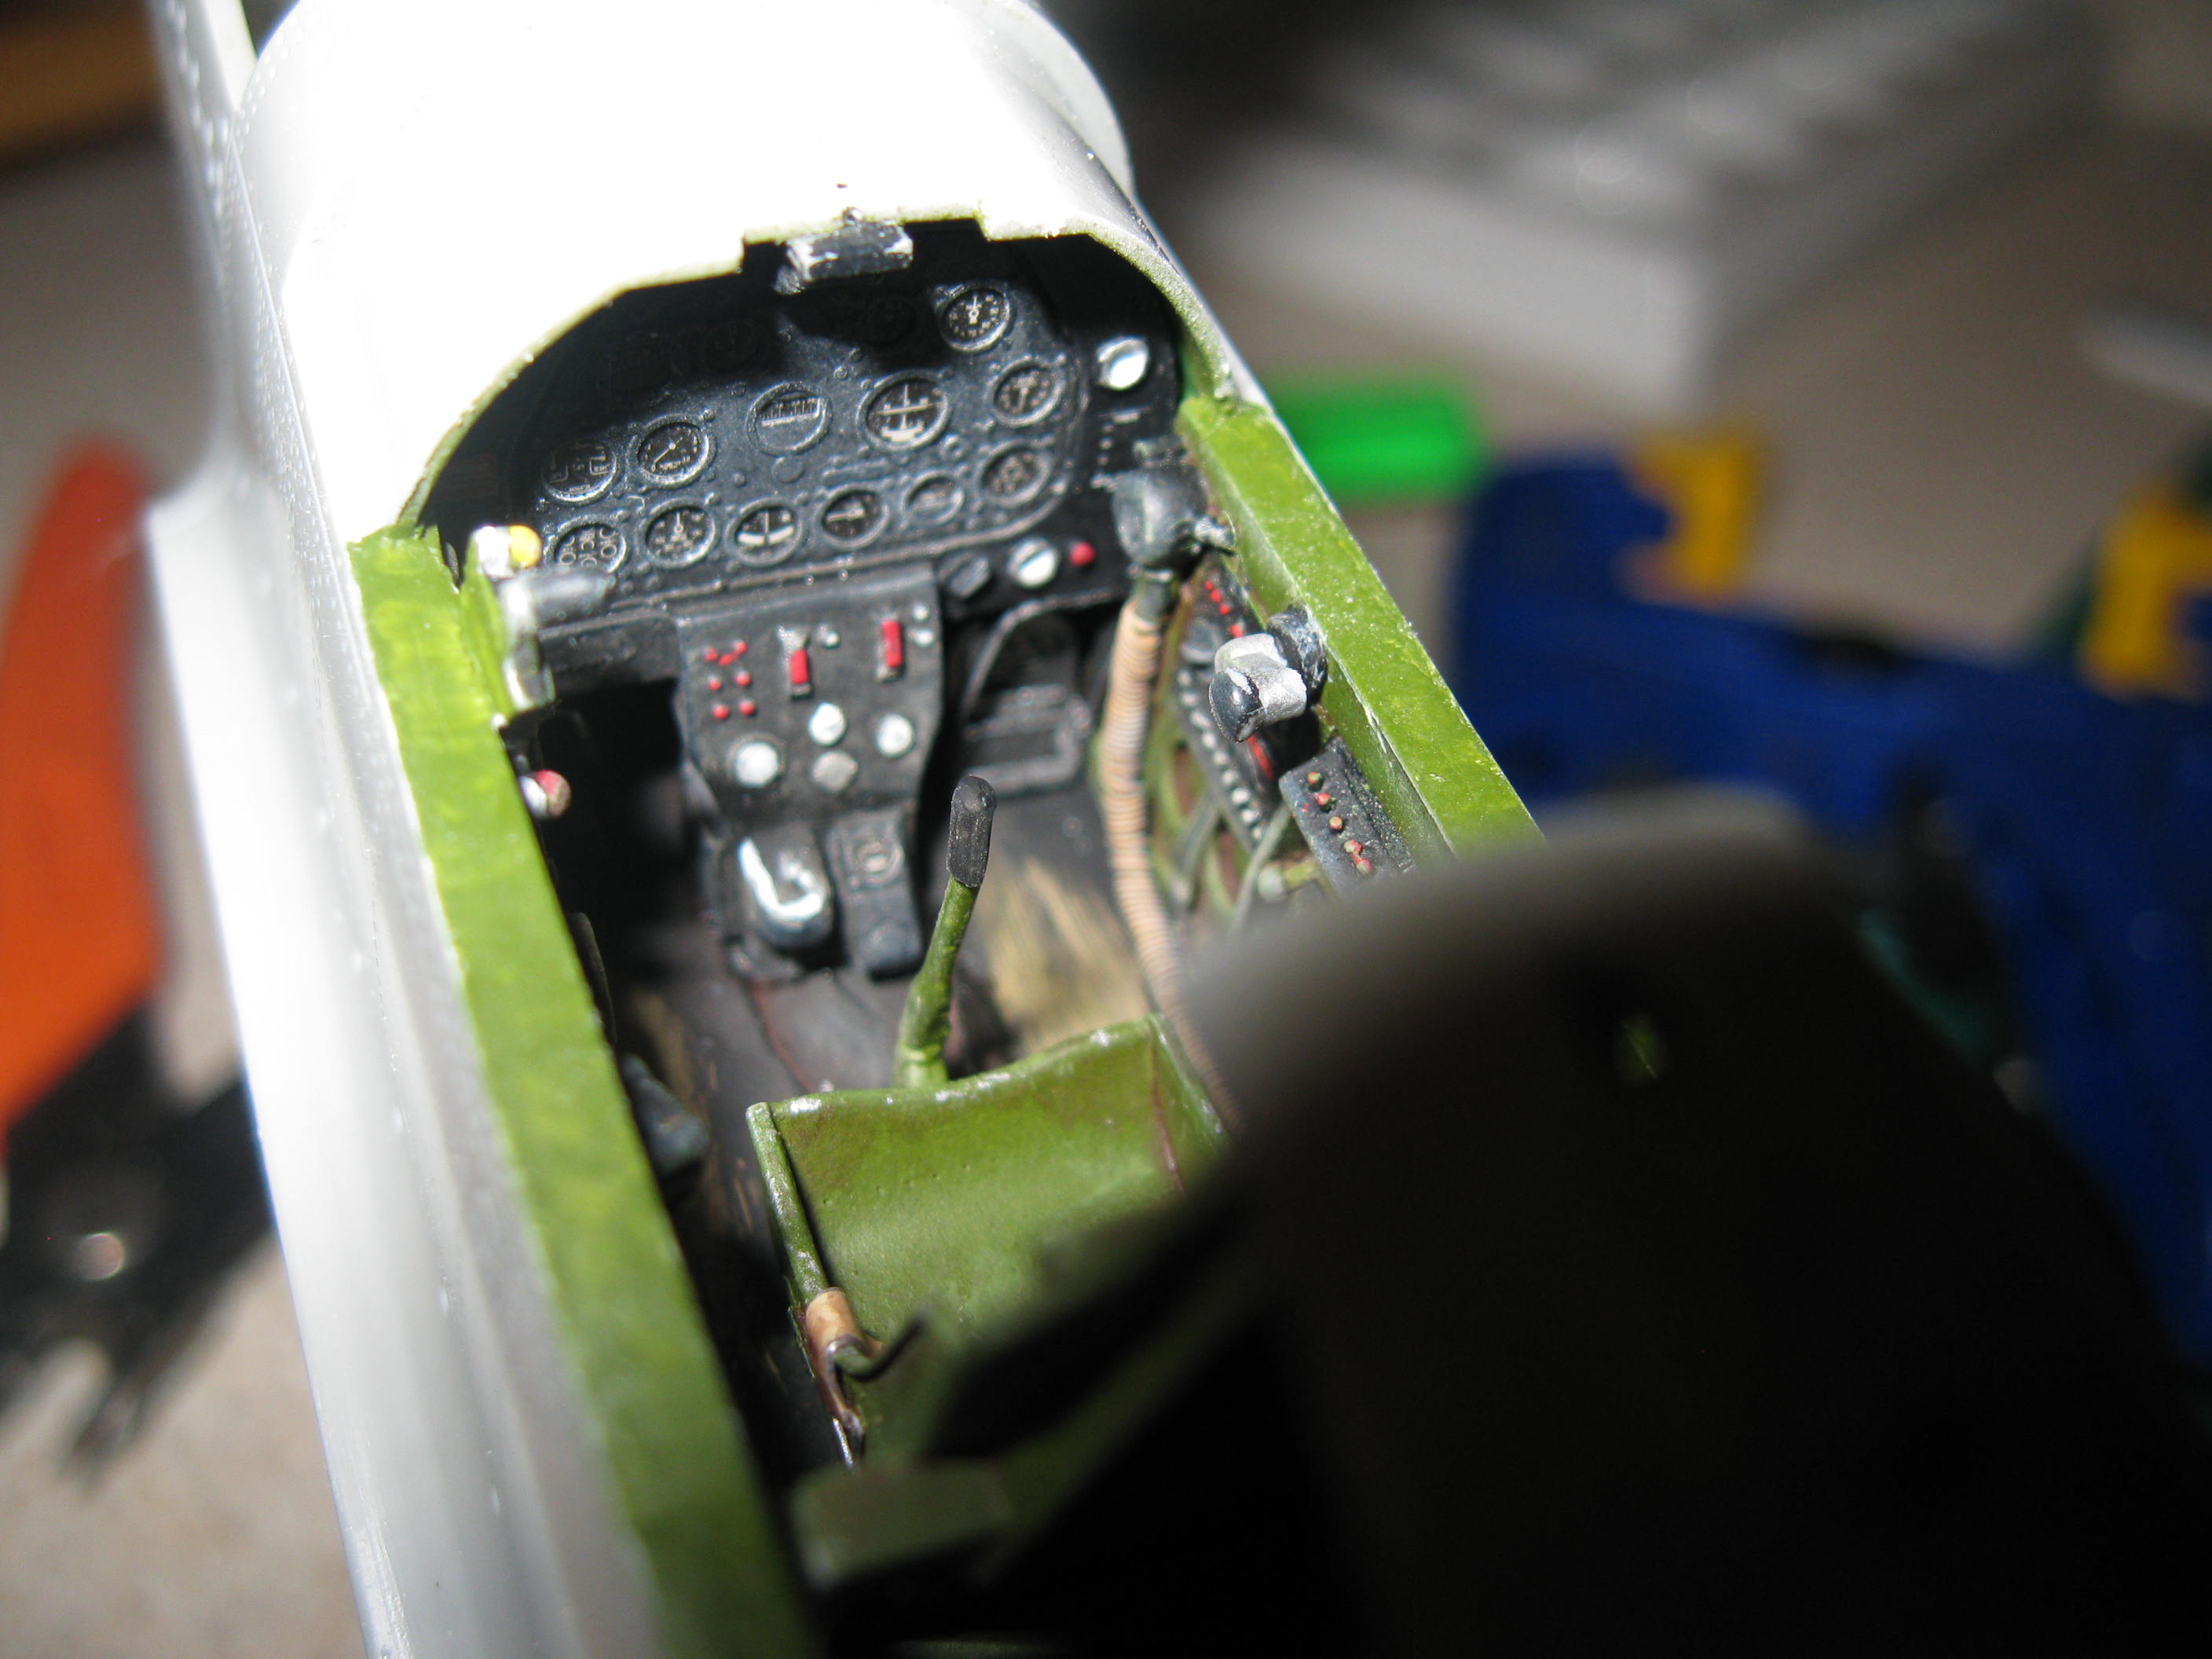
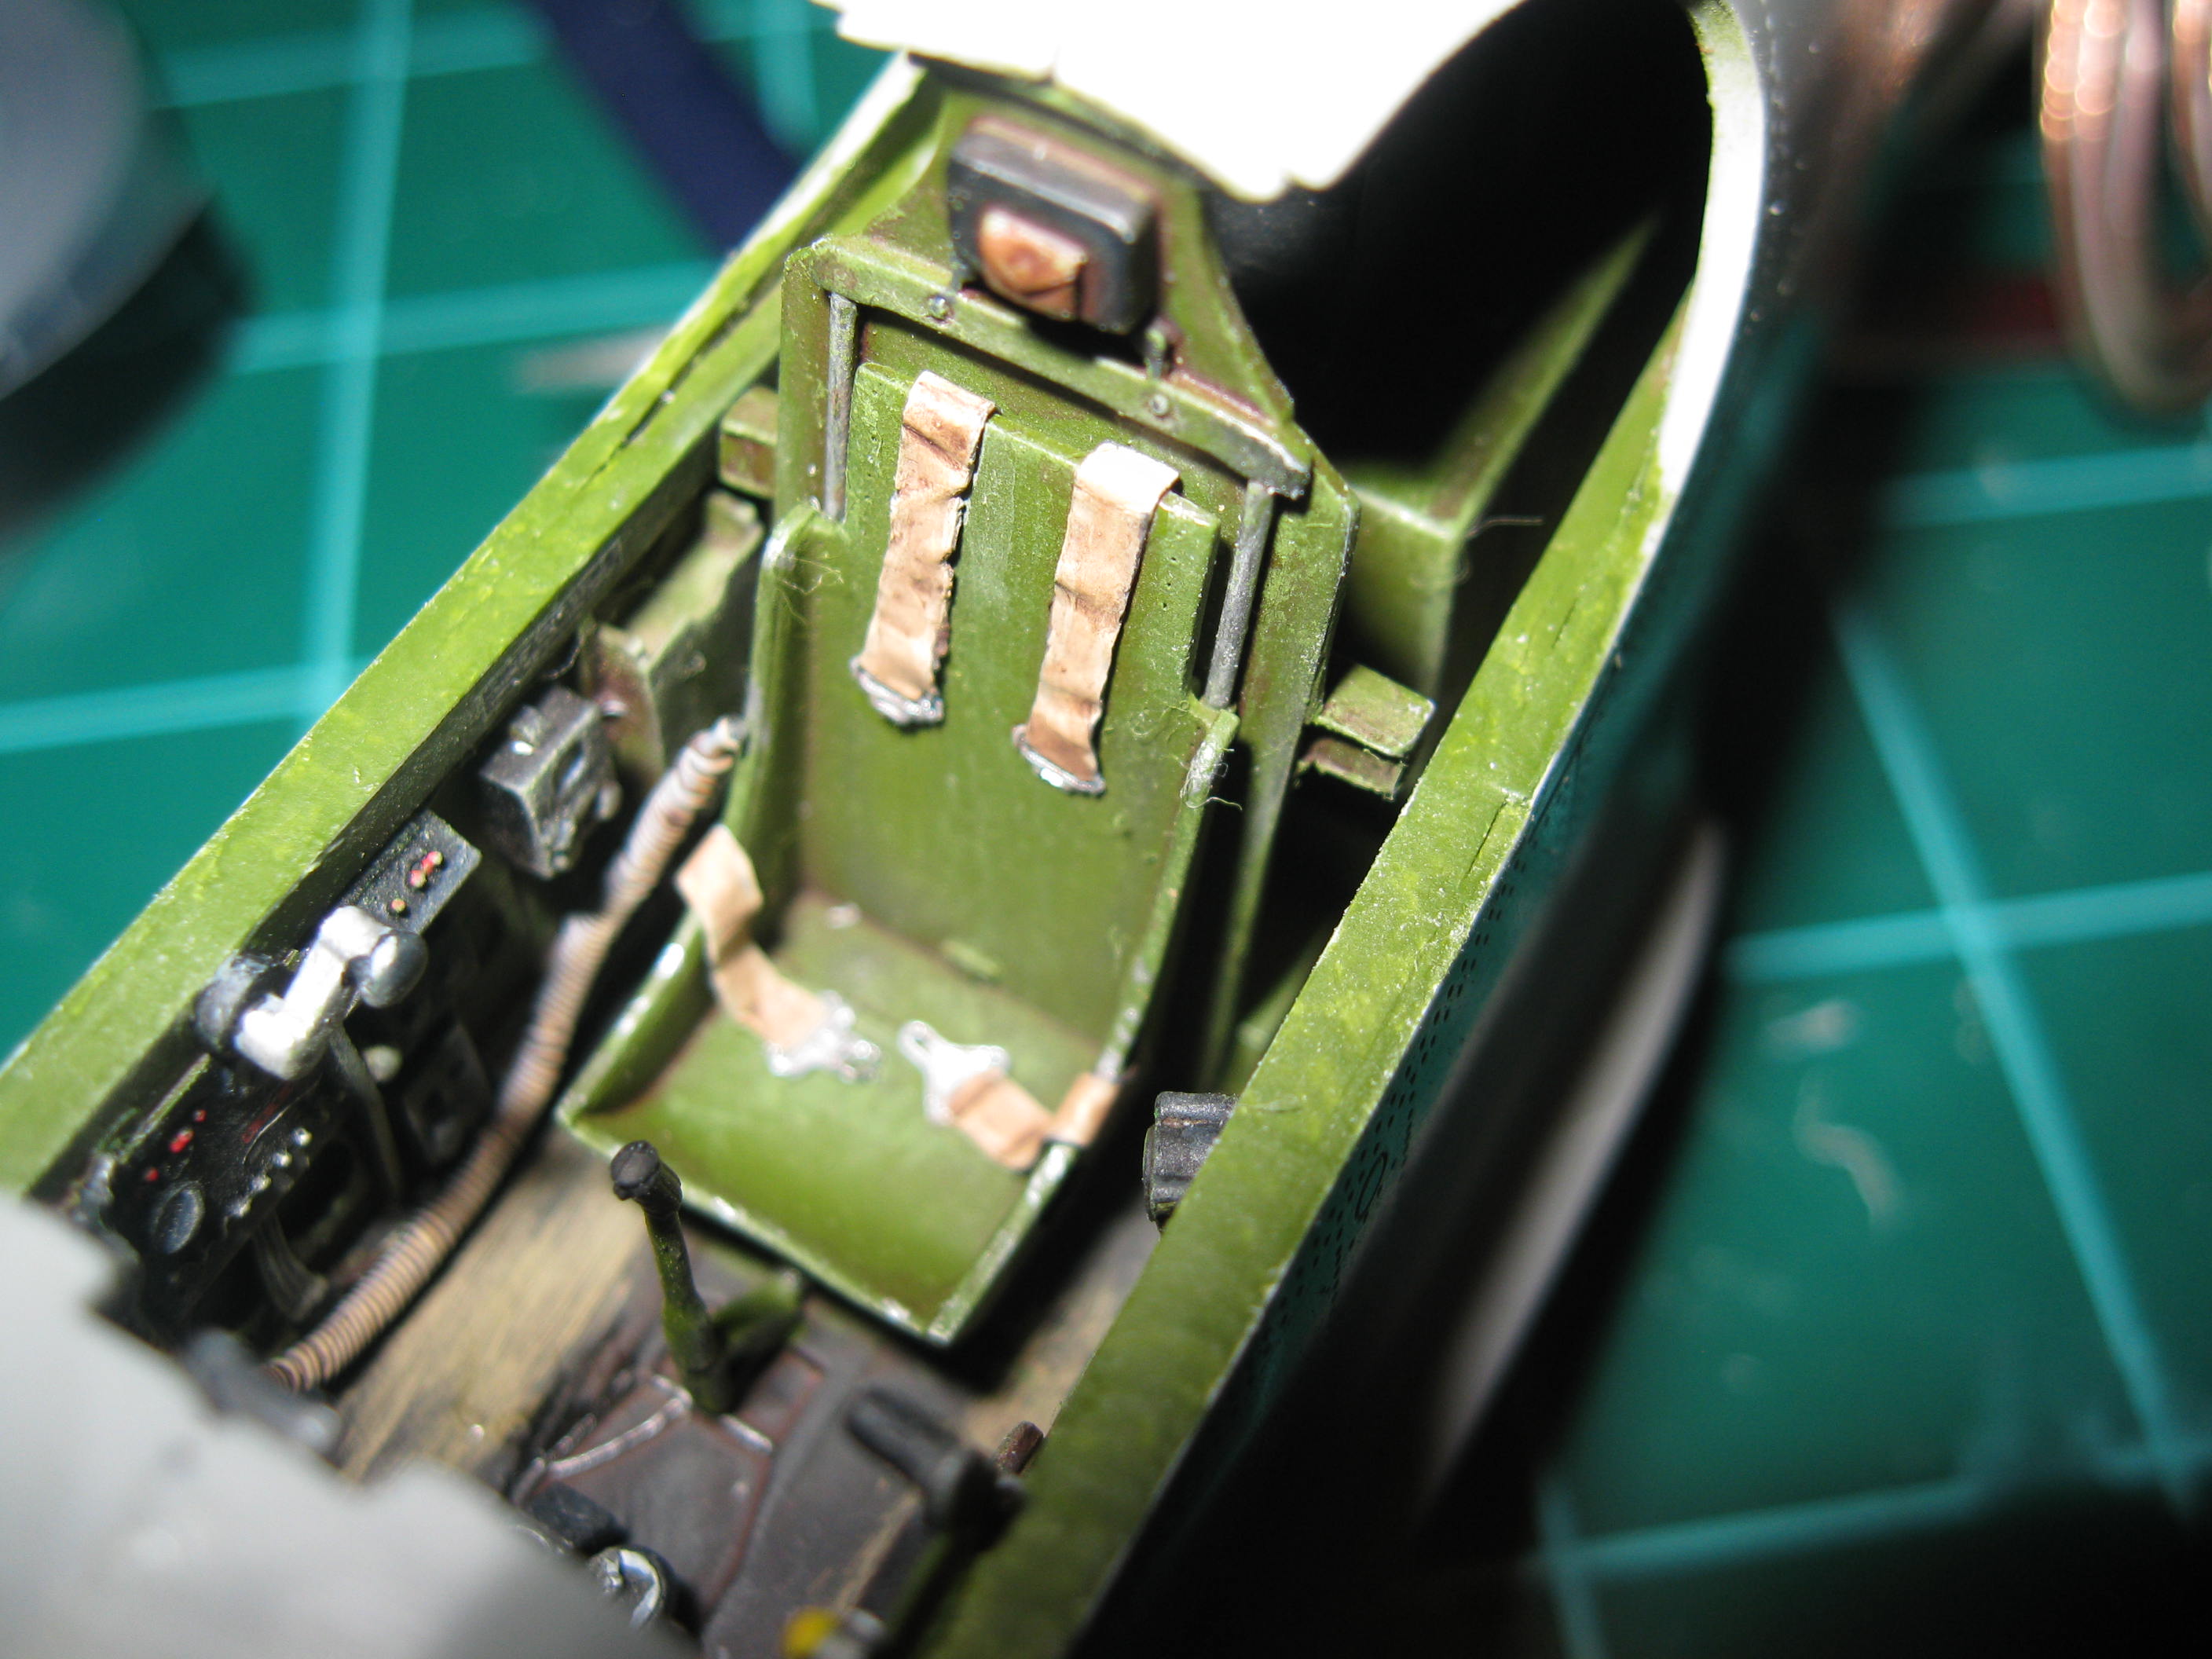
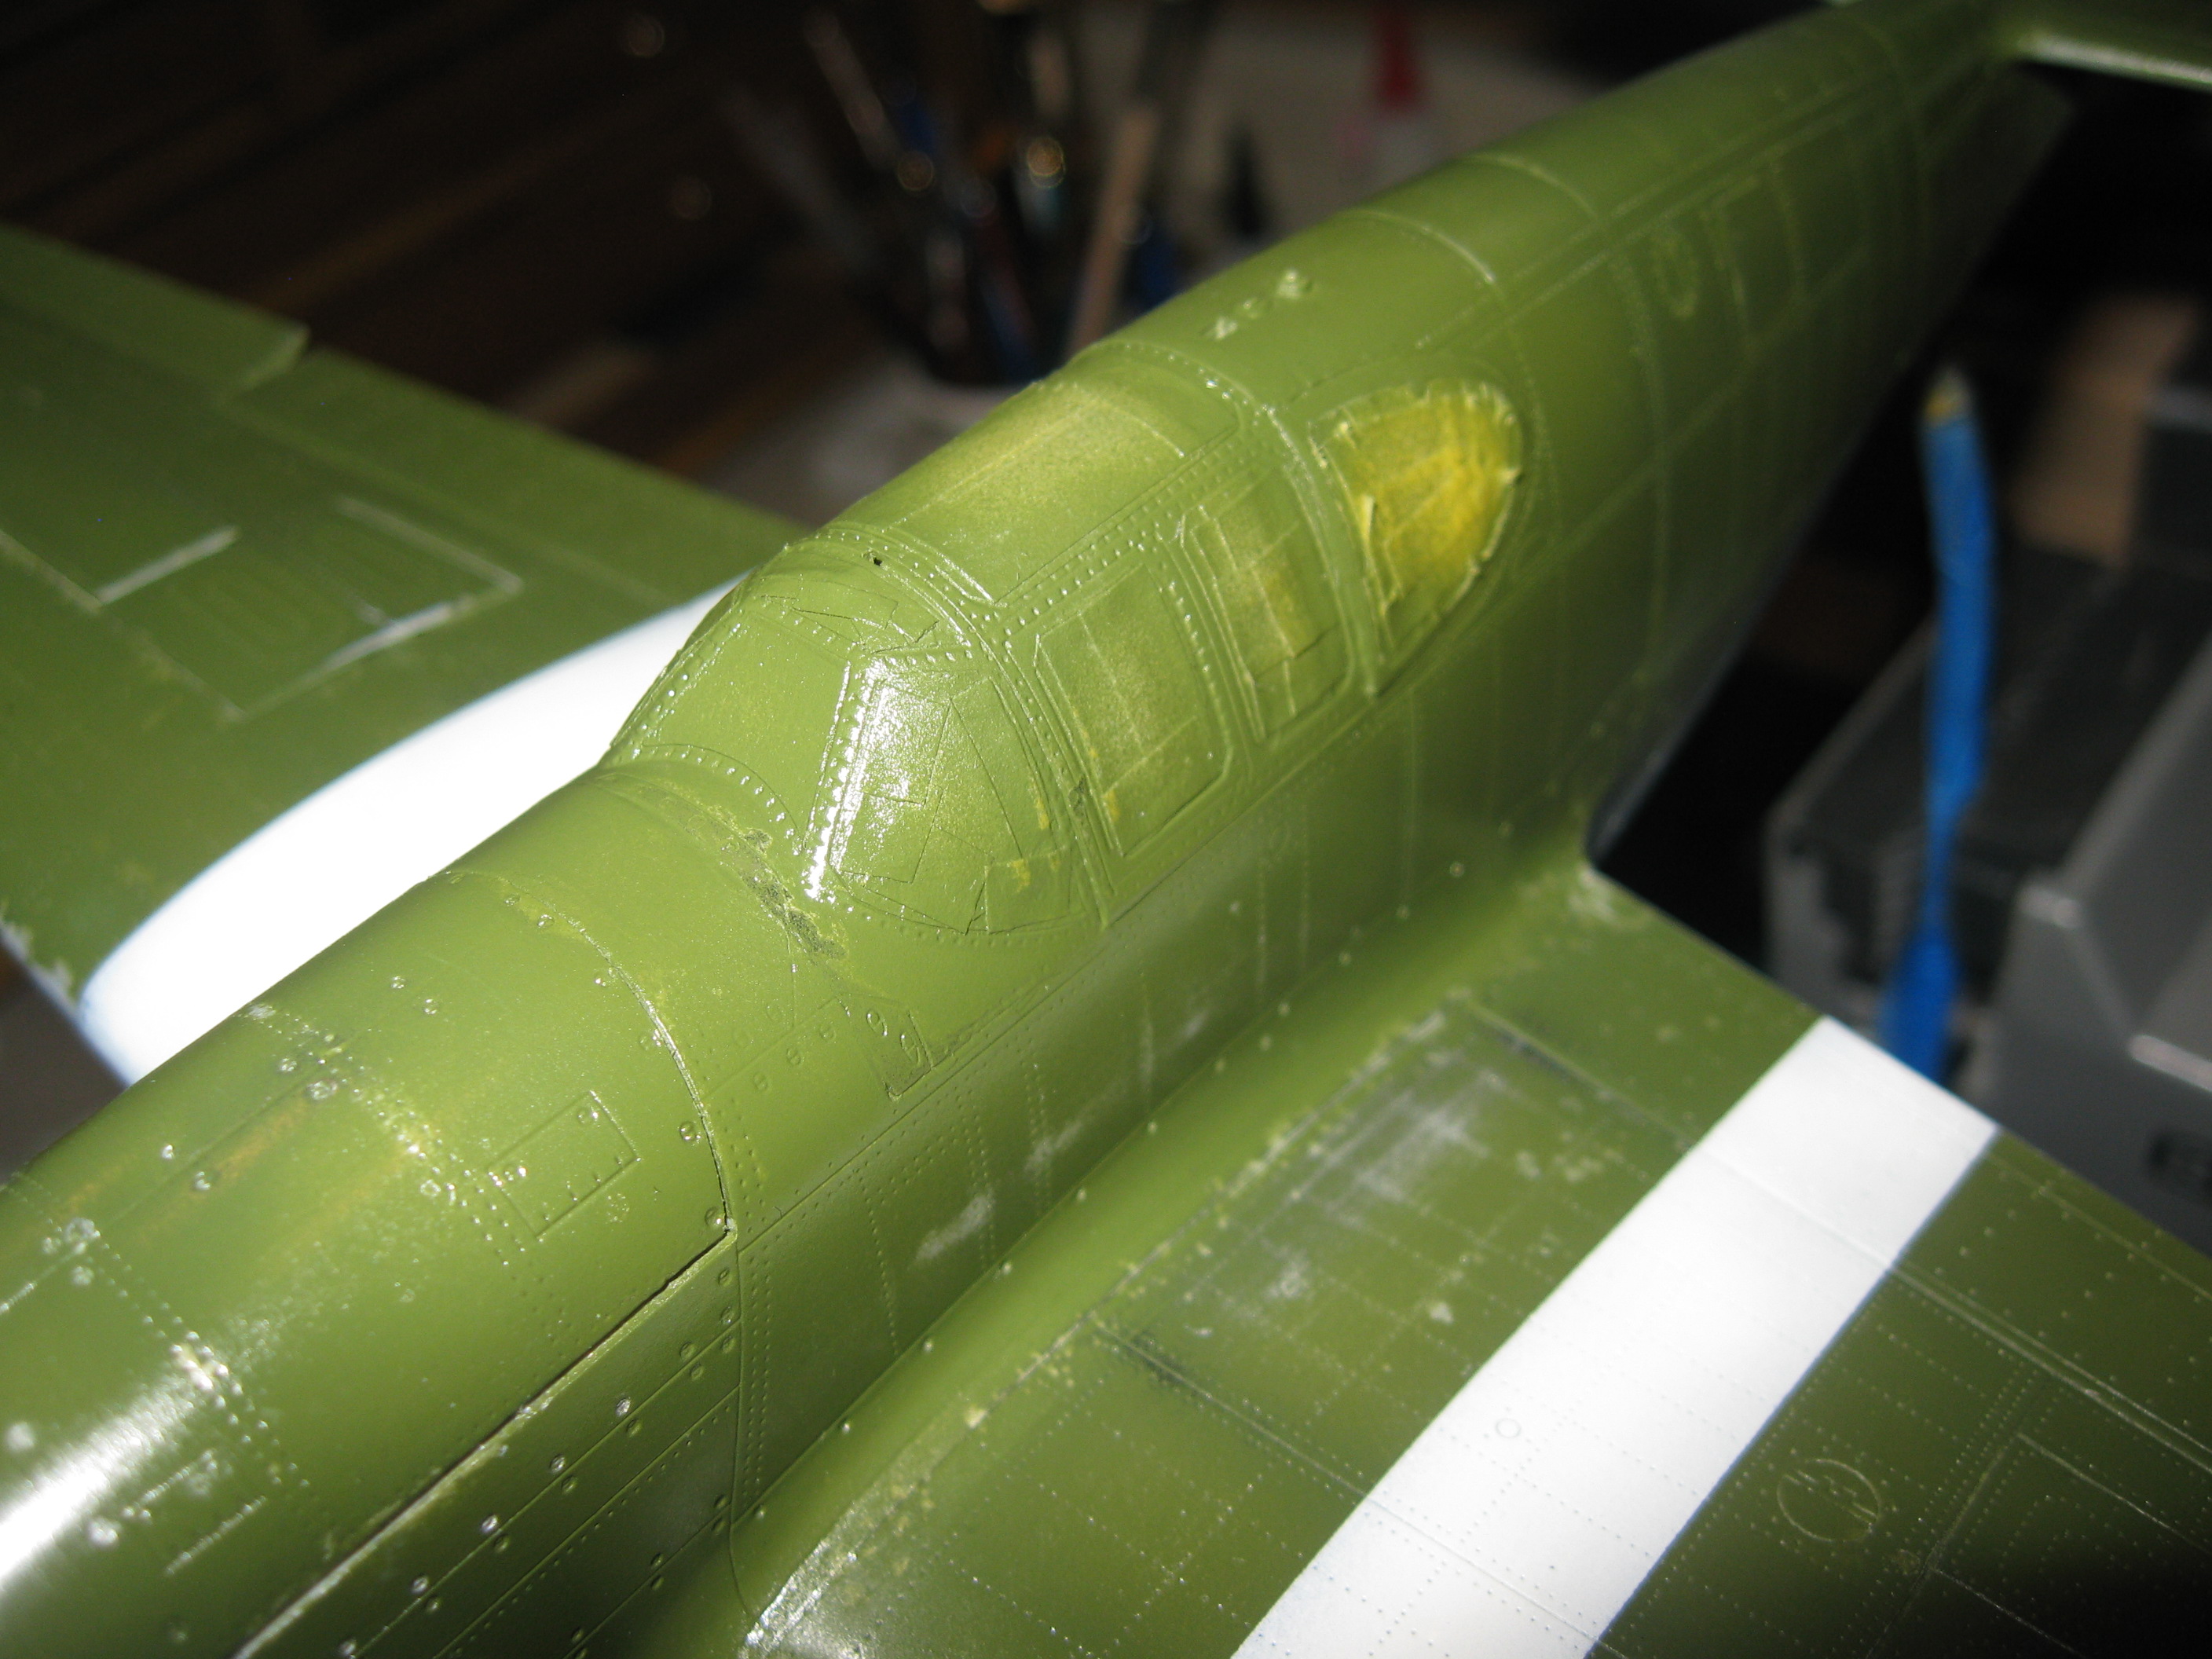
Here are a few more detail pics of the finished cockpit
assemblies. I have made the lead foil seat belts, glued in
the cockpit side panels and finished the instrument panel.(Nov
13, 2011)
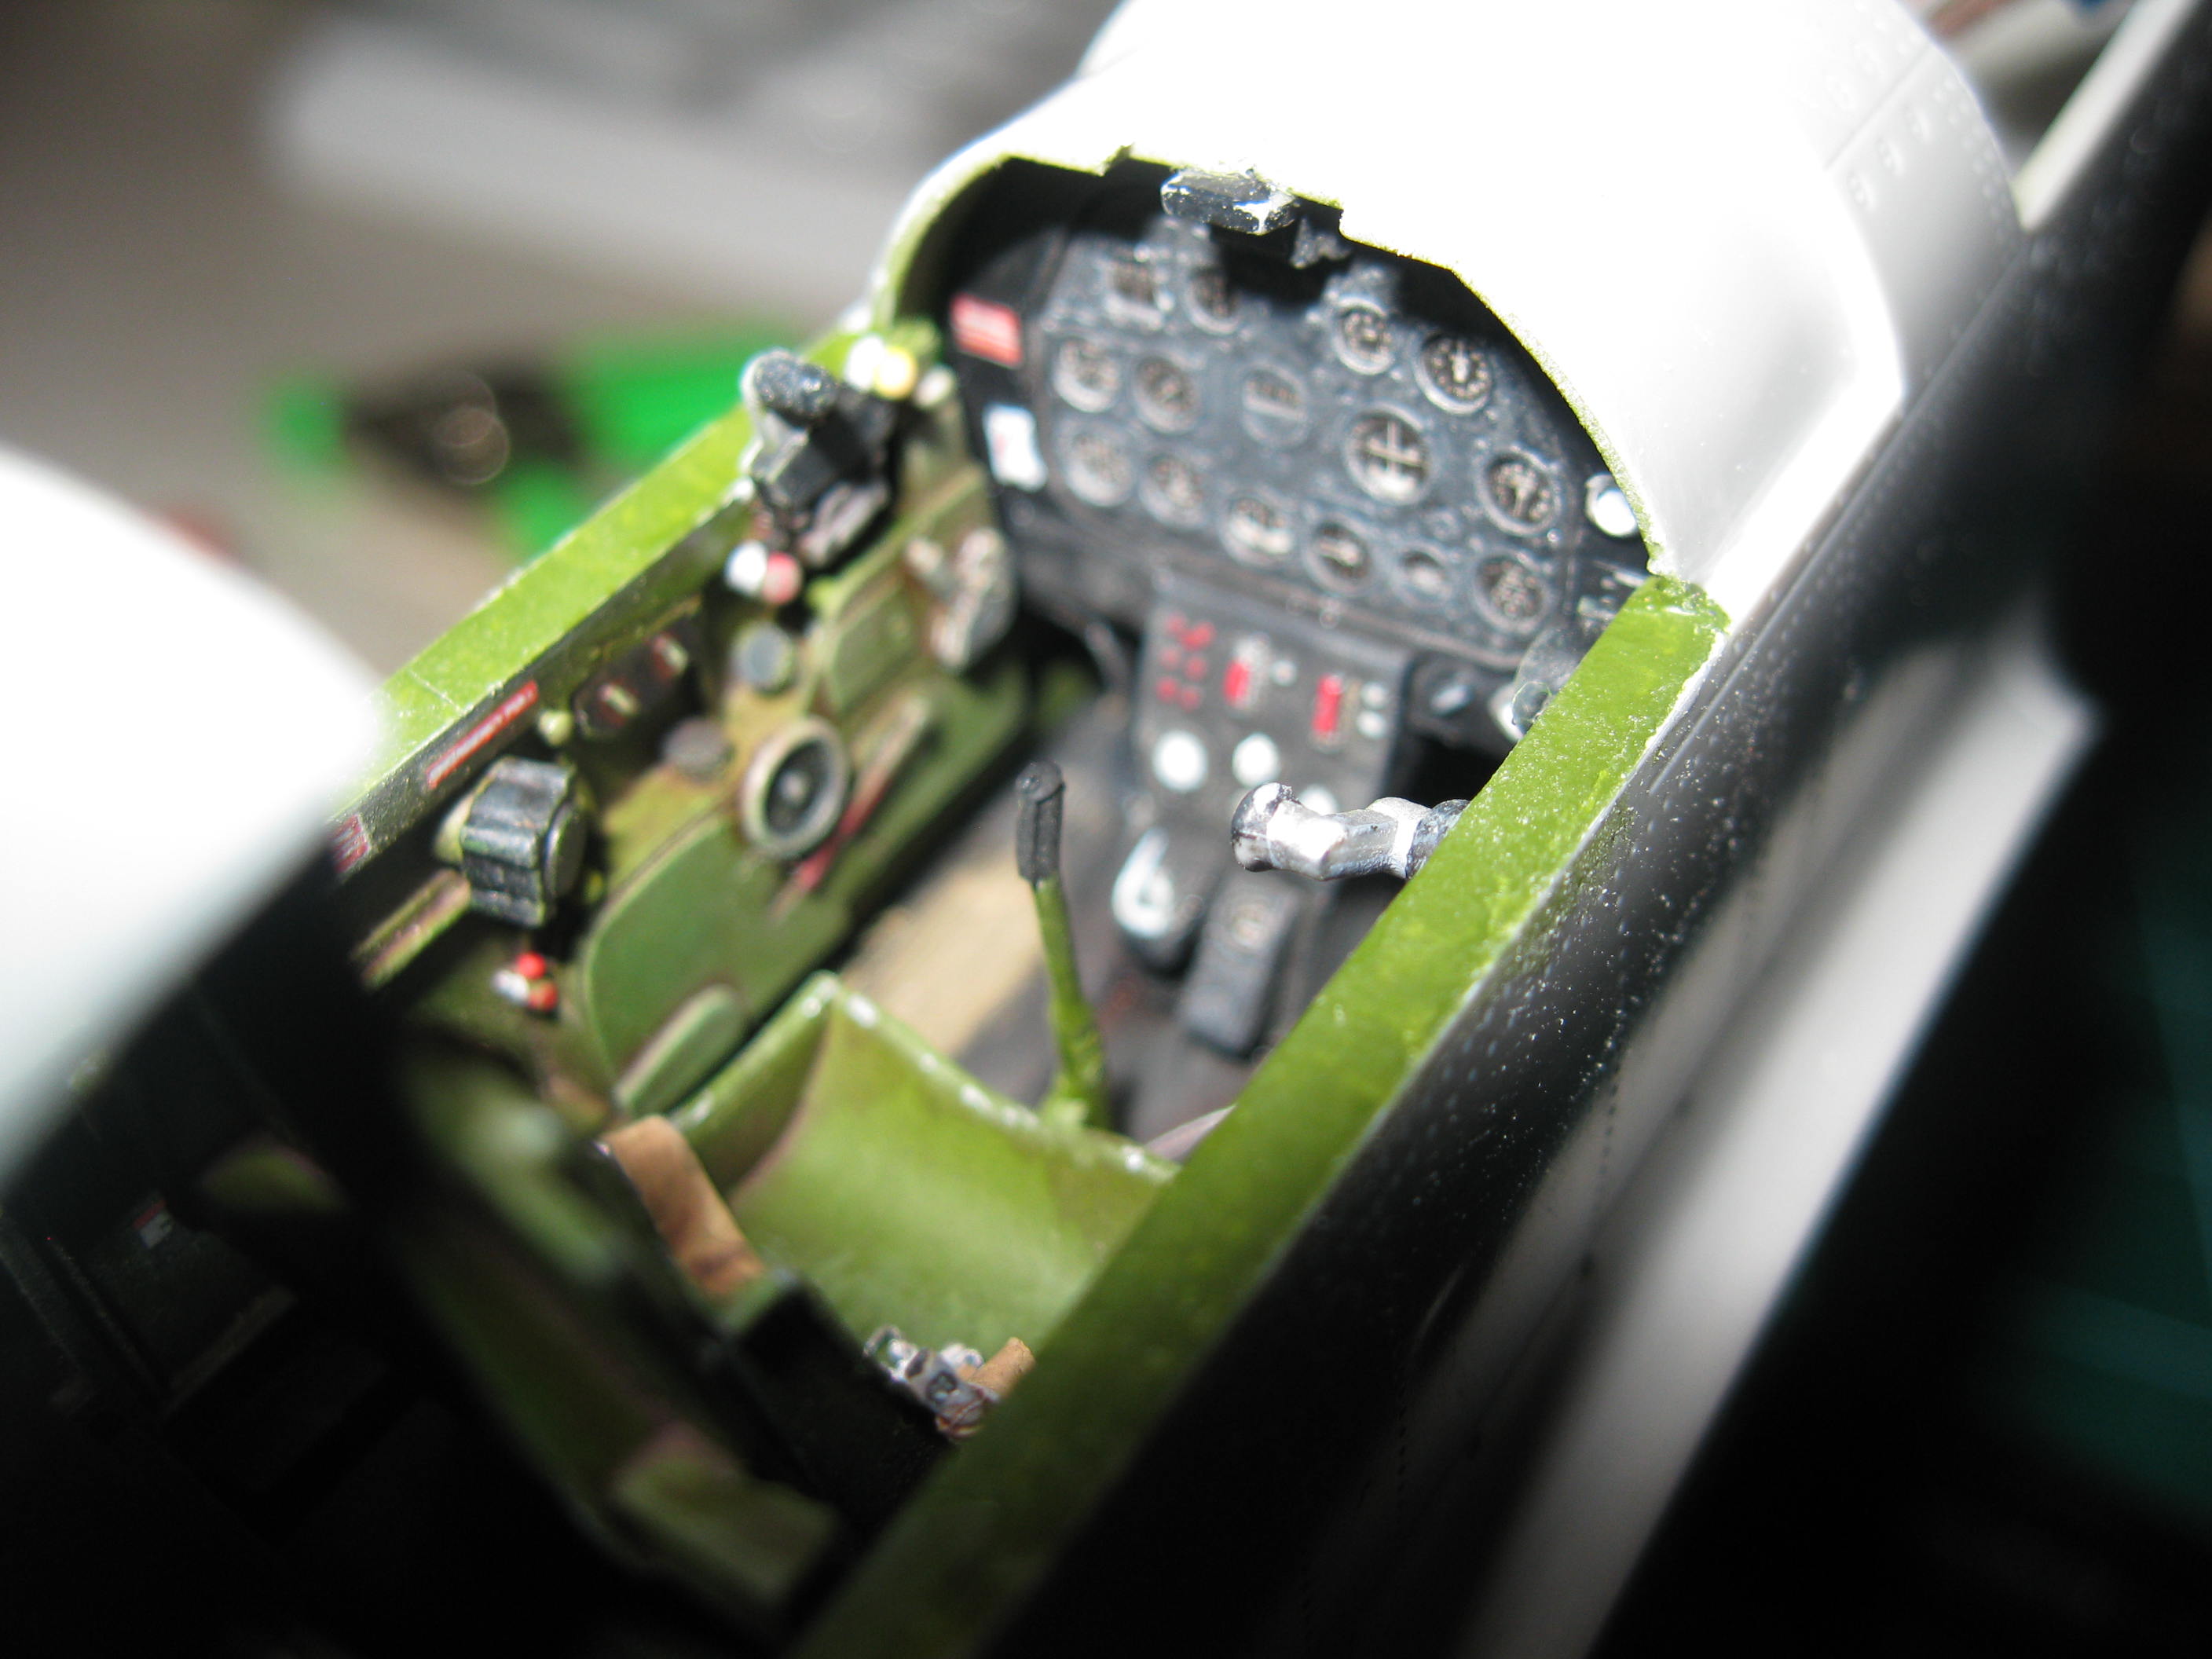
And finally in place with the fuselage halves glued
together. It was hard to get a good picture with my
camera. I forgot to take a picture of everything in place
before I closed the fuselage halves.
(Dec 3, 2011)
      |
|
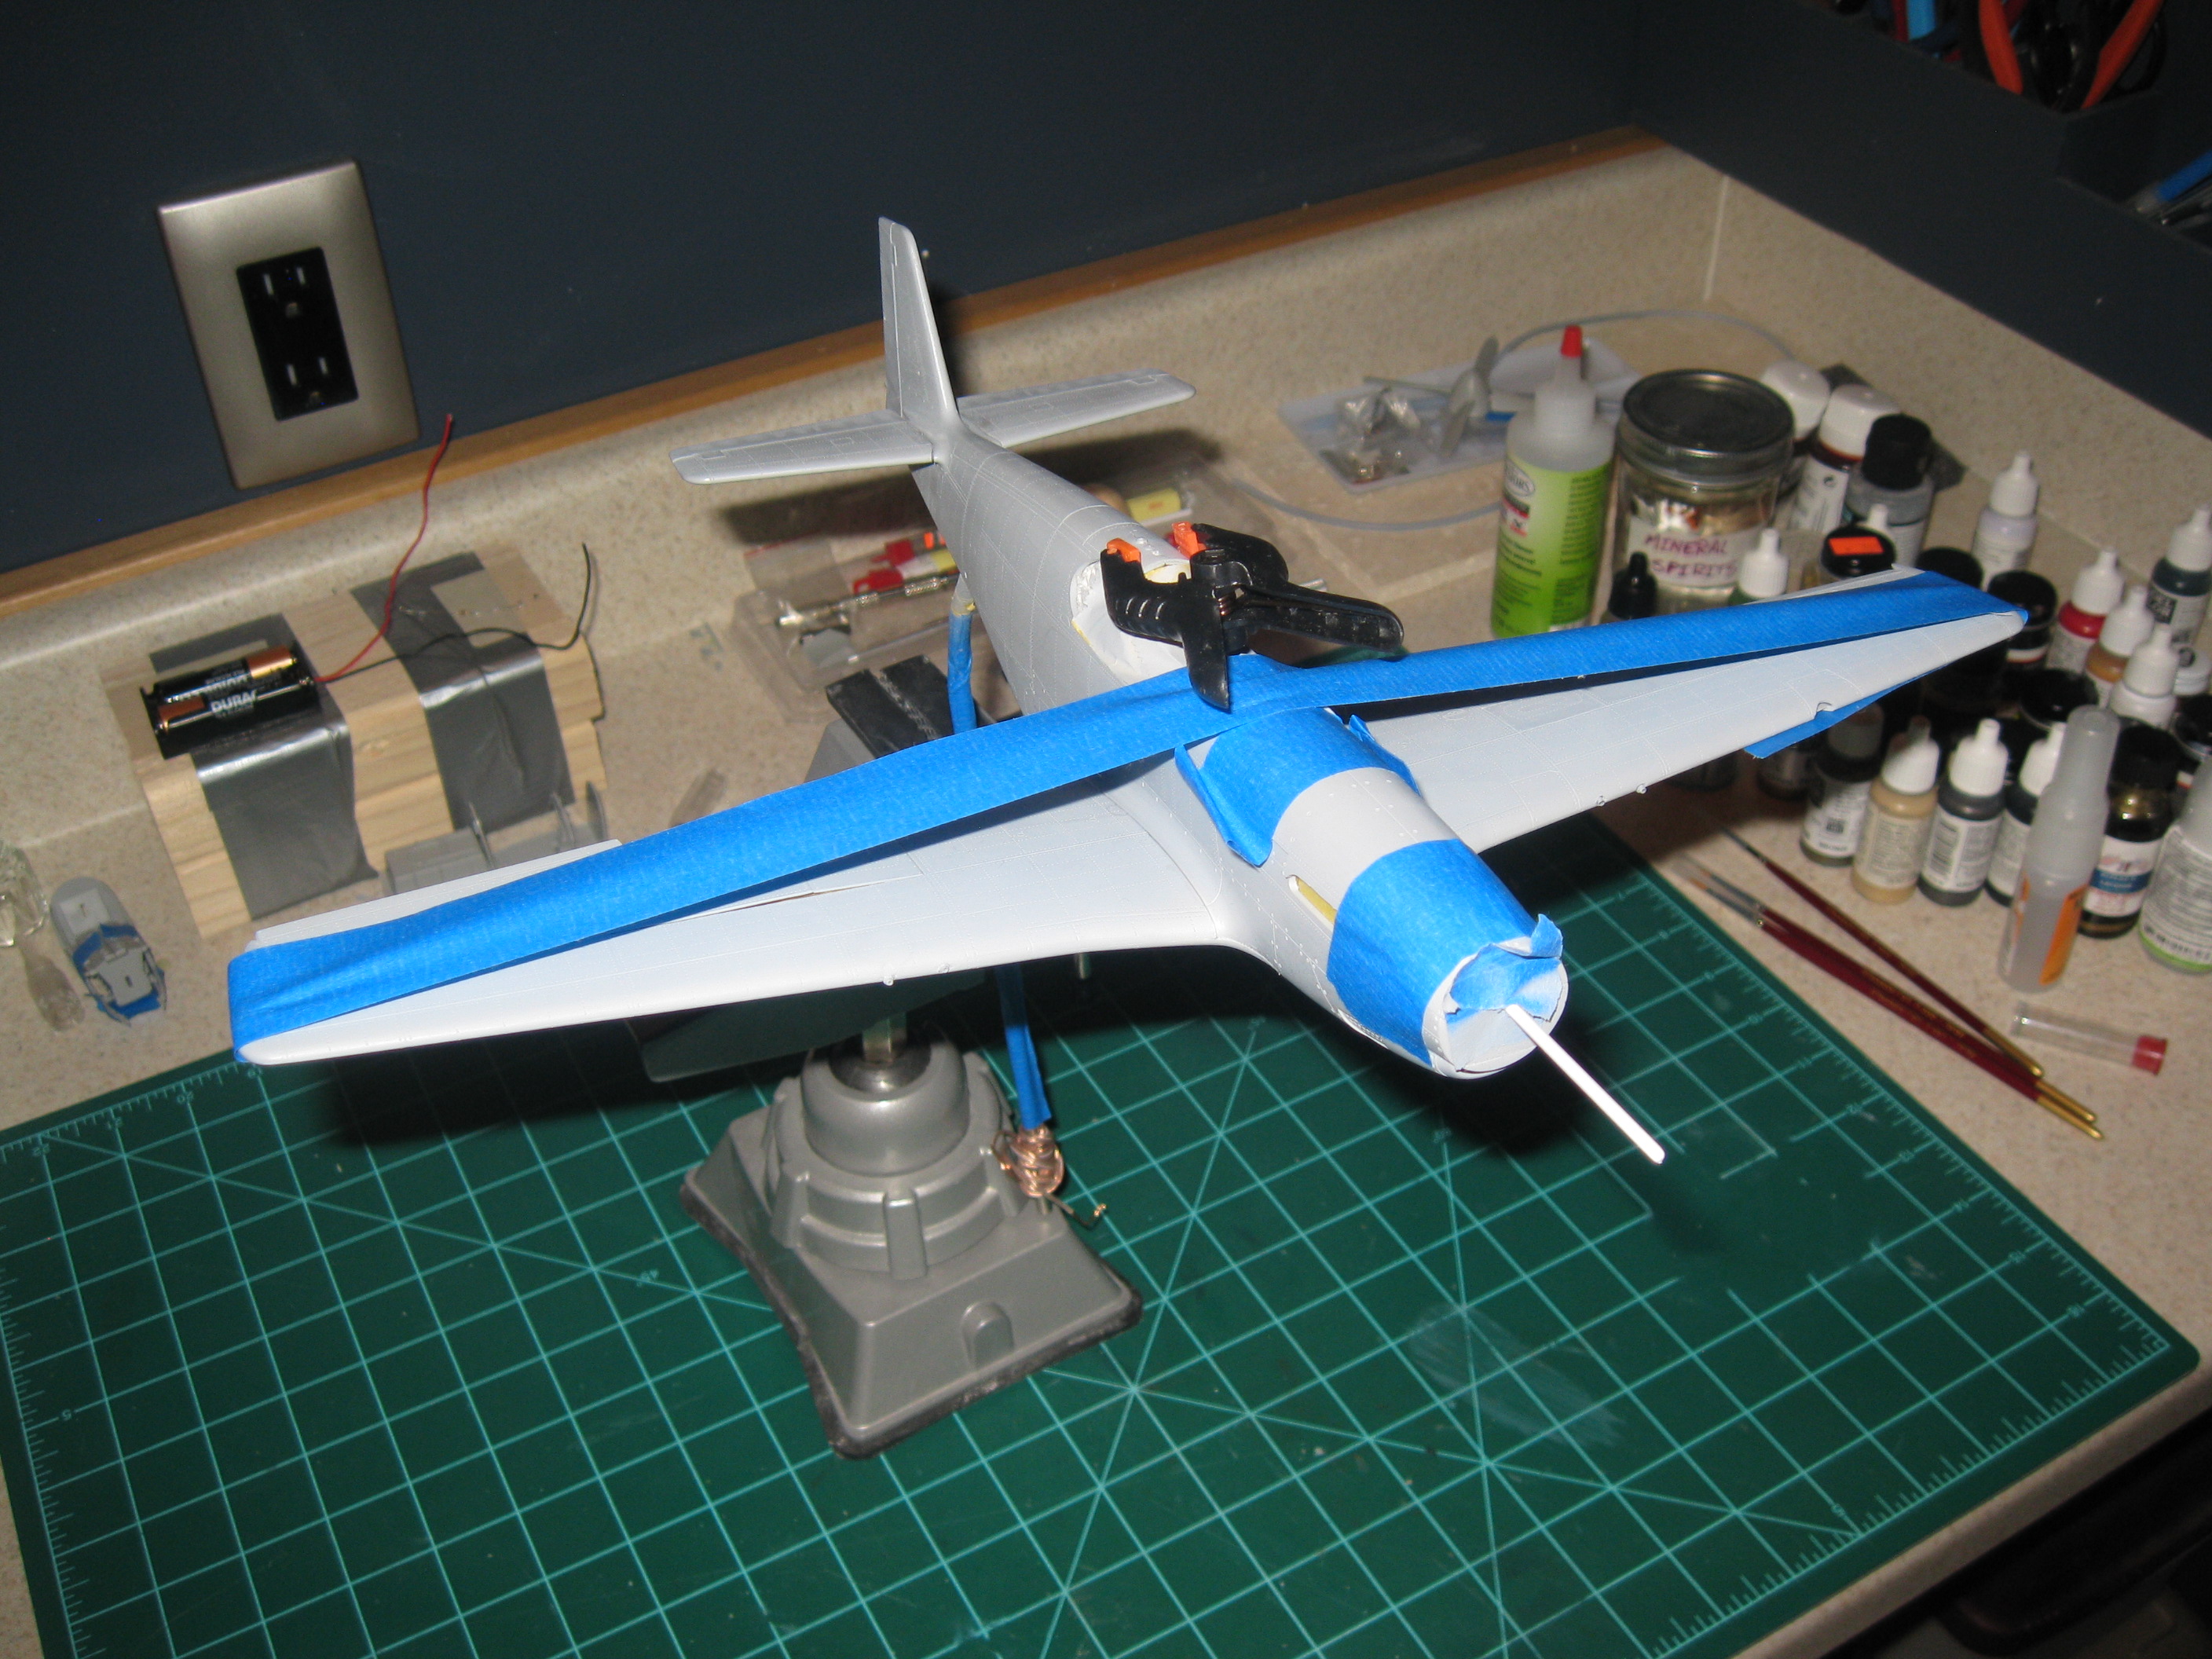
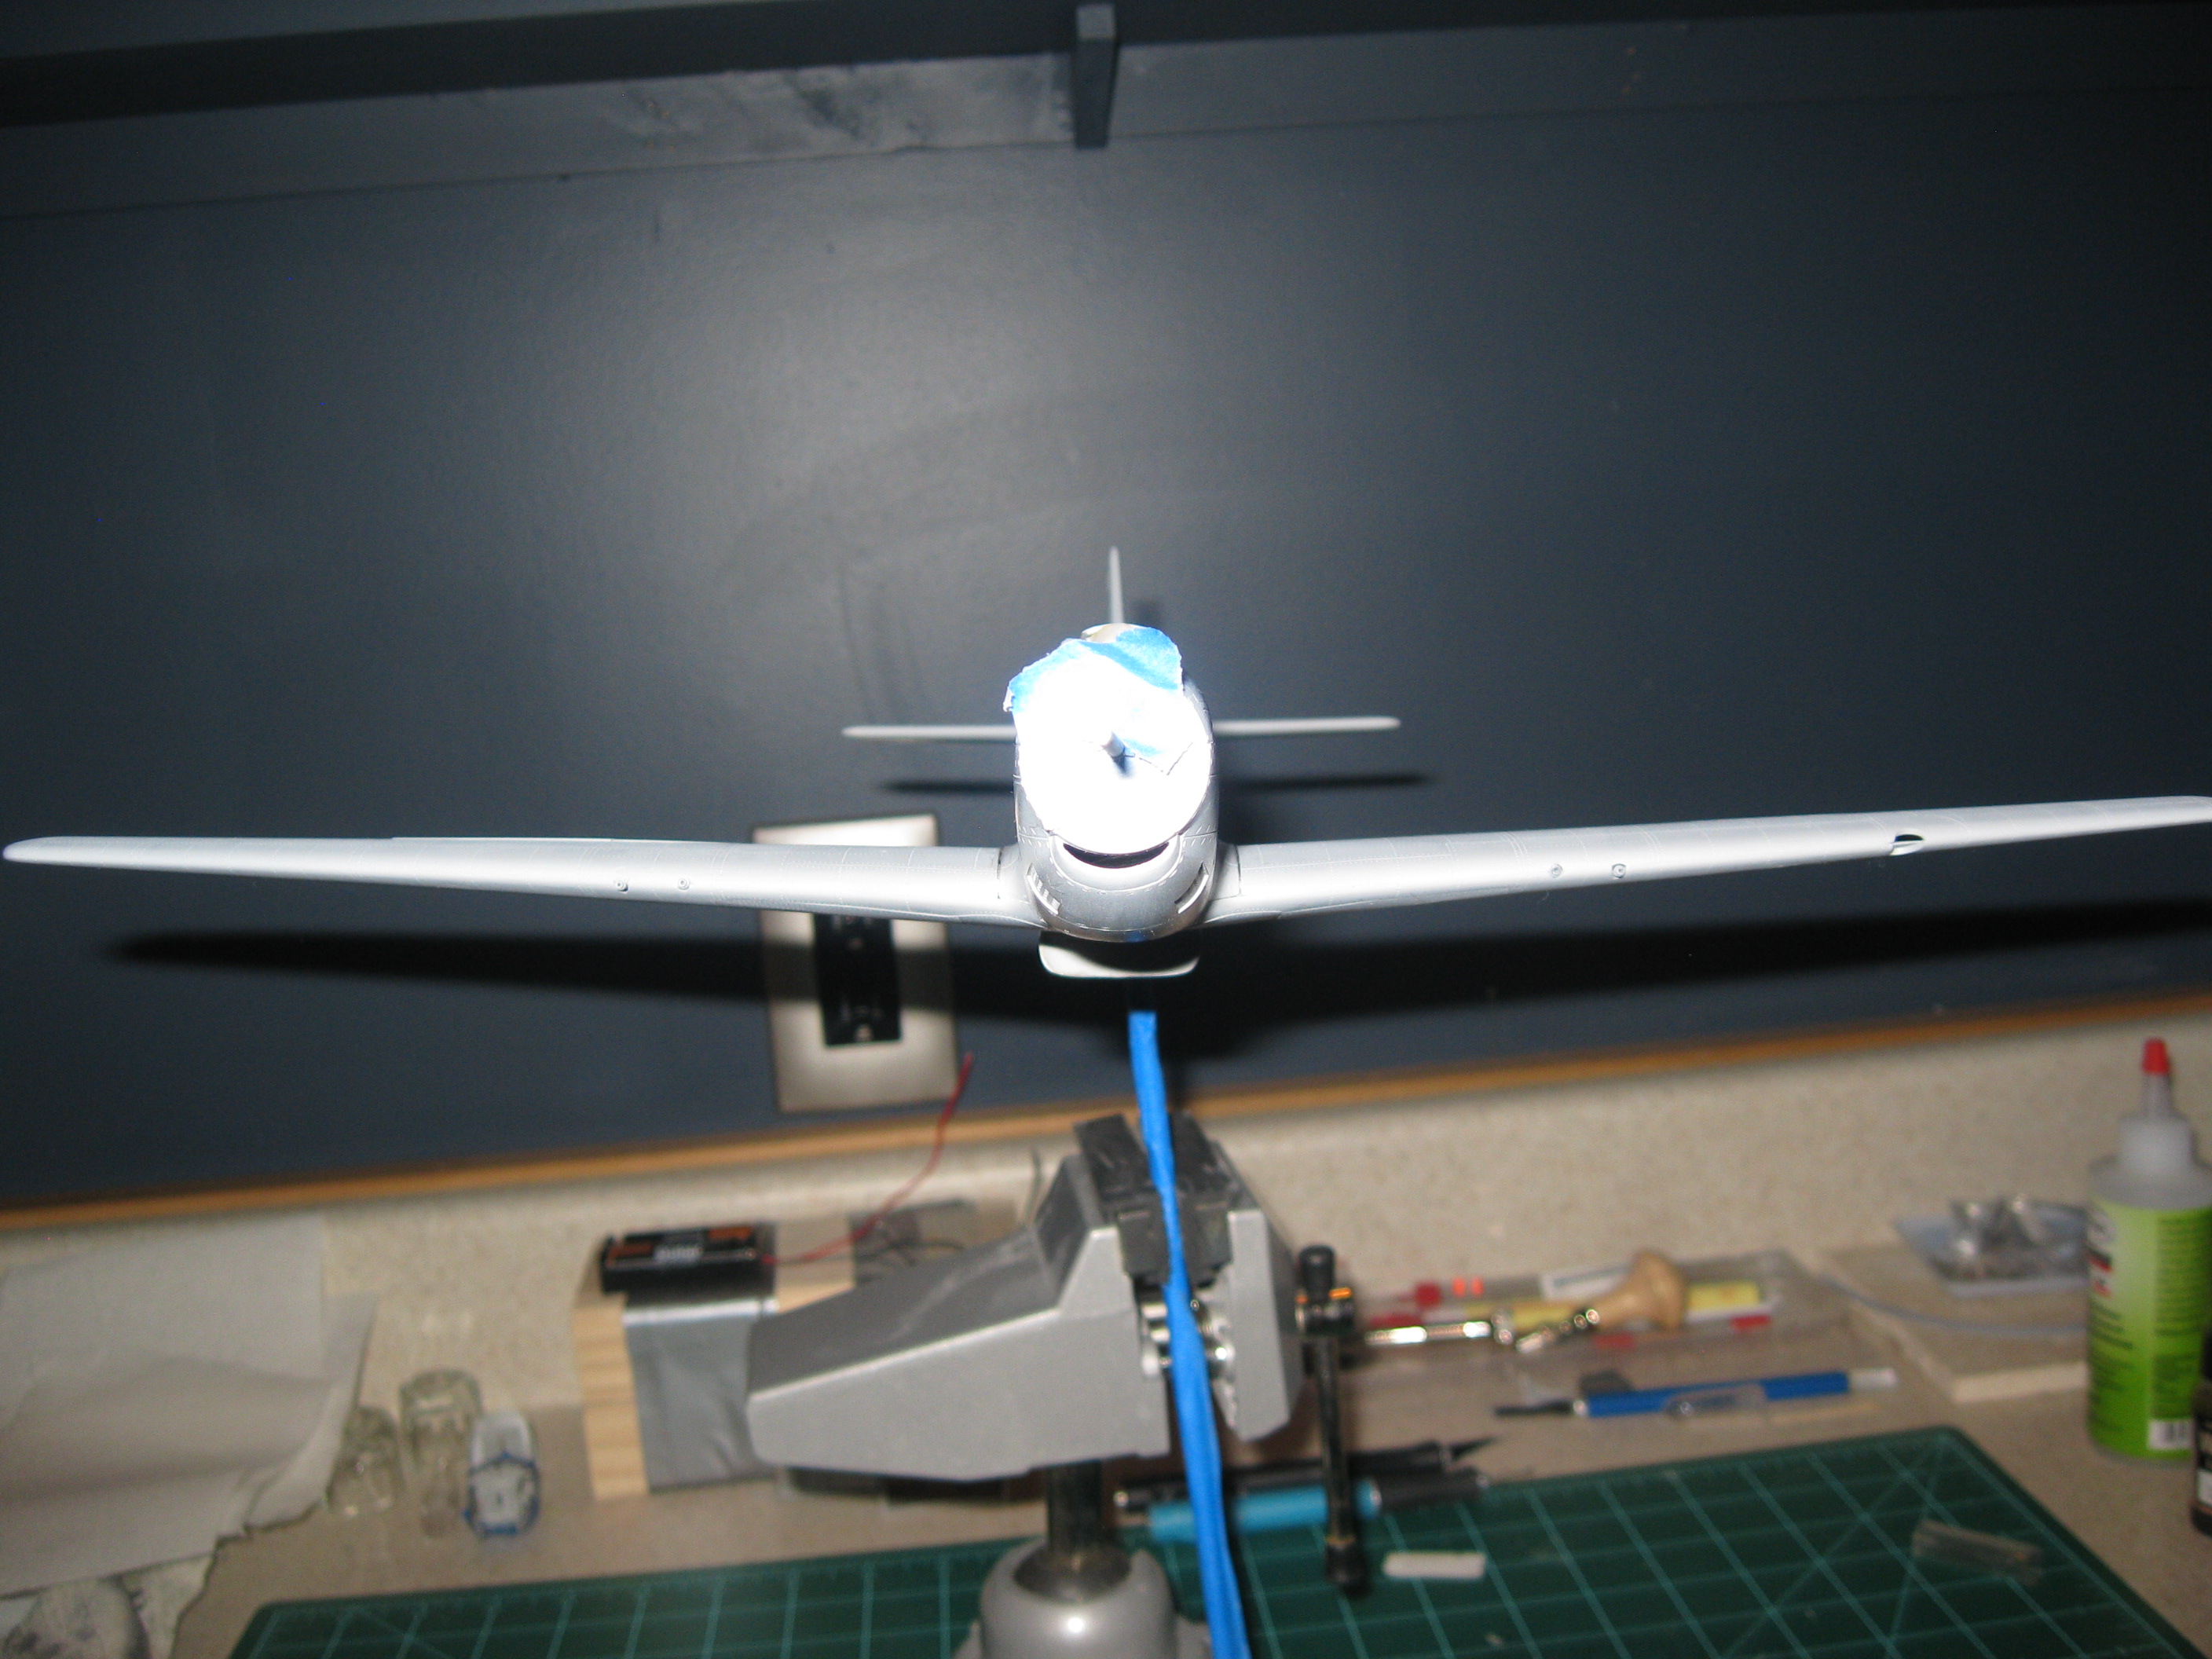
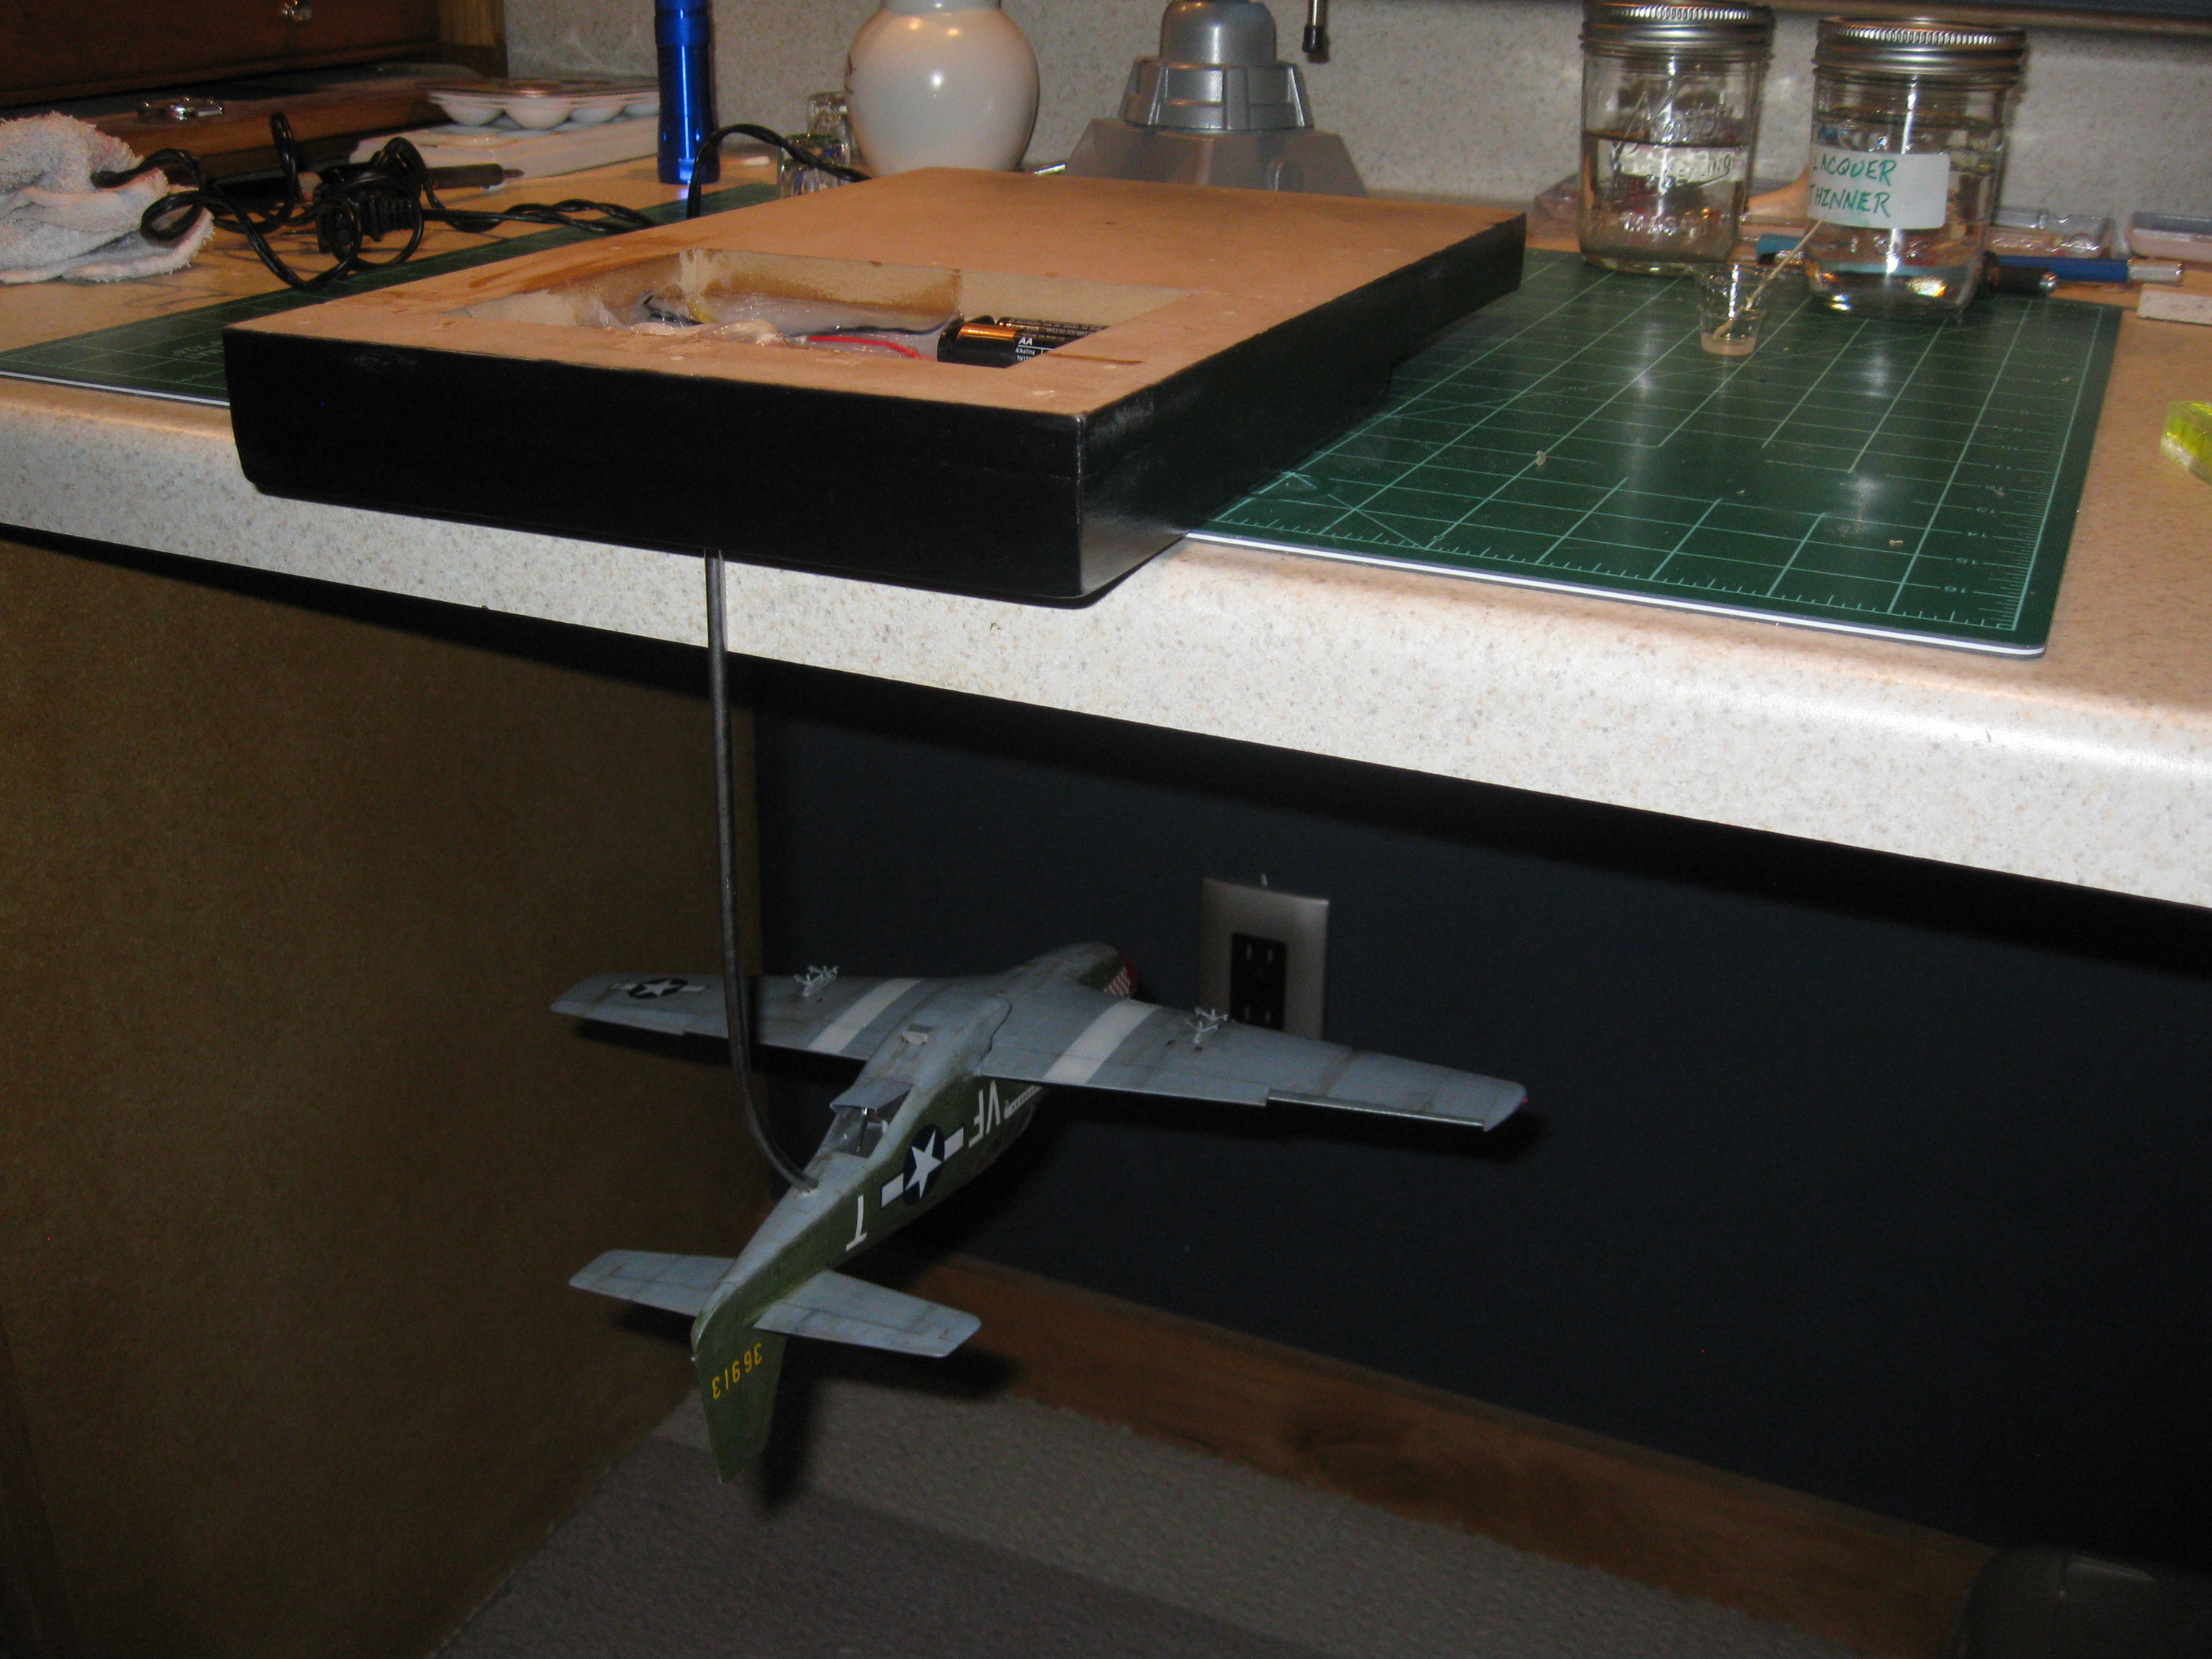
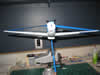
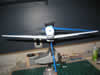
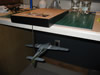
Since this is going to be a
"flying" model I needed to find some way to mount it and I did
not want just a straight post stuck up the bottom. The support
also needed to hold the wires for the motor since I want to put
the batteries and the switch in the base, not in the plane.
| |
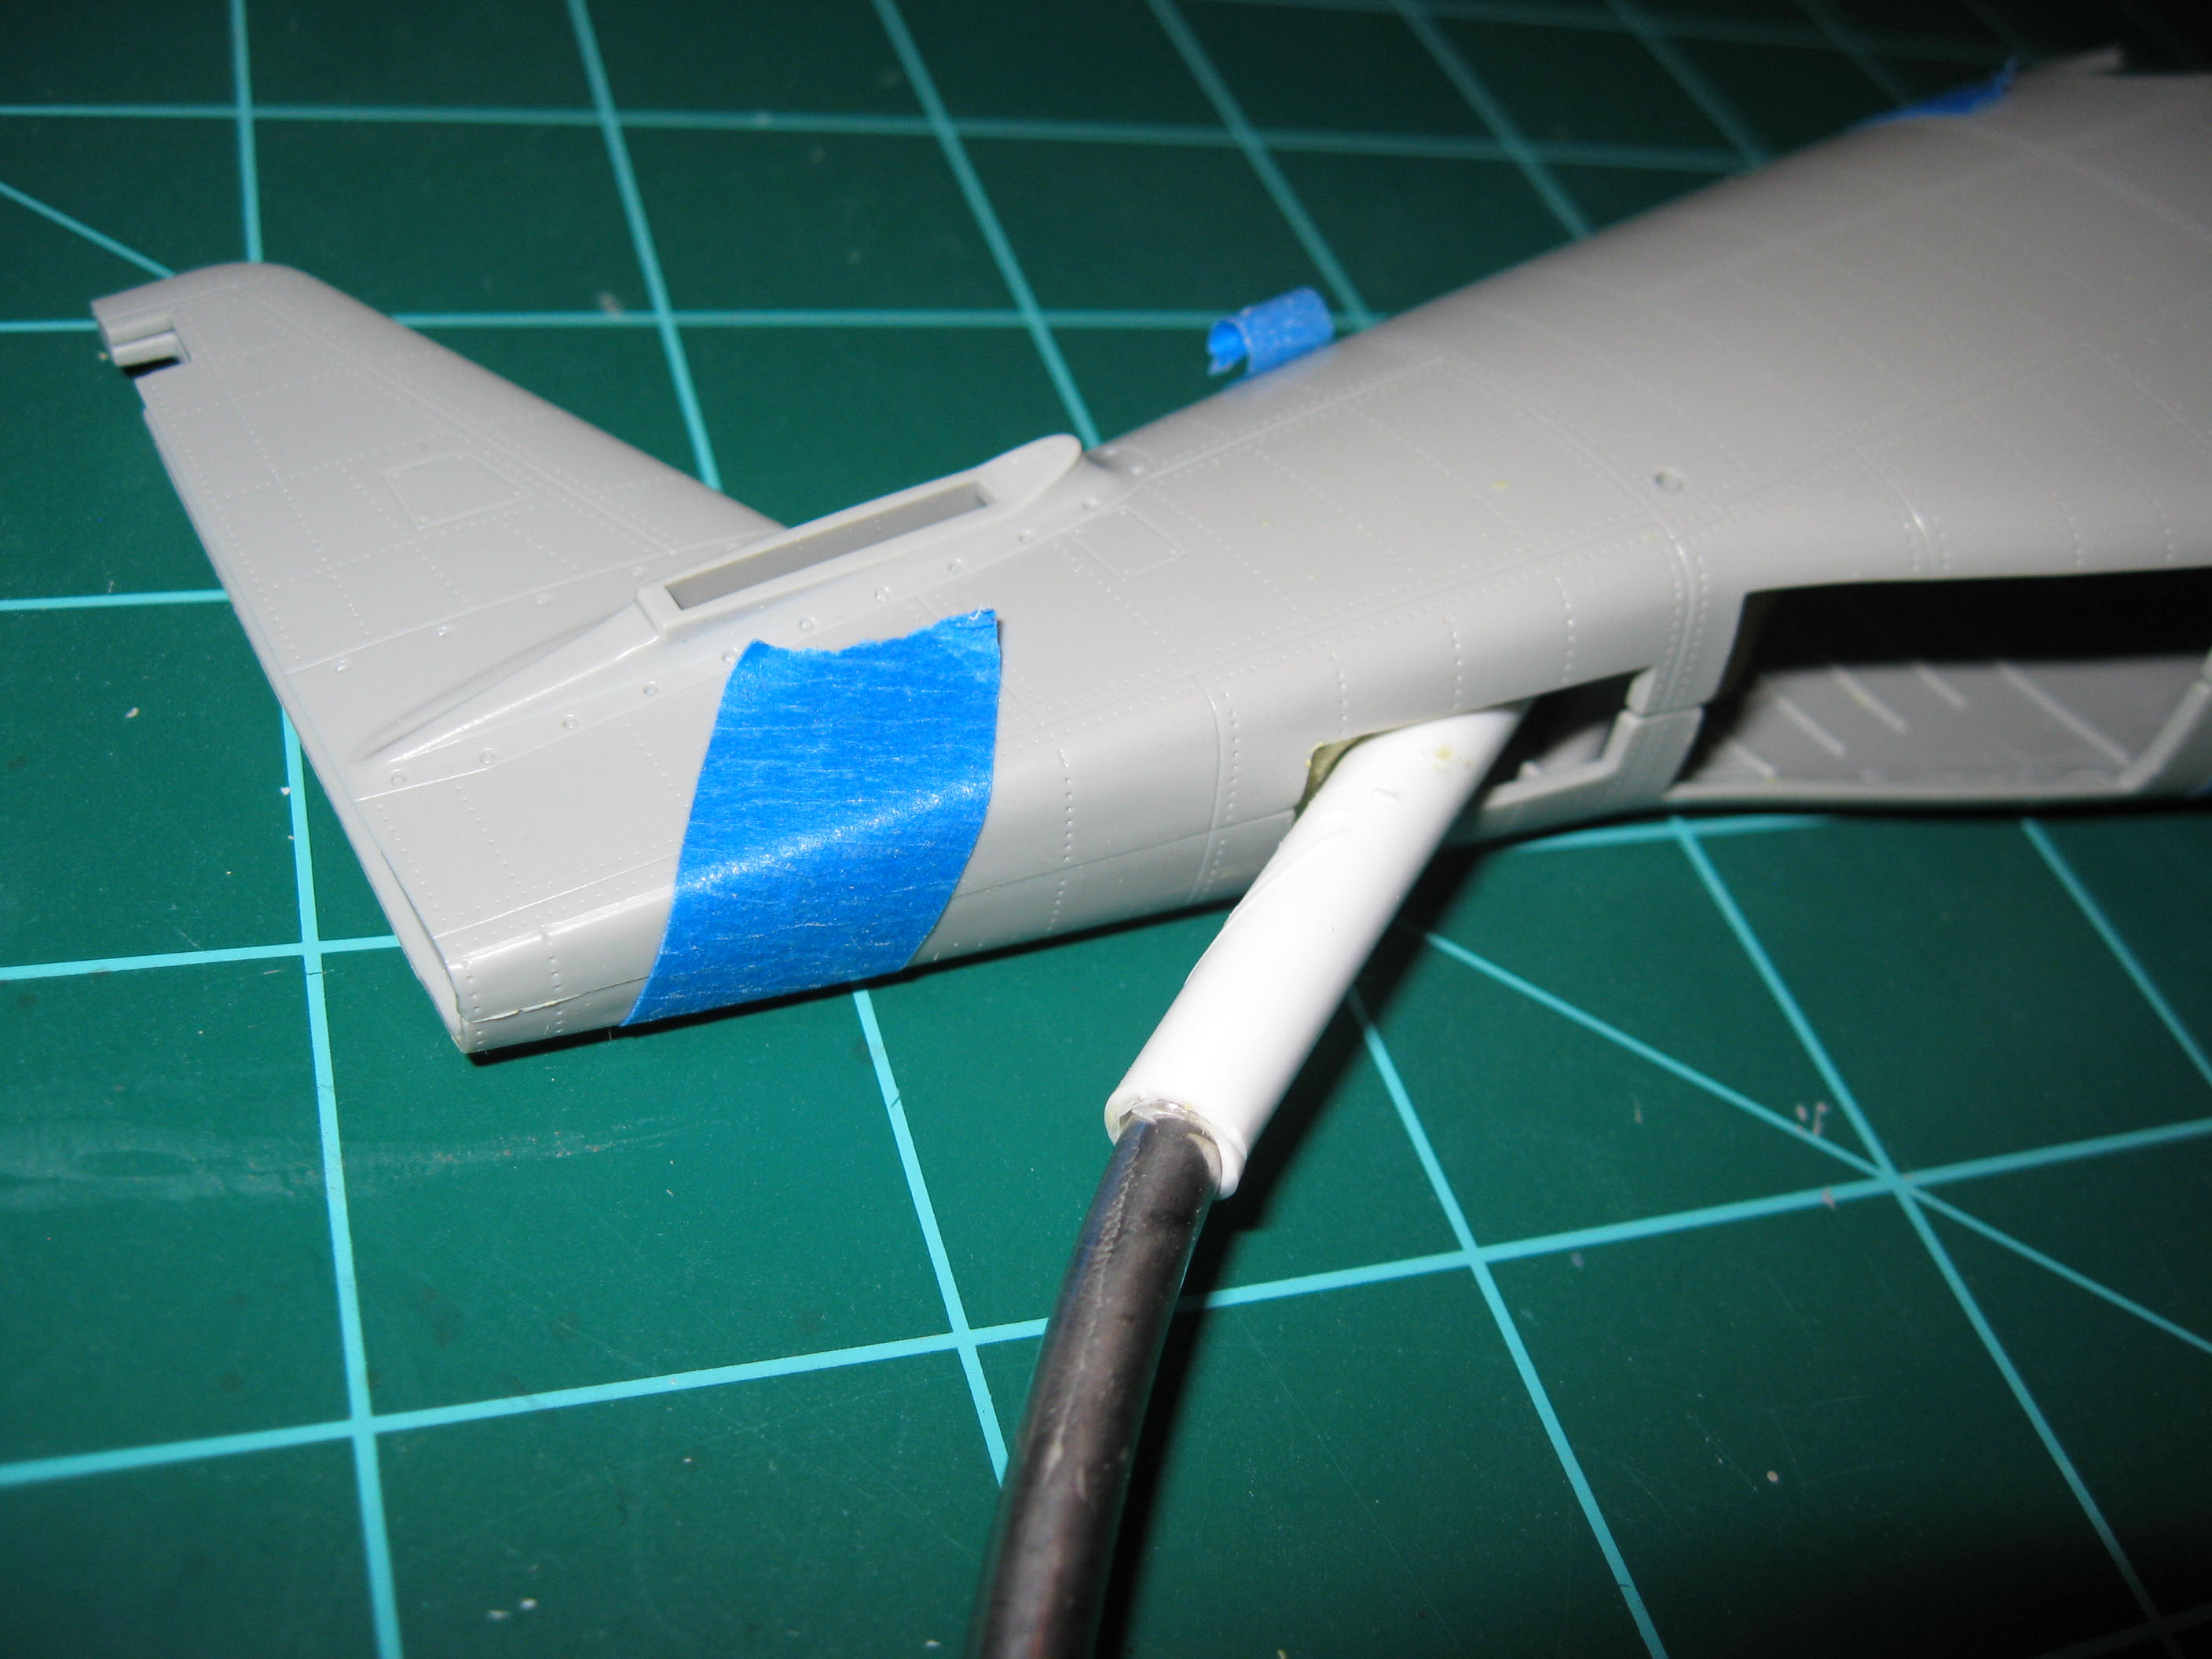
I started by putting a plastic tube in a blob of Milliput and
then closing it inside the fuselage so the putty would form to
the interior. I curved a piece of stainless steel tubing that
fits inside the plastic tube and gives more of a sense of
forward motion. The plastic tube will be trimmed flush with the
bottom of the fuselage and the steel tube will slide inside and
support the plane.(Oct 20, 2011)
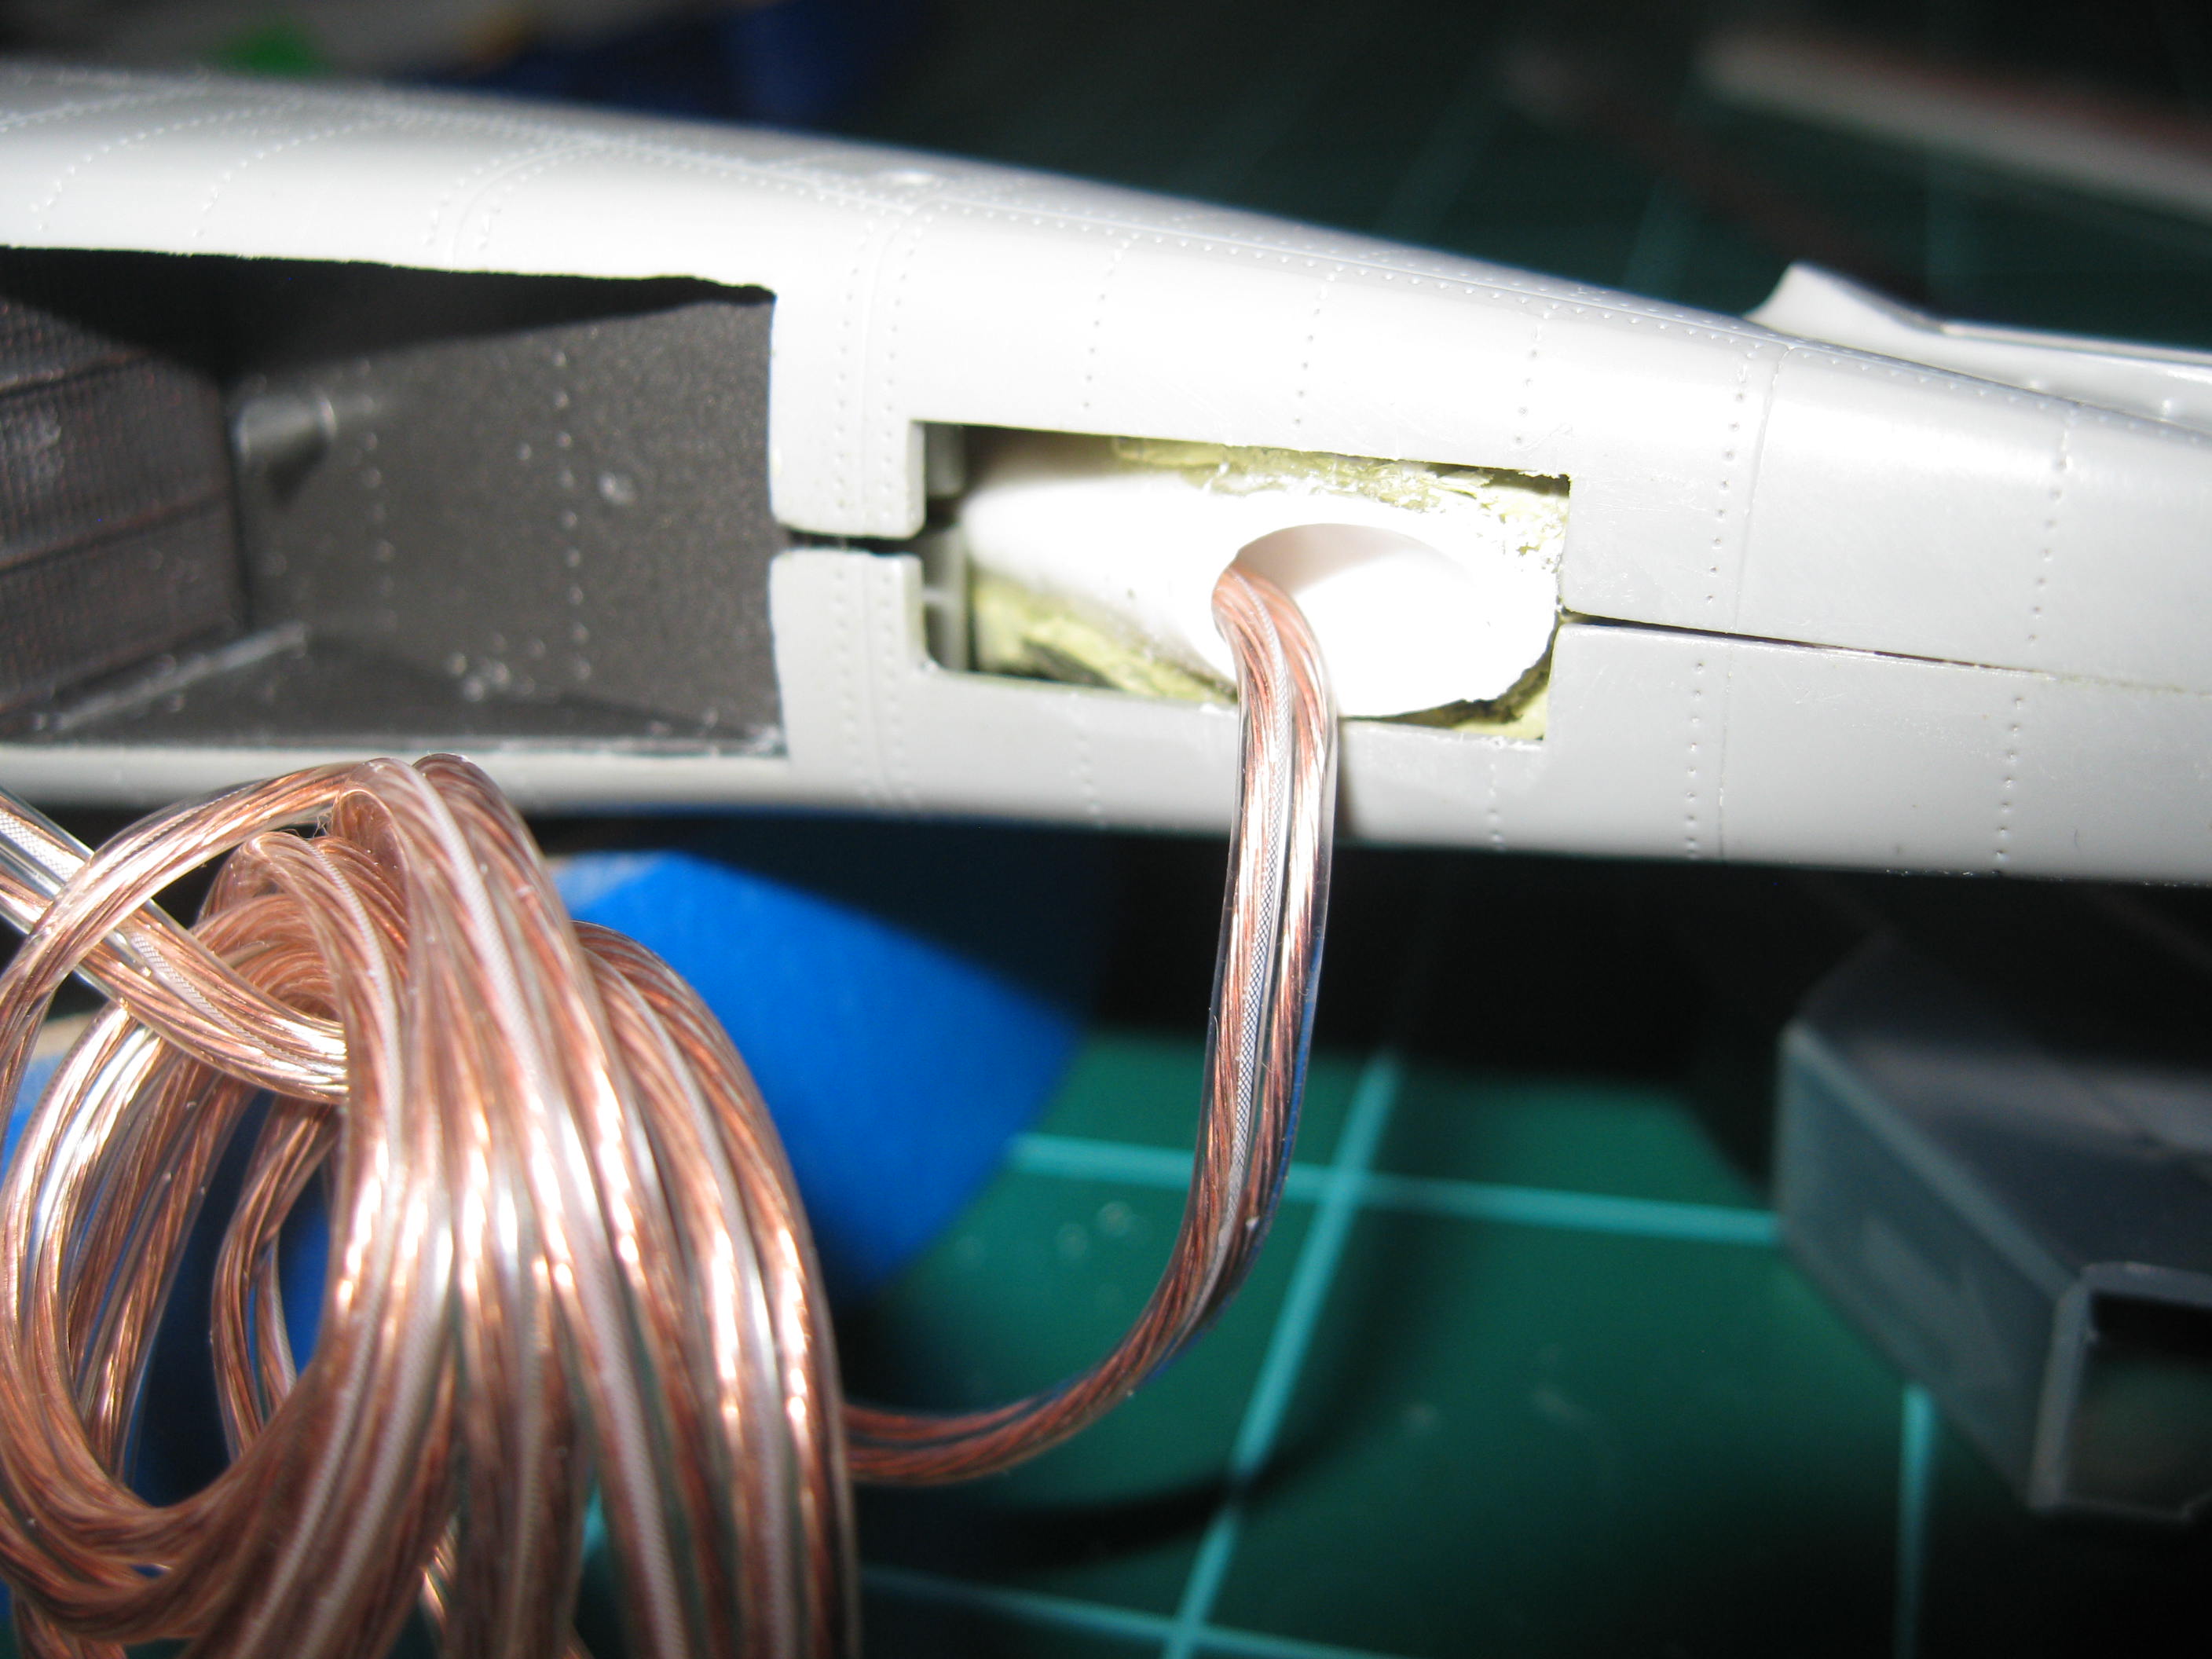
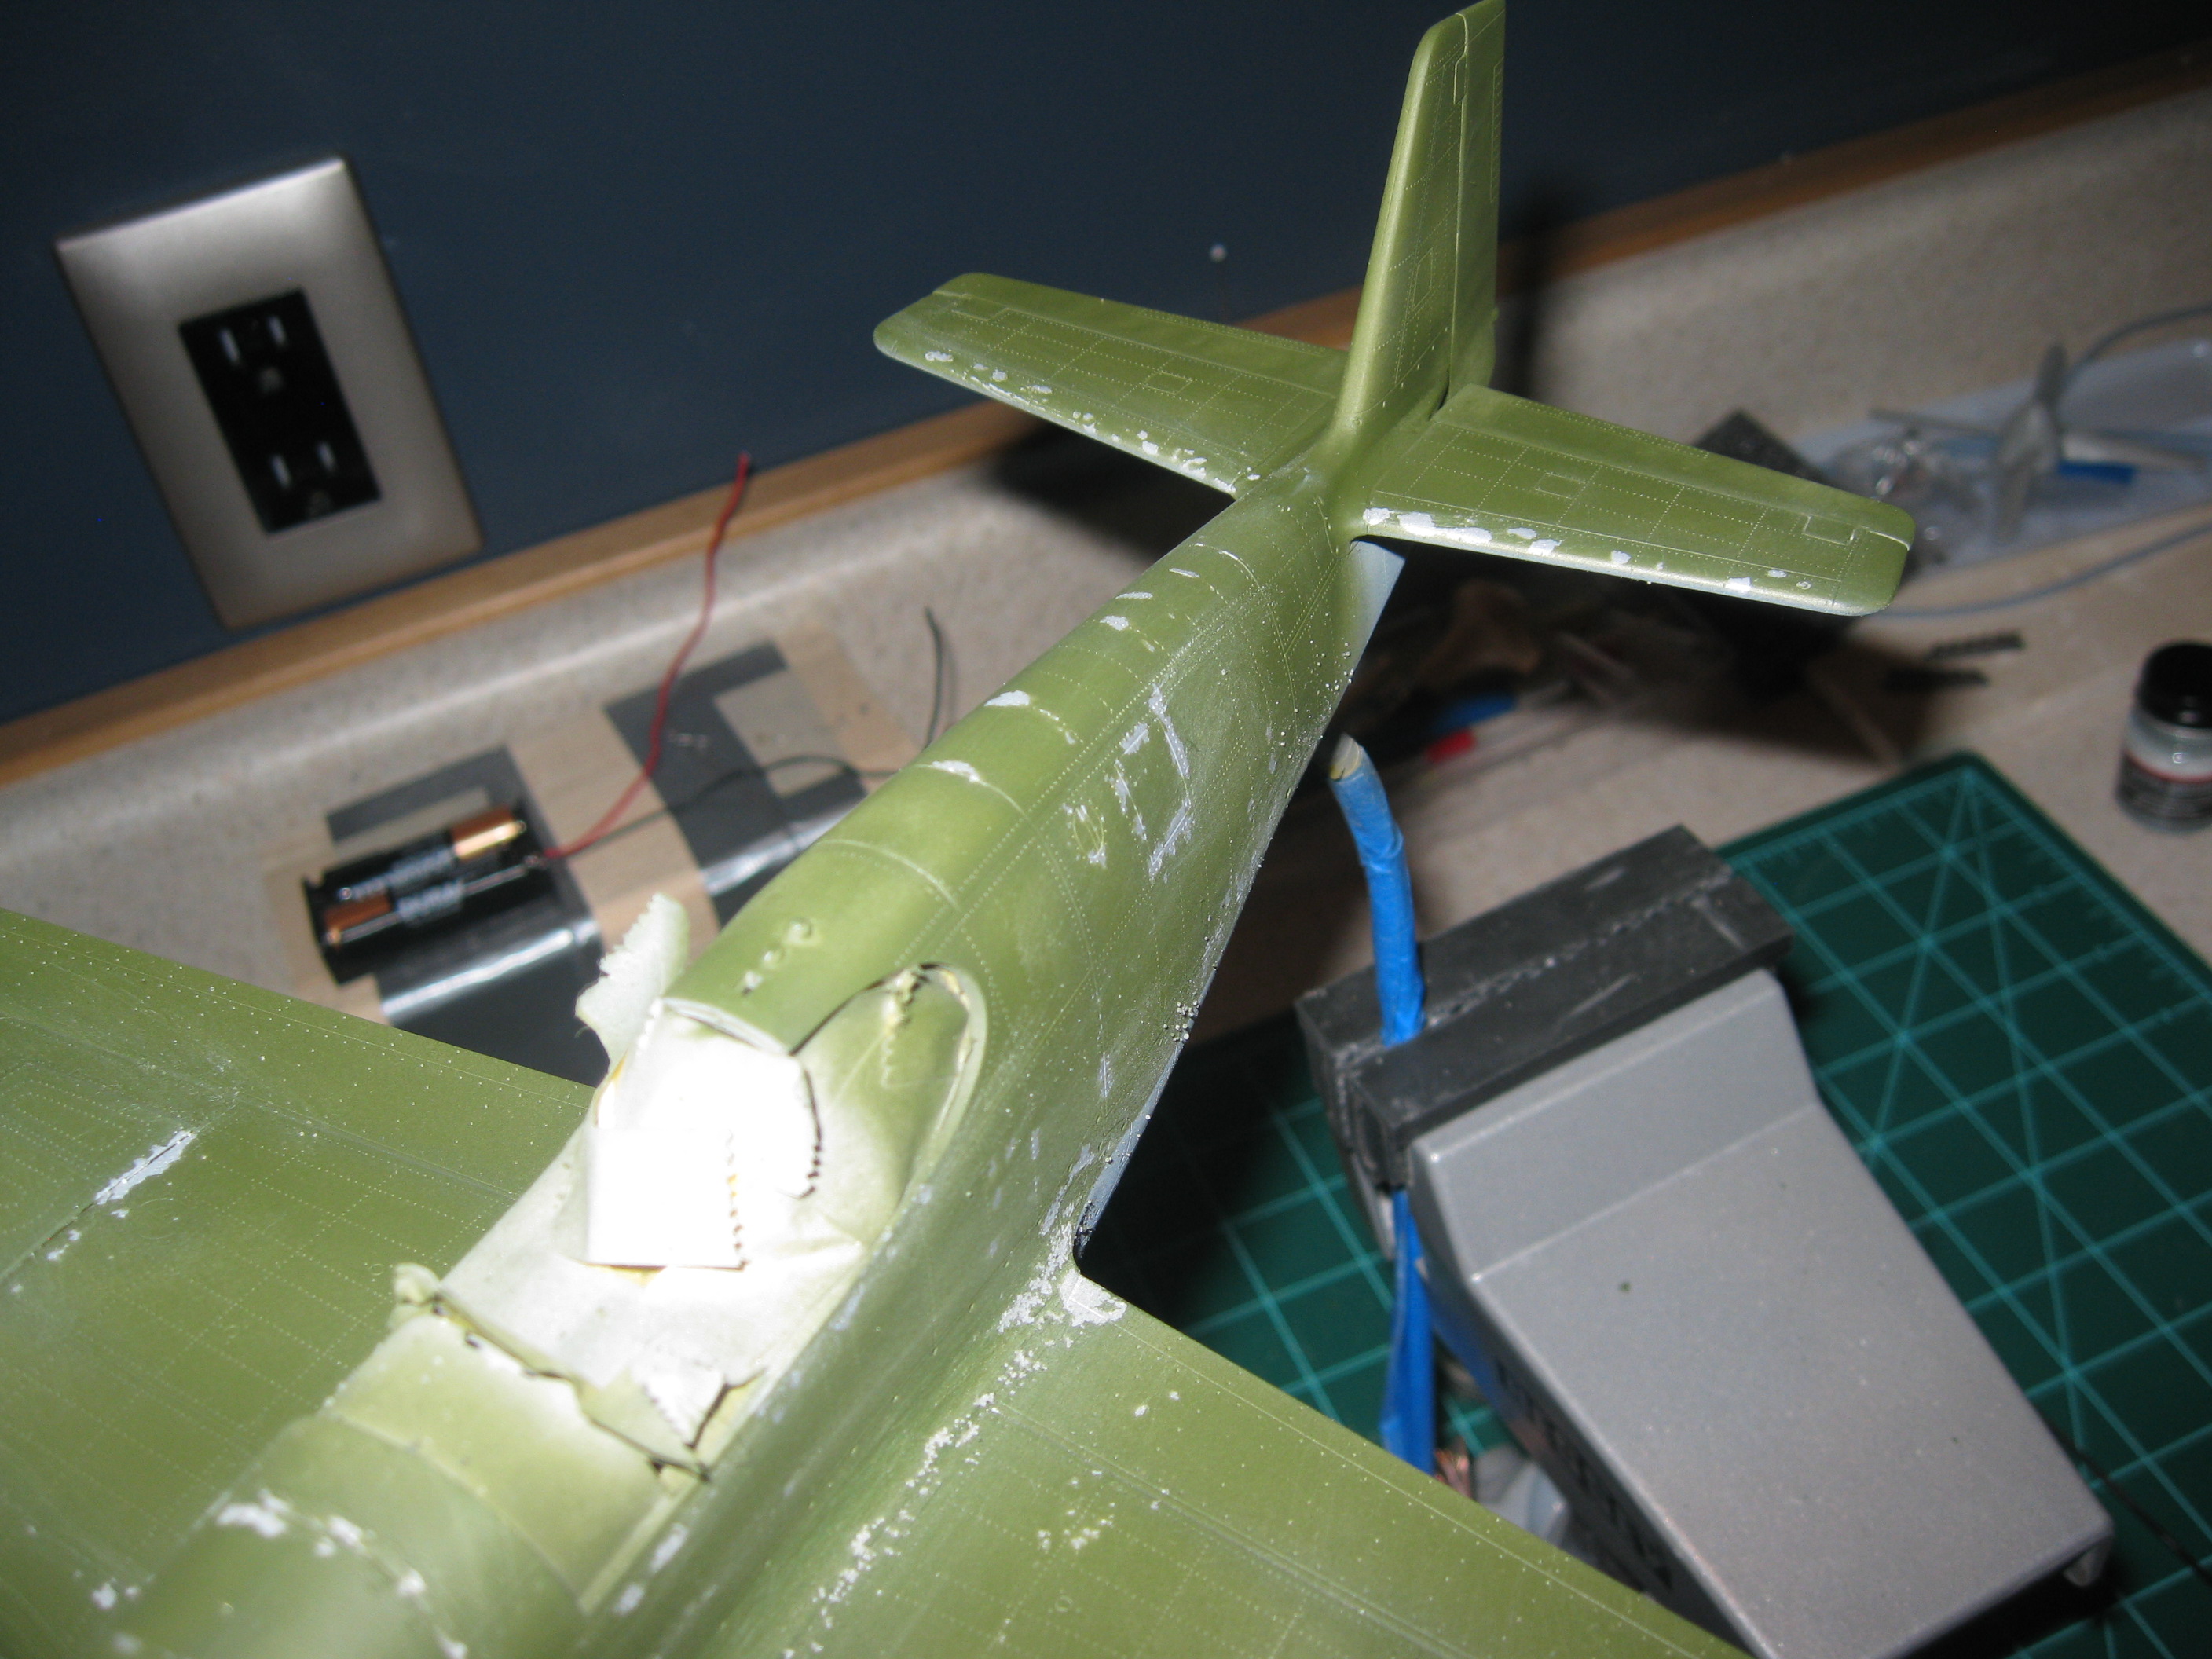
Before closing up the fuselage I added the wire for the prop.(Dec
3, 2011)
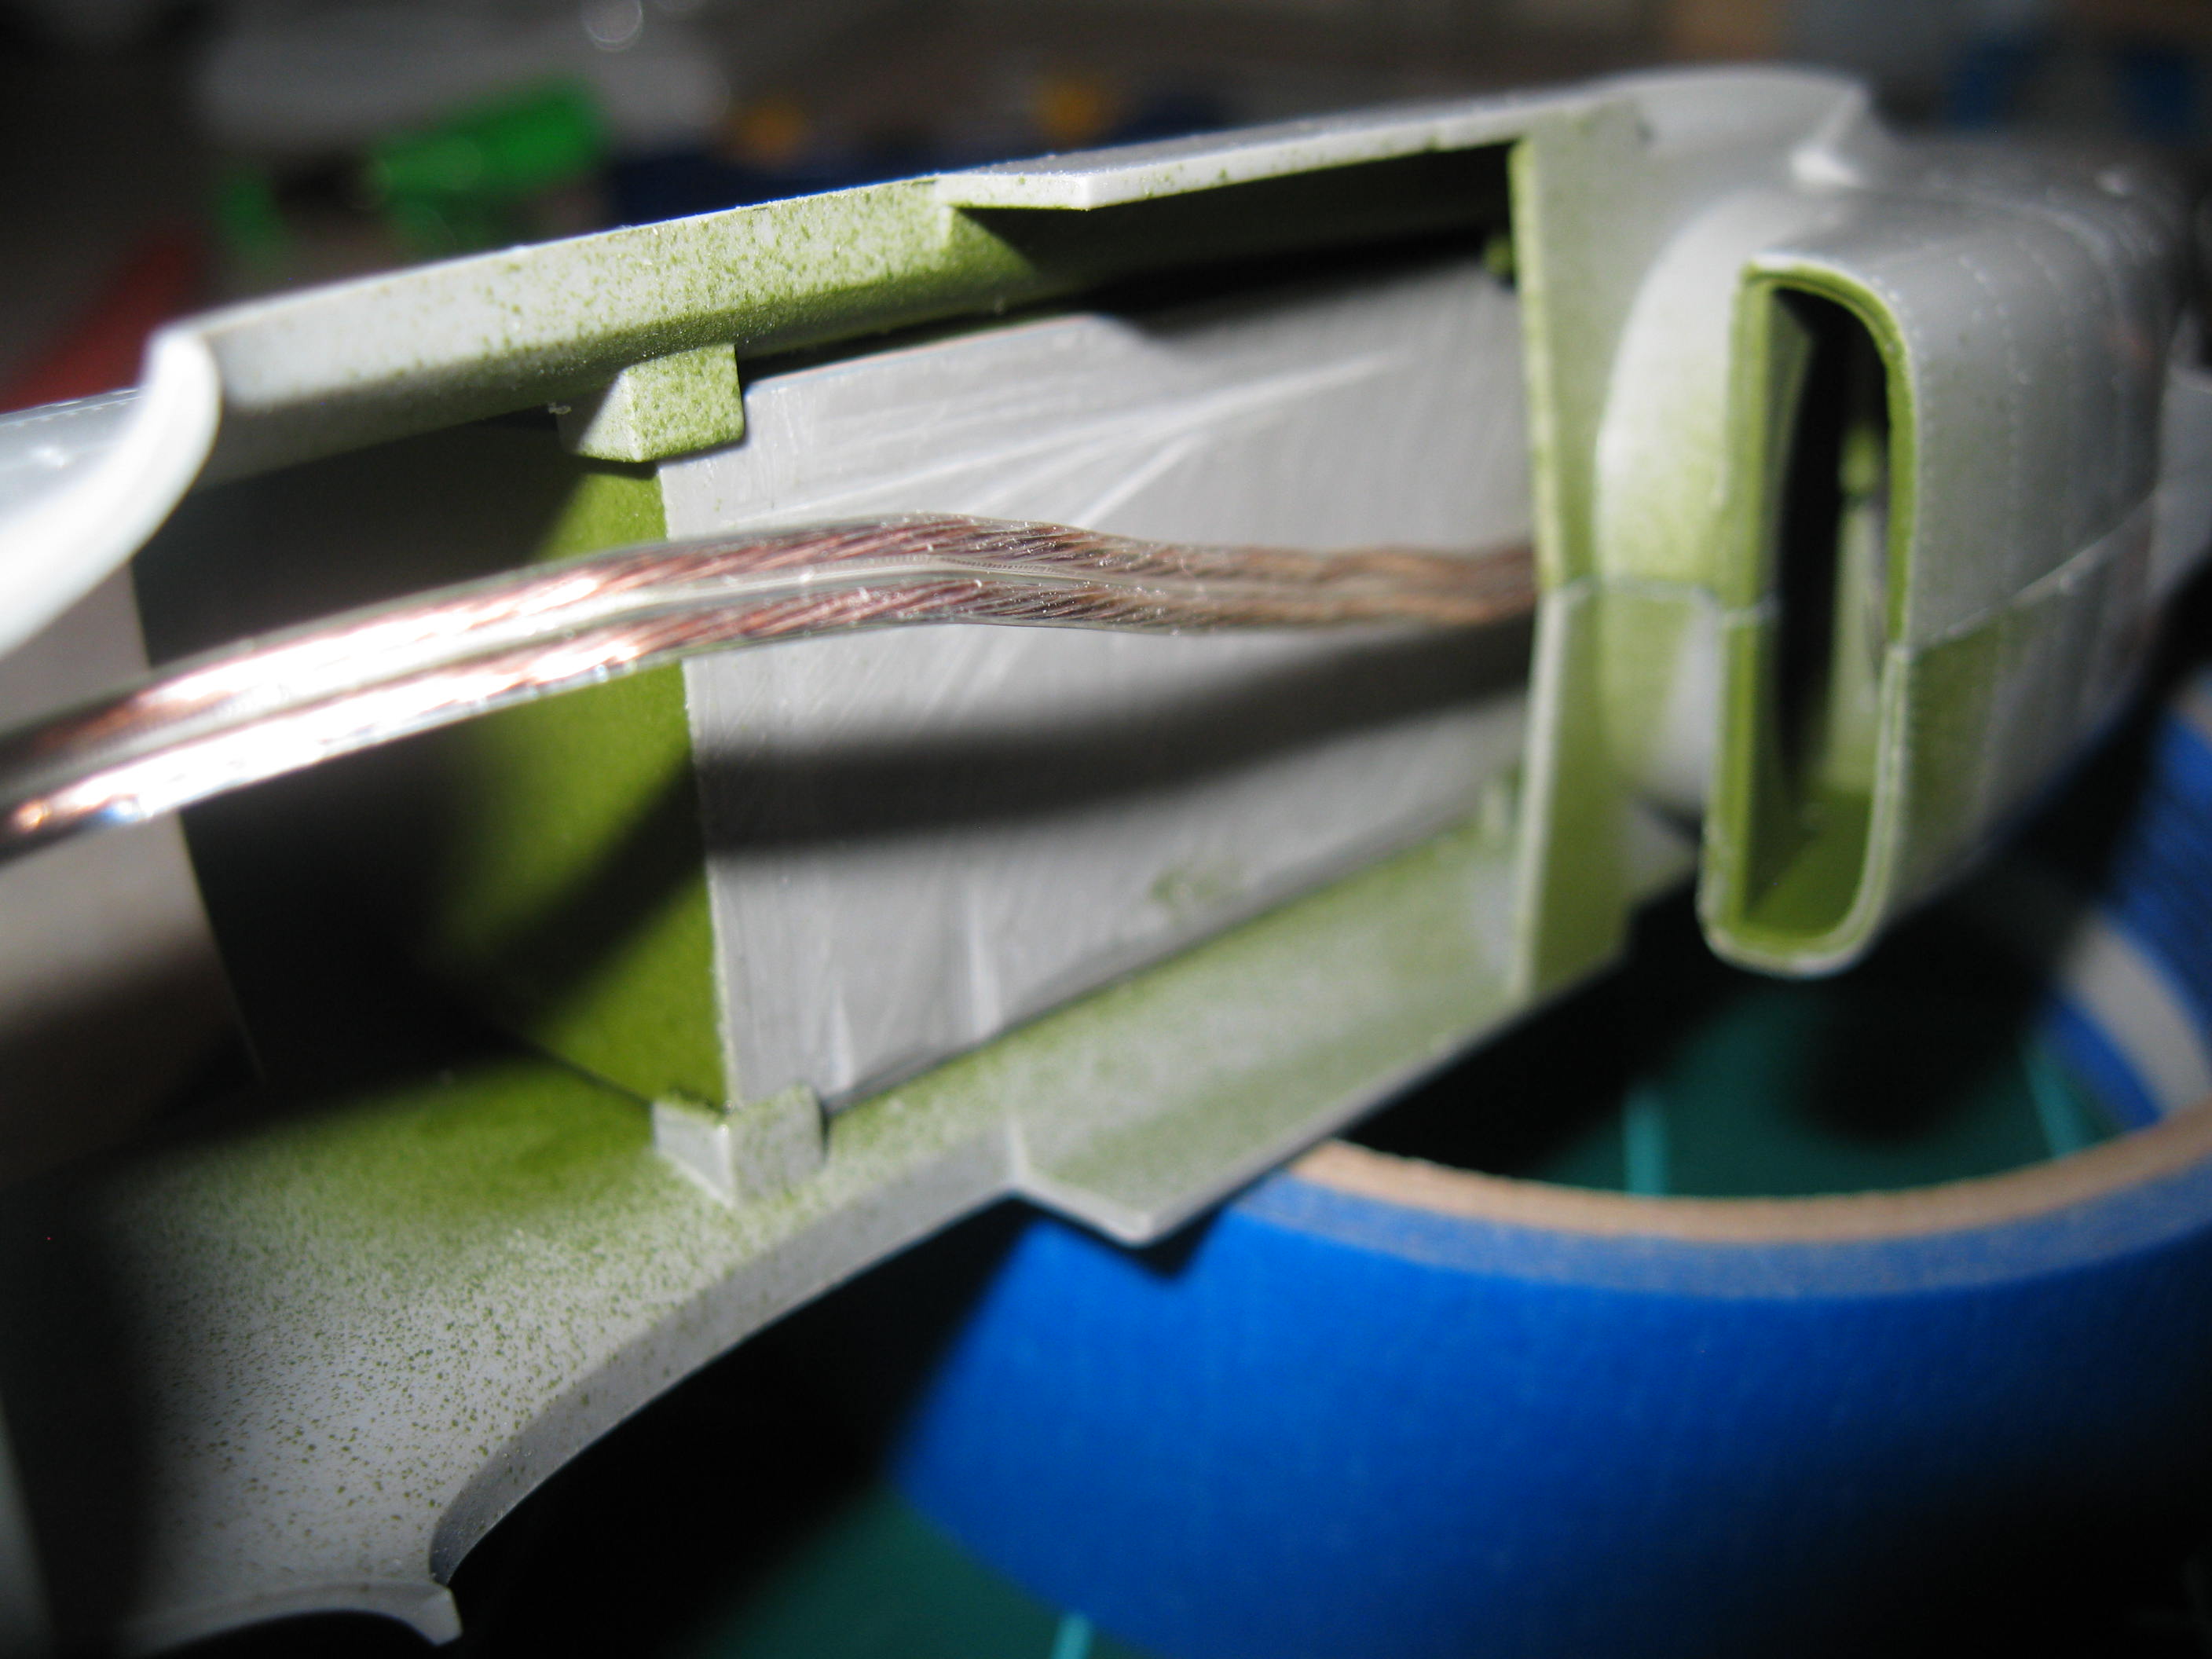
With the fuselage closed I ran the wire through the support rod
and epoxied the rod in place. I also filled the rear wheel
well with putty (actually modeling clay) rather than trying to
cut and fit the gear doors.(Dec 8, 2011)
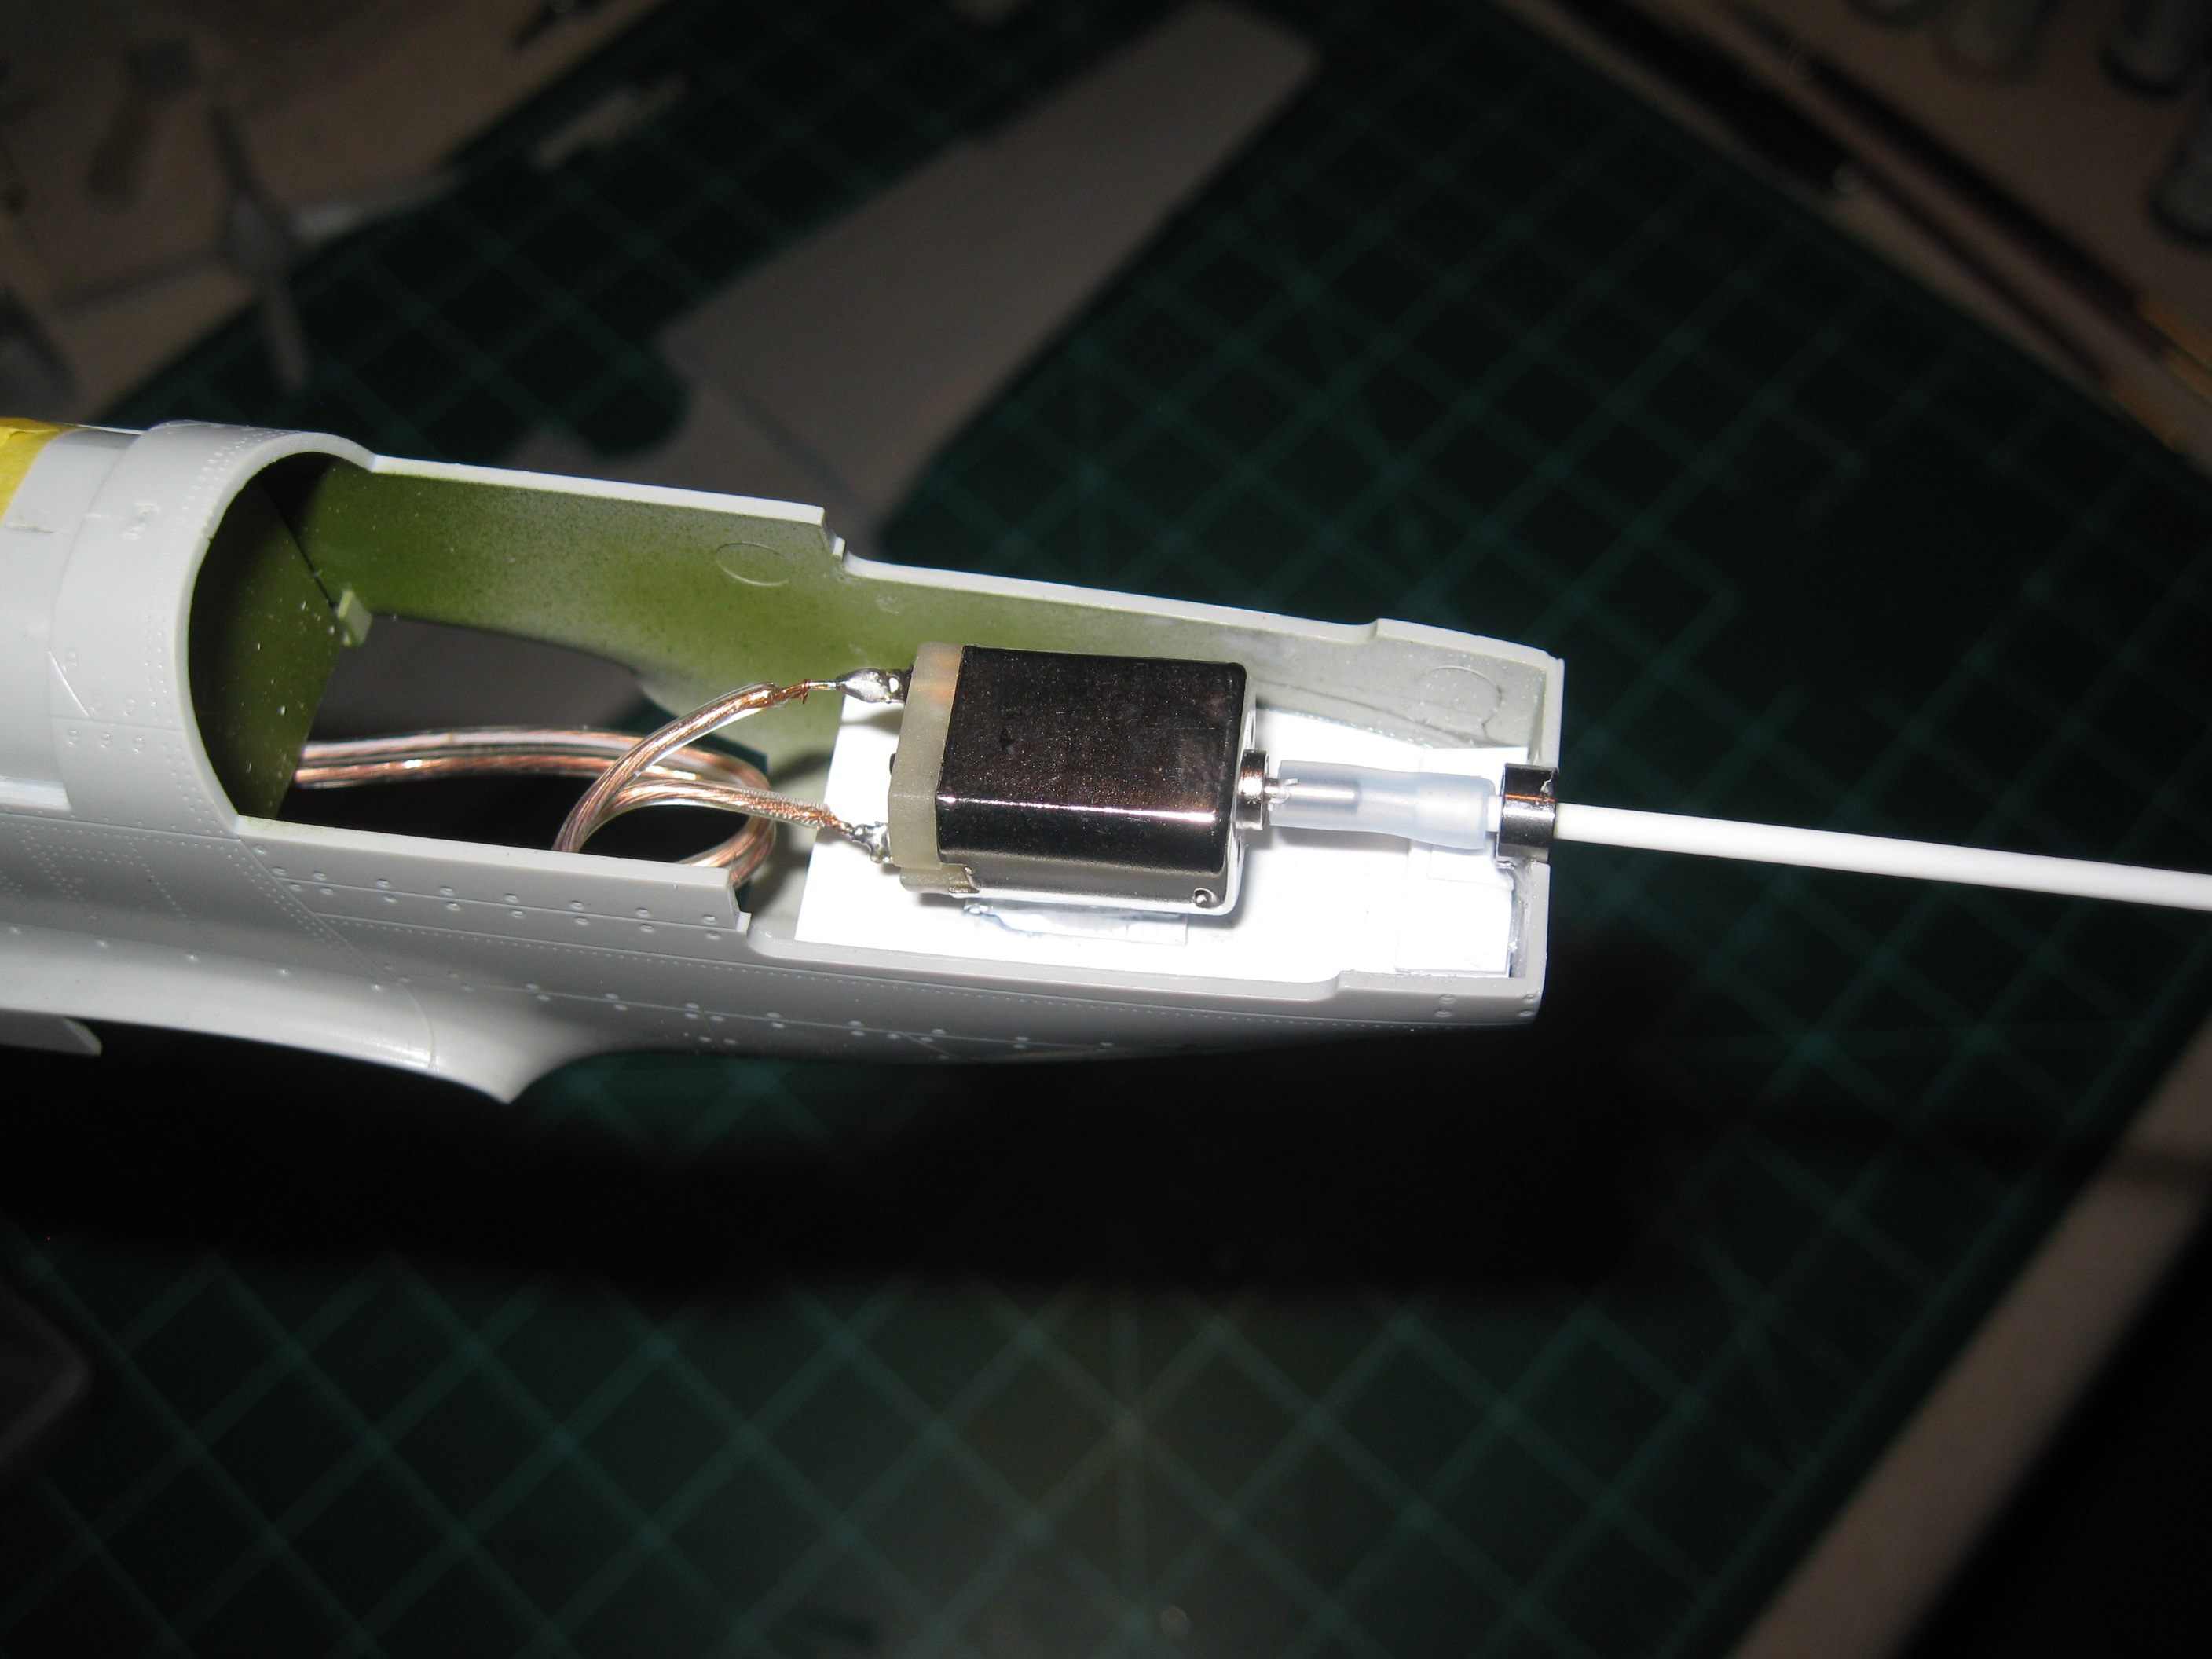
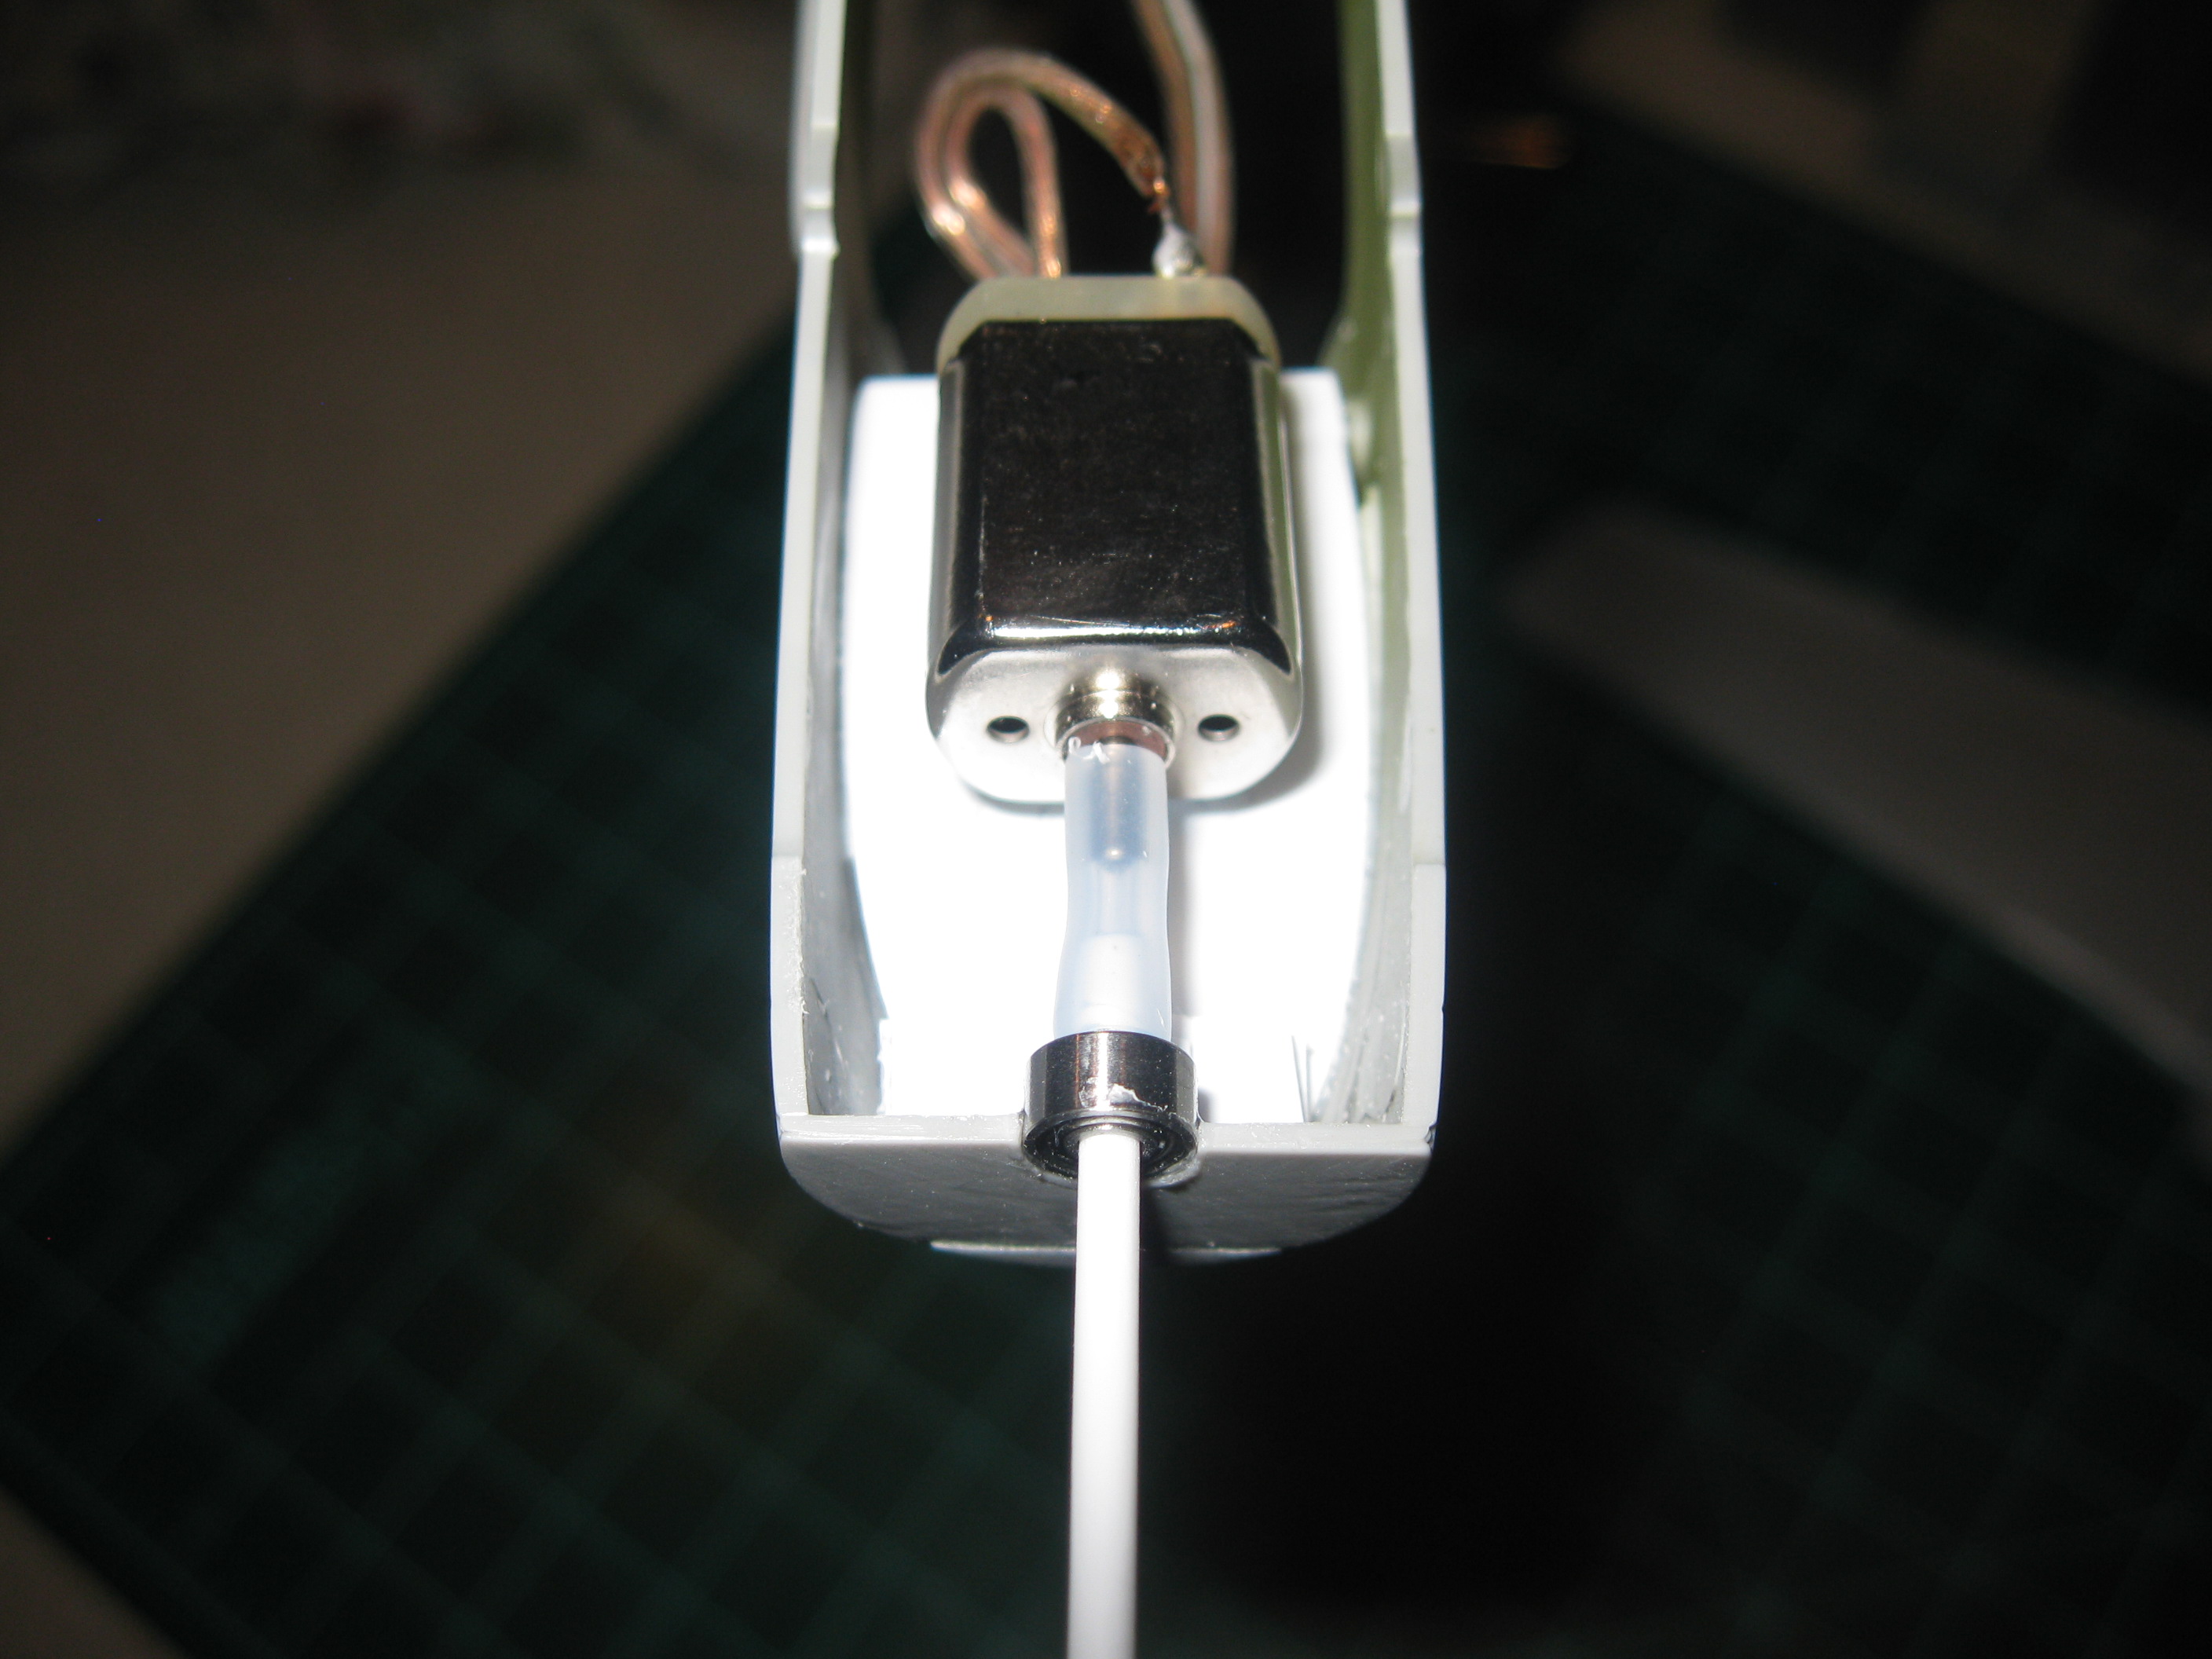
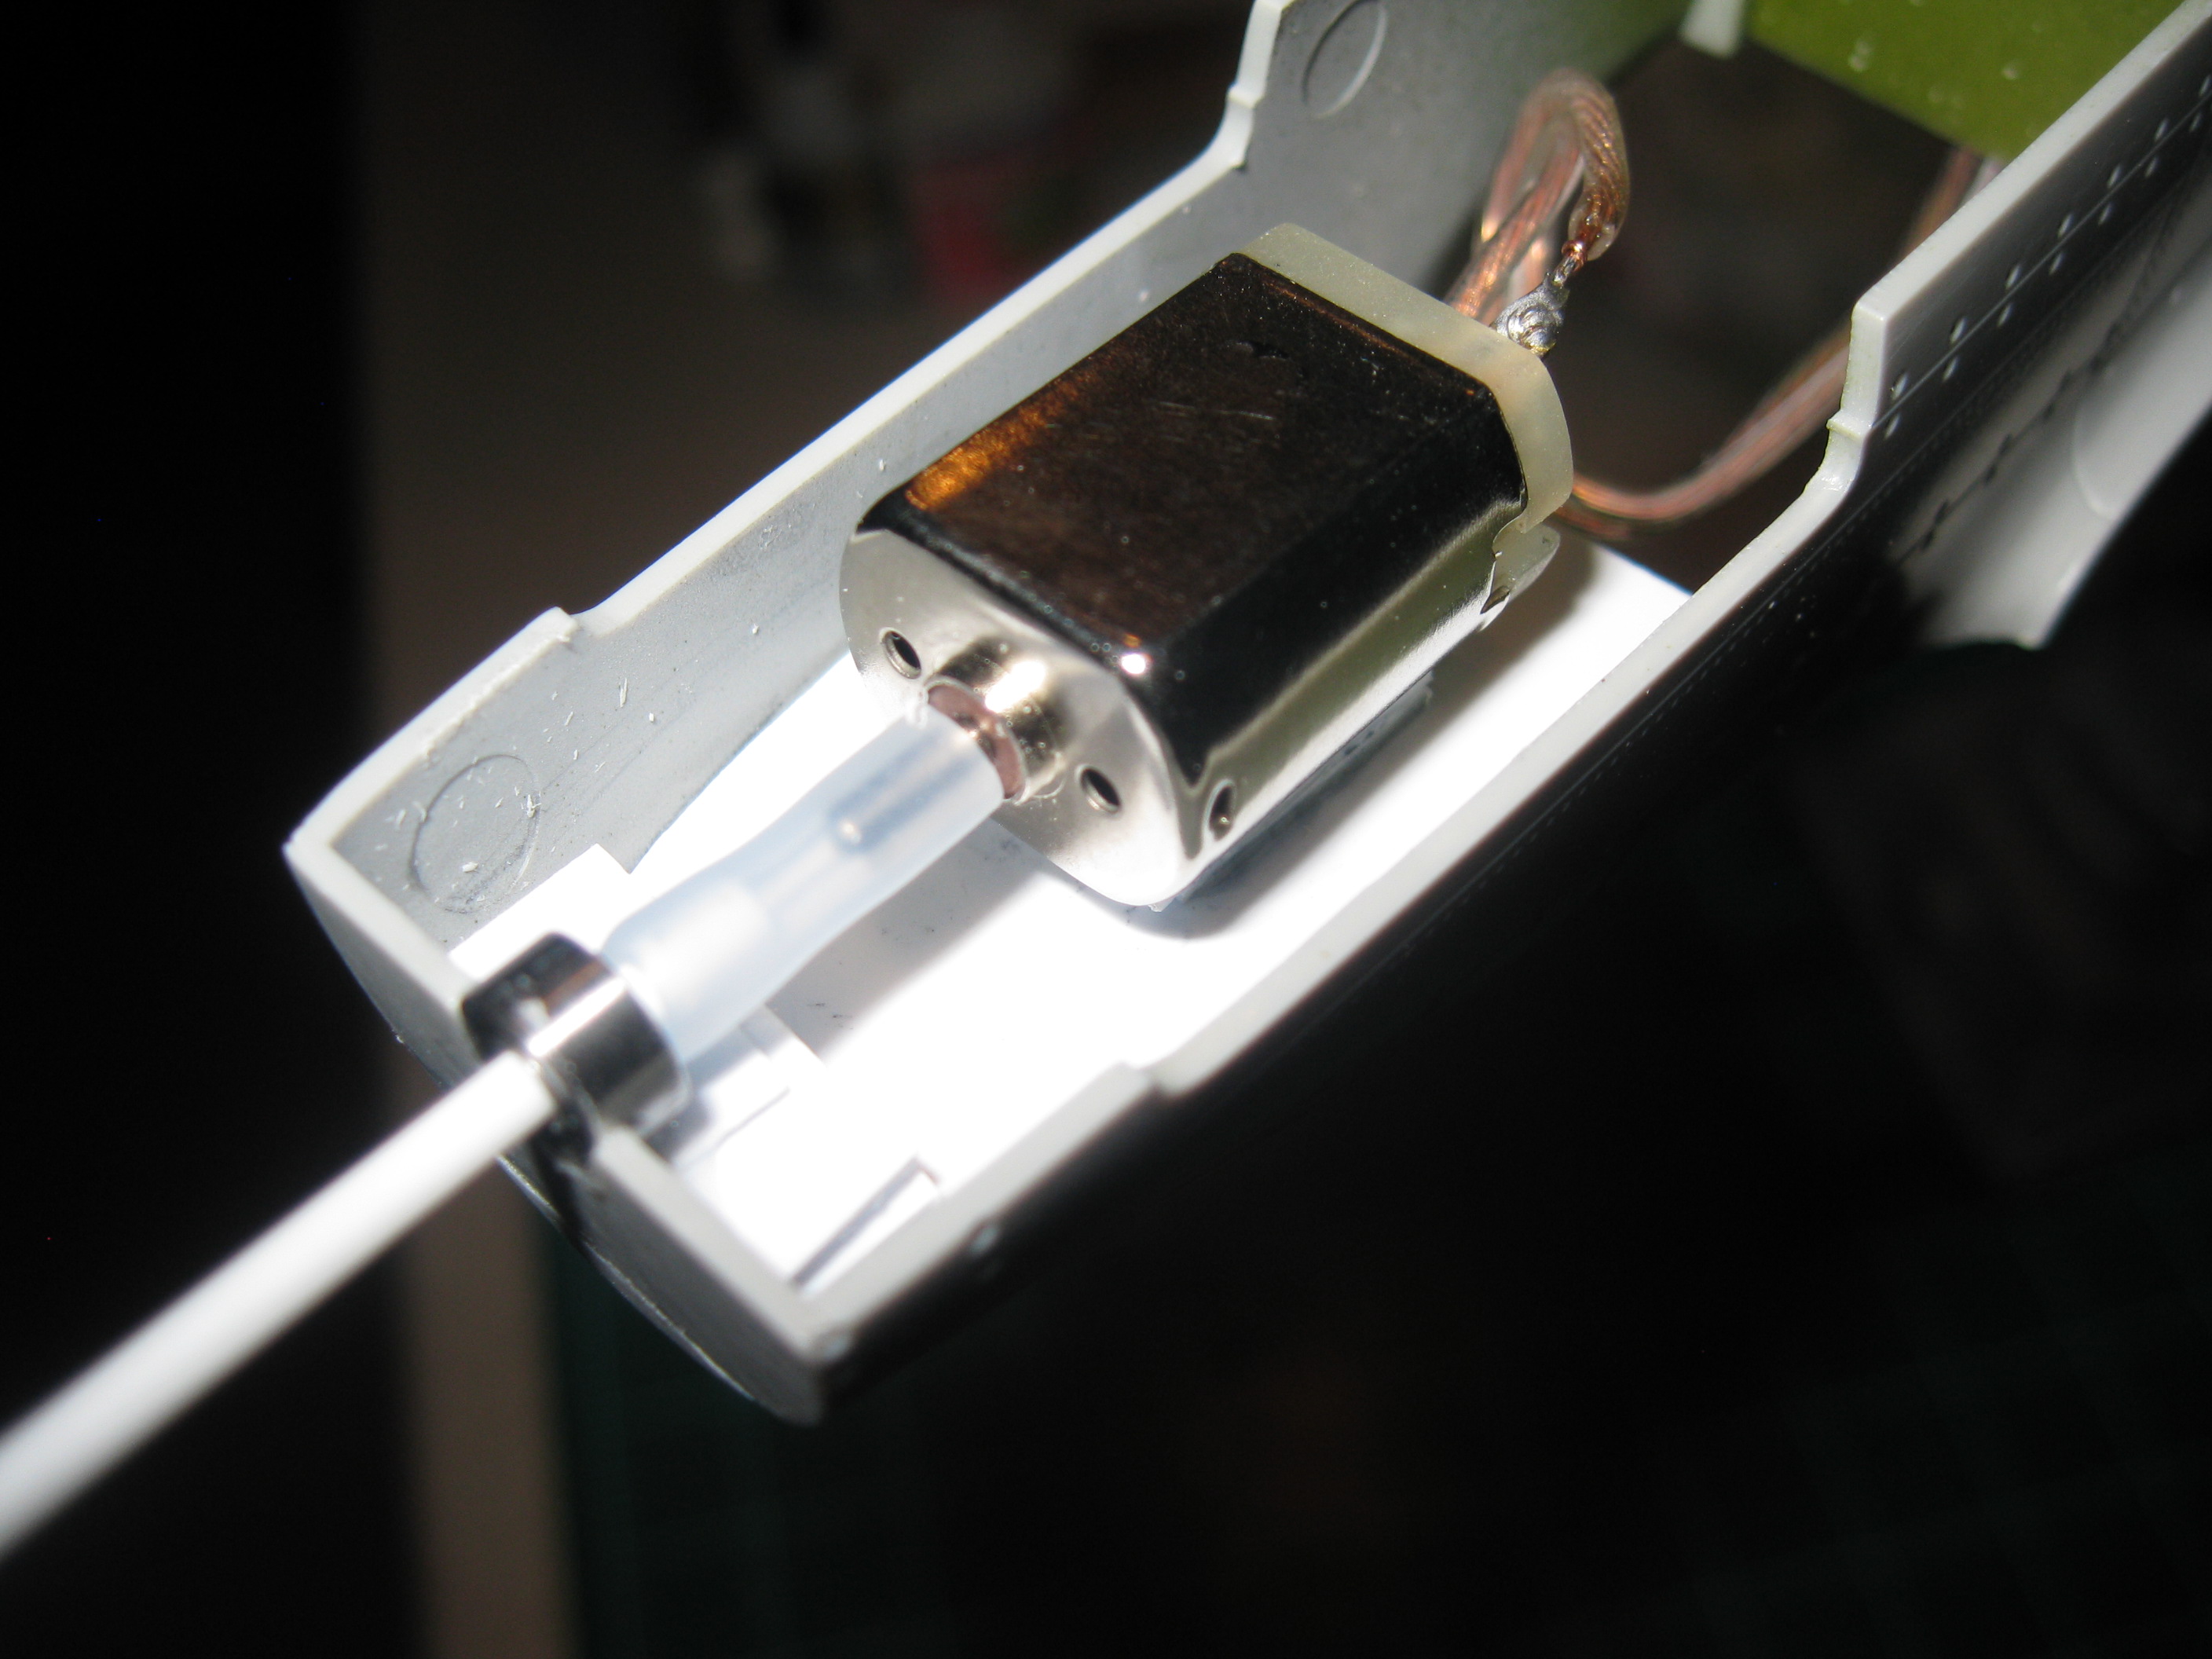
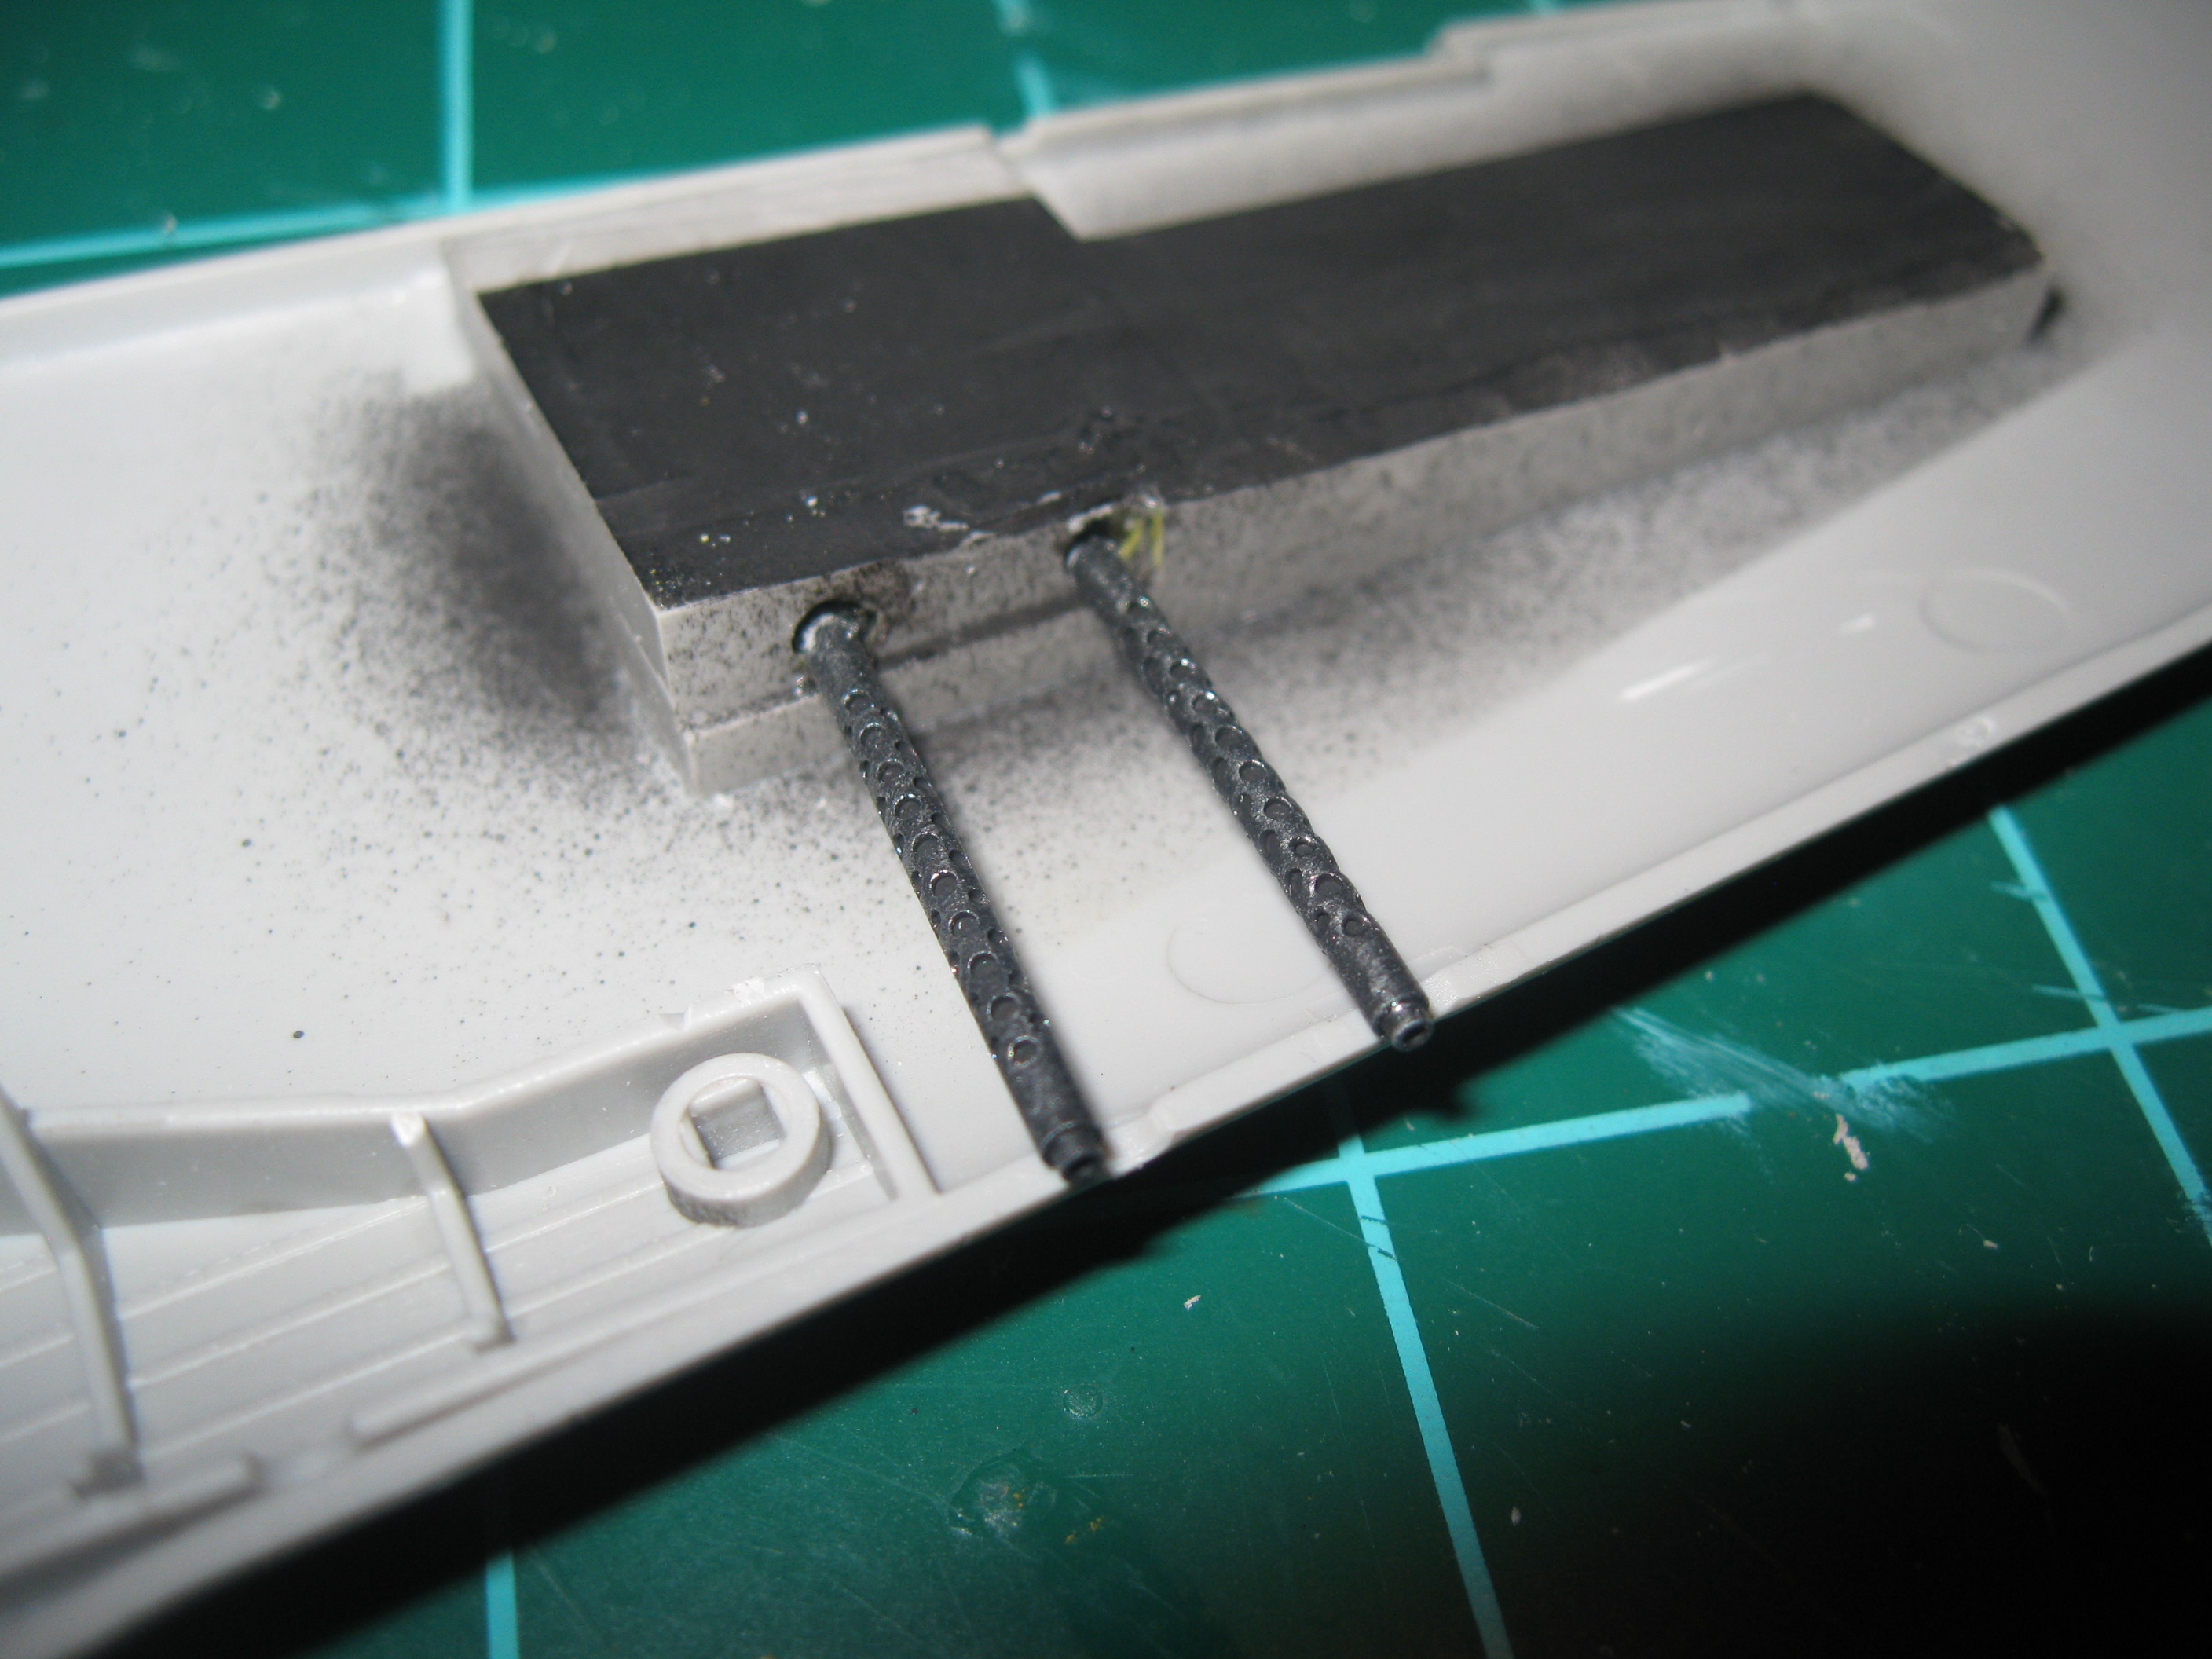
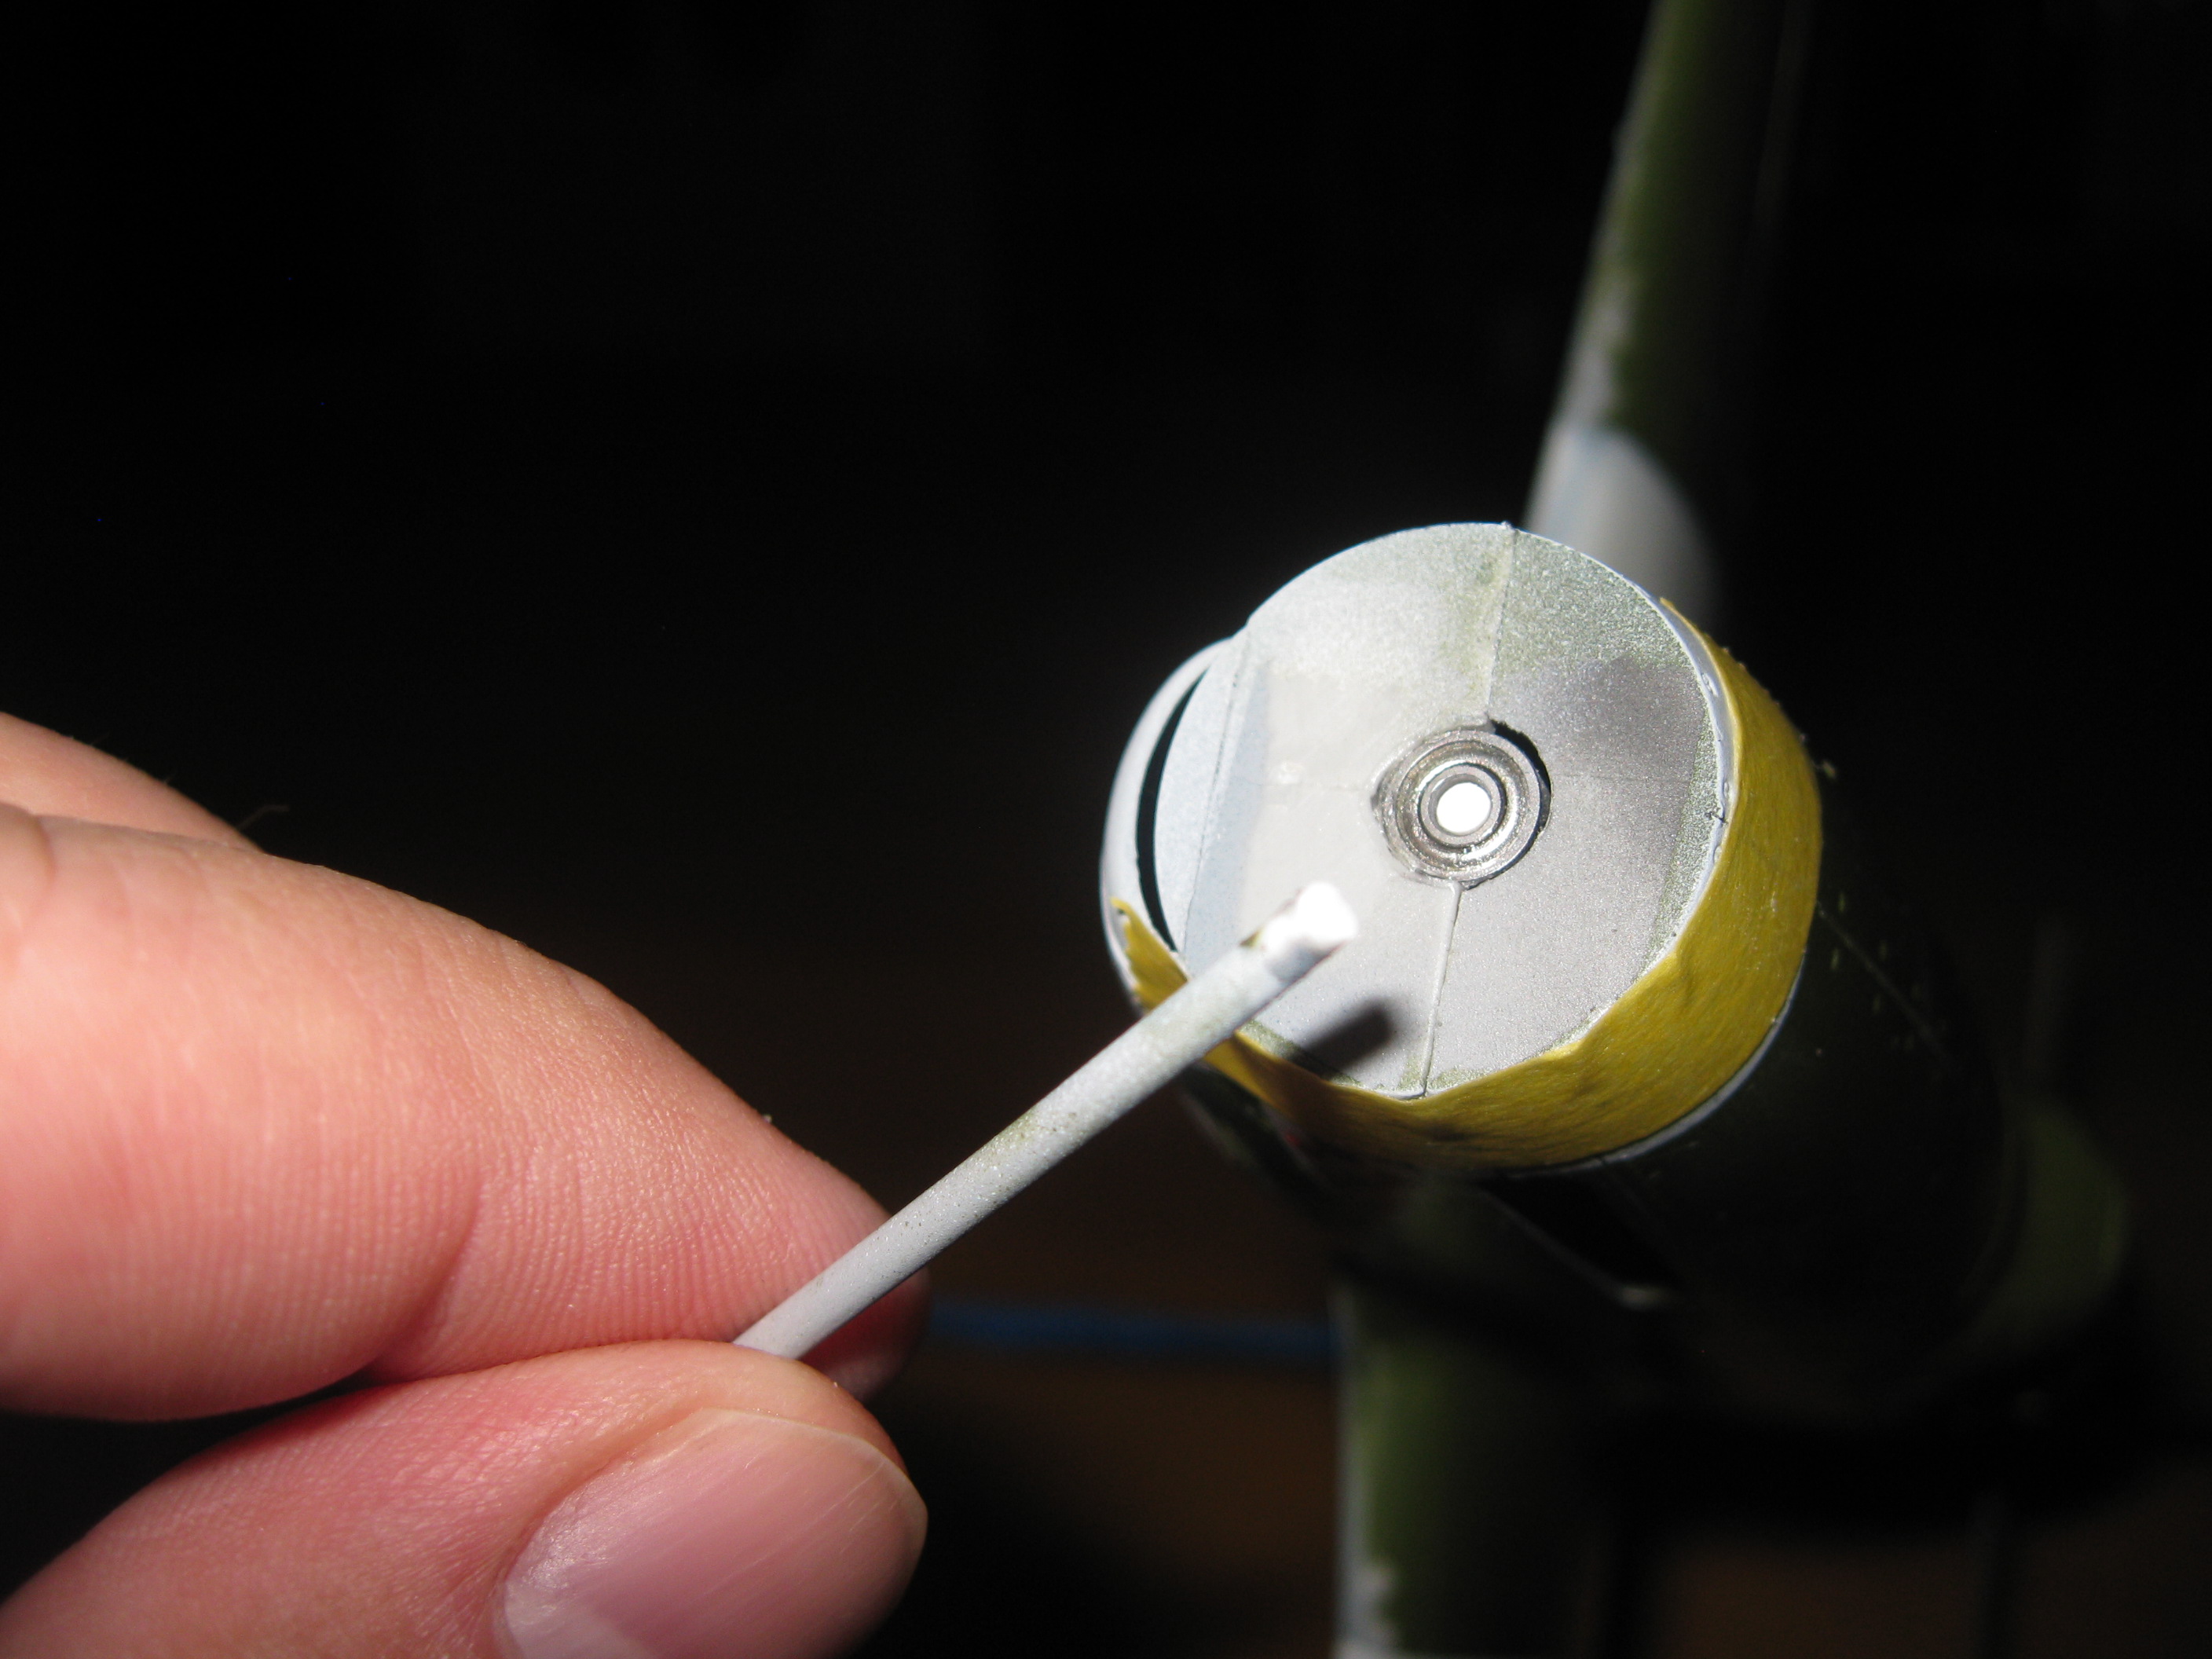
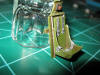
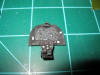
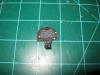
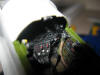
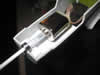
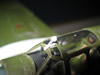
Now it was time to install the motor. The platform was glued in place and shimmed so that the motor would sit level with the spinner. The motor was placed in a pool of epoxy to cement it in place. The drive shaft of the motor and a rod for the prop were joined with a short piece of silicone RC fuel line. This would allow a little flex in the connection in case things were not quite on center. The prop rod was pushed through the small bearing which was used to eliminate any plastic rubbing on plastic while the prop was spinning.(Dec 12, 2011)
   |
|
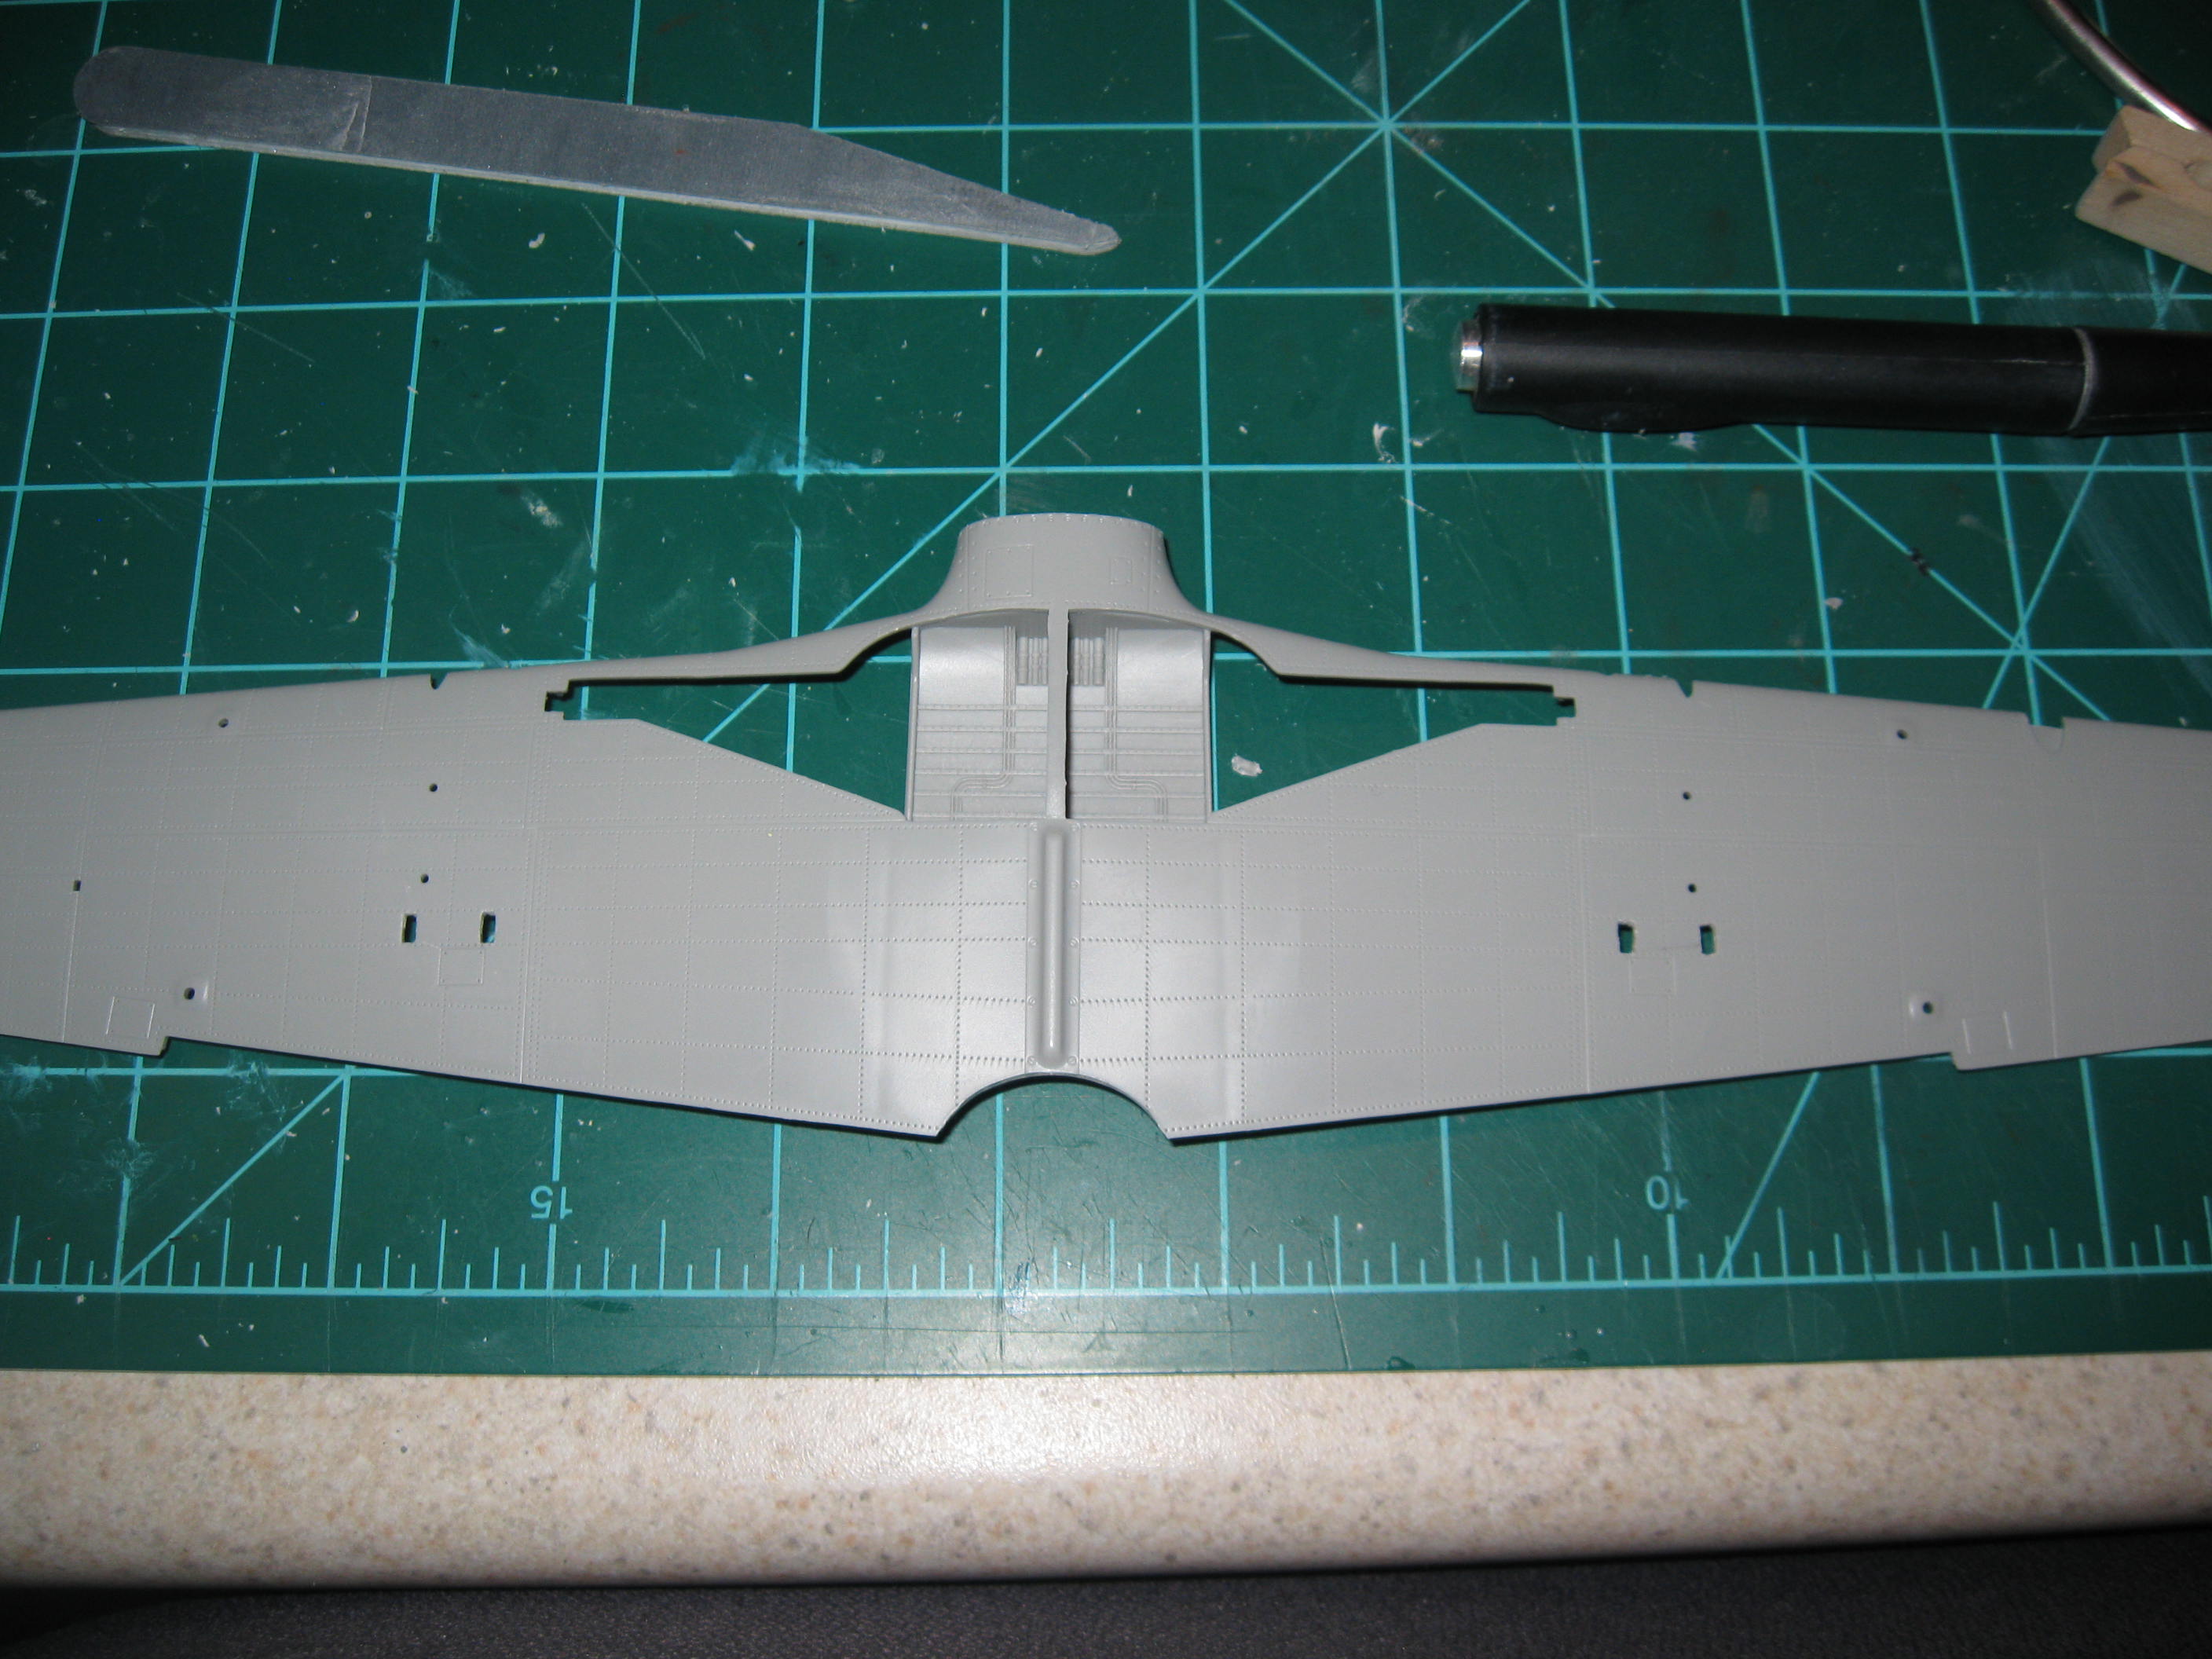
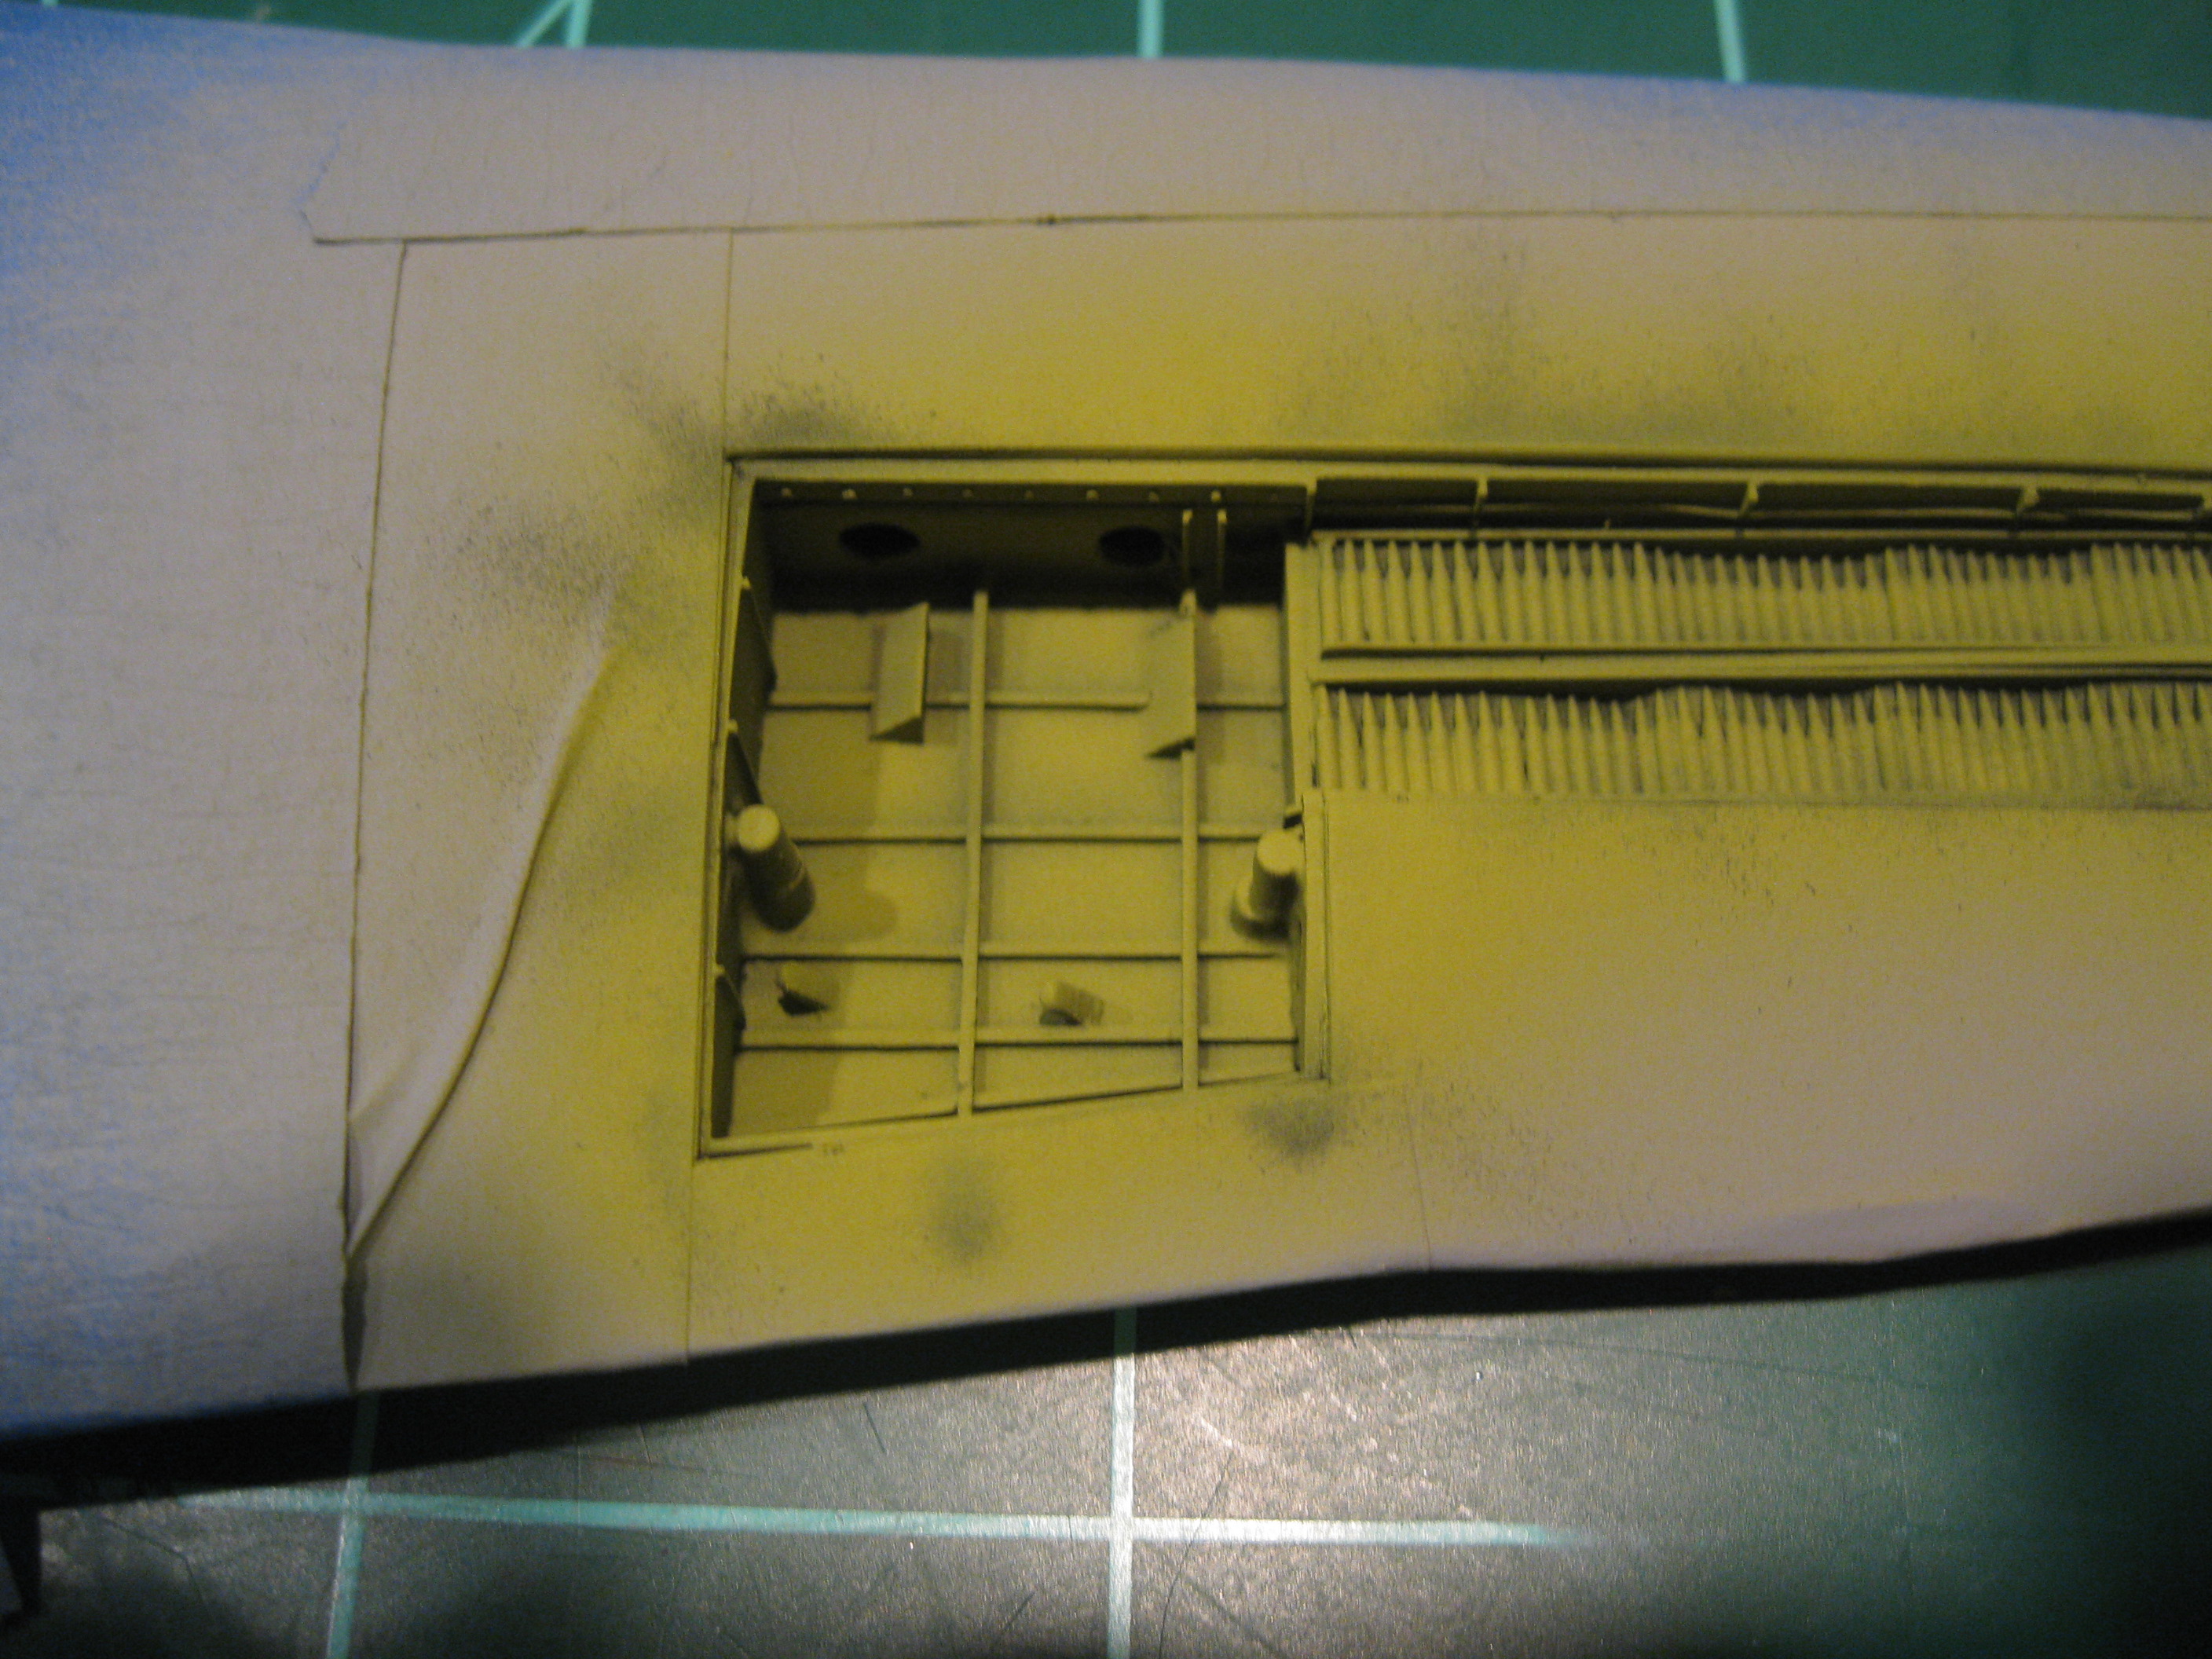
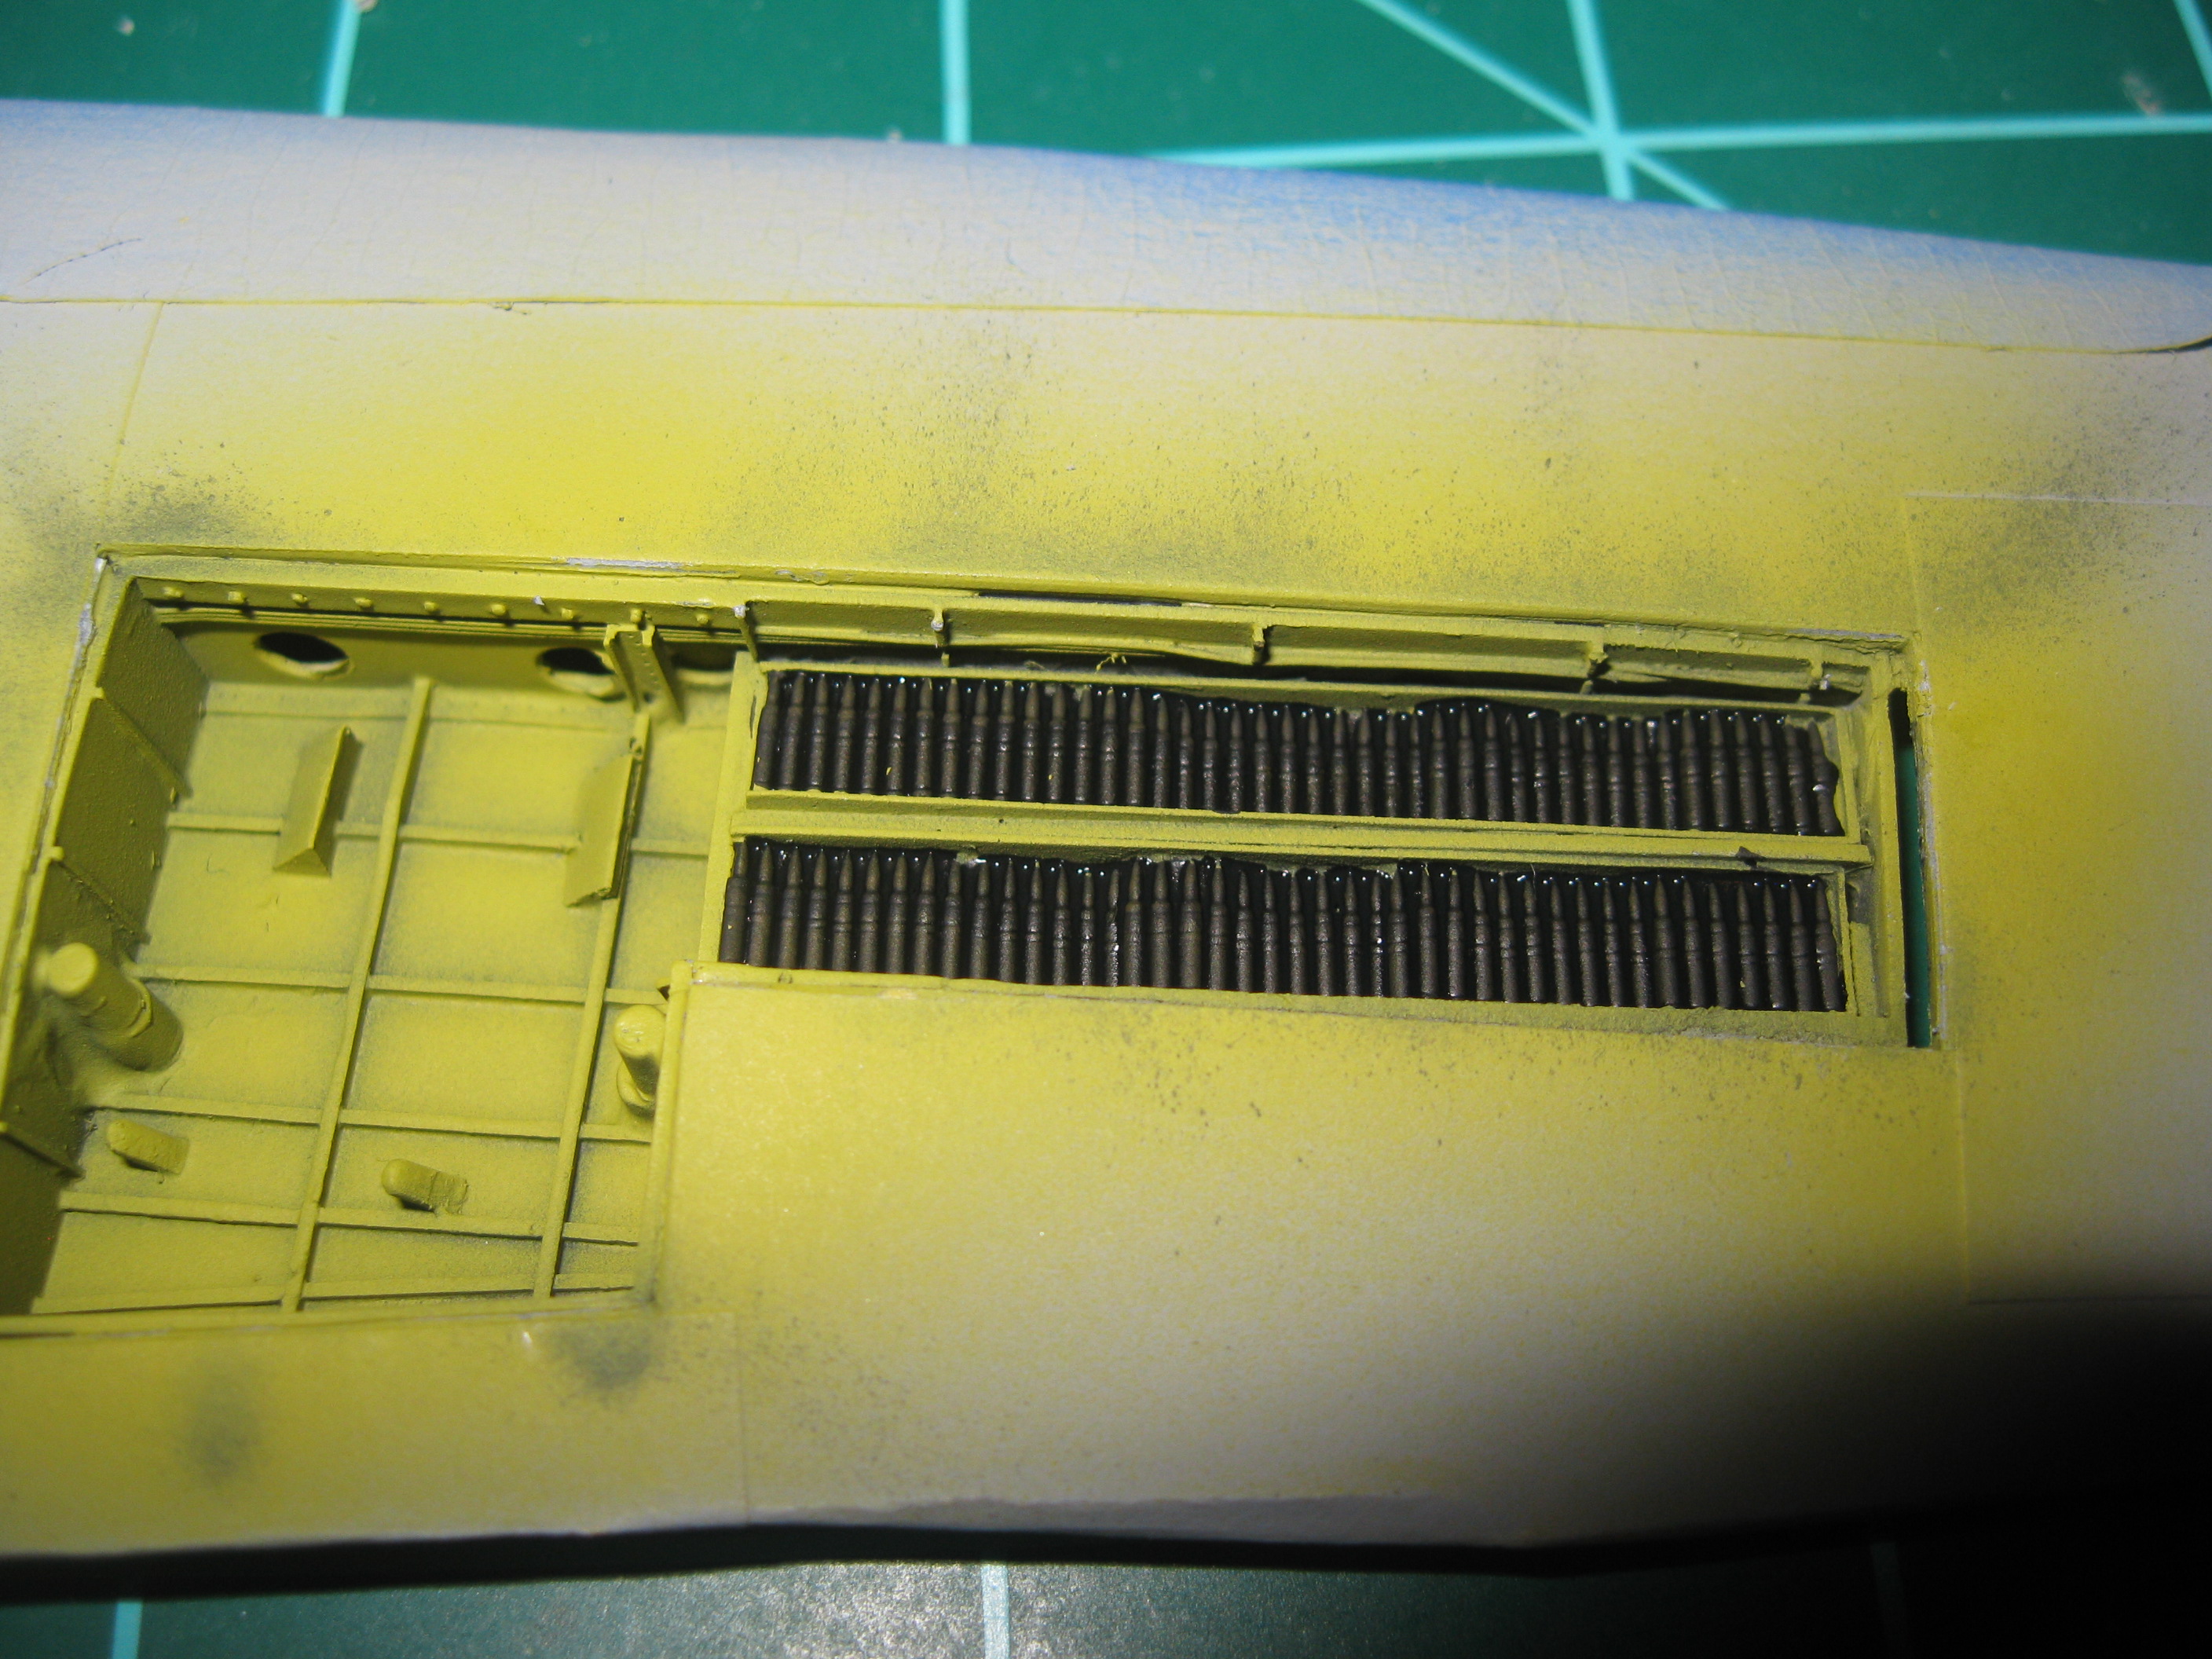
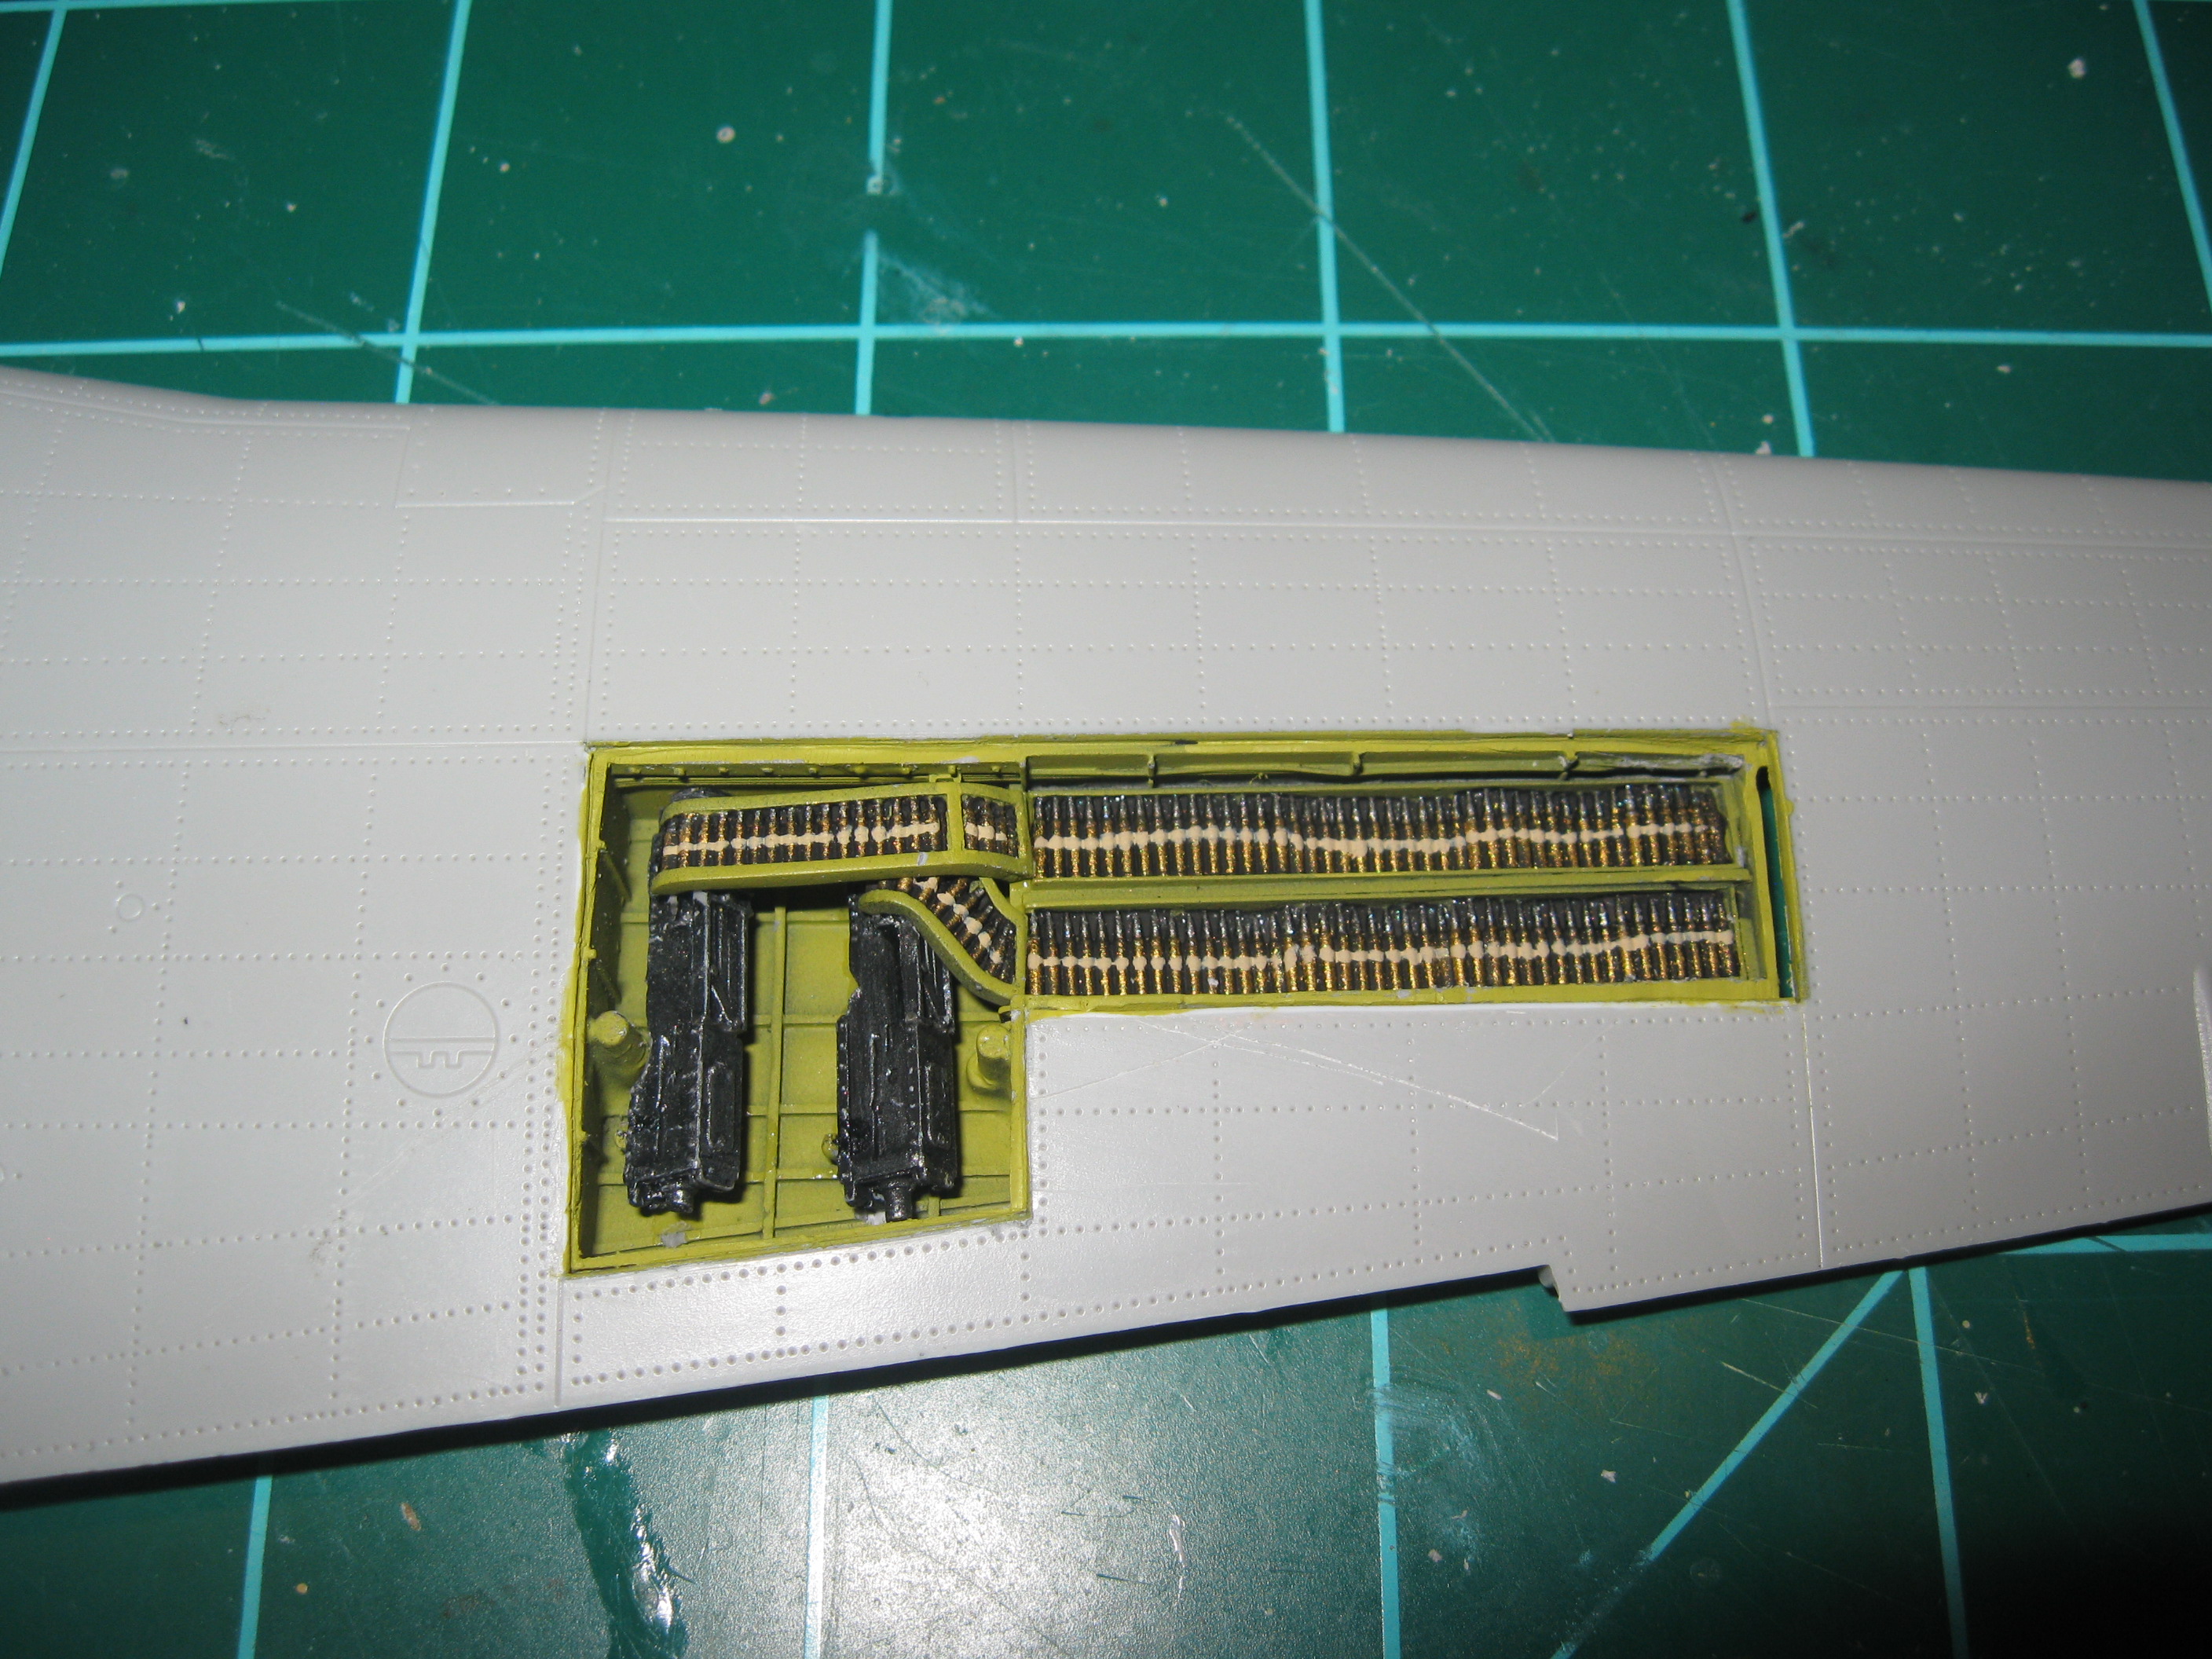
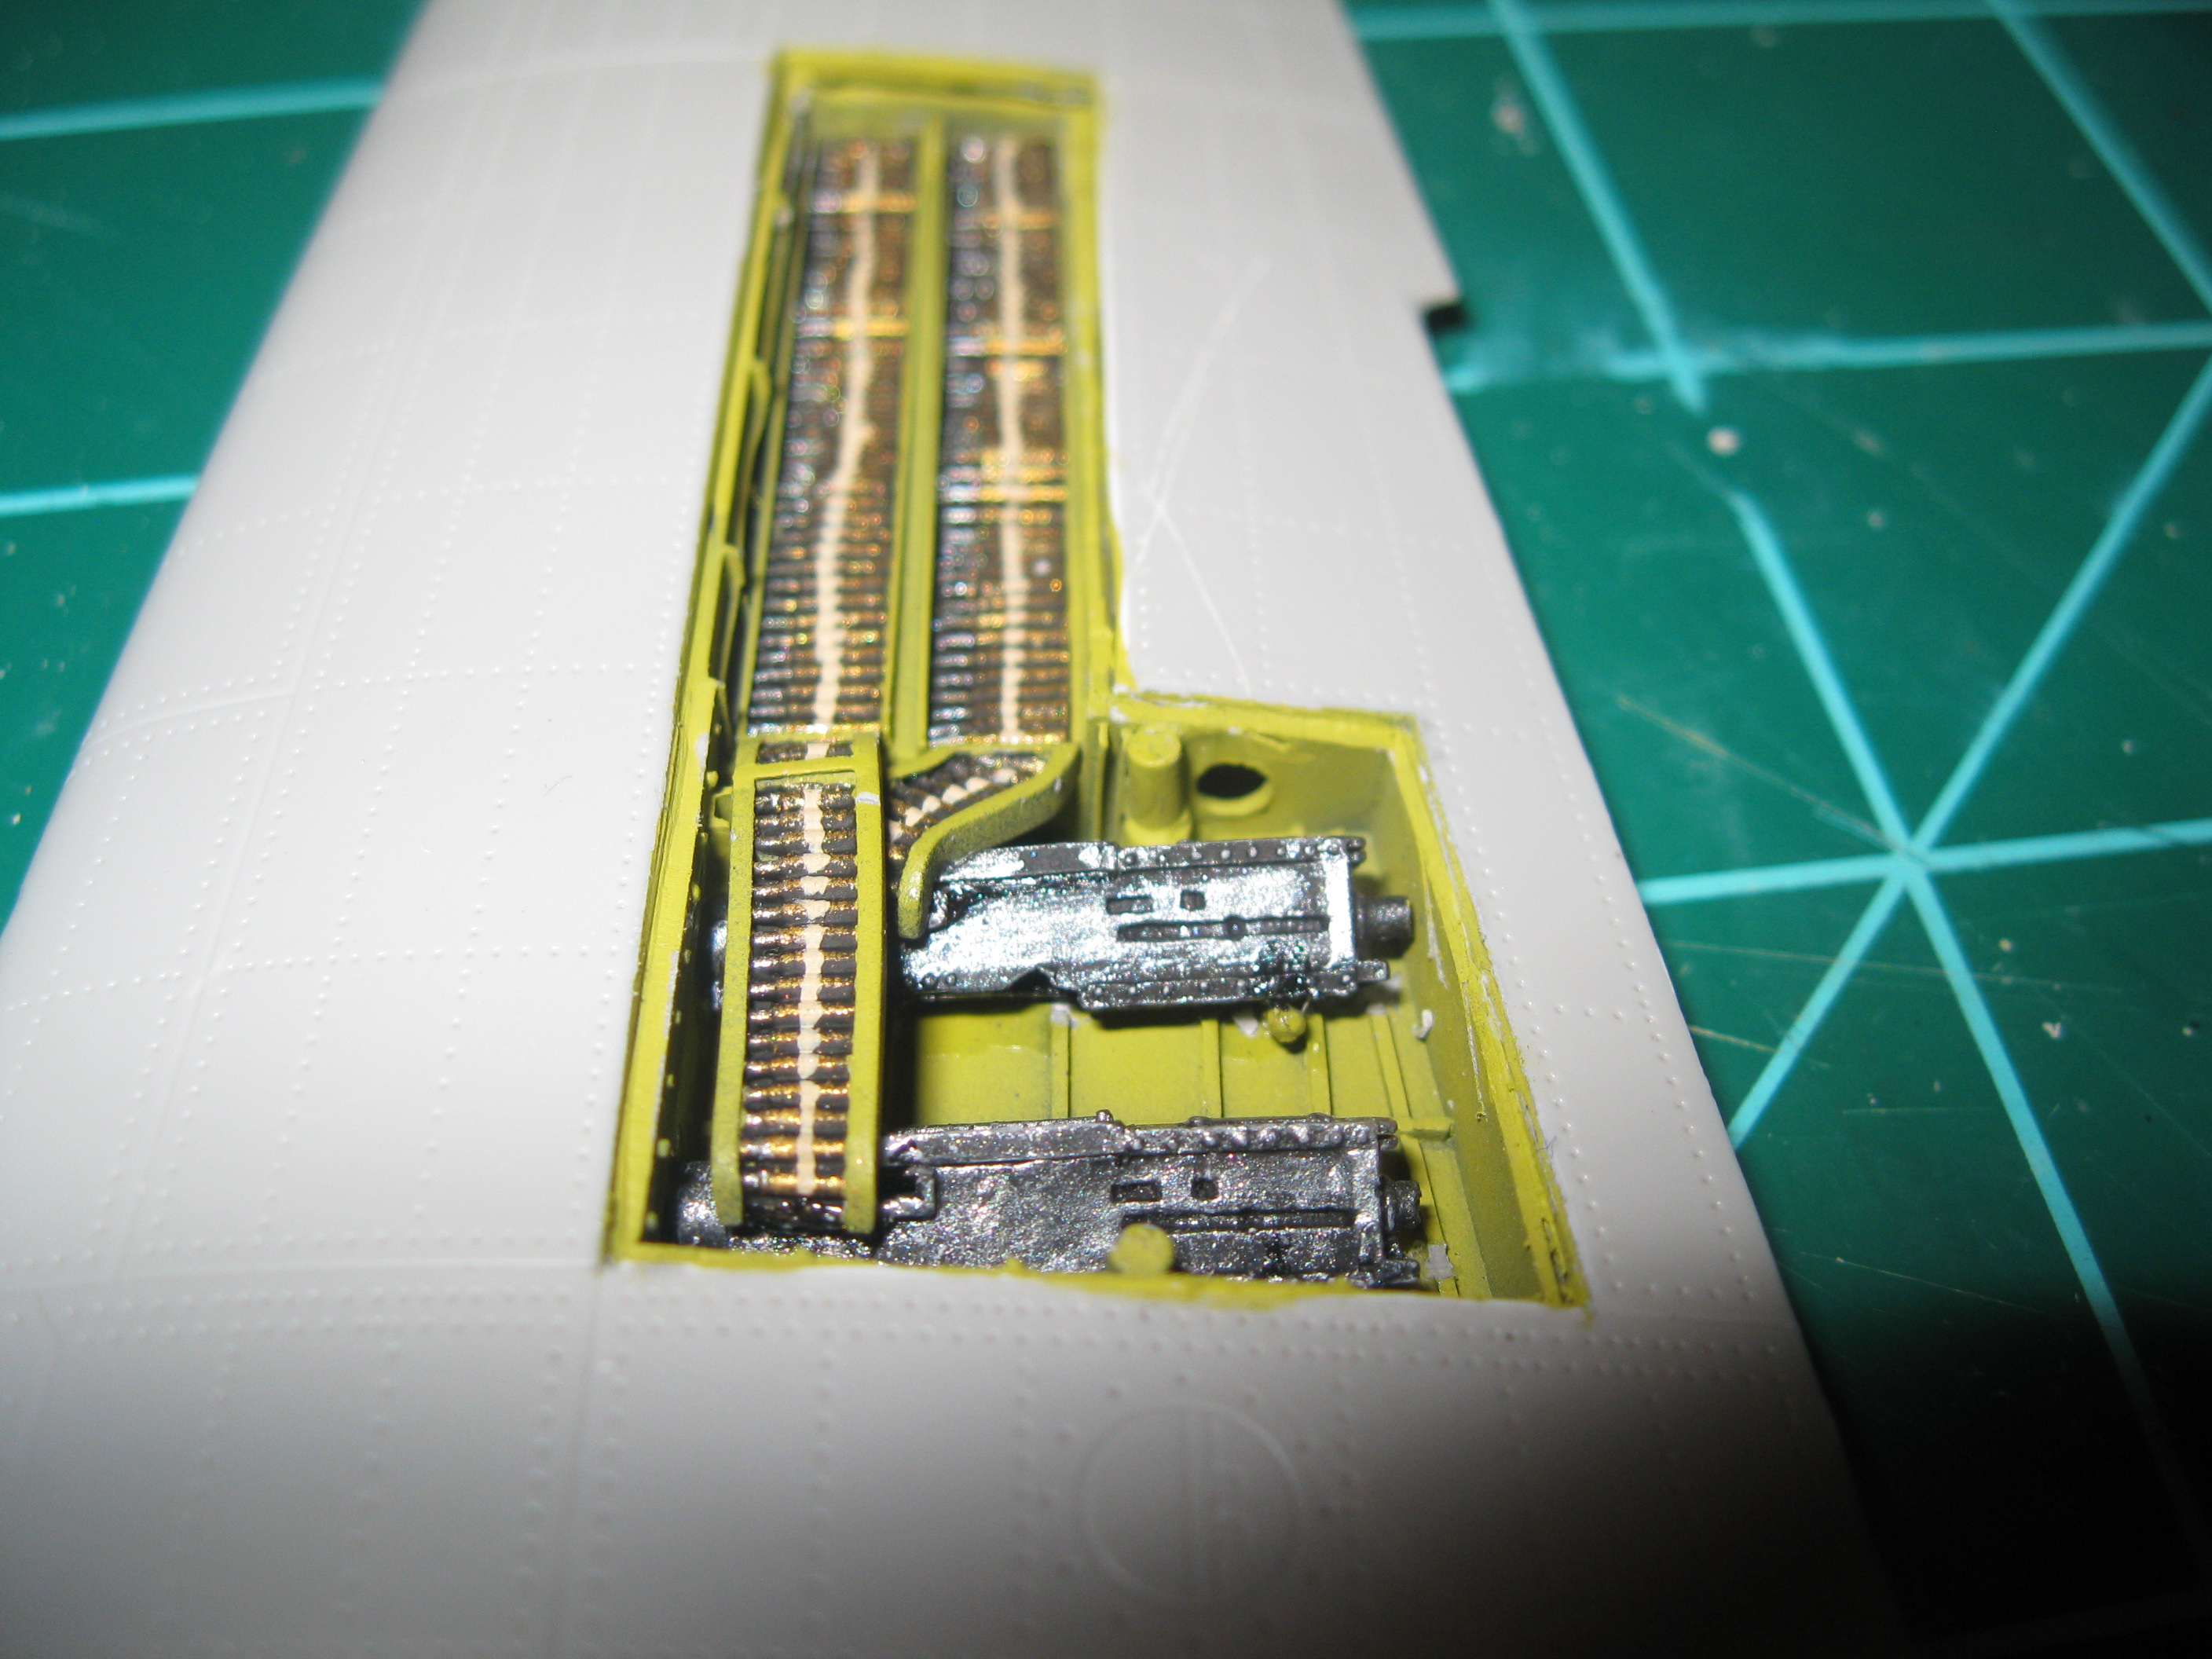
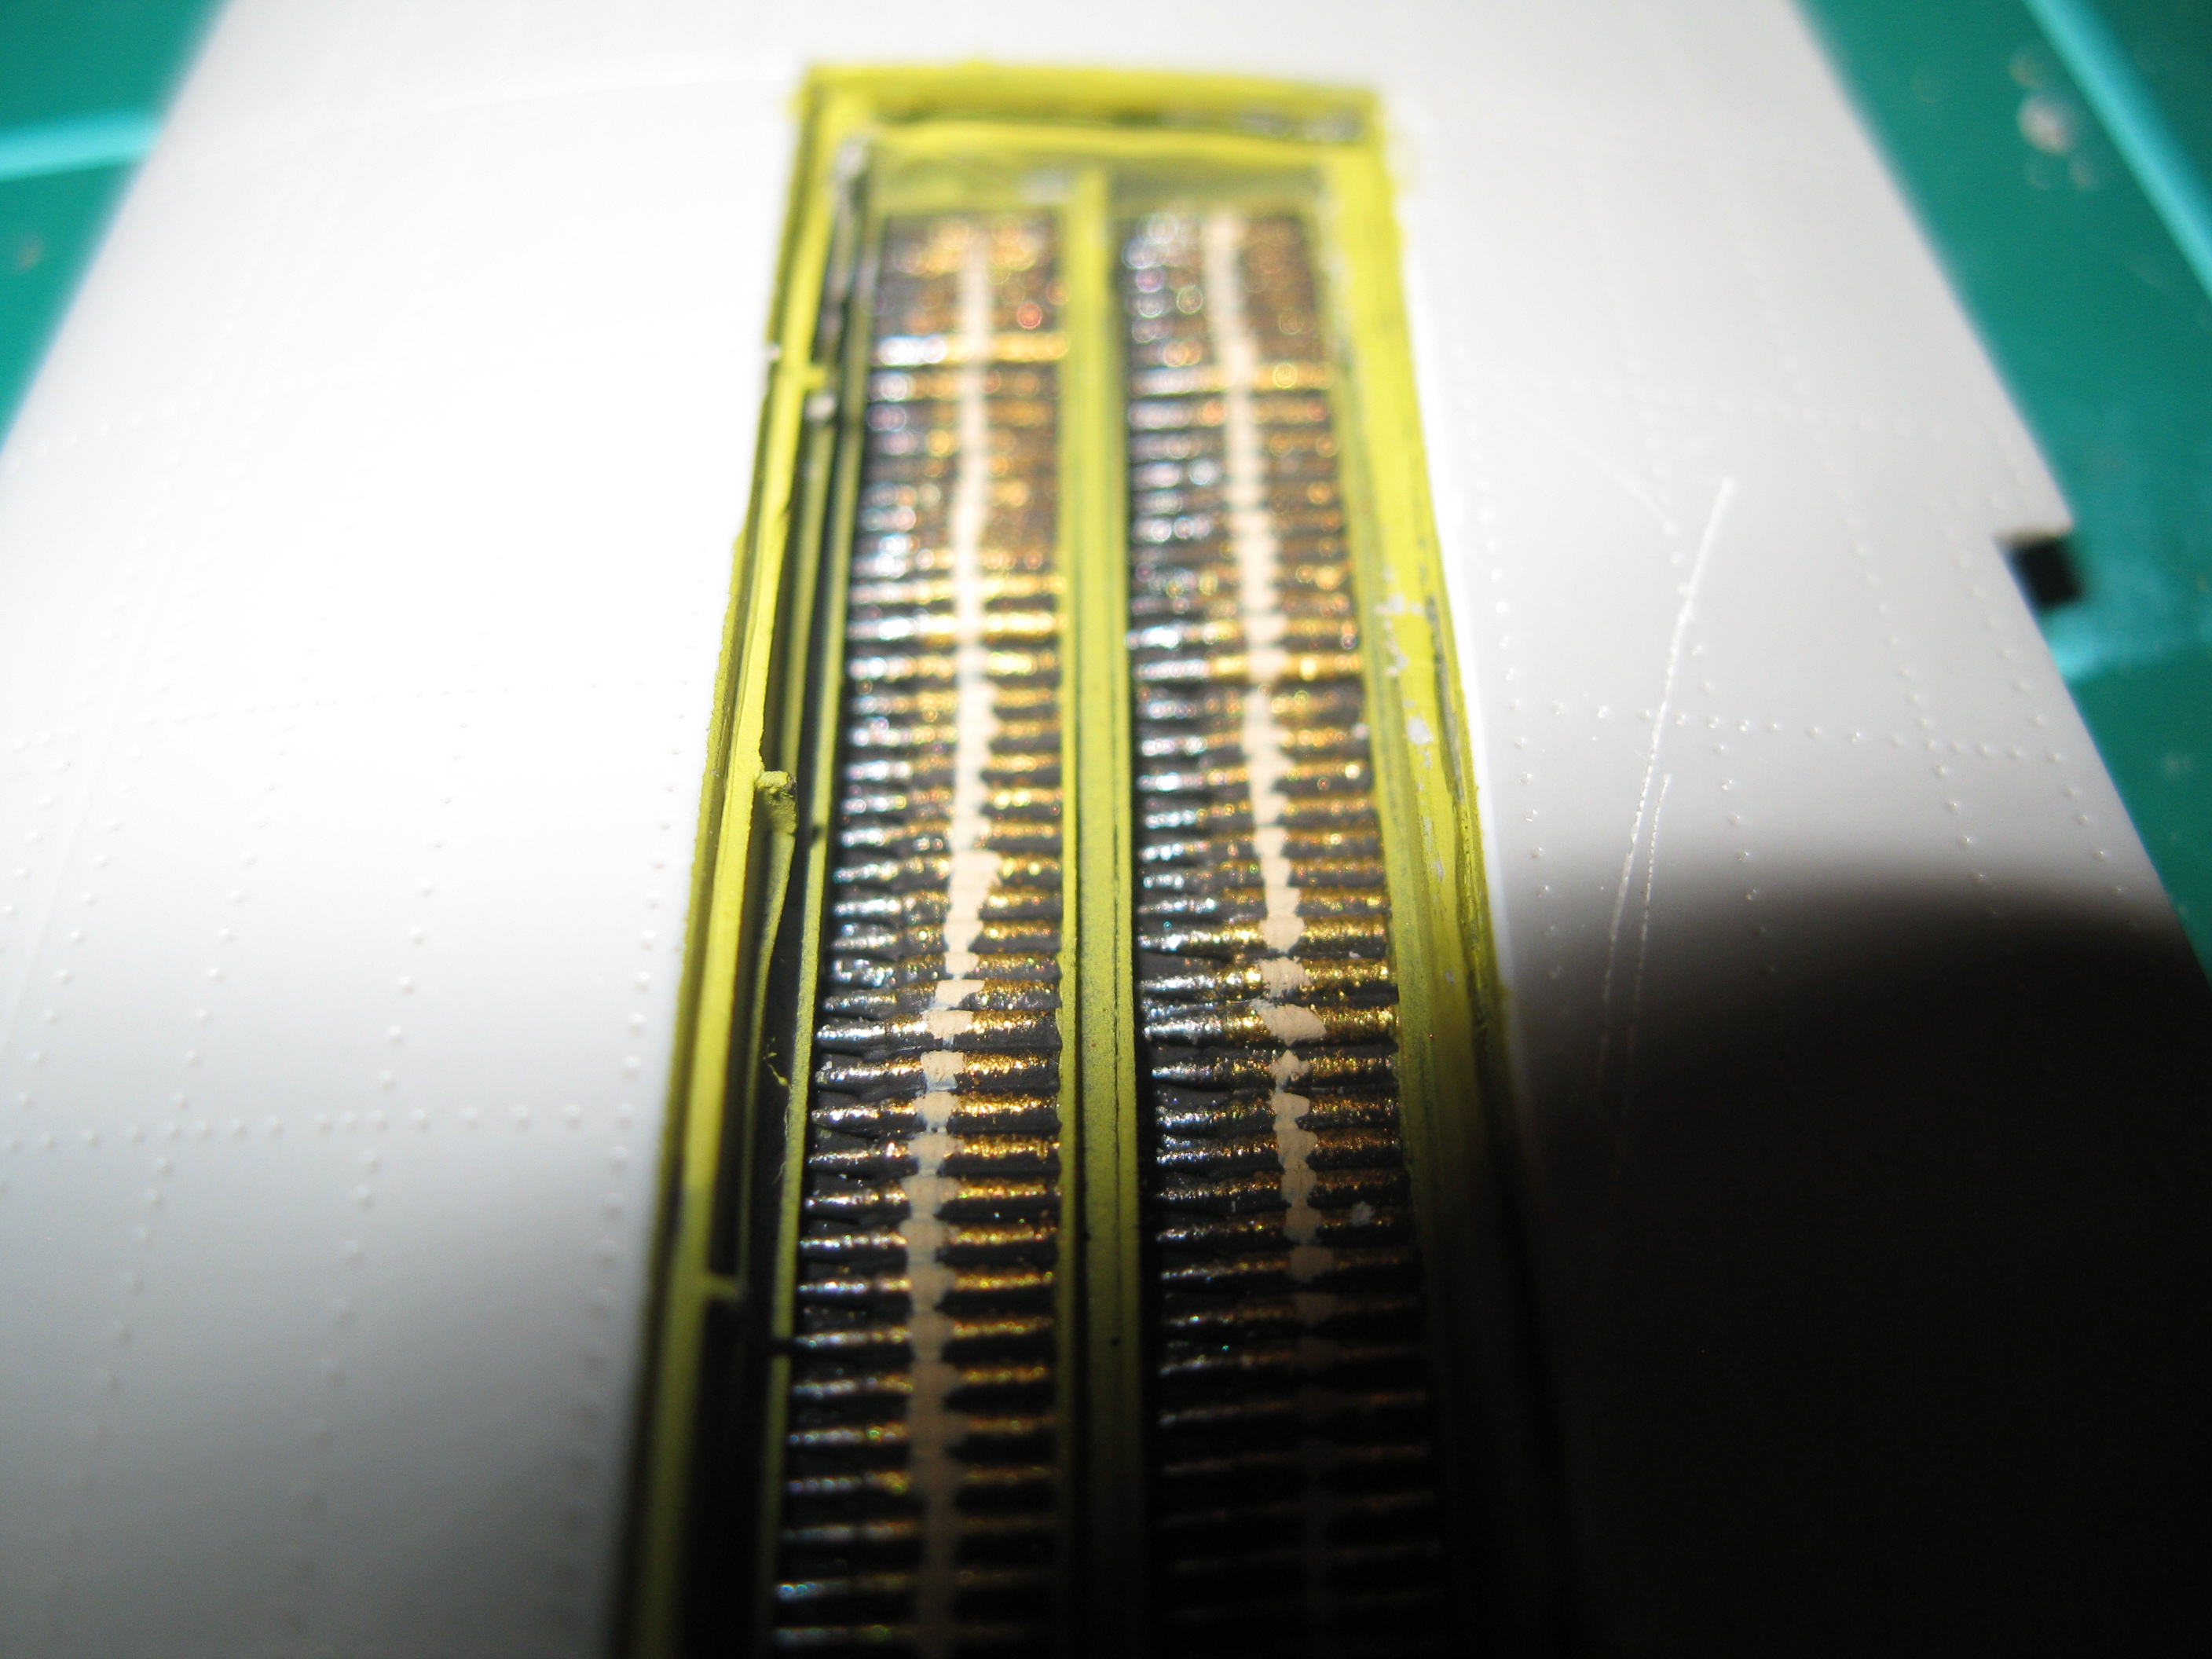
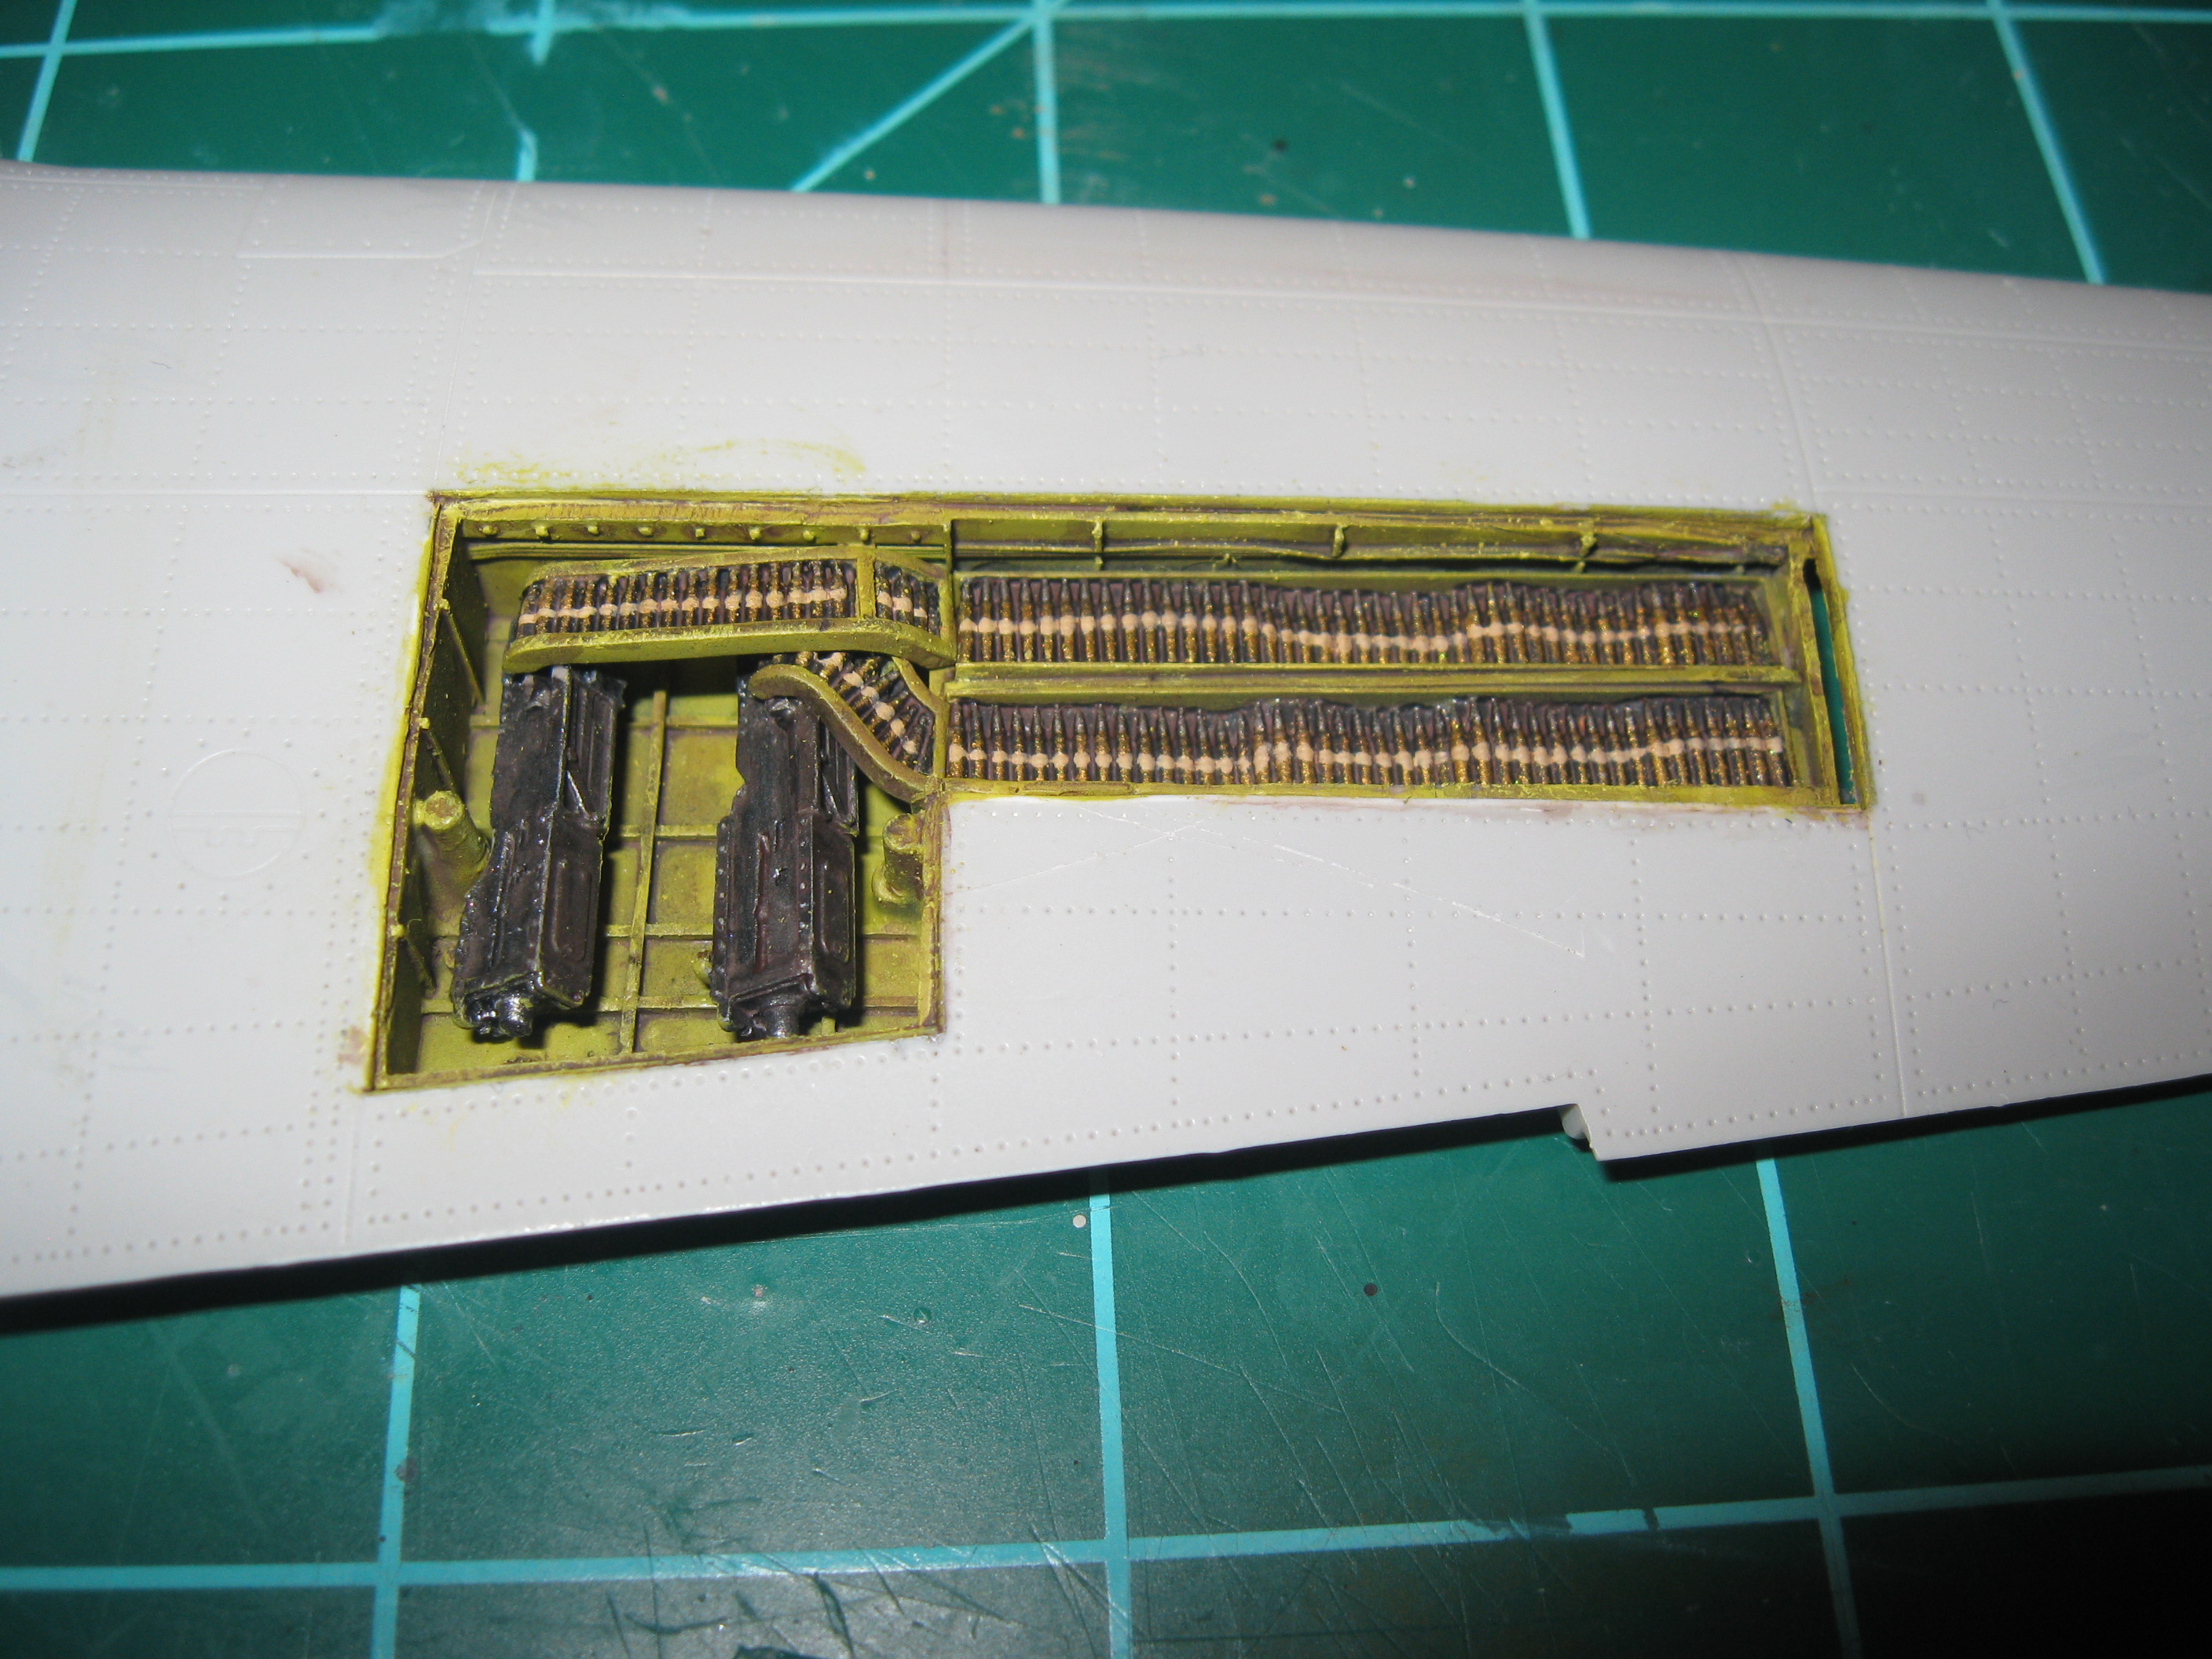
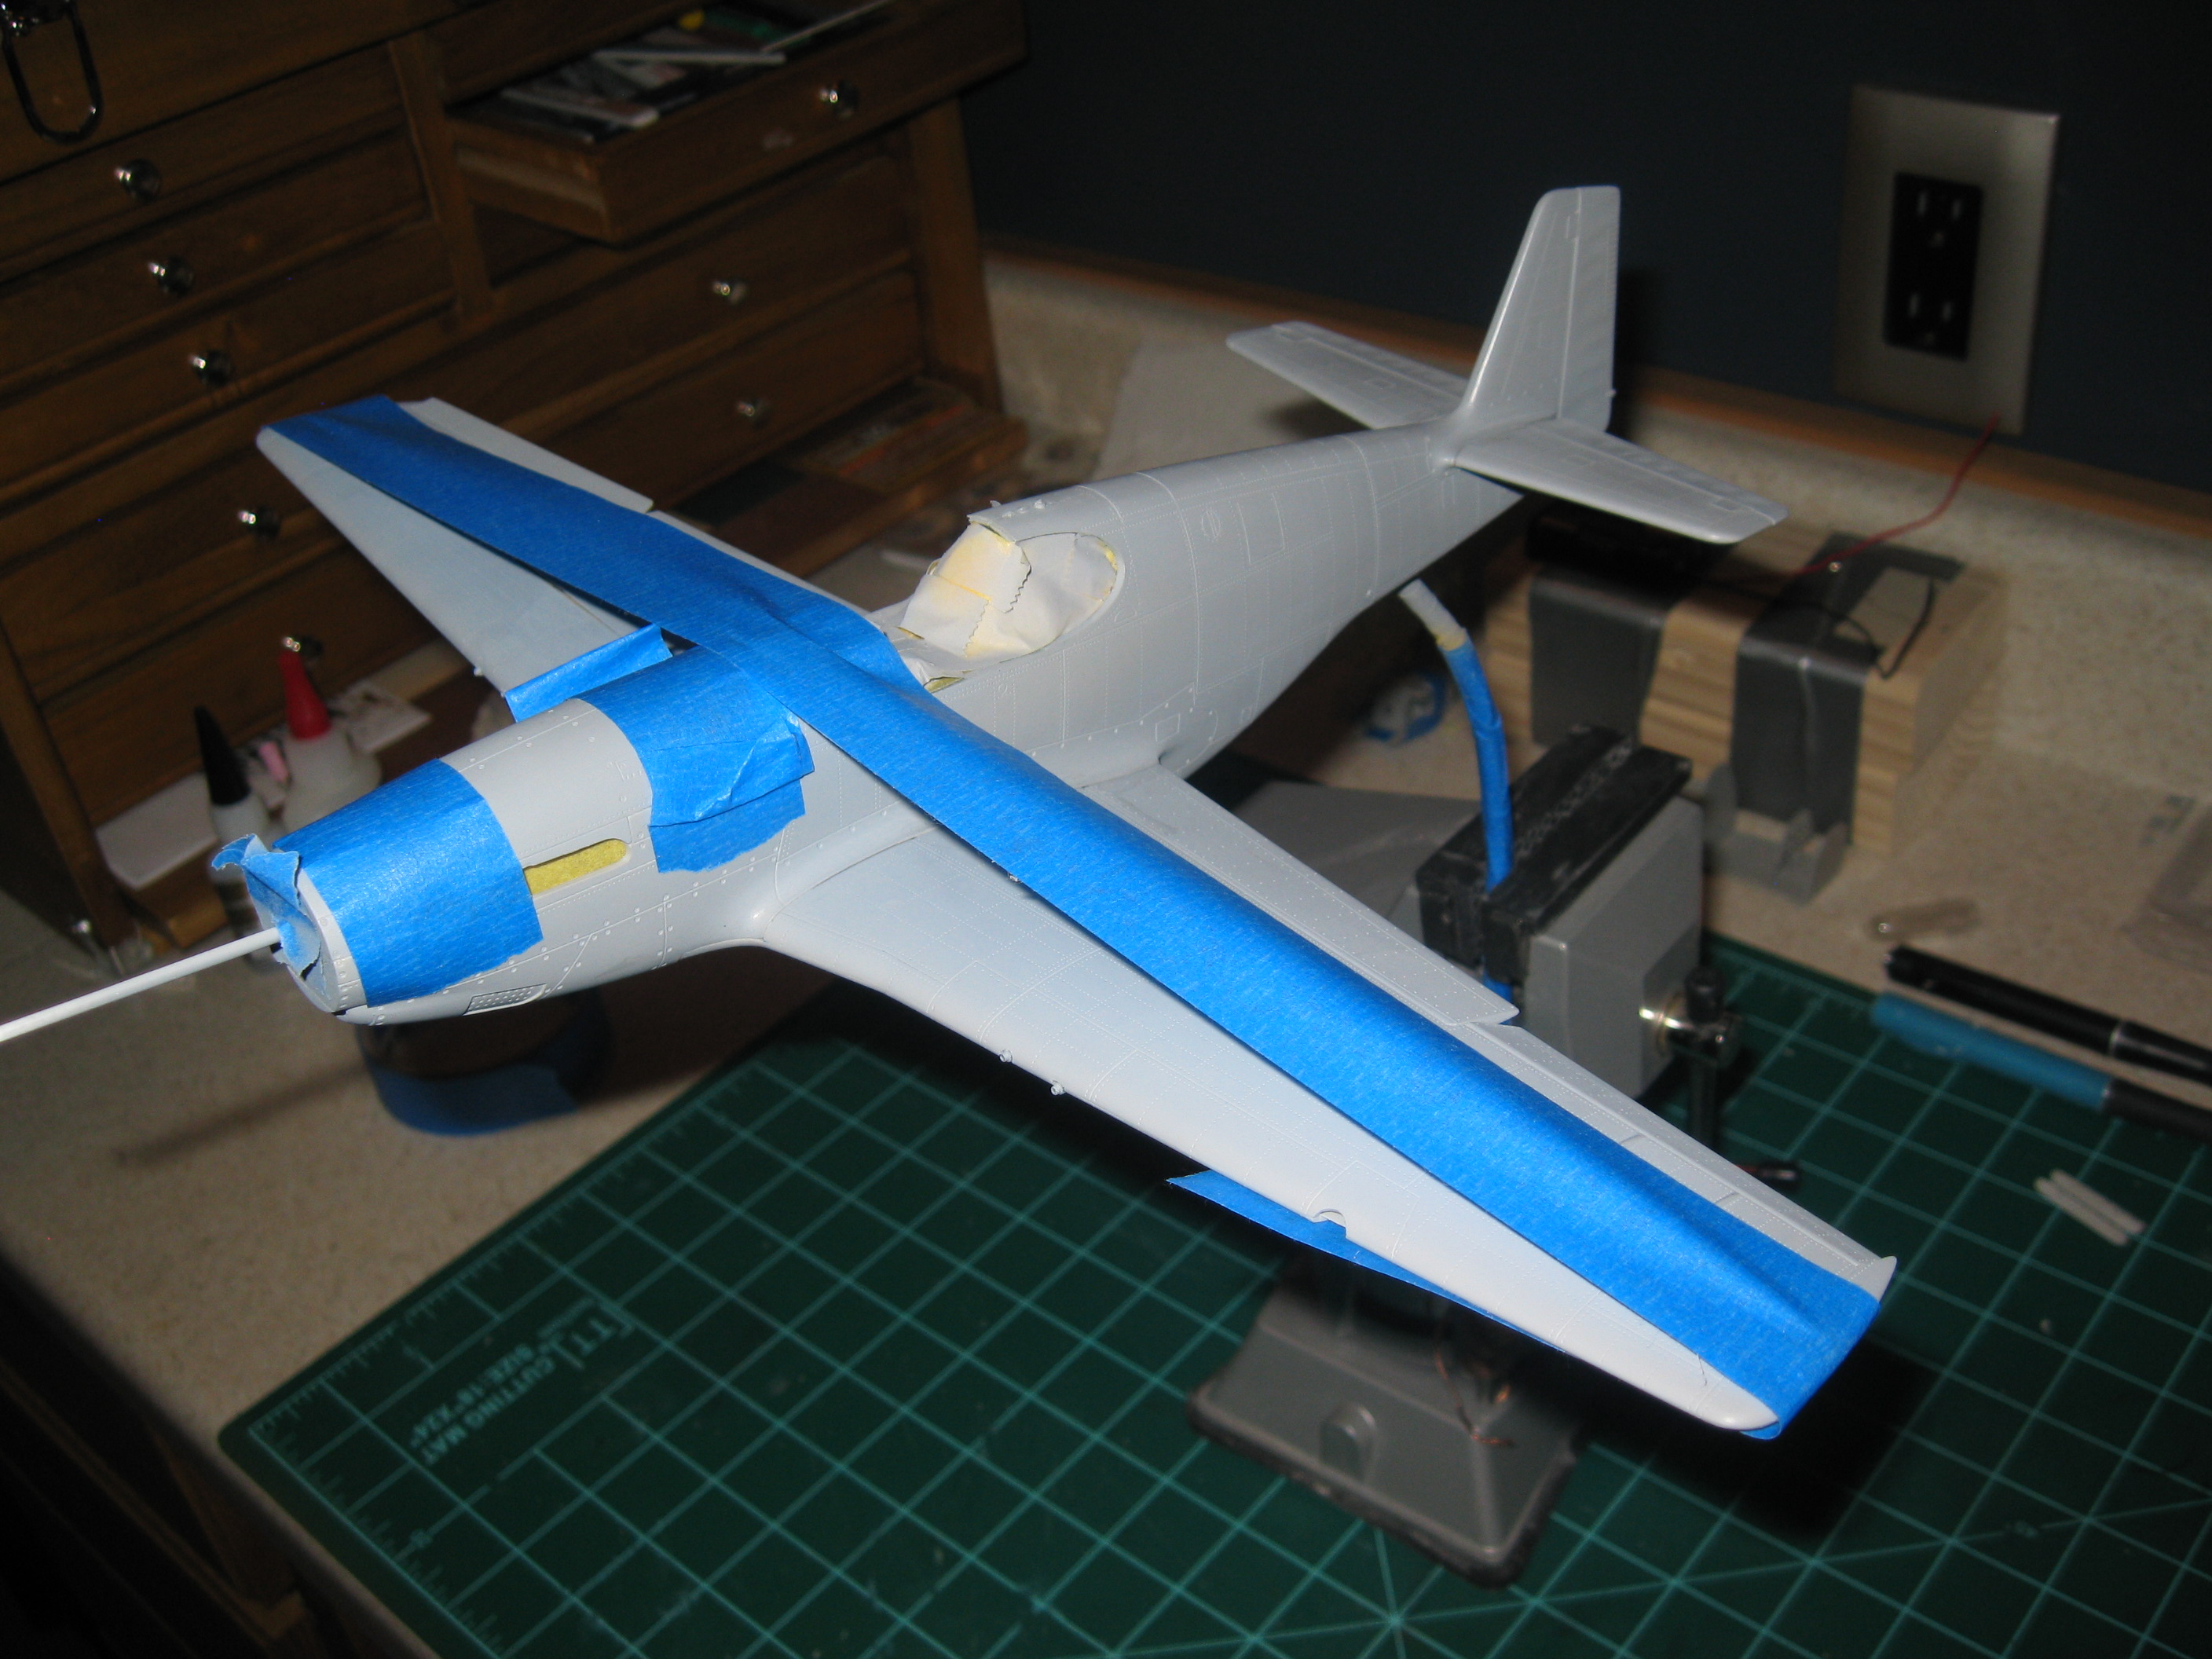
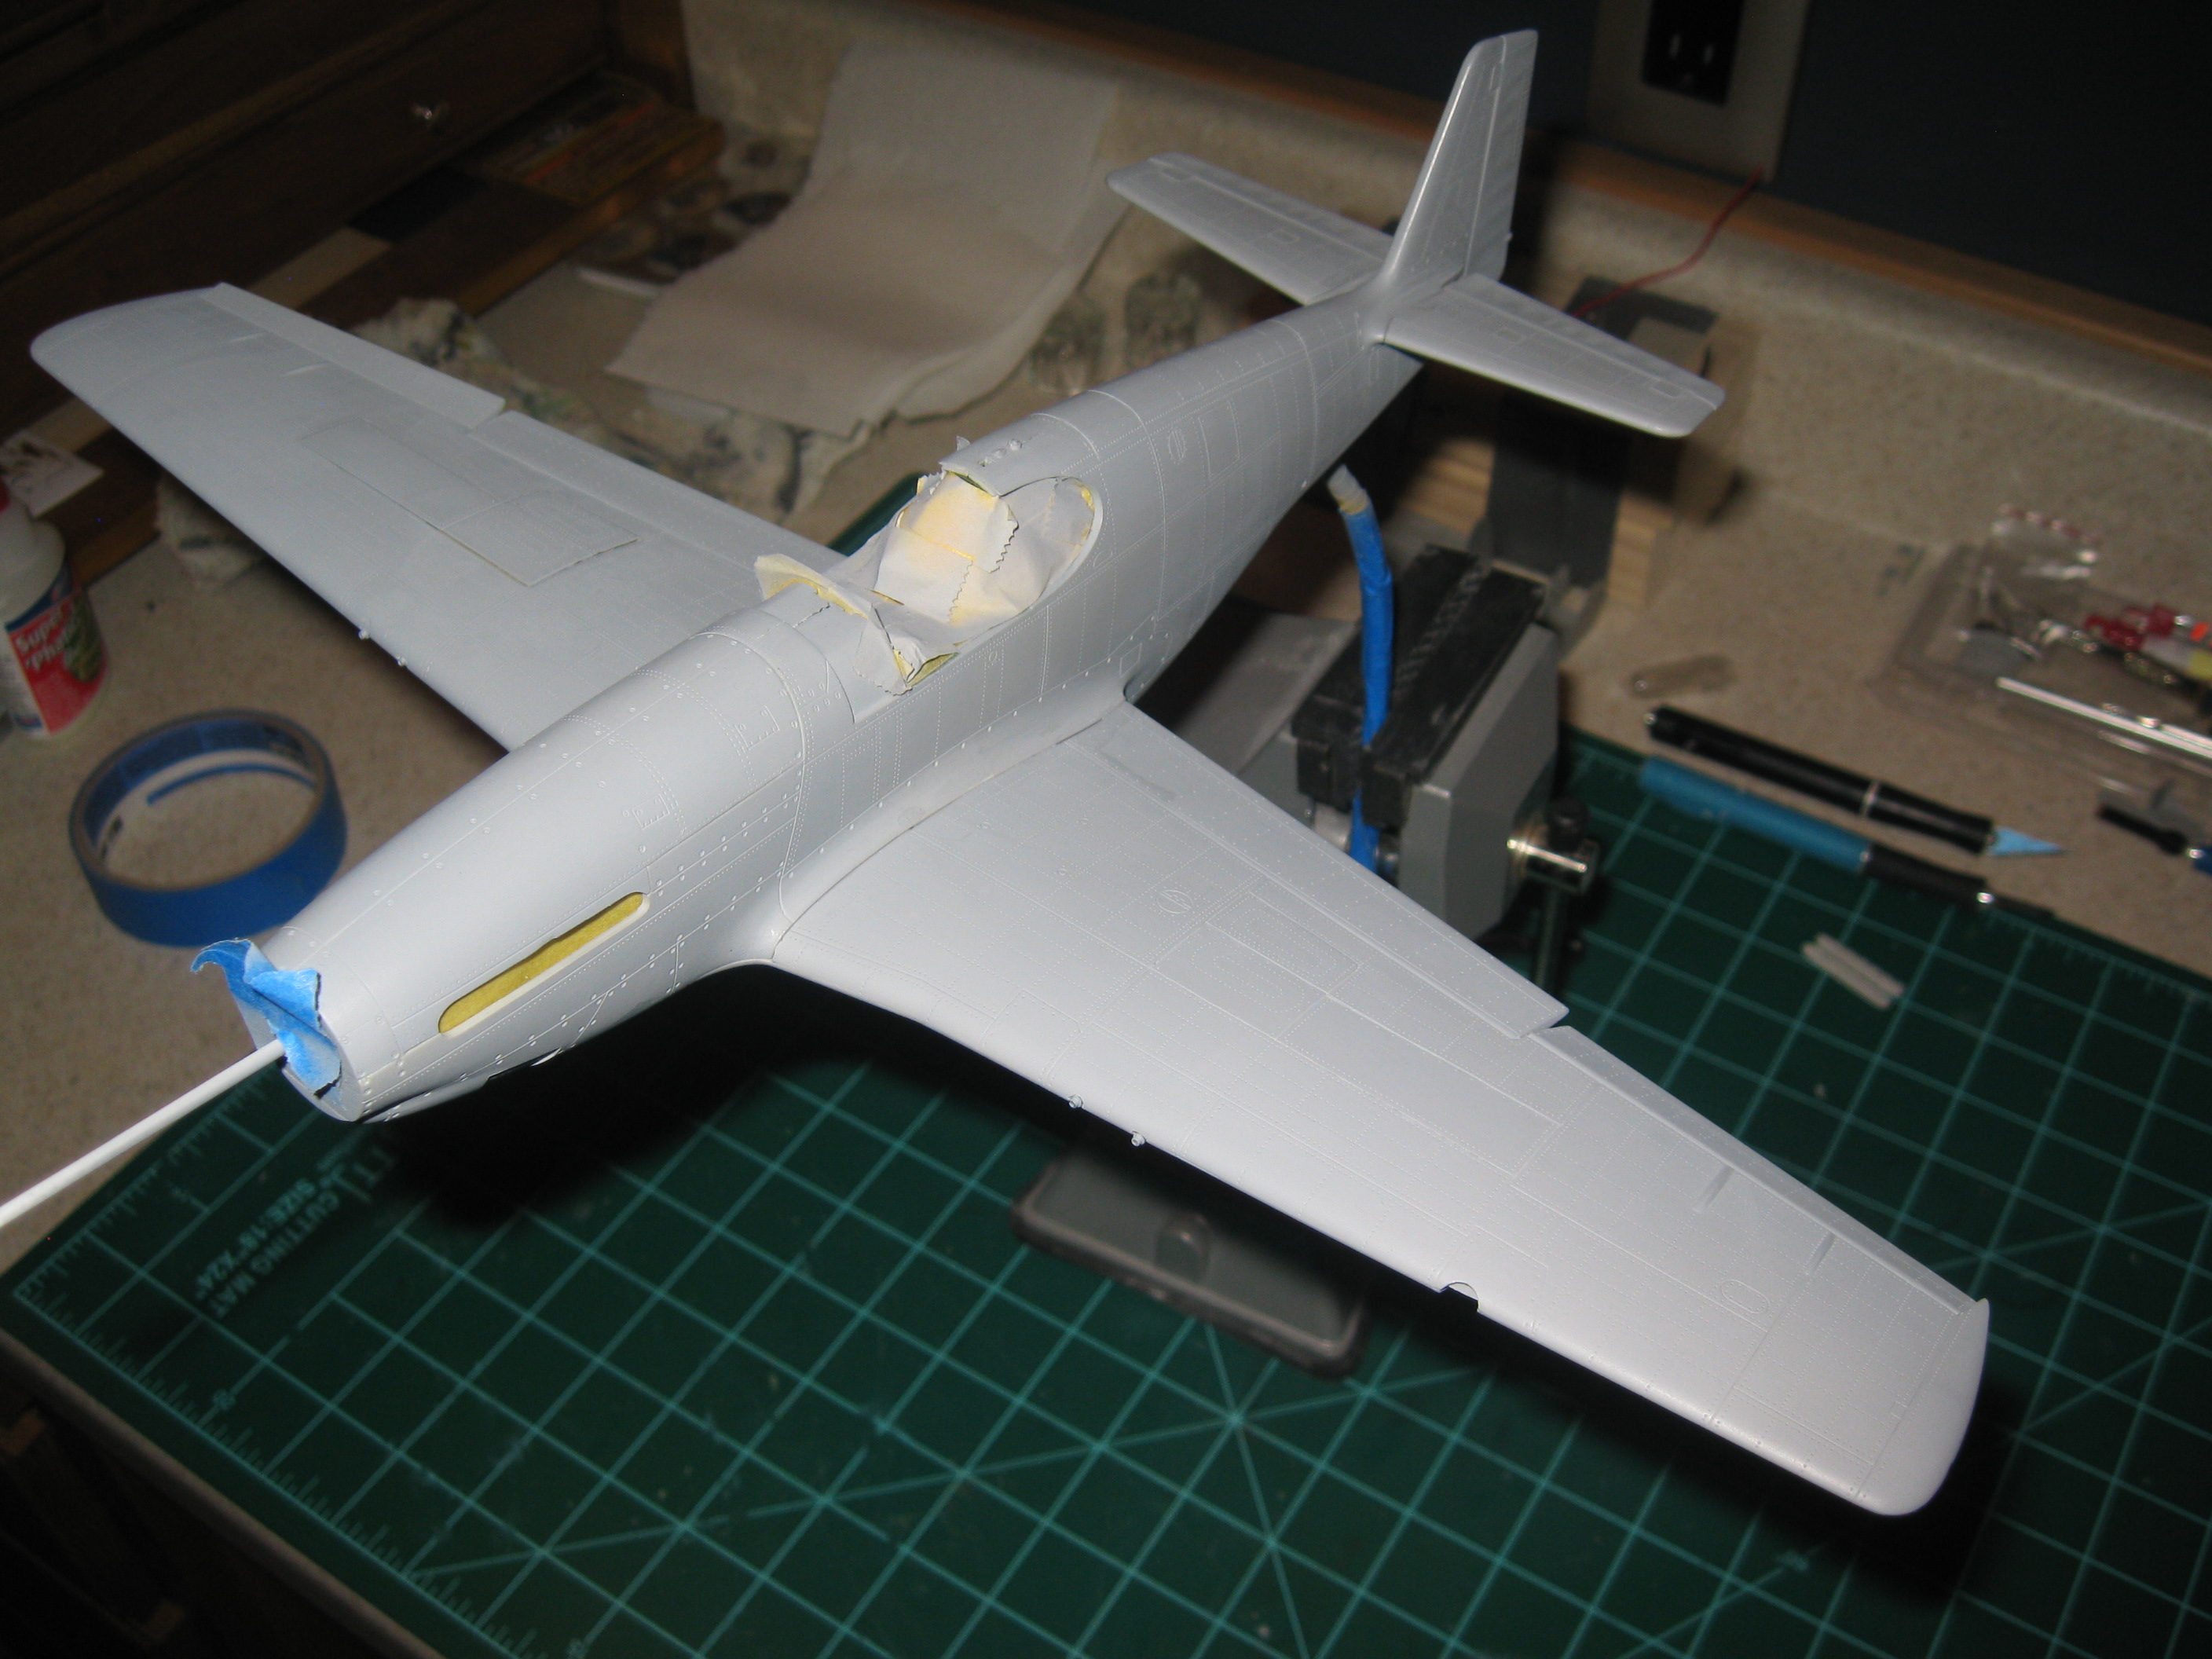
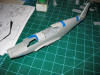
I know that my P-51 is going
to be displayed in flight, but I wanted to add one of the Aires
gun bays anyway along with the Master Models .50c gun barrels.
| |
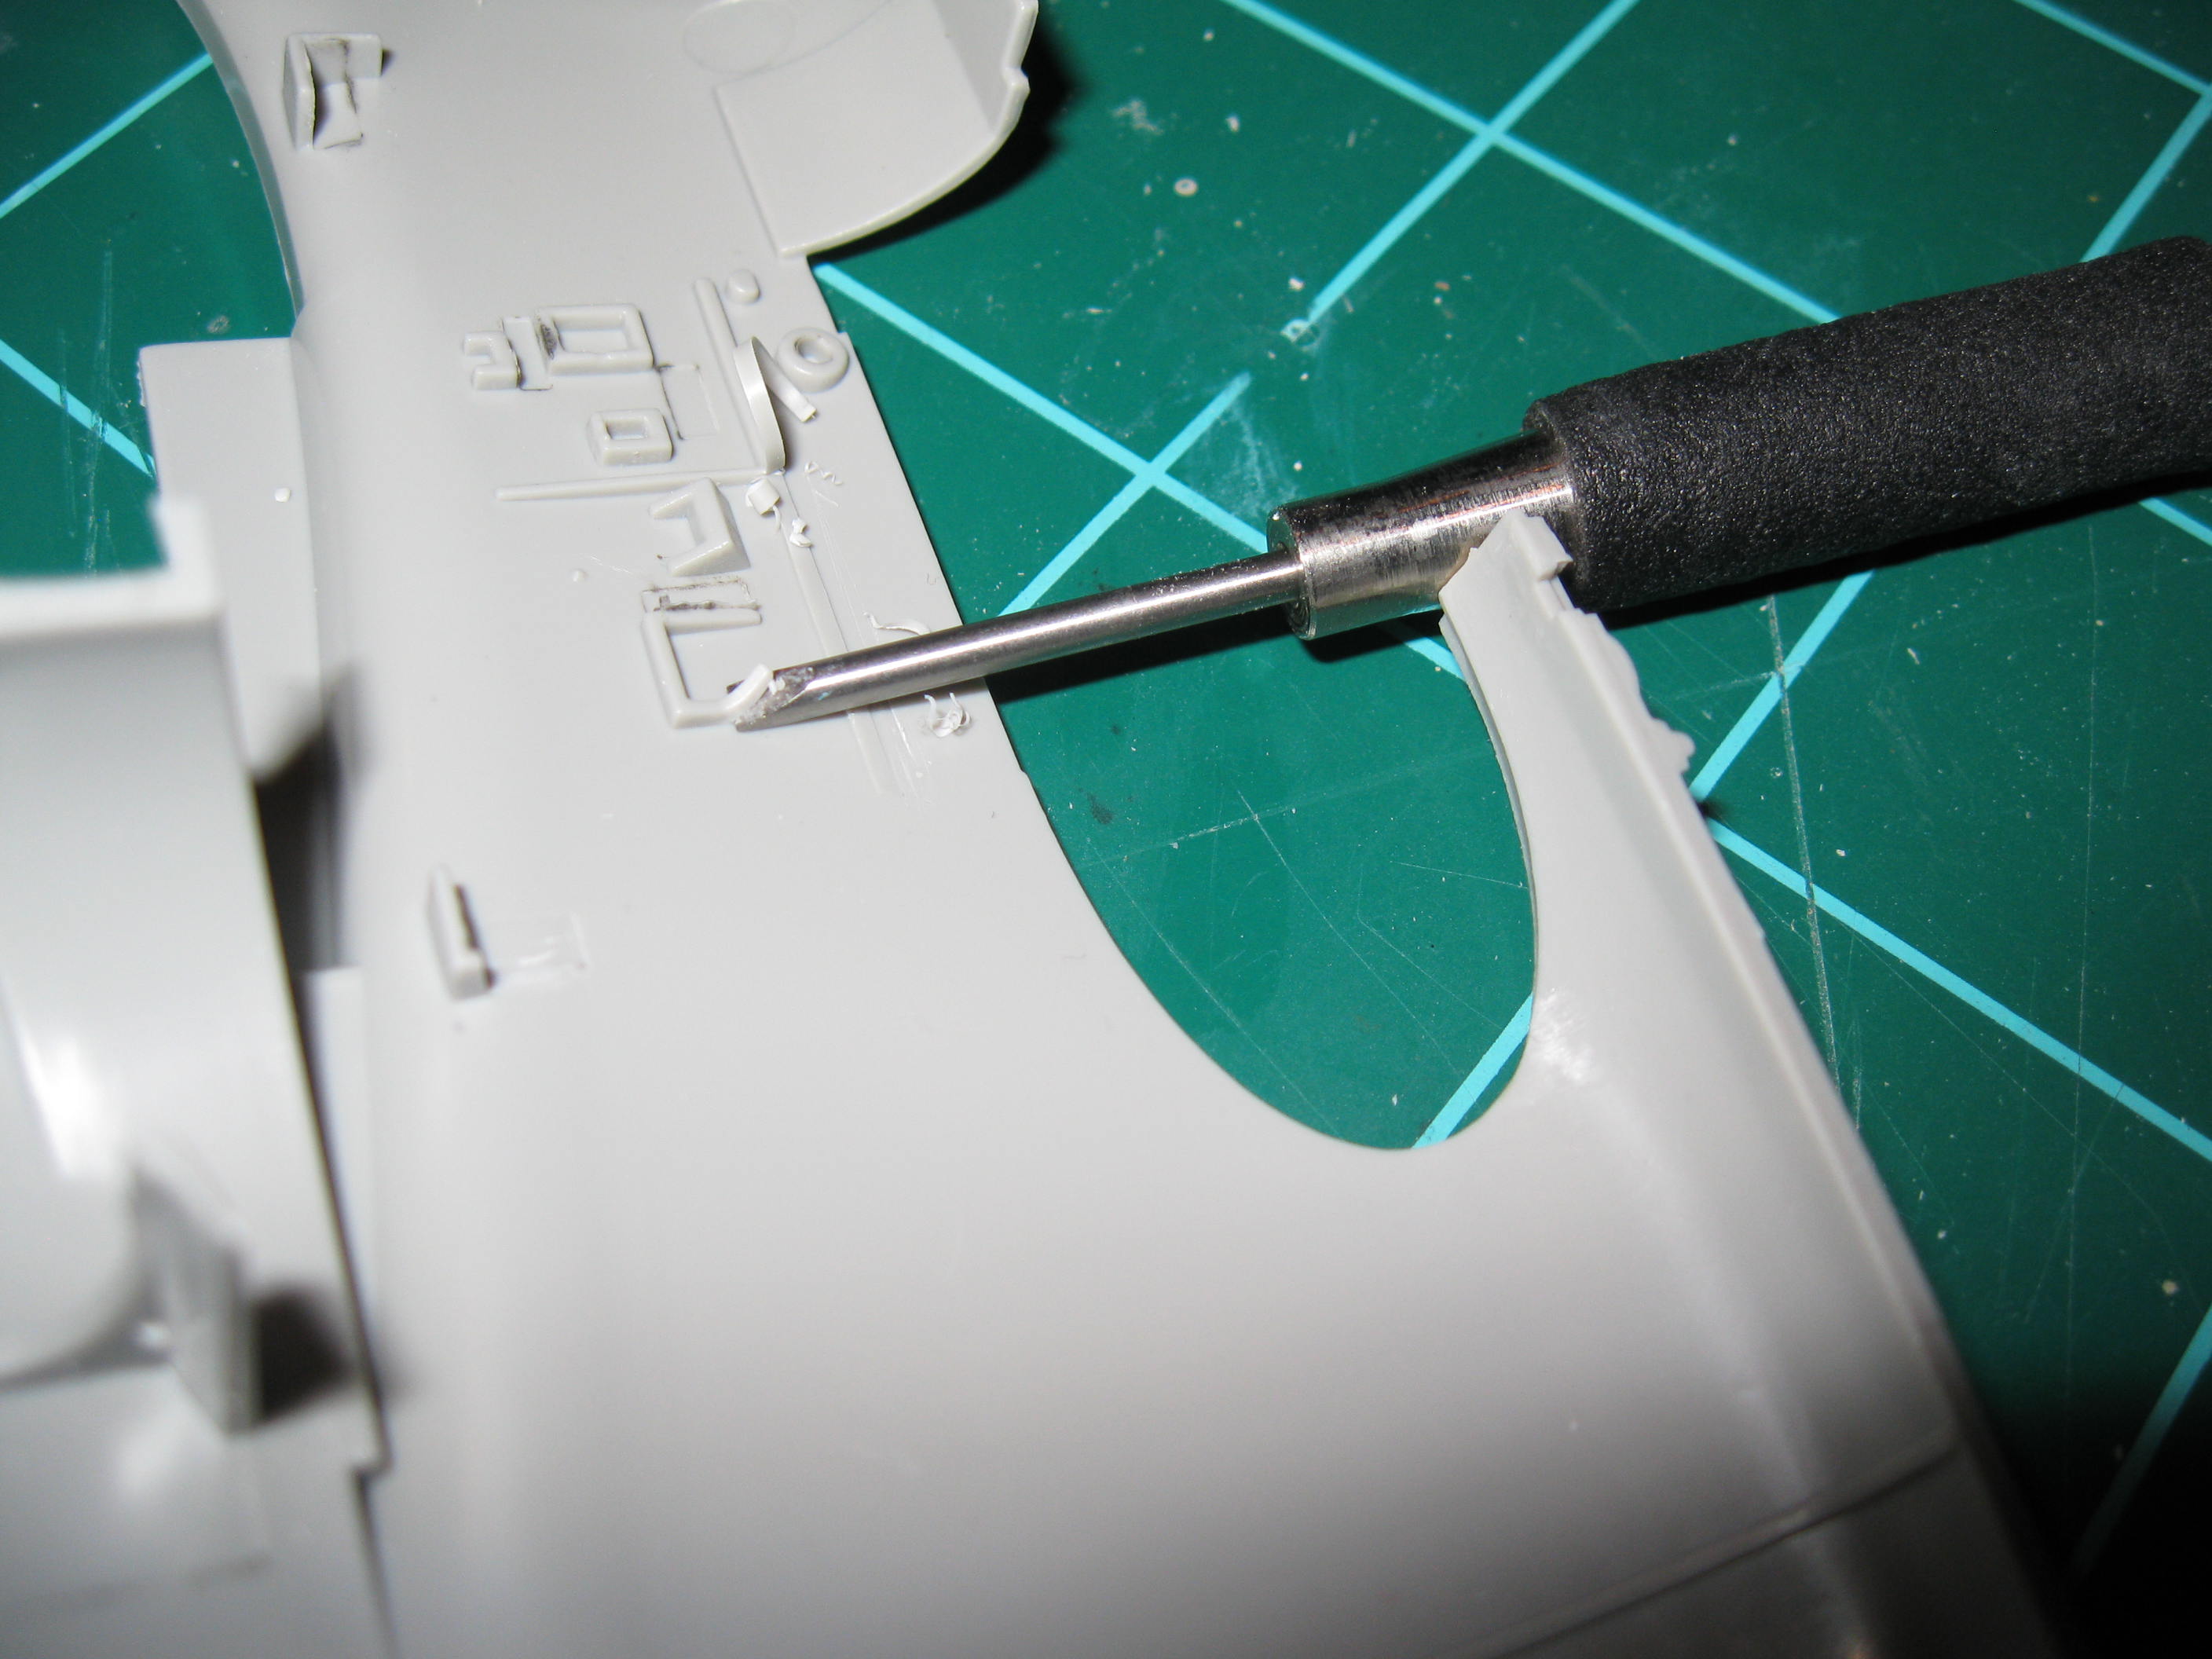
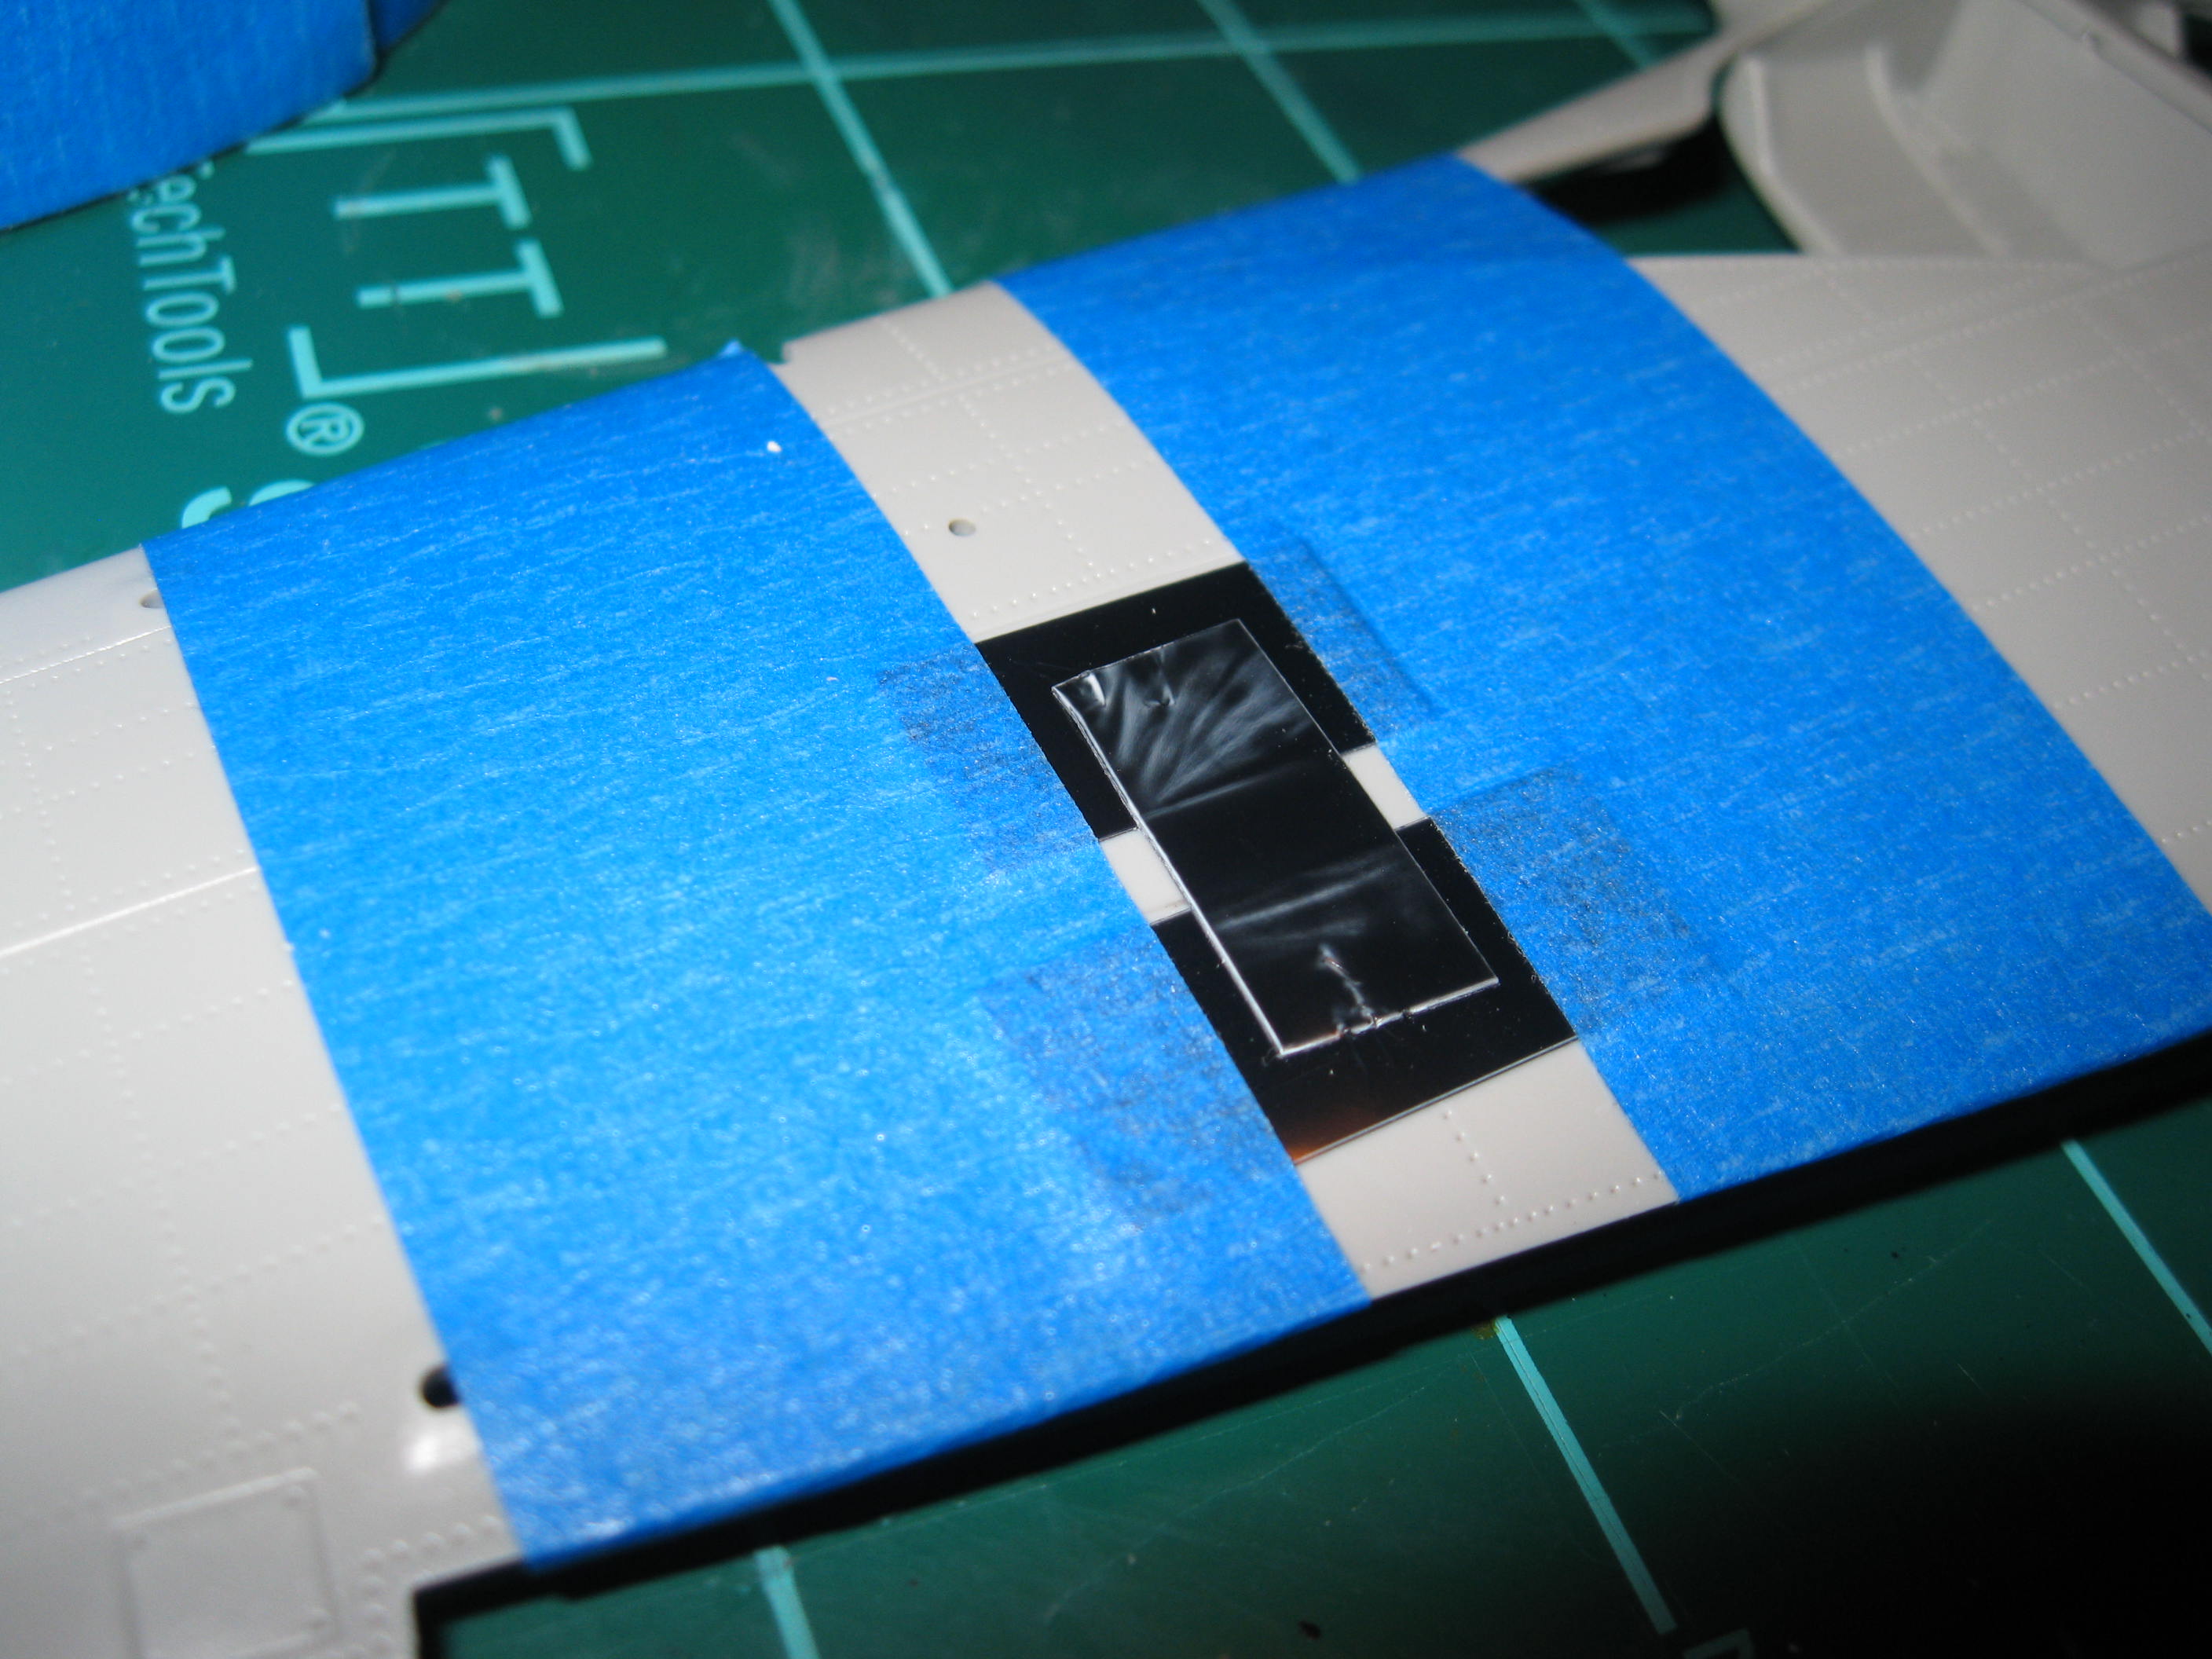
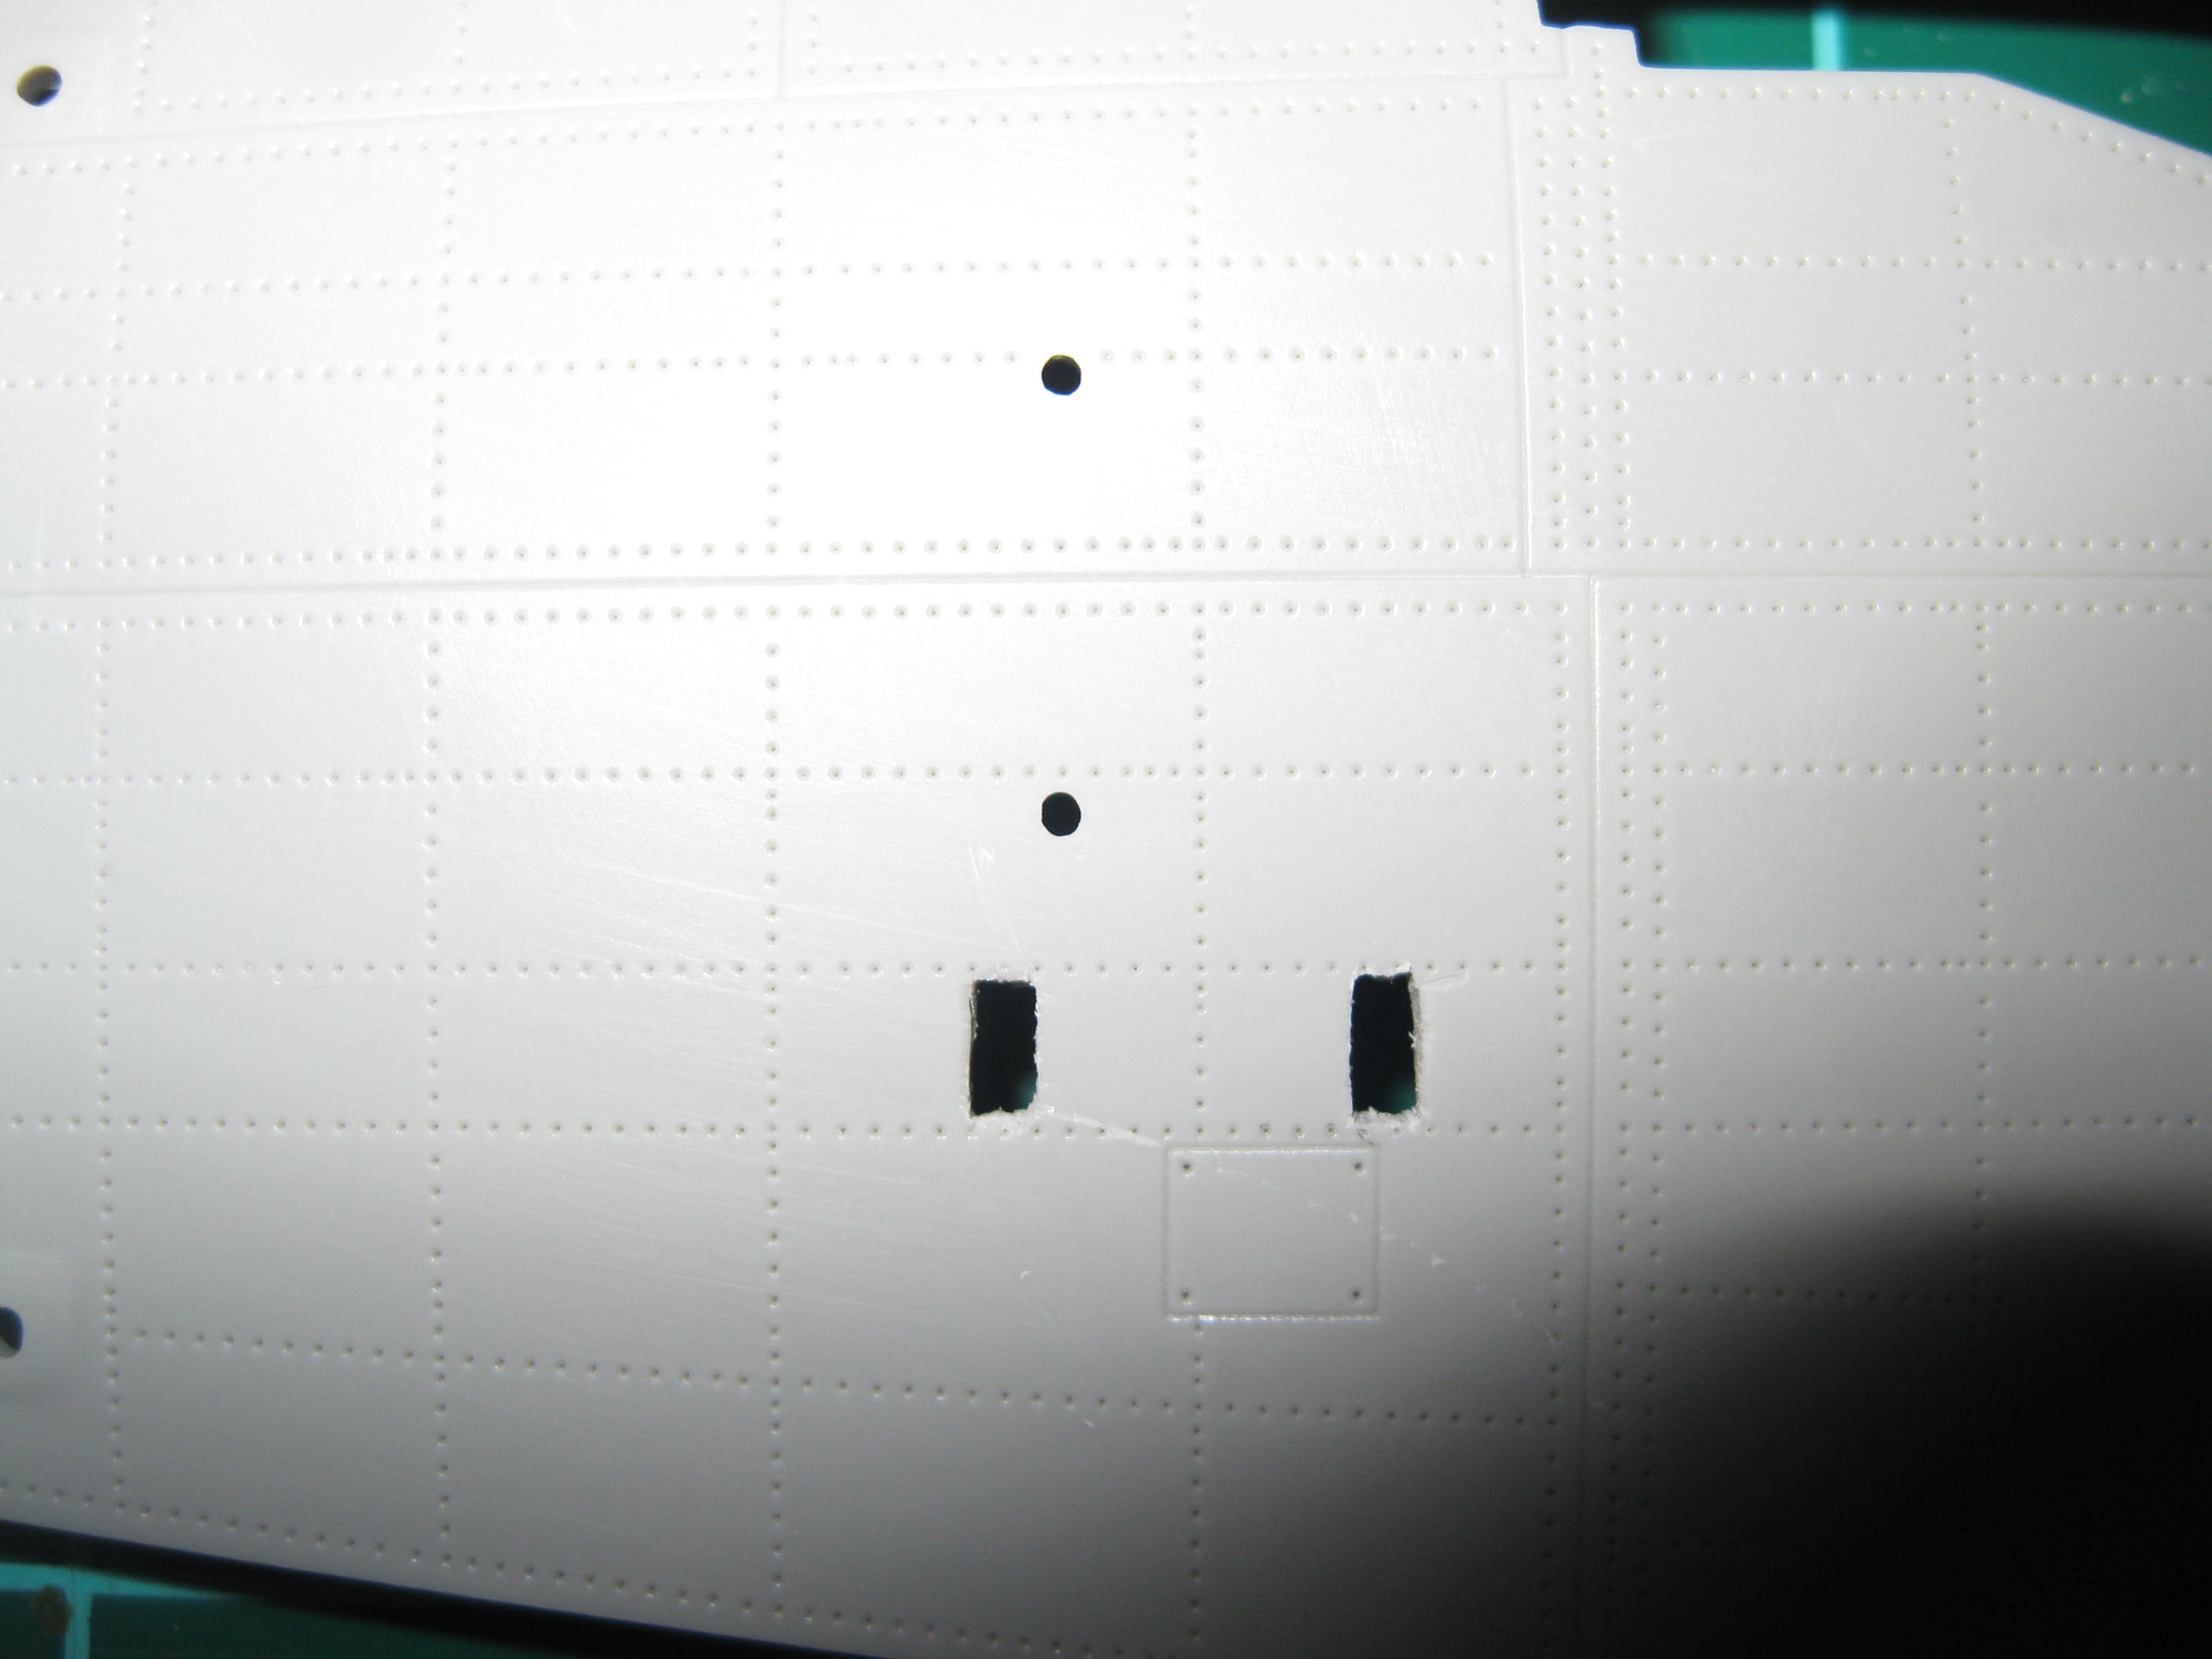
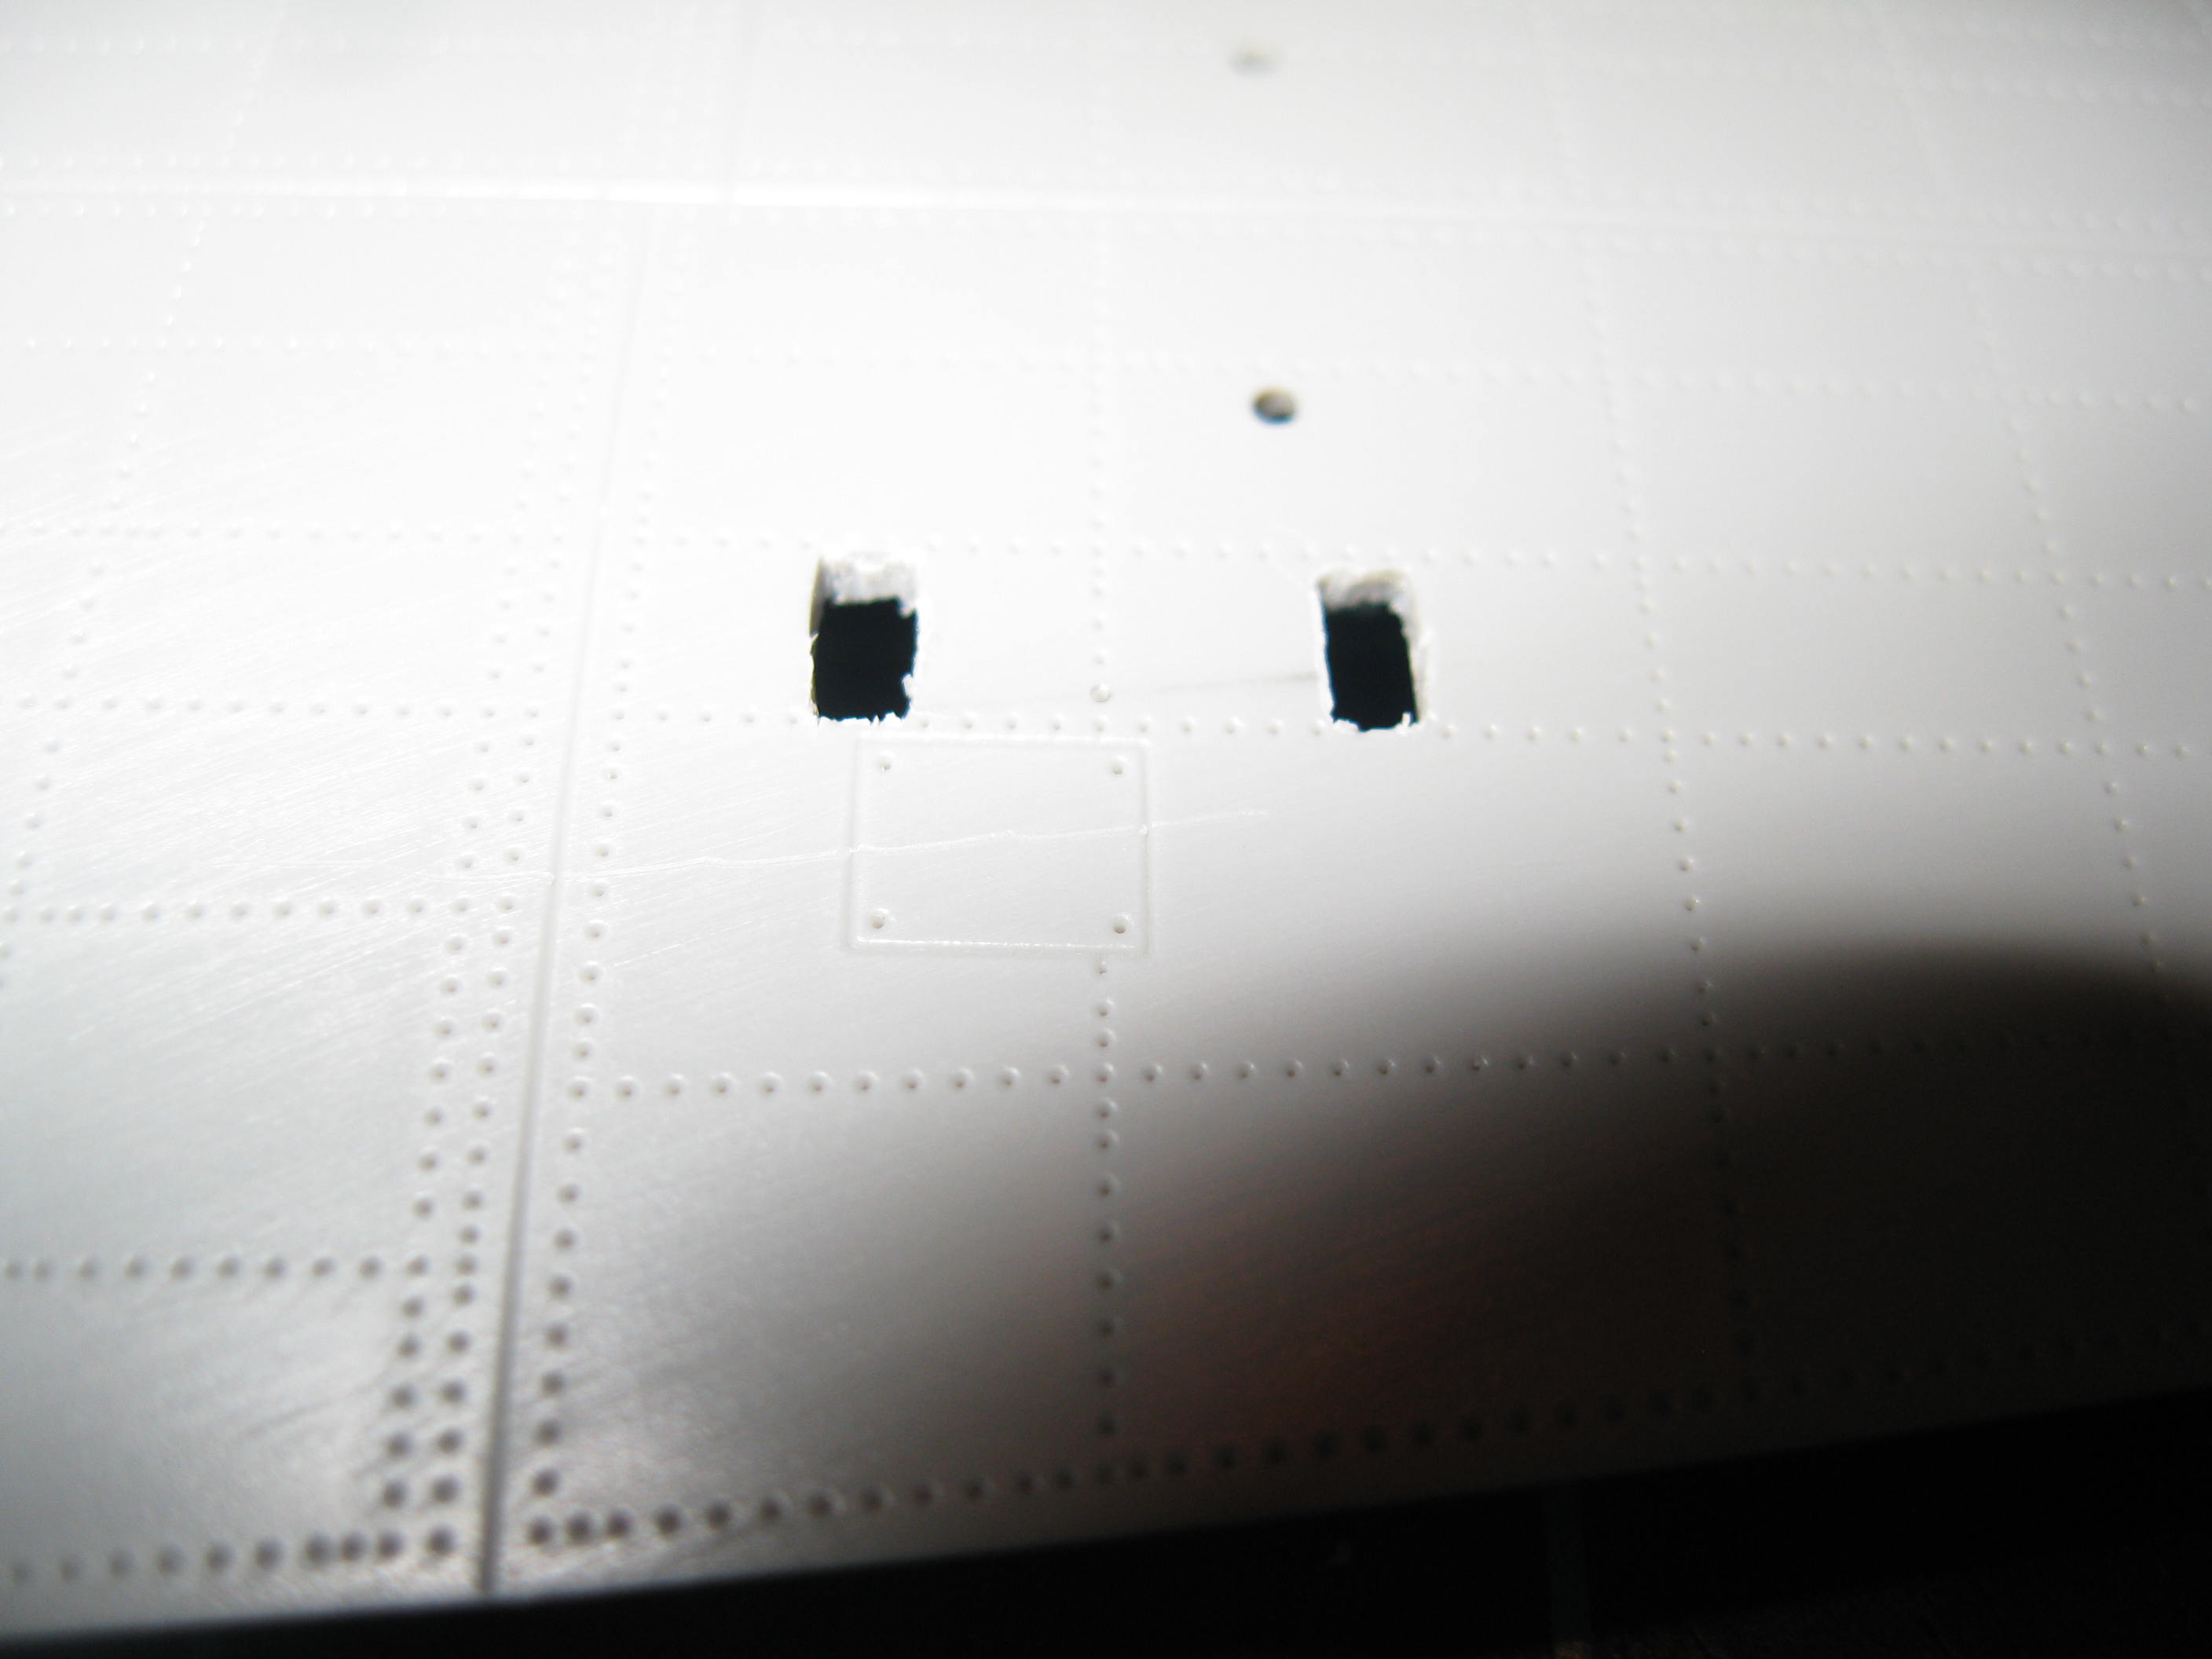
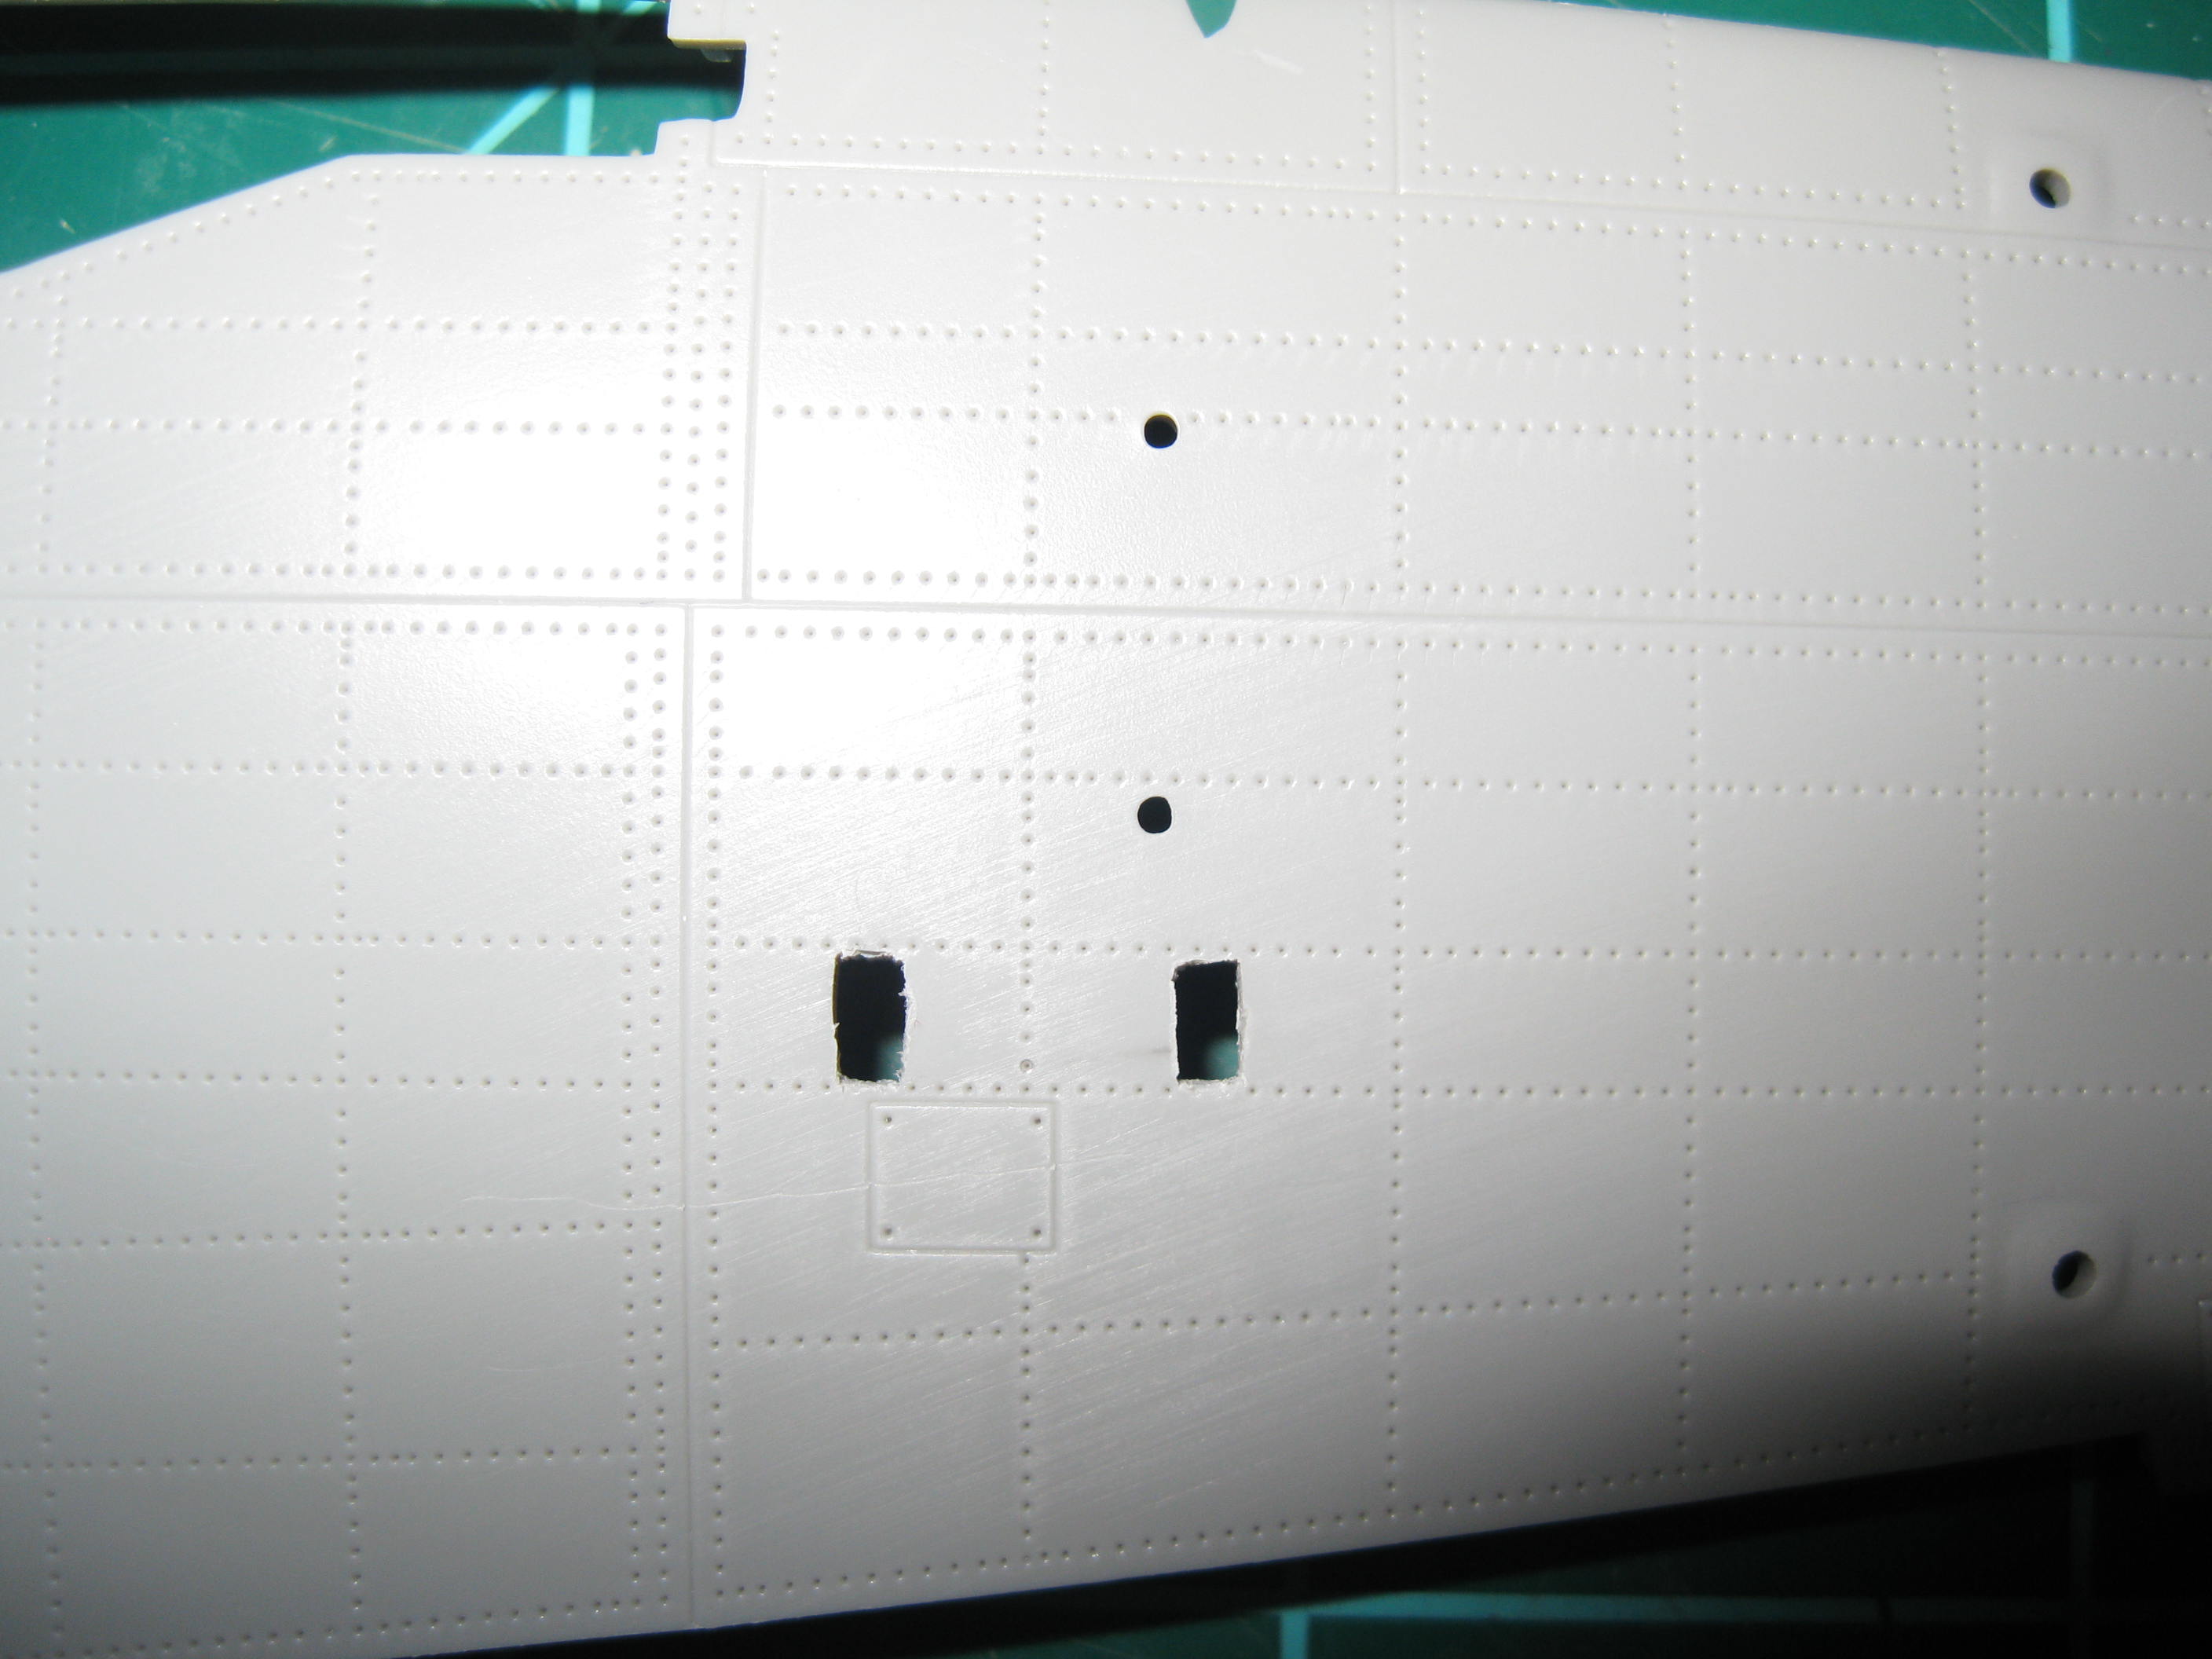
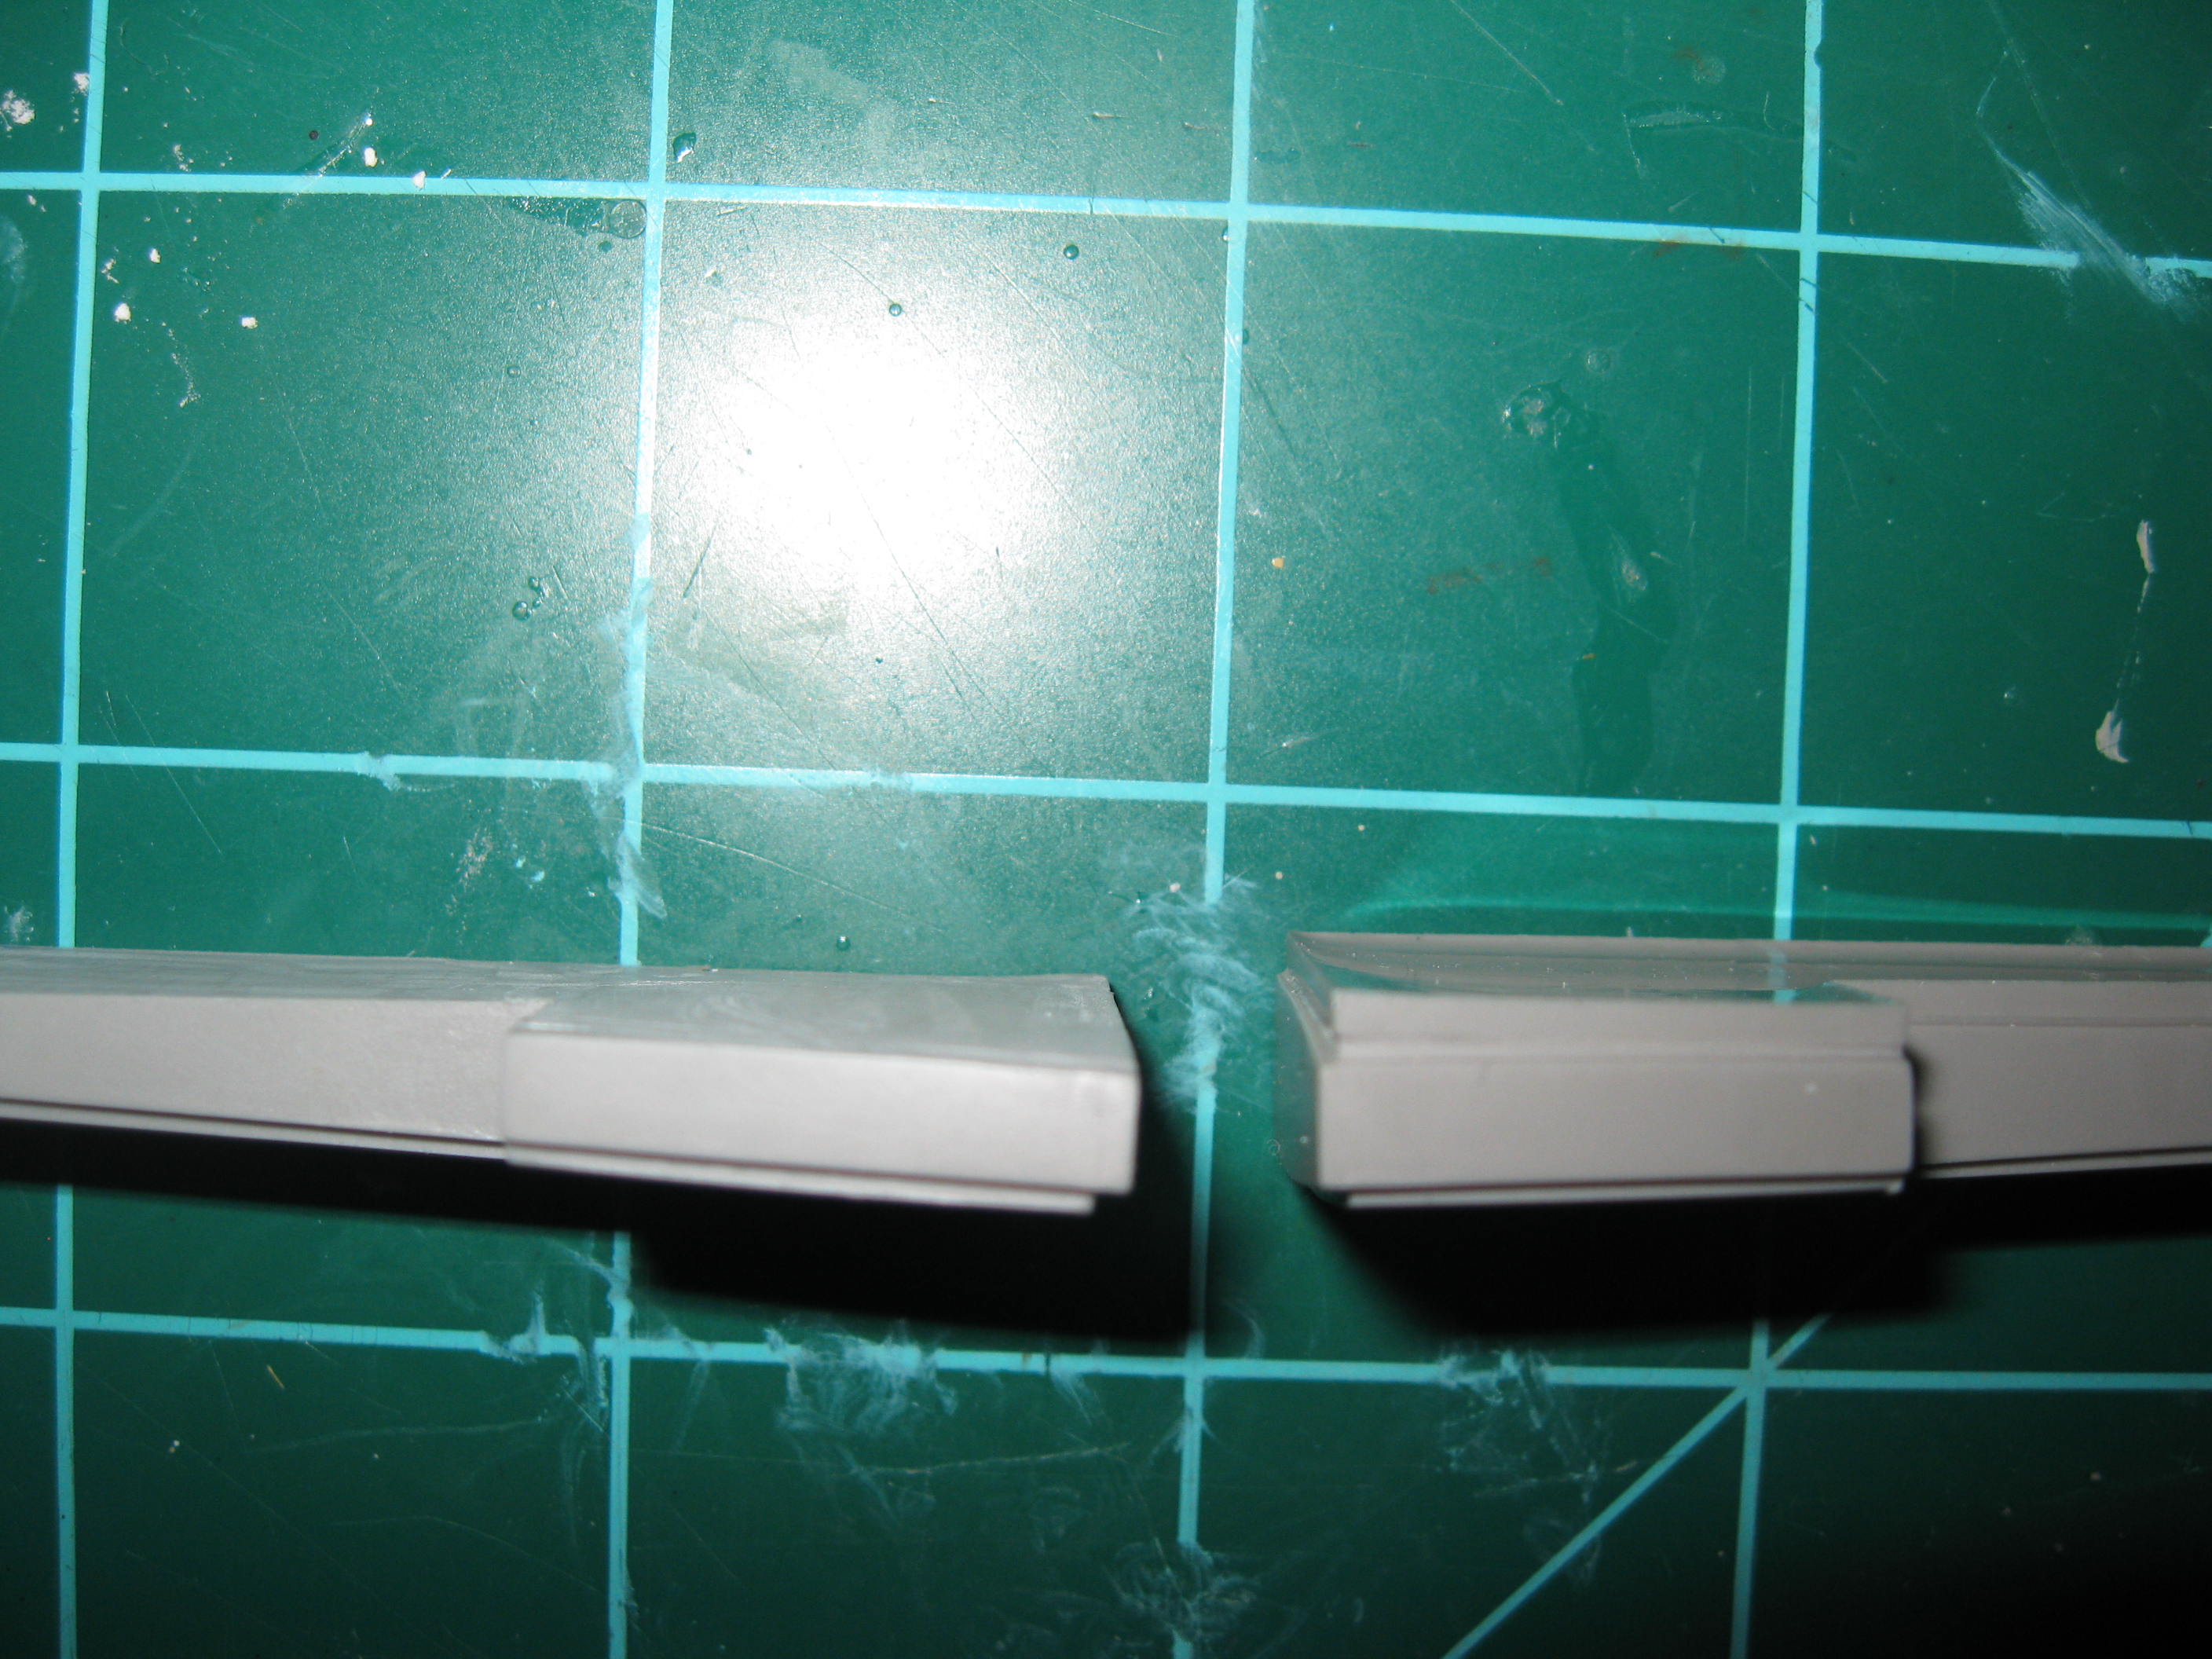
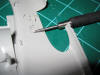
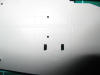
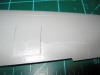
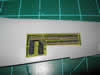
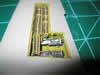
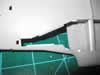
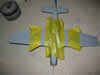
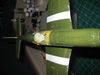
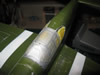
The Trumpeter kit was lacking the spent casing ejector ports on
the bottom of the wings so I had to cut them in. I have a
P-51D kit from Dragon so I marked the location from the Dragon
kit adjusting it a bit because the P-51B had 2 guns per wing and
the P-51D has 3. Turns out that I should have cut them a
bit further back in the wing. Oh well, it is probably
something that only the rivet counters will notice. I used Dymo
label tape to square of the openings and my scribing tool to cut
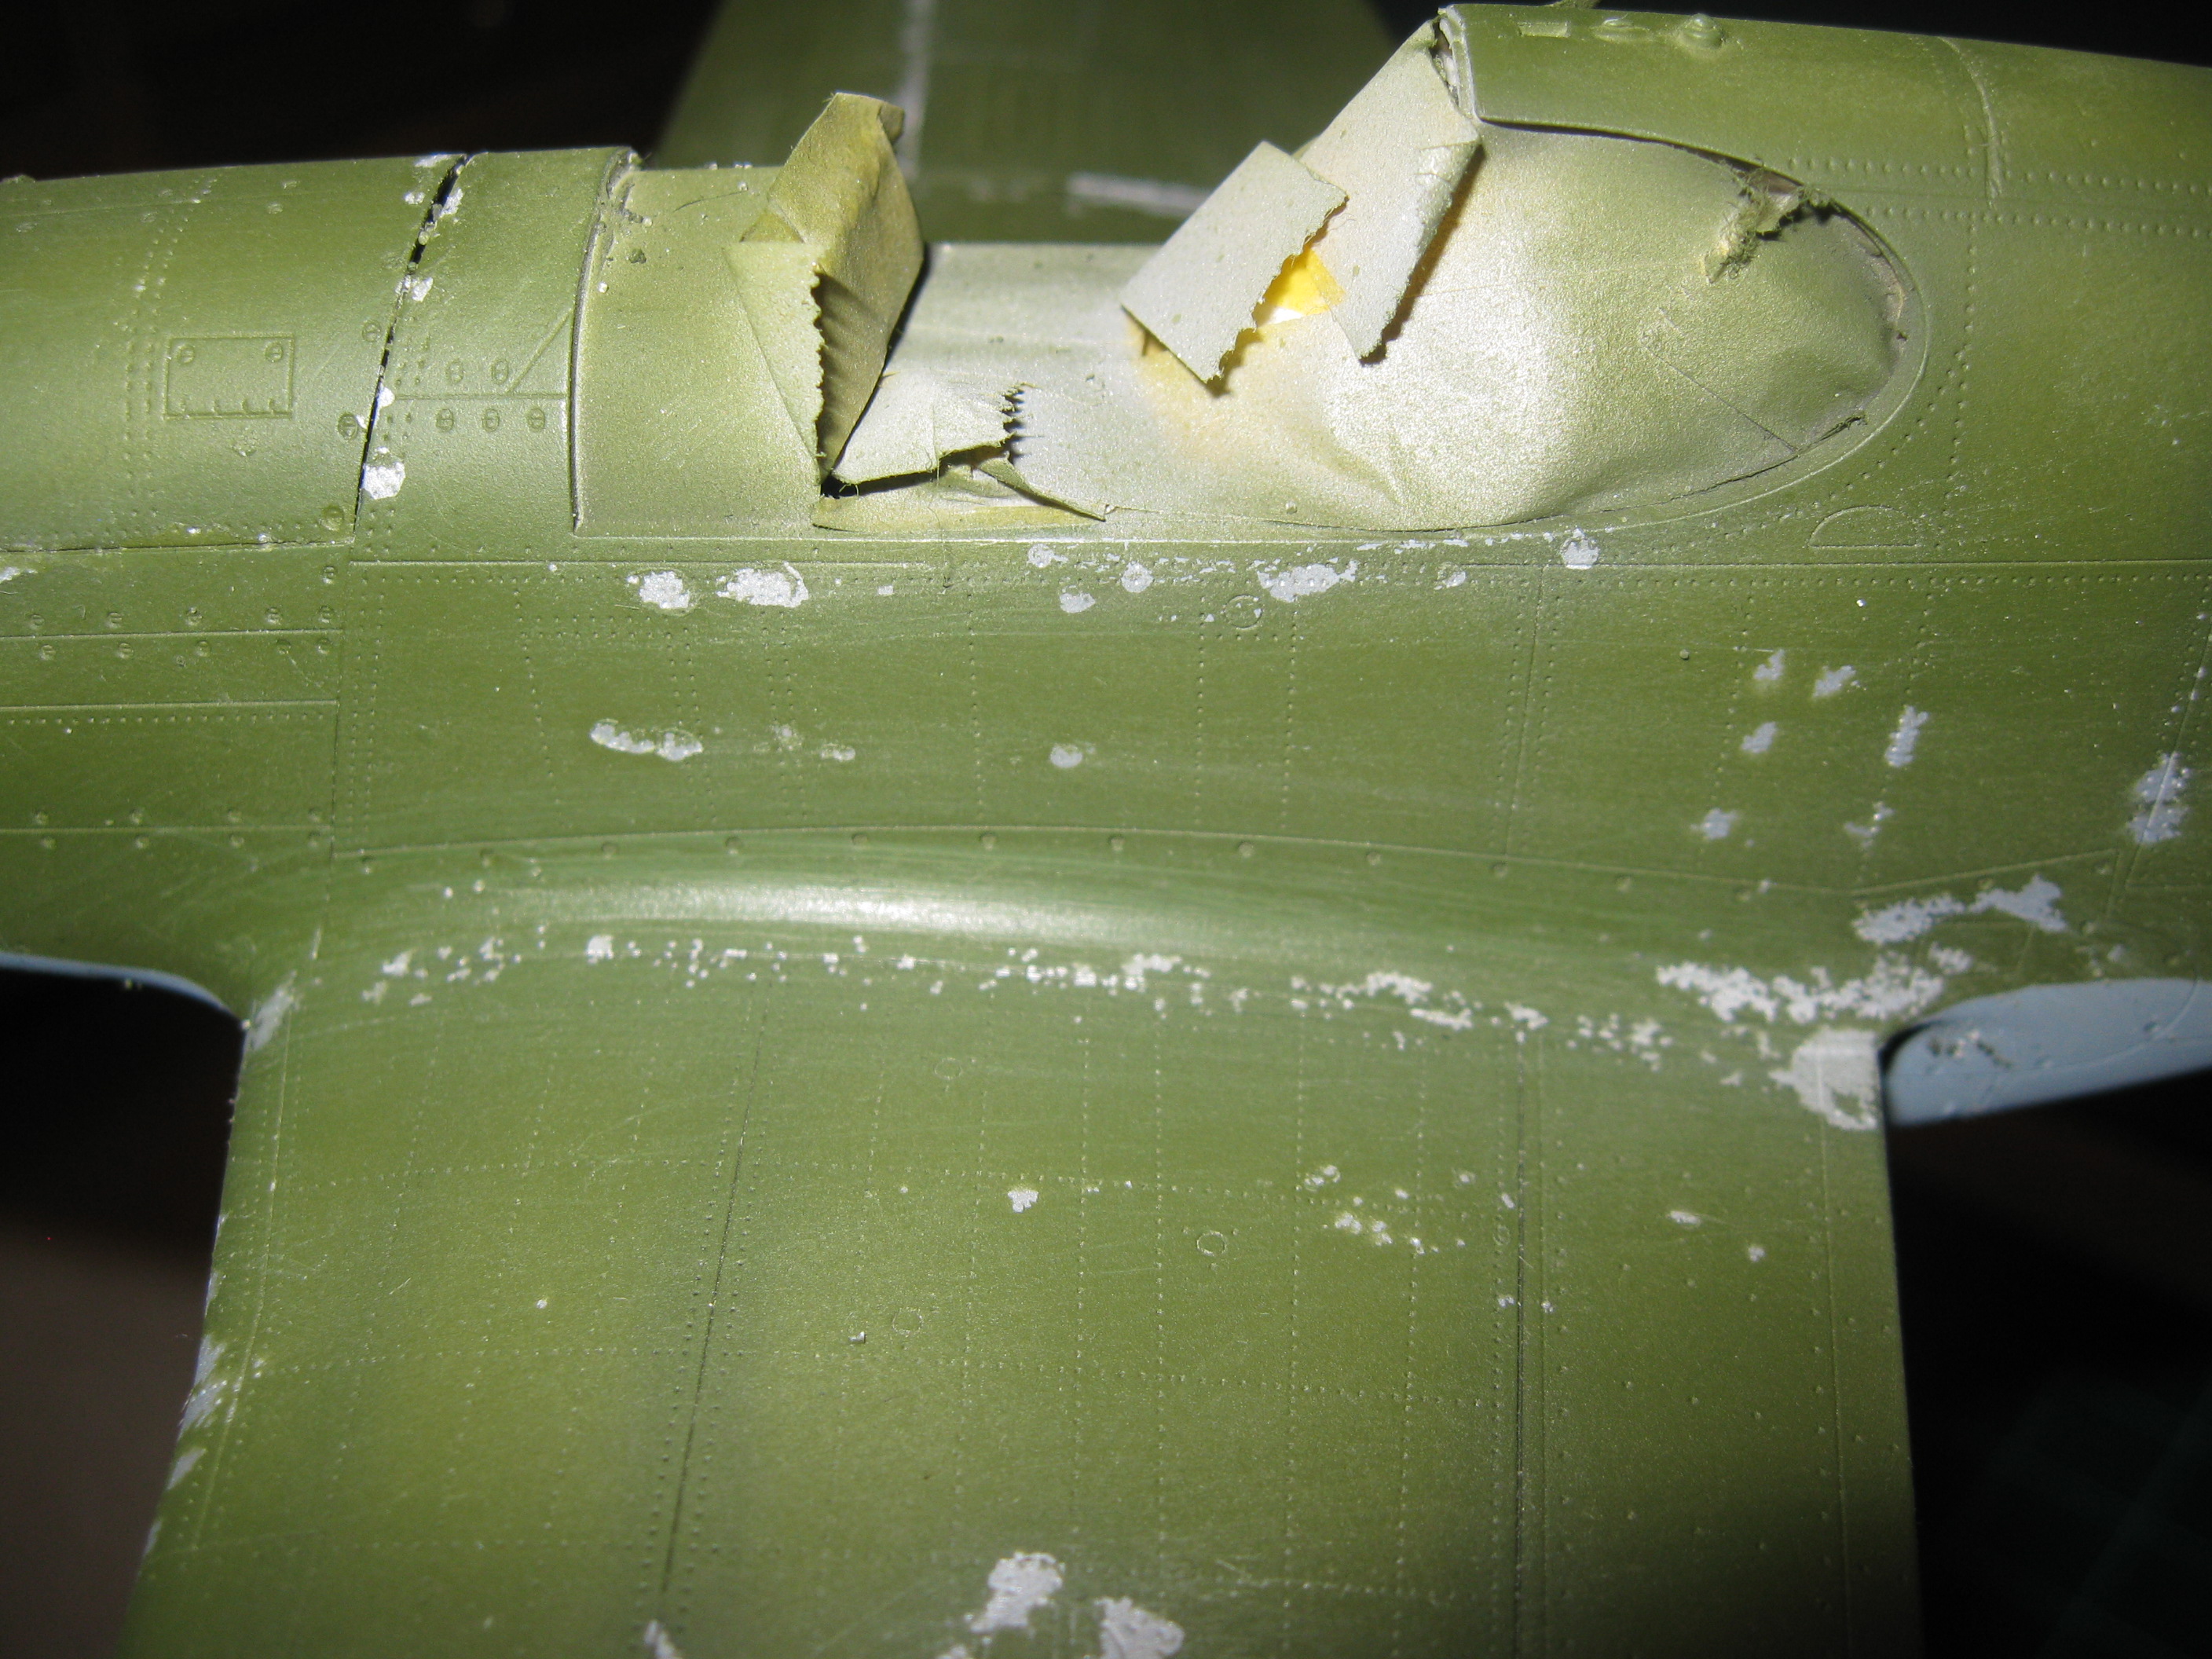
through the plastic. (Dec 3, 2011)
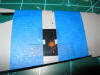   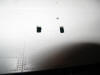
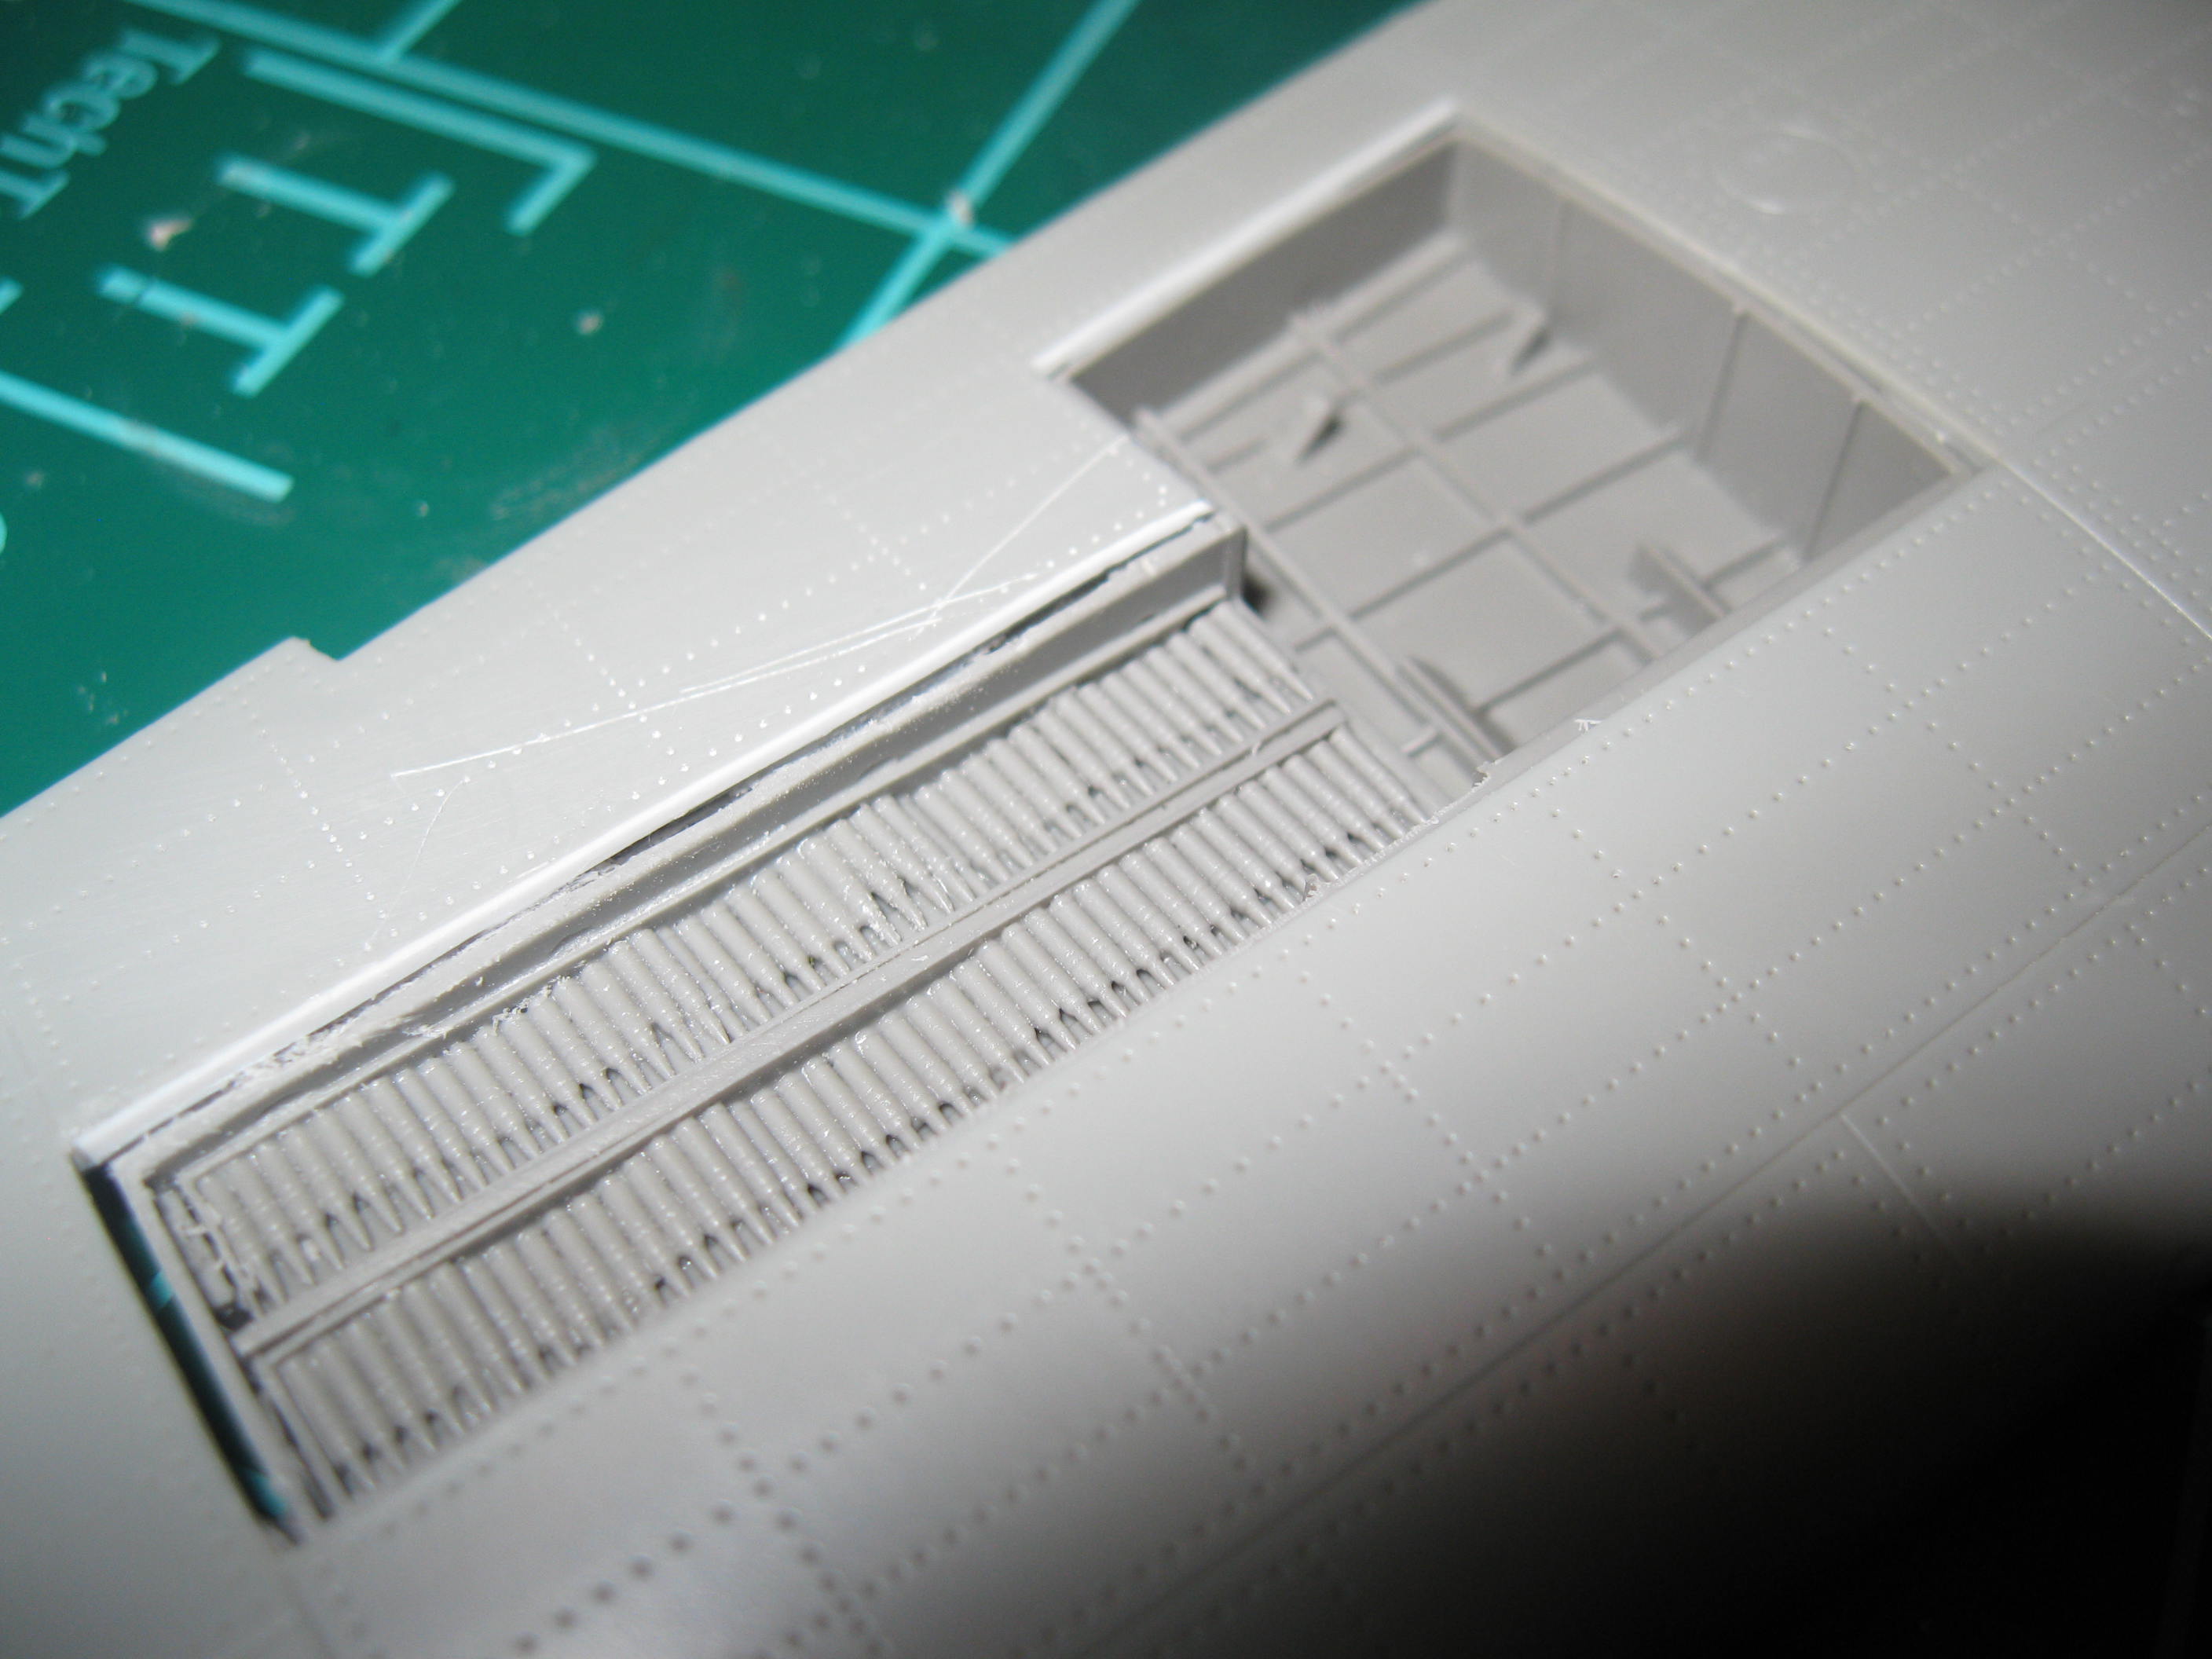
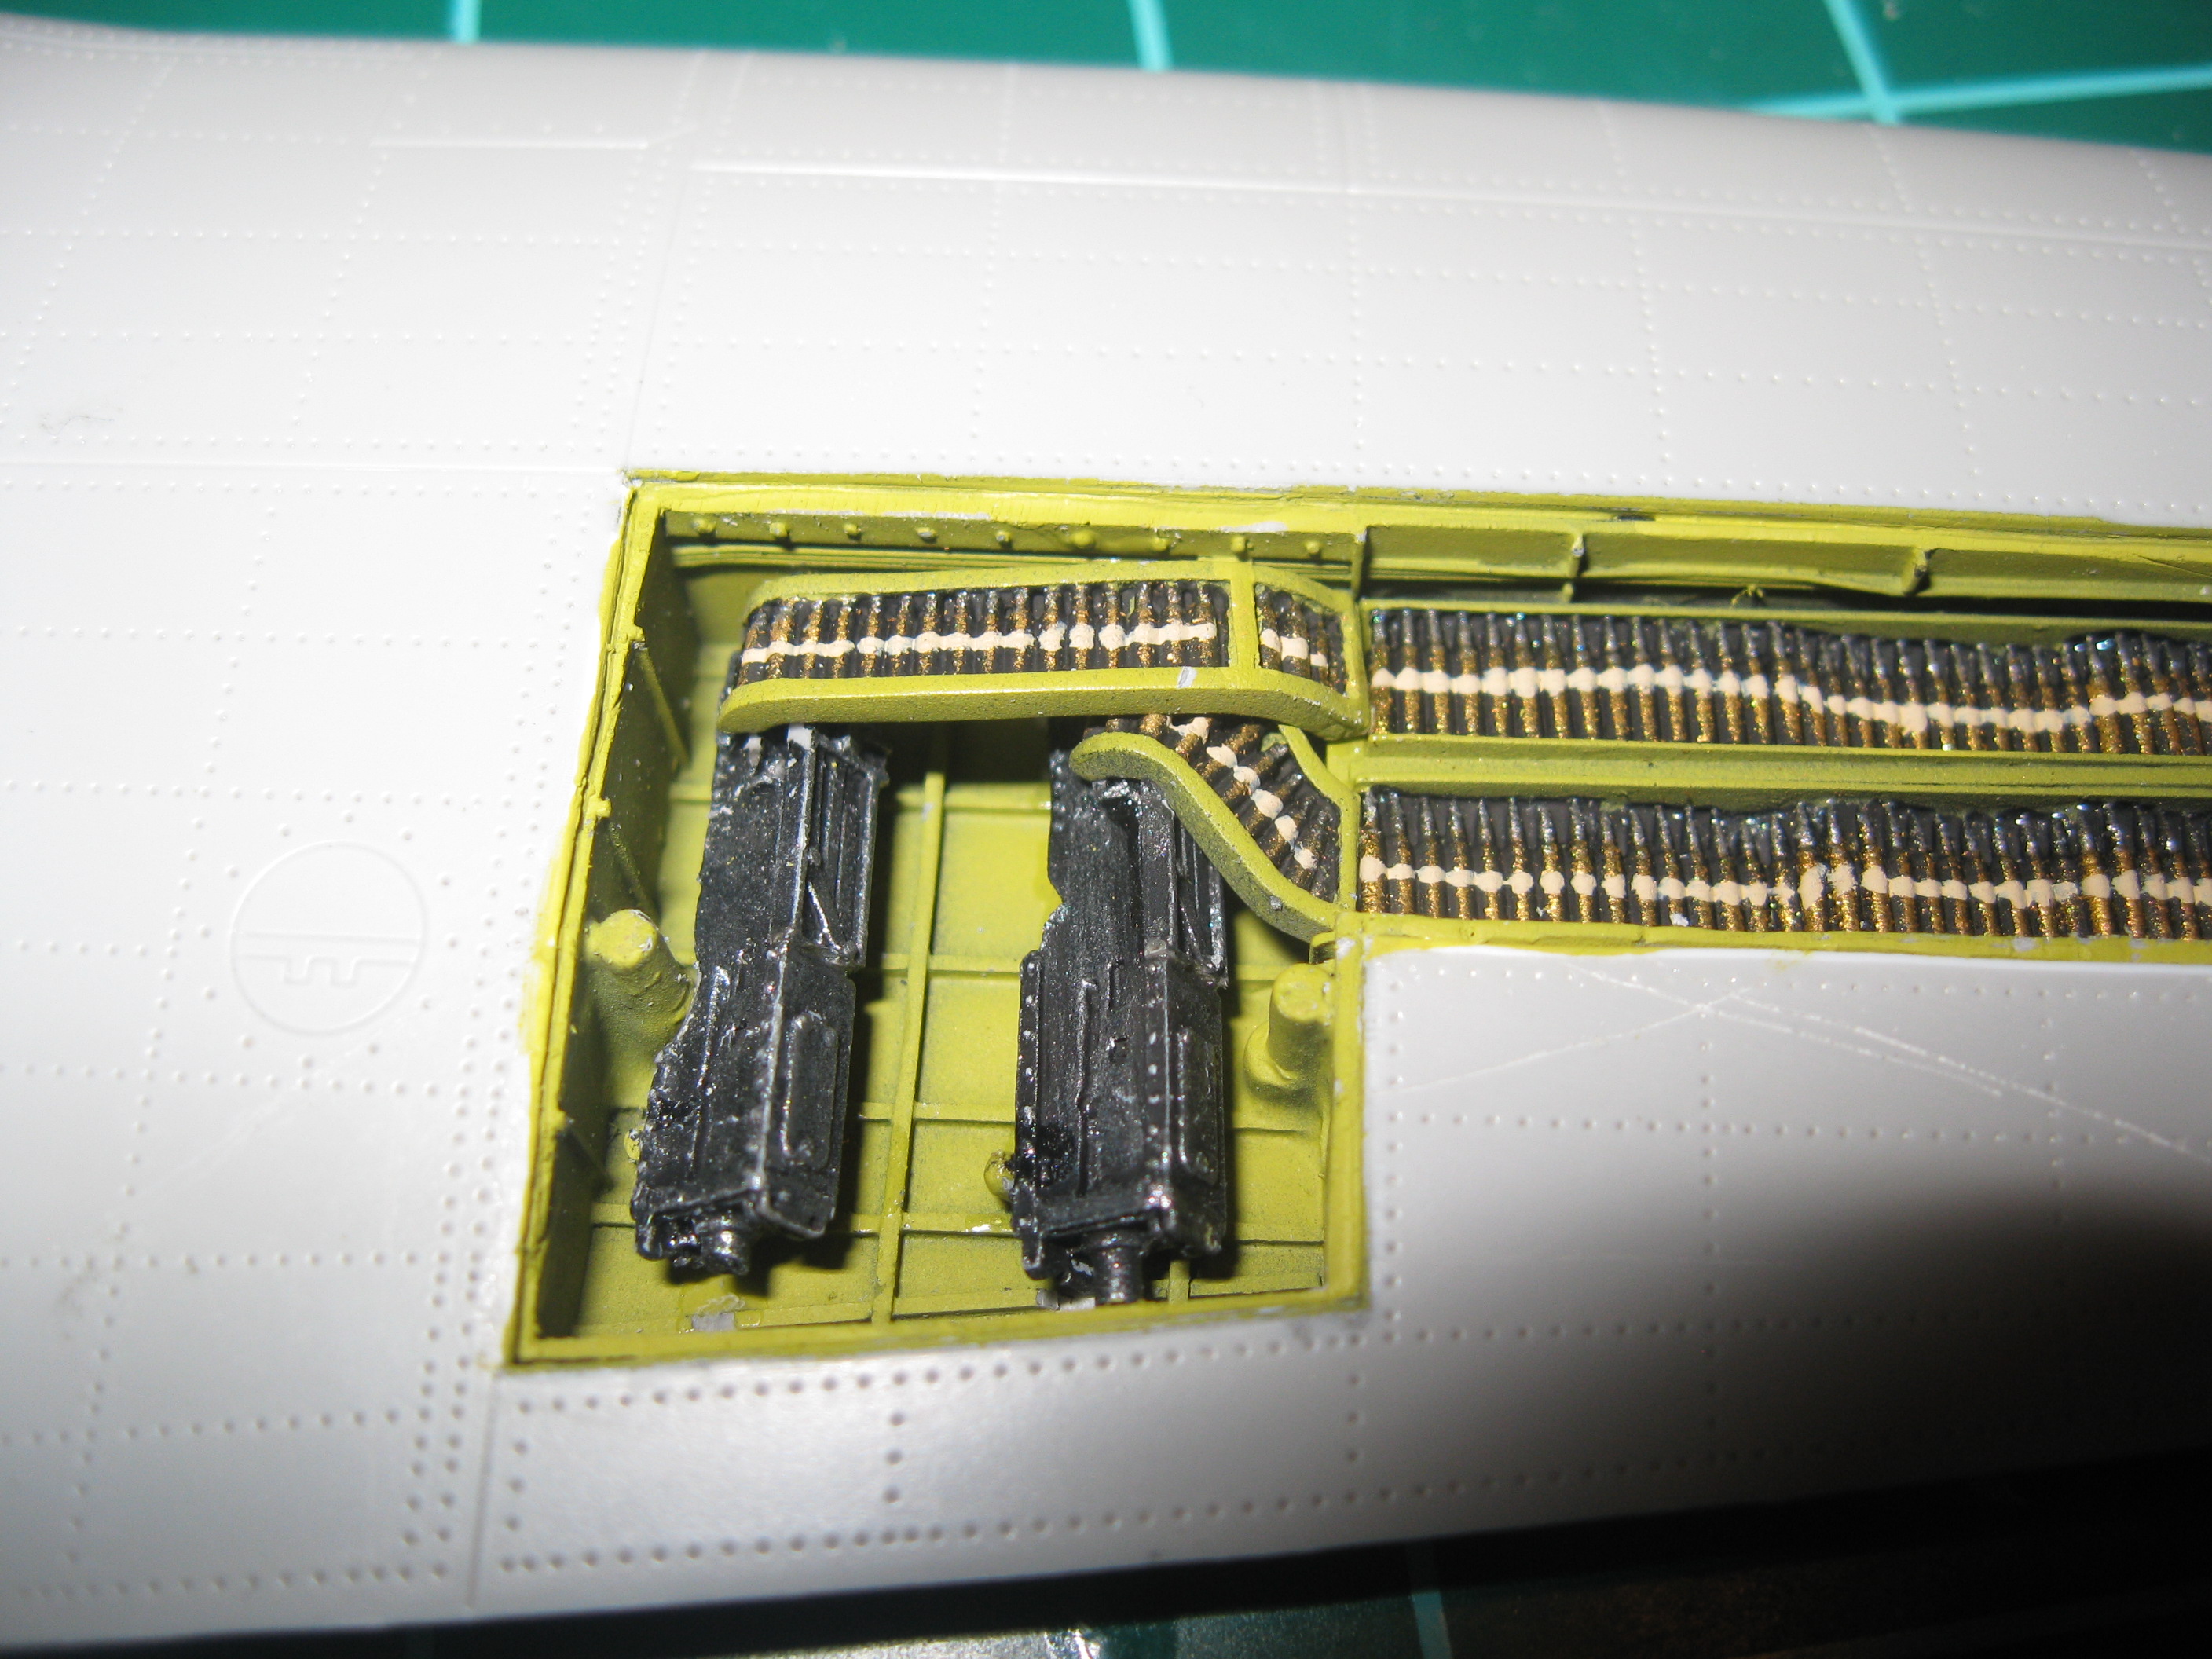
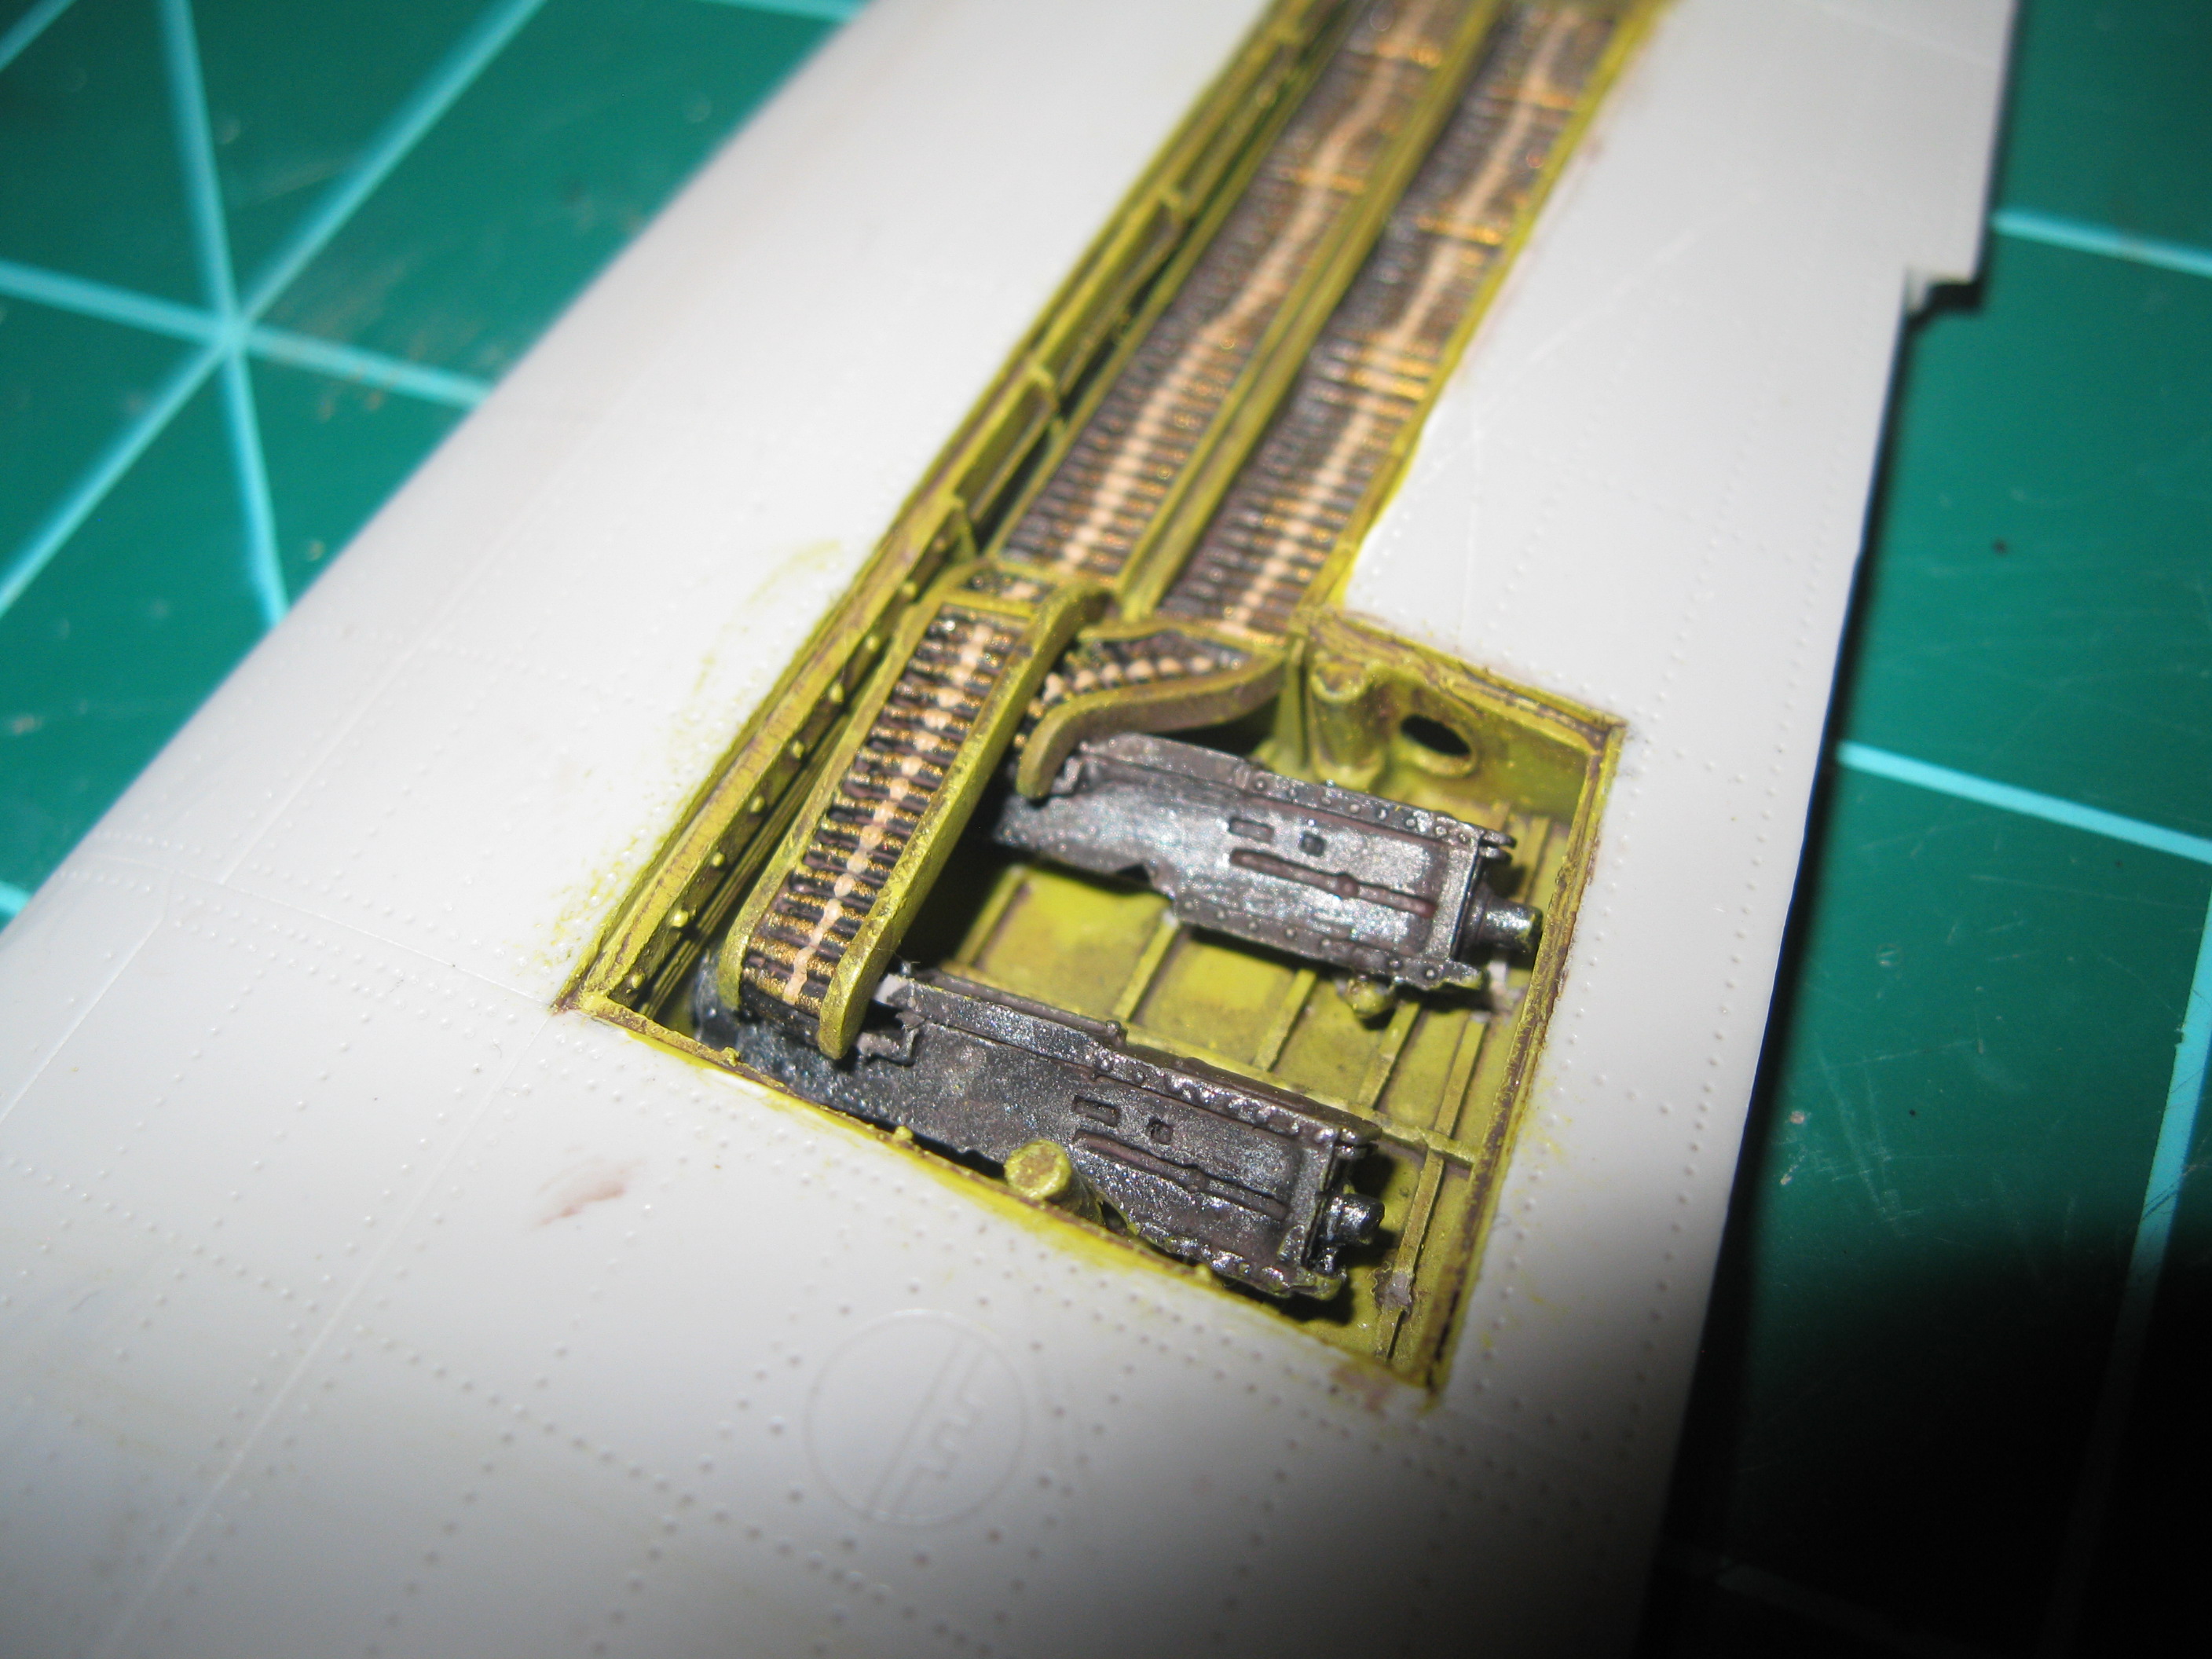
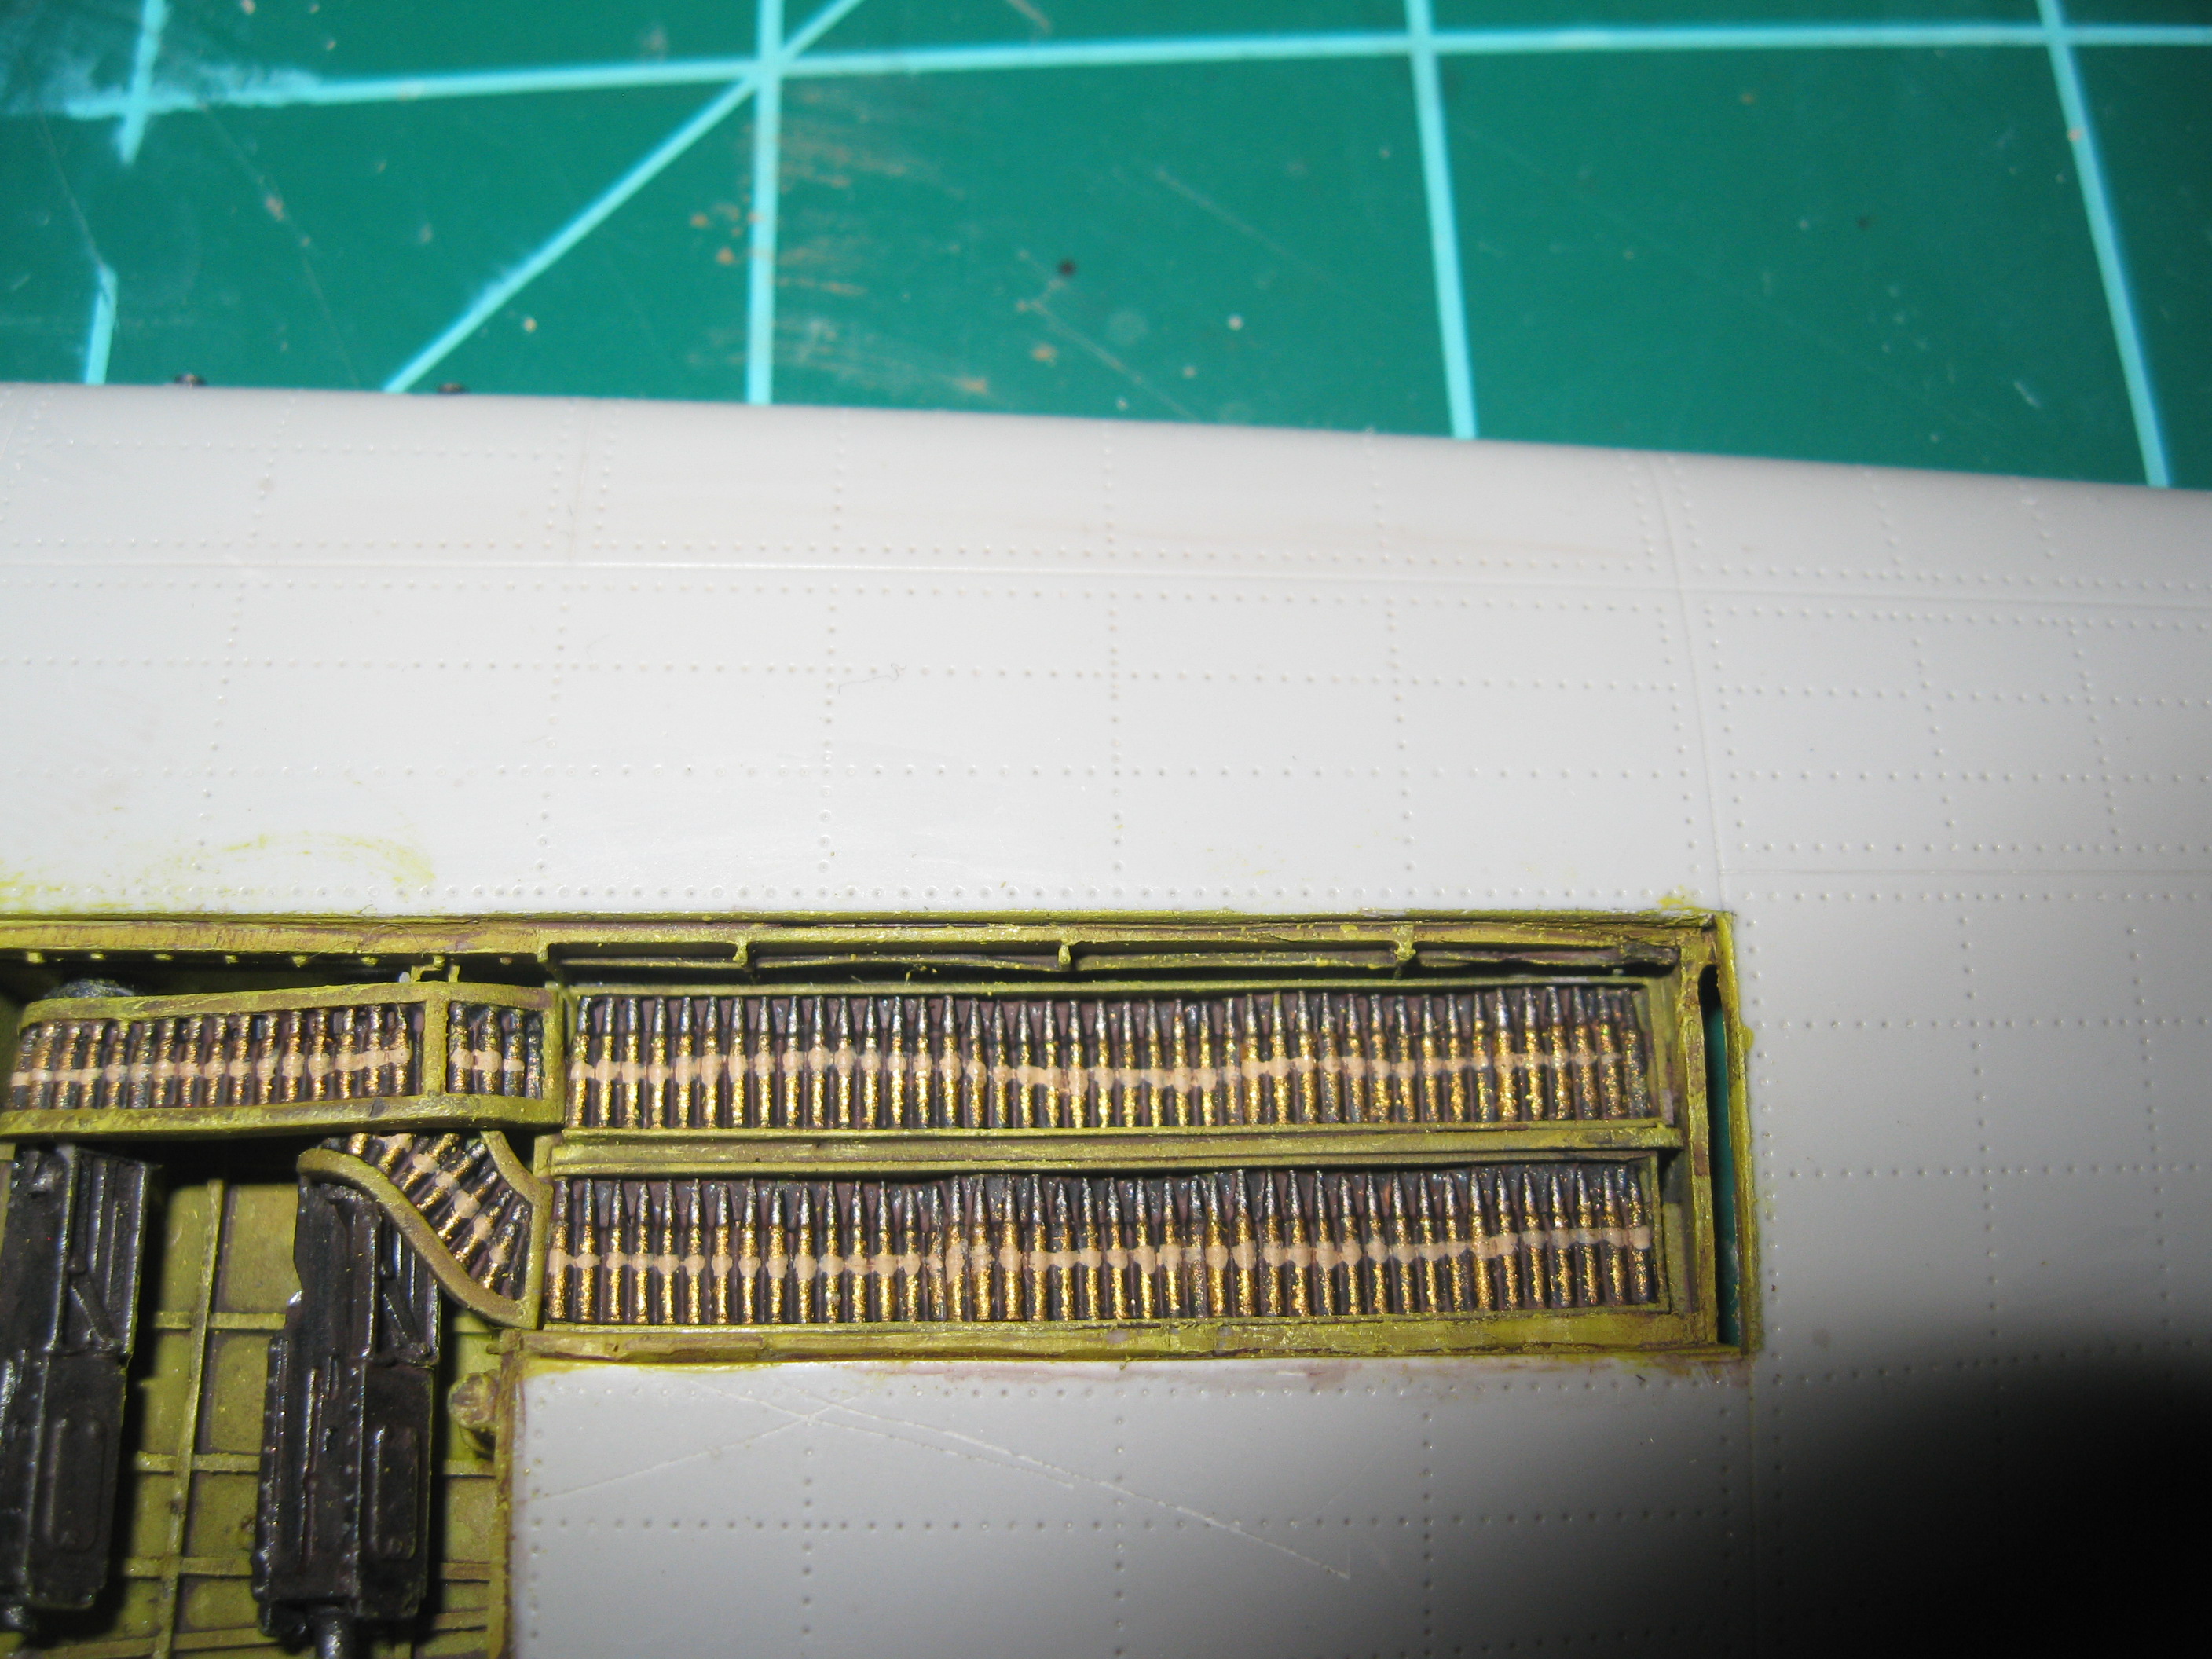
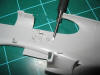
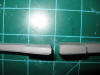
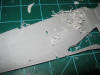
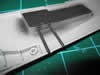
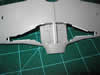
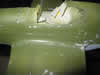
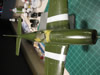
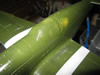
I had to cut the pour plug off the bottom of the right gun bay
(The only one that I am installing). You can see how thick
it was from the comparison of the left and right ones. You
can also see how thin it ended up by the light shining from the
back.(Dec 5, 2011)
  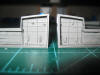 
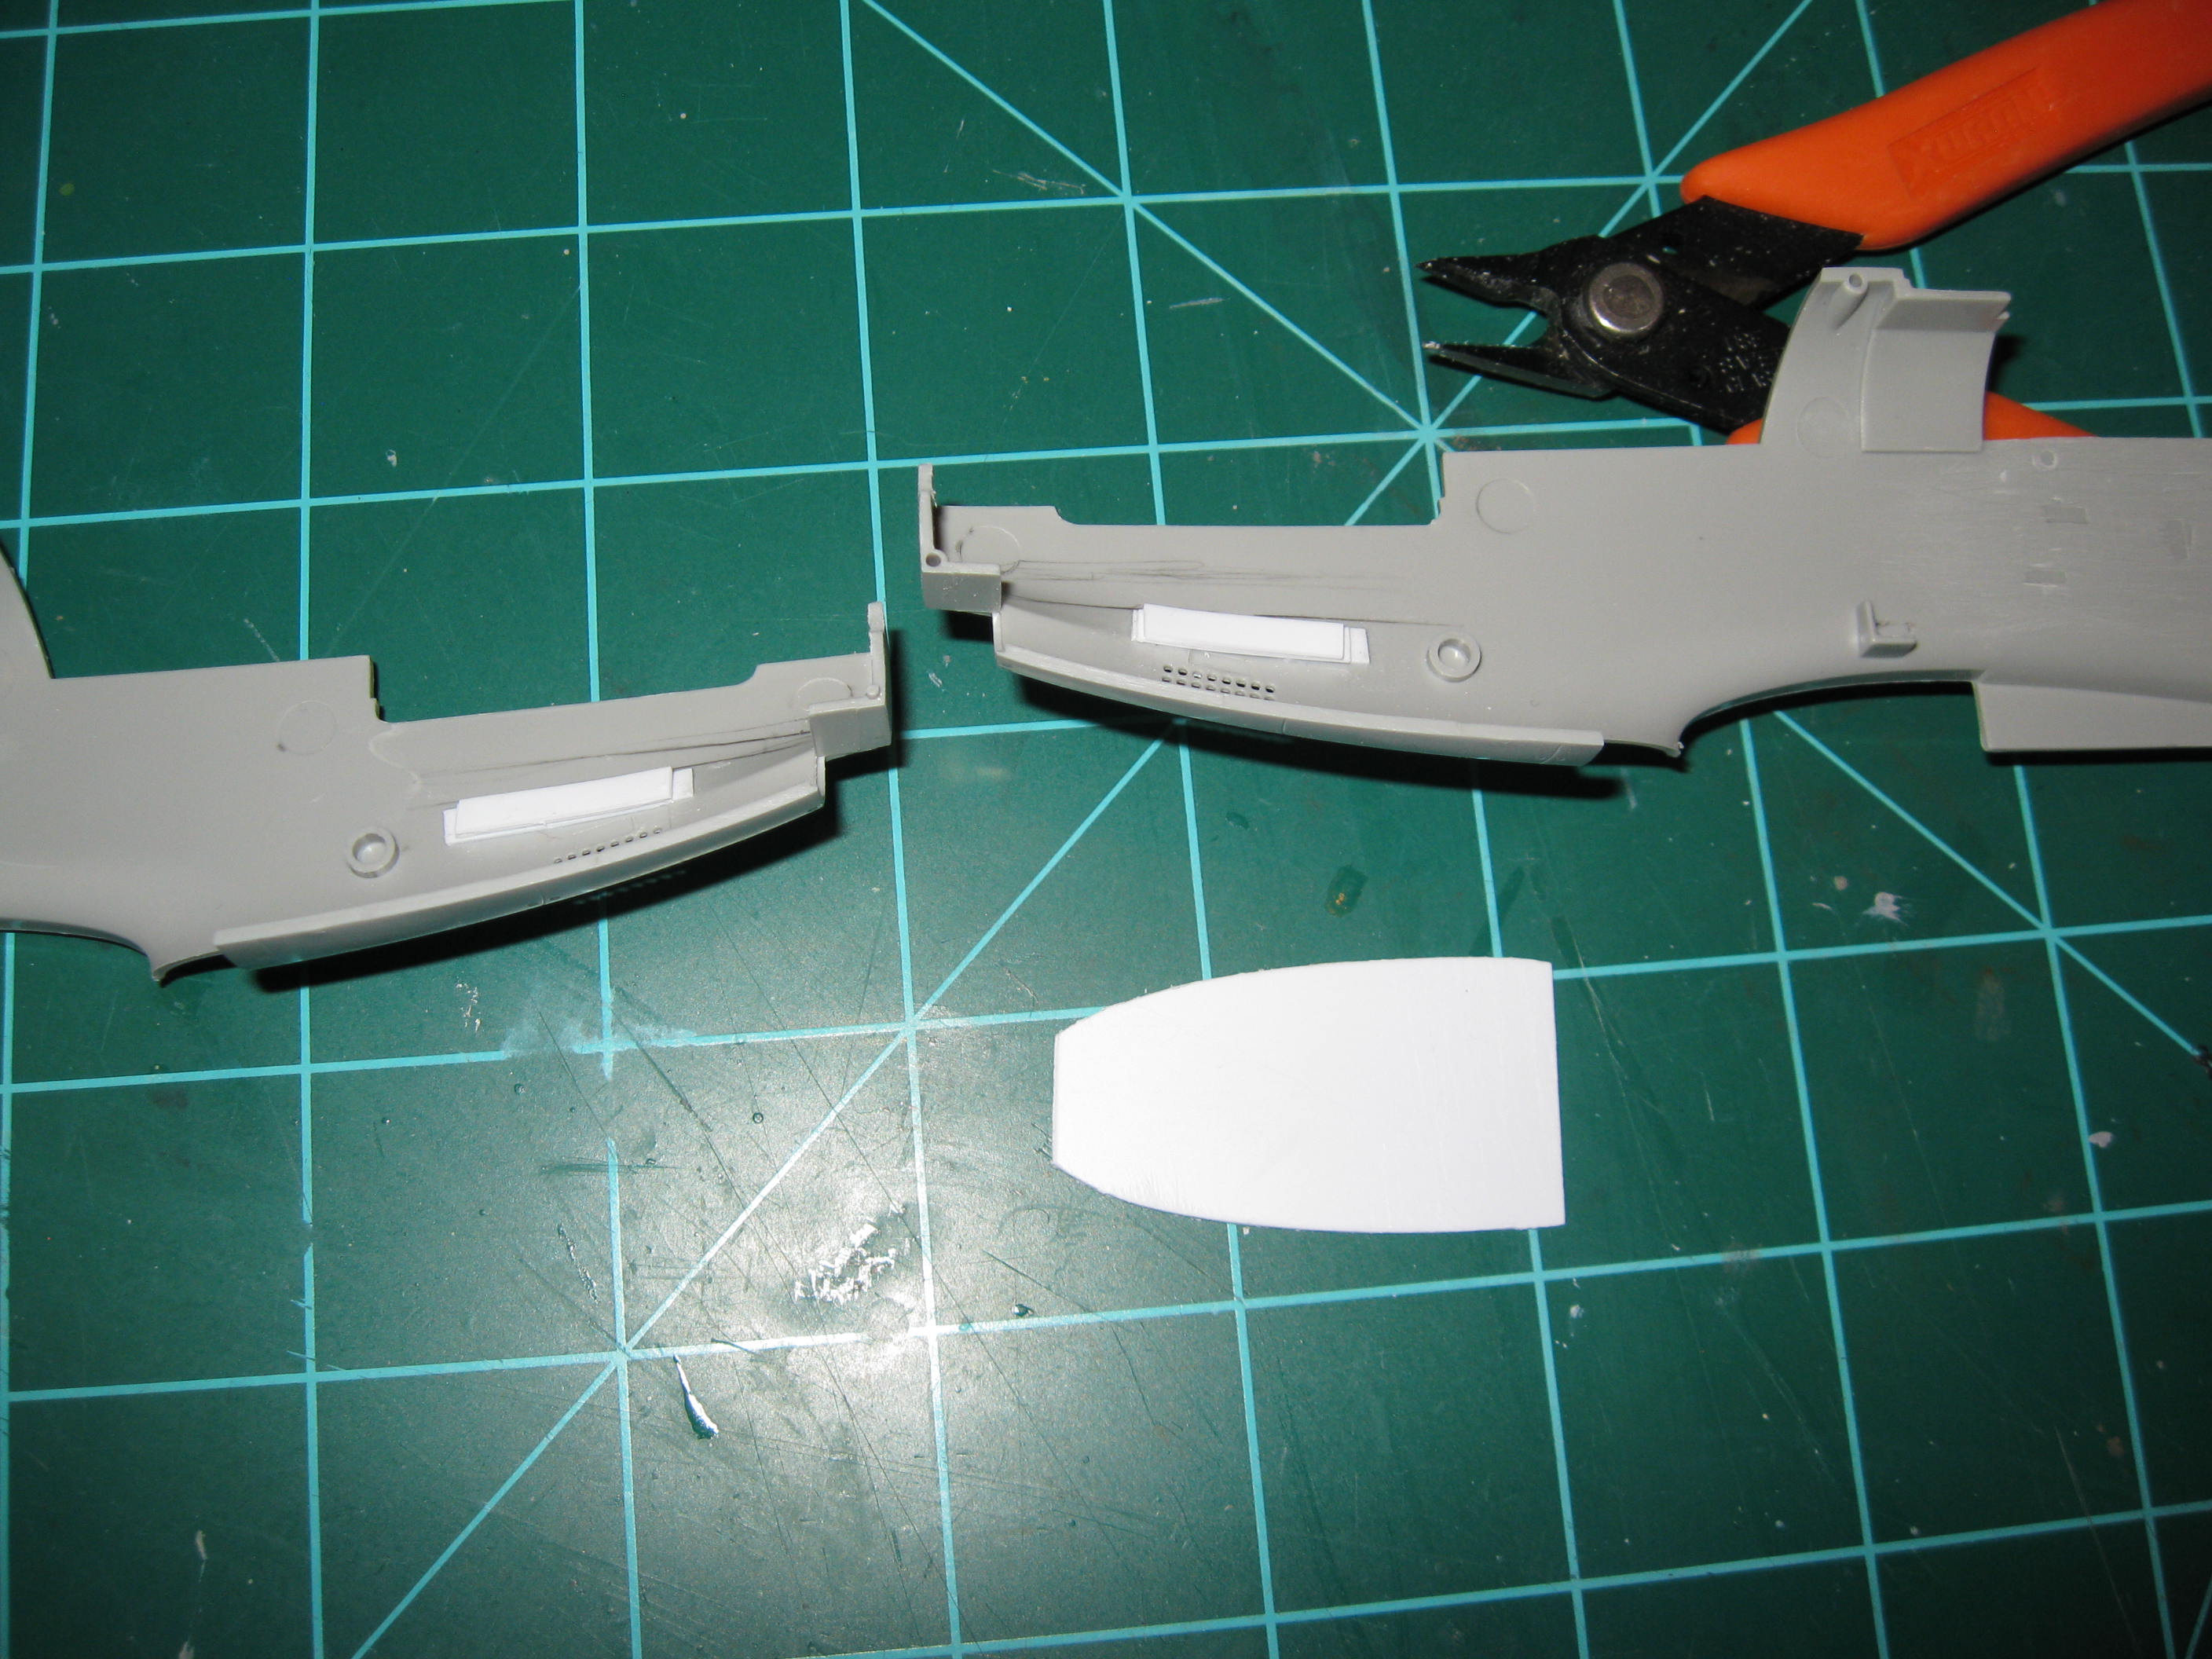
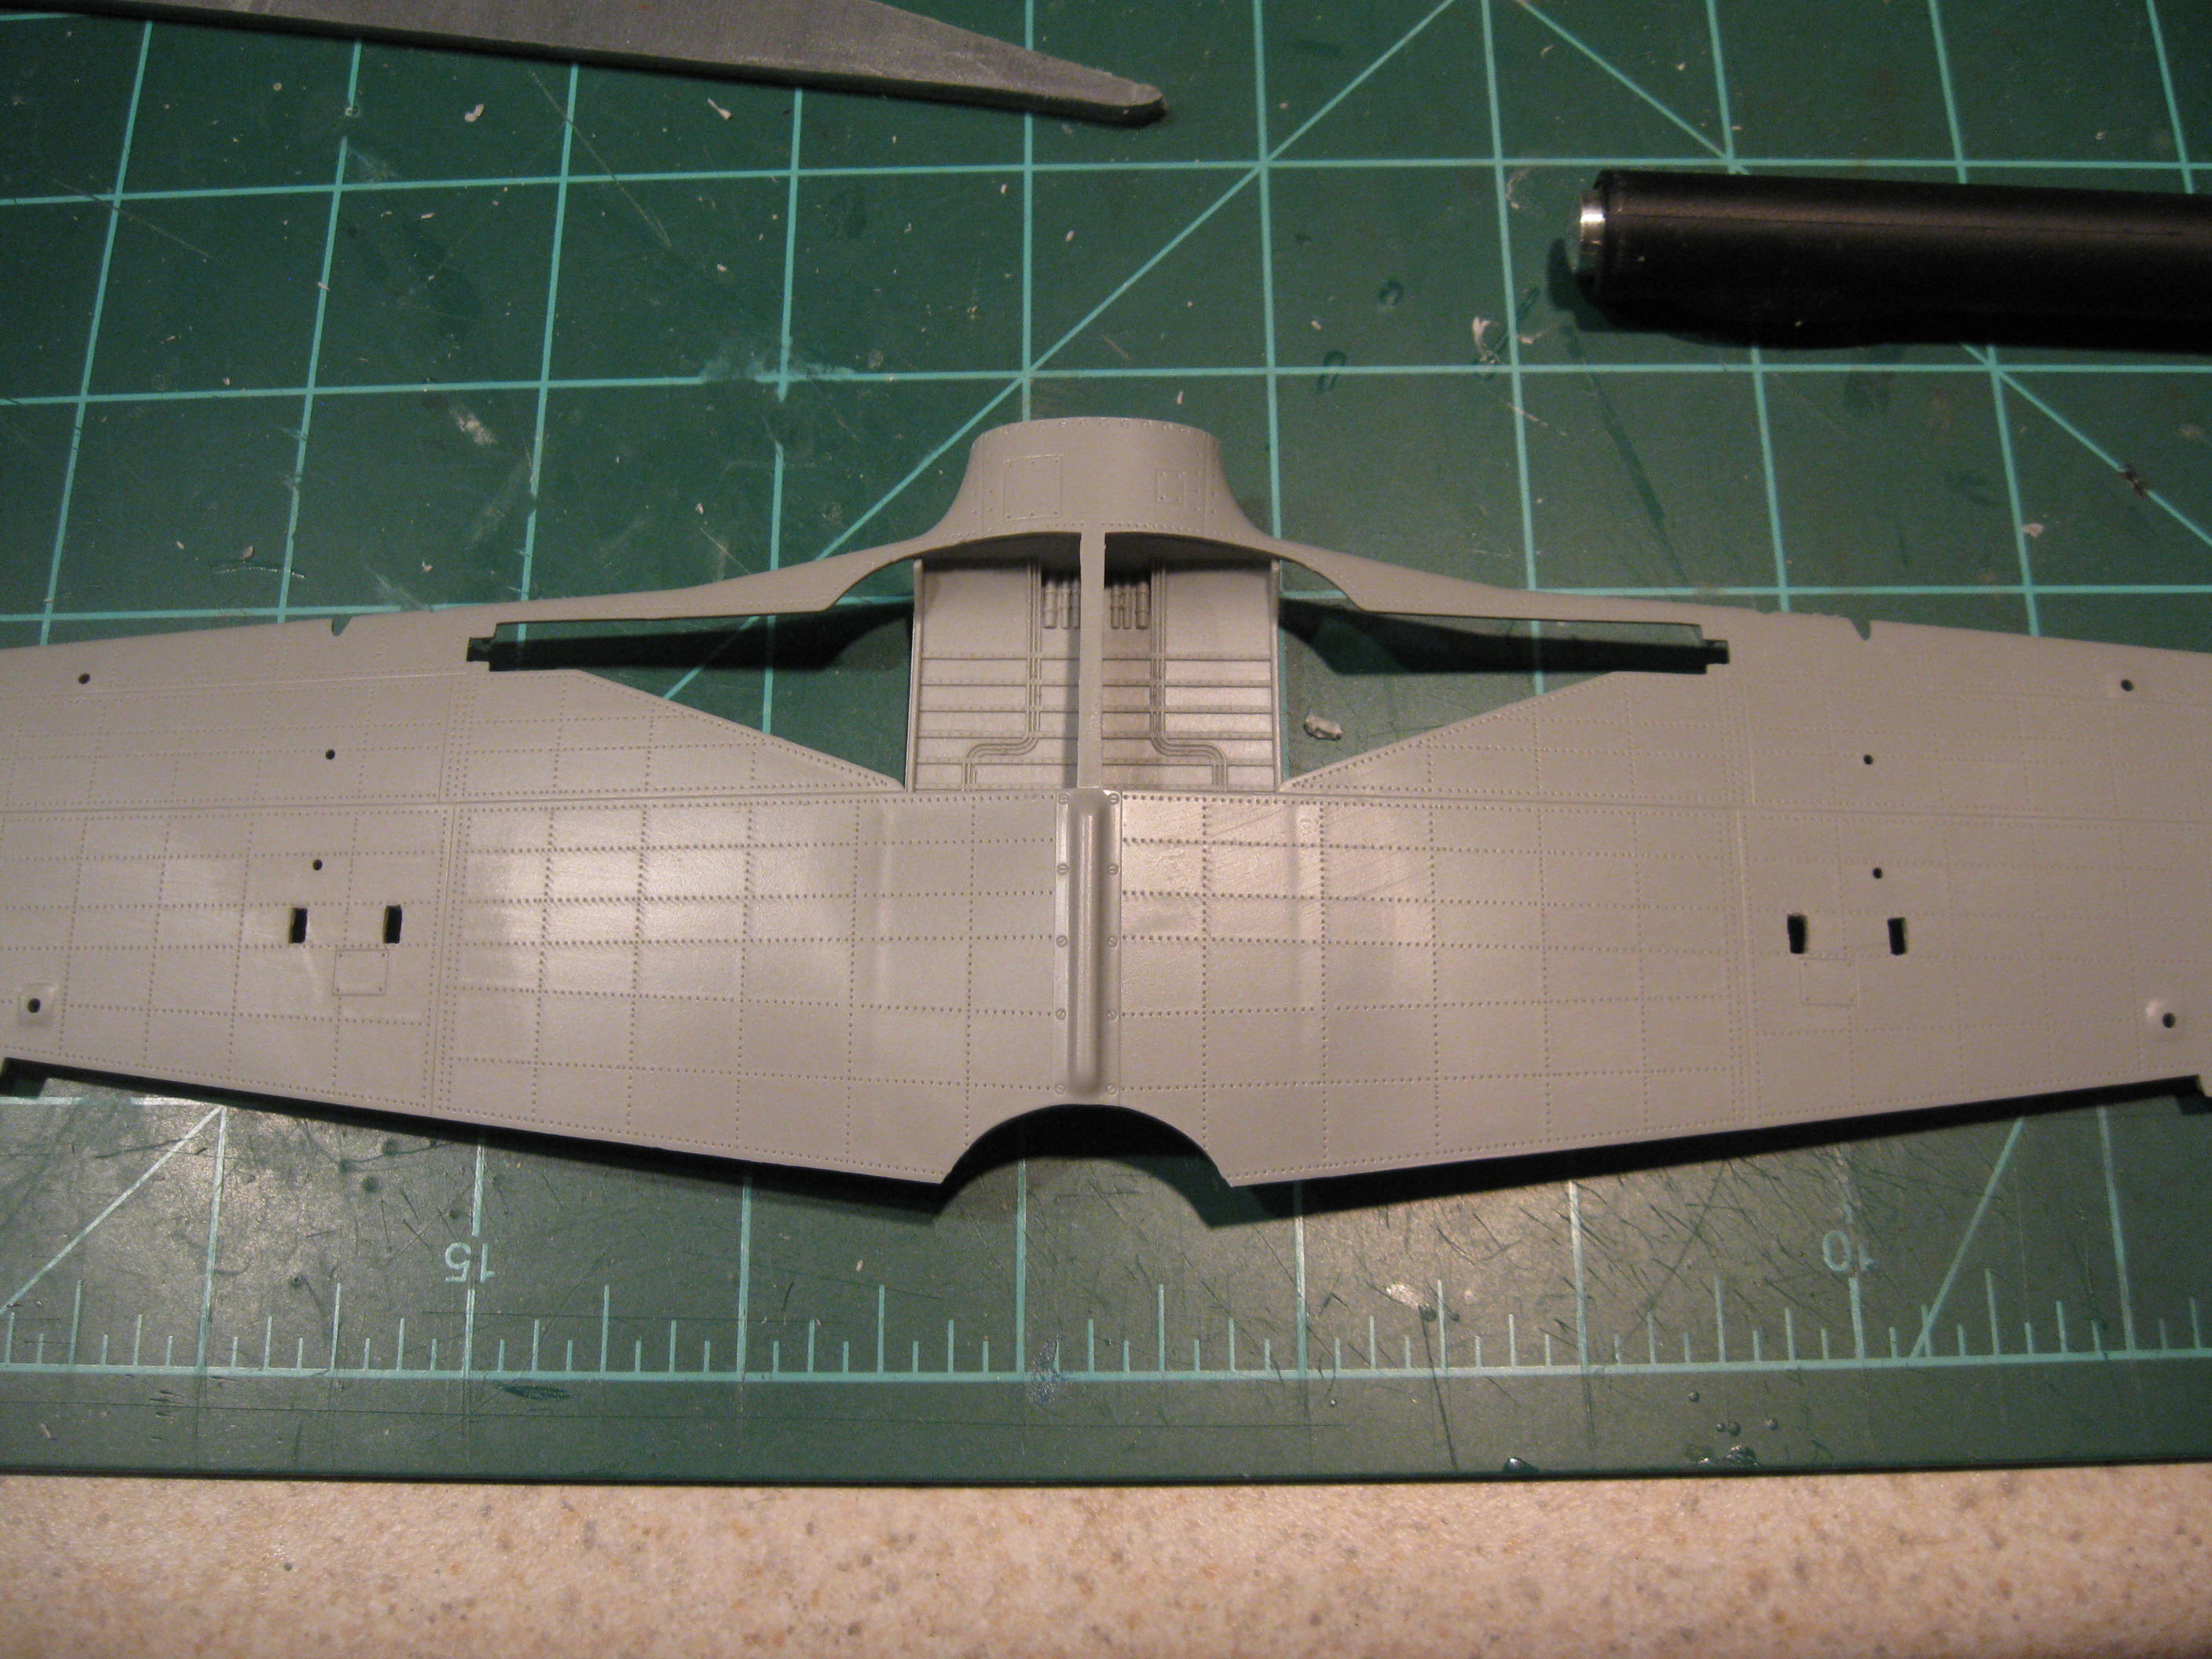
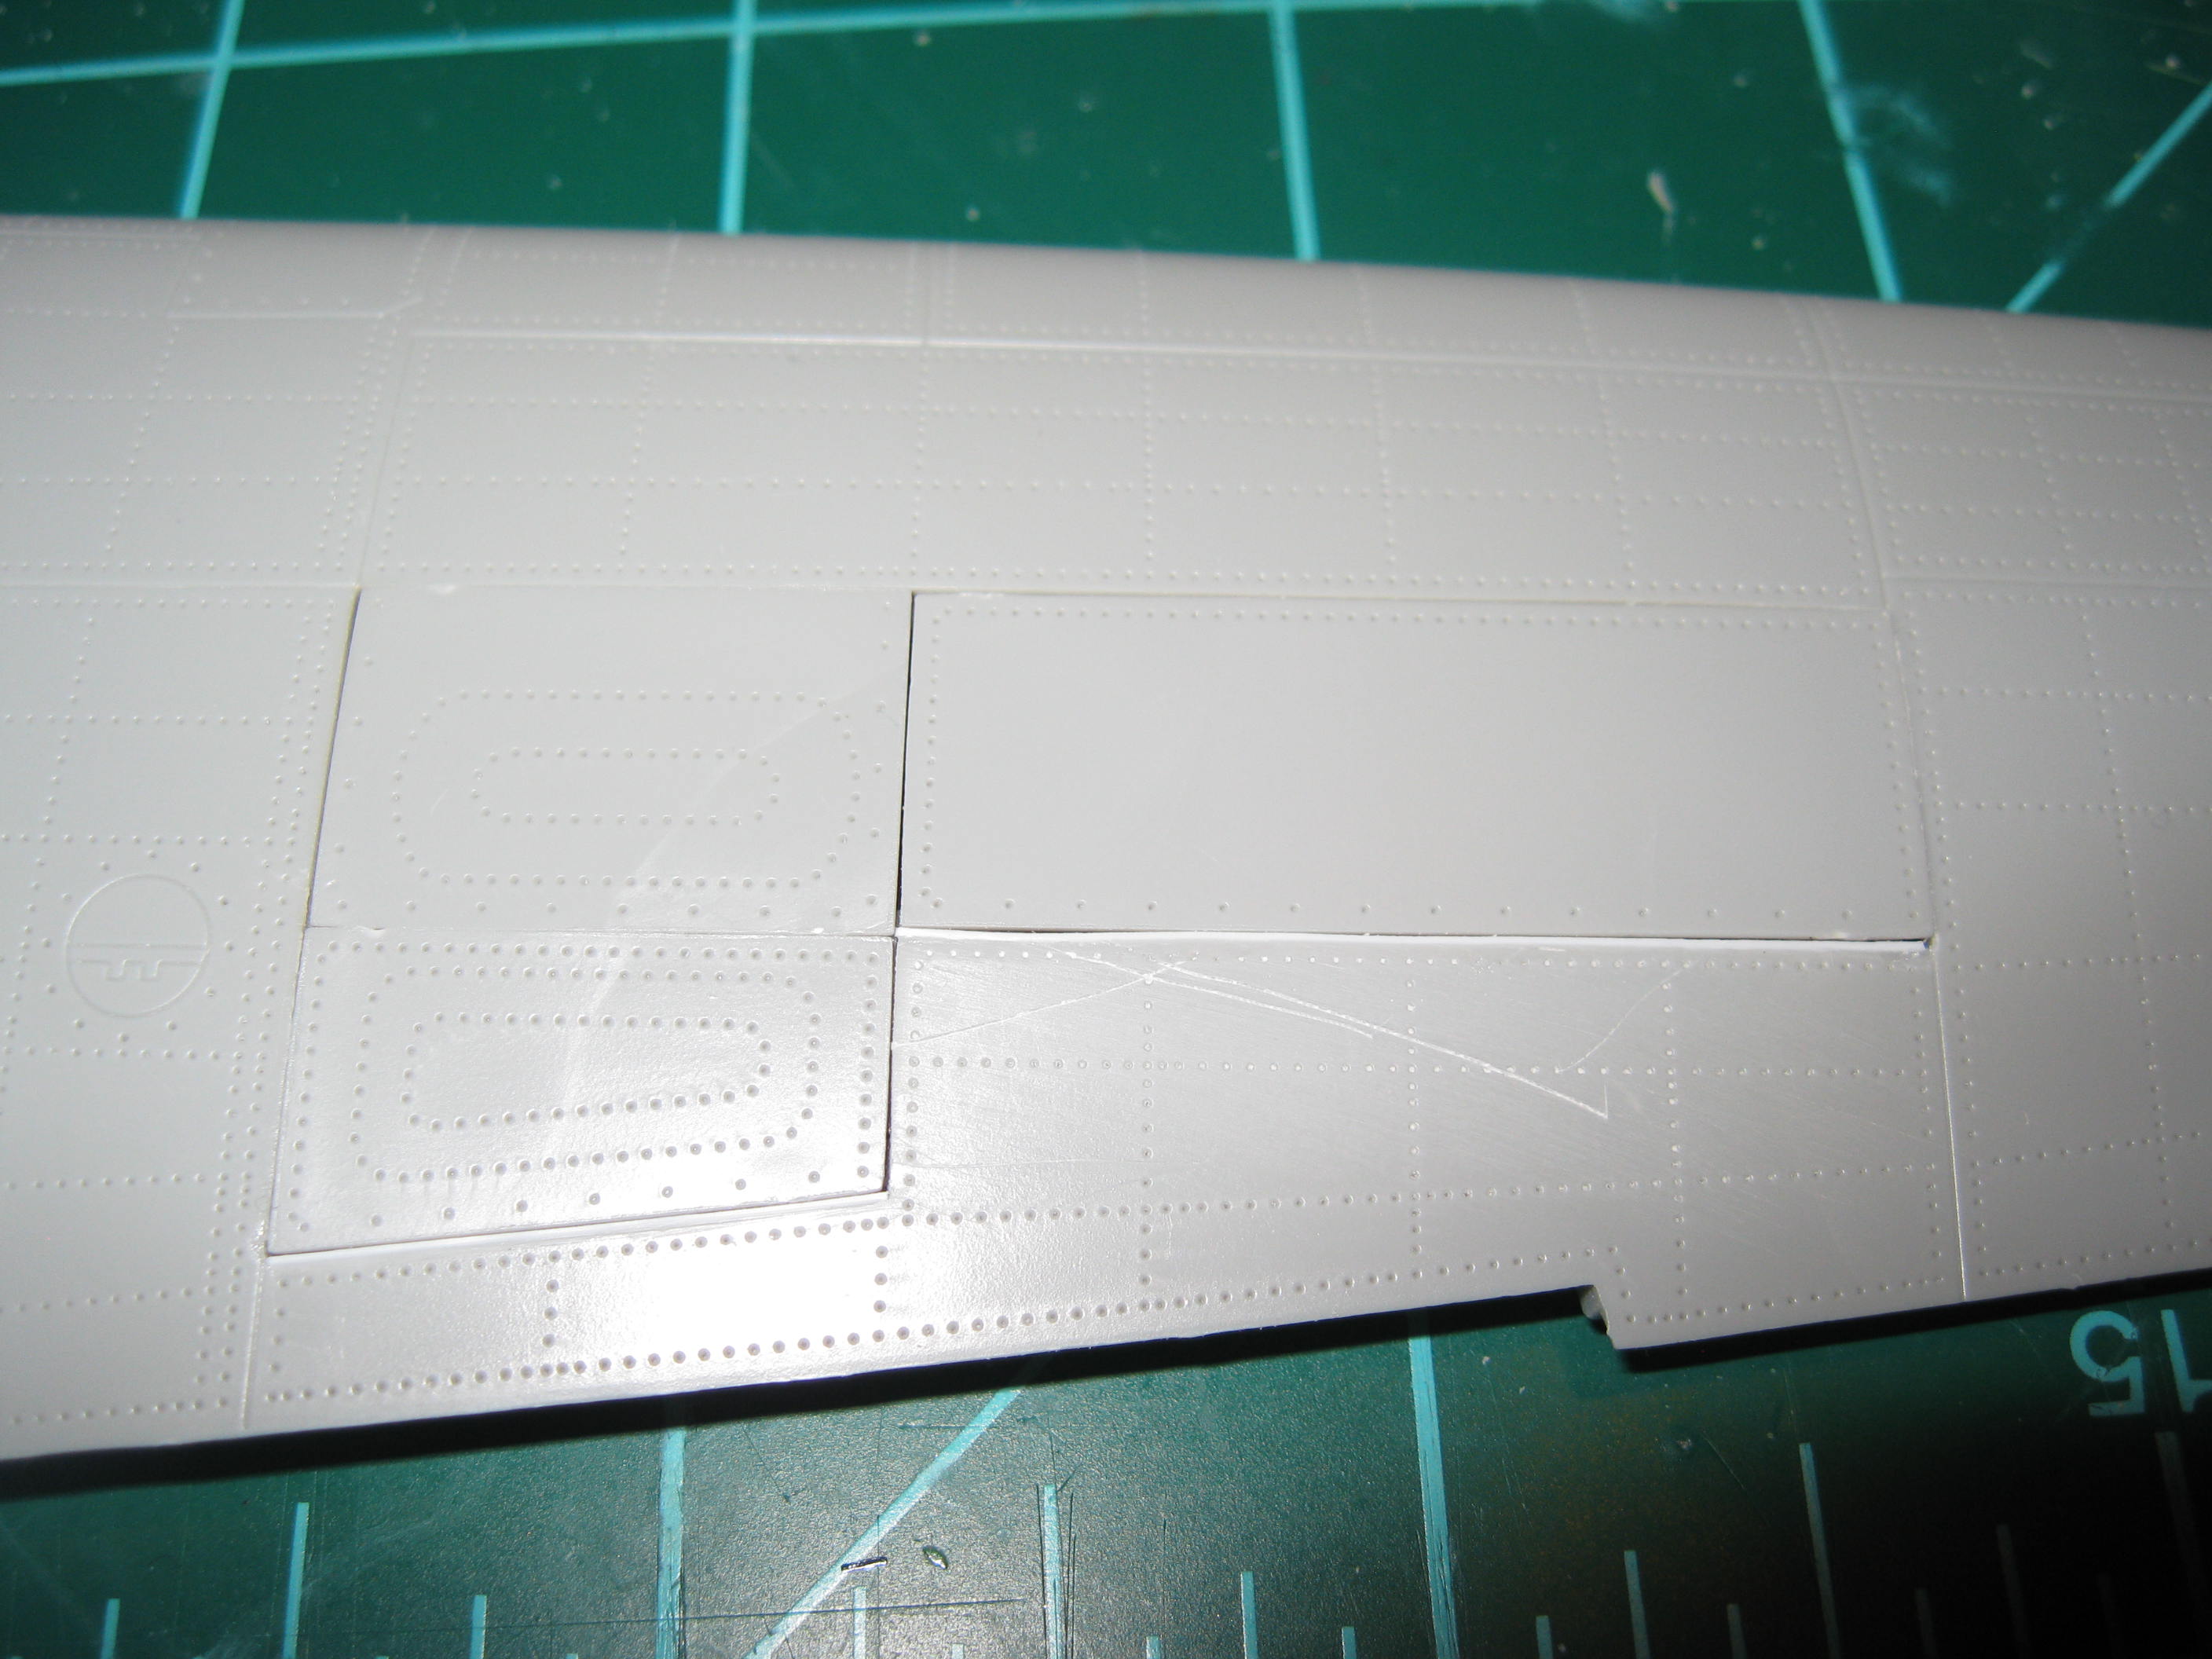
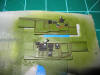
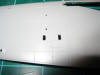
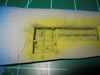
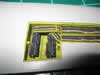
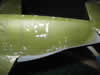
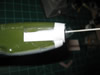
I had to add some trimming with strip styrene (the white pieces)
to get the gun bay access panels to fit snuggly. This
picture looks pretty good but I added another strip to the left
edge of the gun bay and everything fits nice and tight now.
You can also see how much scraping I had to do to get the Aires
gun bay to fit inside the wing.(Dec 6,
2011)
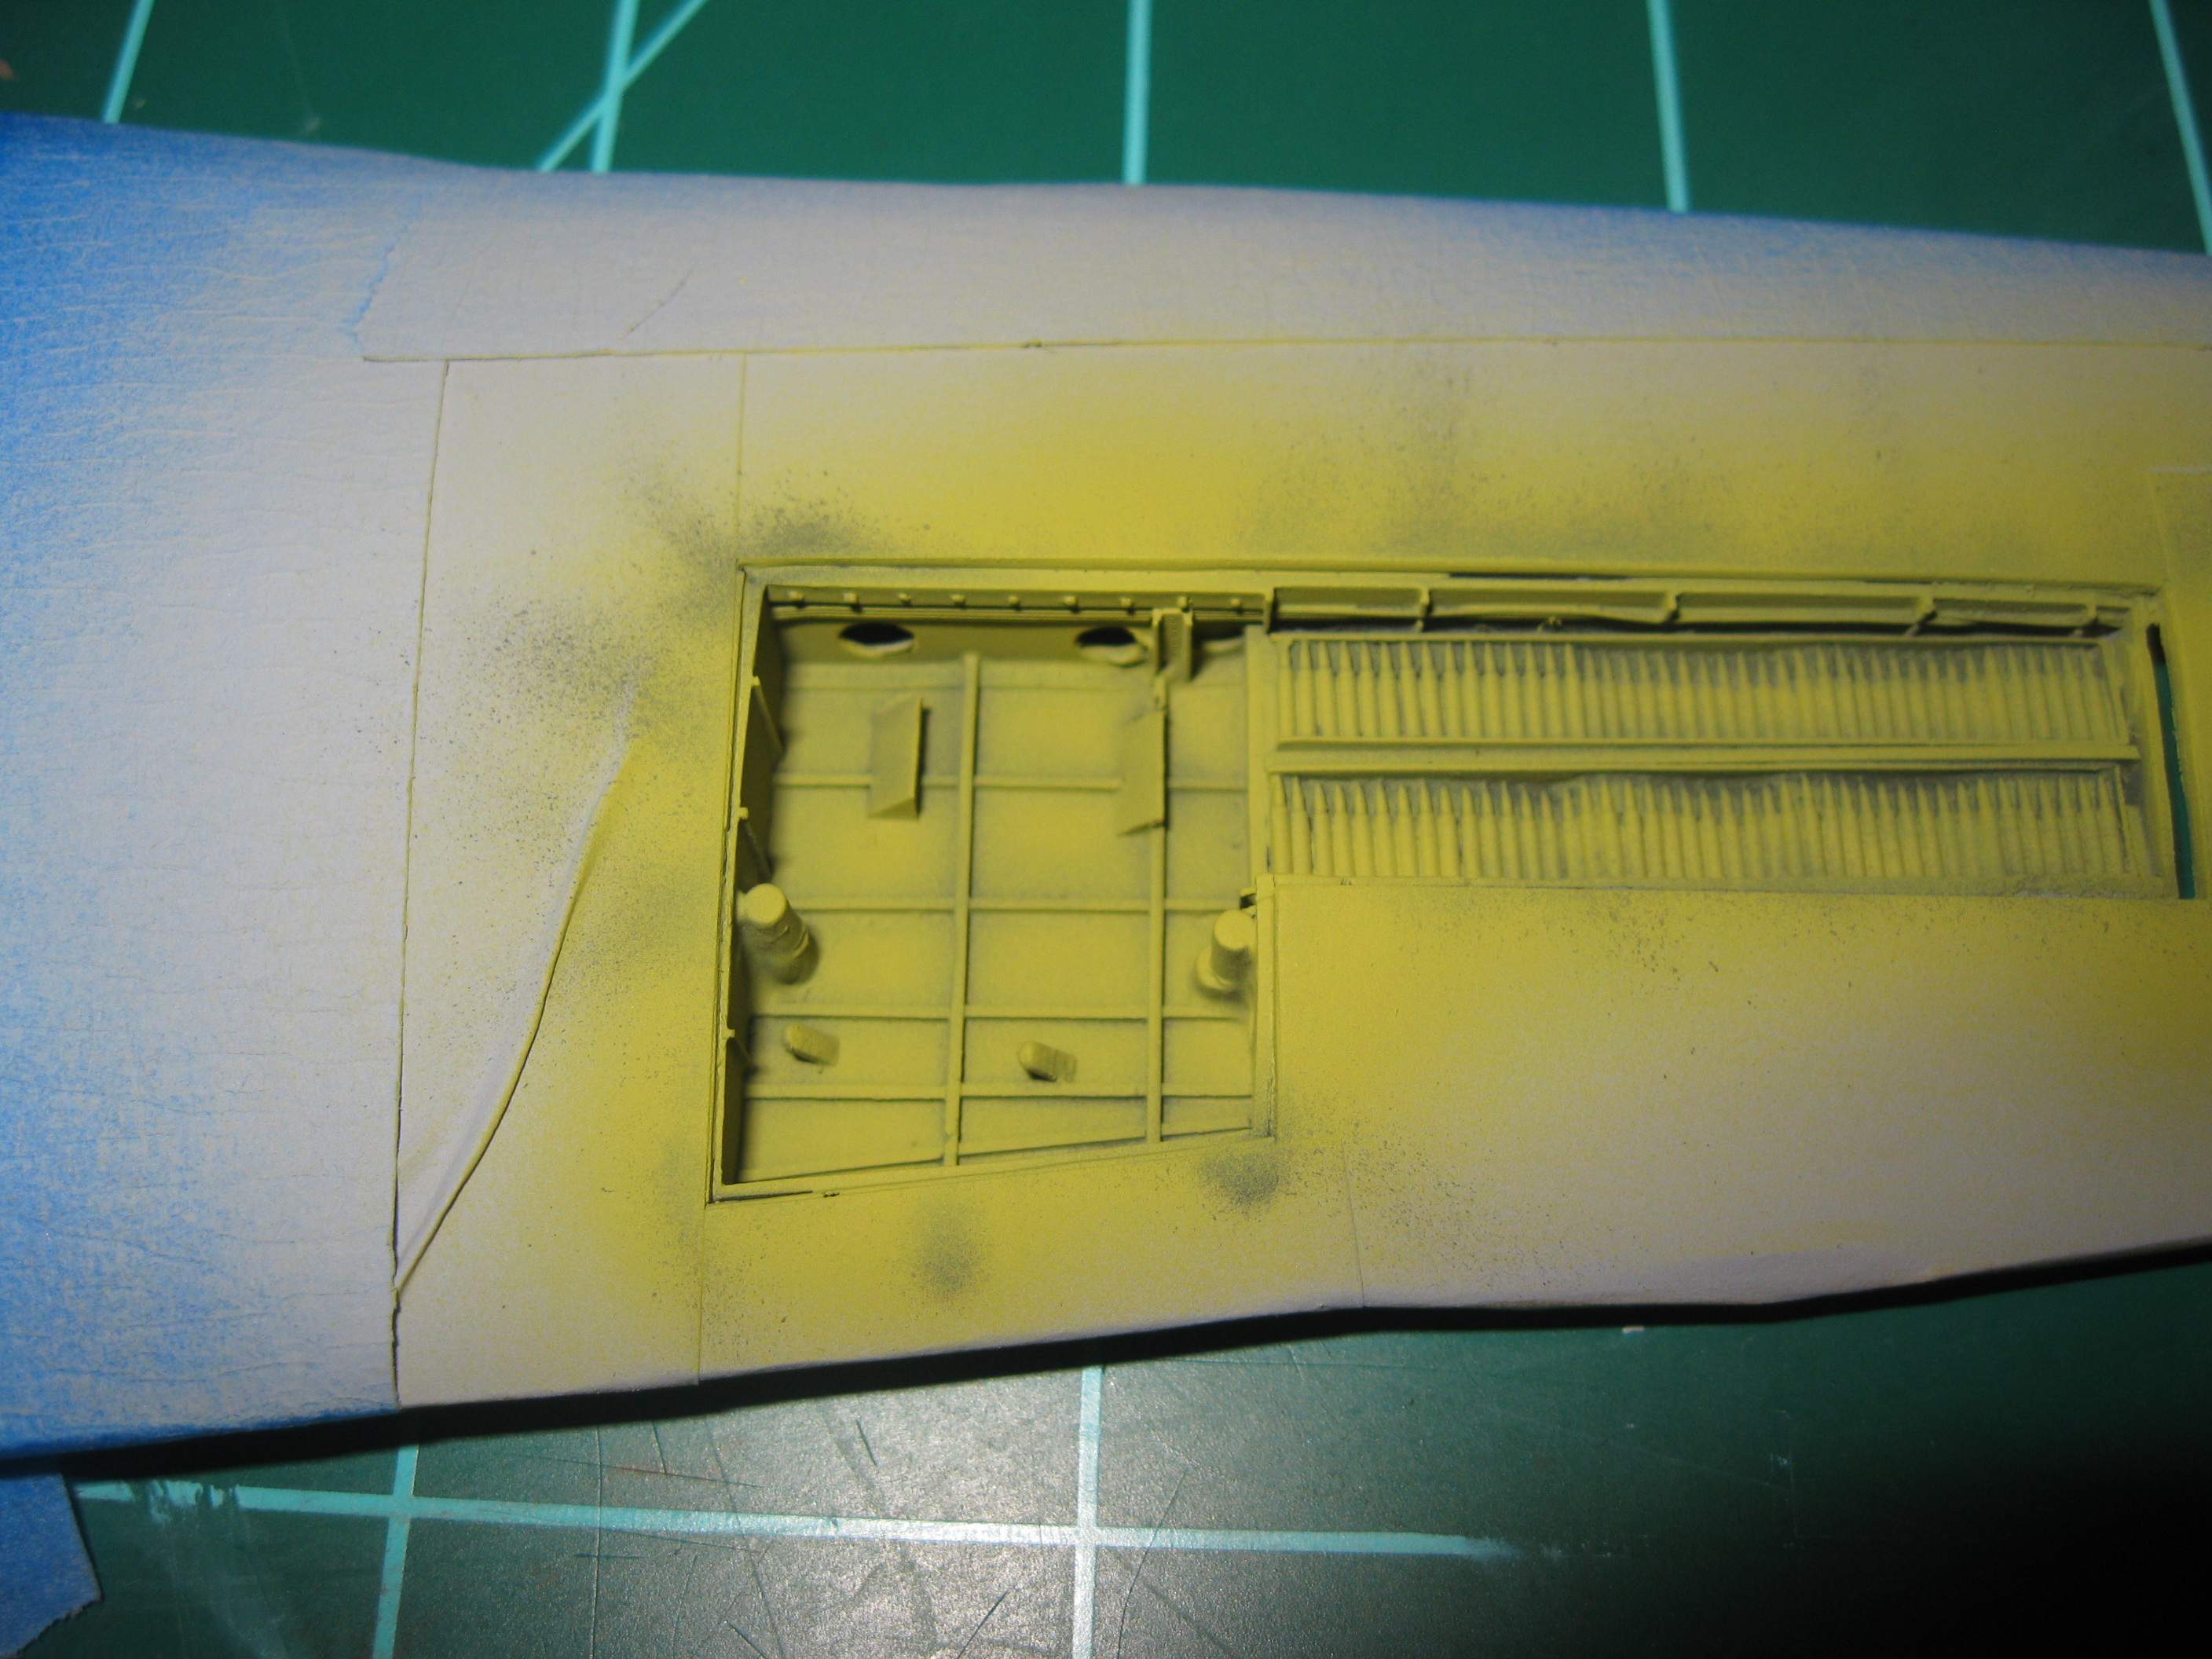
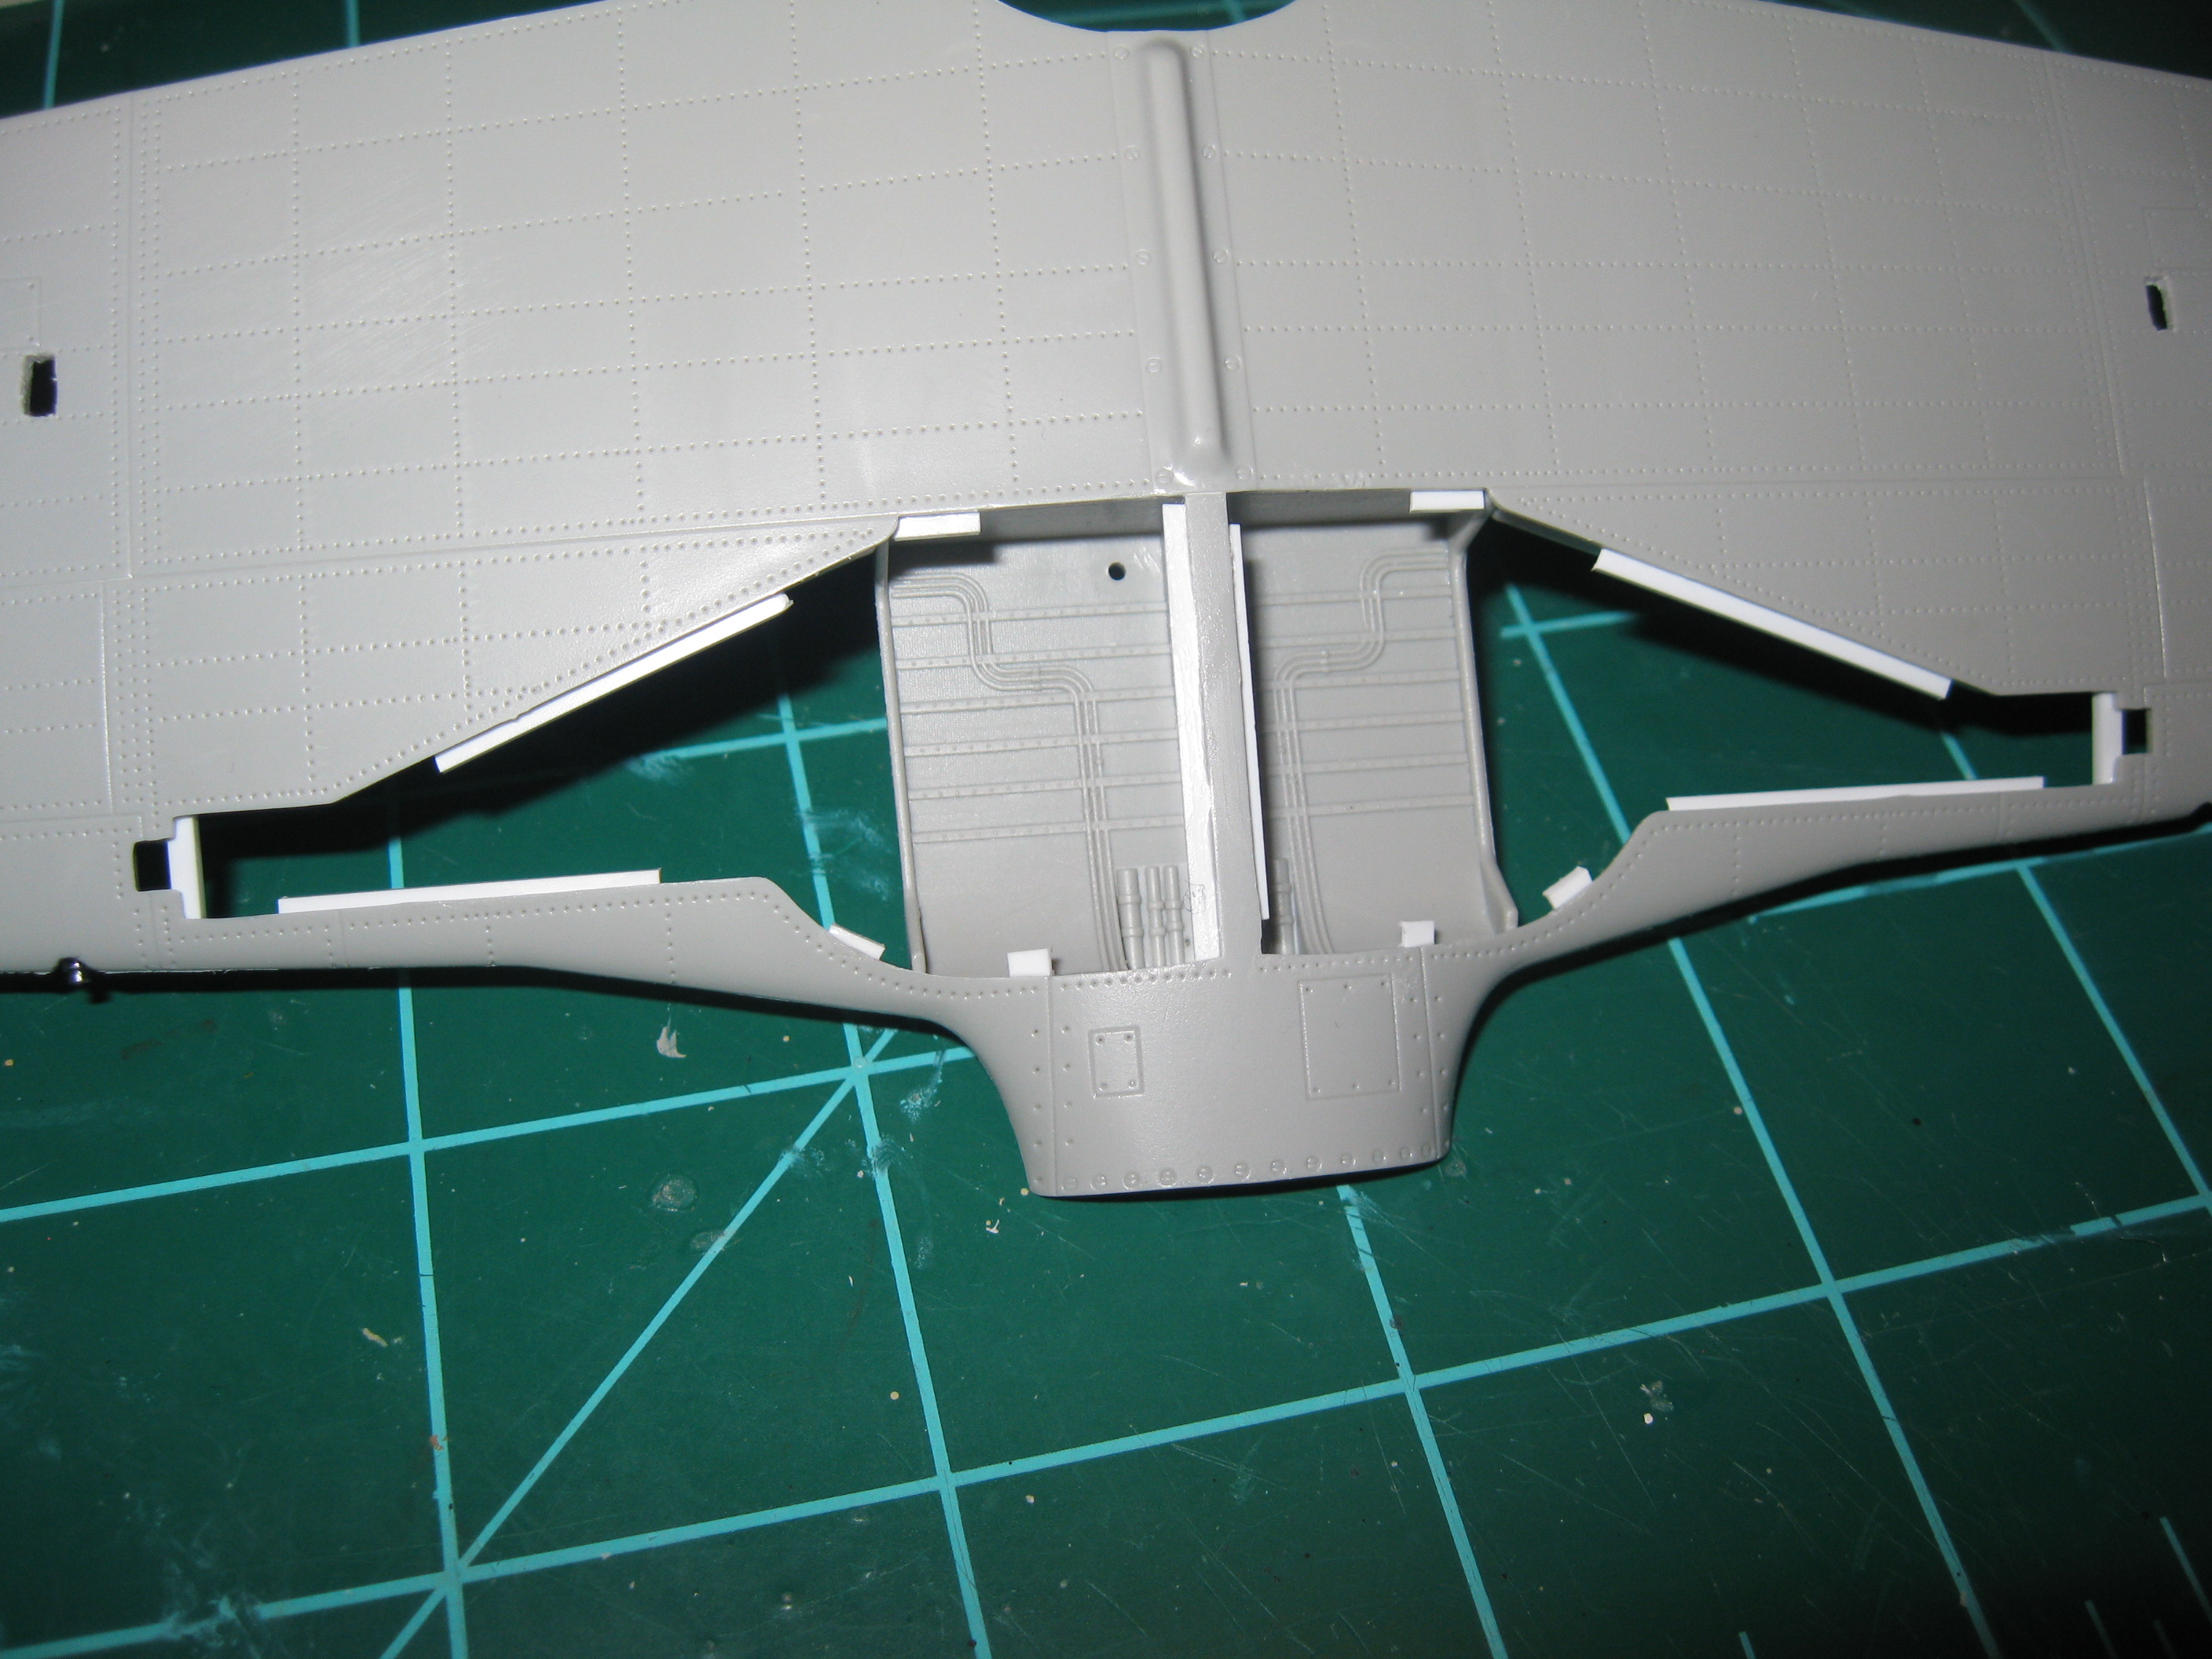
Finally with the wing together it was time to add a little paint to the gun bays.(Dec 10, 2011)
    |
|
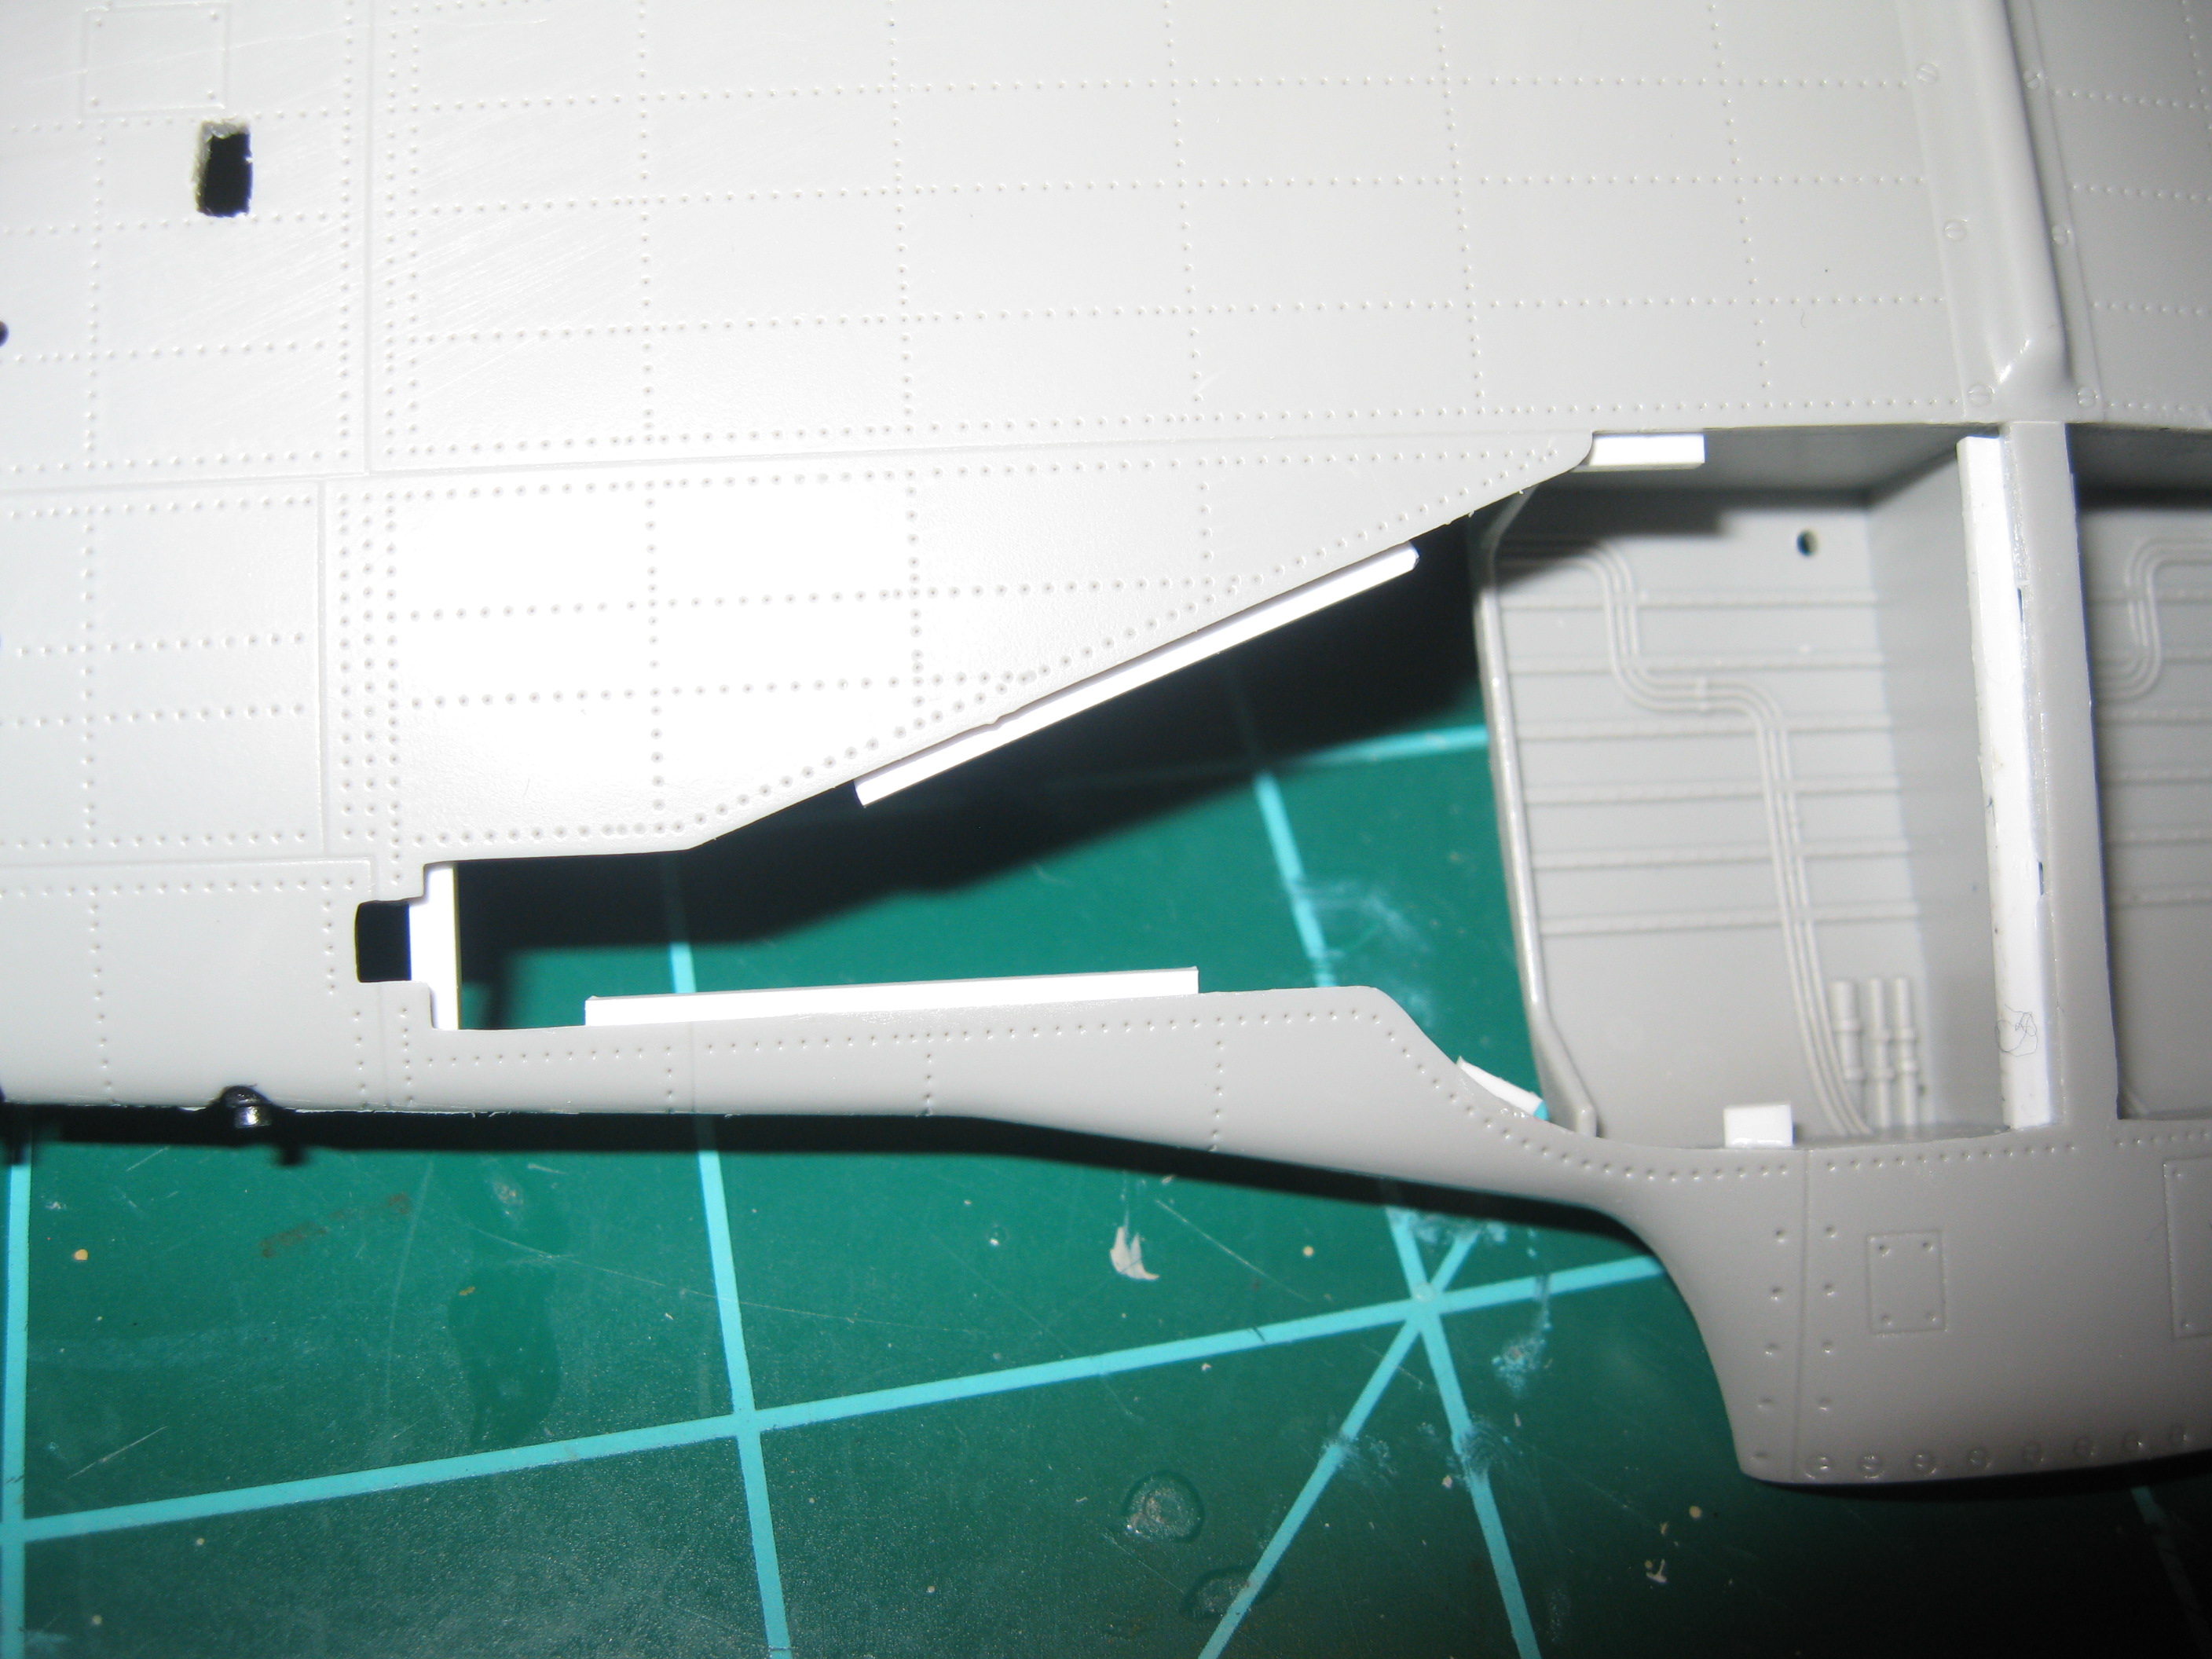
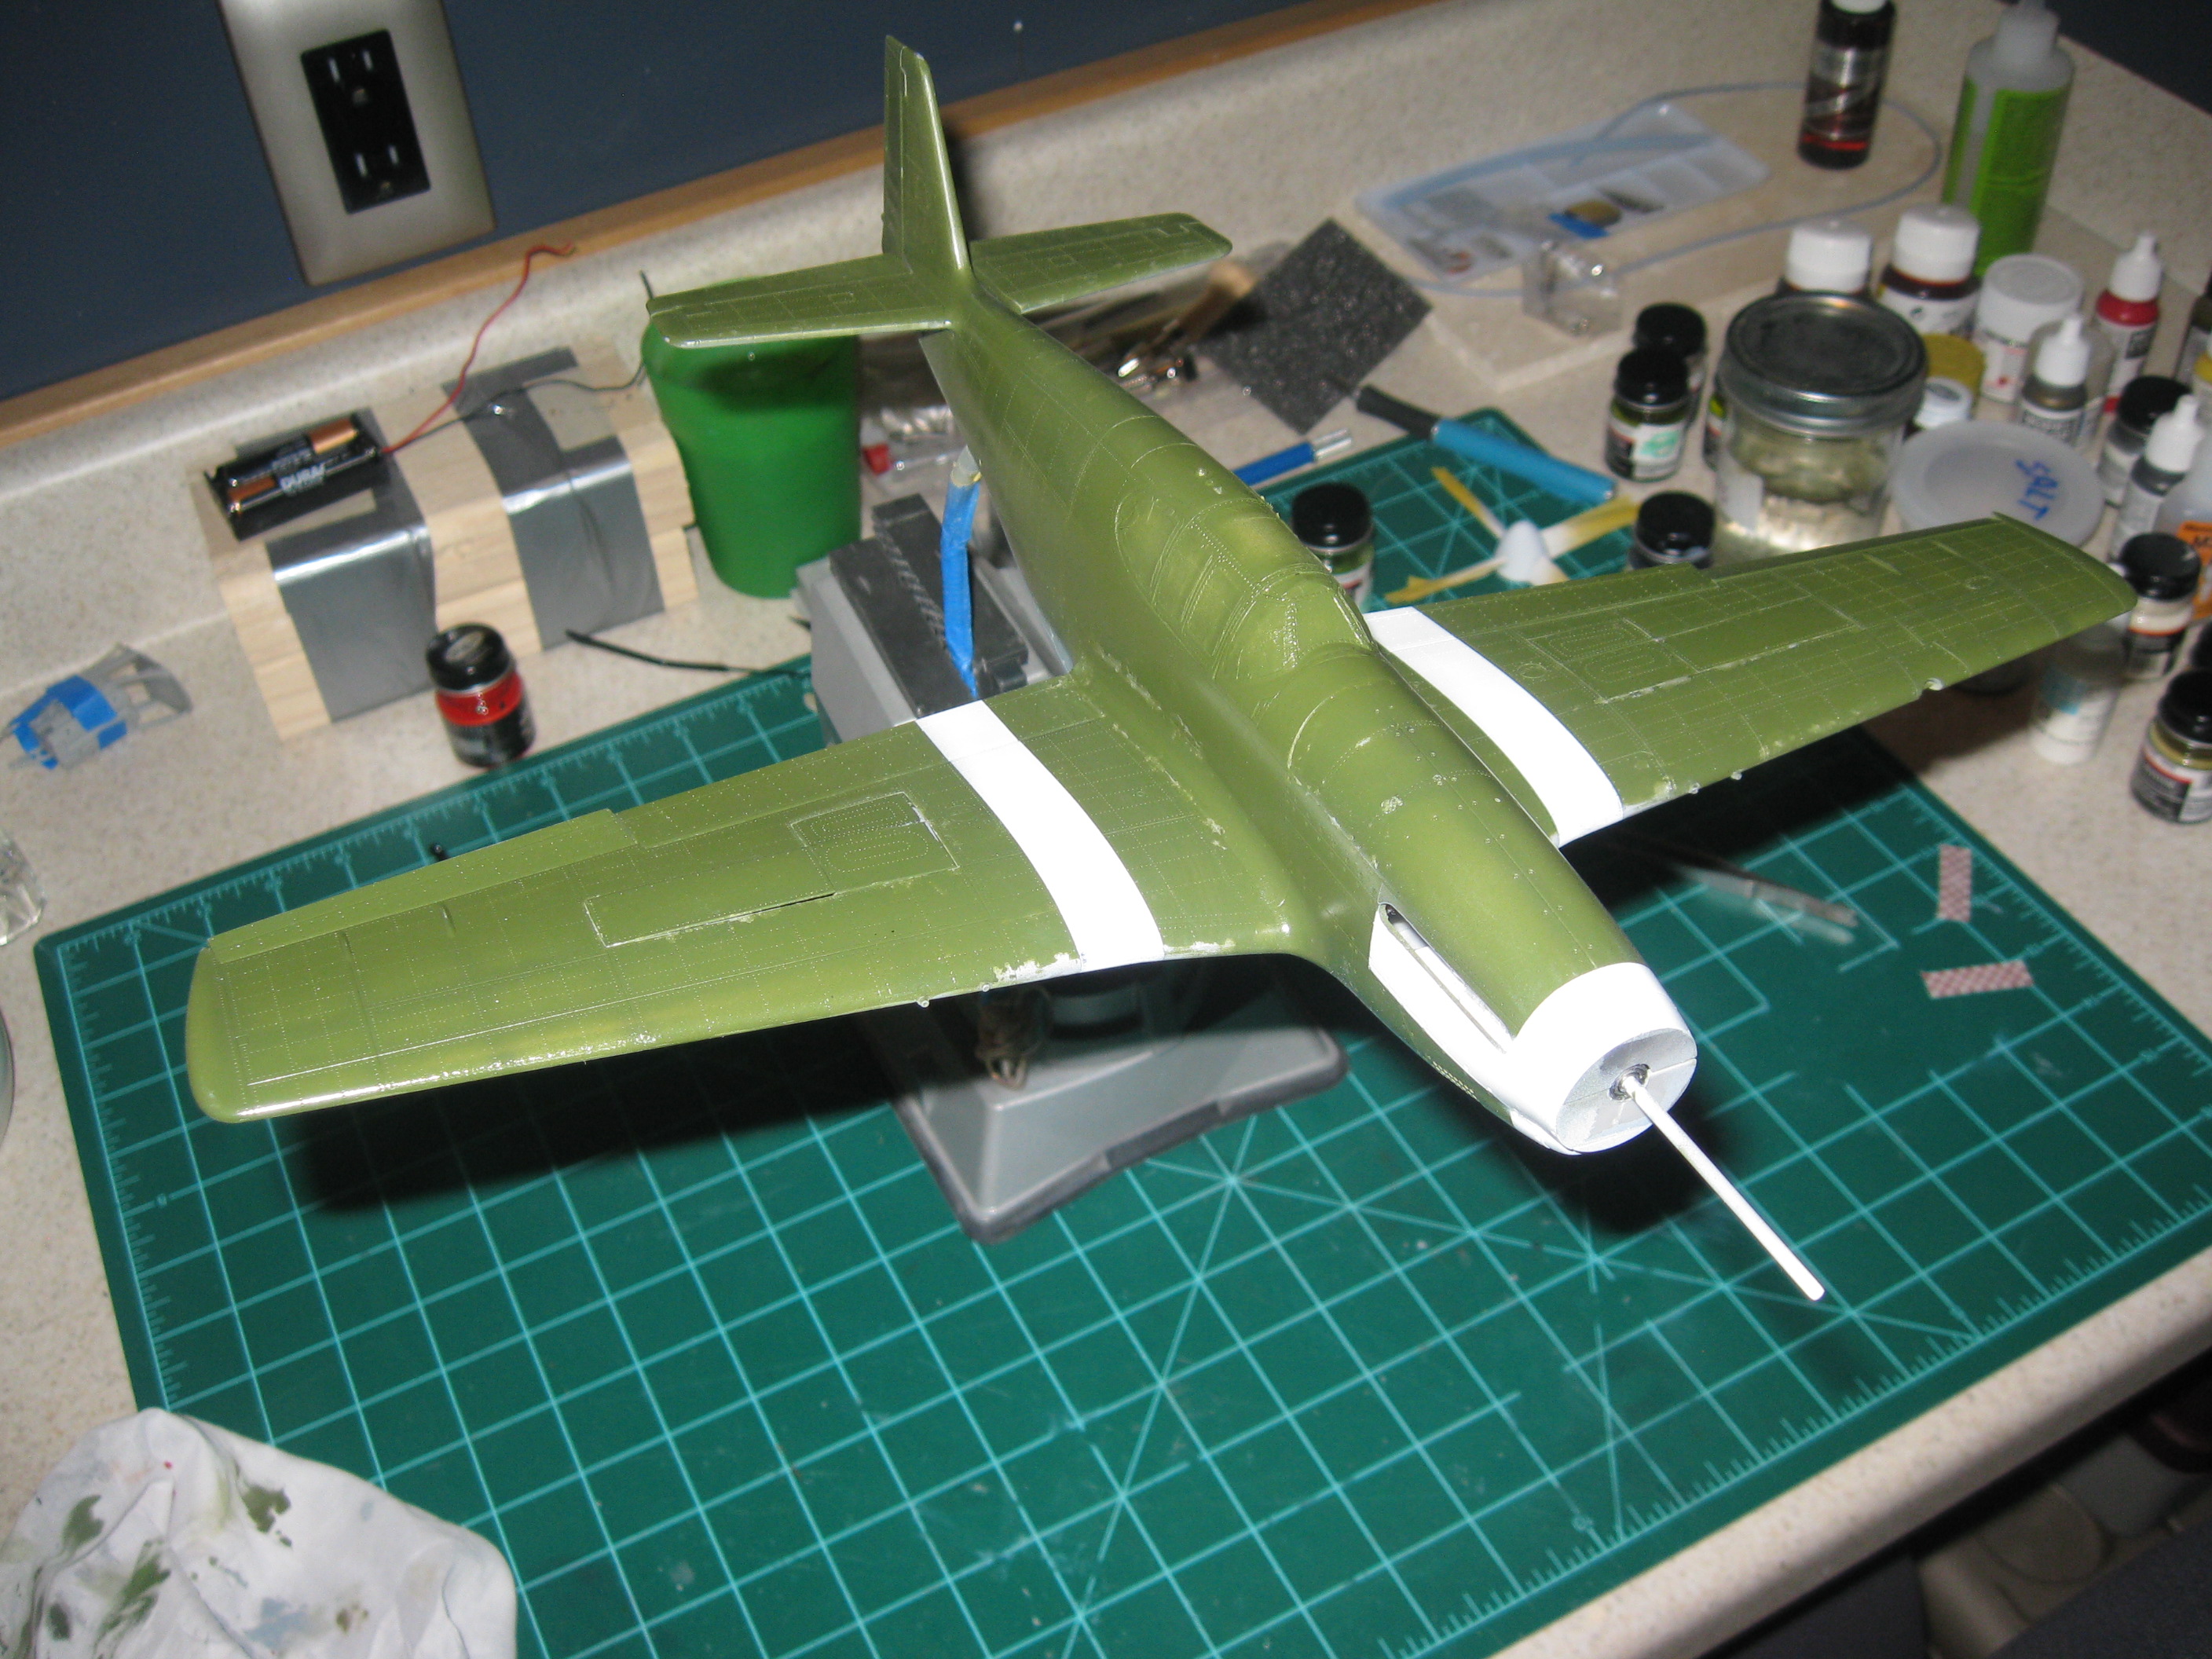
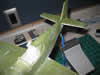
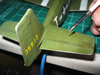
With the gun bay in place it was time to seal up the wings and attach everything to the fuselage.
| |
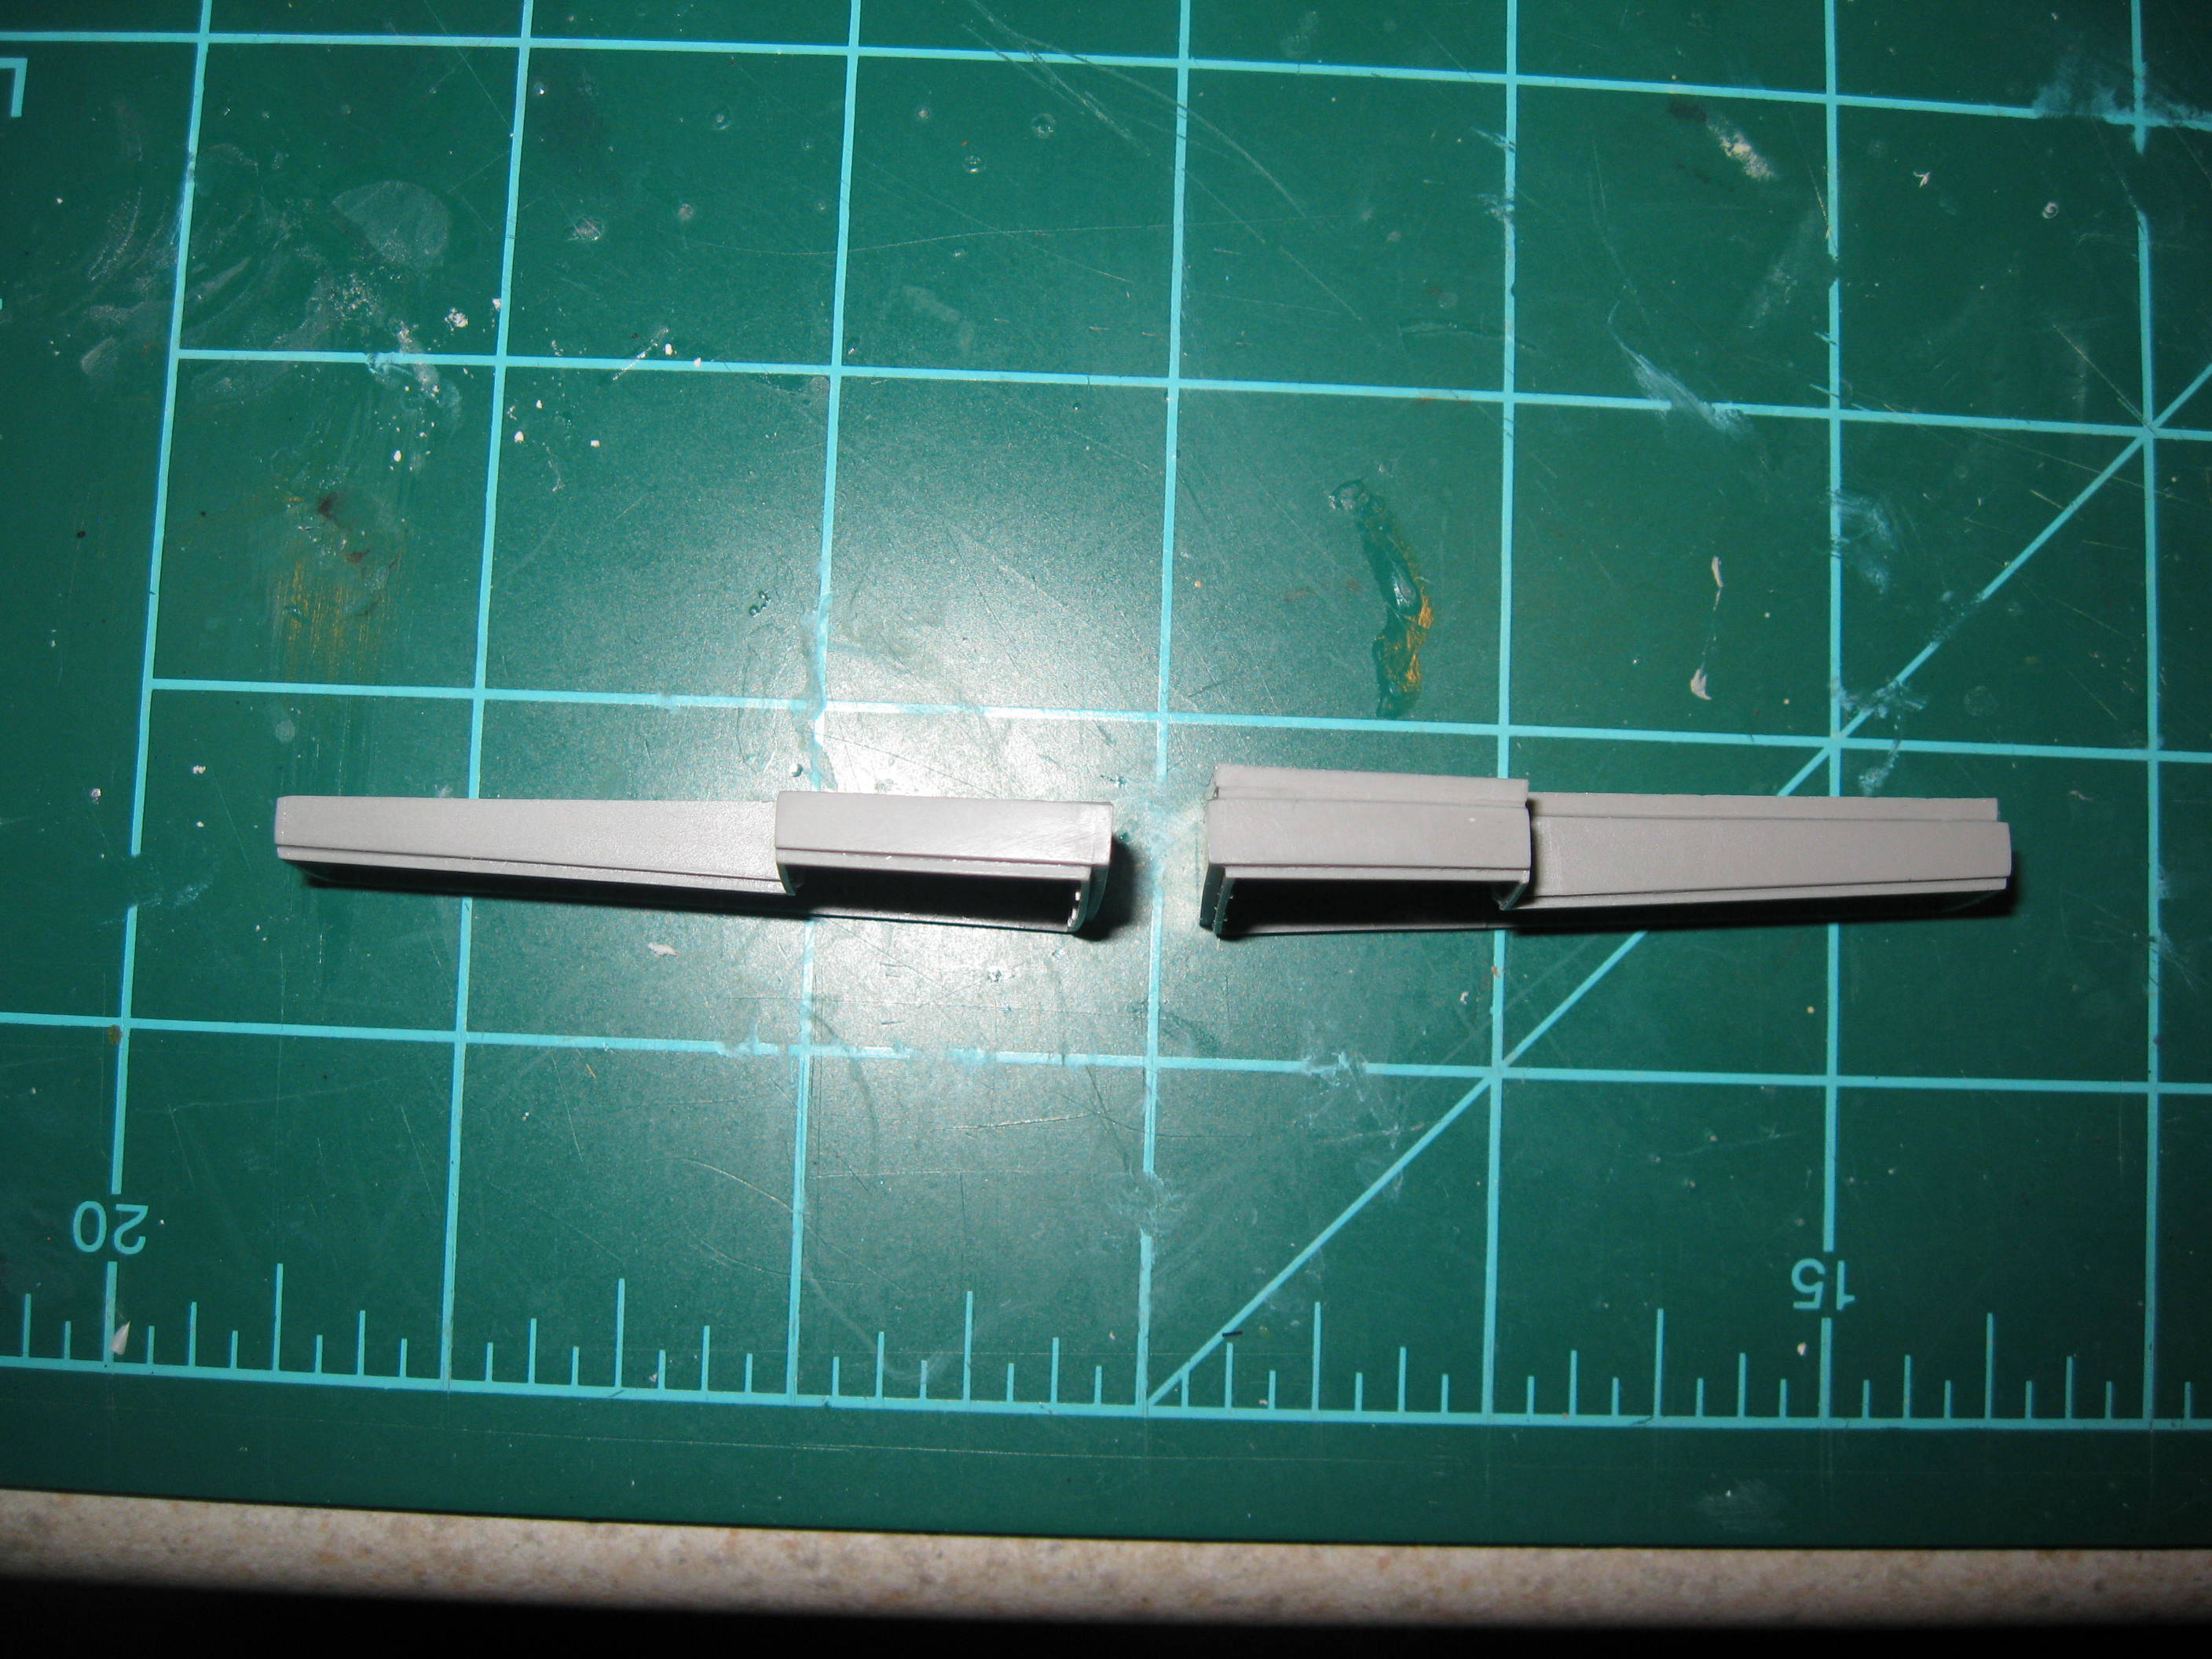
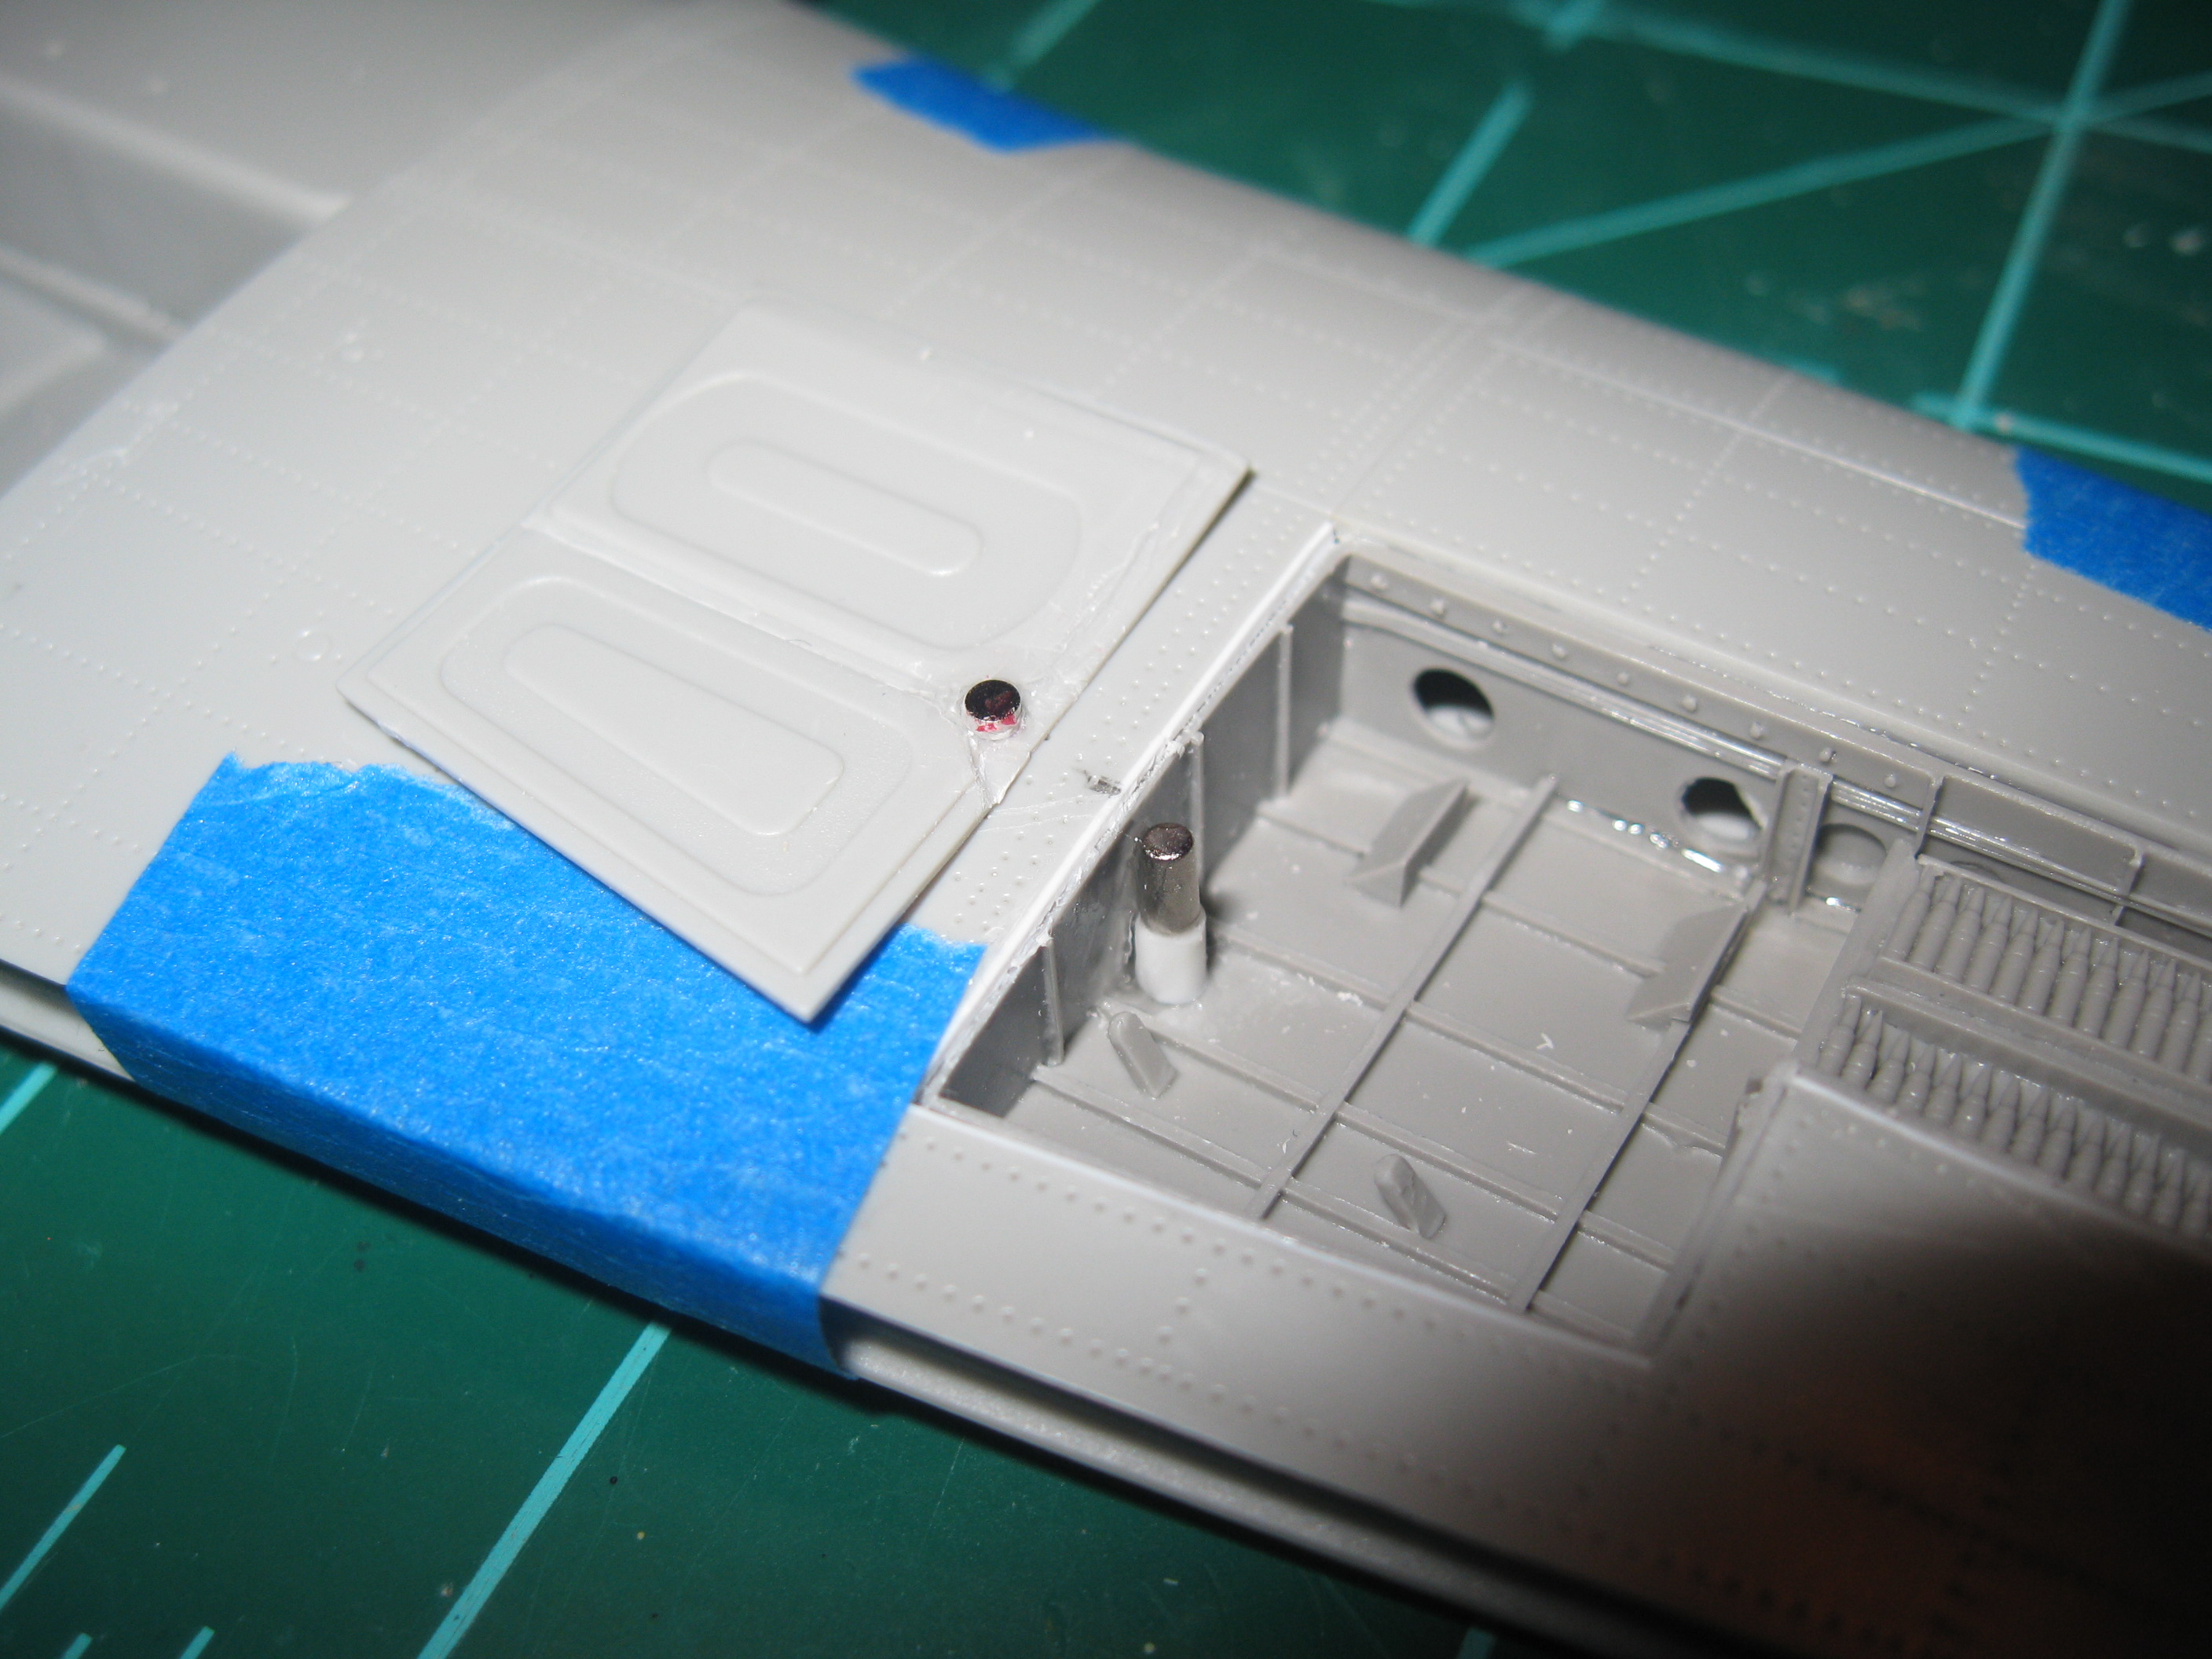
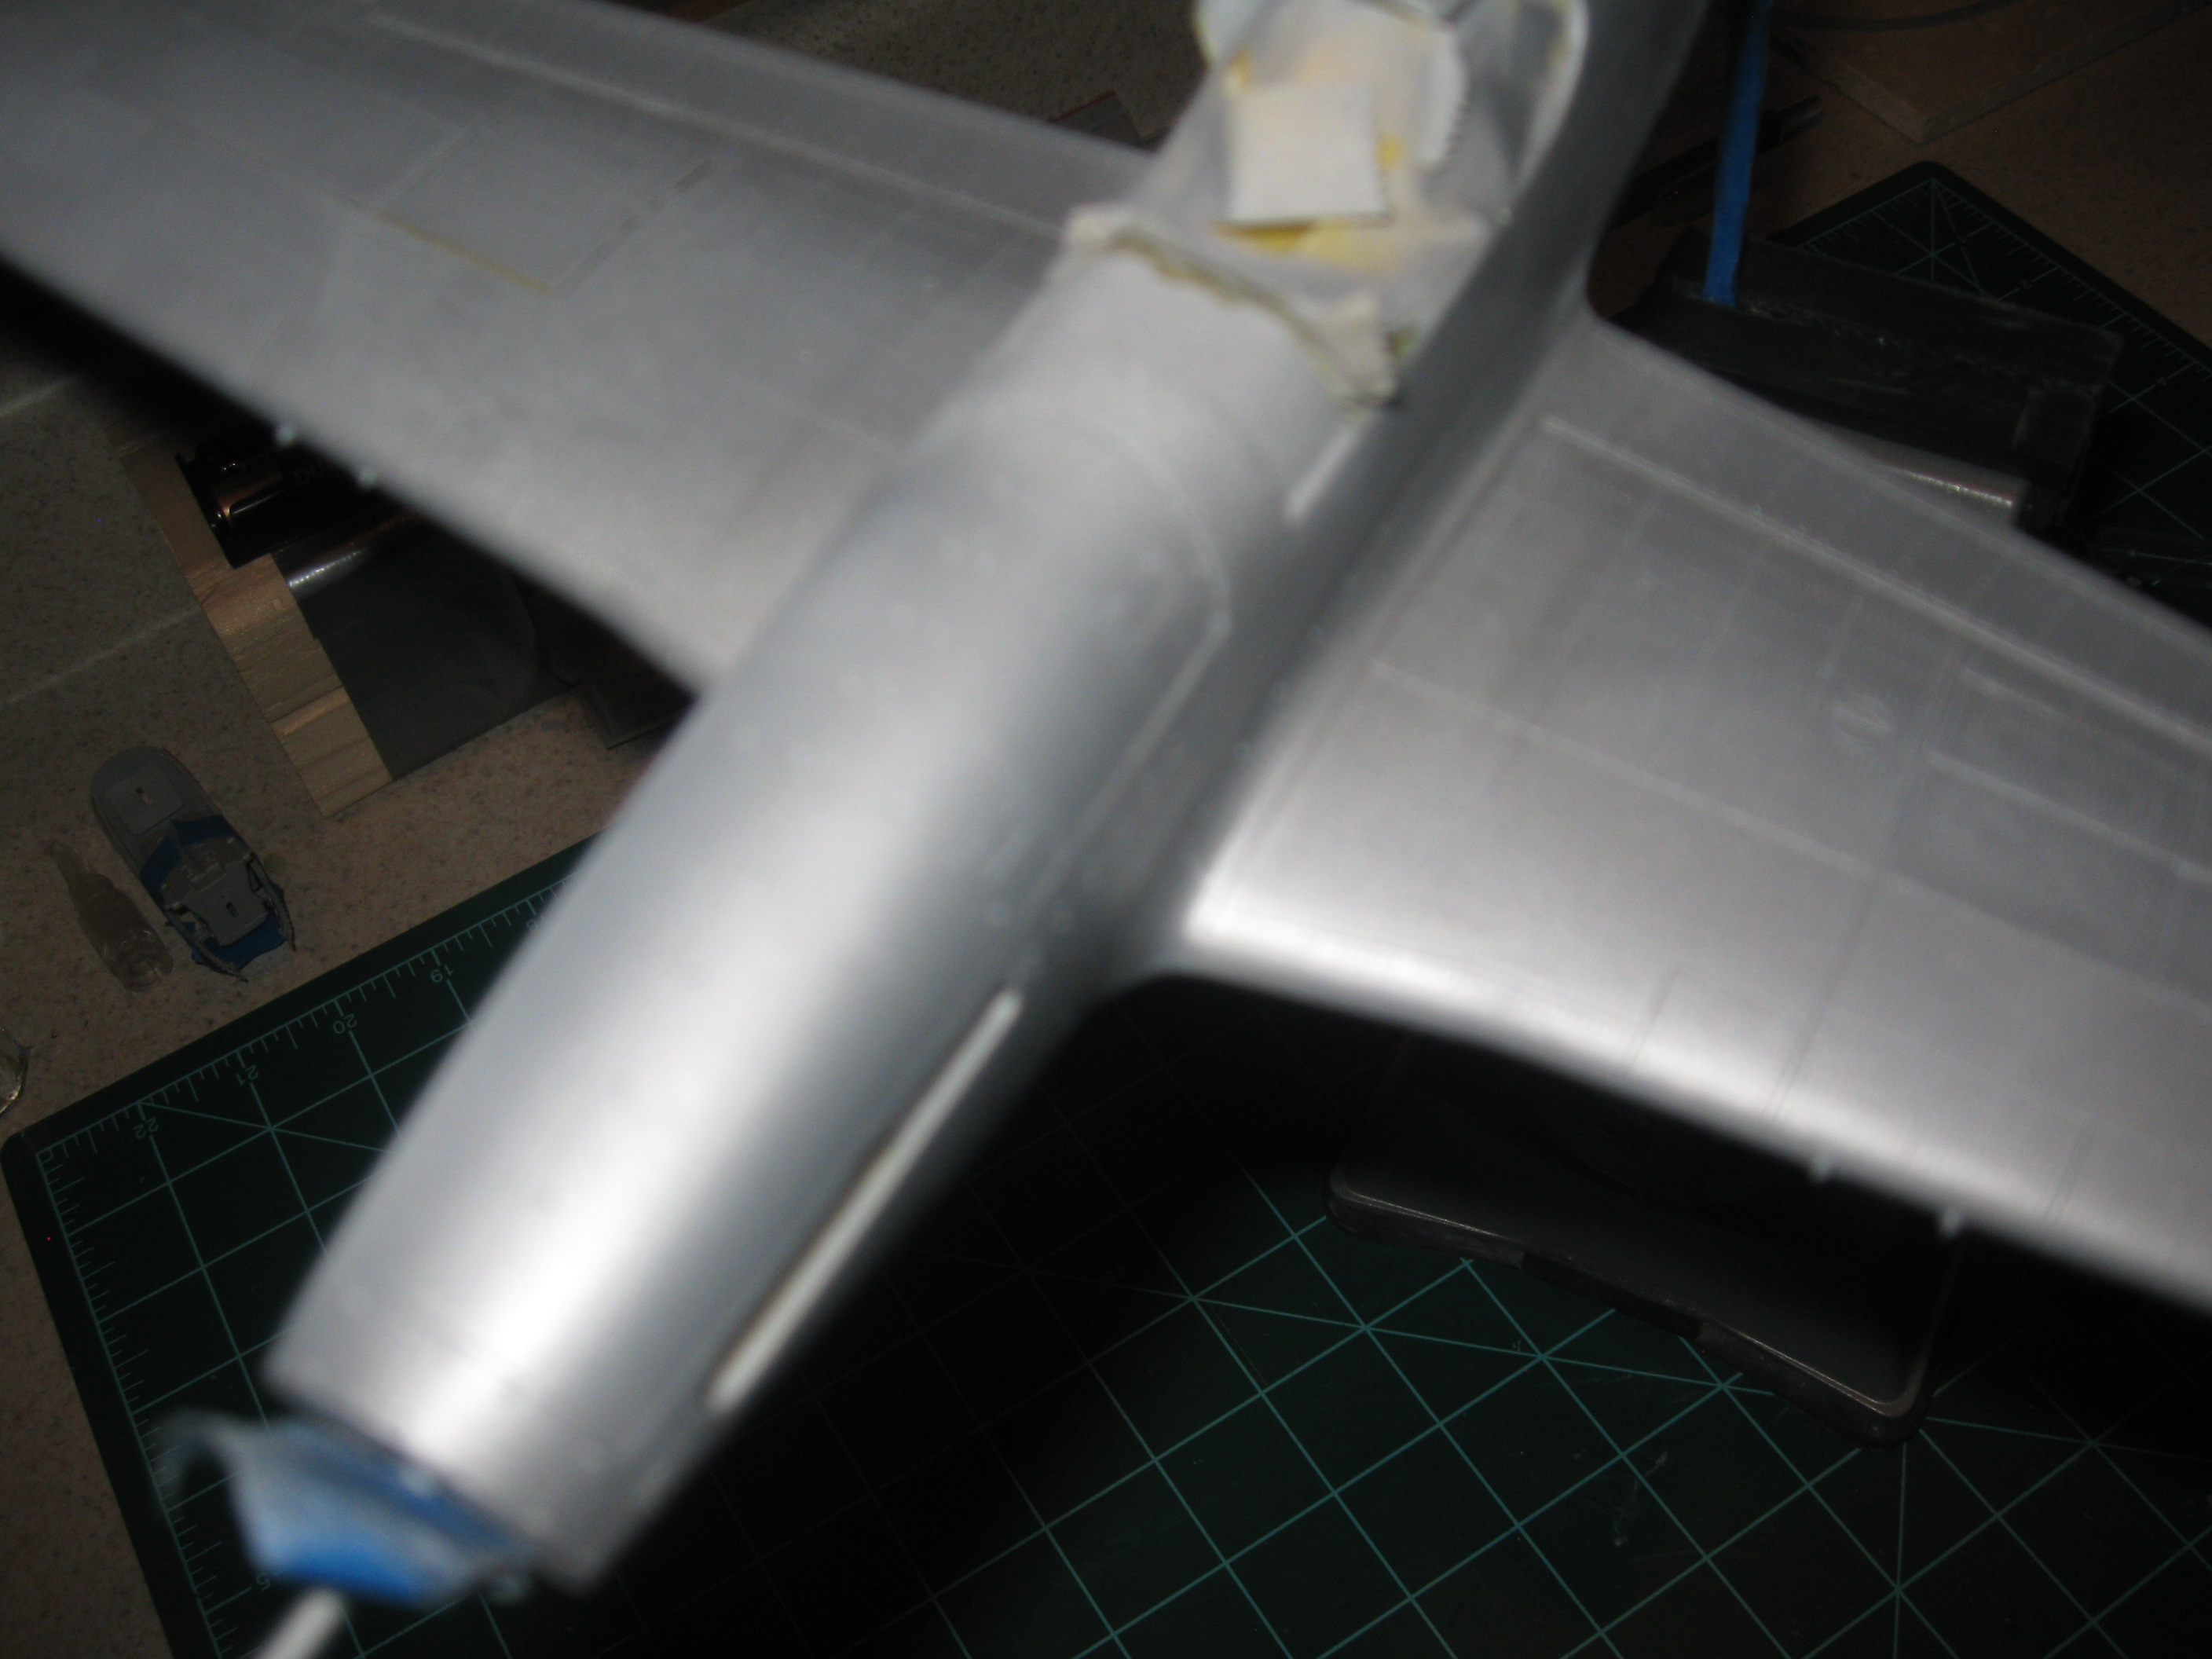
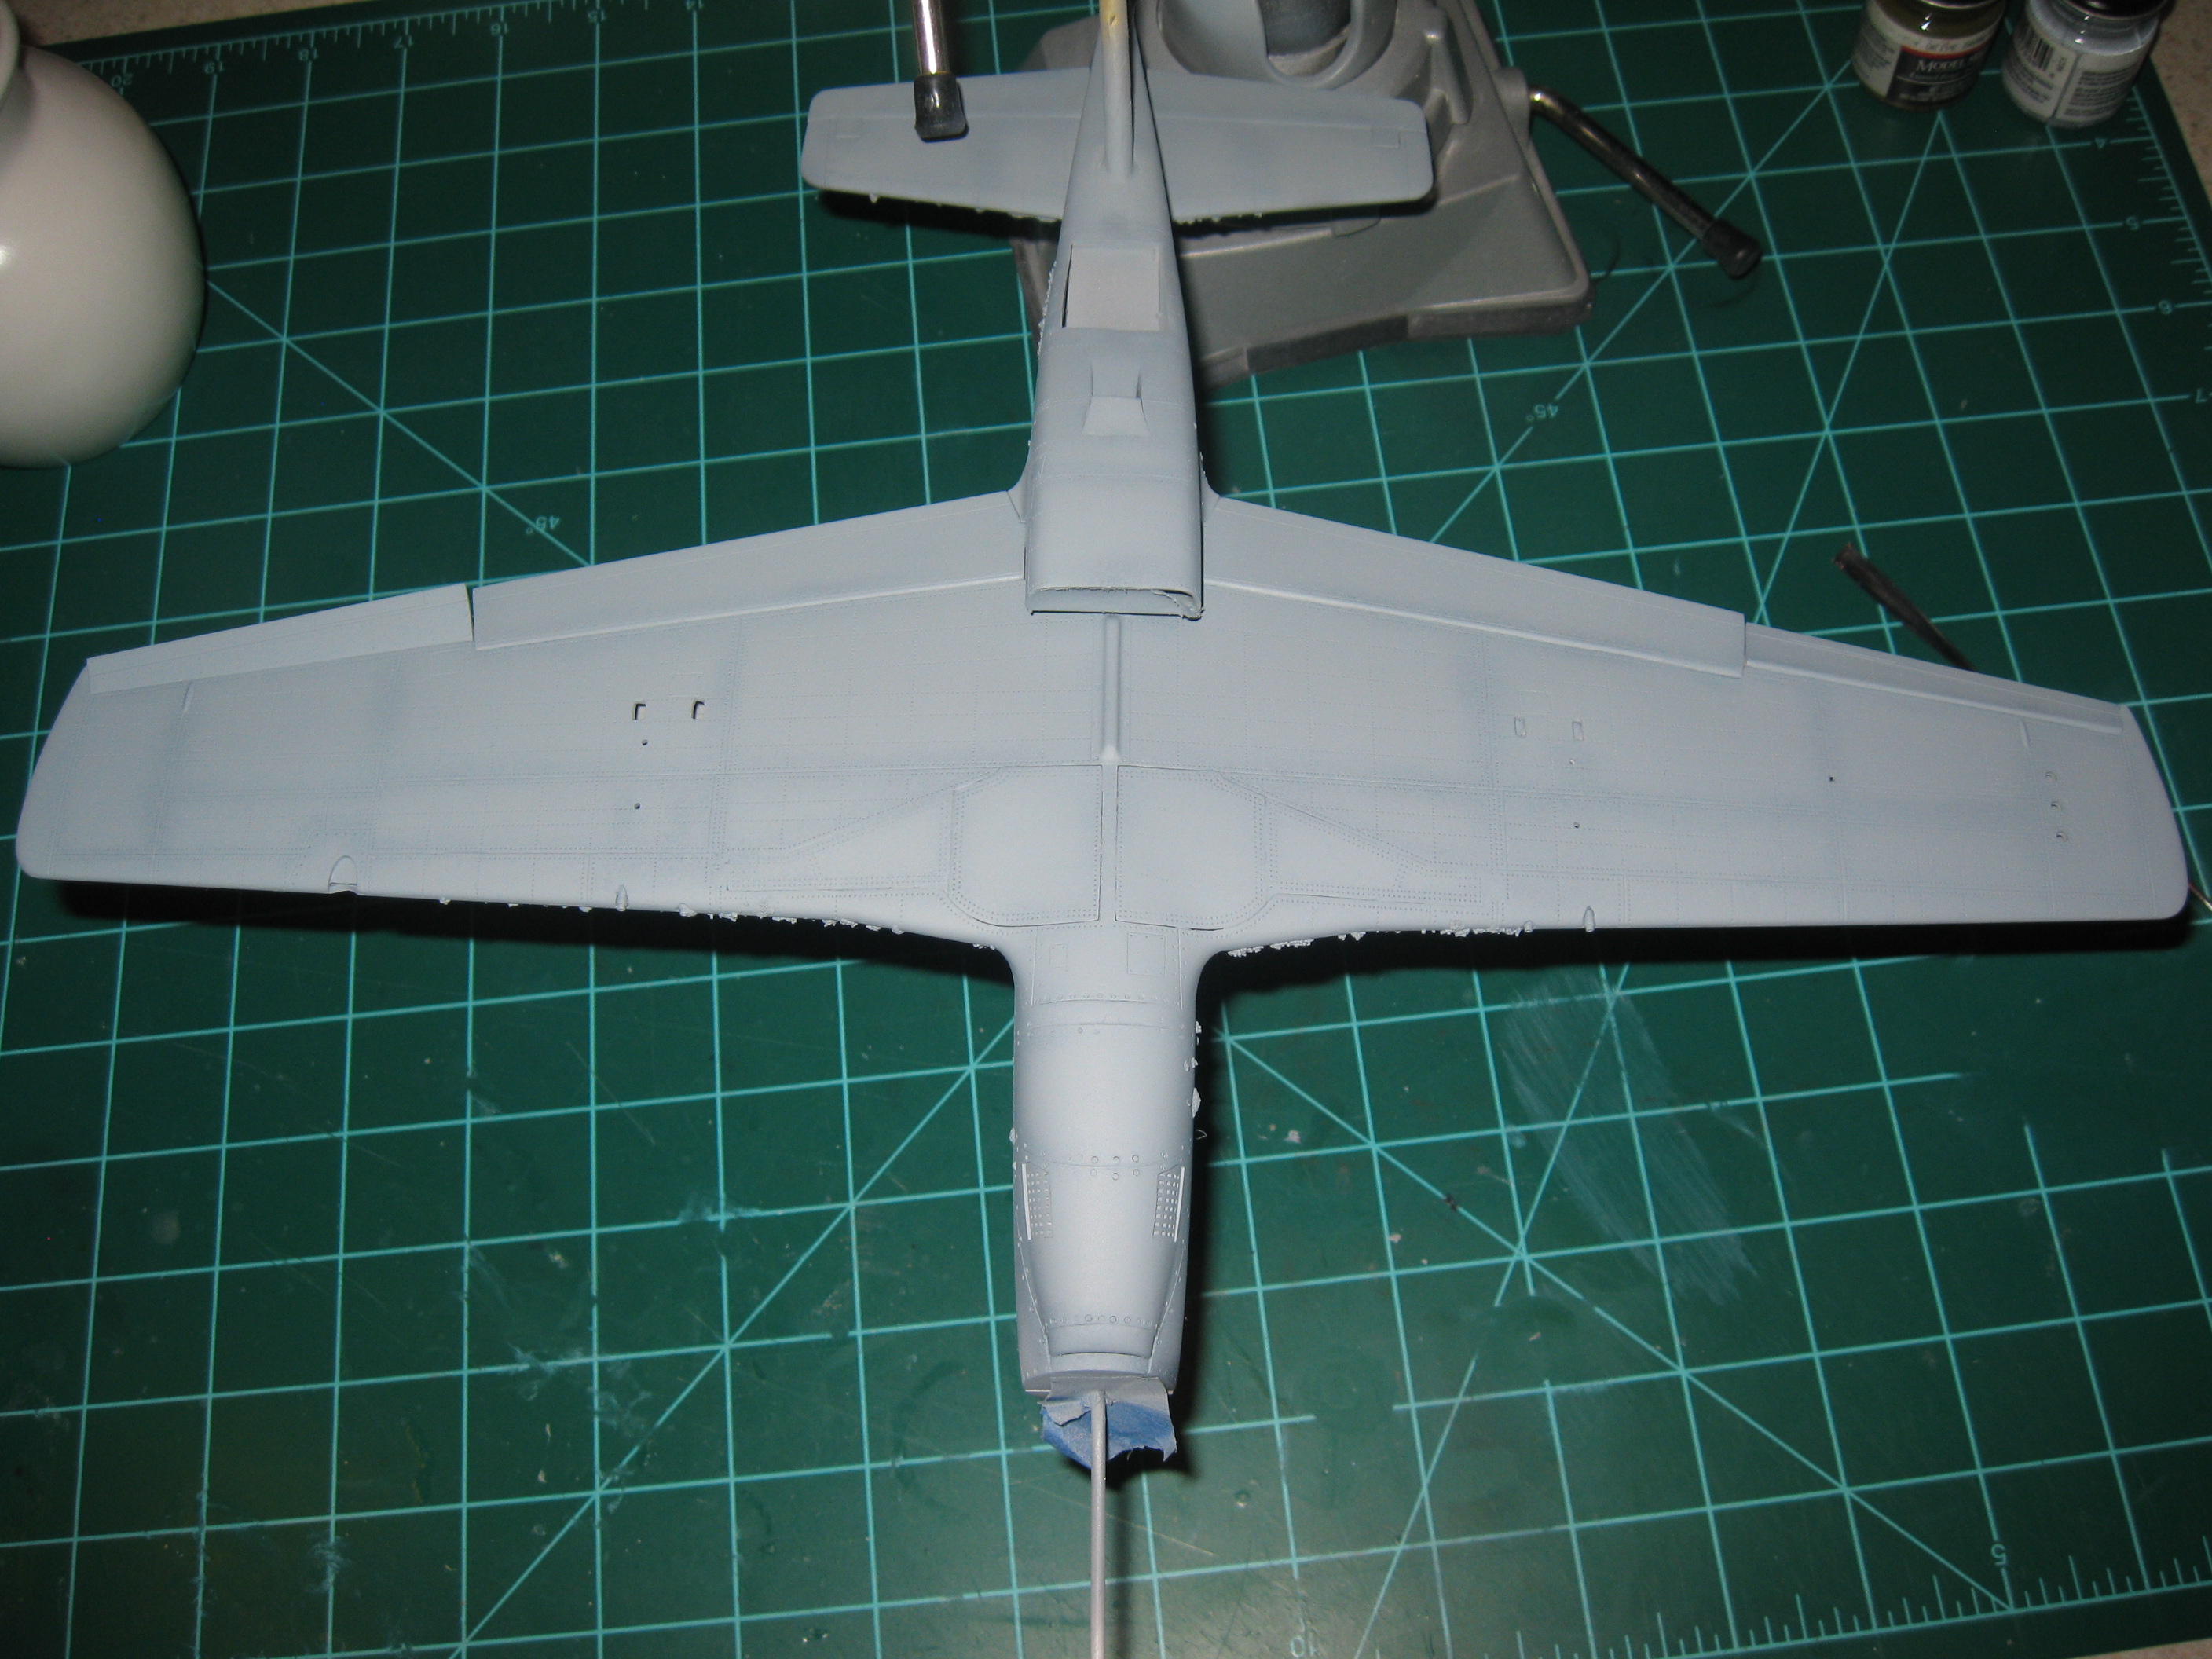
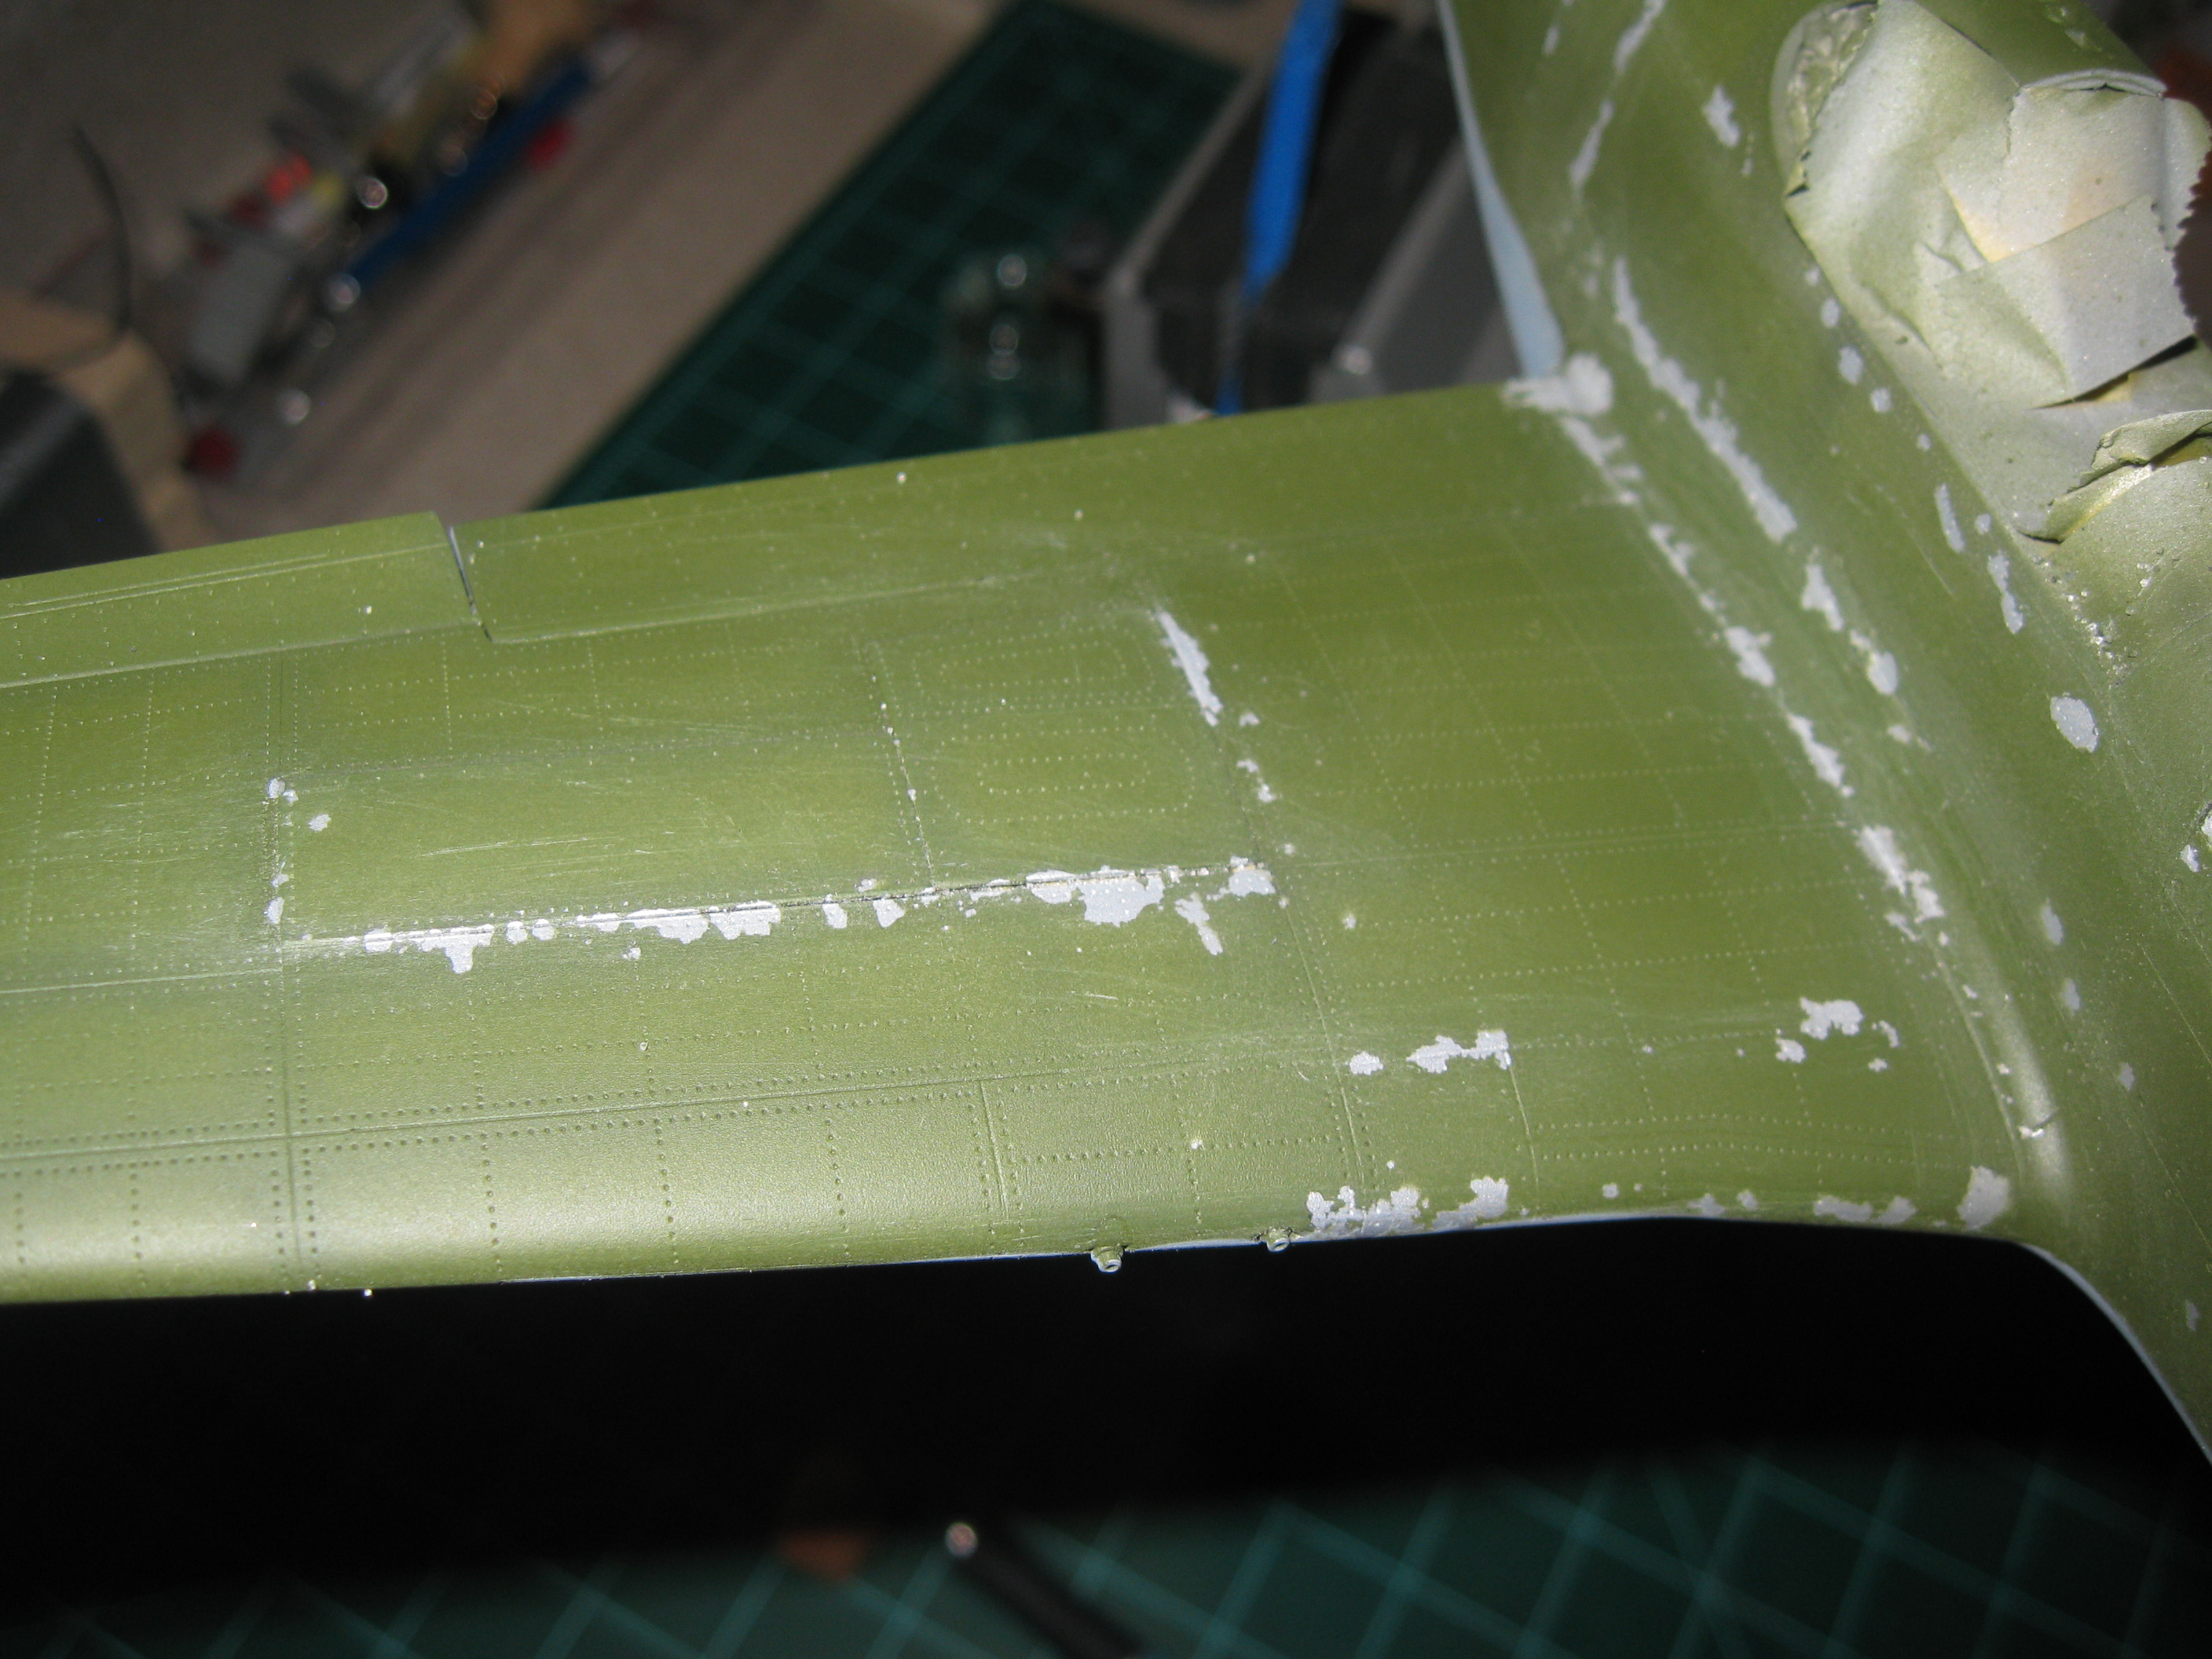
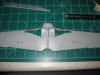
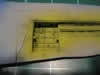
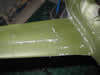
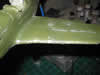
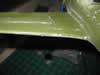
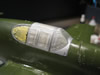
The wings were a tight fit around the gun bay and you can see the result a little when you look at the wing. It is deformed where I had to squeeze things together. If Aires had made the bay a little more shallow everything would have been fine. I also had to add some shims to hold the gear doors since there was no support for a gear up model.(Dec 11, 2011)
    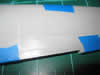
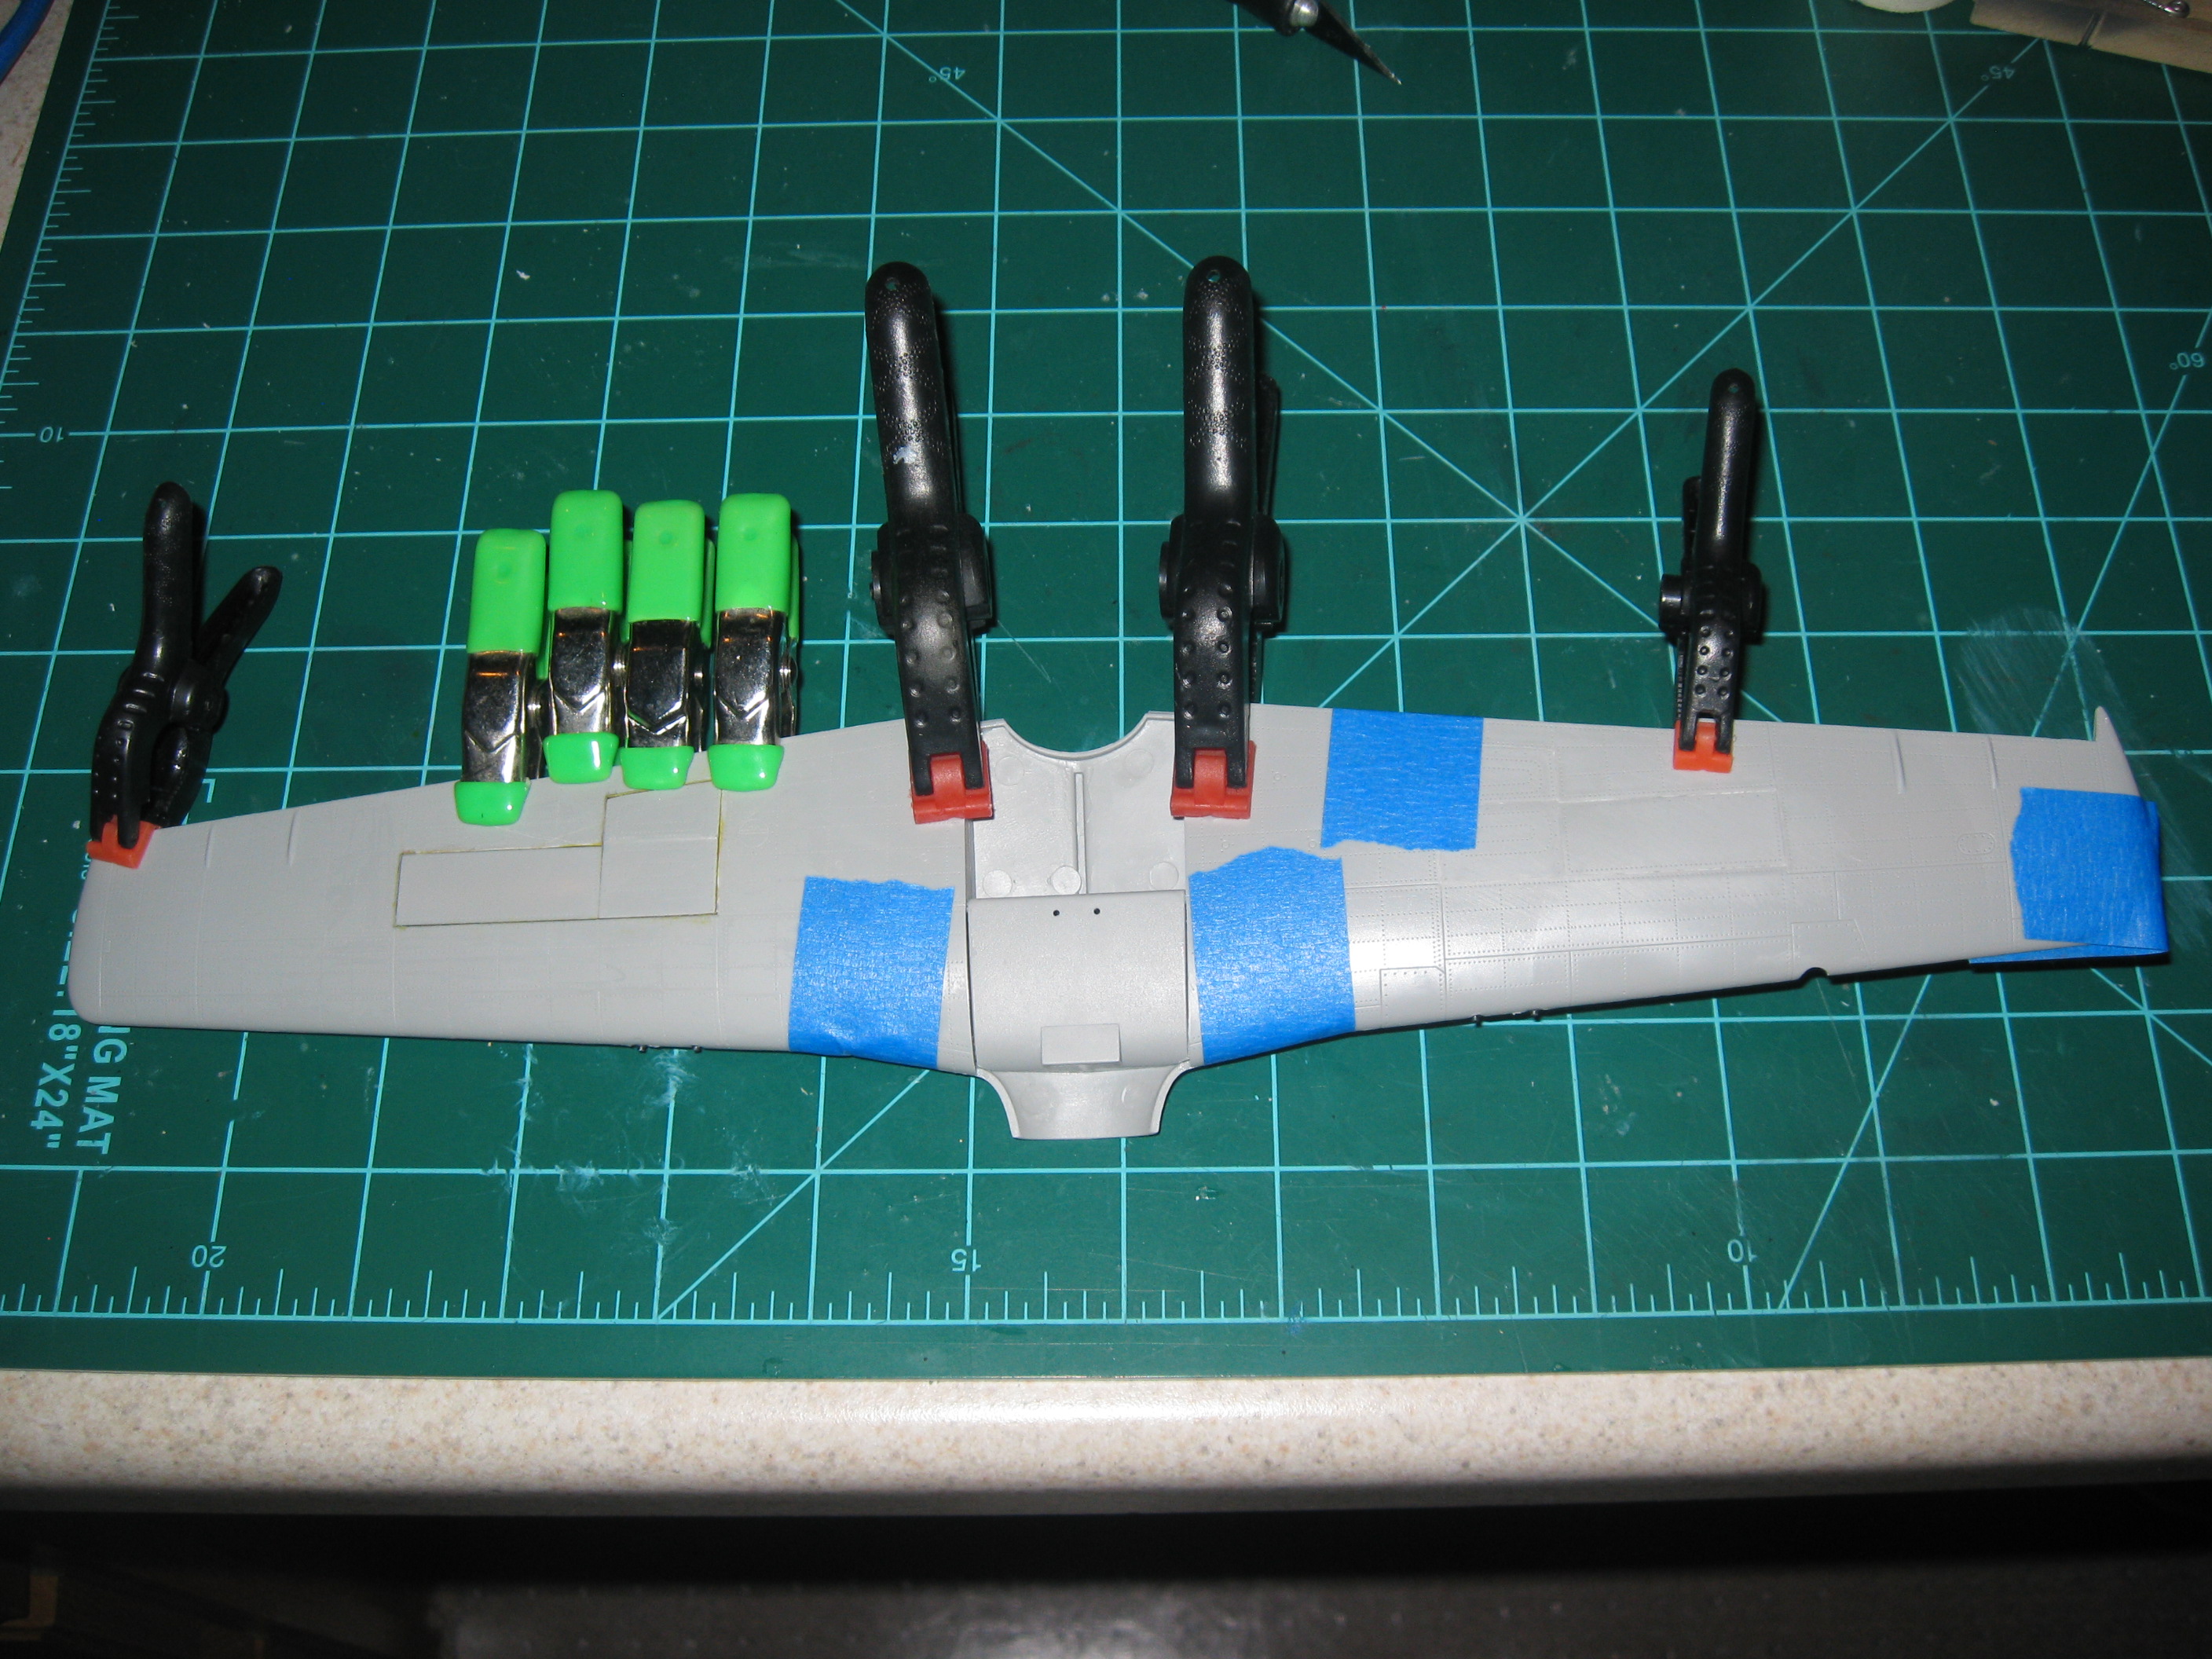
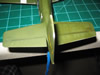
The wings were glued in place, the support rod clamped in a vise and tape stretched across to set the dihedral of the wings. Much care was also taken to make sure that the wings, horizontal and vertical stabilizers matched angles.
When the tape came off the wings sagged down a bit but still maintained a good dihedral. Very little filling was required, even along the wing root.
   |
|
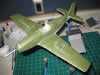
Now that the building process was mostly complete it was time for one of my favorite things when building a model. The main paint job.
| |
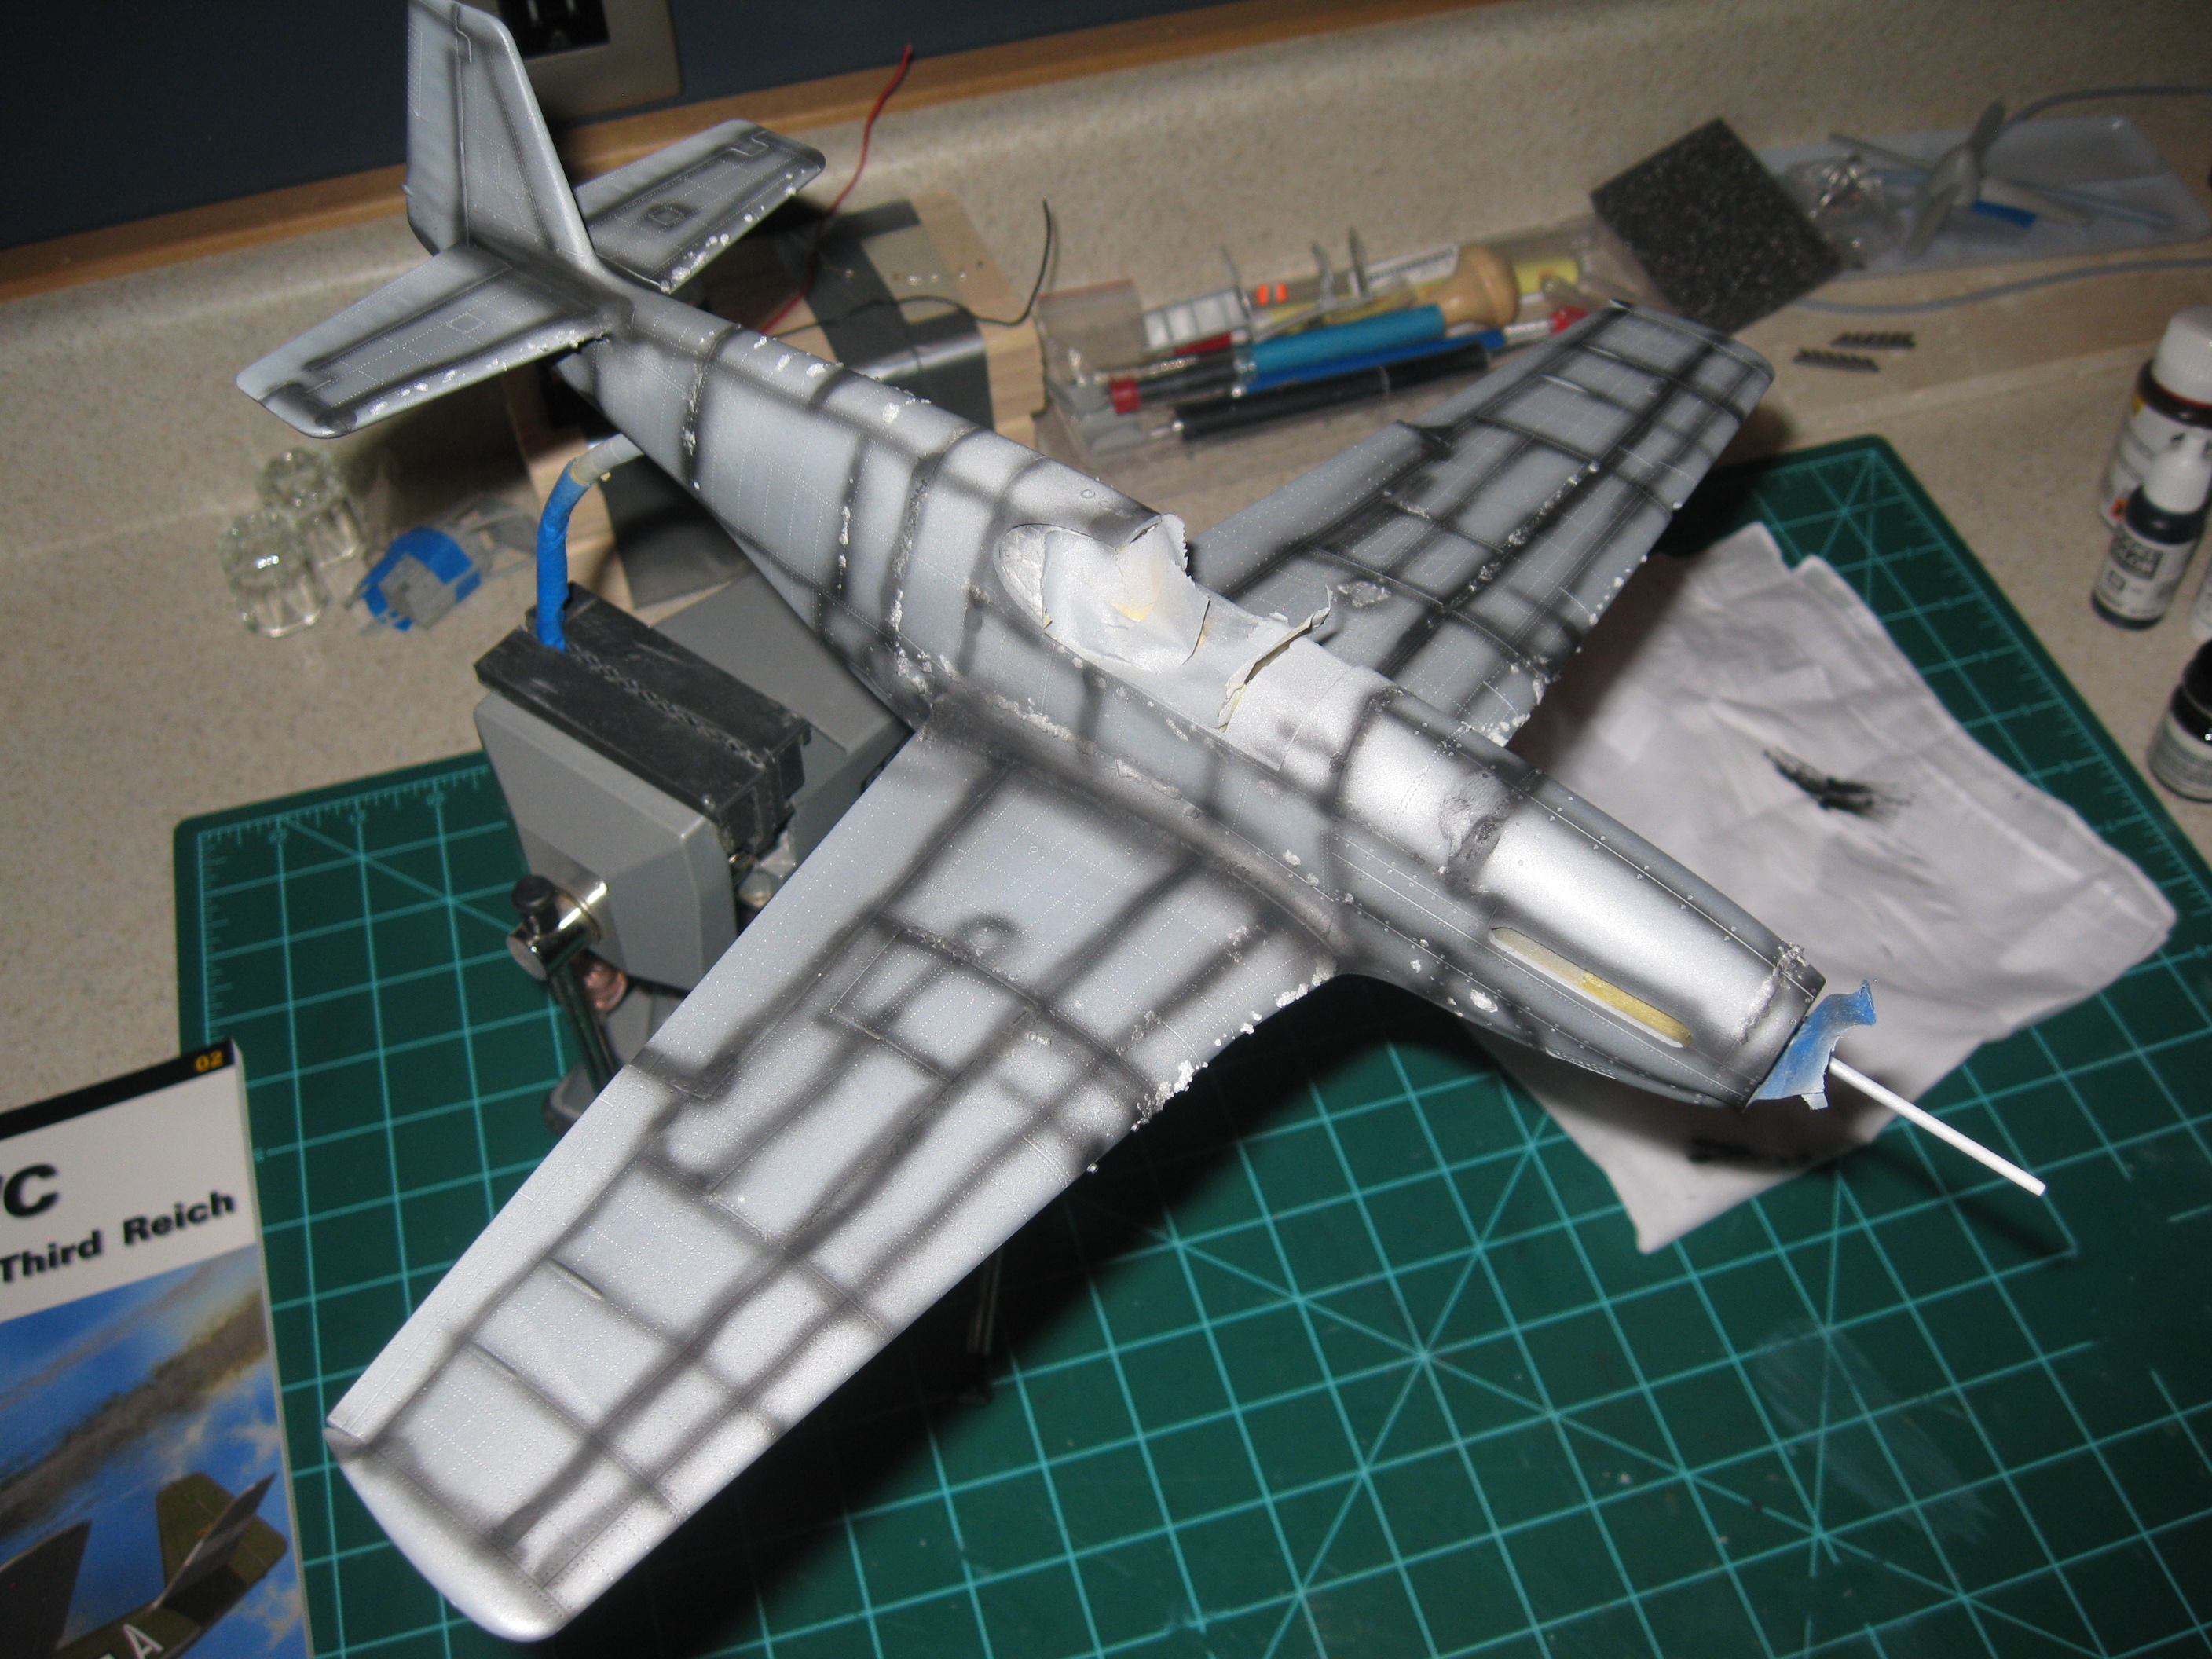
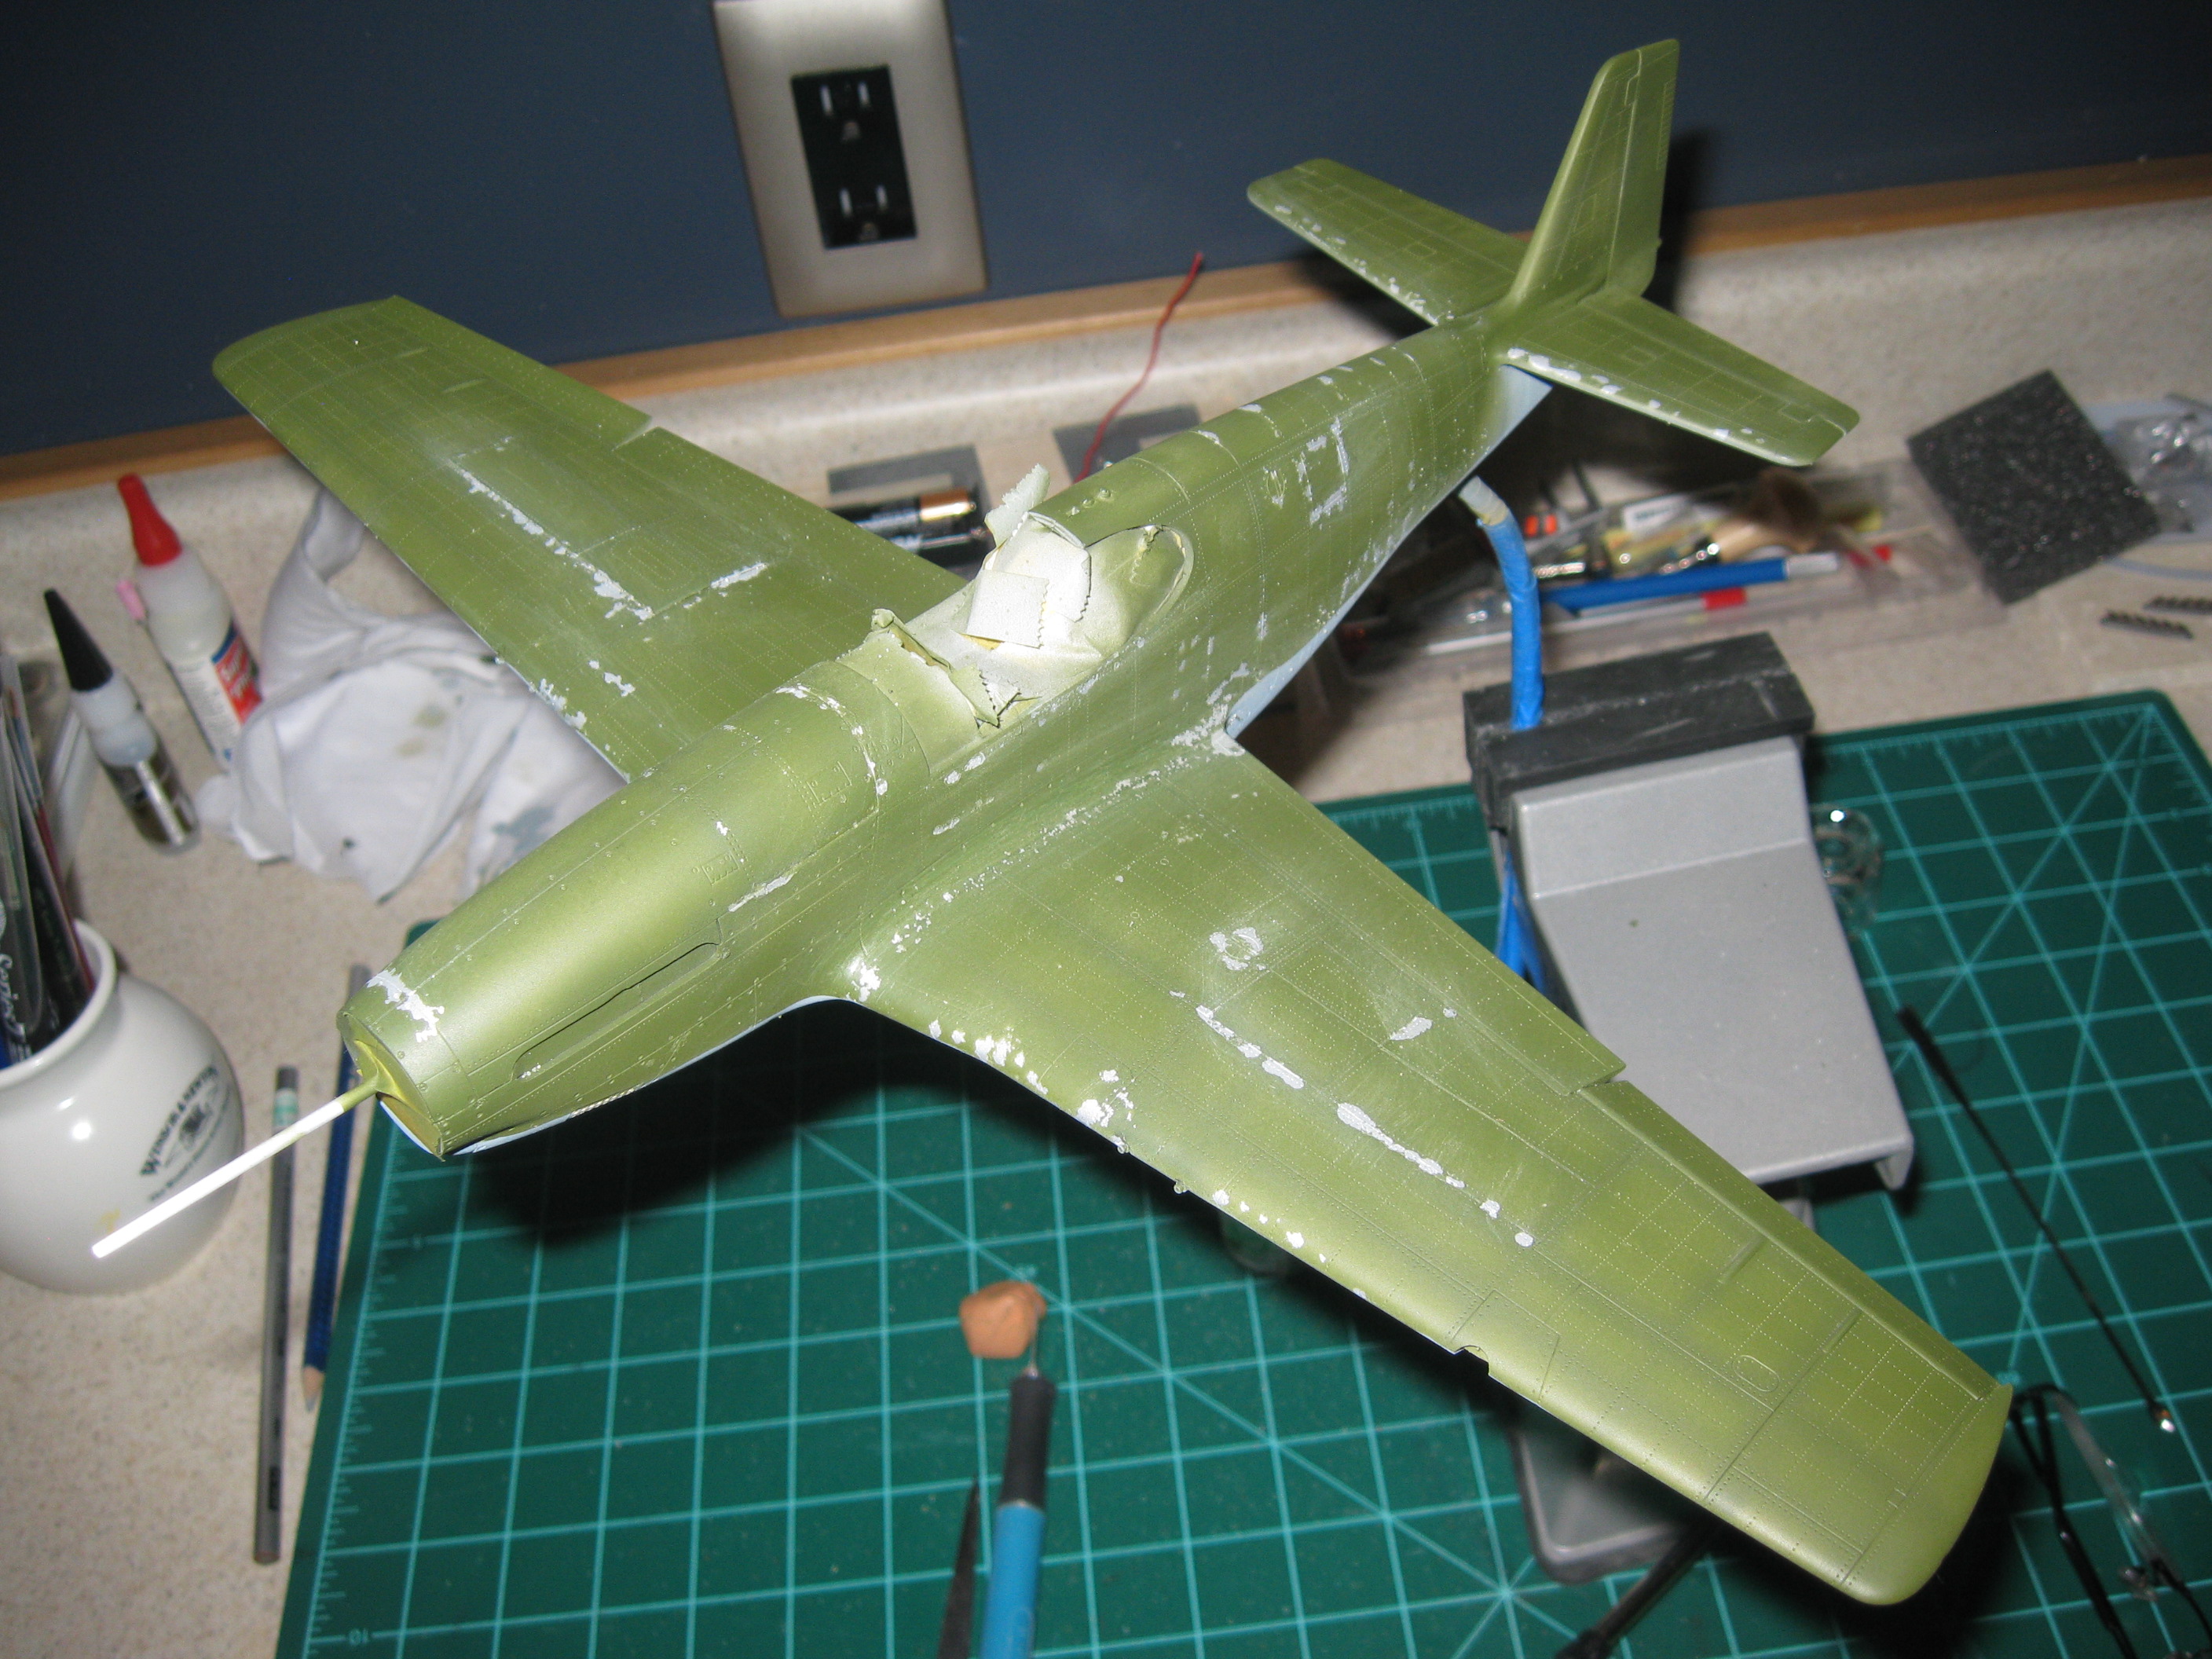
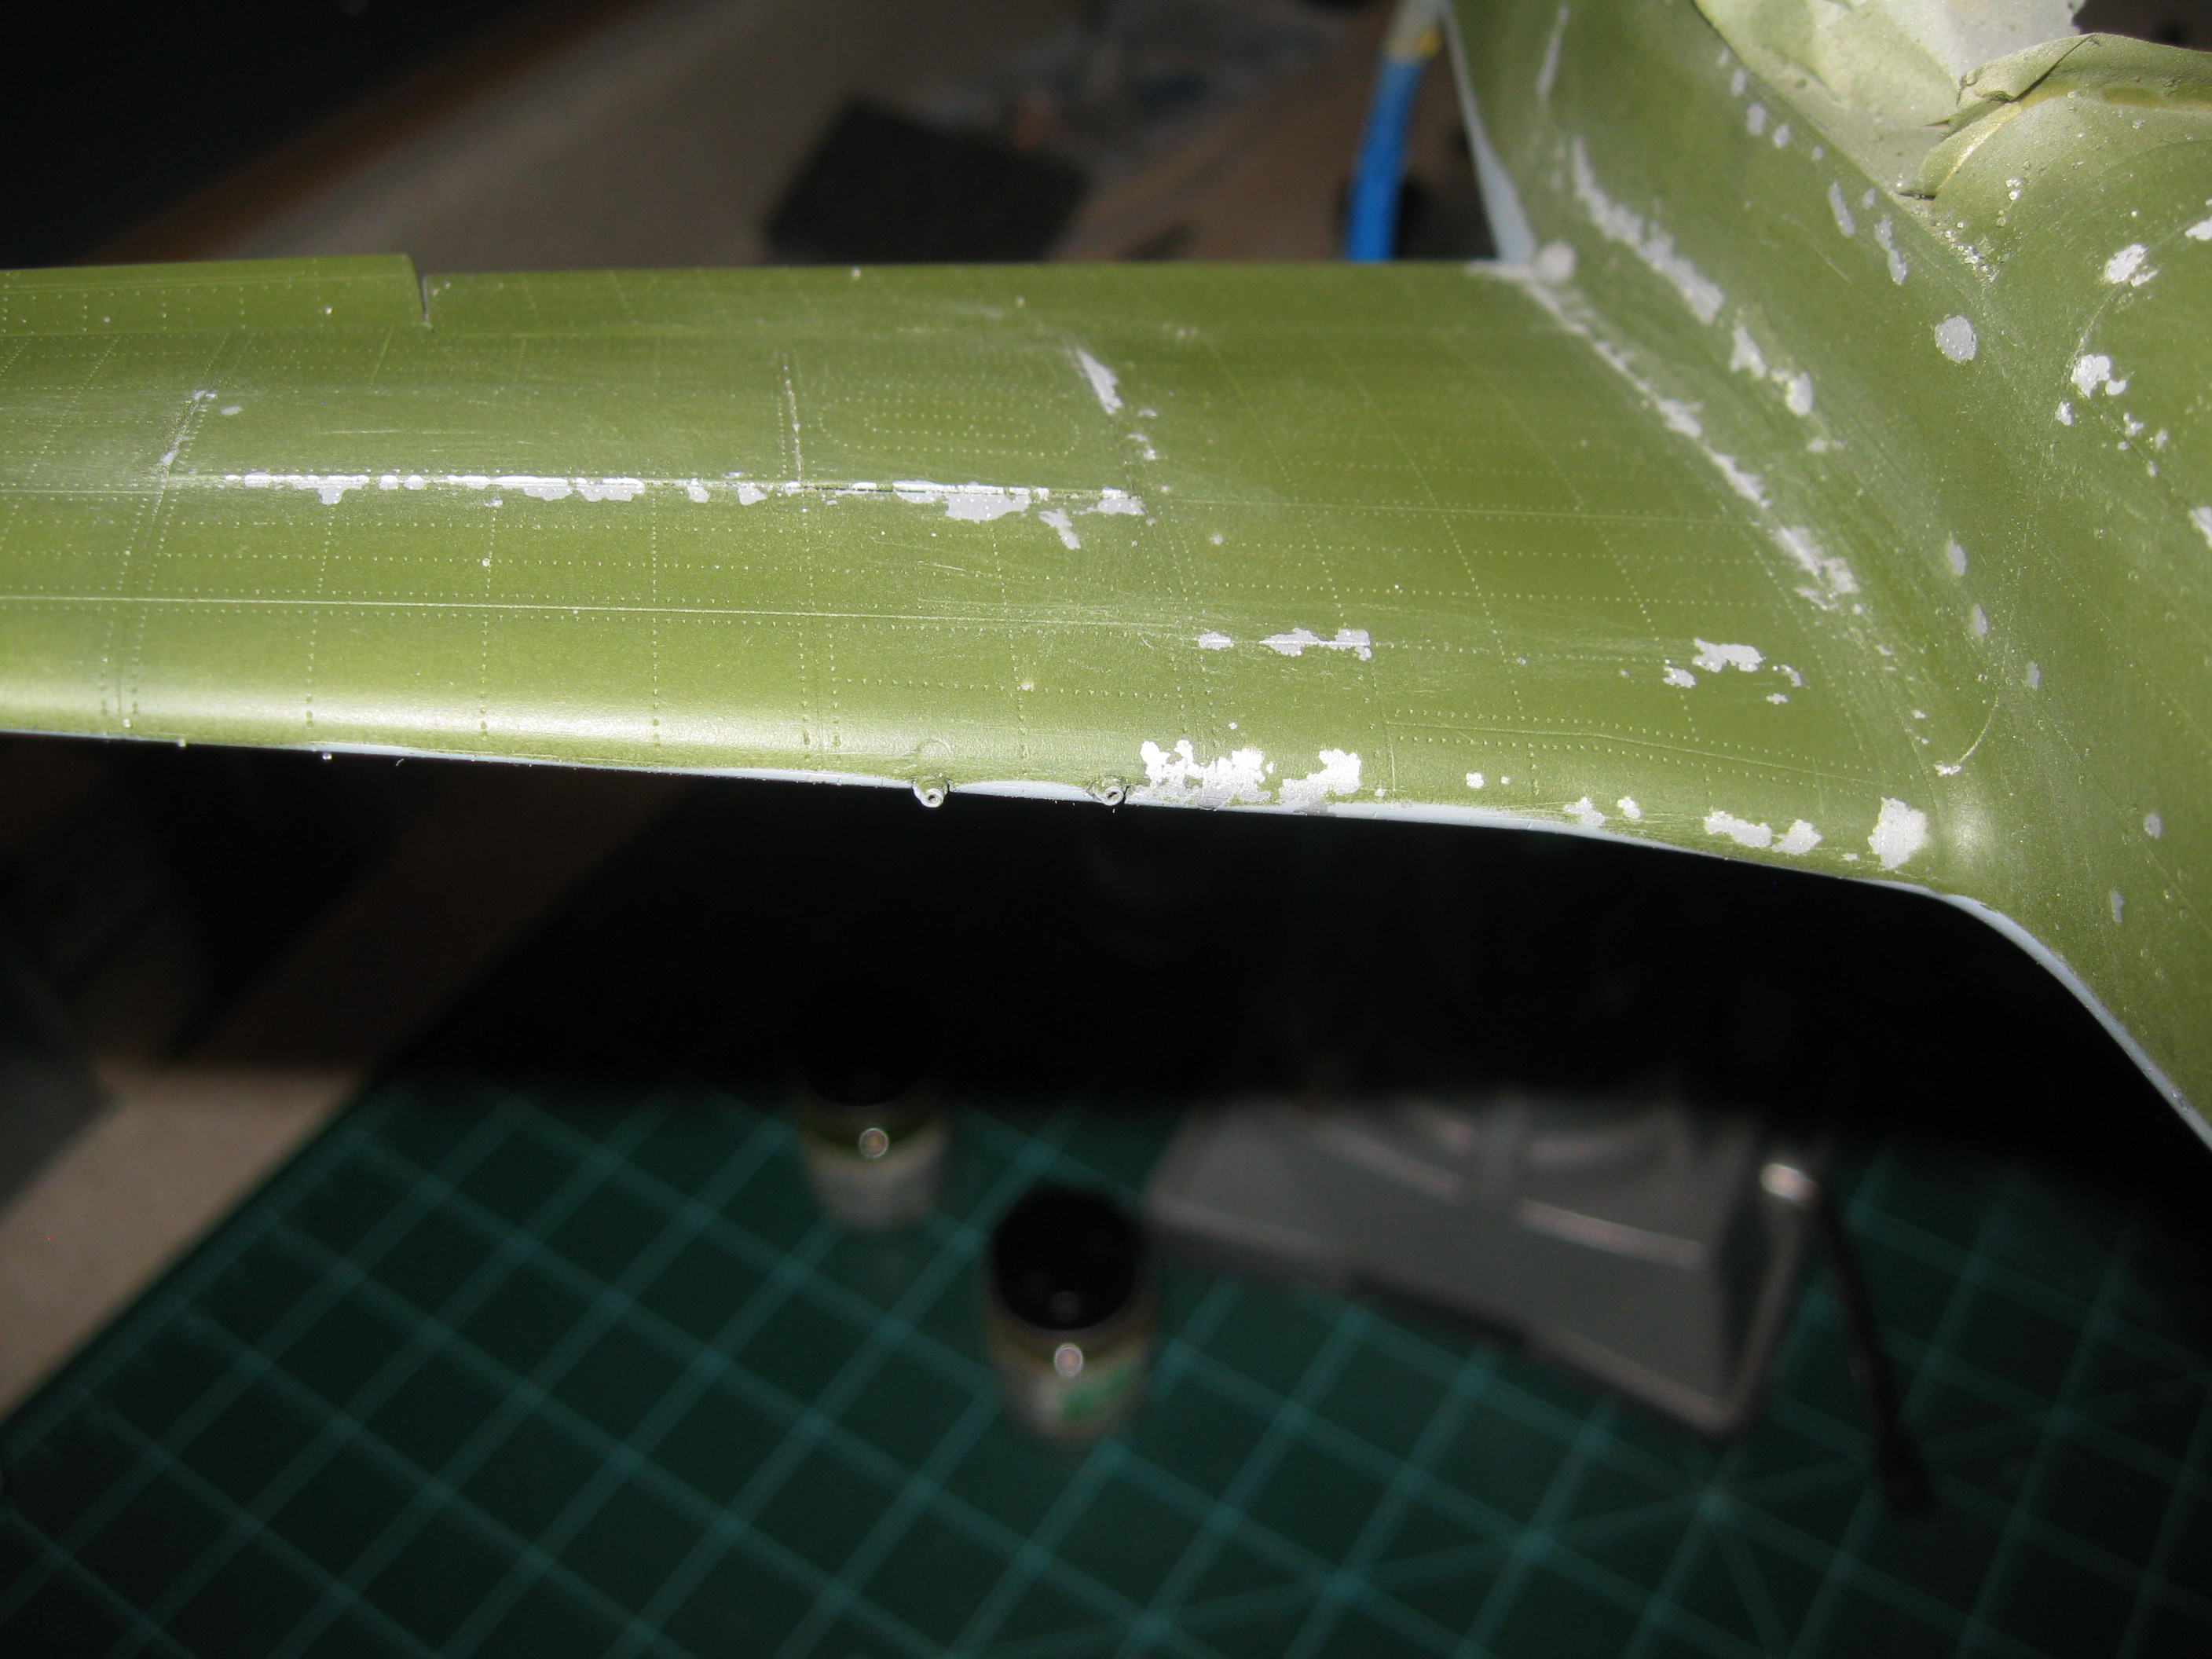
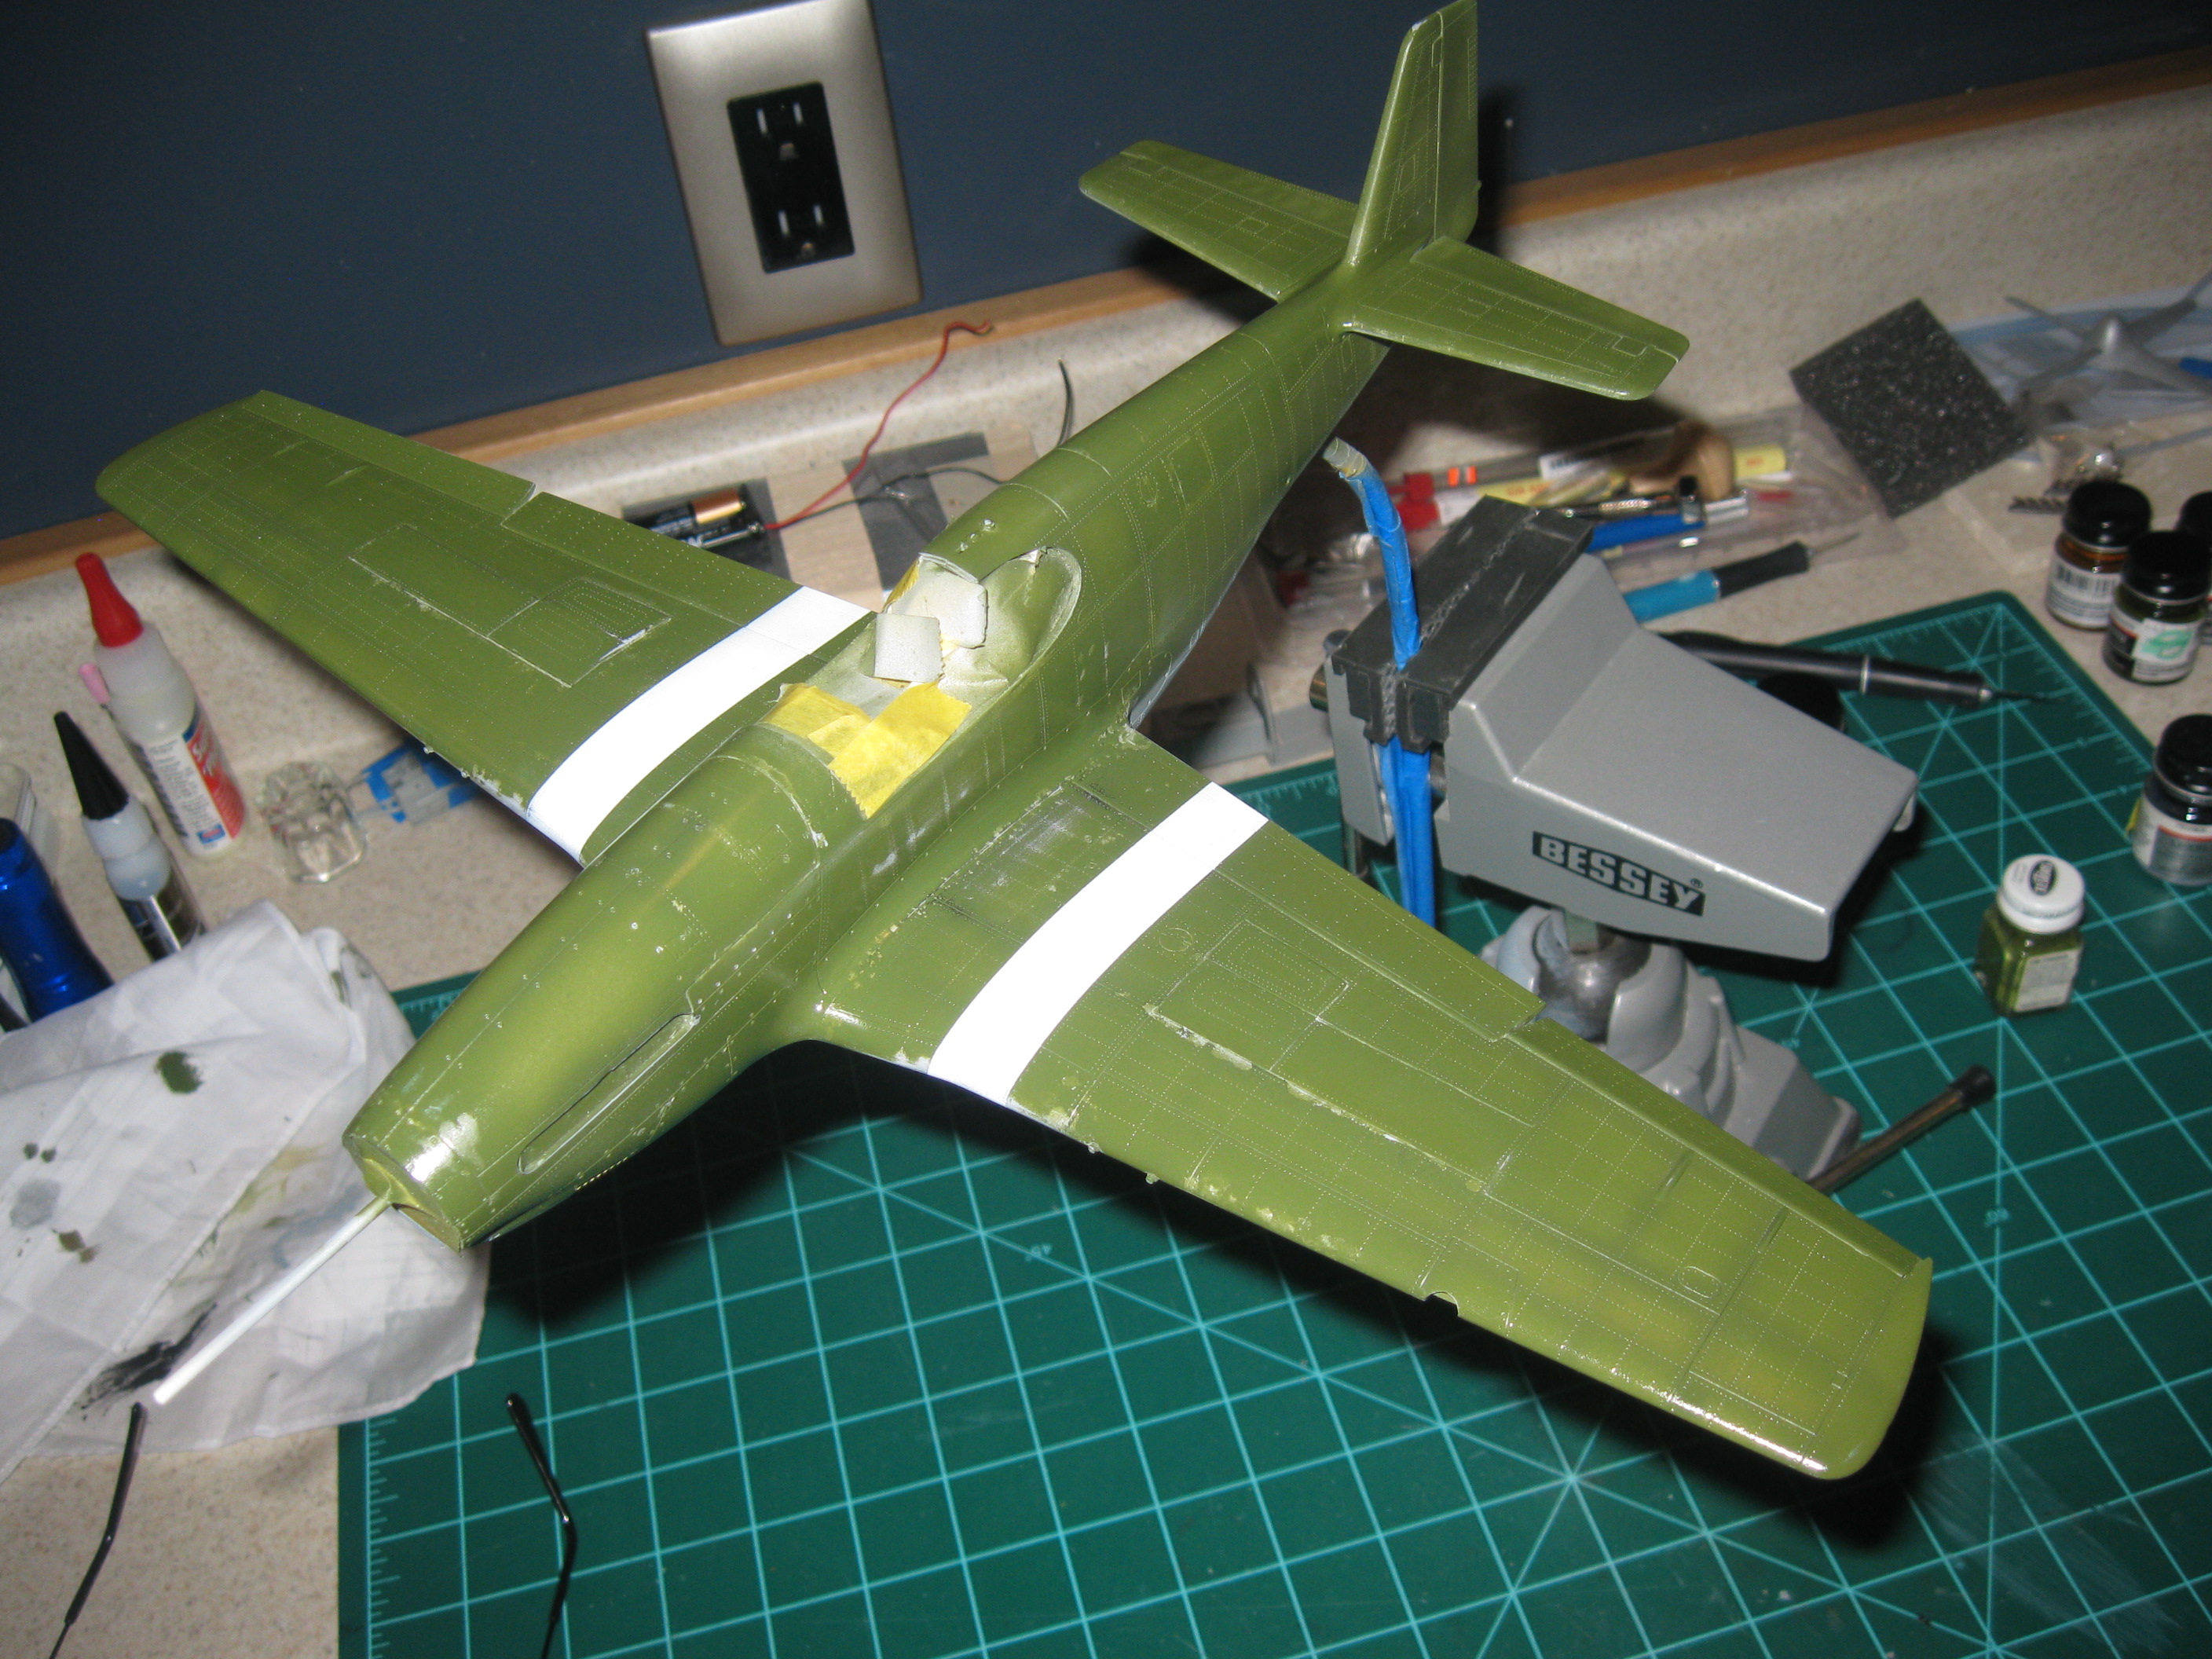
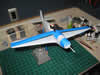
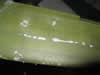
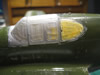
Green painted Mustangs suffered a fair amount of paint wear and chipping during their lifetime. To replicate this I planned to use the salt method. This was a first for me and I did not really know what to expect - but I knew where to start - a silver undercoat. This was accomplished using Alclad II Semi-Matte Aluminum. If I did it again I would use a little brighter color I think, but it looks fine. The "chipping salt" was also added at this stage.(Jan 28, 2012)
I then preshaded with black on major panel lines and where I thought it would look good.(Jan 28, 2012)
Light Ghost Grey on the bottom
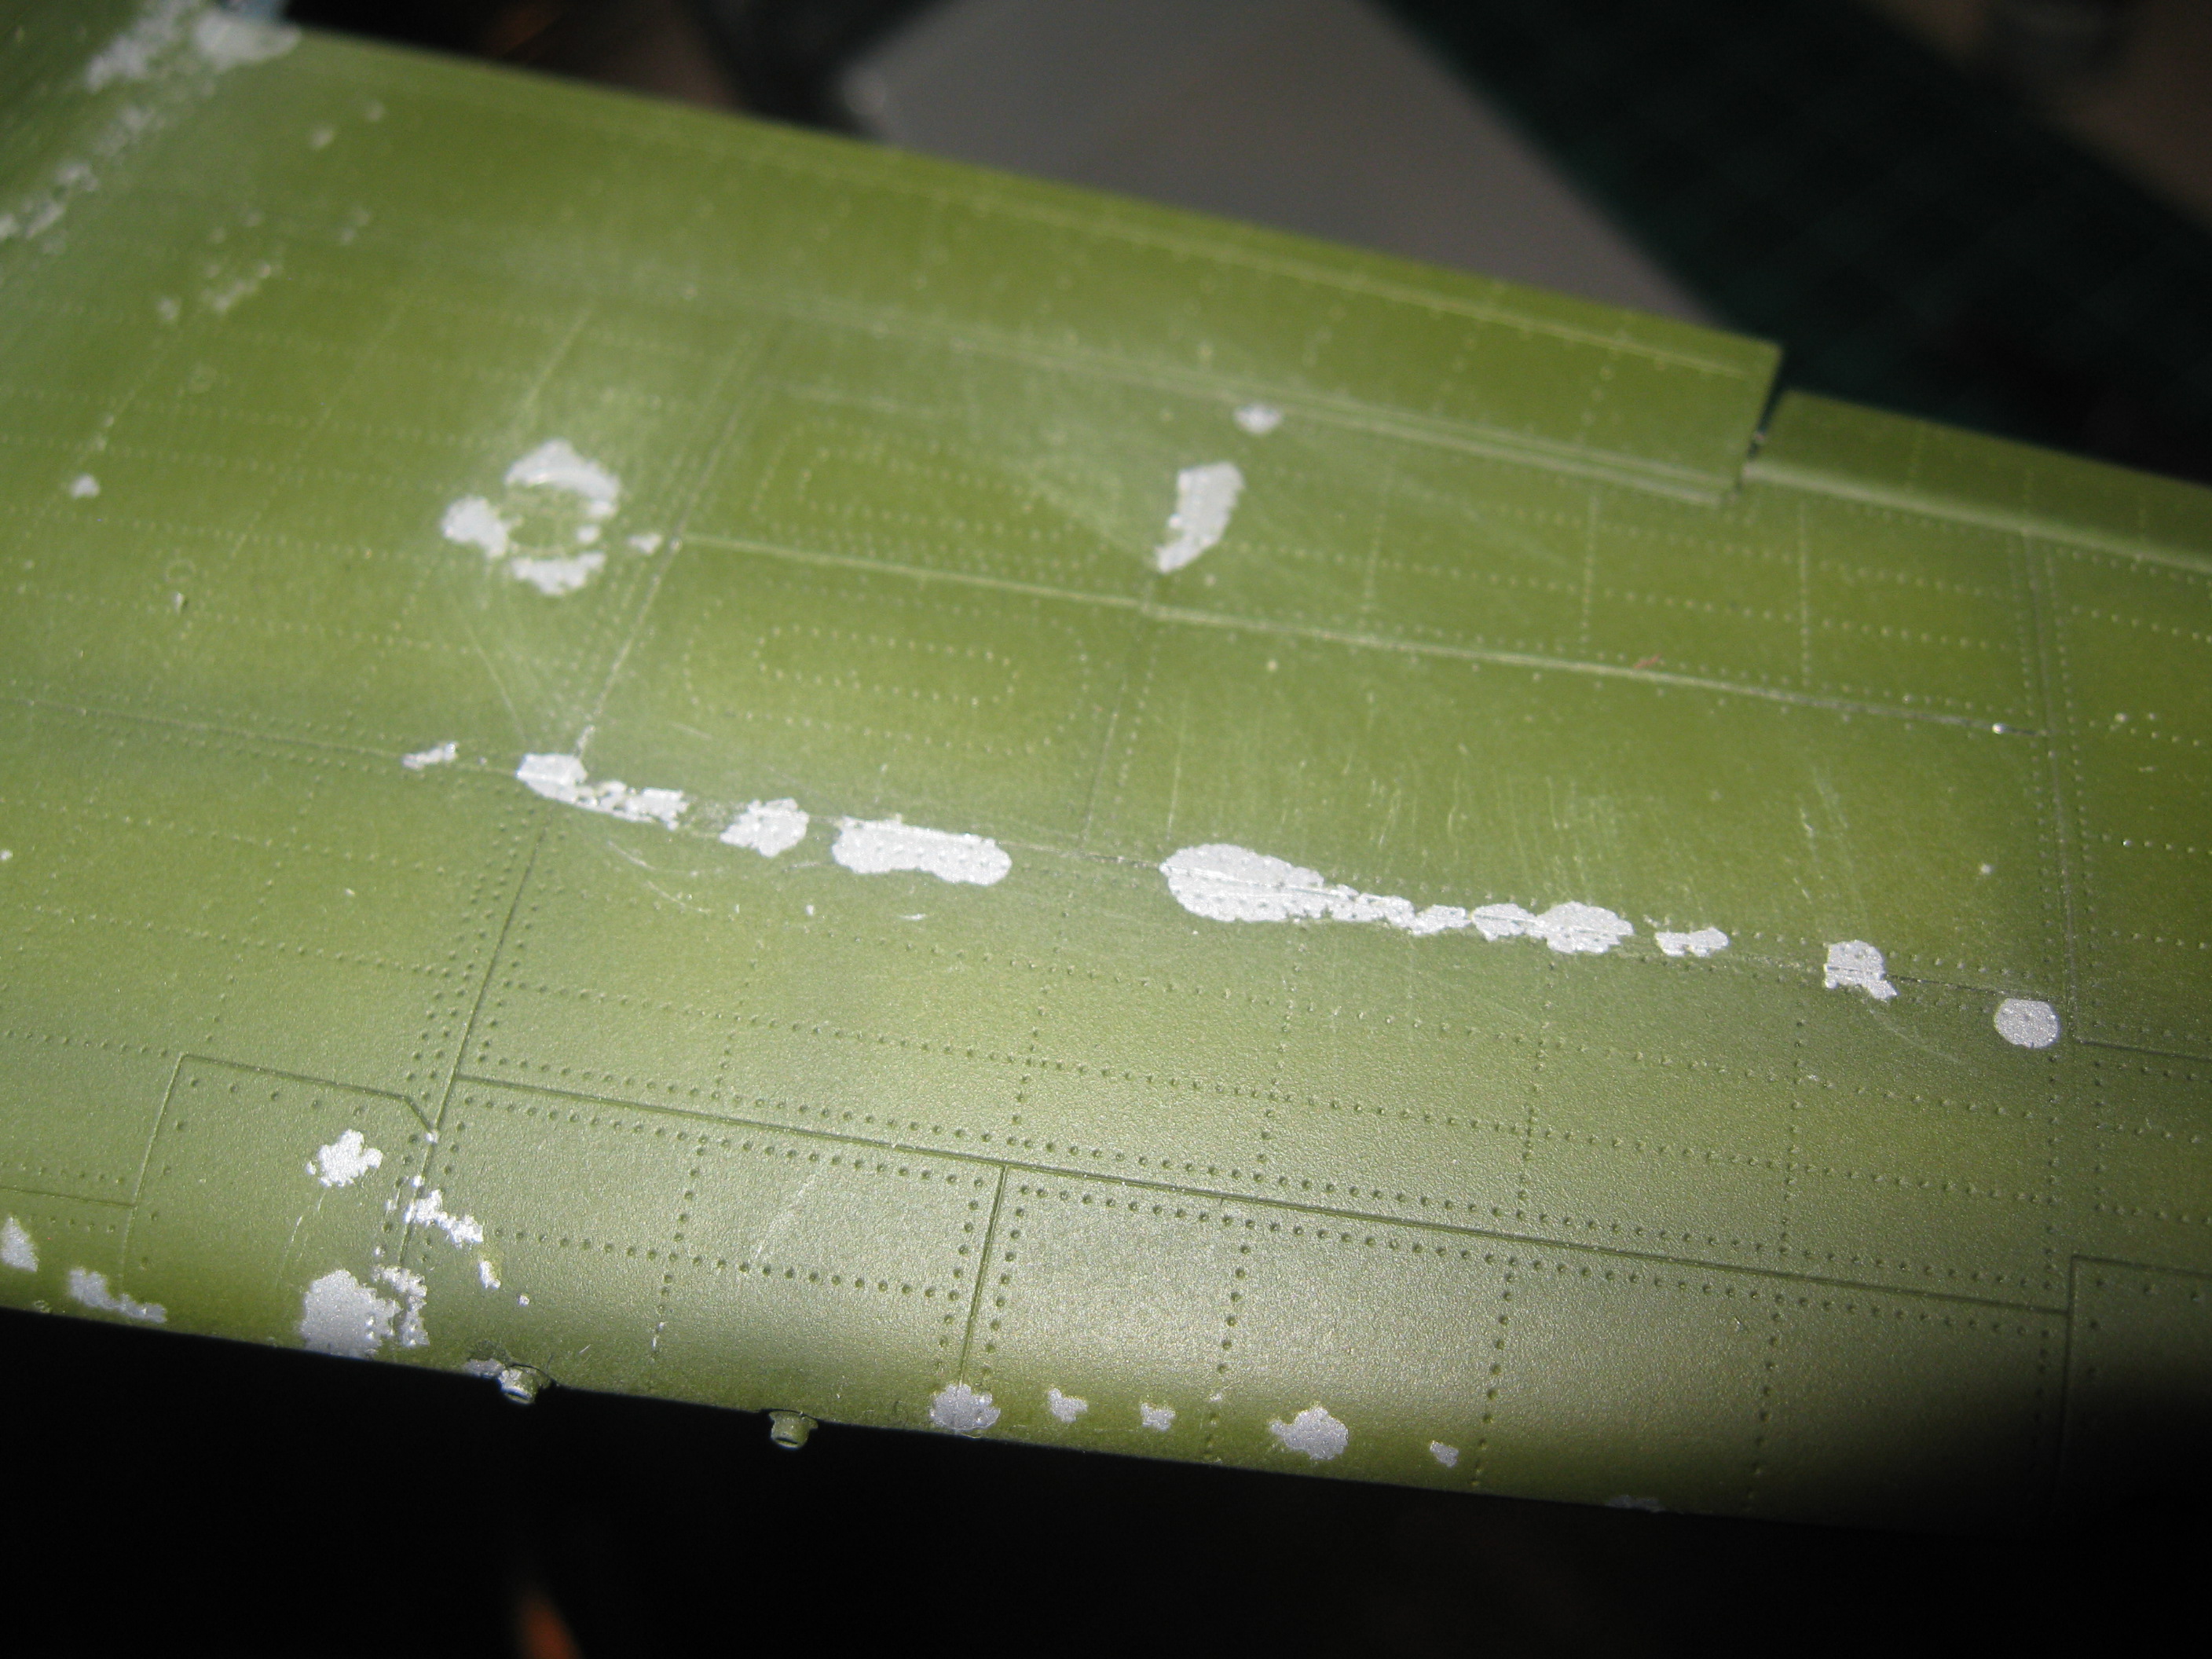
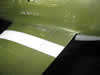
And a 50/50 mix of Model Master Medium Green and Olive Drab for the top. The OD seemed a bit too brown for me and the mix seemed more like the British Green that some Mustangs were painted with. Several models I have seen build use Lifecolor UA 006 for British green which is almost the same as my mixed green. After everything was dry the salt was scrapped off and the result was less than pleasing. Because of the smooth surface of the silver paint the water ran into little pools and would not sit along the edges of the panel lines very well. In the future a layer of dull coat will go over the silver so that it will be easier to wet the model where desired. Or maybe even an acrylic clear that will hold the water better. In this case I added a layer of dull coat, re-applied salt to the really bad areas and painted them again. It still looked bad, so I will use a Prismacolor pencil after I get the decals on. One thing that saved it from being a total disaster was steel wool. I rubbed down the entire plane and rubbed extra hard in the high wear areas. This made a dramatic difference to the appearance of the weathering and allowed the silver to show through in a more natural way.(Feb 5, 2012)
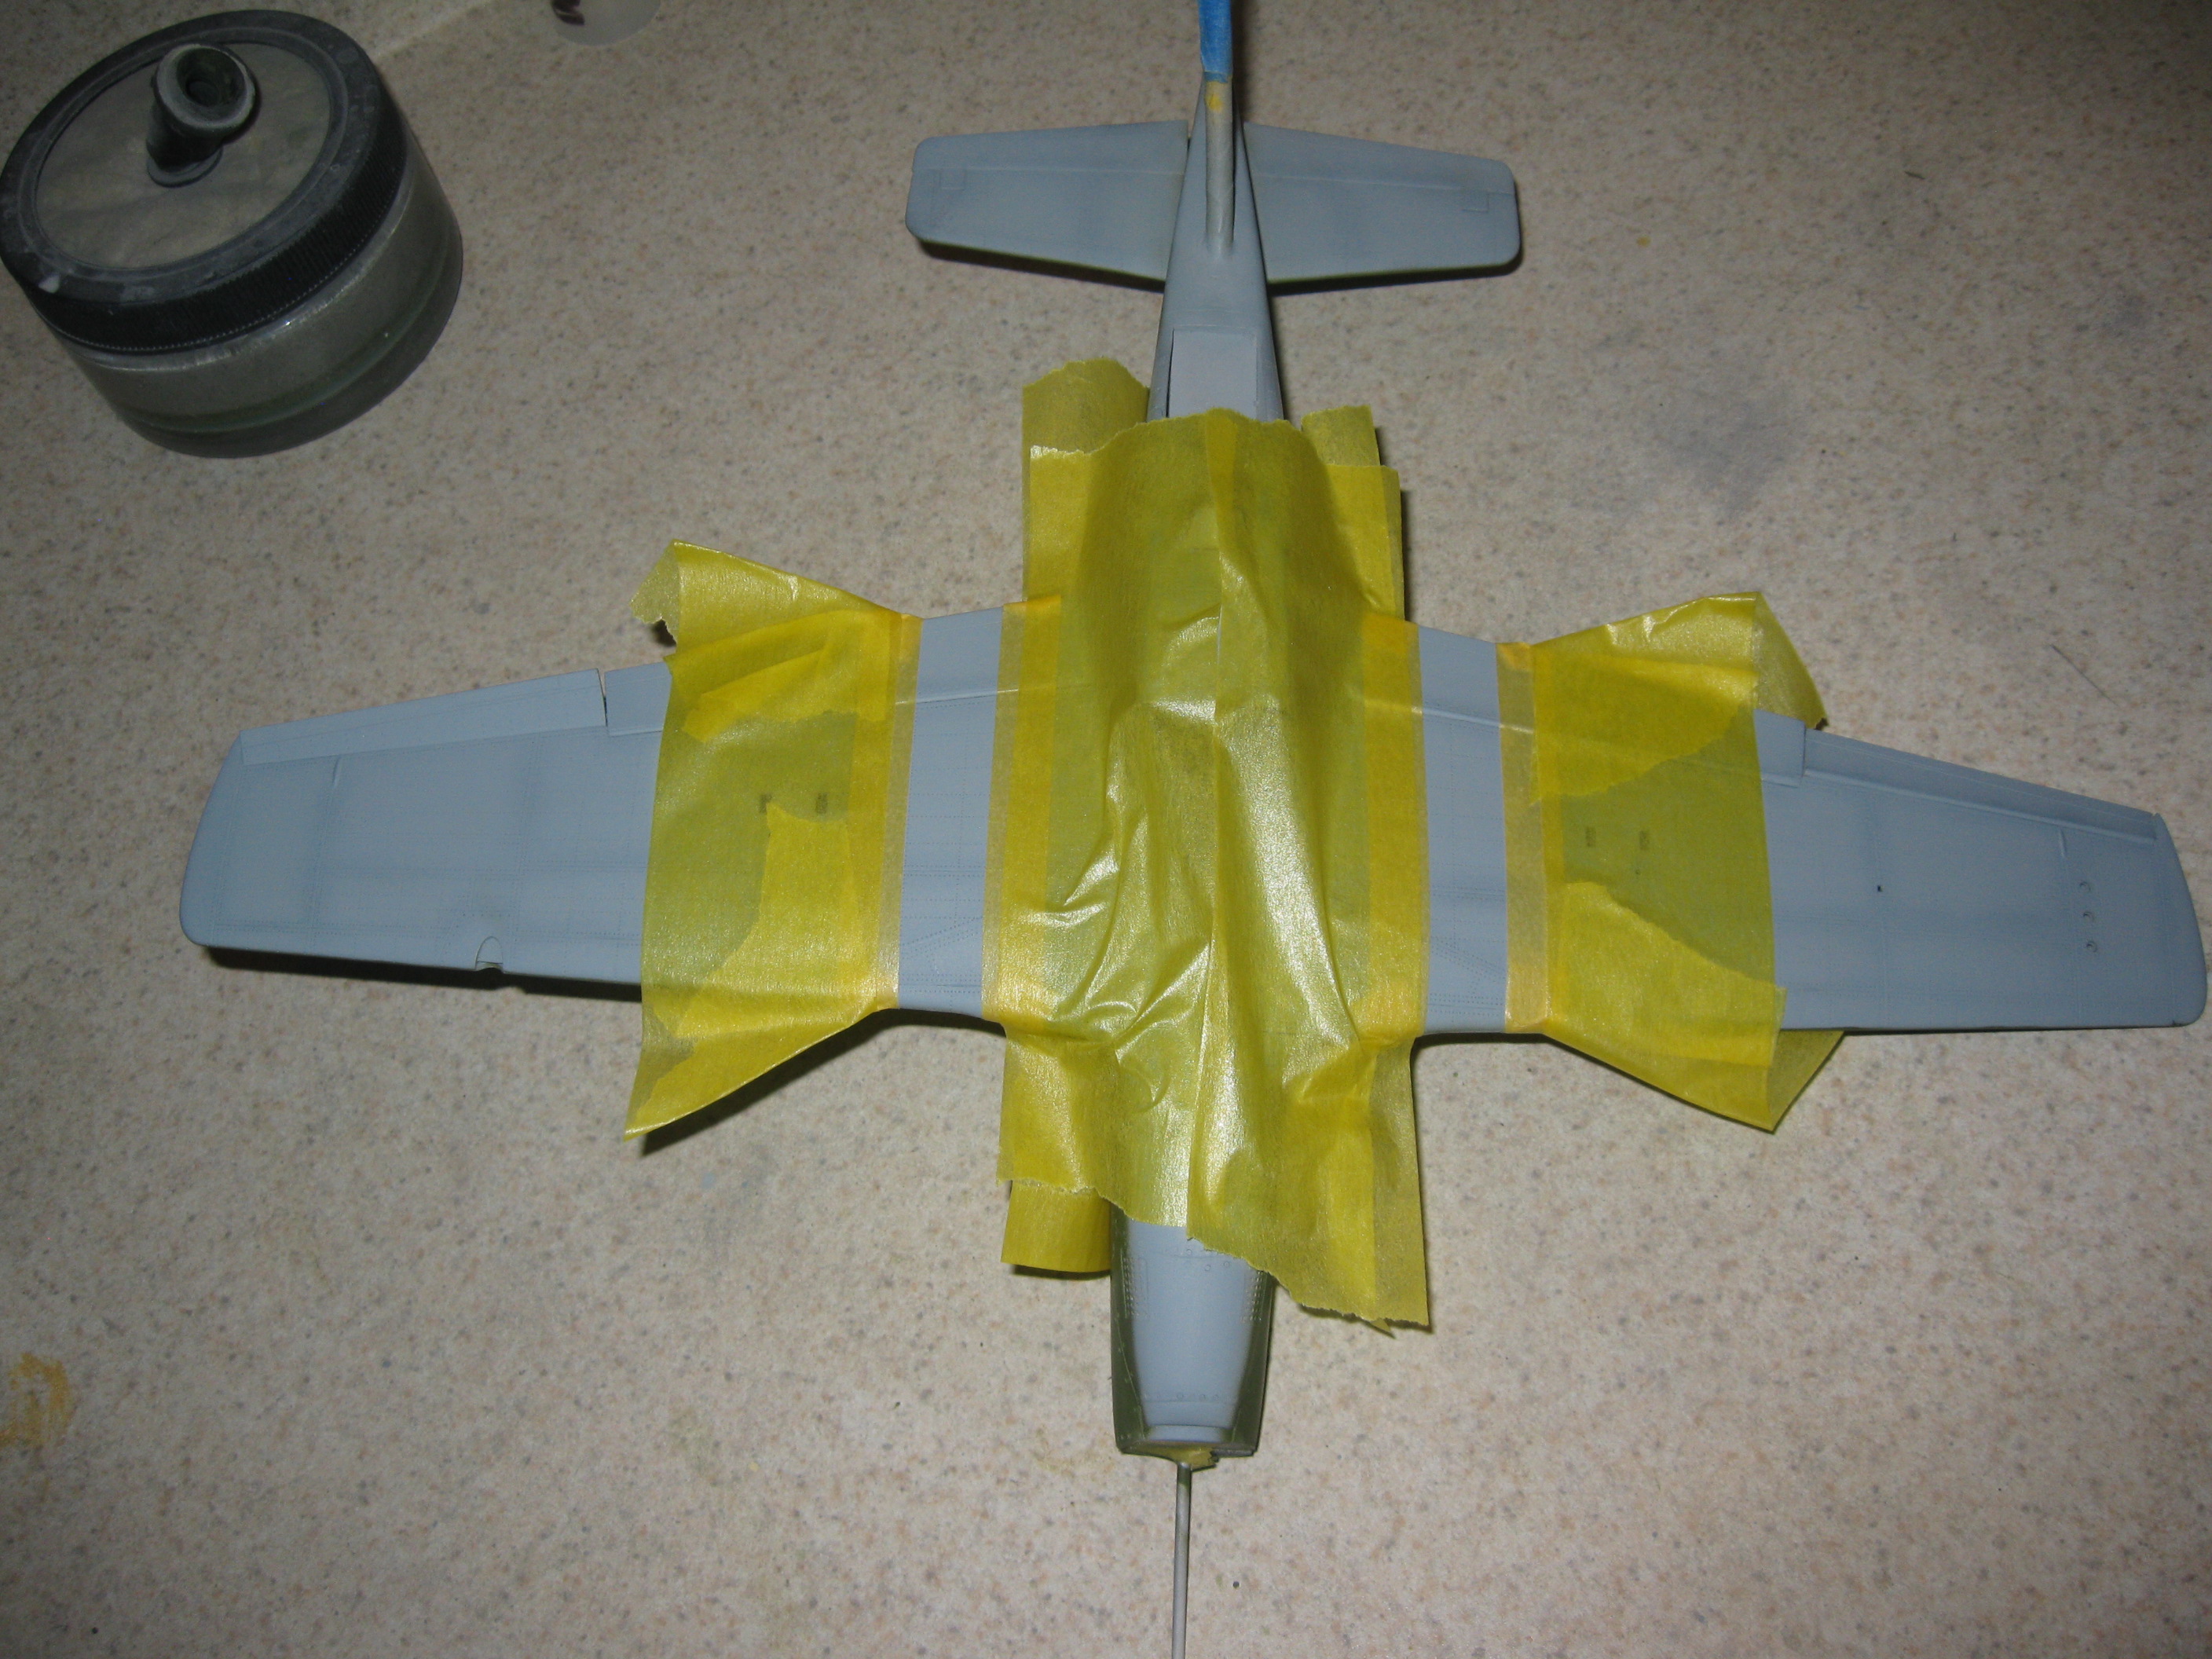
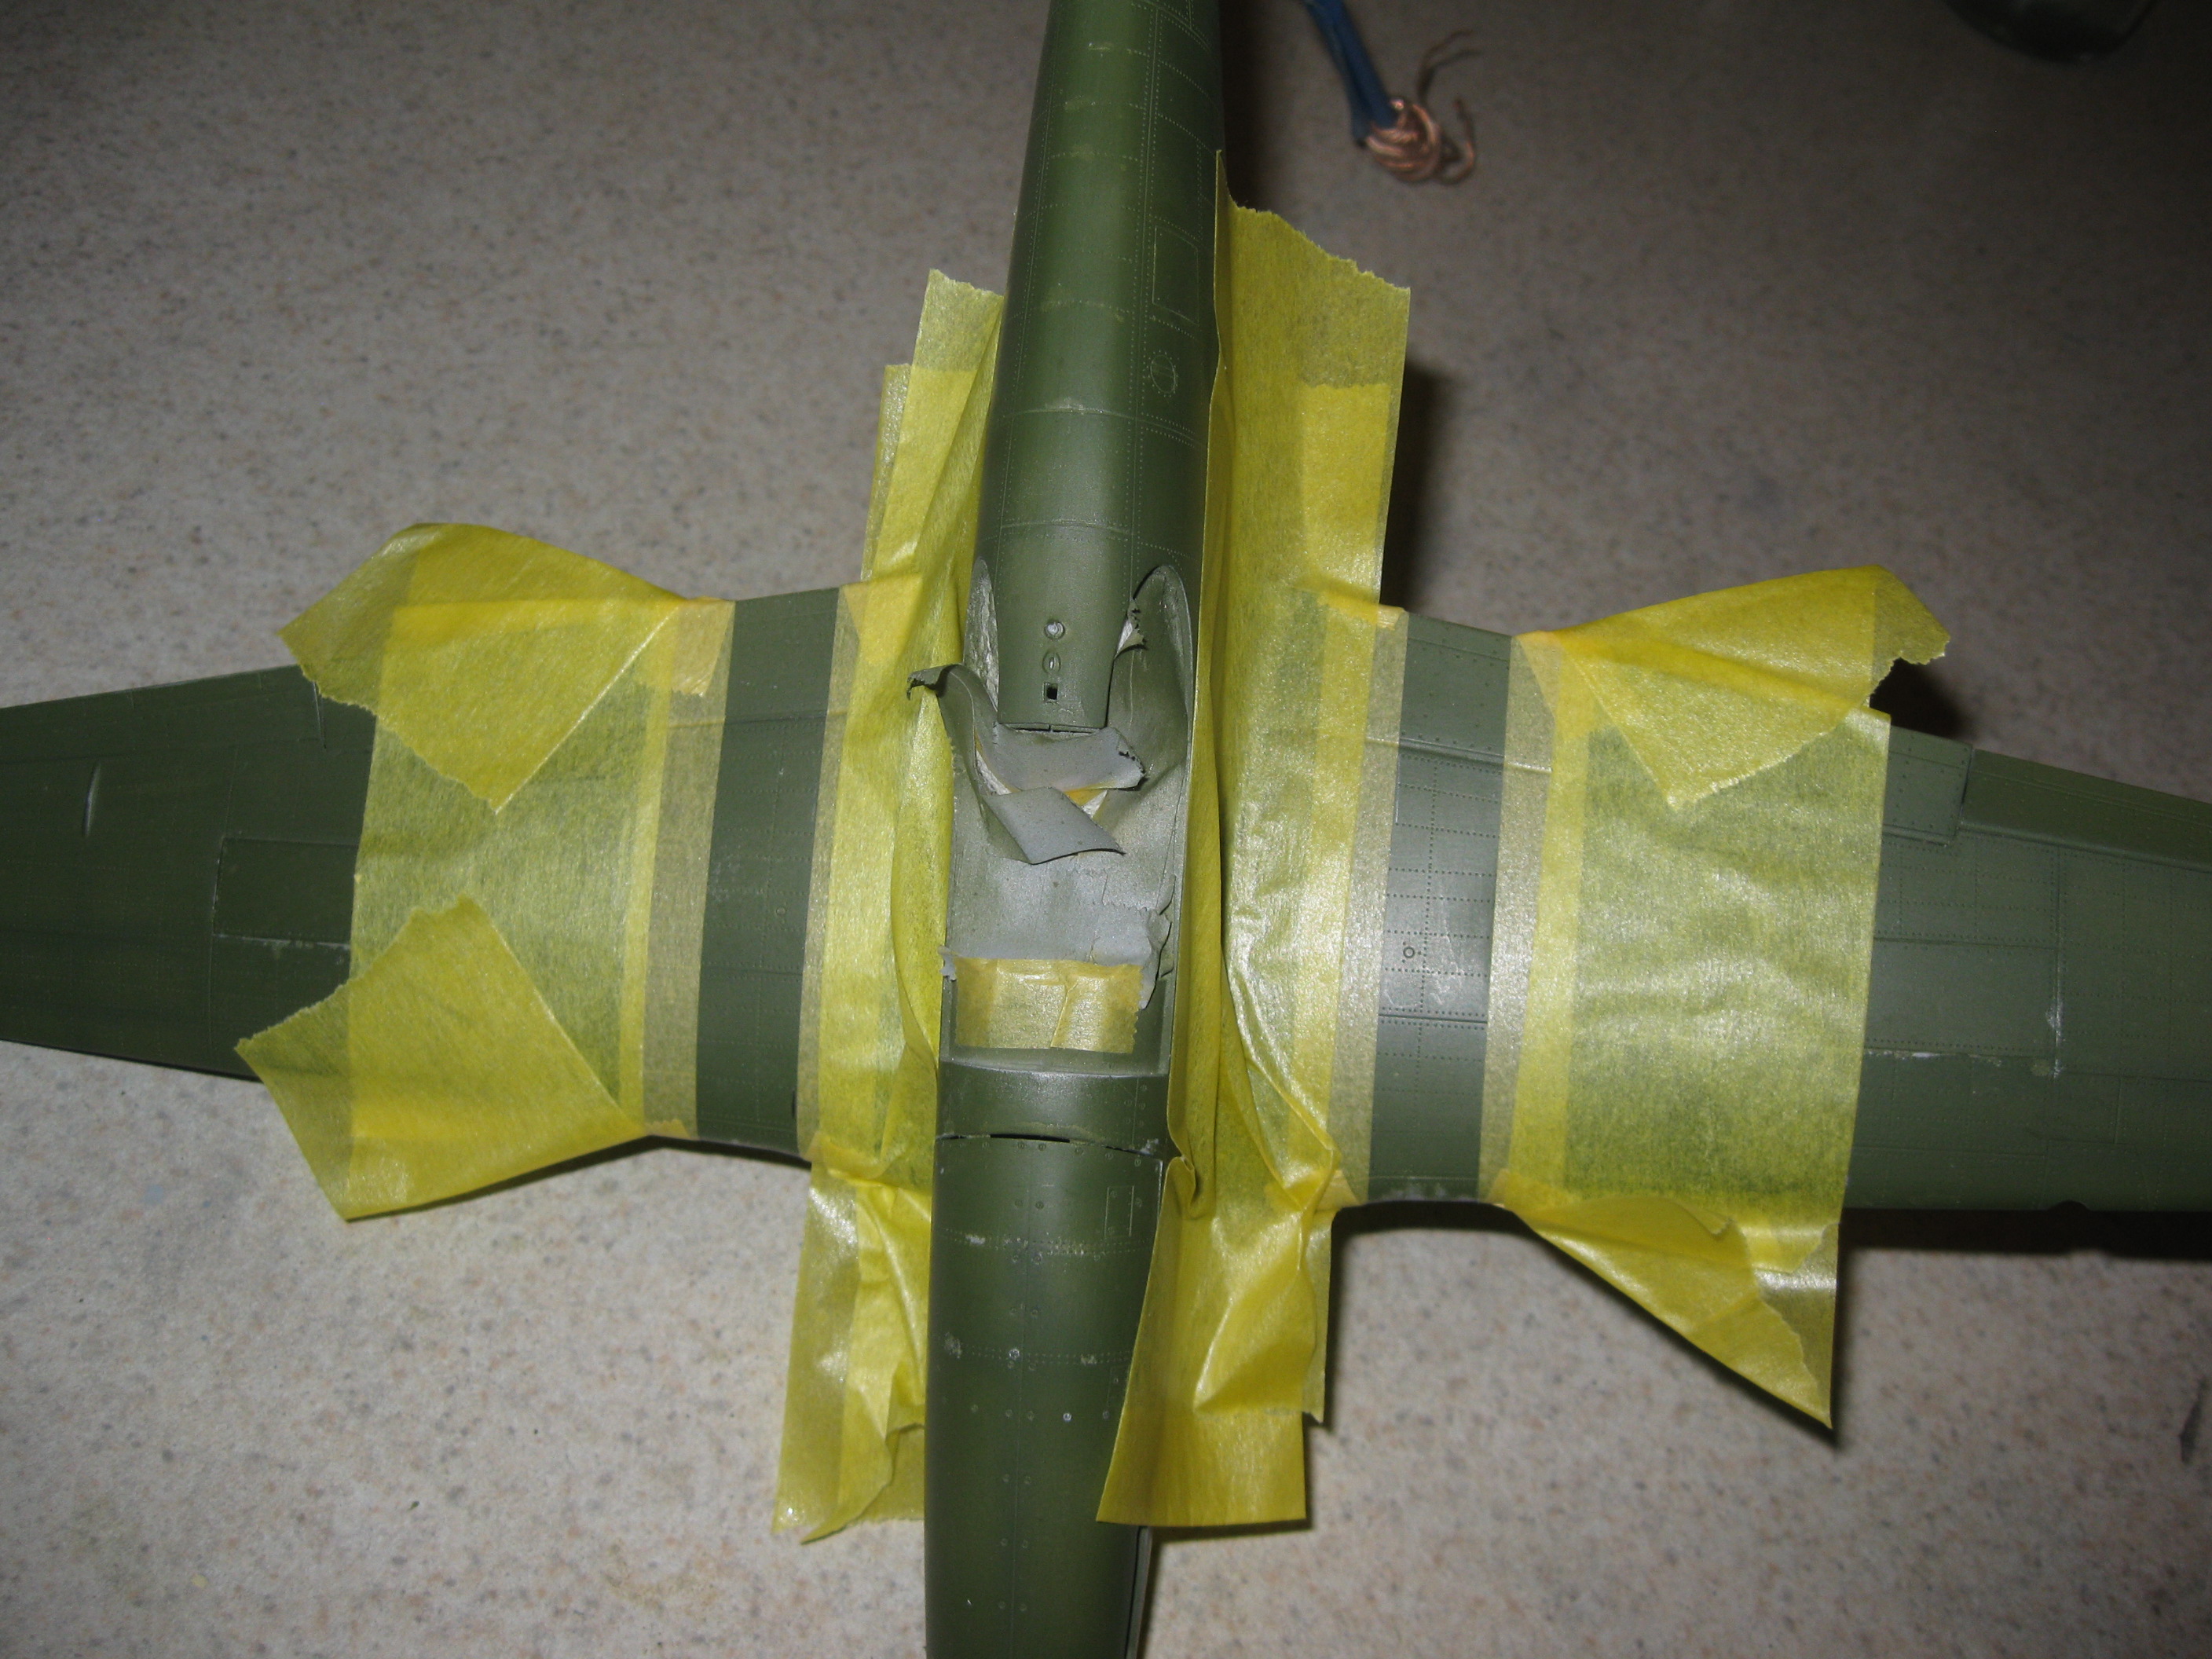
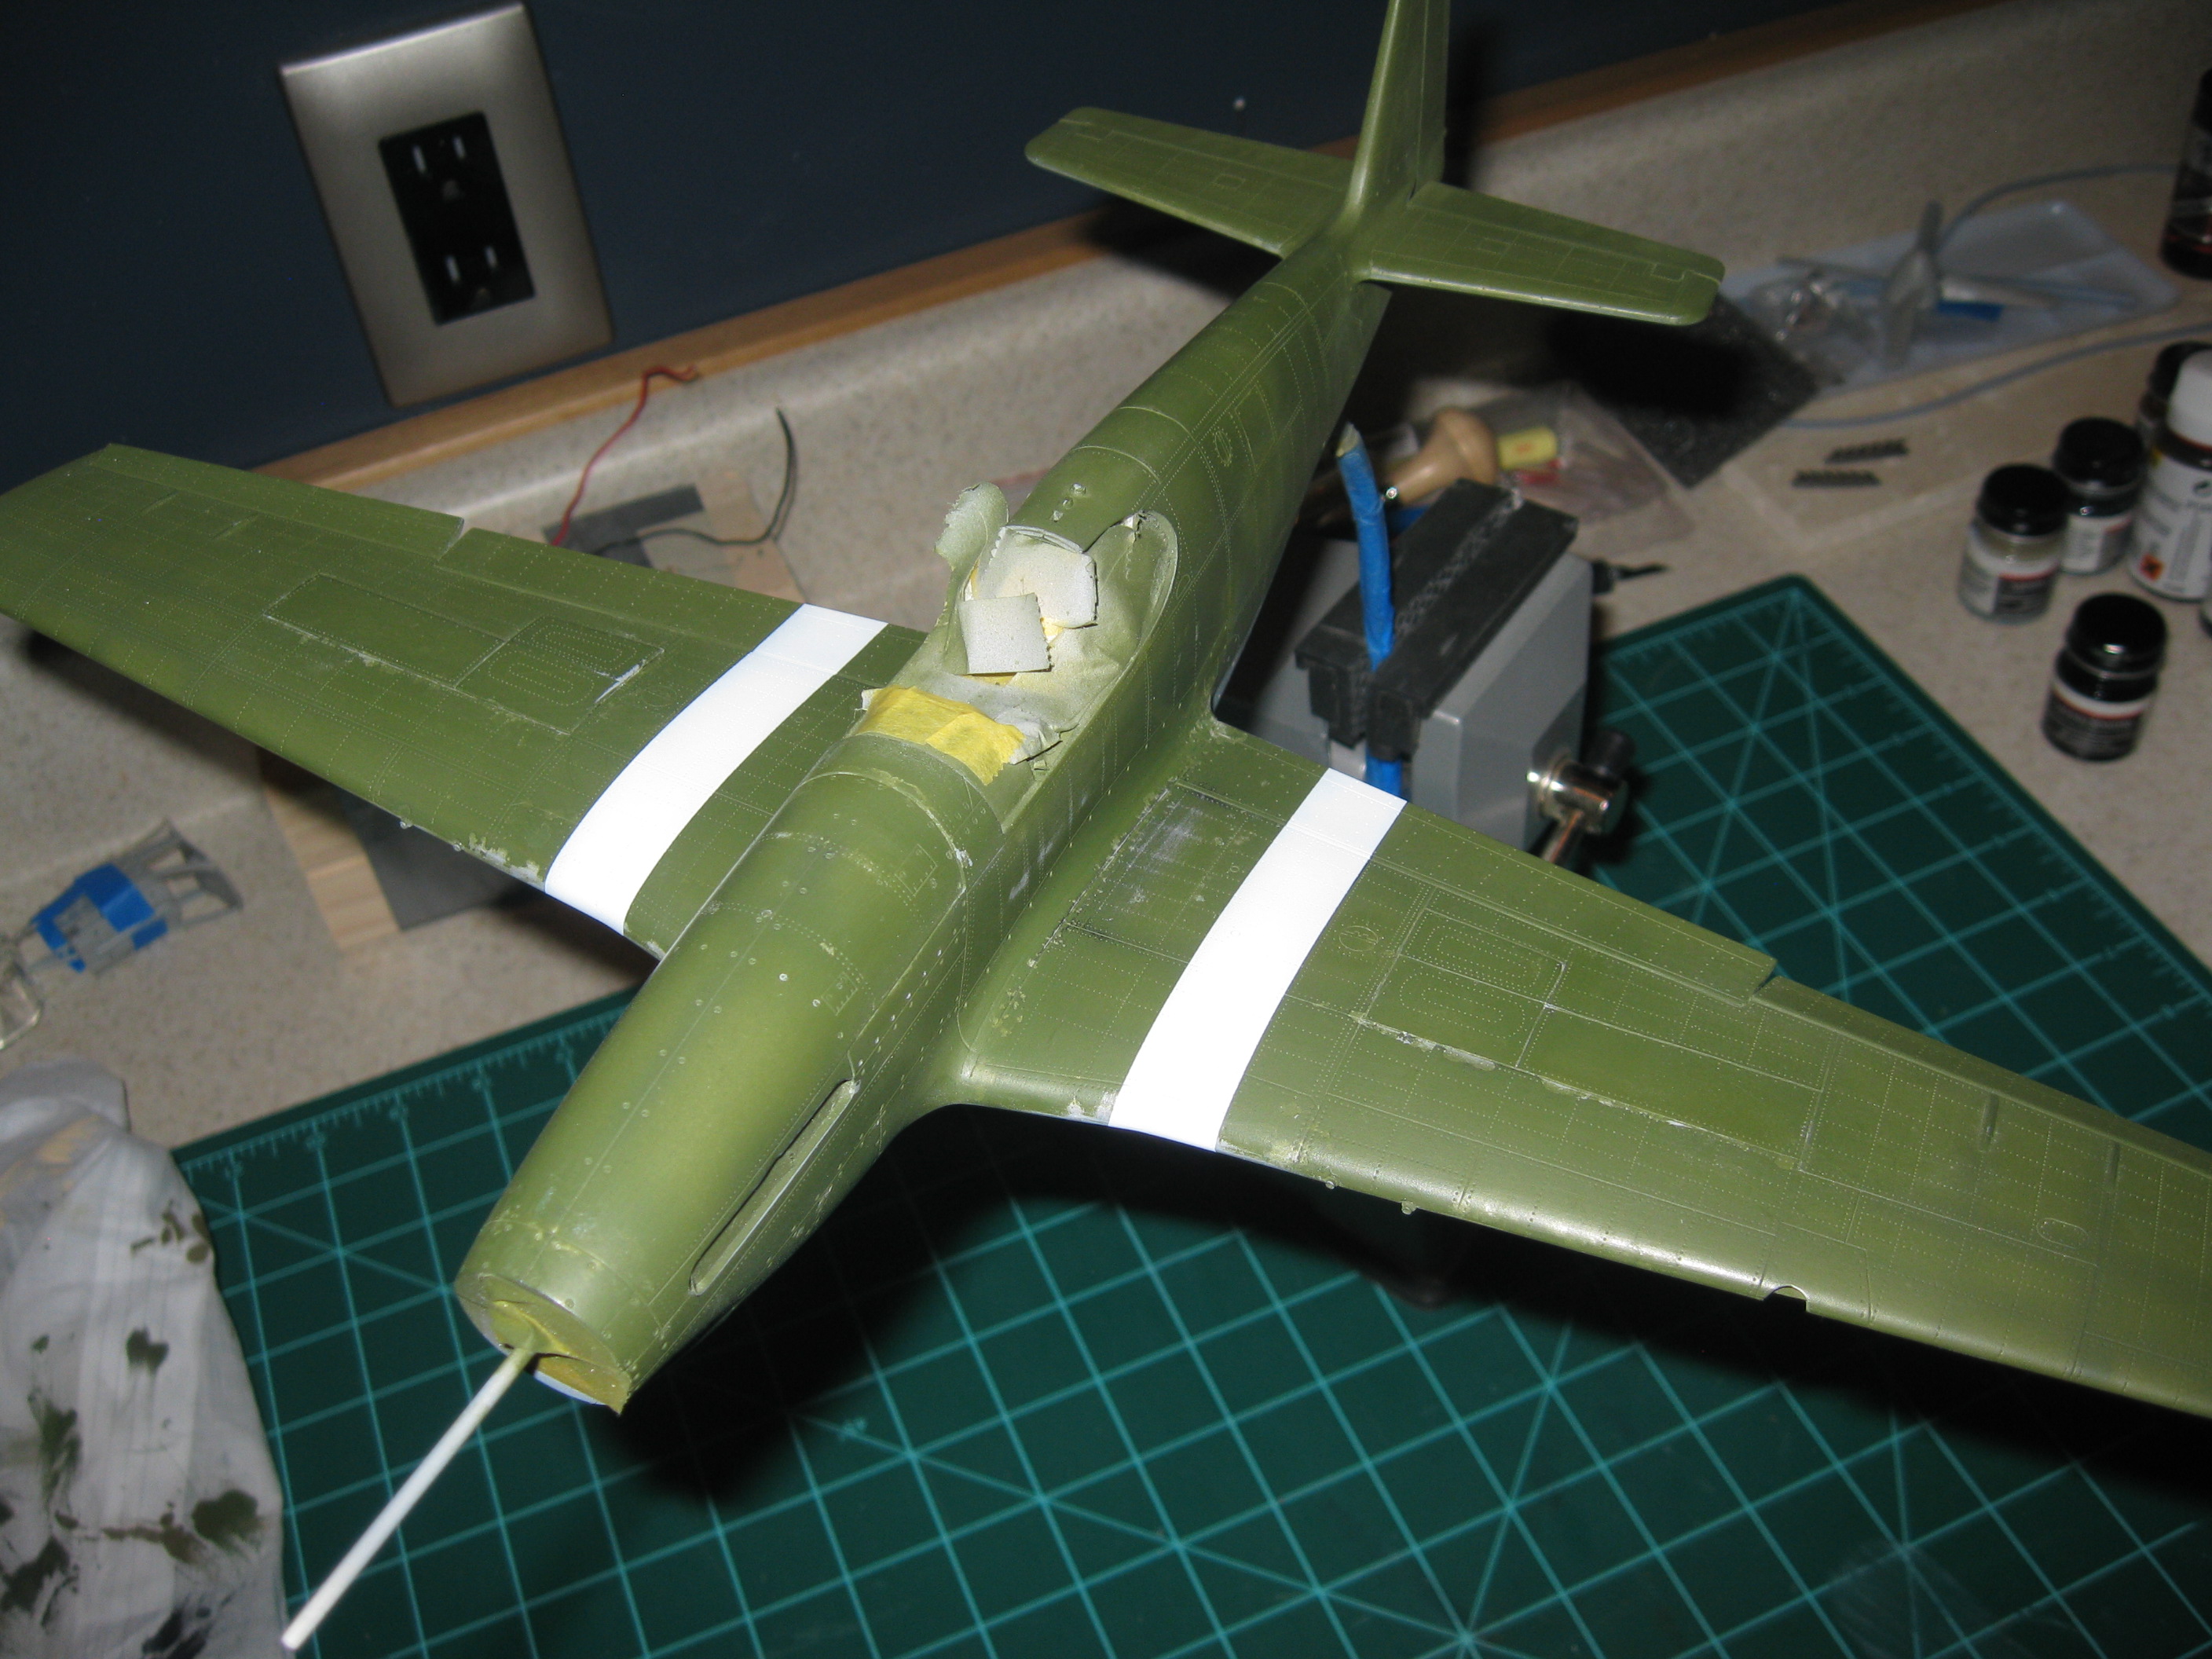
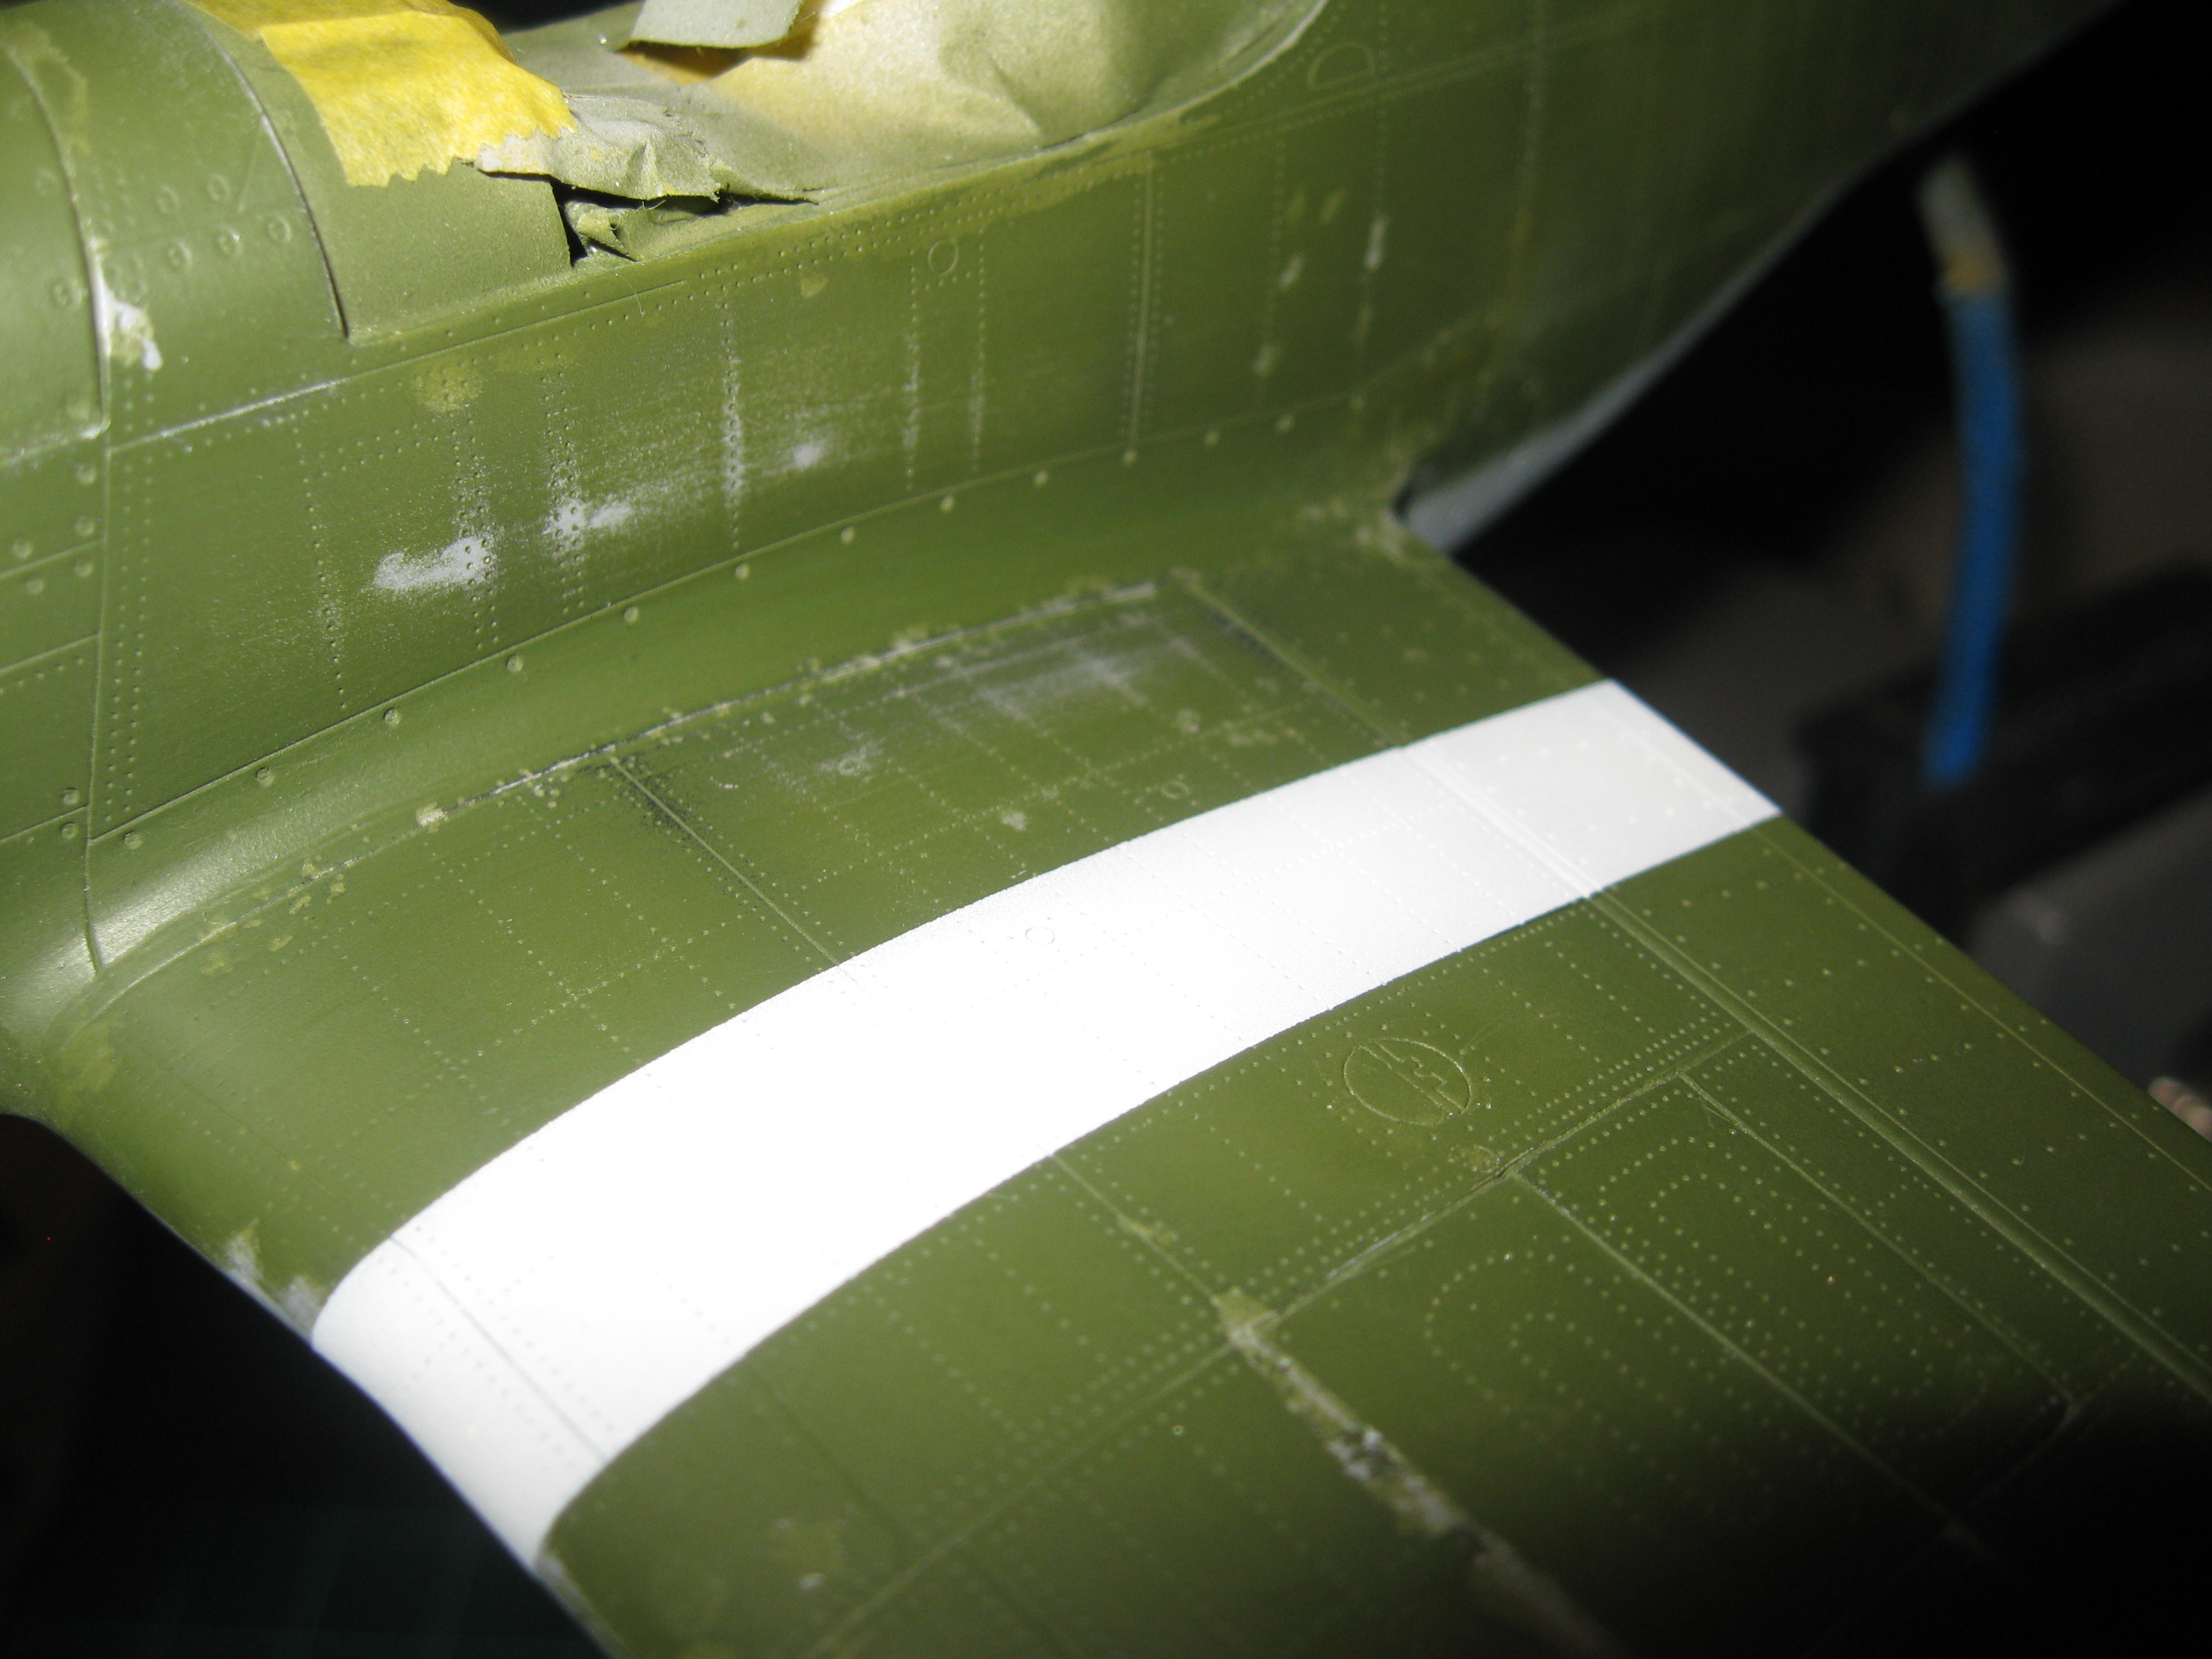
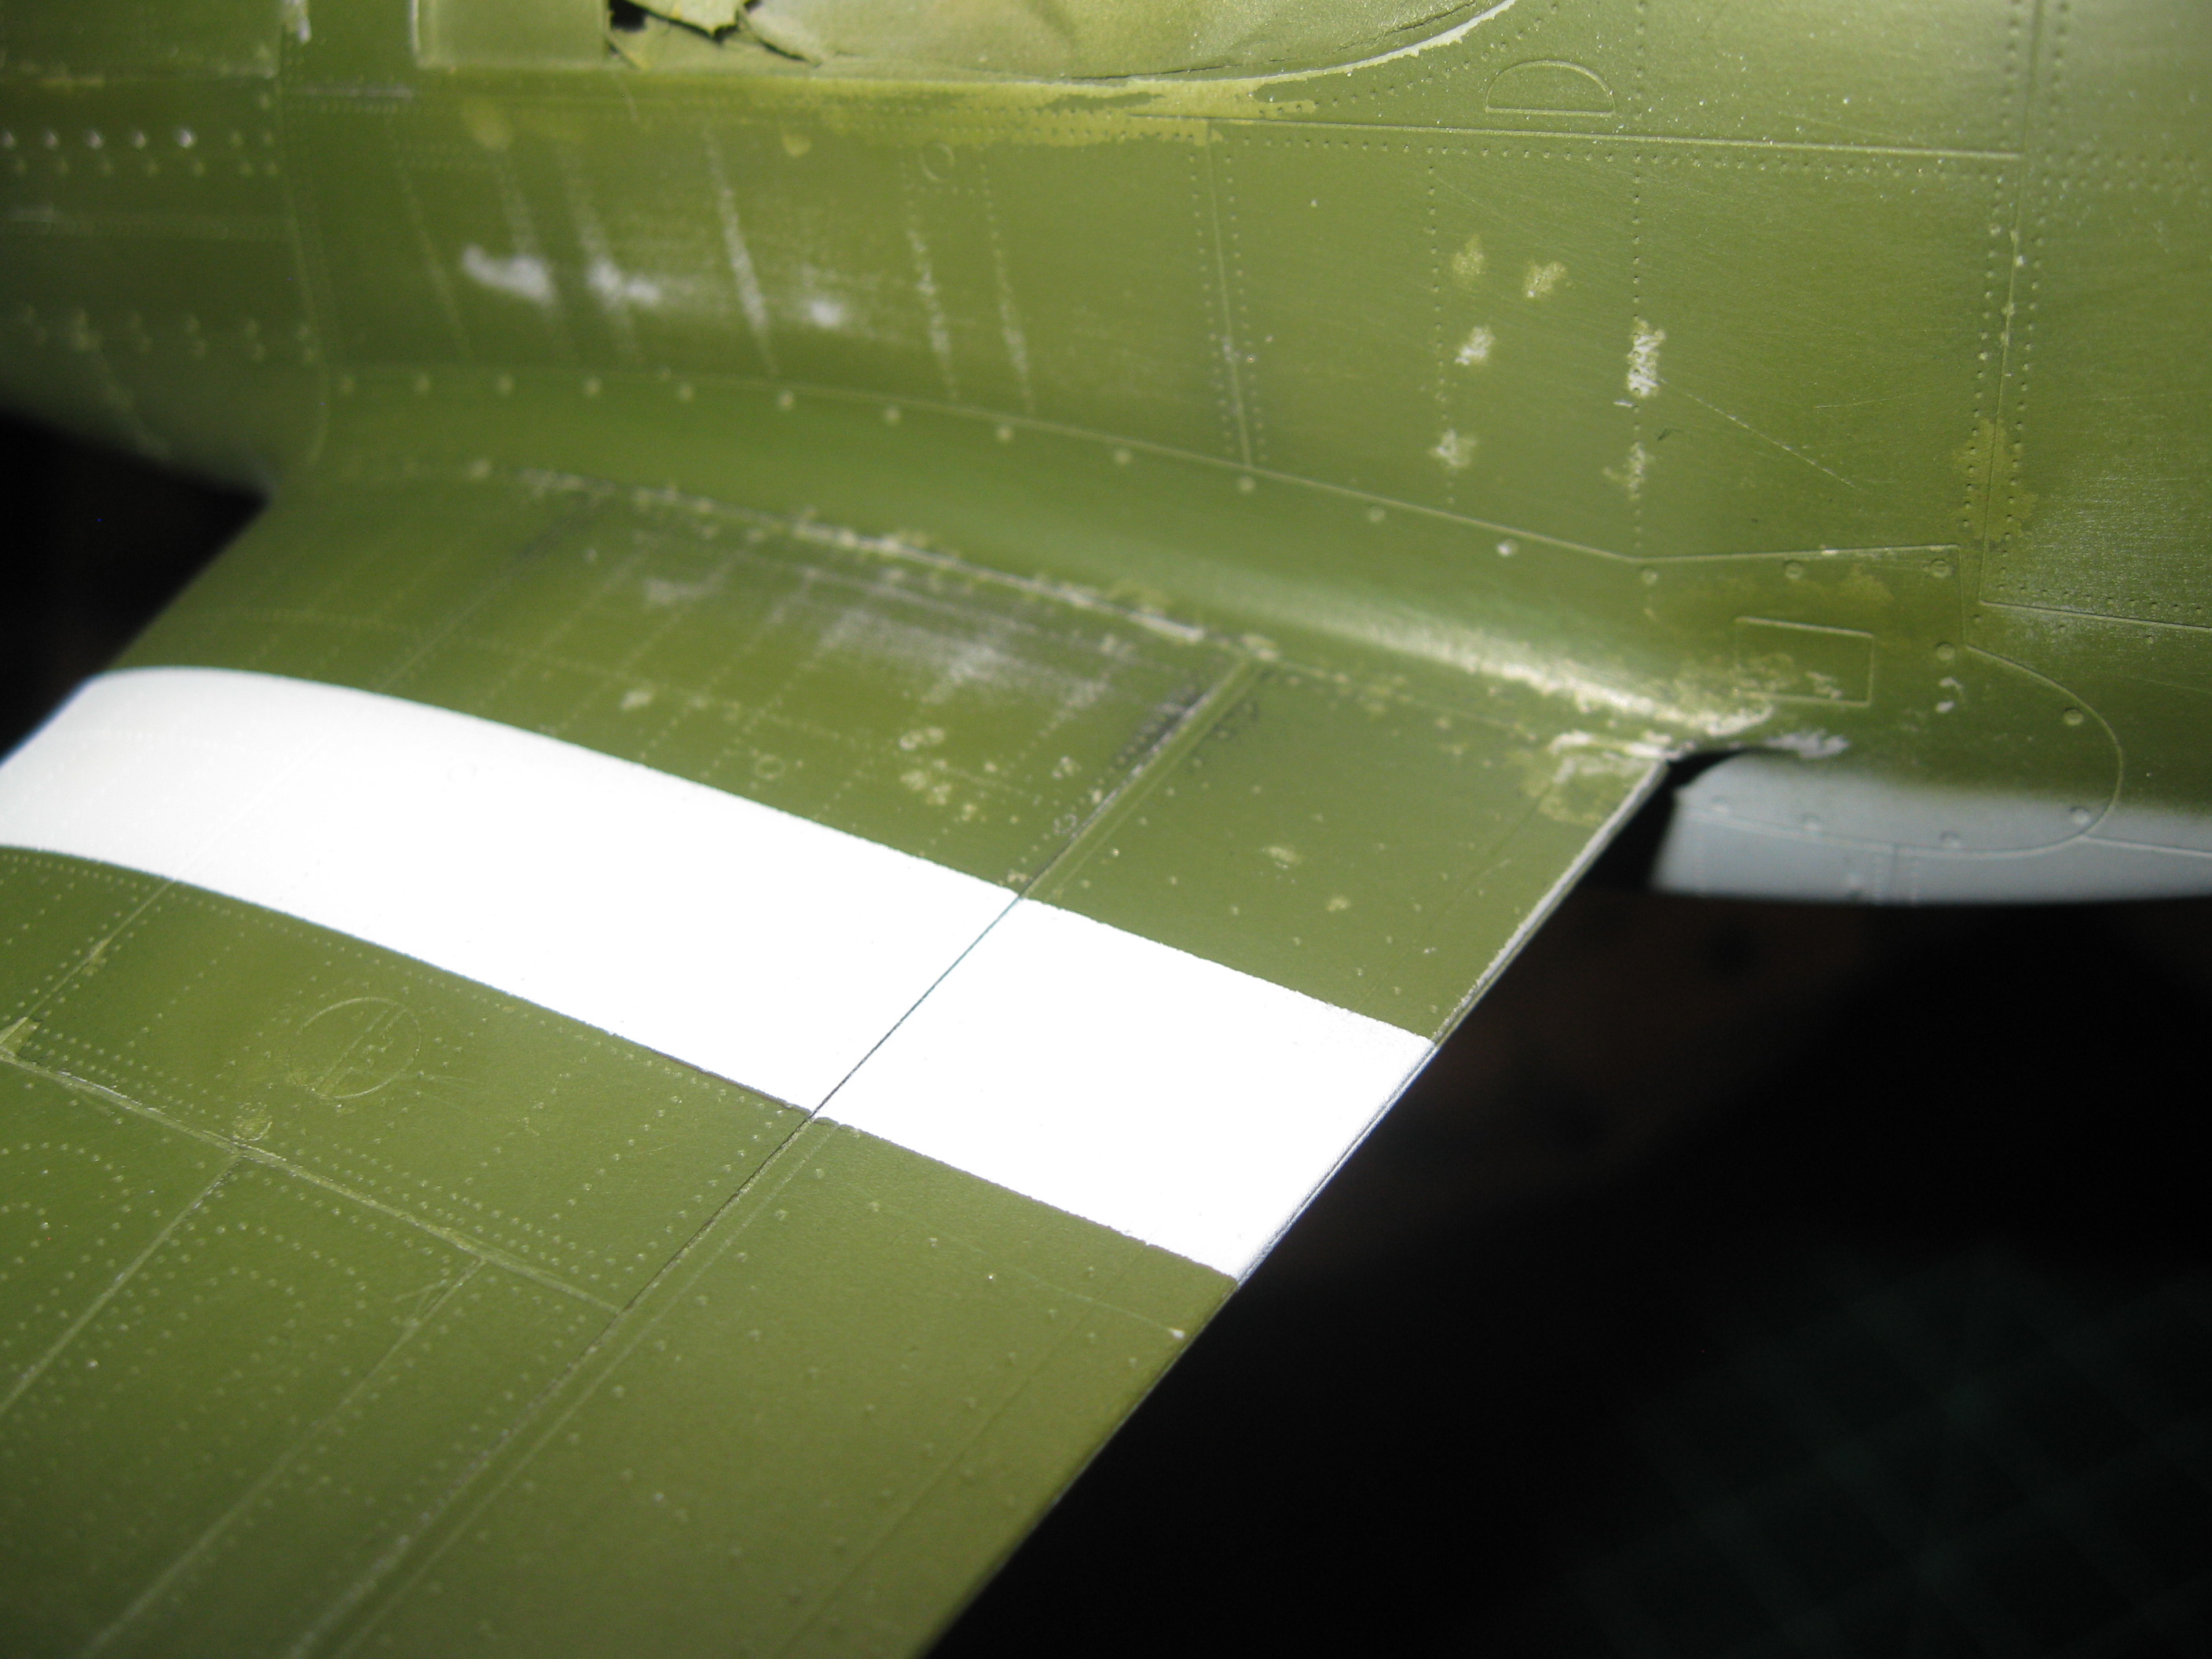
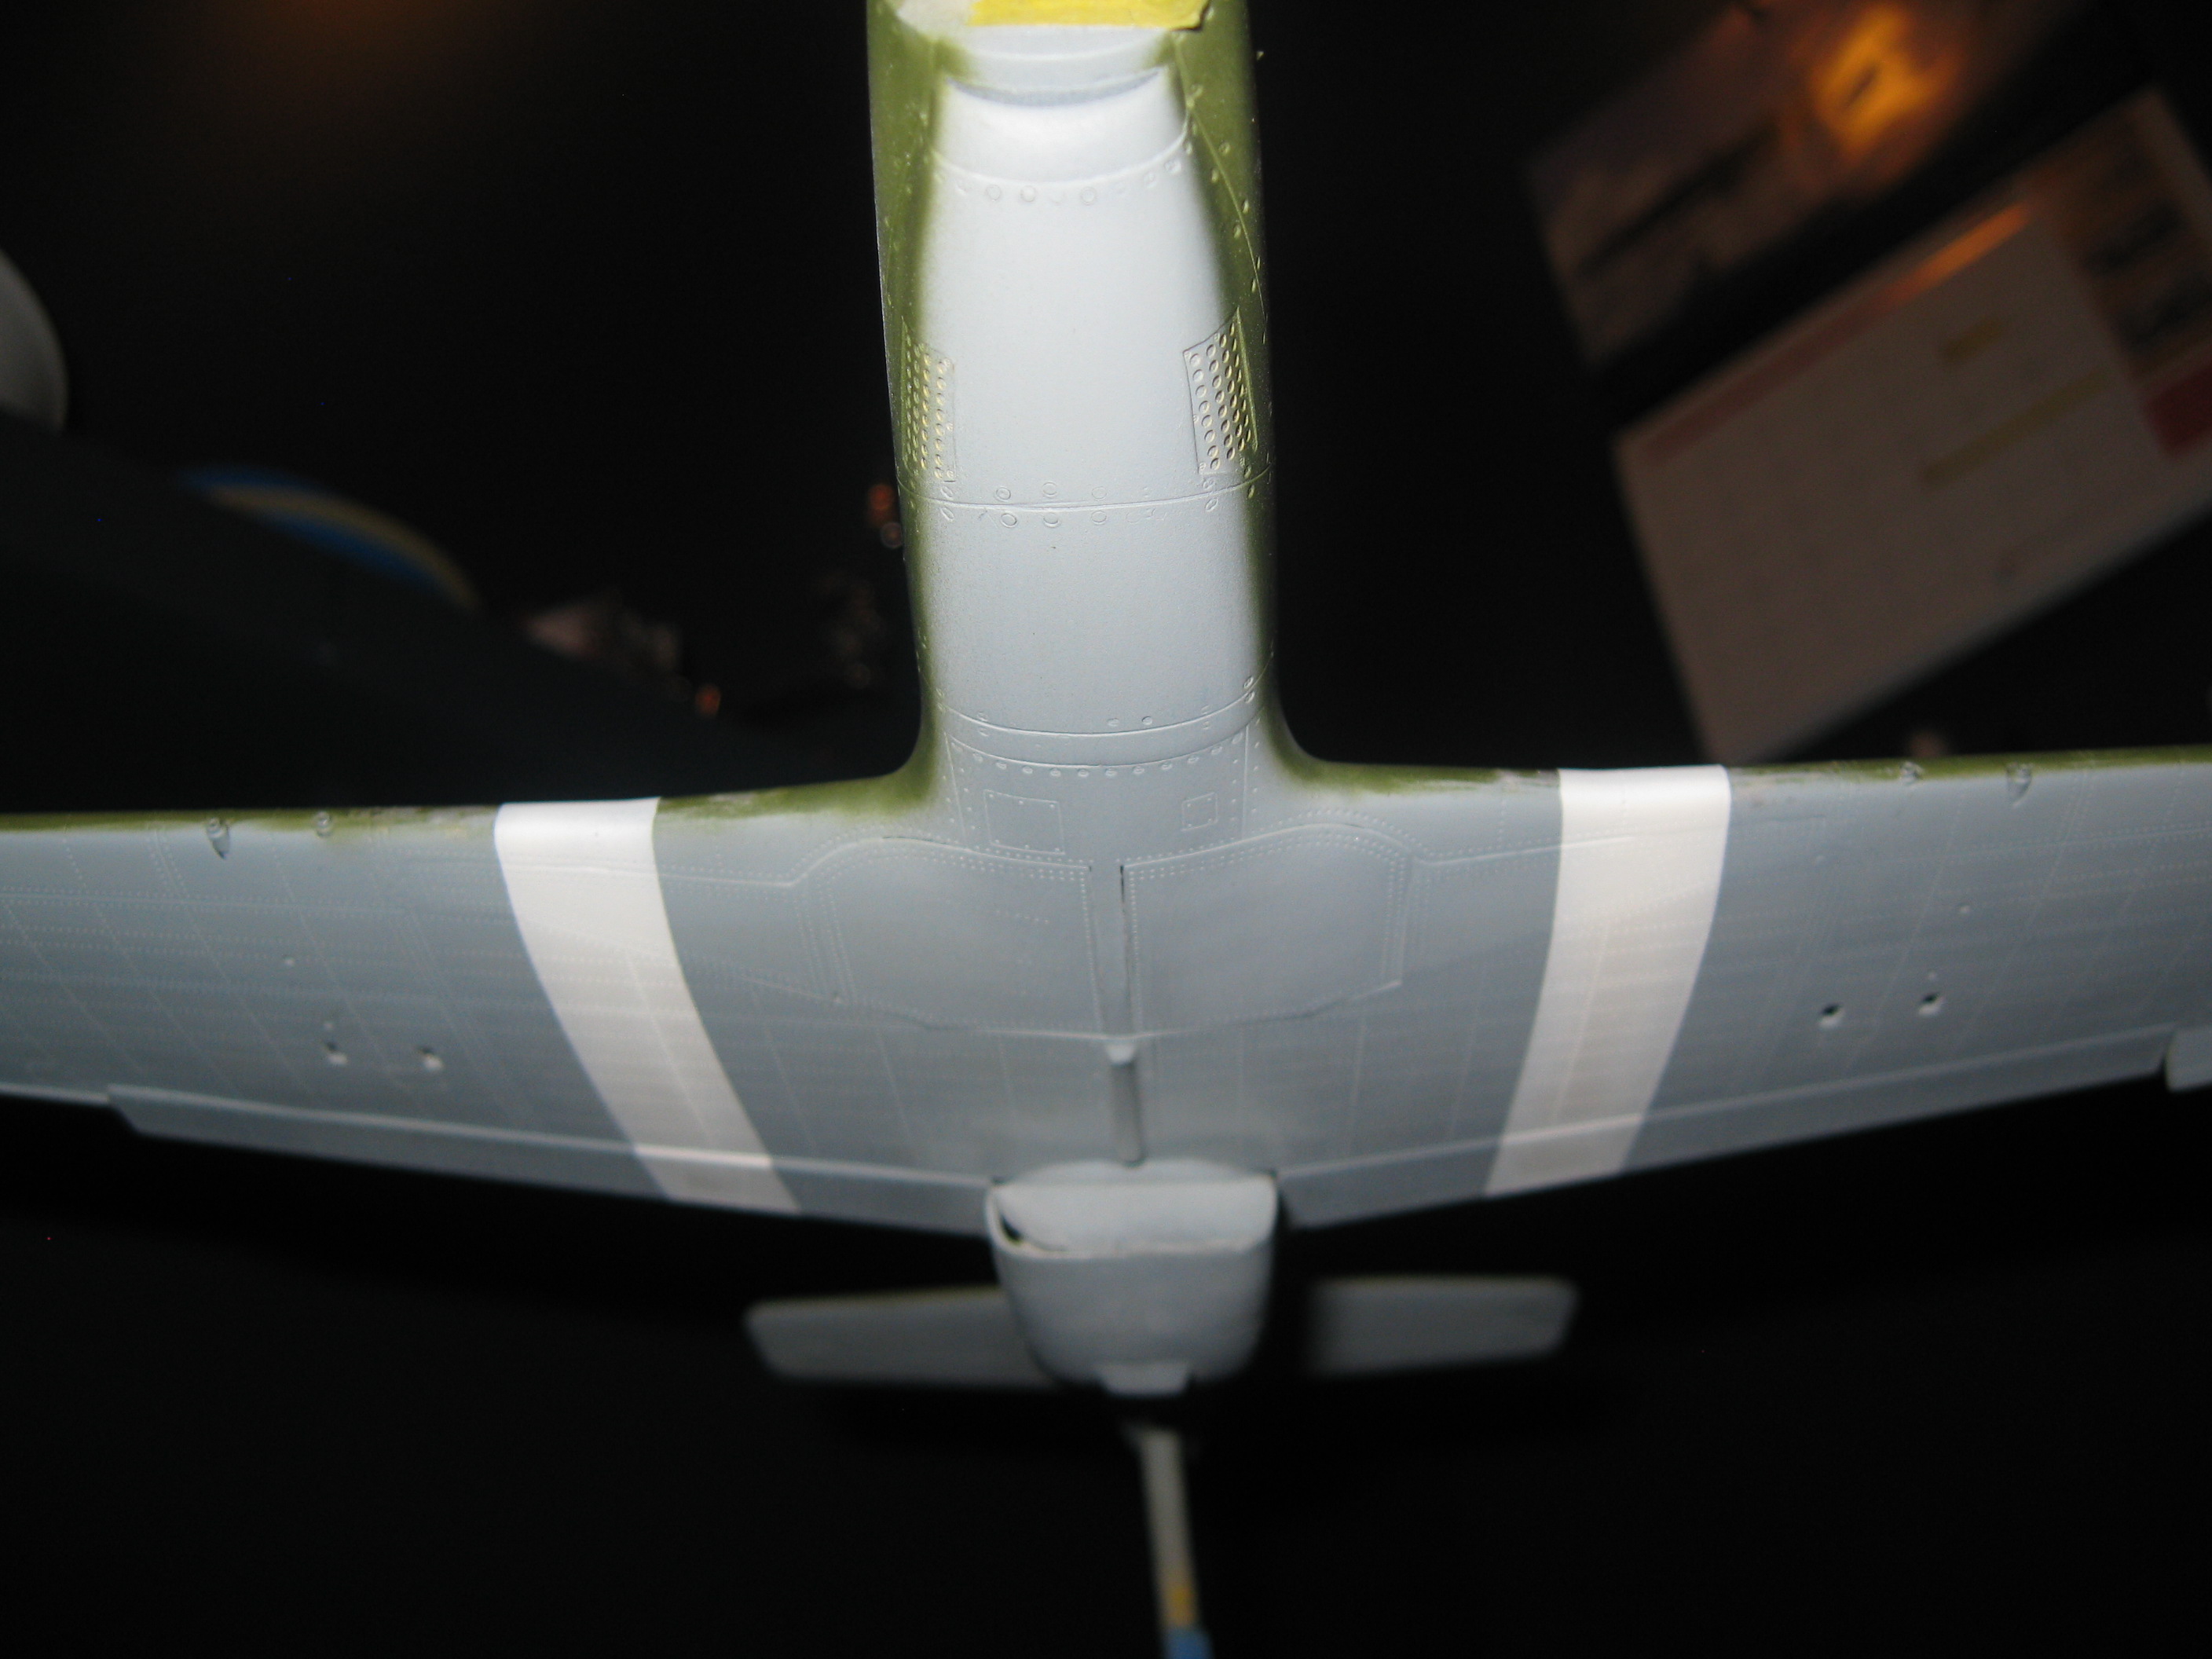
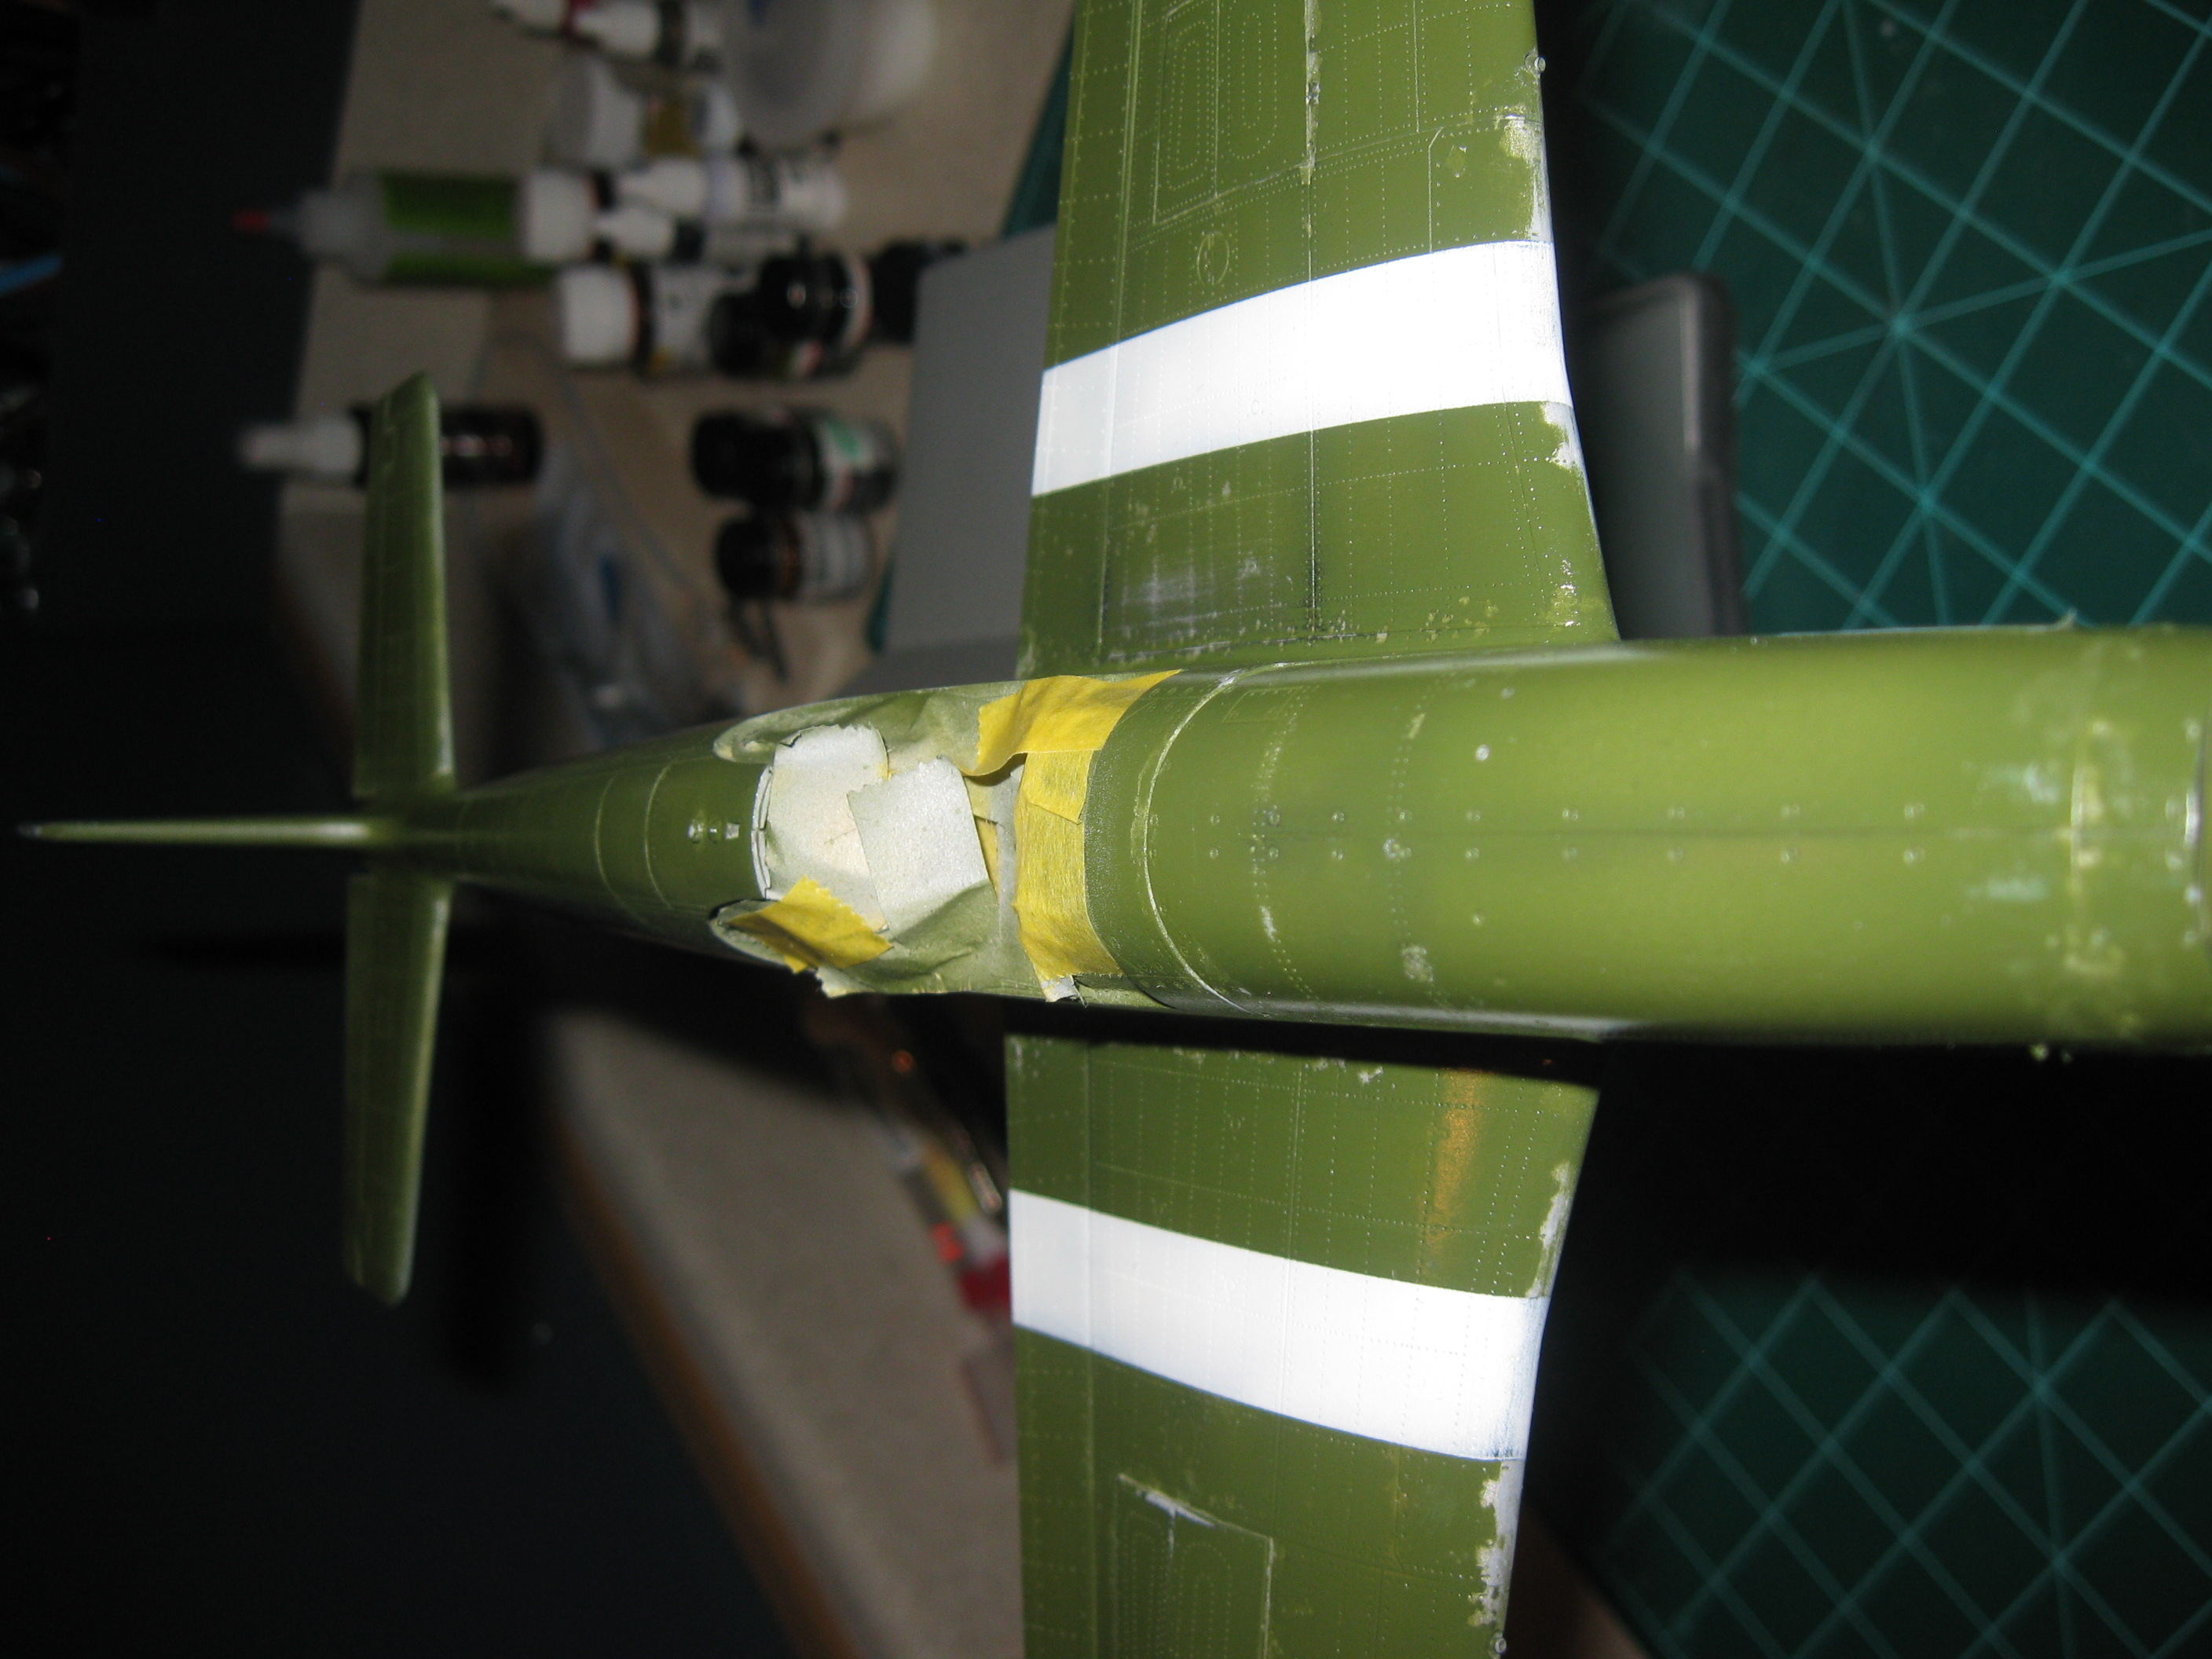
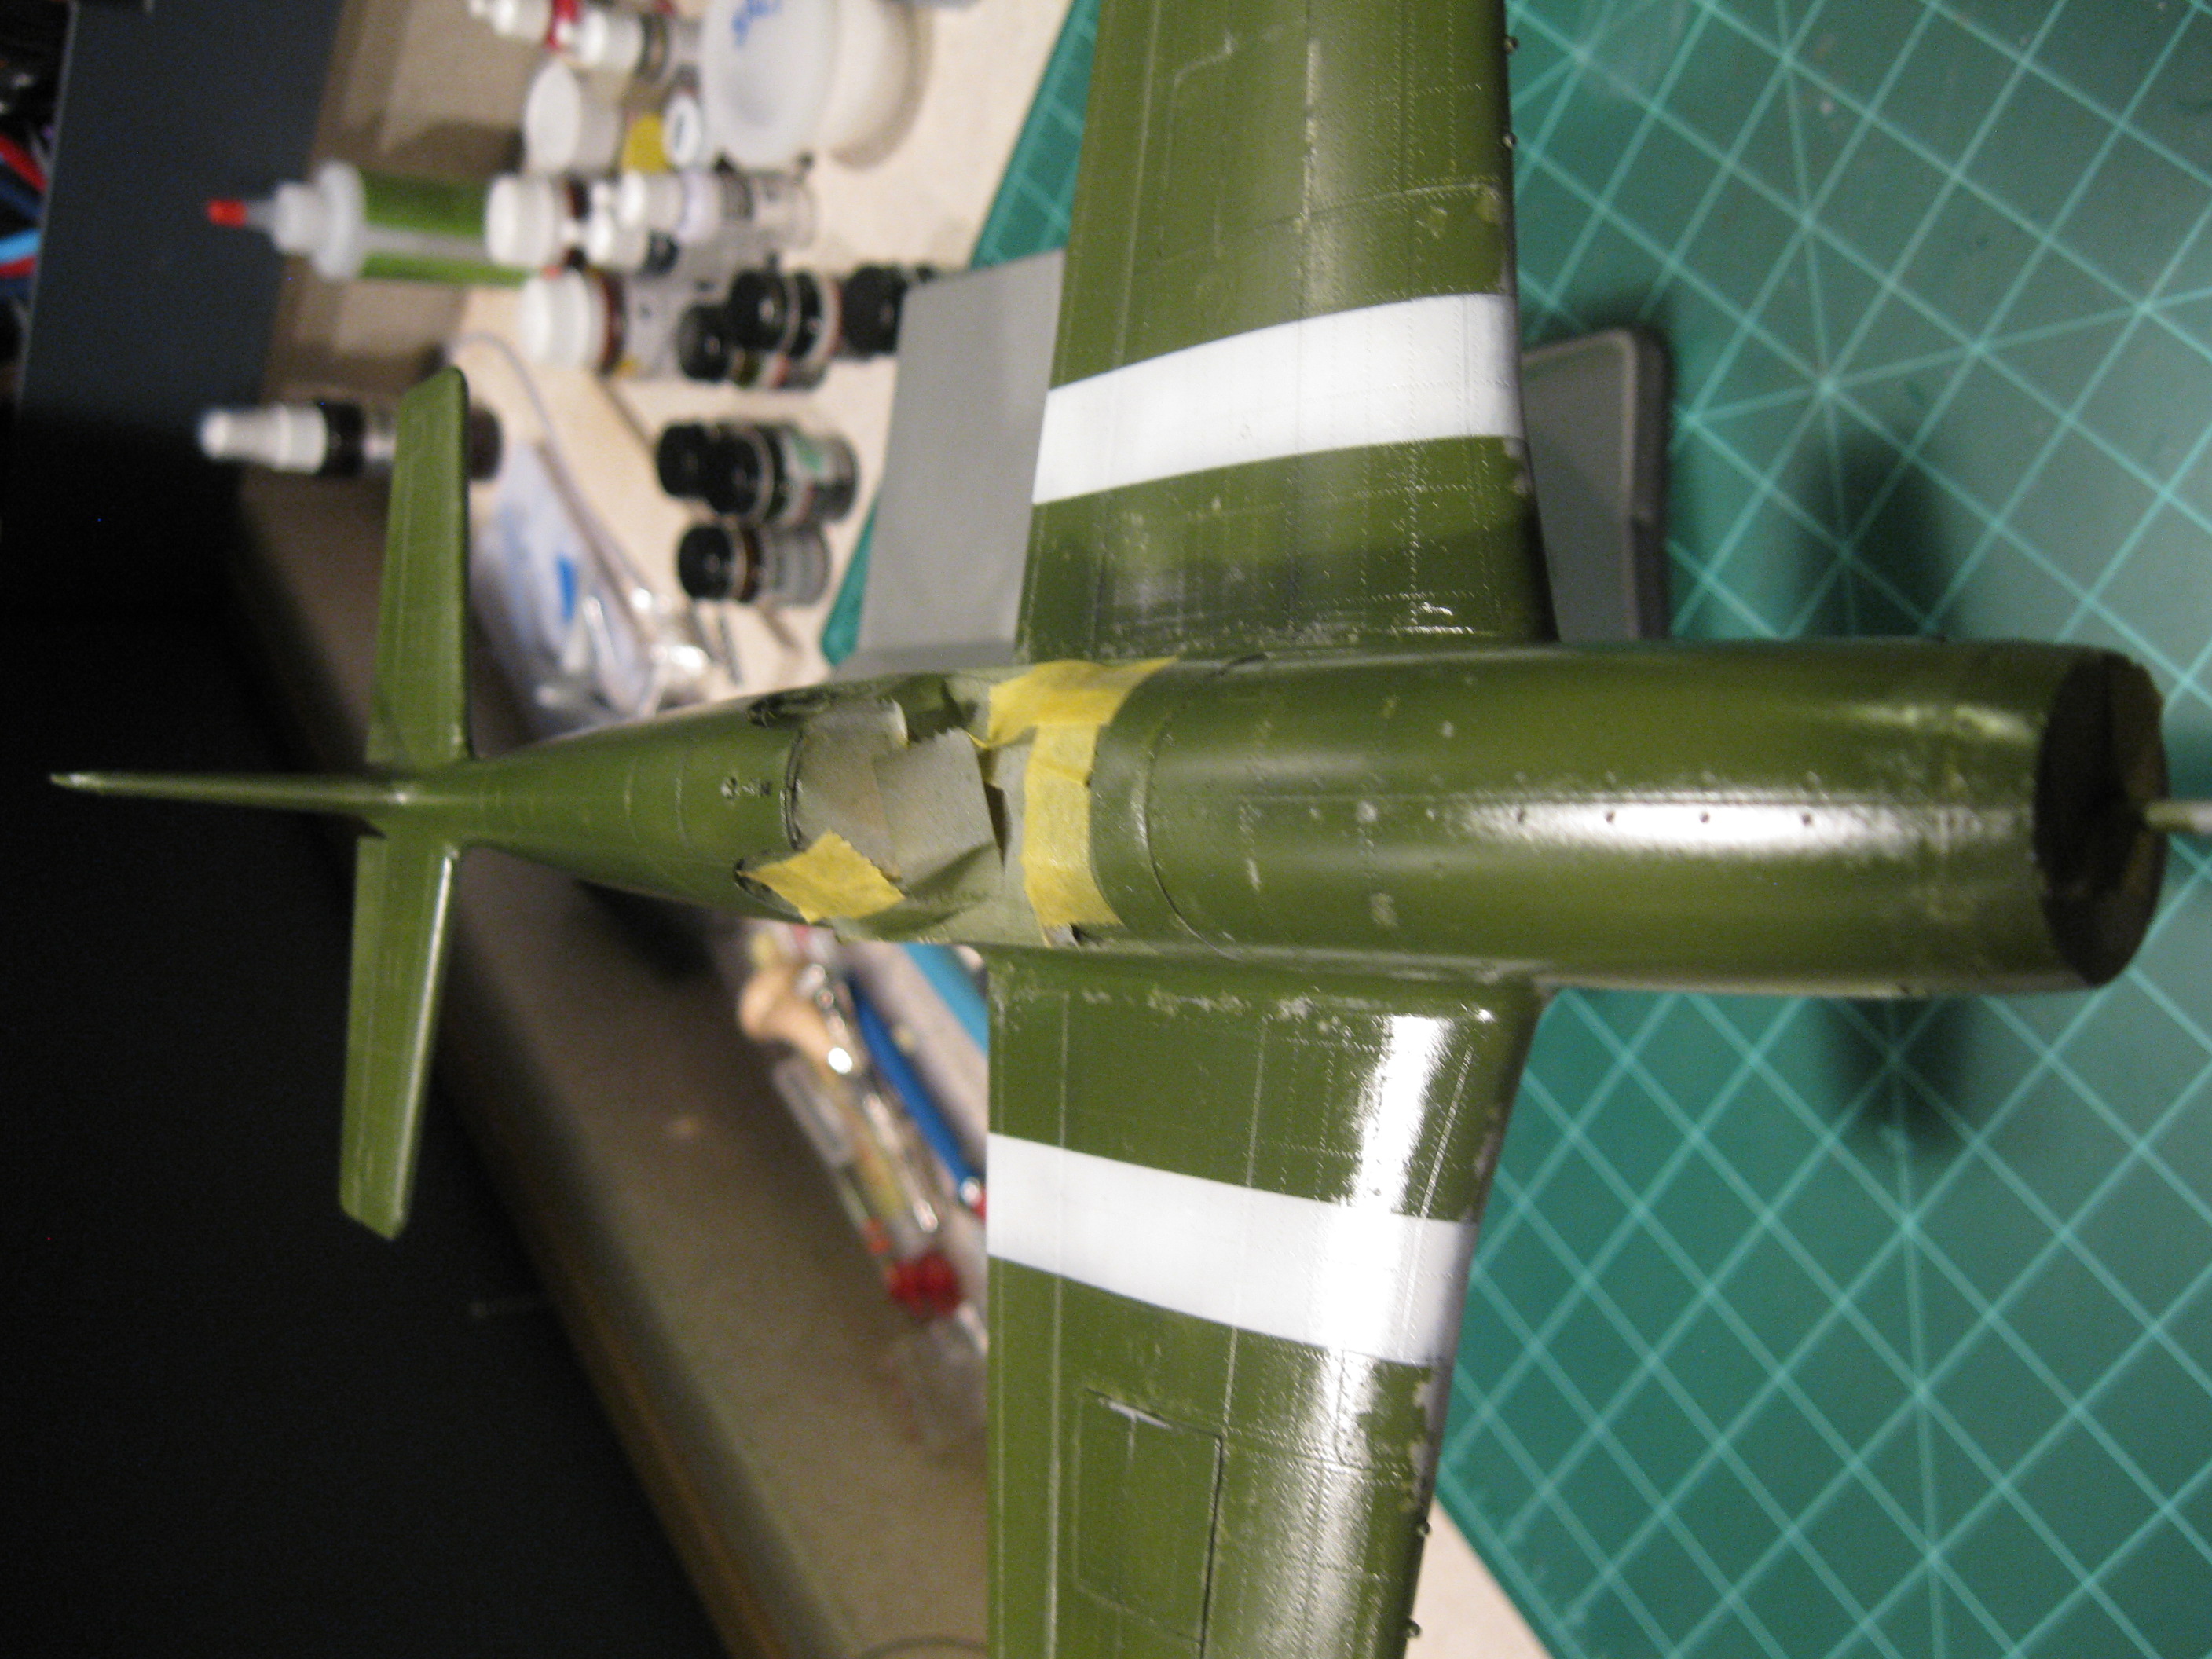
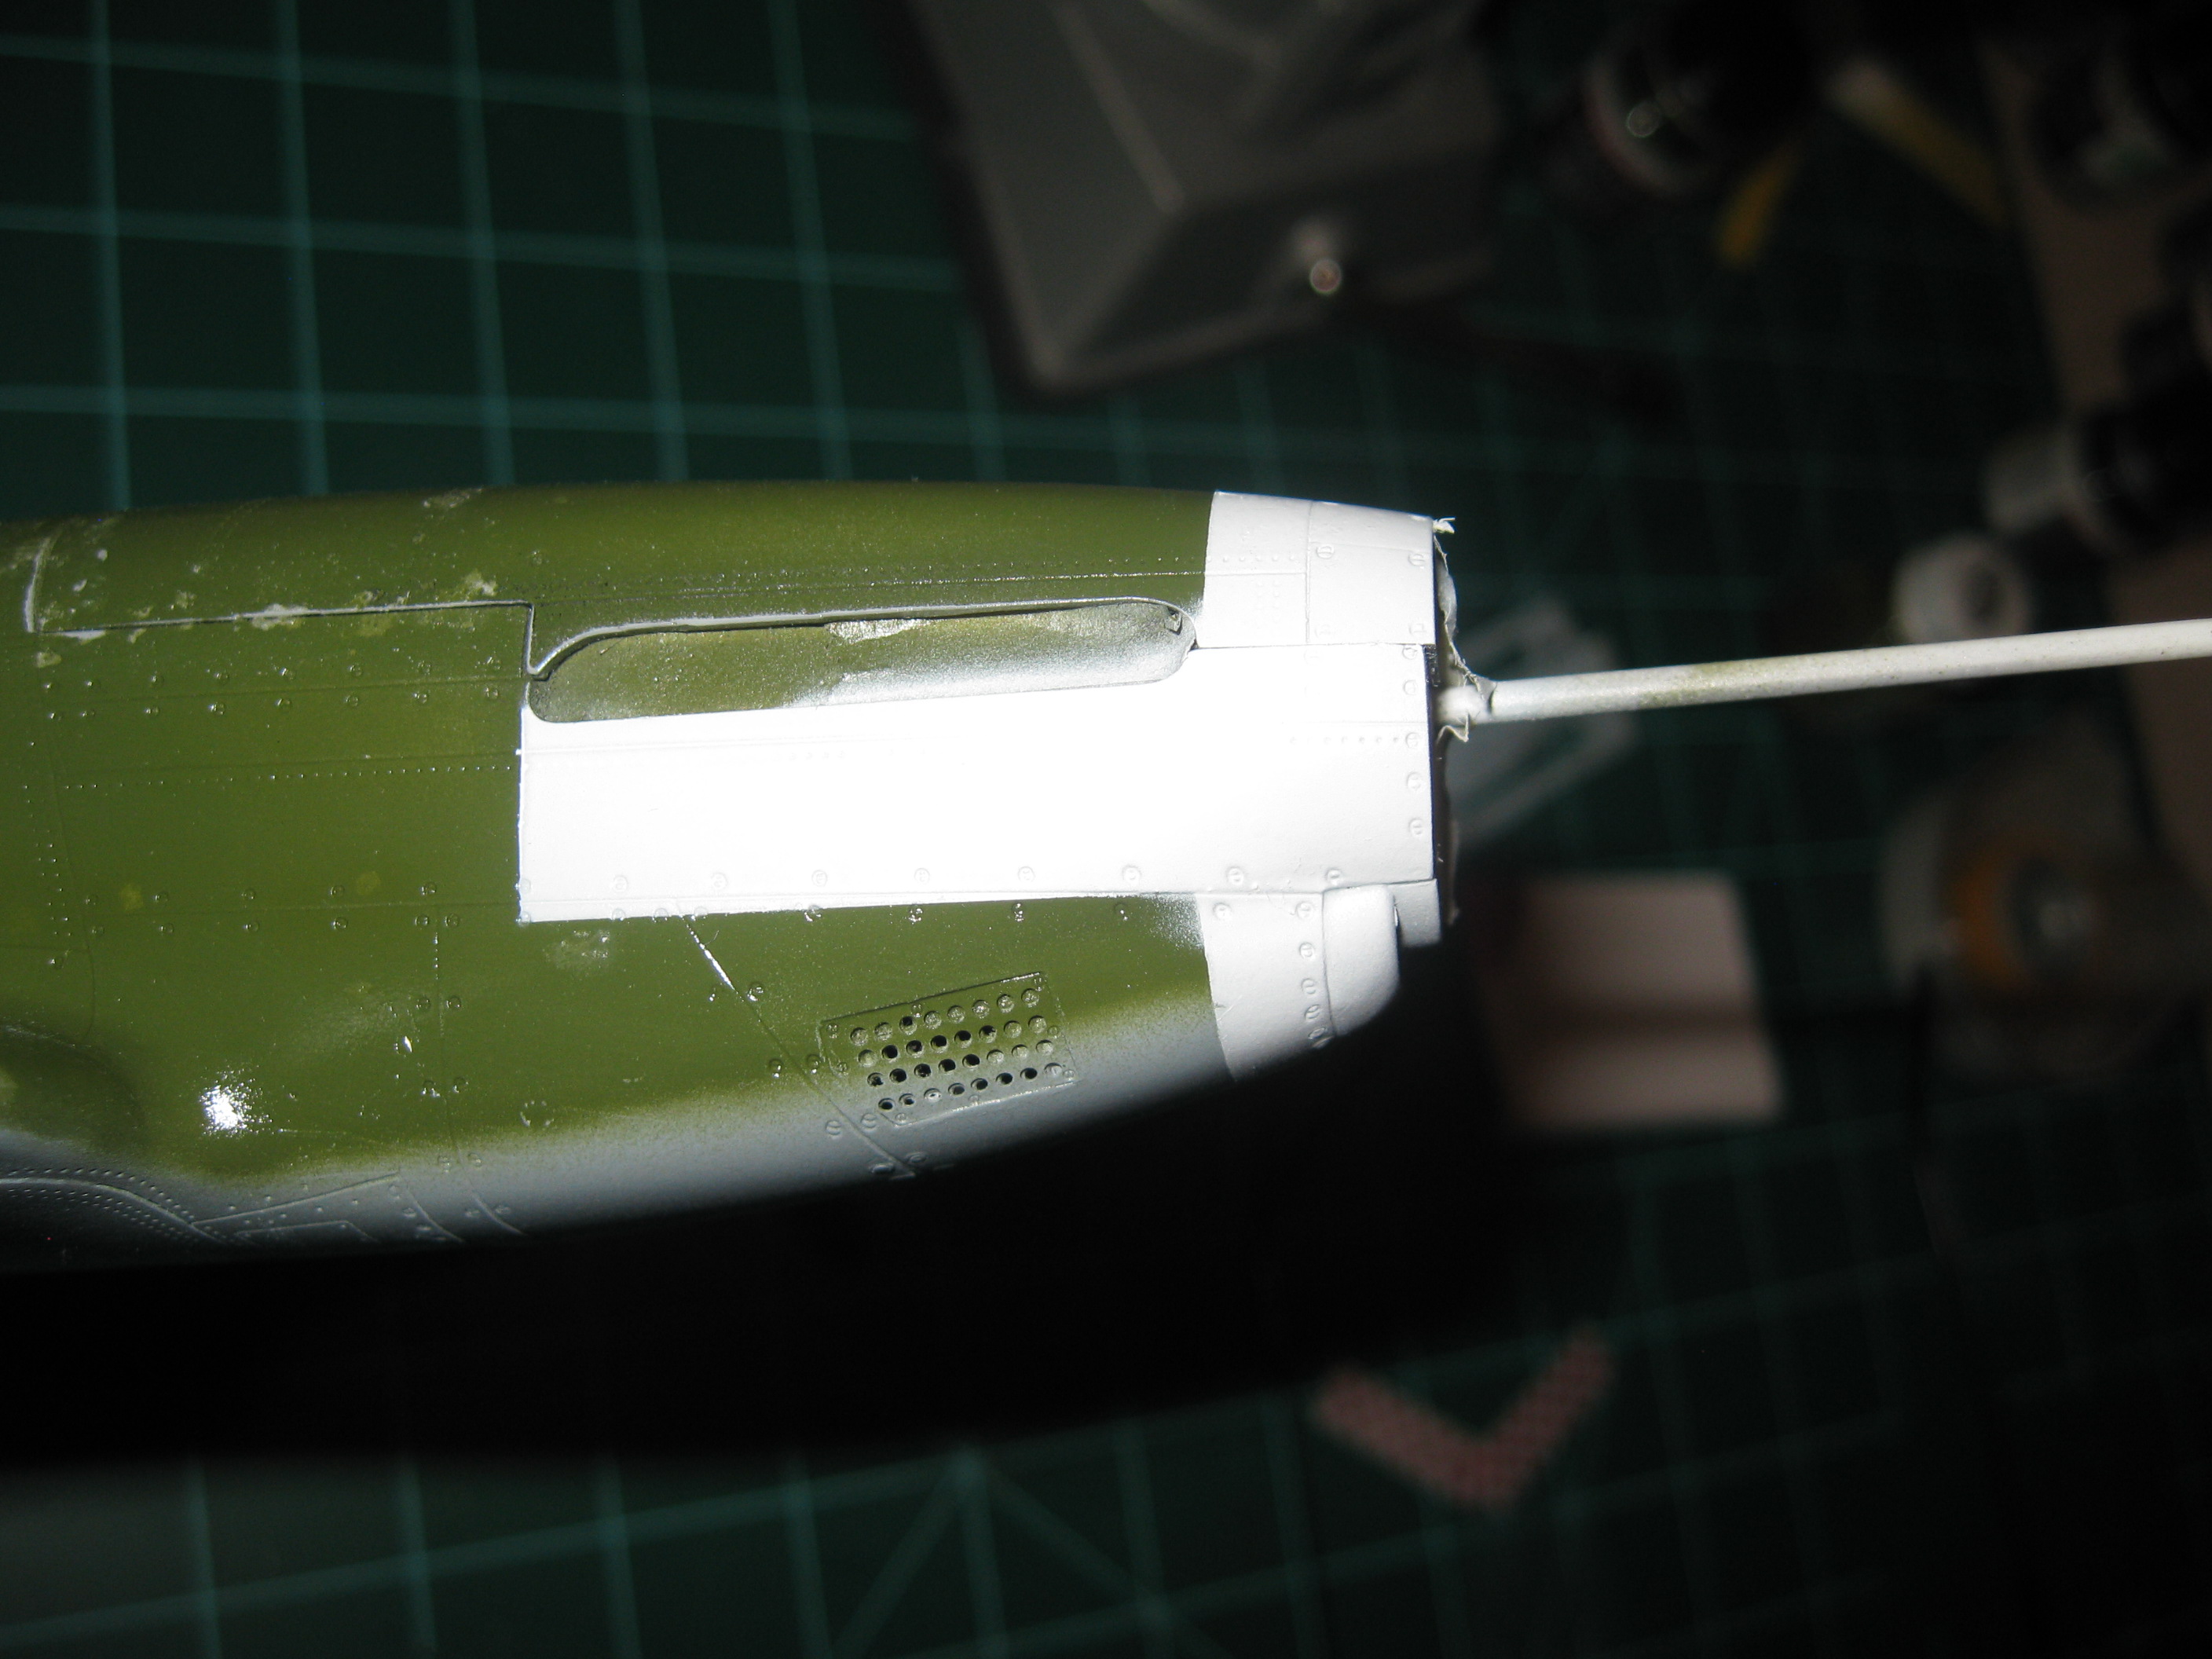
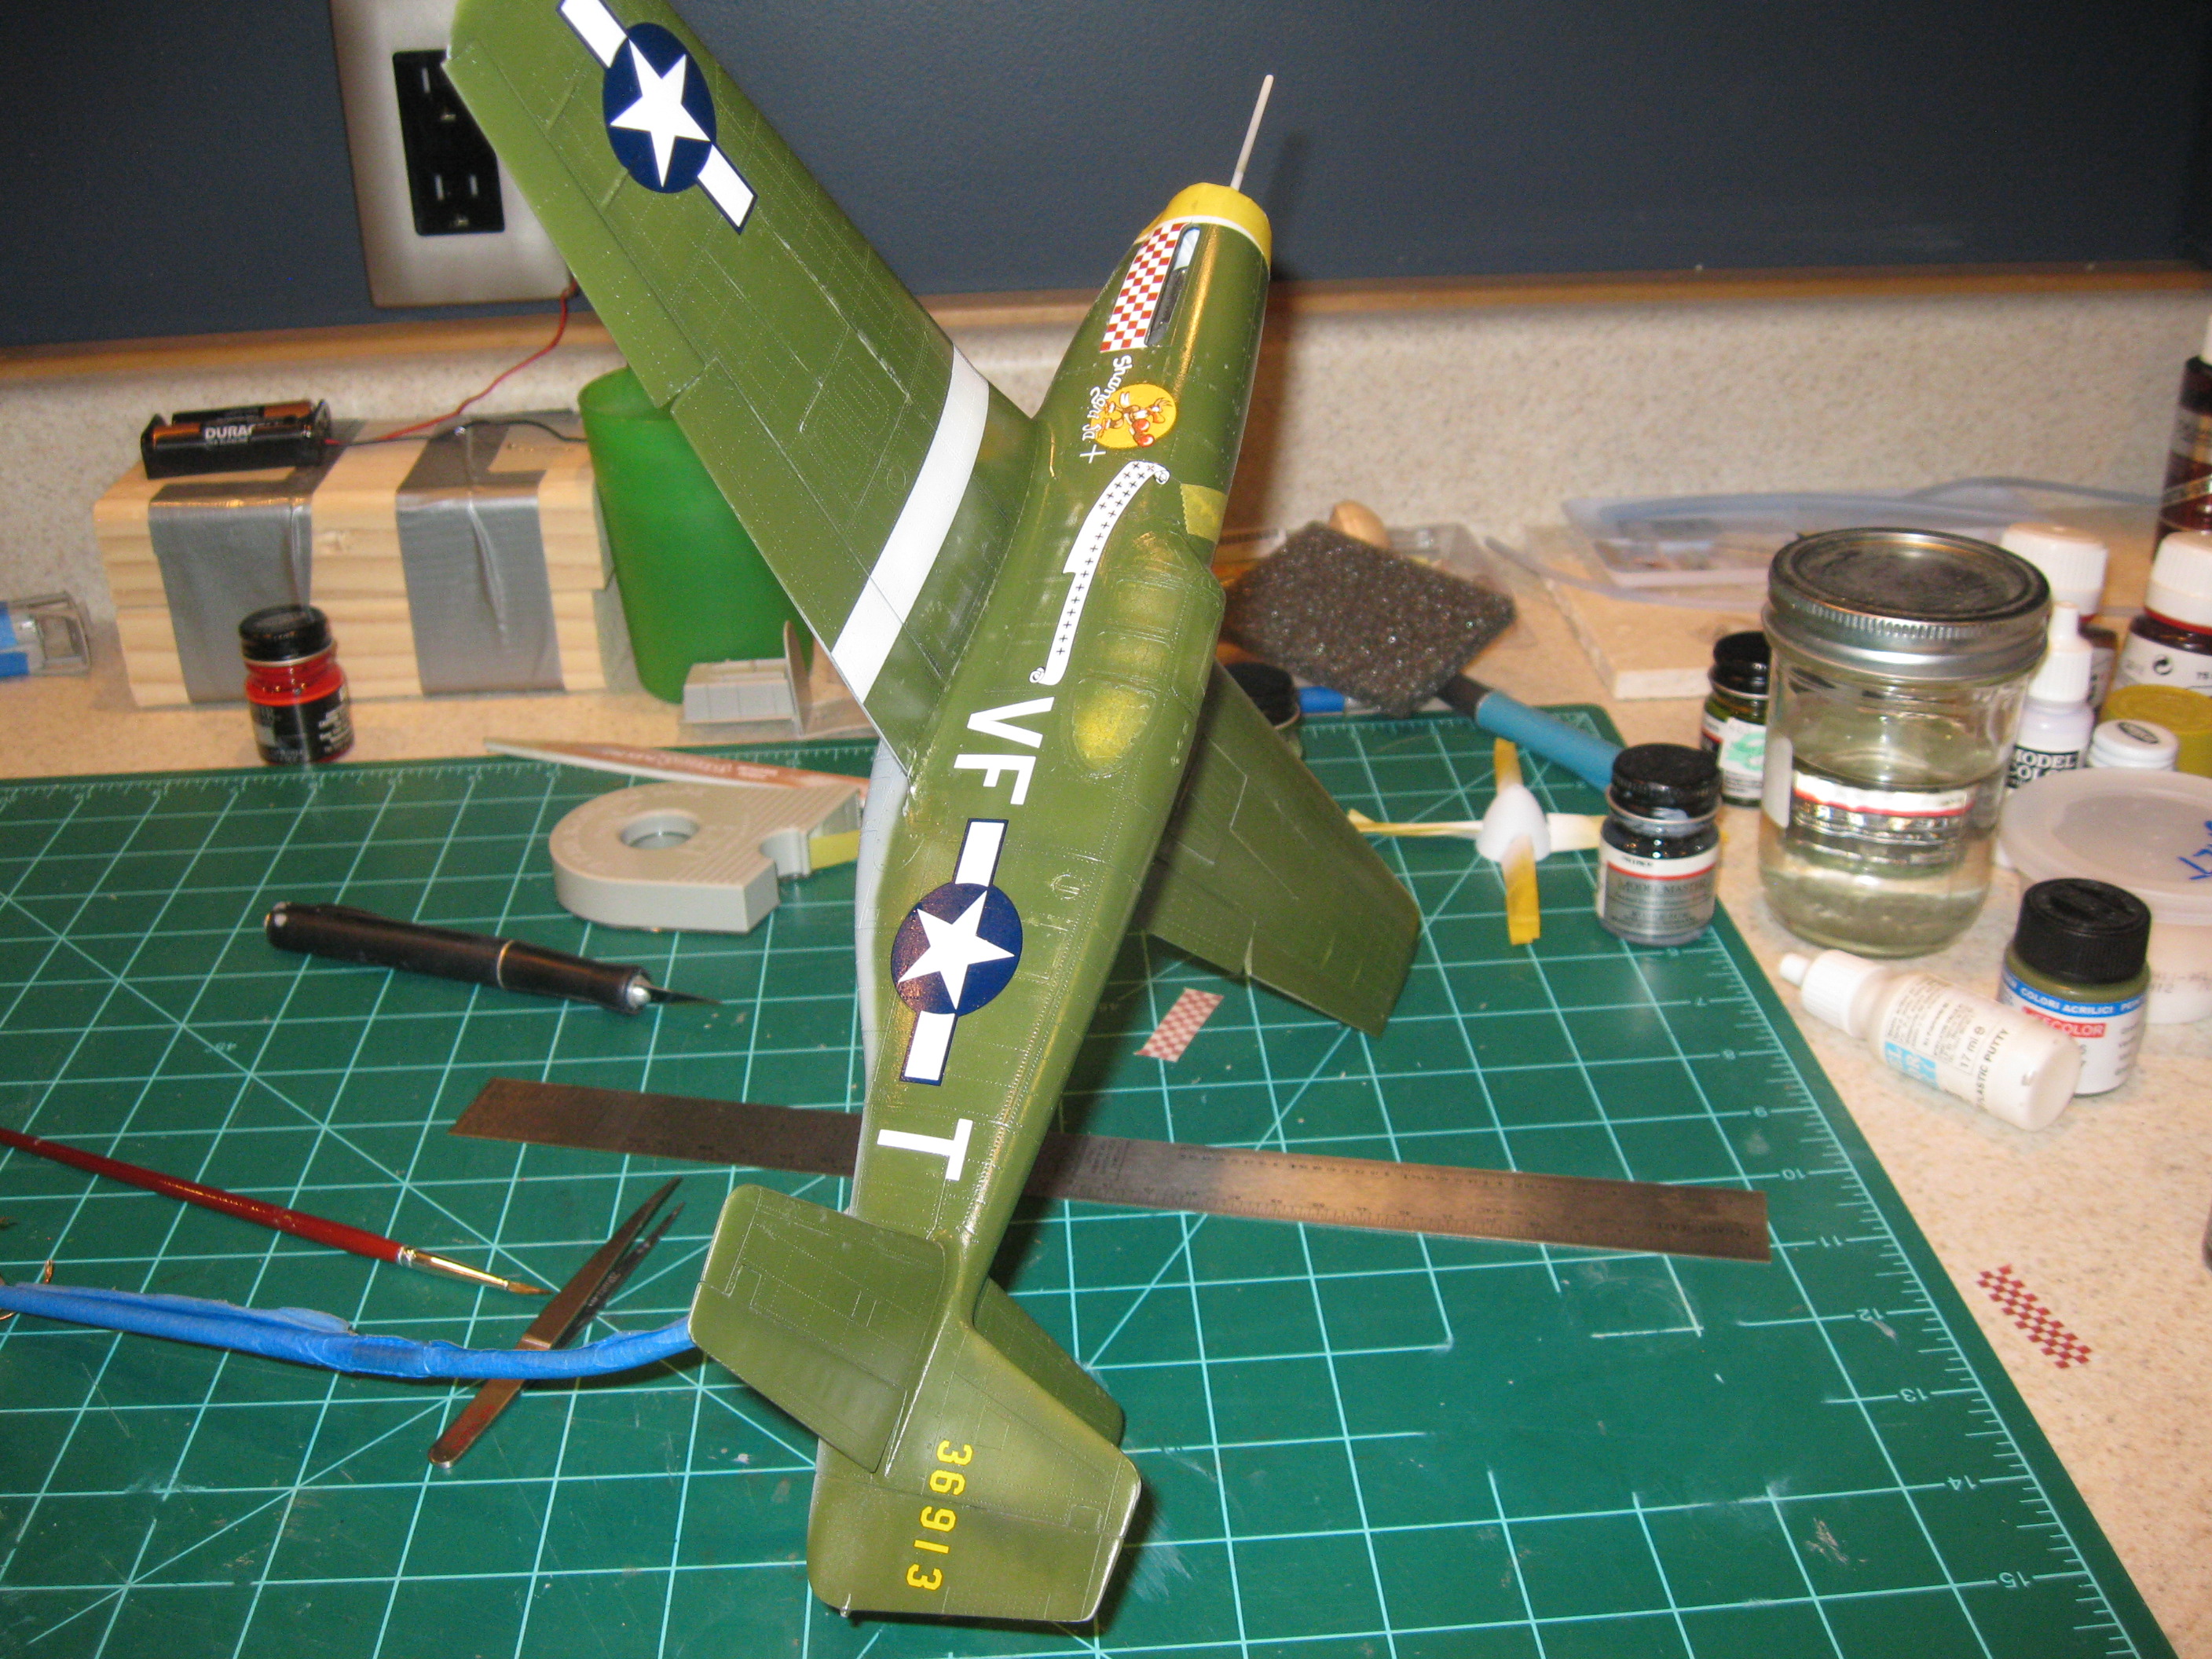
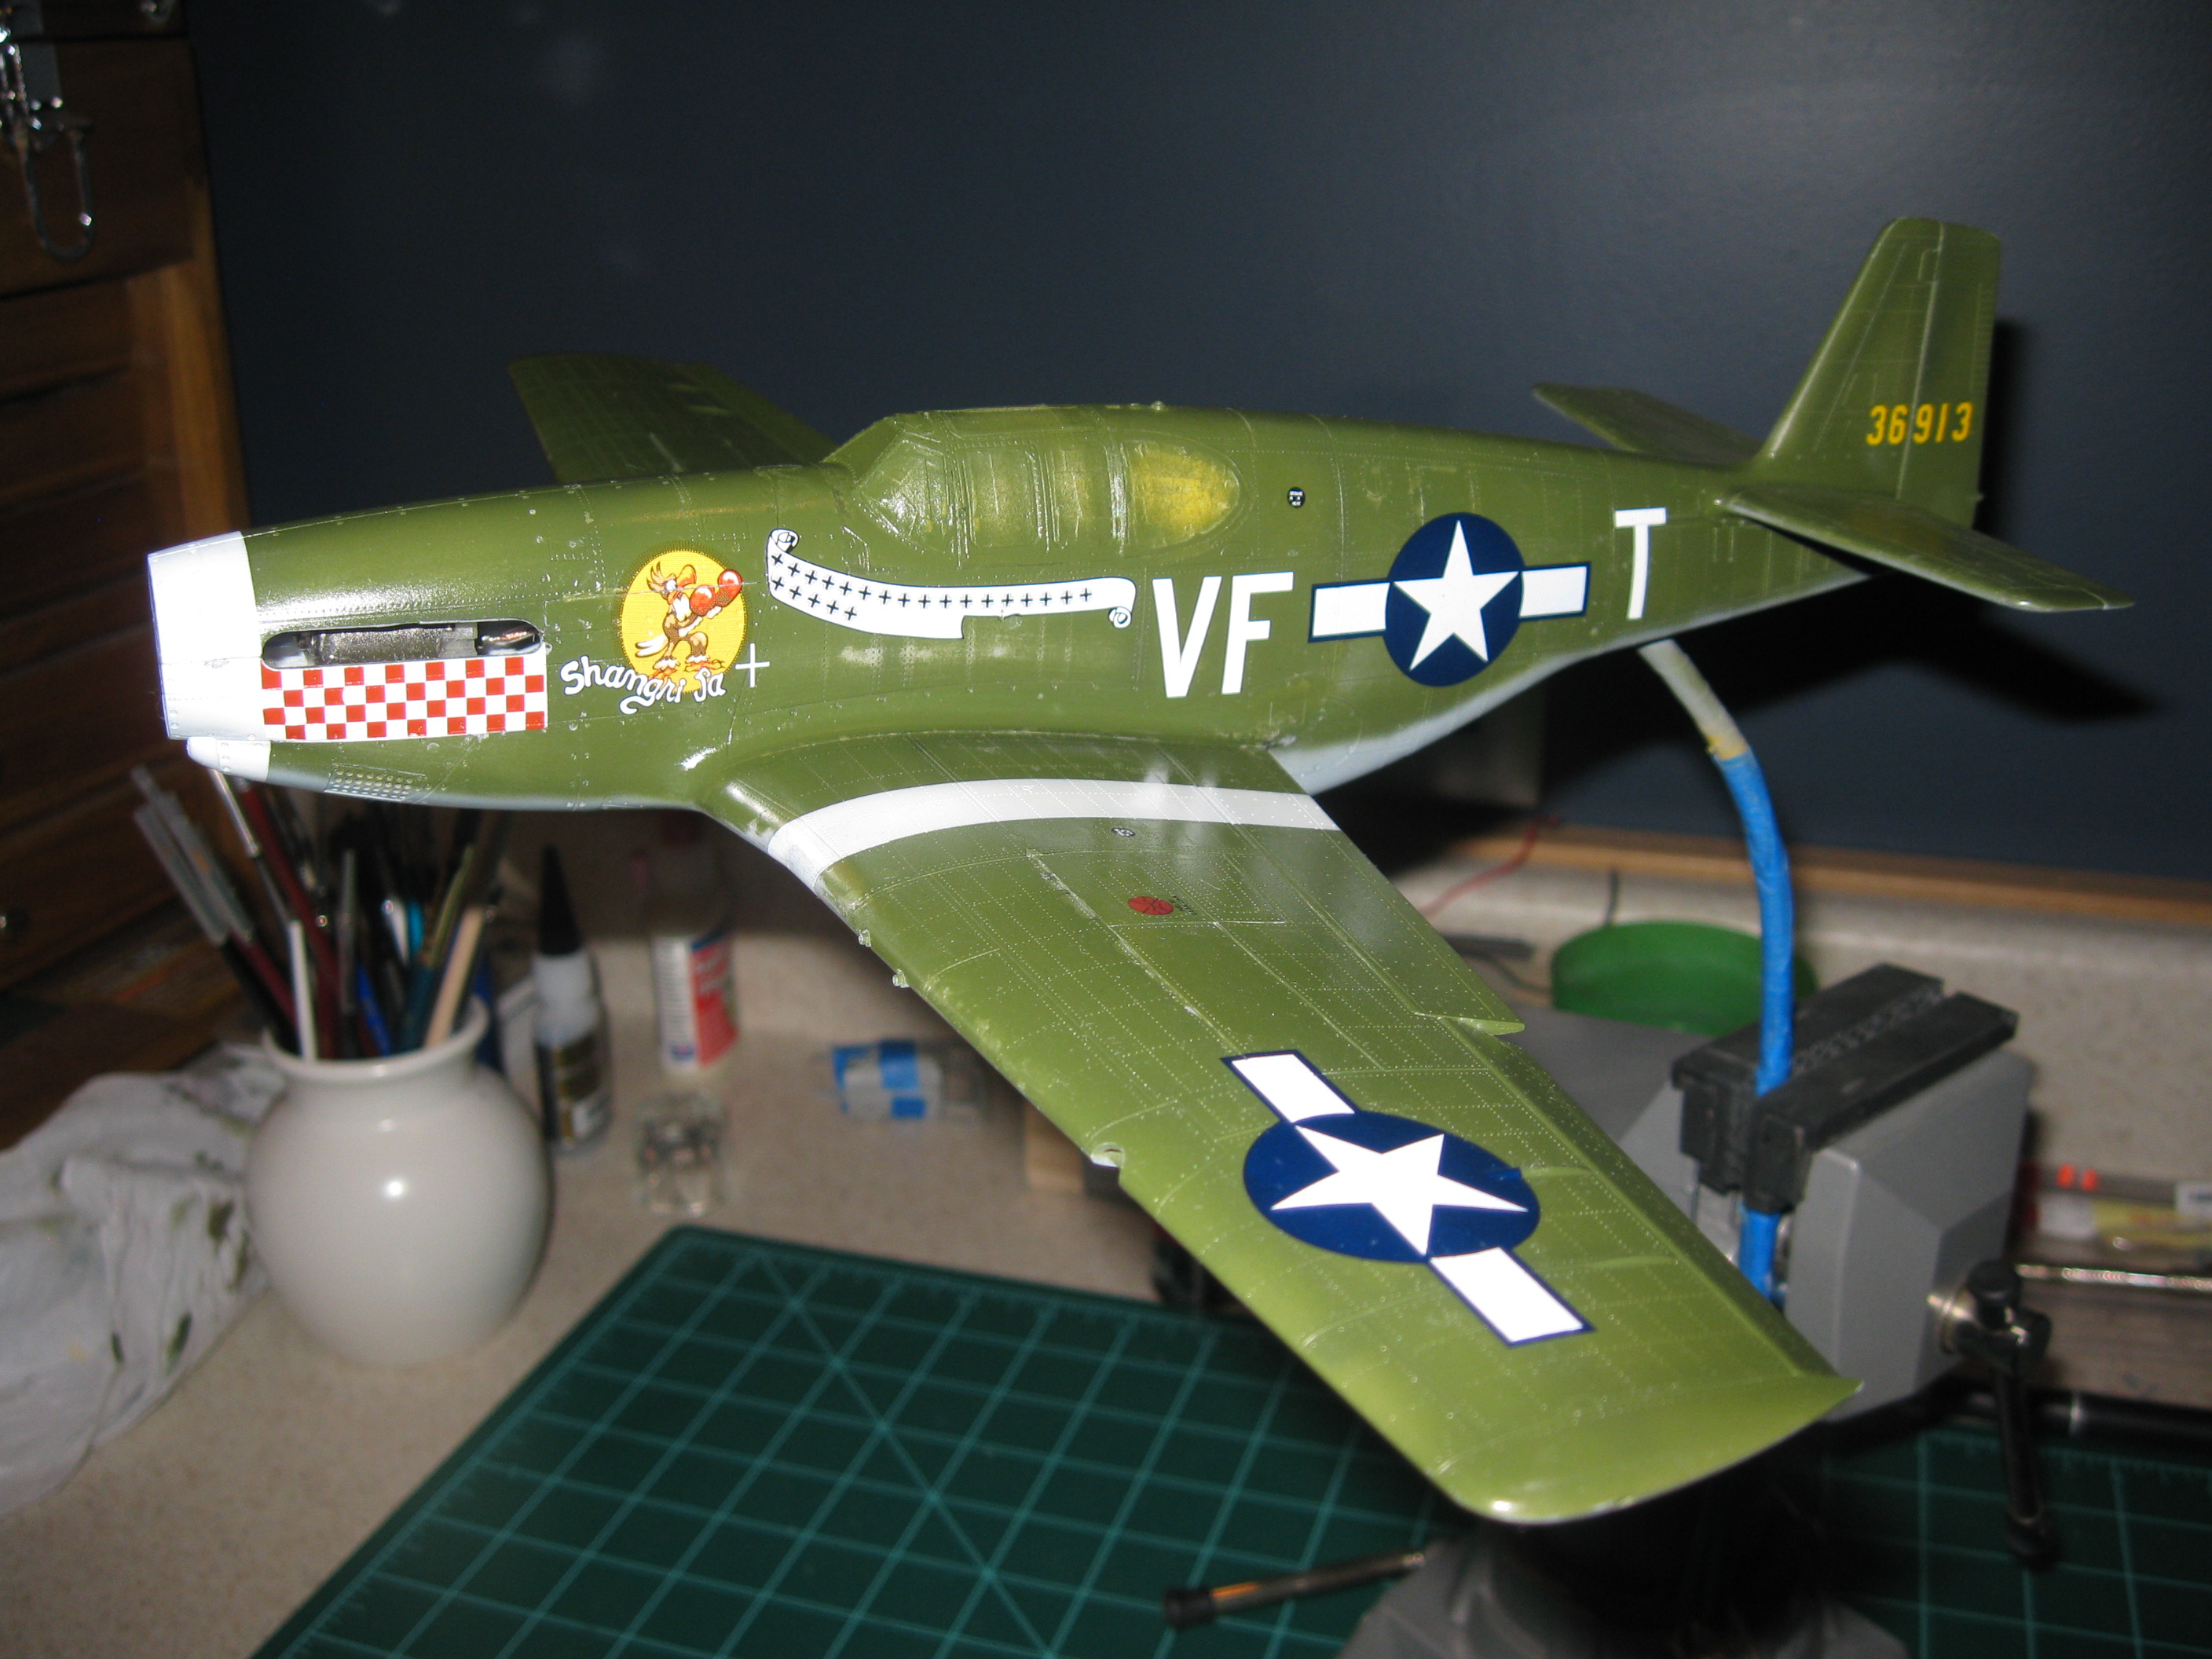
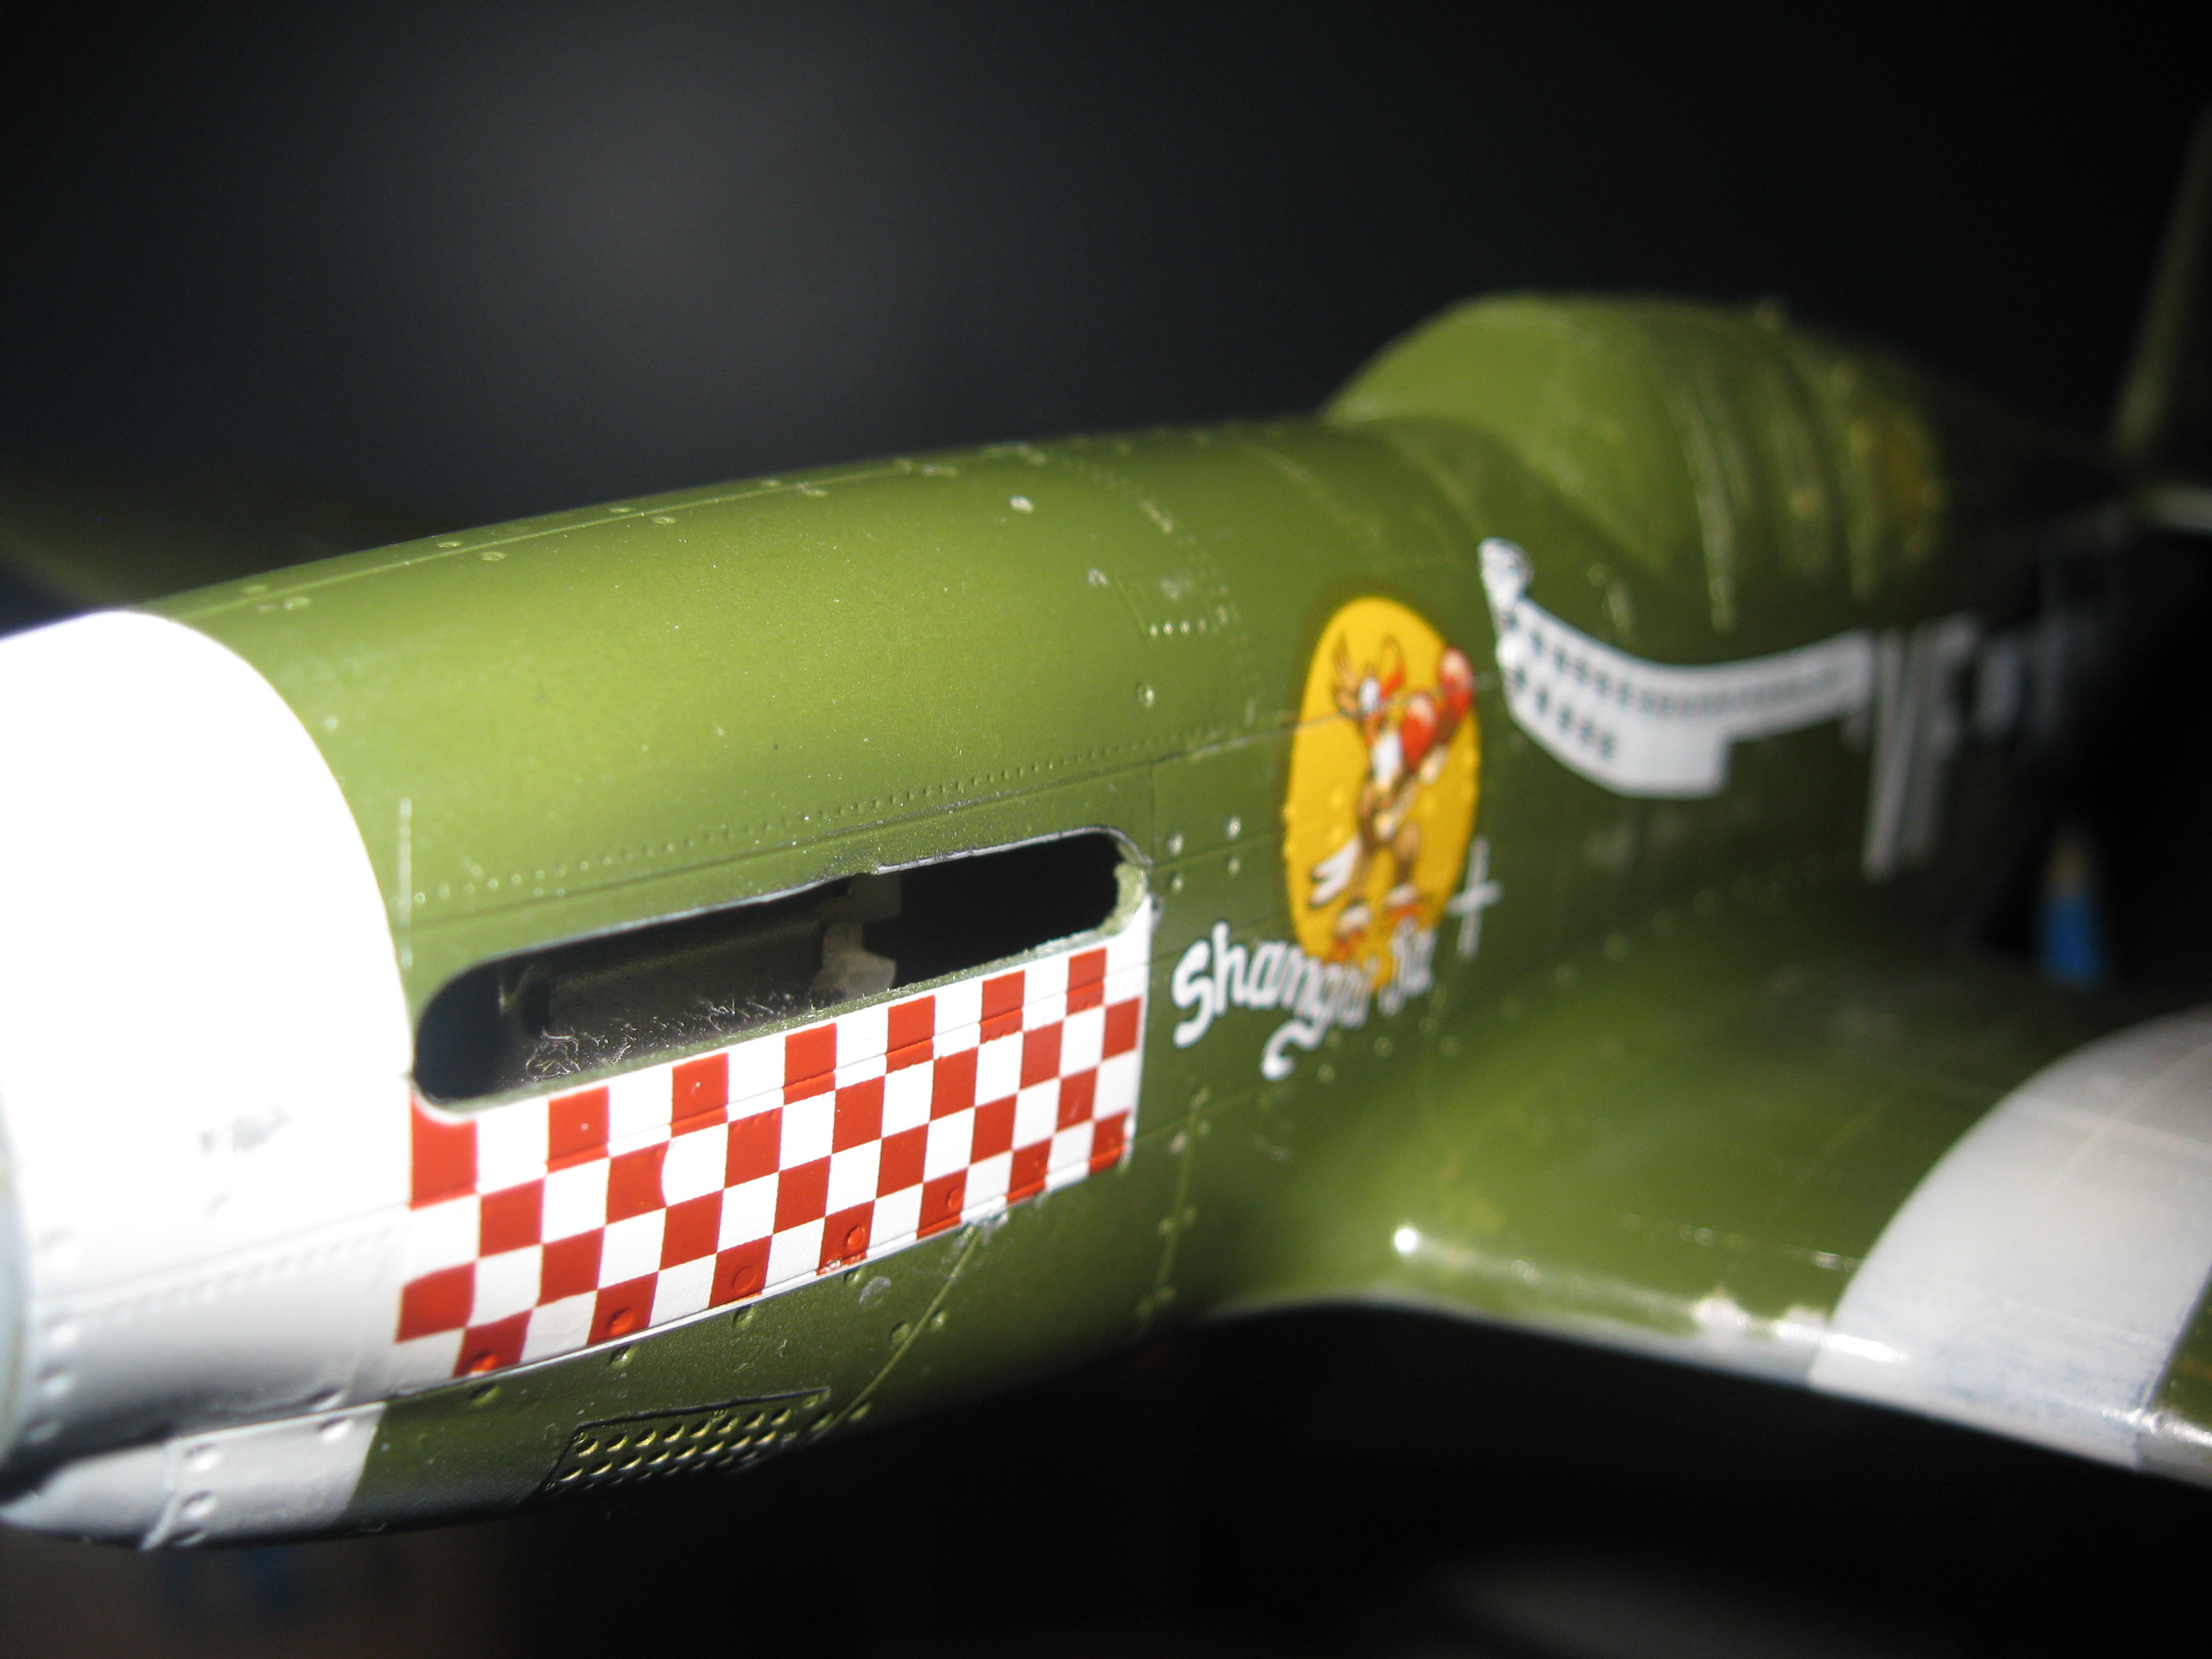
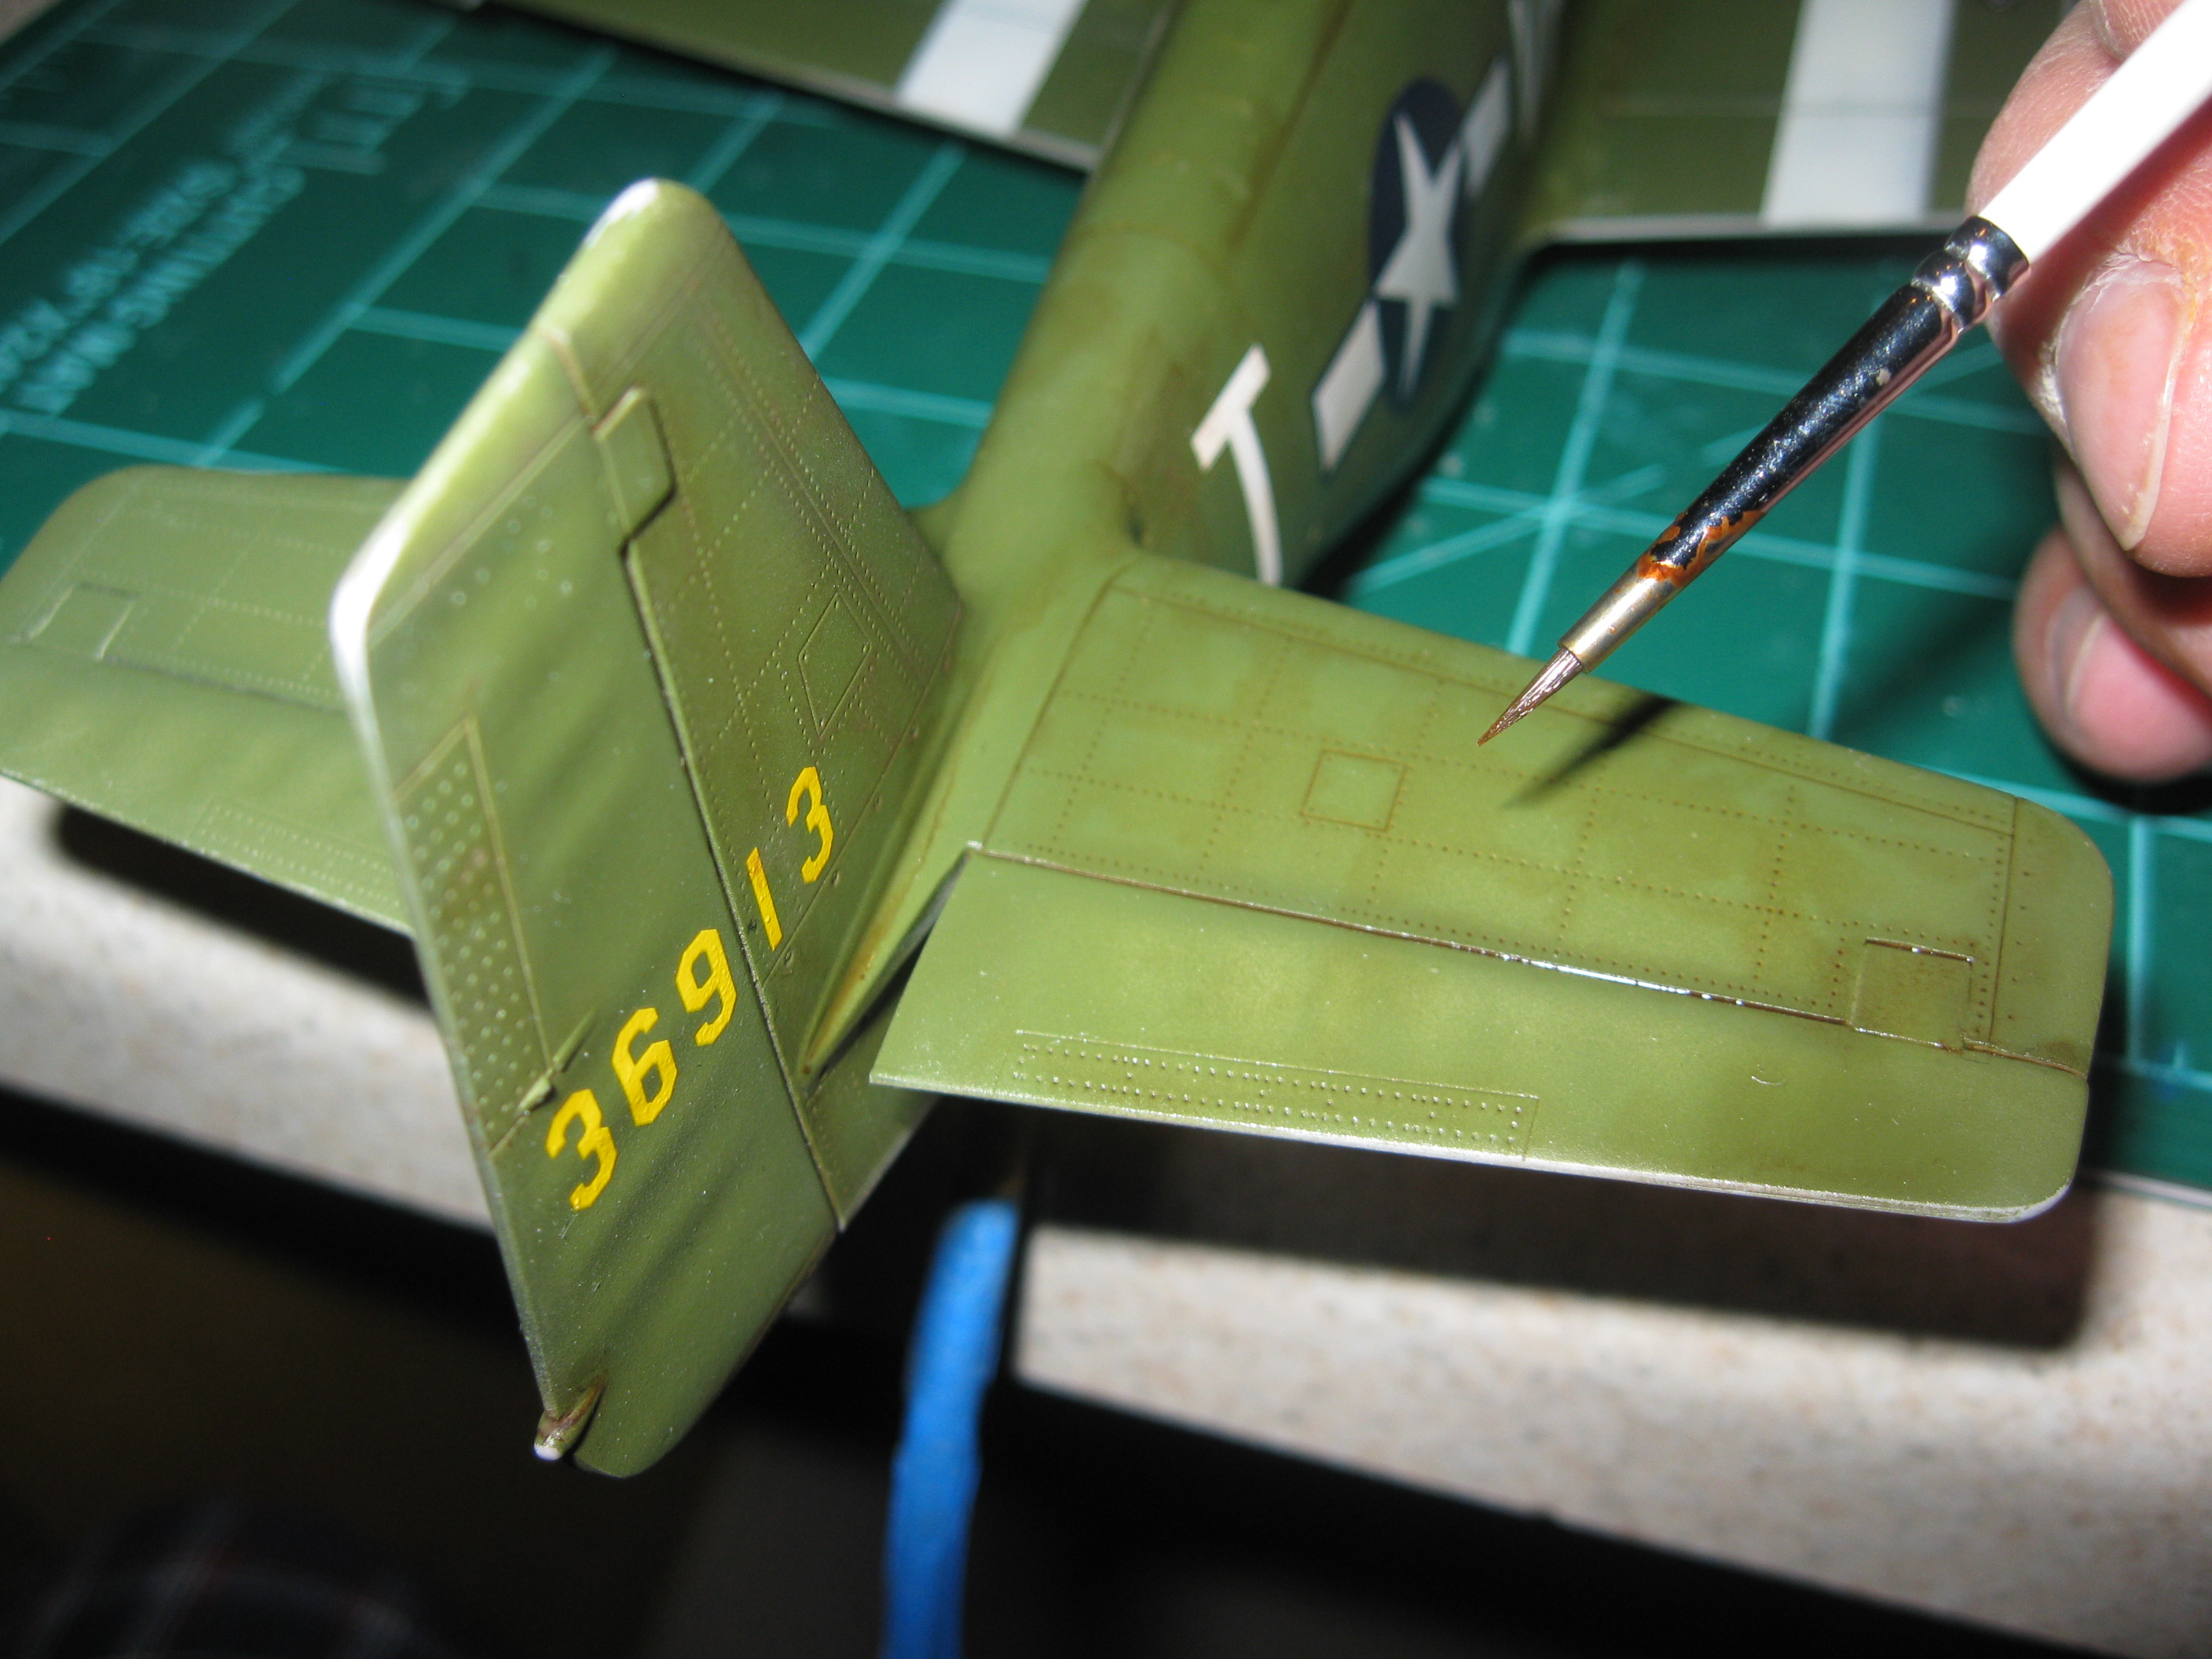
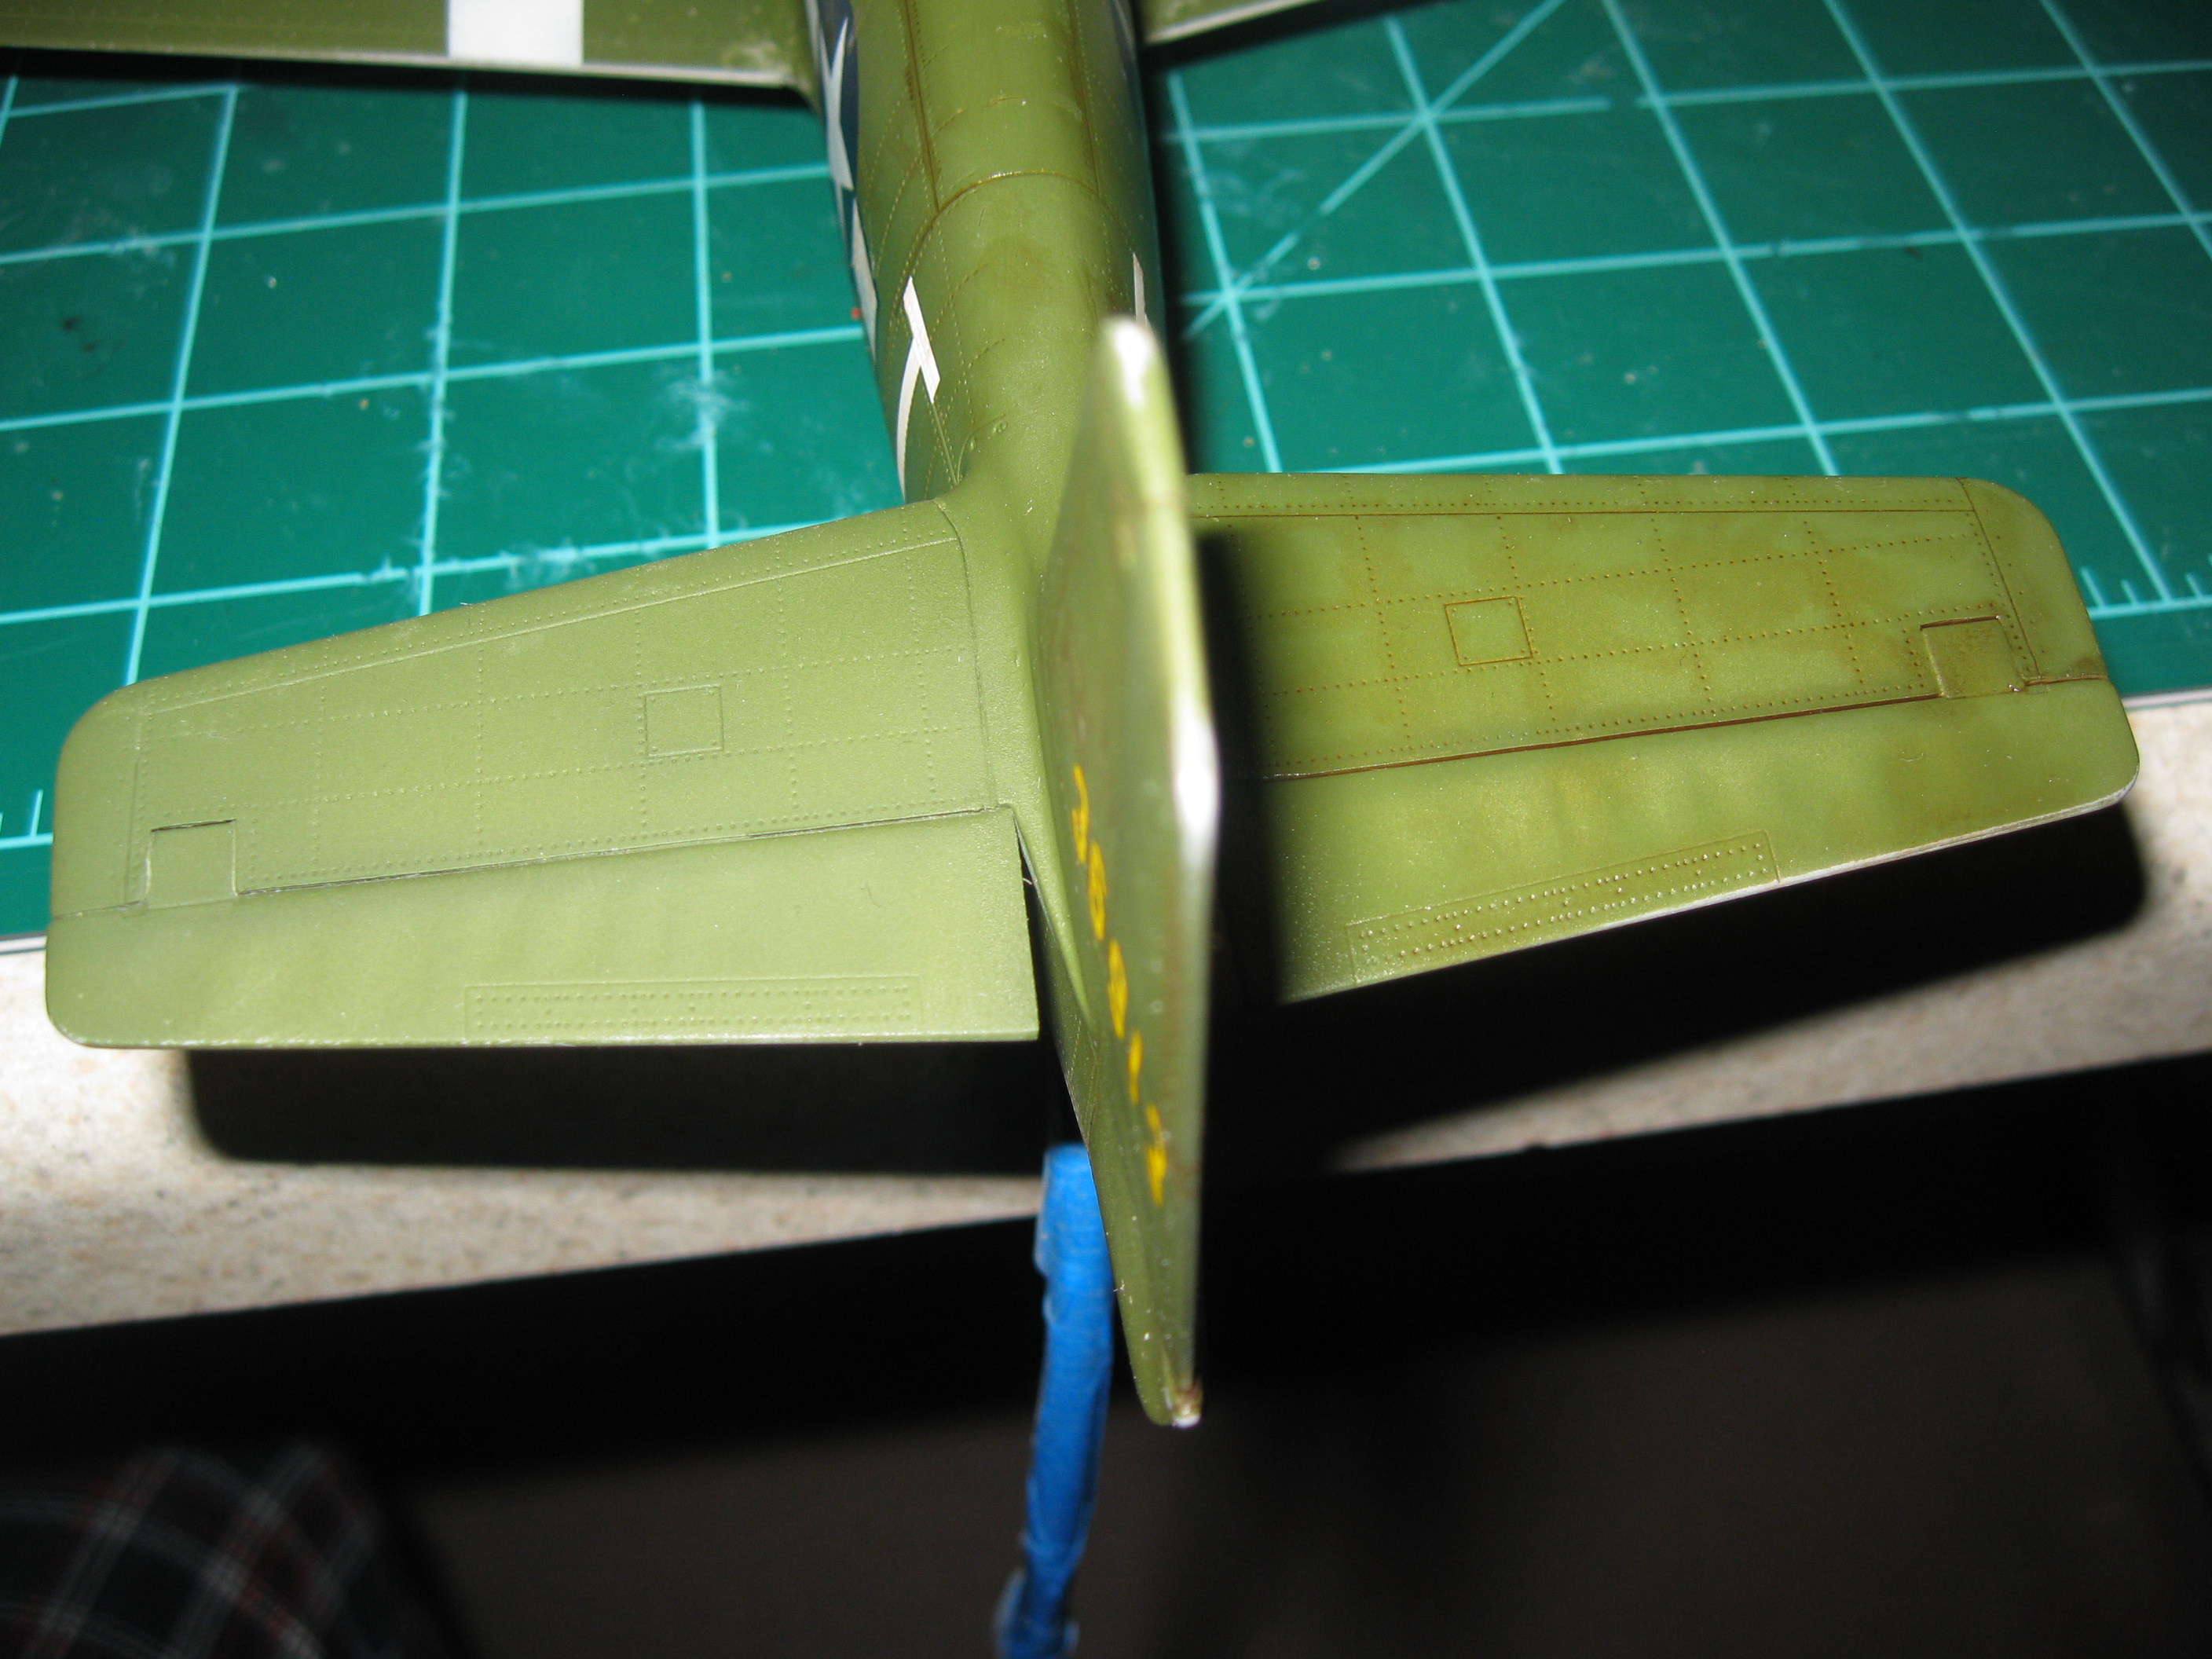
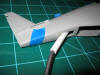
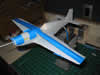
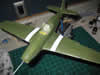
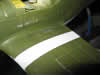
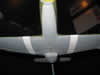
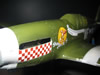
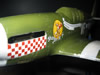
With the weathering problem solved it was time for the ID stripes. The kit came with decals for this but painting always looks better, so I used the decal as a guide for the width and masked off the area. I preshaded under the white with some black and the sprayed white toned down with a bit of buff. I was surprised to see that there were only stripes on the wings for Shangri-la. Most paintings I have seen, and the Revell model have them on the horizontal and vertical stabilizers too. Most 8th air force mustangs that I have seen had them in all three places as well. So I checked the photos of the crashed plane and sure enough they are only on the wings.(Feb 10, 2012)
|
|
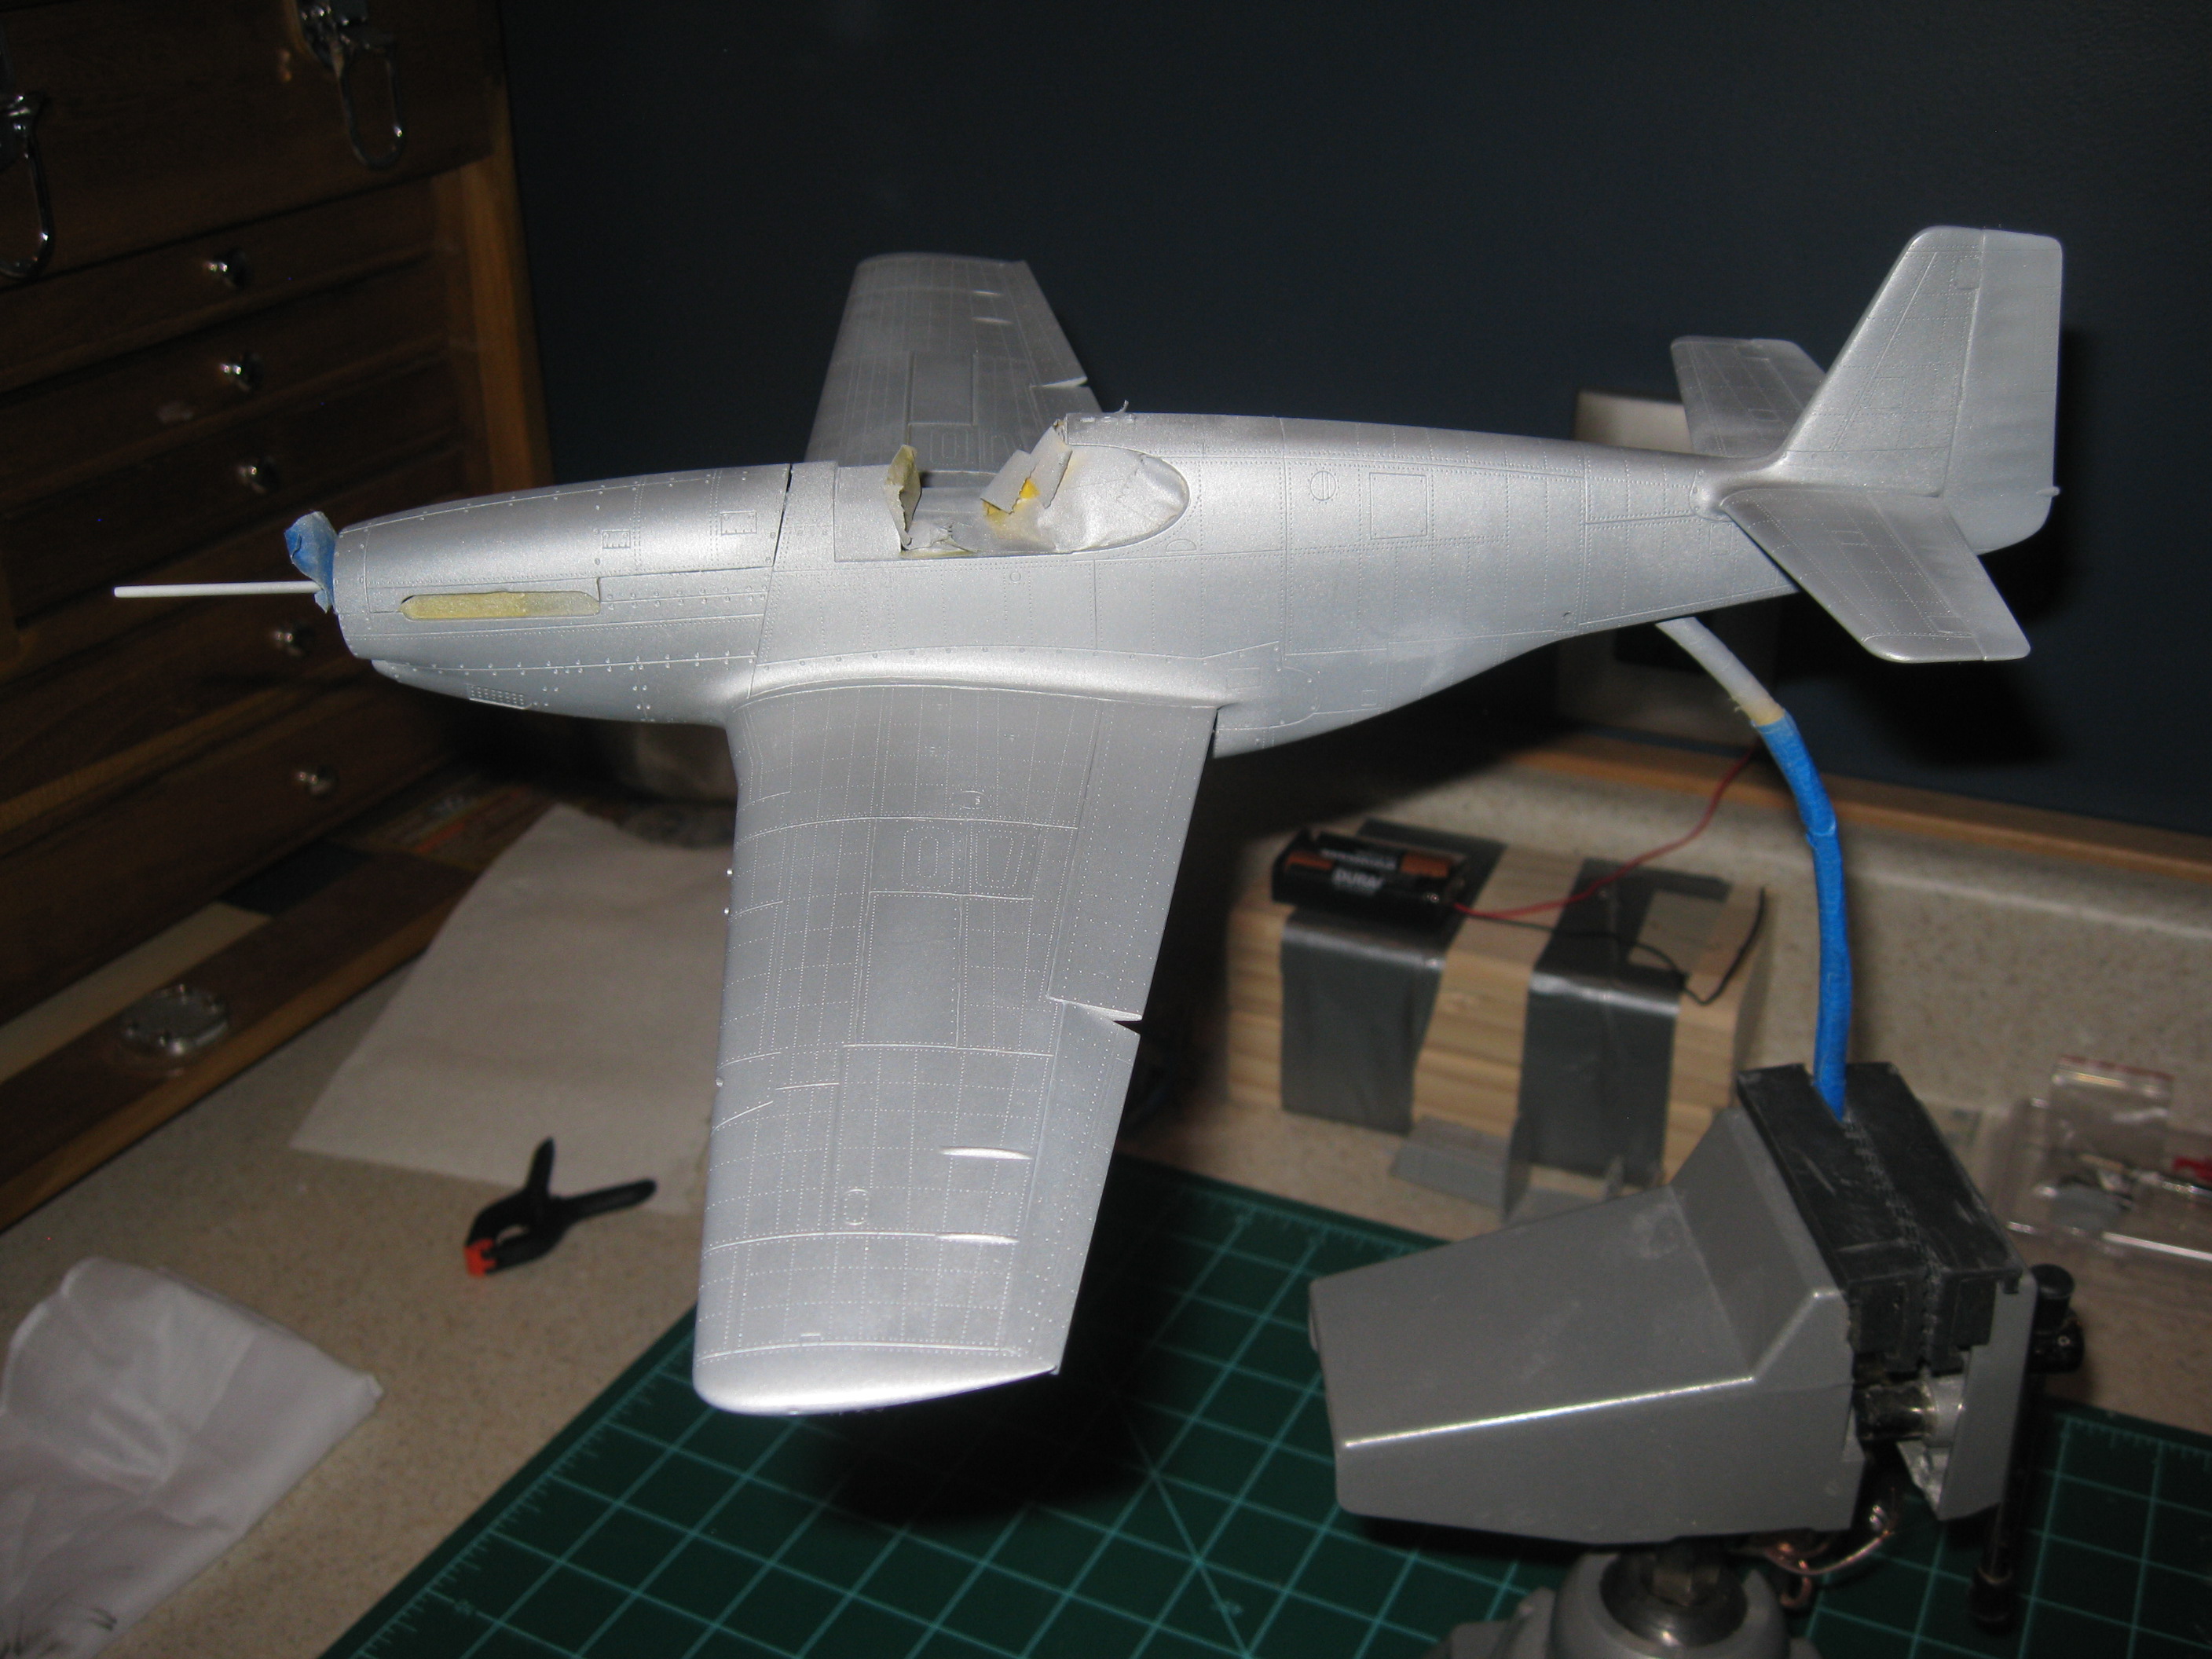
In the past (way in the past) it always seemed to me that the decals were the end of the model. Now days they are note even close, although they may be the beginning of the end. With the basics of the painting done it was time for dealing.
| |
First came the regular coat of Future to create a nice smooth finish for the decals to slide onto.
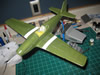  
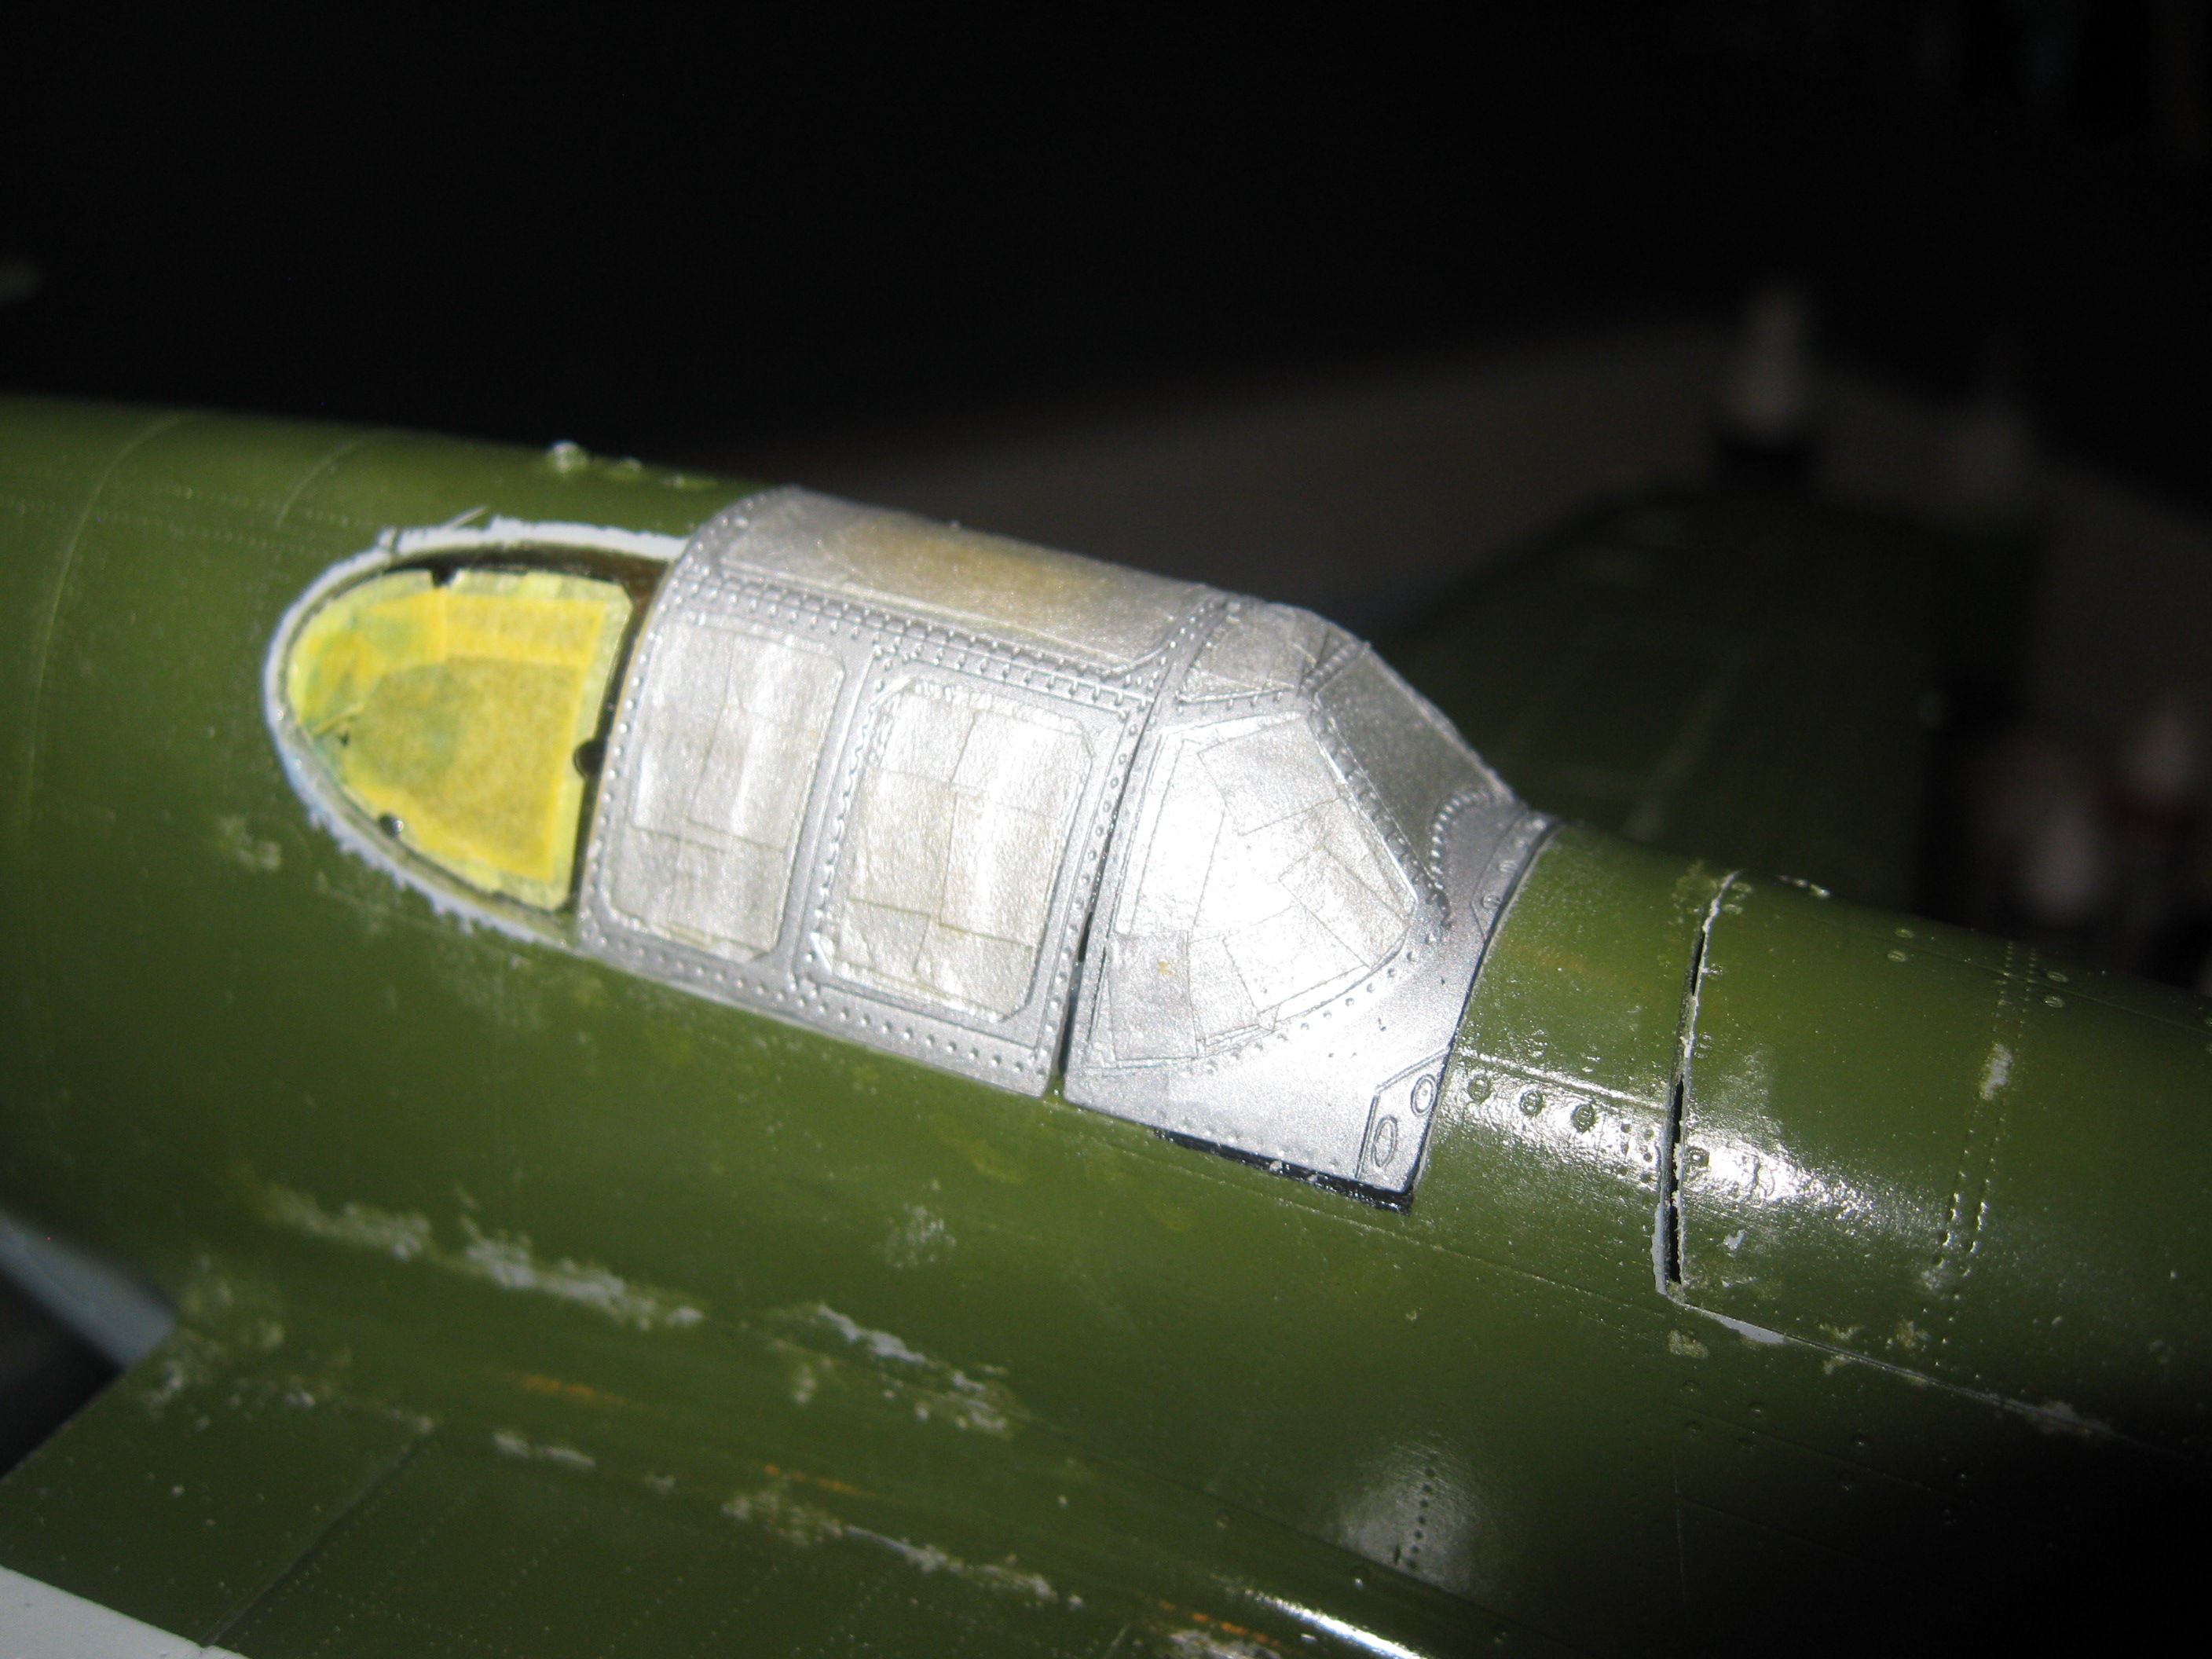
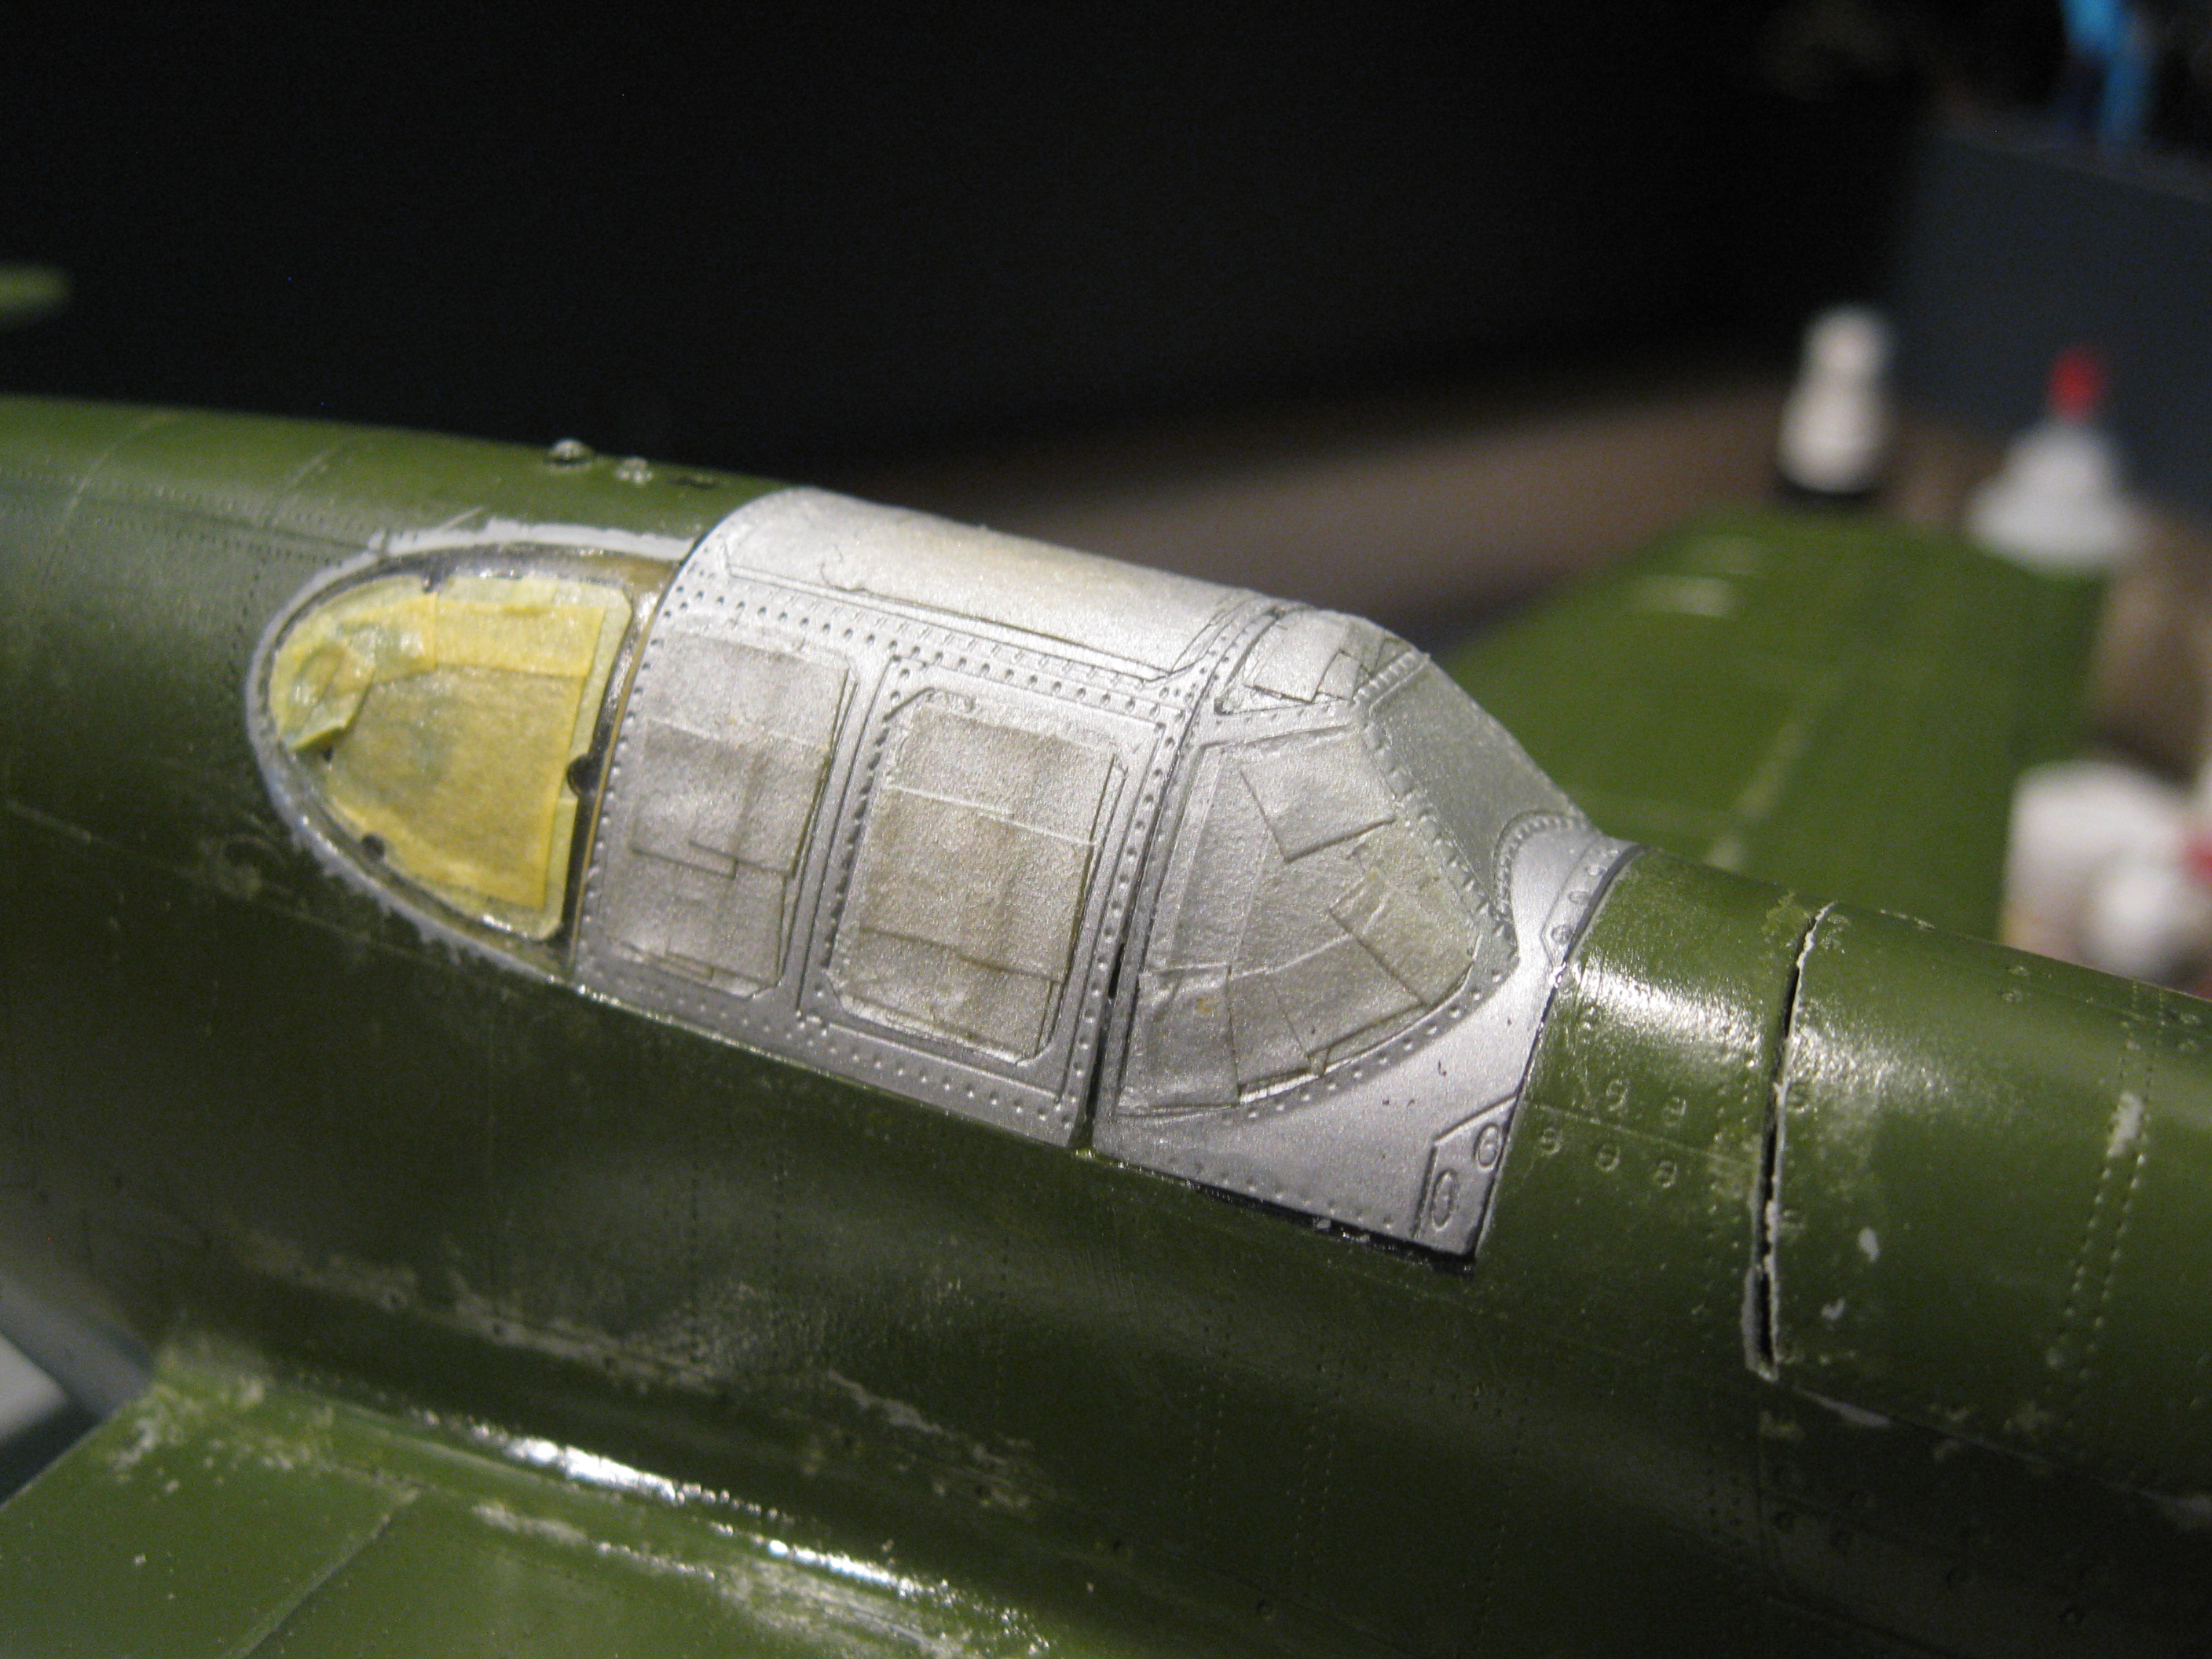
Then after some debate I added the canopy glass - not the best fit in the world. I had to do quite a bit of surgery. I also added rails to the inside of the cockpit (no pictures) to force the bottom of the center part of the canopy out to be flush with the fuselage side. My original intention was to leave it loose so that it could be removed for a better view of the cockpit, but it was not to be.
I also decided to paint white on the nose and behind the checkers to make them stand out more.
Then, after being so careful for weeks to not break the prop shaft - Bummer!! I replaced it with a better steel one but I forgot to take a picture of it.
Finally, time for the decals. The Kits World decals with the Shangri-la markings were very nice and a little Solvaset had them laying down into every groove. The kit decals, which included the national insignias were not so nice and required extra effort to make them conform to even the largest bumps. There was no chance that they were going to settle into the panel lines and rivets. I put on a few of the stencil markings and panel numbers and they silvered even on a good coat of future so I just stuck with the major markings. After consulting my references I found that you can barely see the minor markings, or they have been painted over by the ground crew.
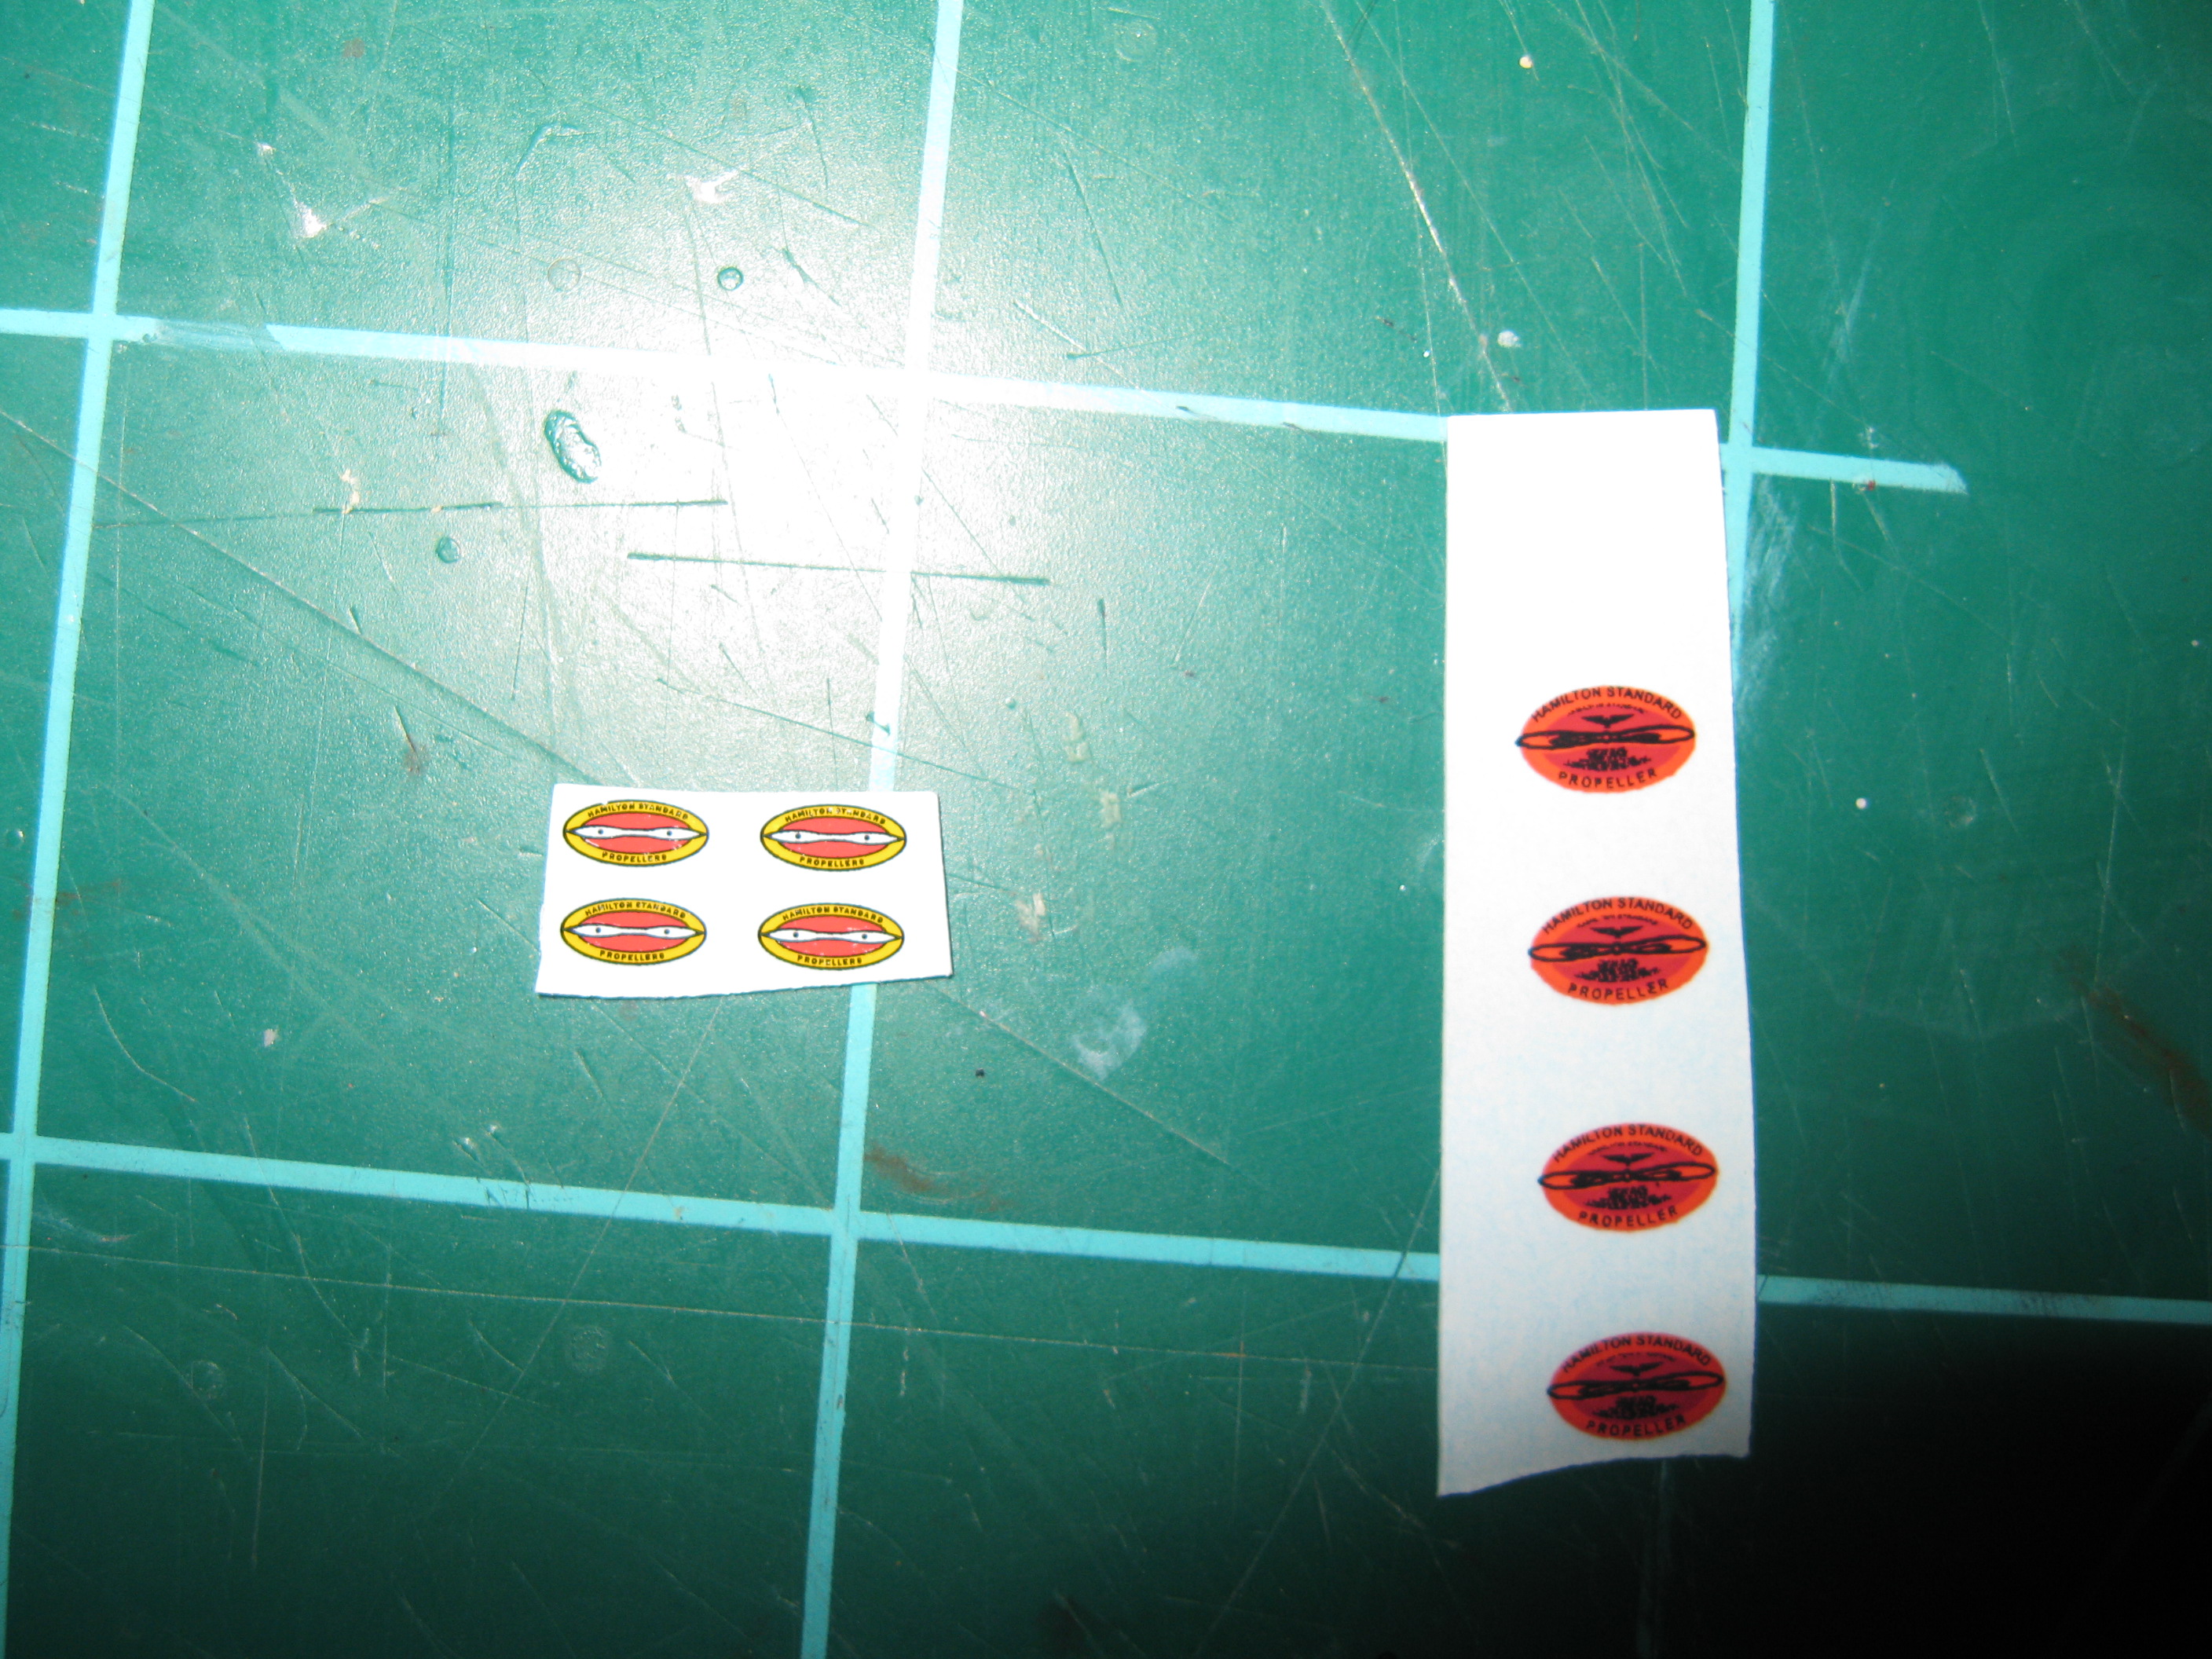
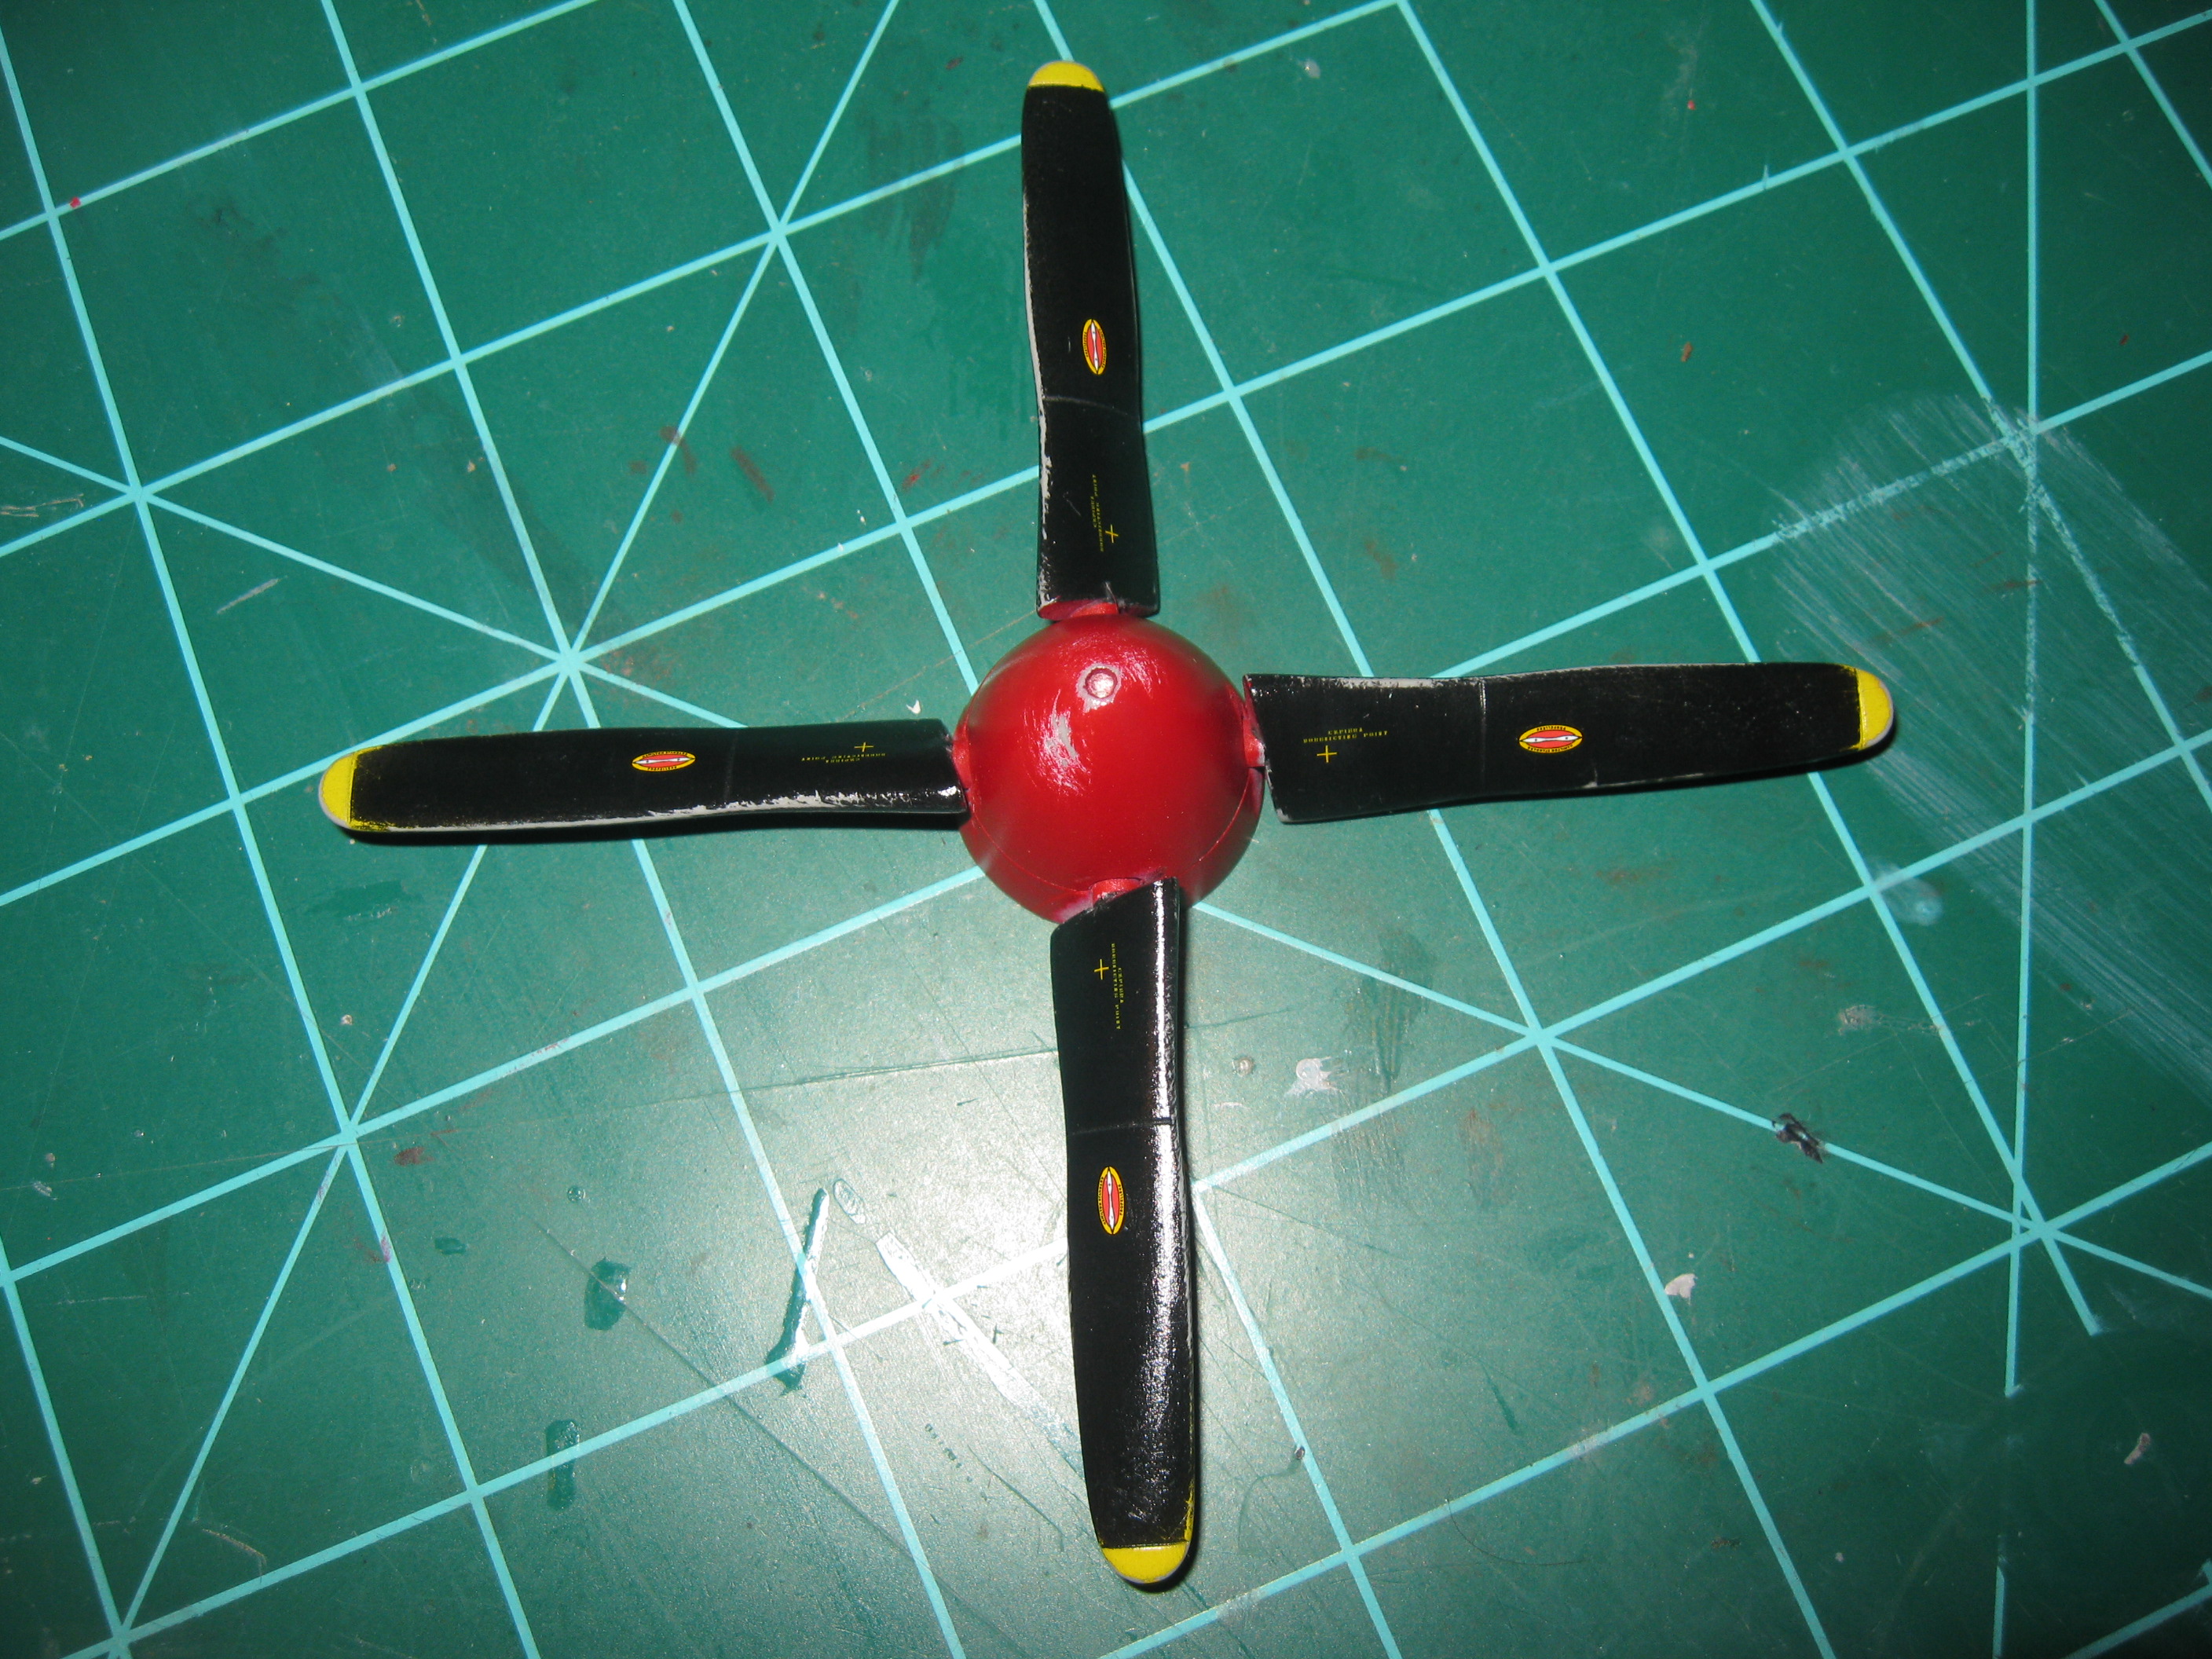
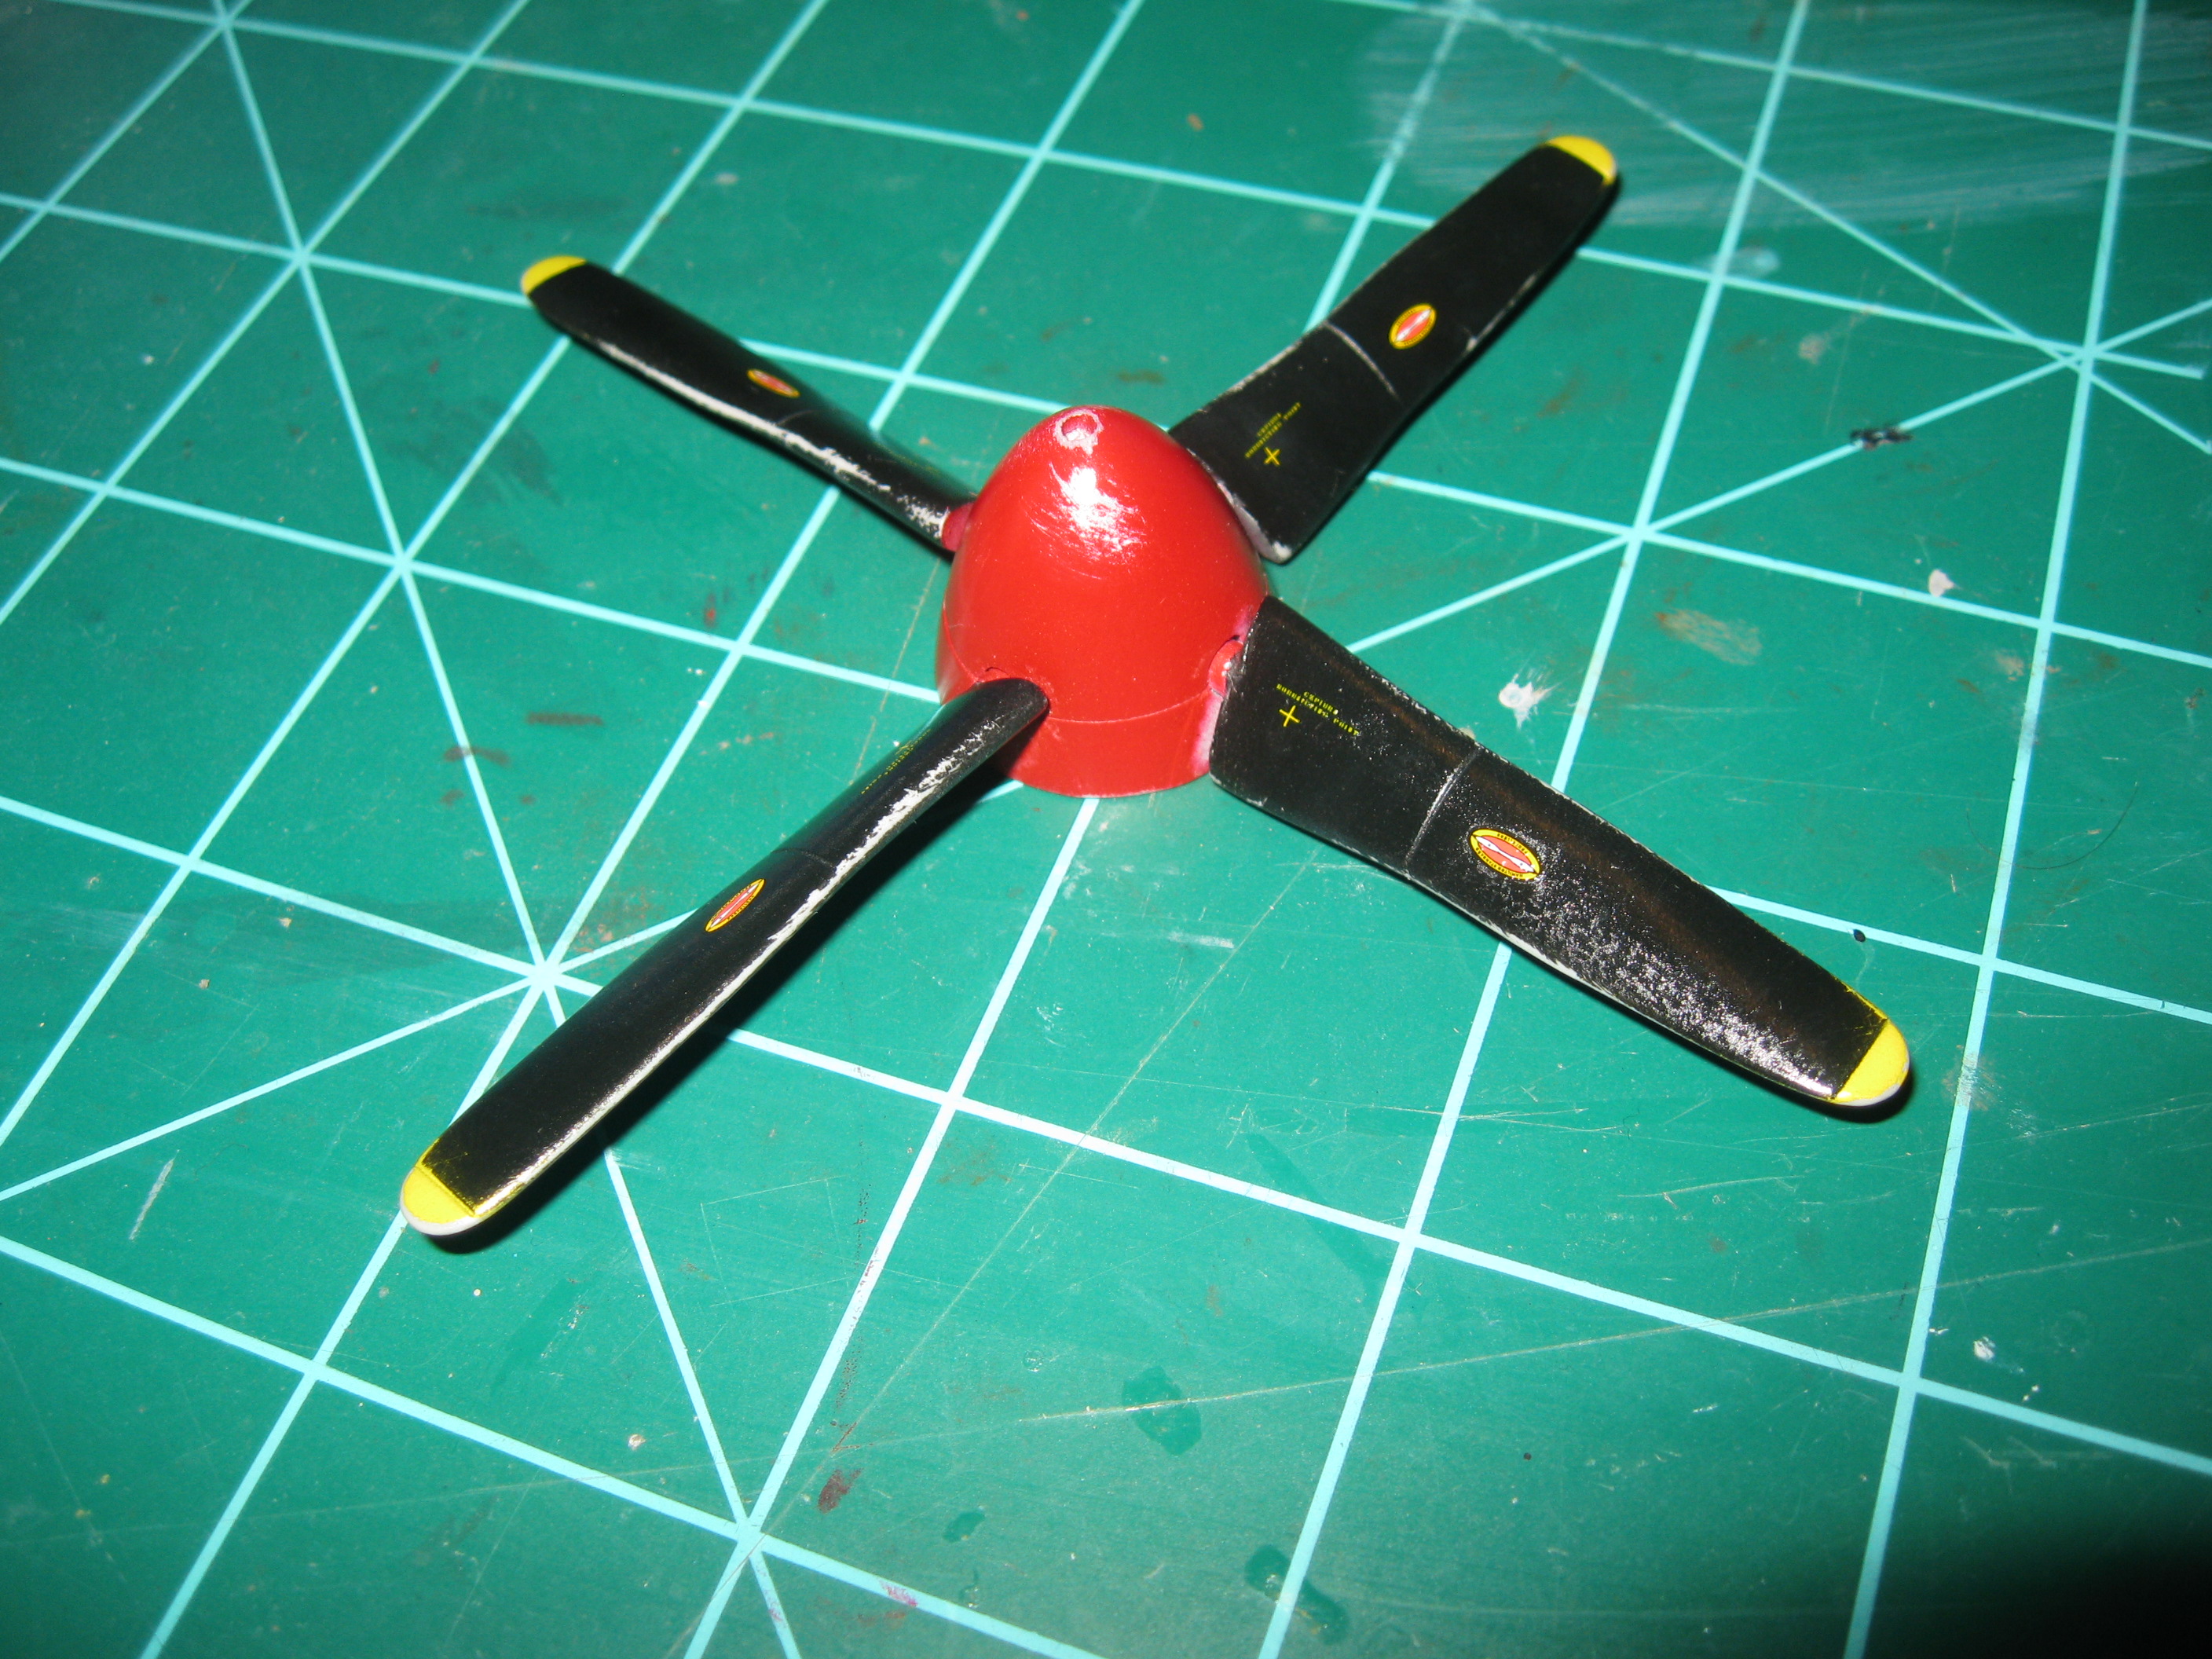
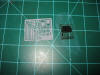
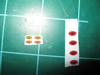
I also painted up the prop and added the decals. To further illustrate the garbage that is the Trumpeter decals look at the Trumpeter Hamilton Standard decals (right) and the ones I grabbed out of a Dragon Mustang kit I have on the shelf (Left). The Dragon decals are done by Cartograph - the Cadillac of decals but really, who at Trumpeter thought those decals would be satisfactory.
|
|
Next is the wash. I read about a guy that does his washes over flat paint so I decided to try it.
| |
First I covered the plane with a couple coats of Alclad II Flat Coat (very nice). Then I wet the area to be washed with the same thinner used to make the wash. In this case Windsor & Newton Dark Umber oil paint thinned so it would flow easily. I first used mineral spirits but after a few minutes it reacted slightly with the lacquer dull coat and made things just a little sticky. I switched to Odorless Turpenoid and that solved the problem nicely. An acrylic wash over the lacquer would have probably been even better. The reason to wet the area is so that the wash does not create "tide marks" on the flat finish. It sort of creeps evenly into the wet area and washes off easier as well. After doing the wash this way I think I like it quite a bit better than doing the wash on a glossy surface. I only got a couple pictures of this but look how nice the right stabilizer looks compared to the unwashed left one. You can see some of the tide marks here but they went away when I brushed them with a damp Q-Tip.
|
|
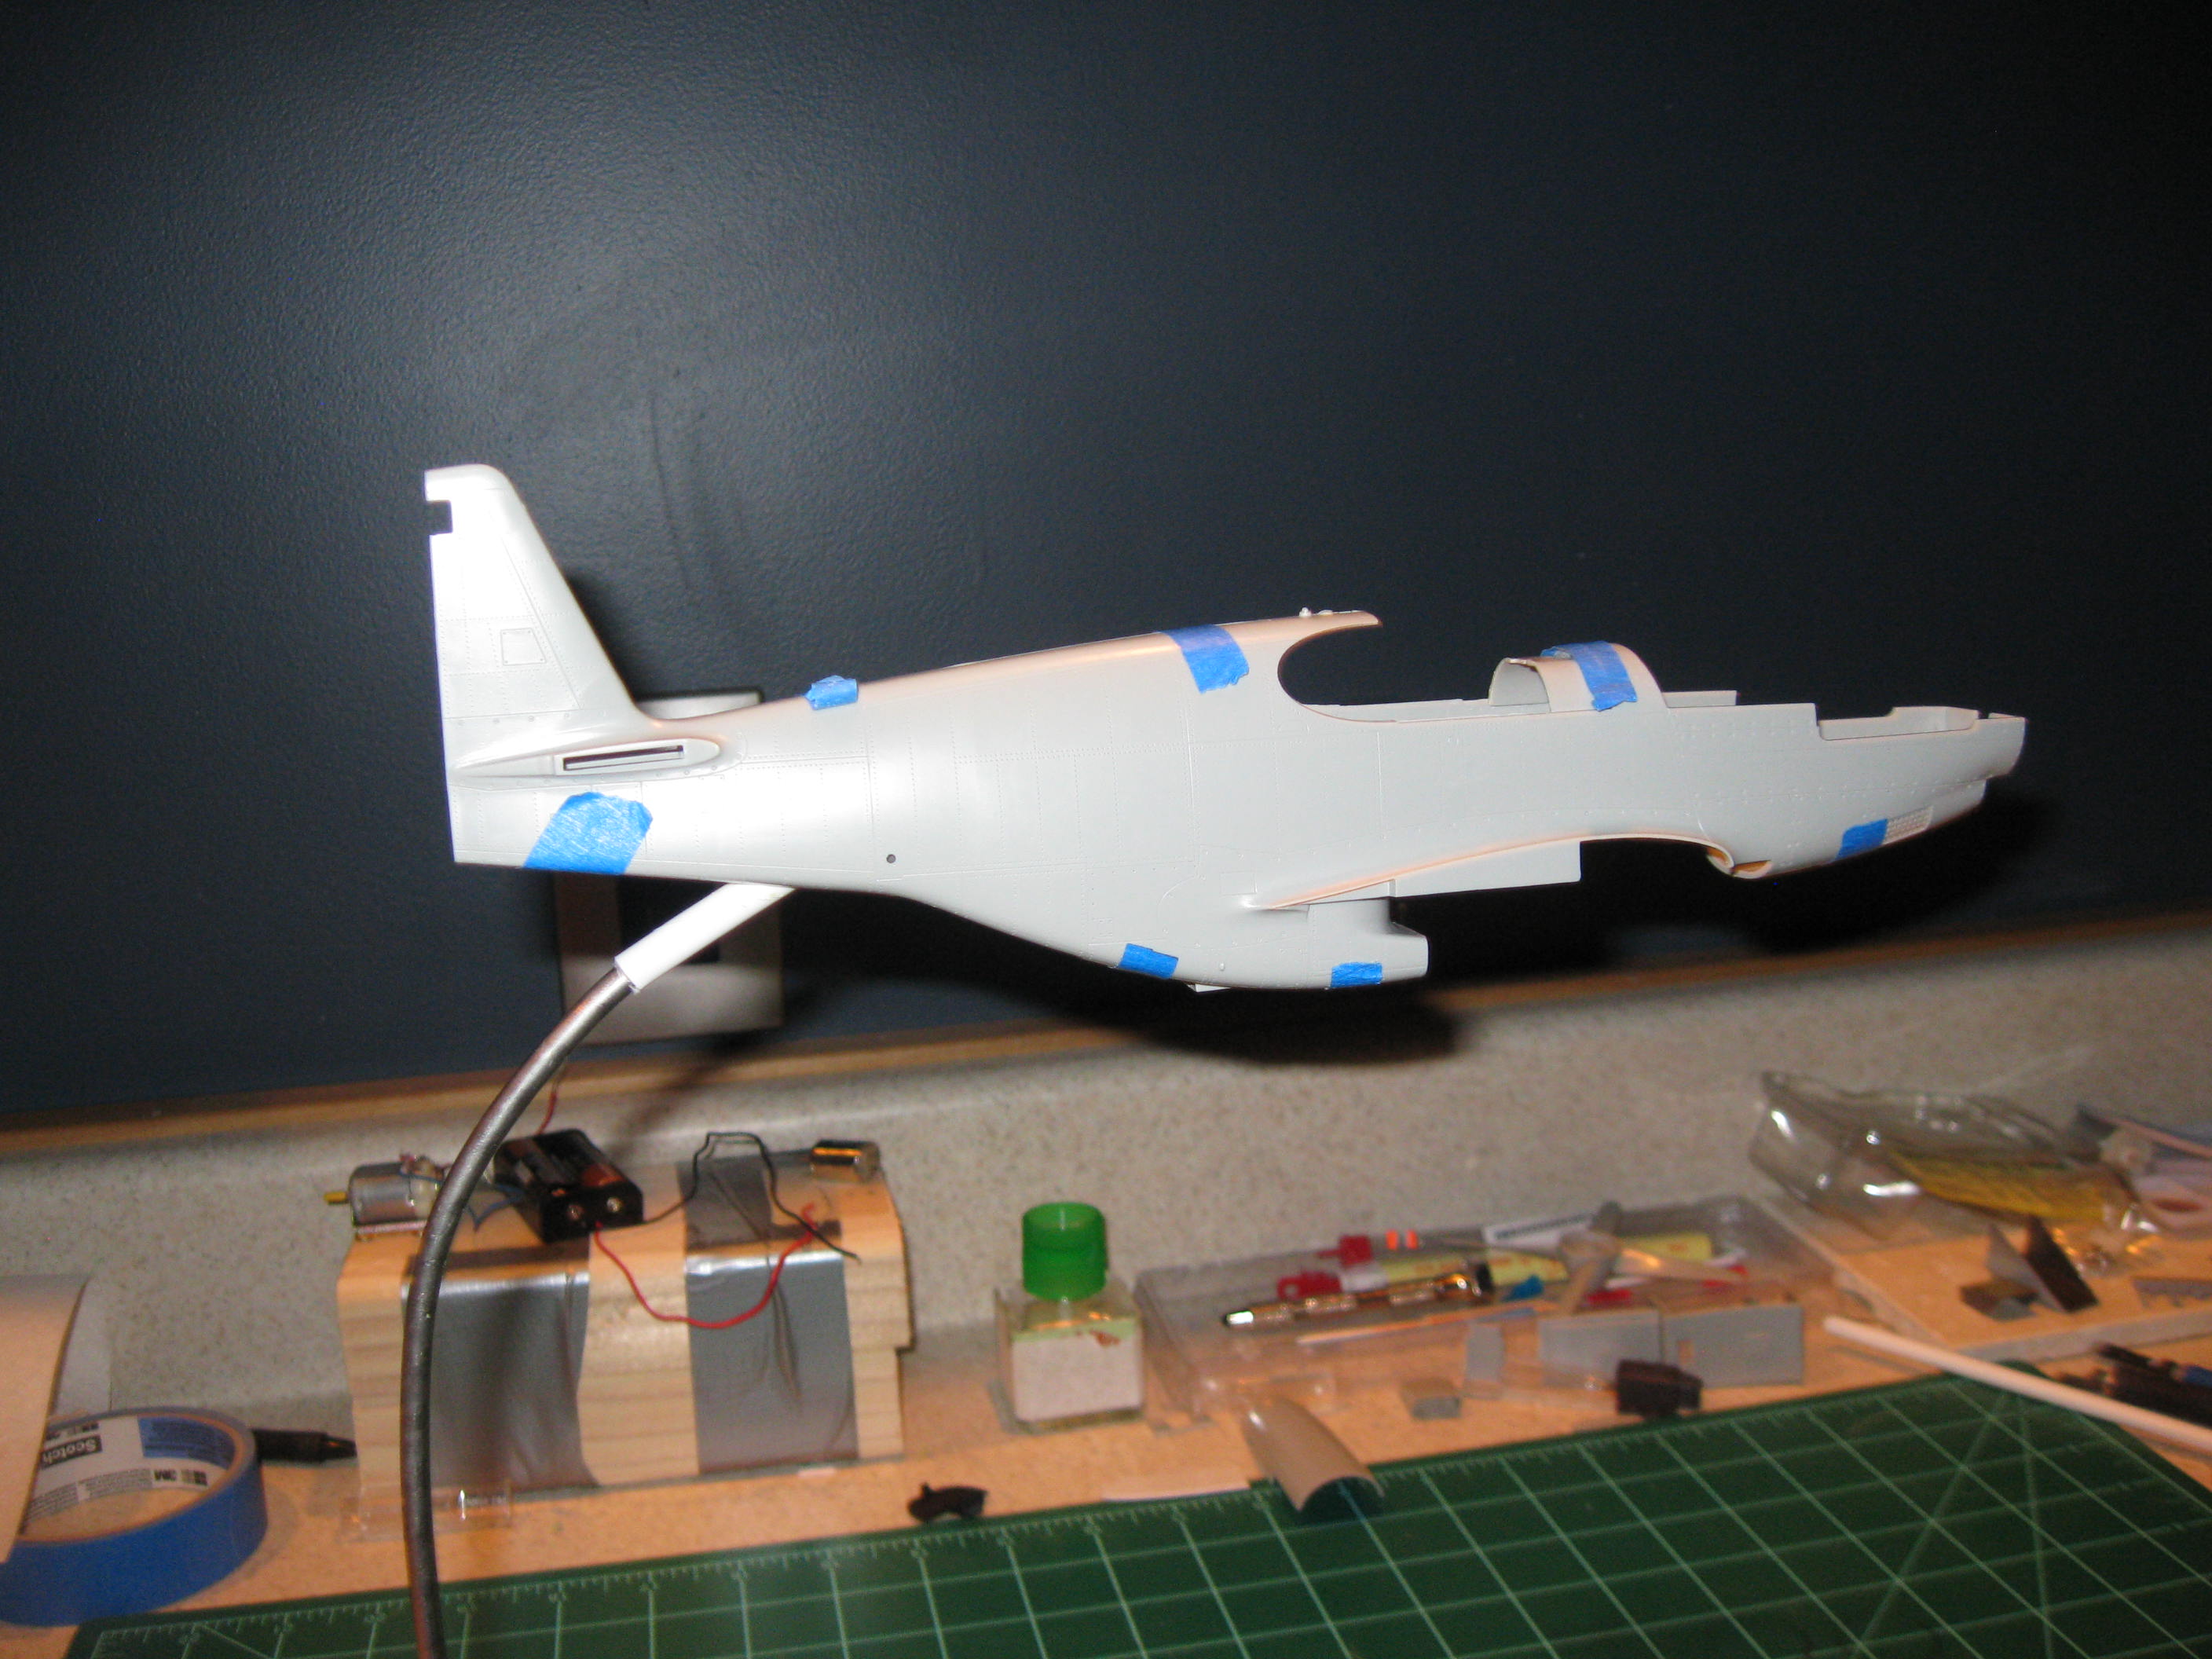
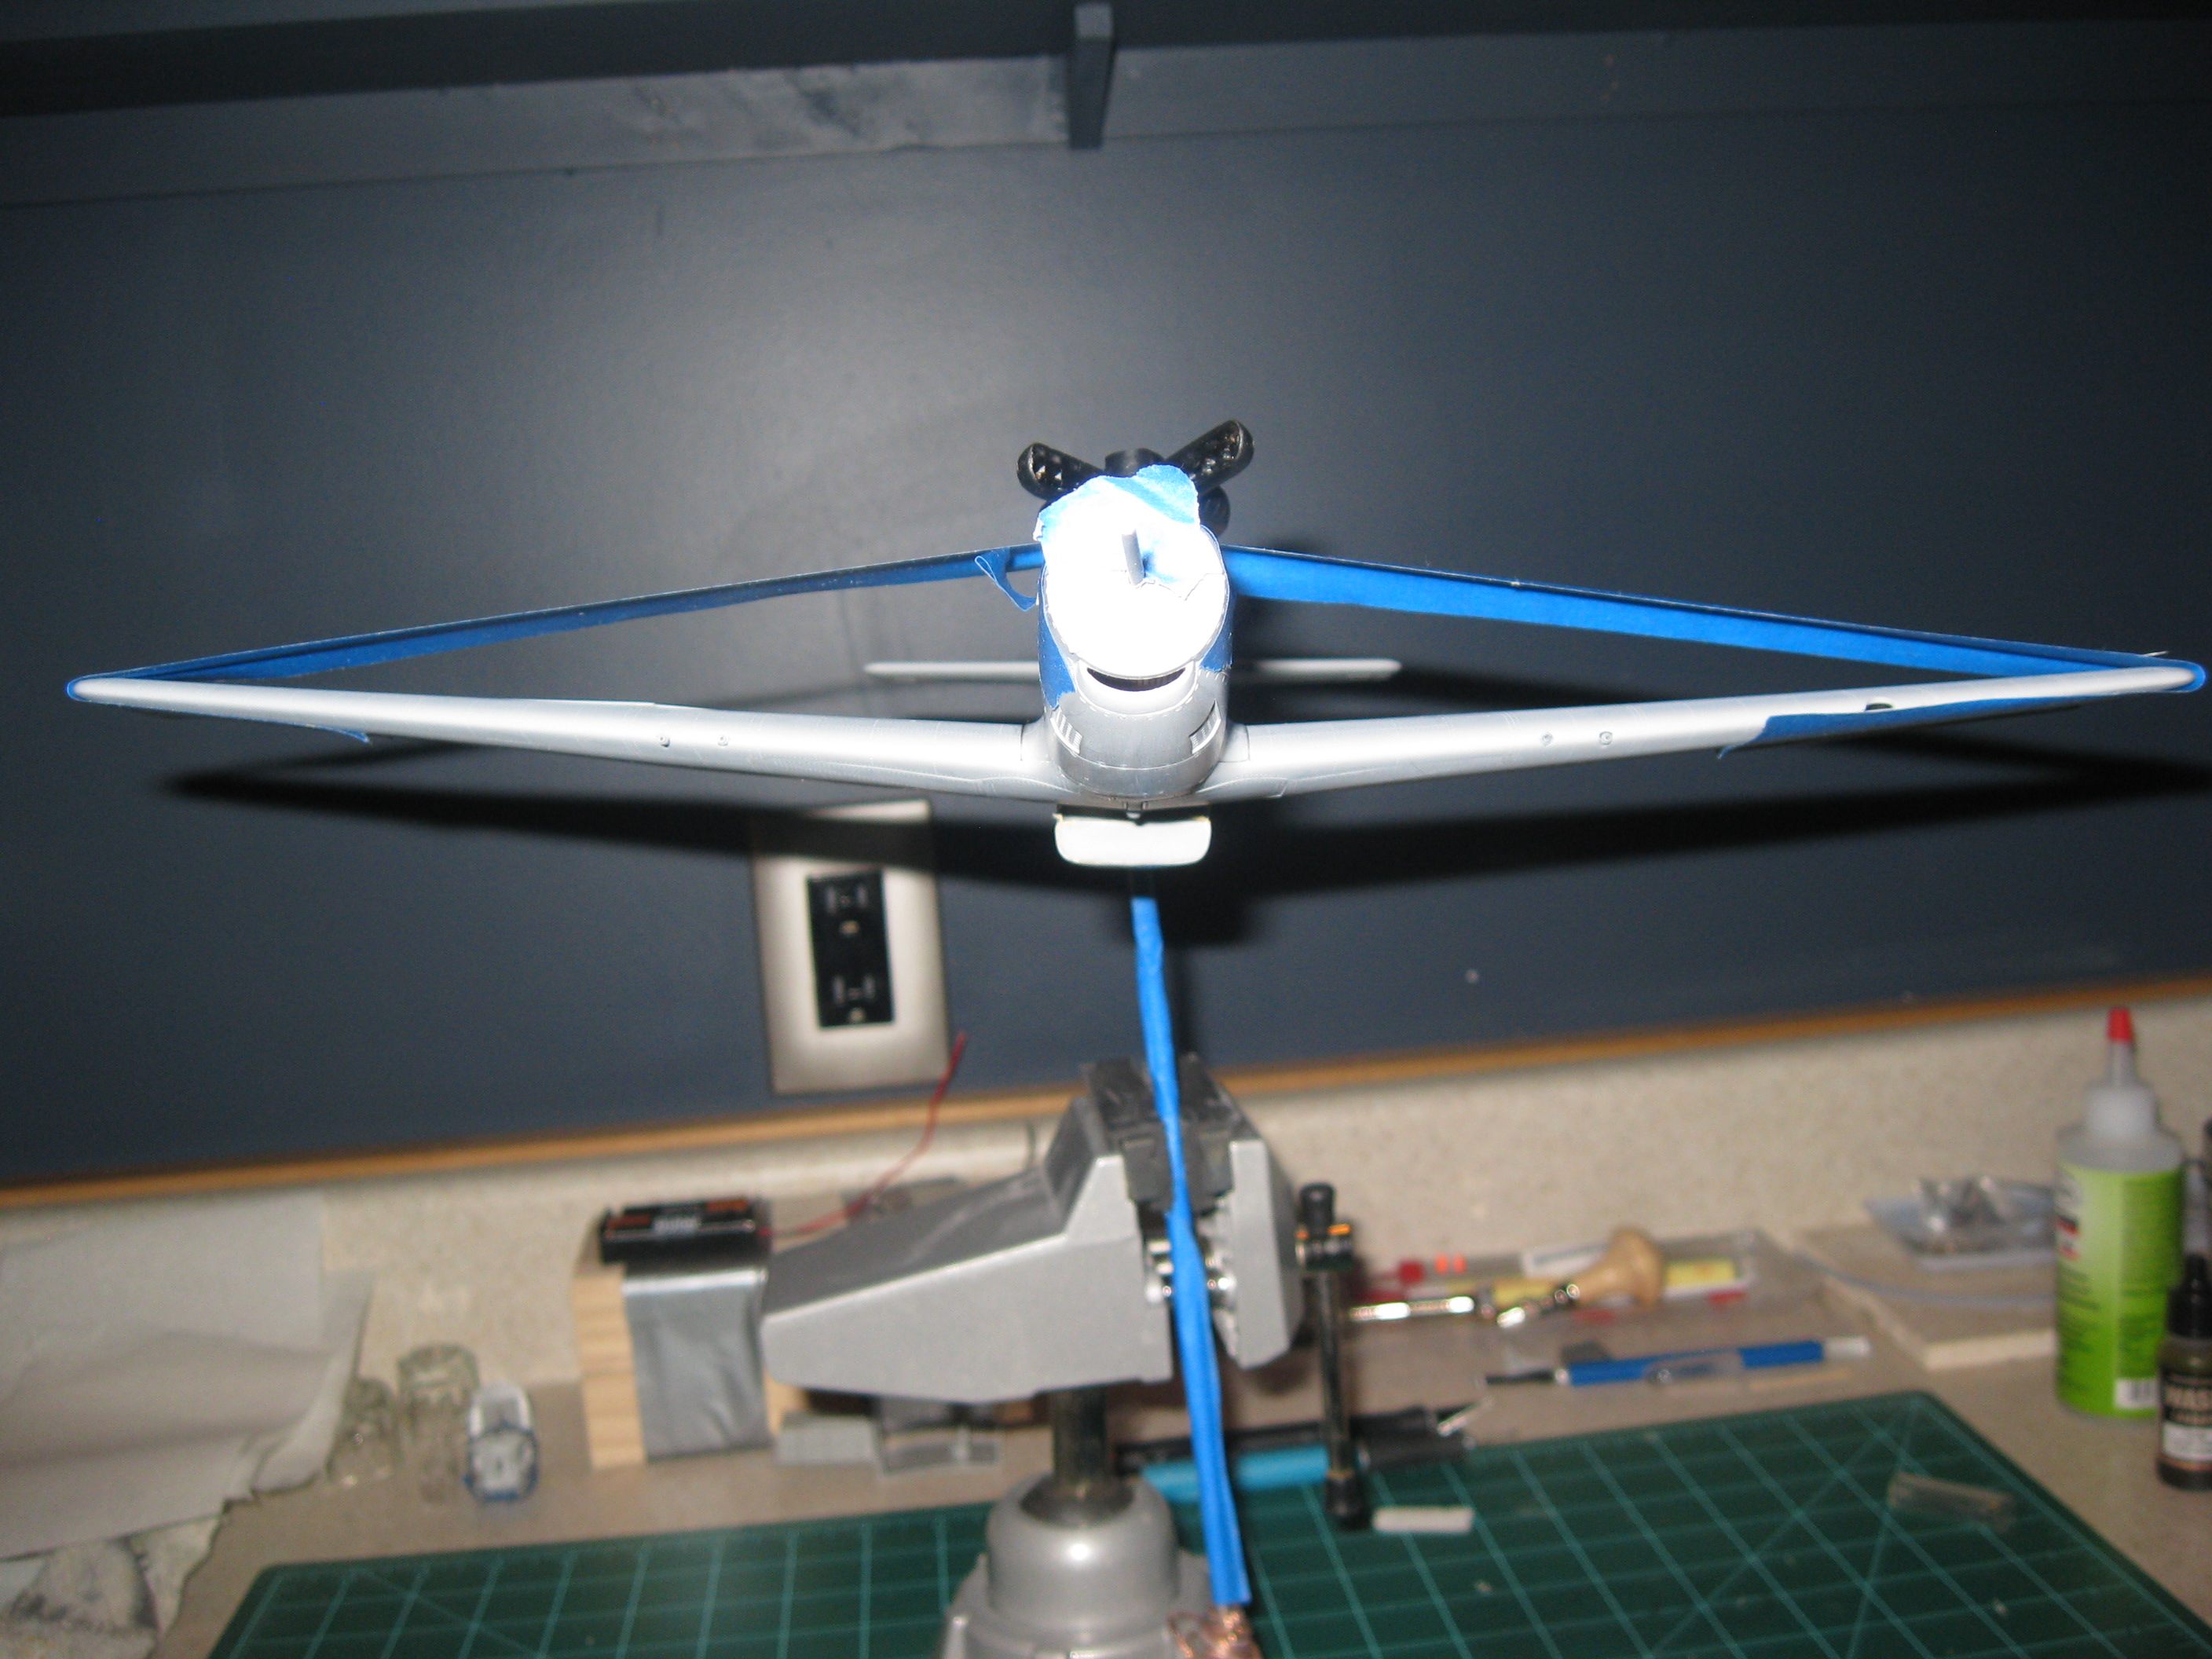
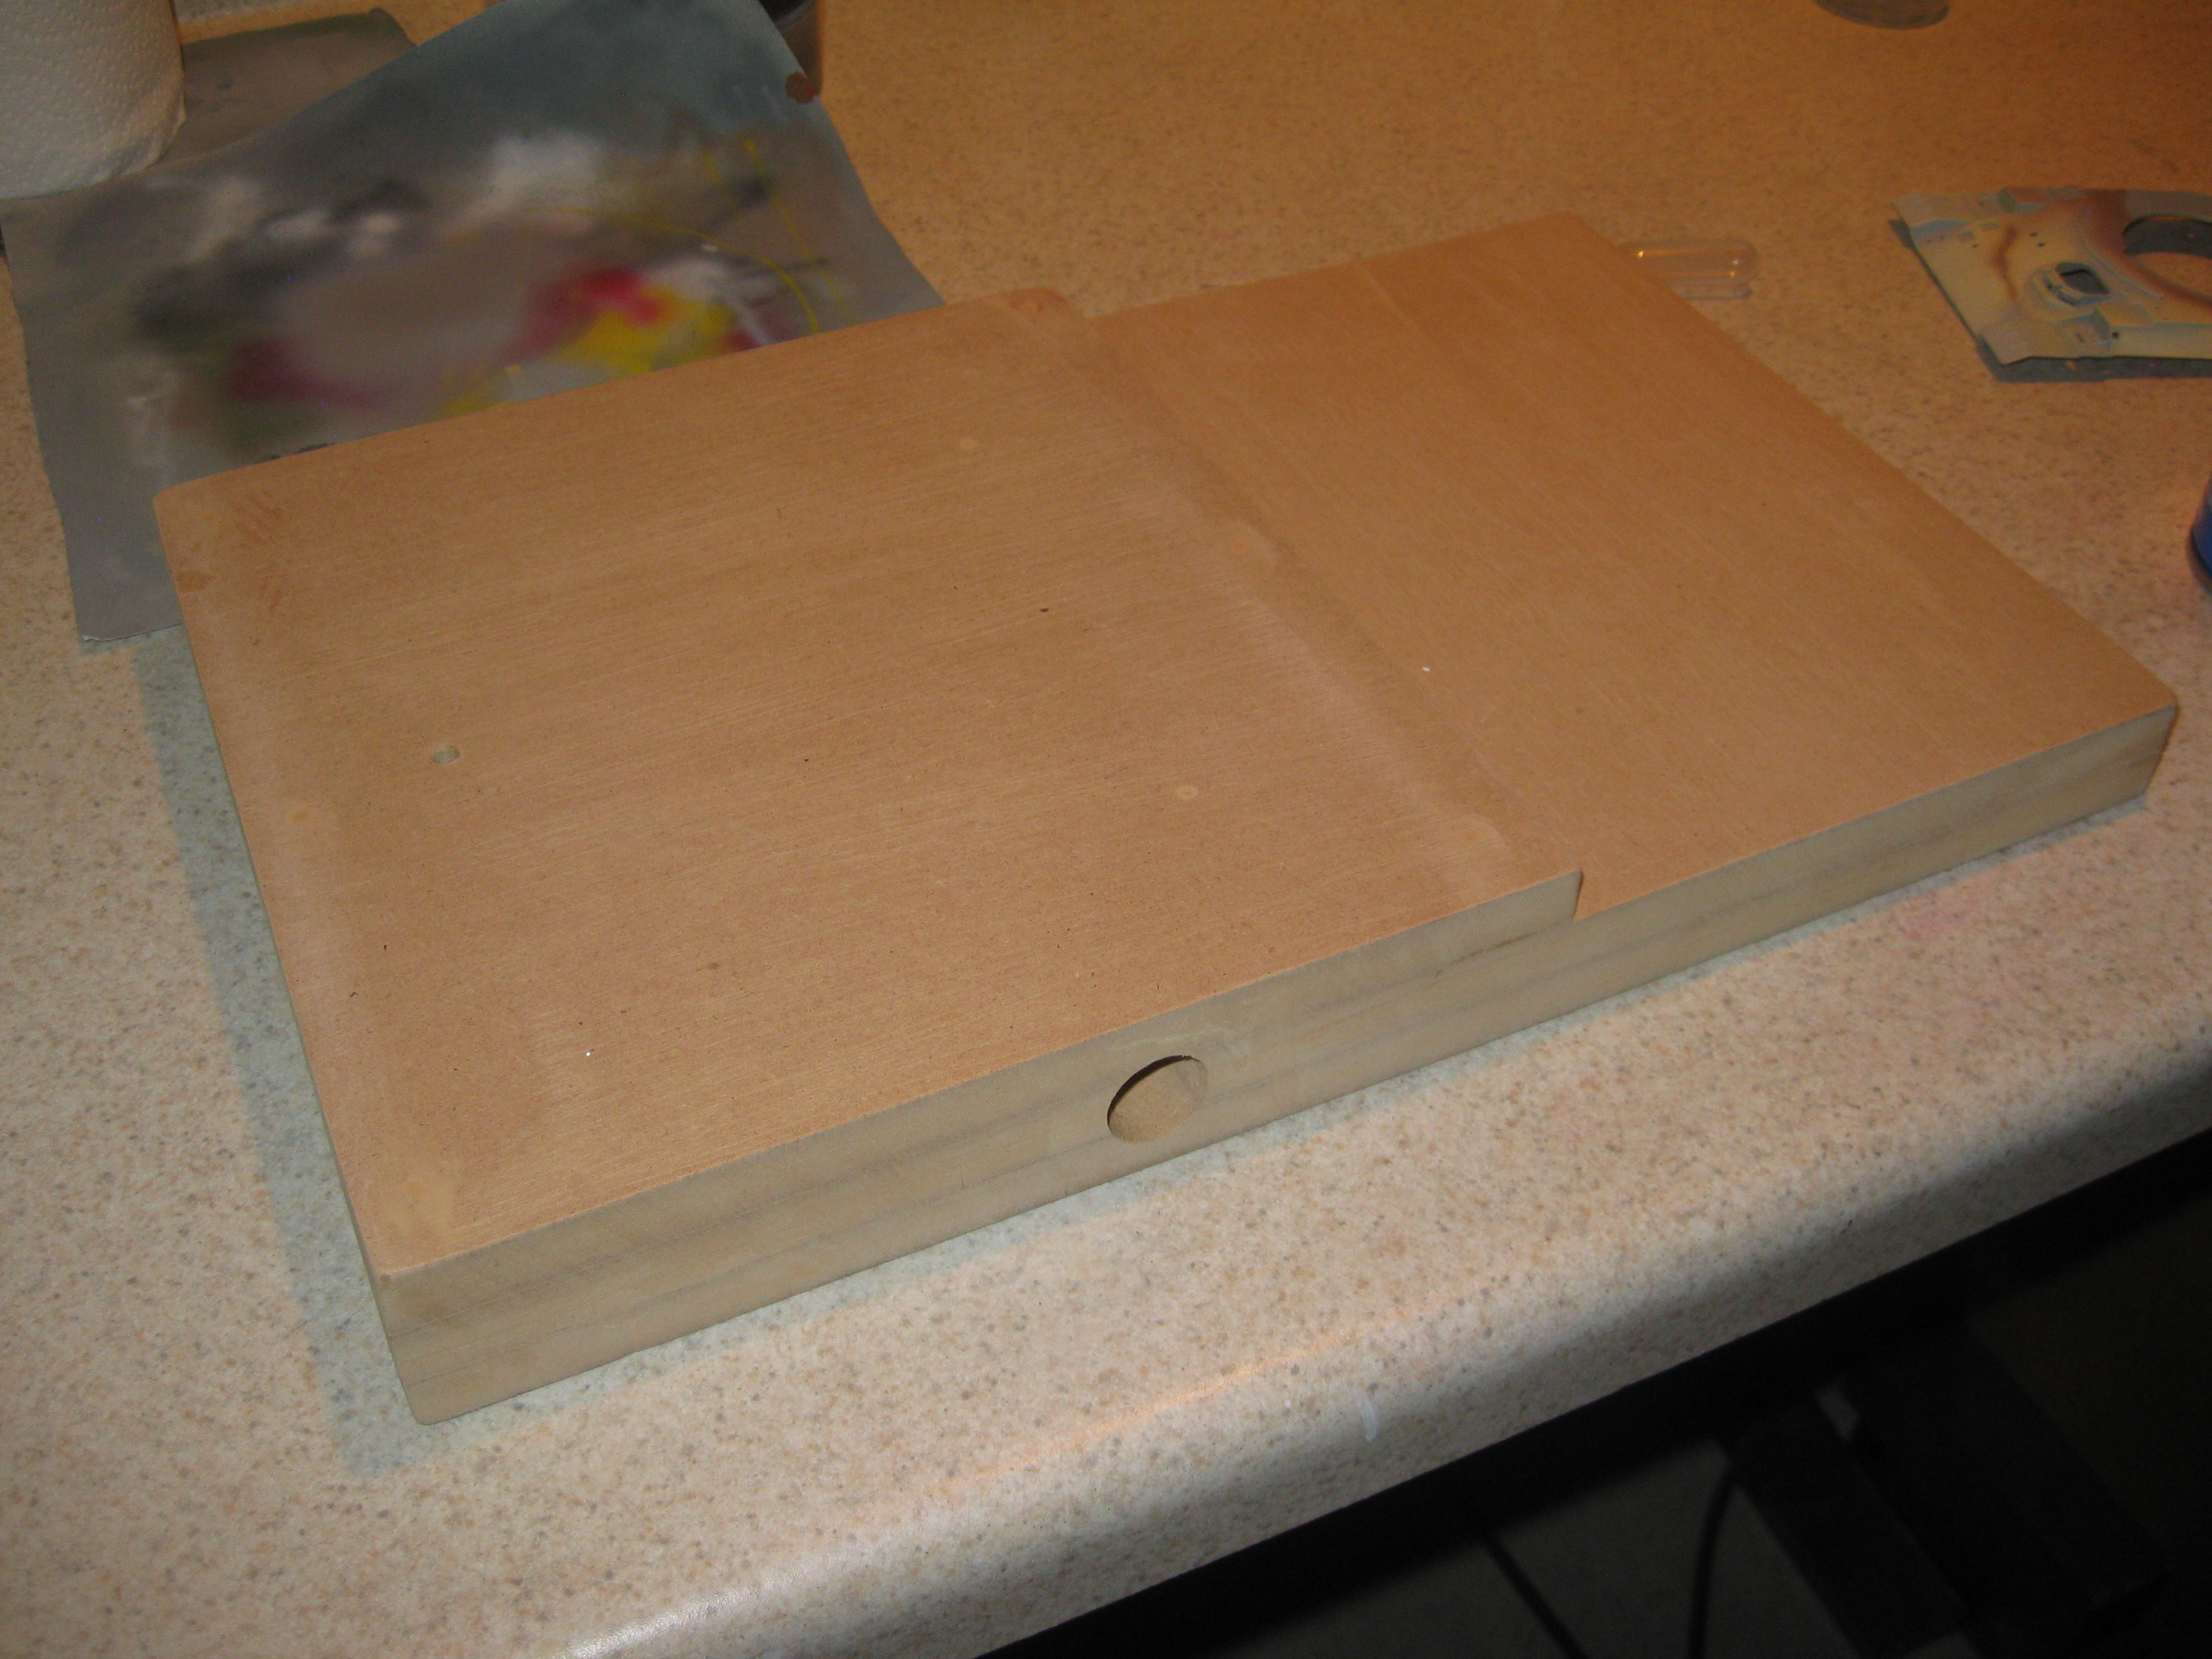
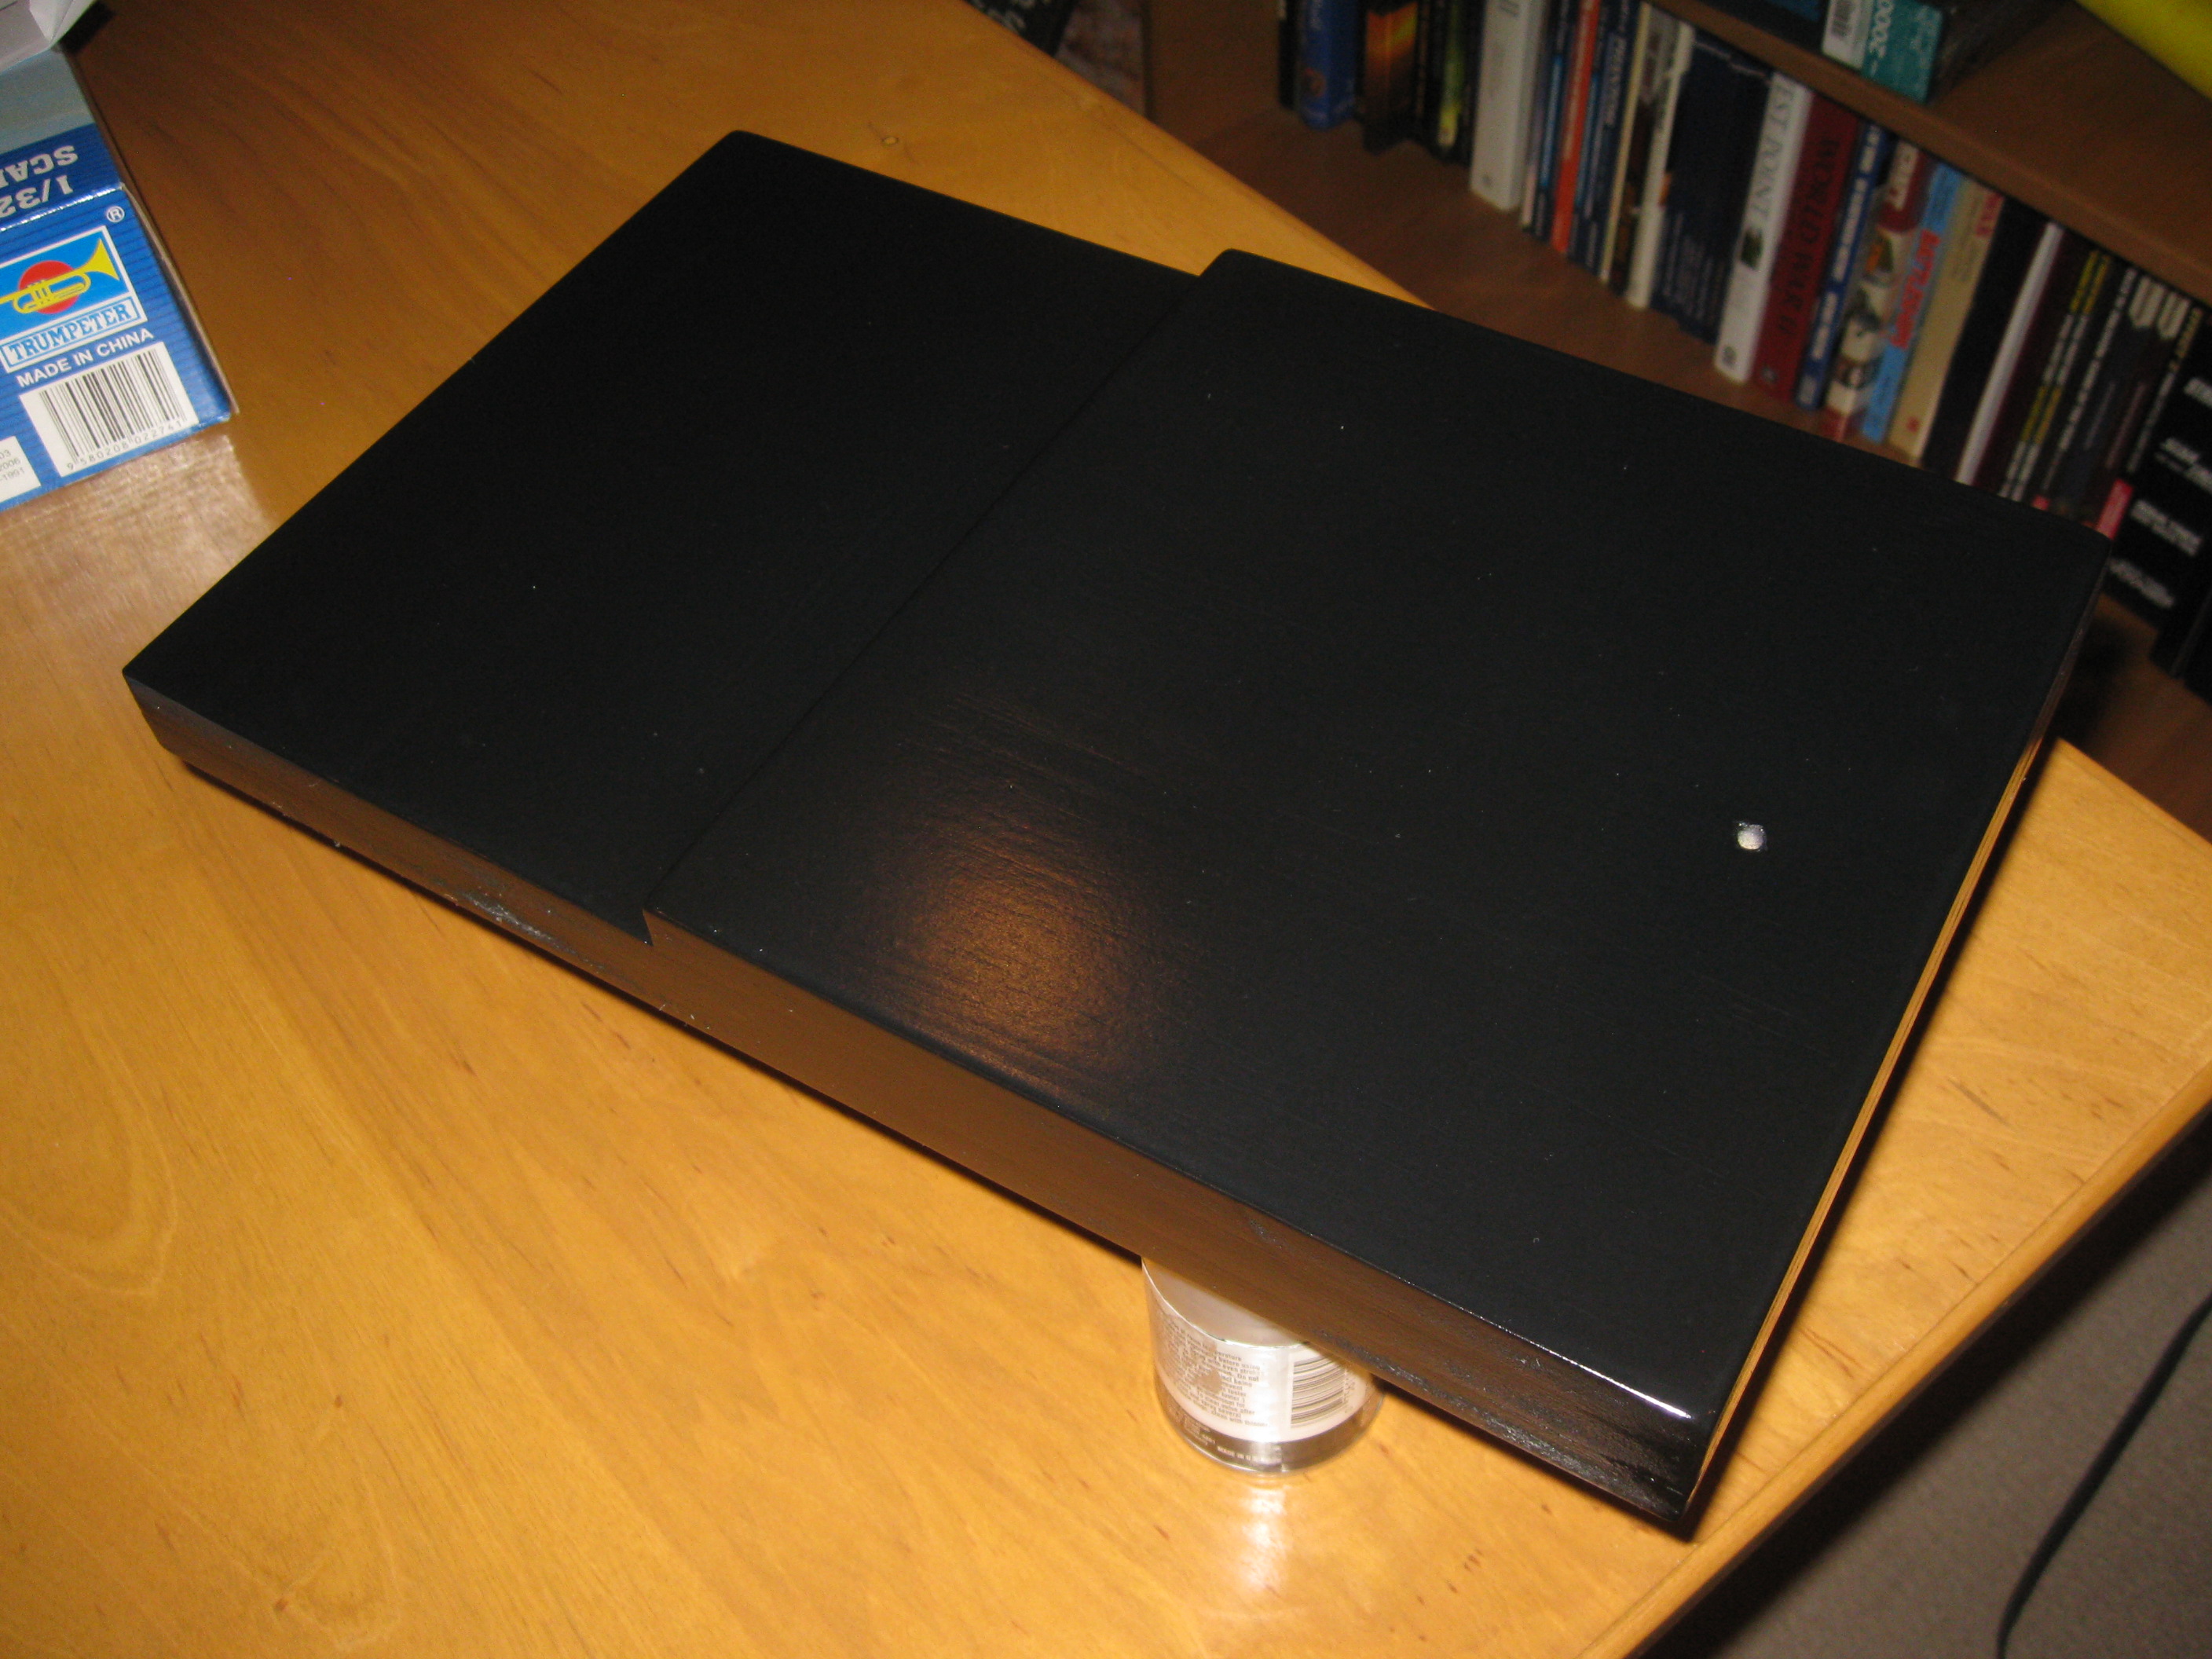
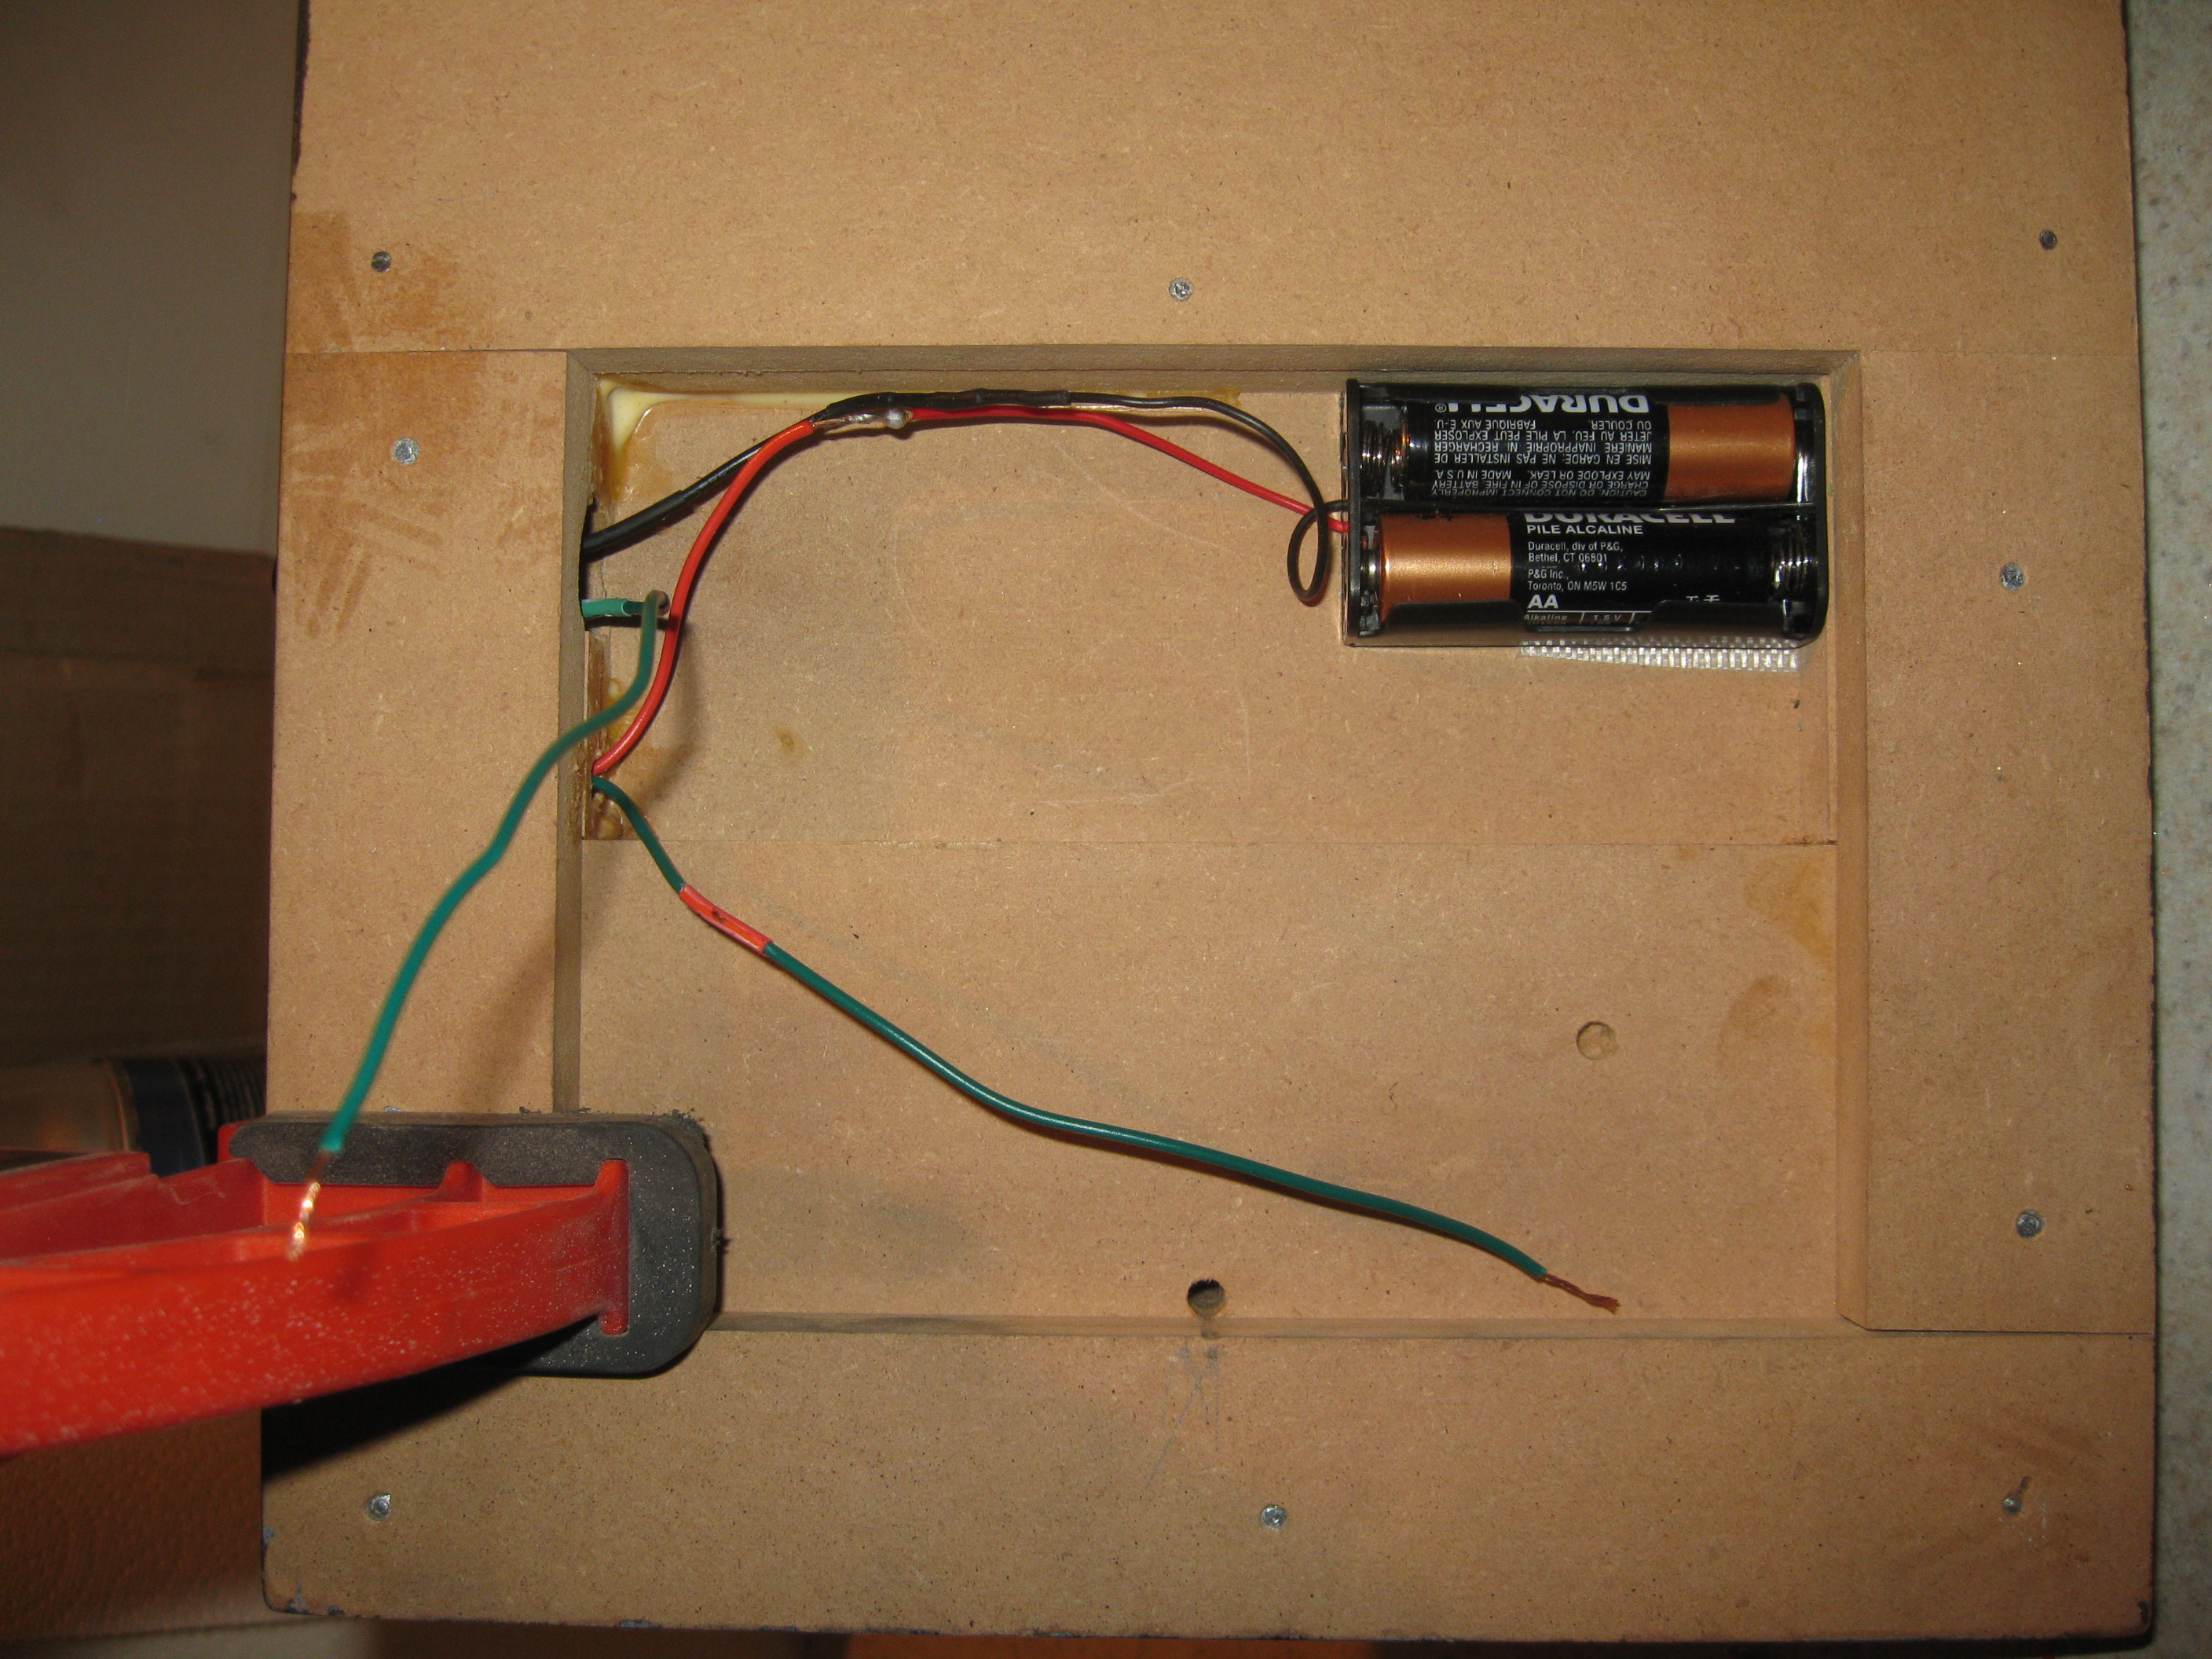
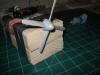
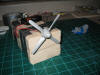
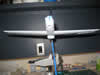
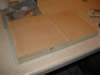
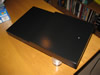
About this time I realized that I needed a base.
| |
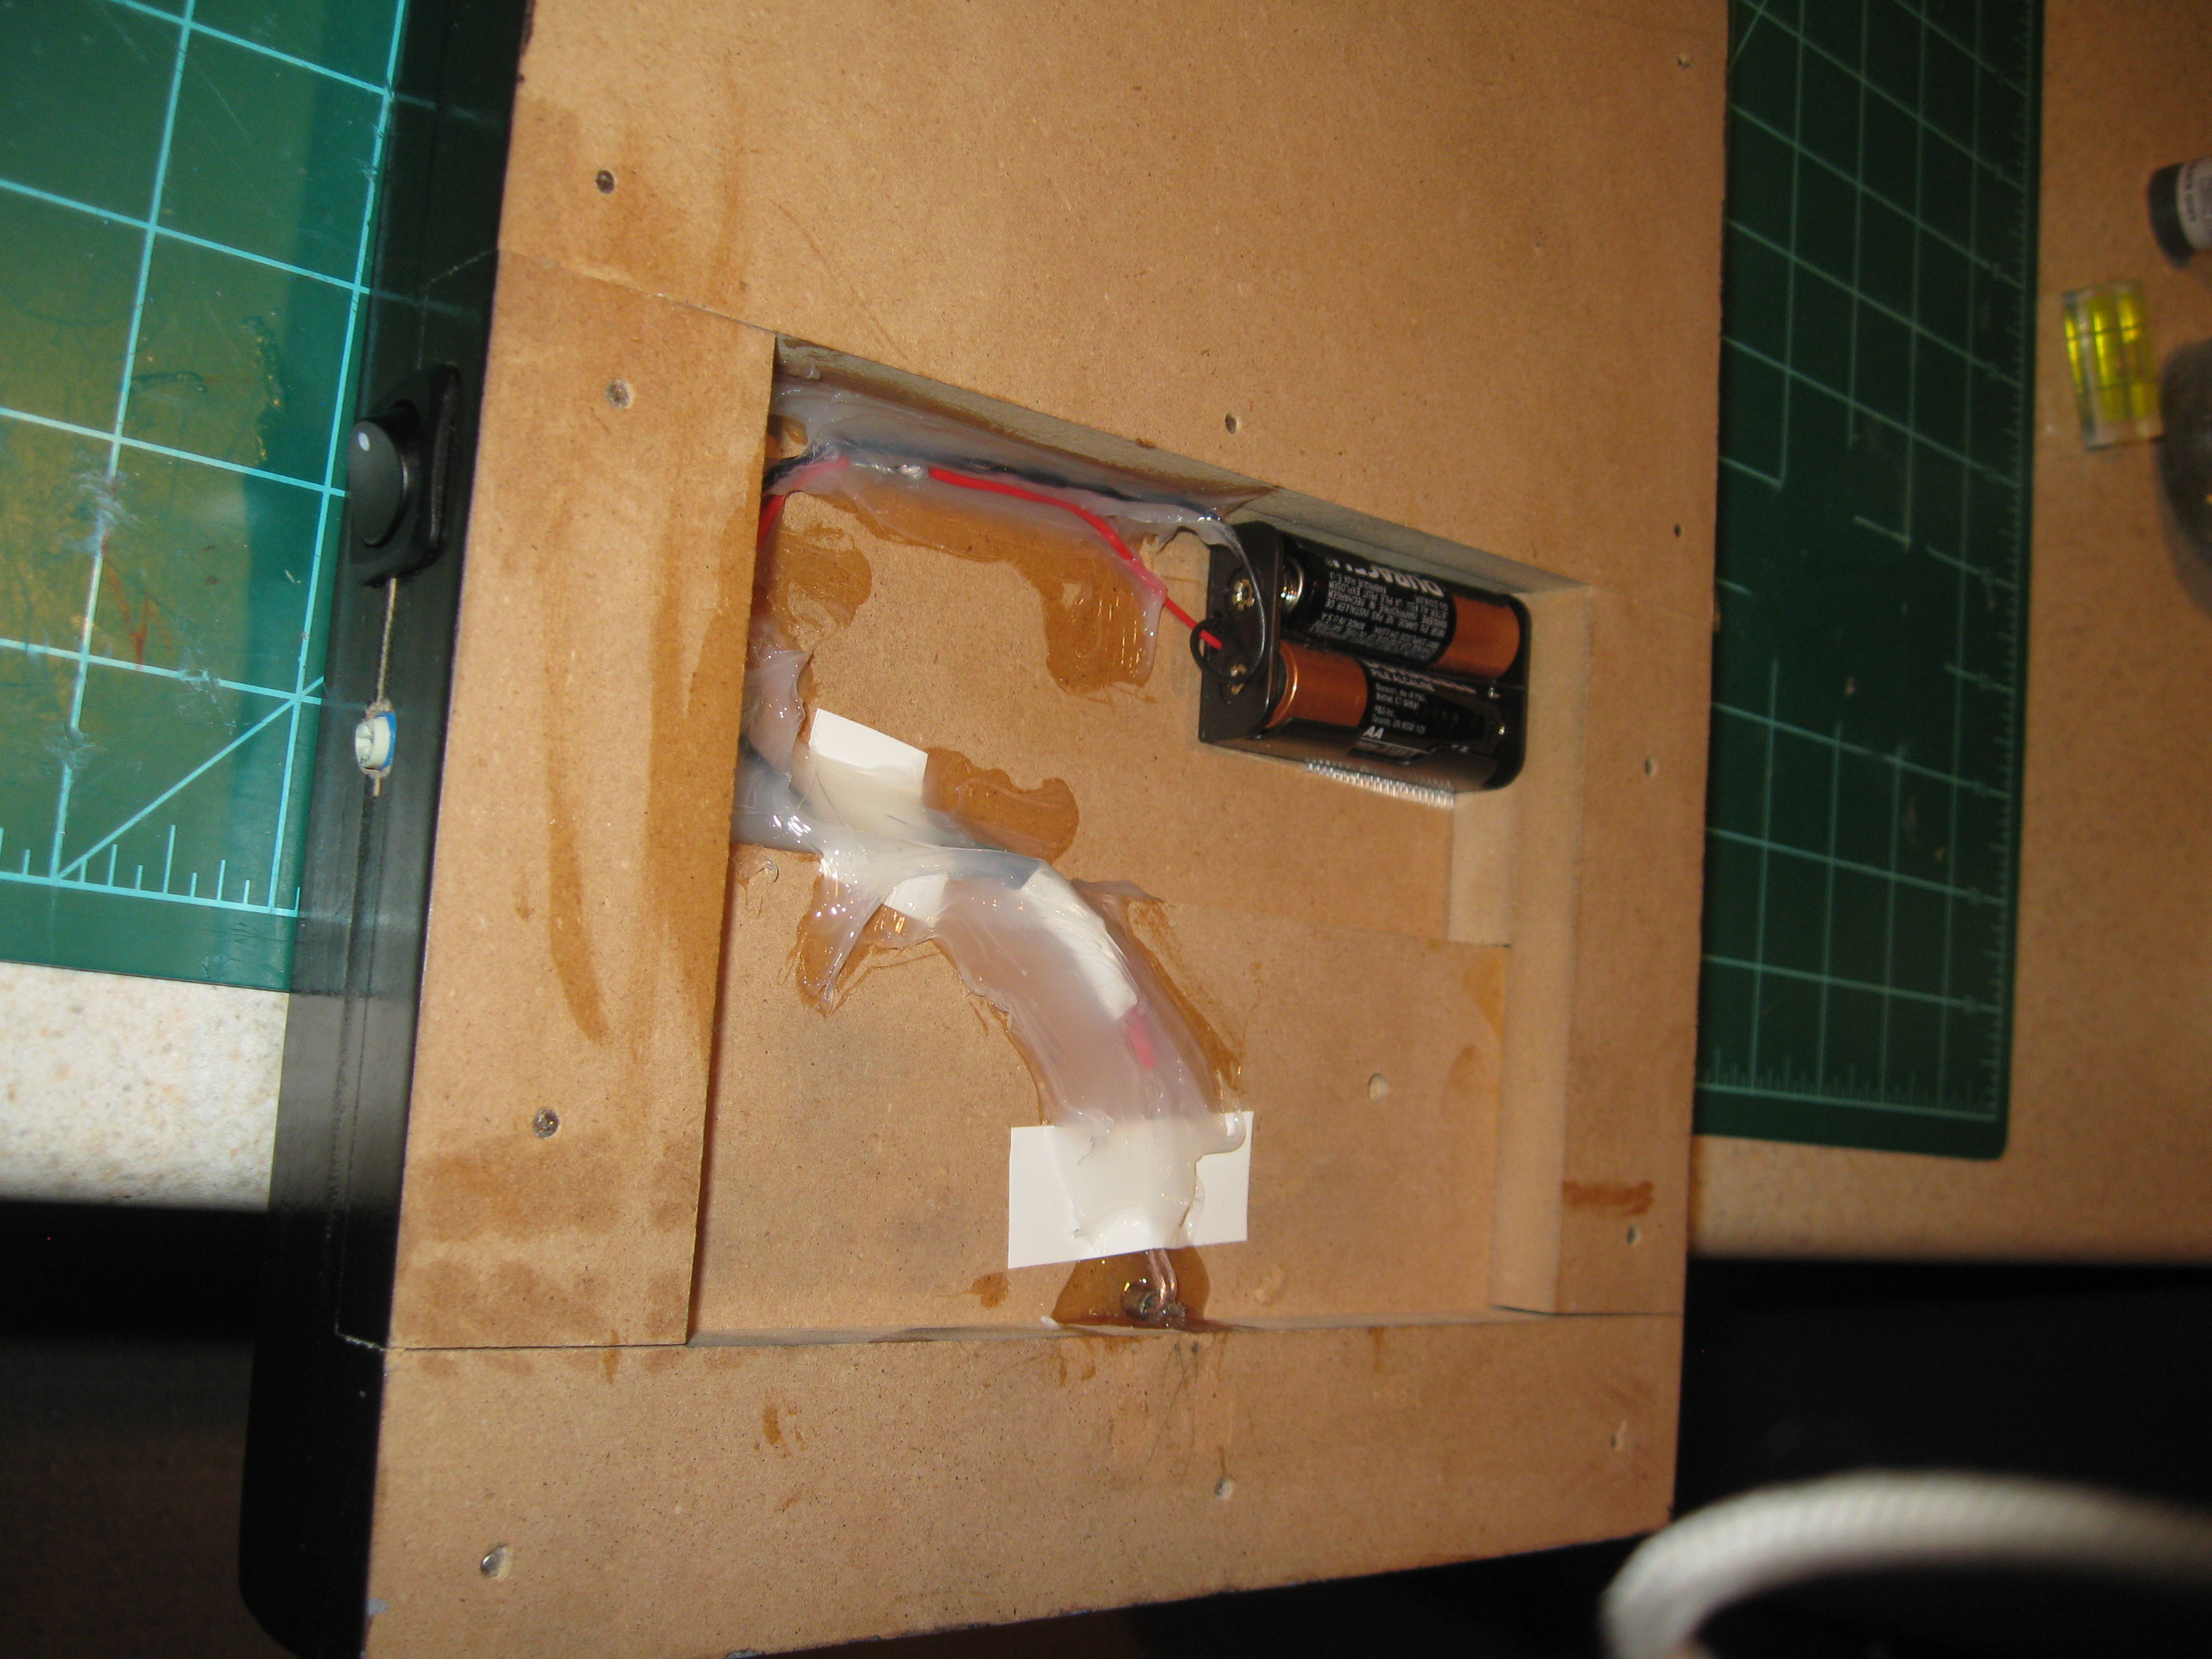
I ran out to the garage and threw together some MDF, painted it and added the wiring. I am a little amazed still how quickly it went together.
  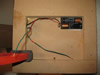 
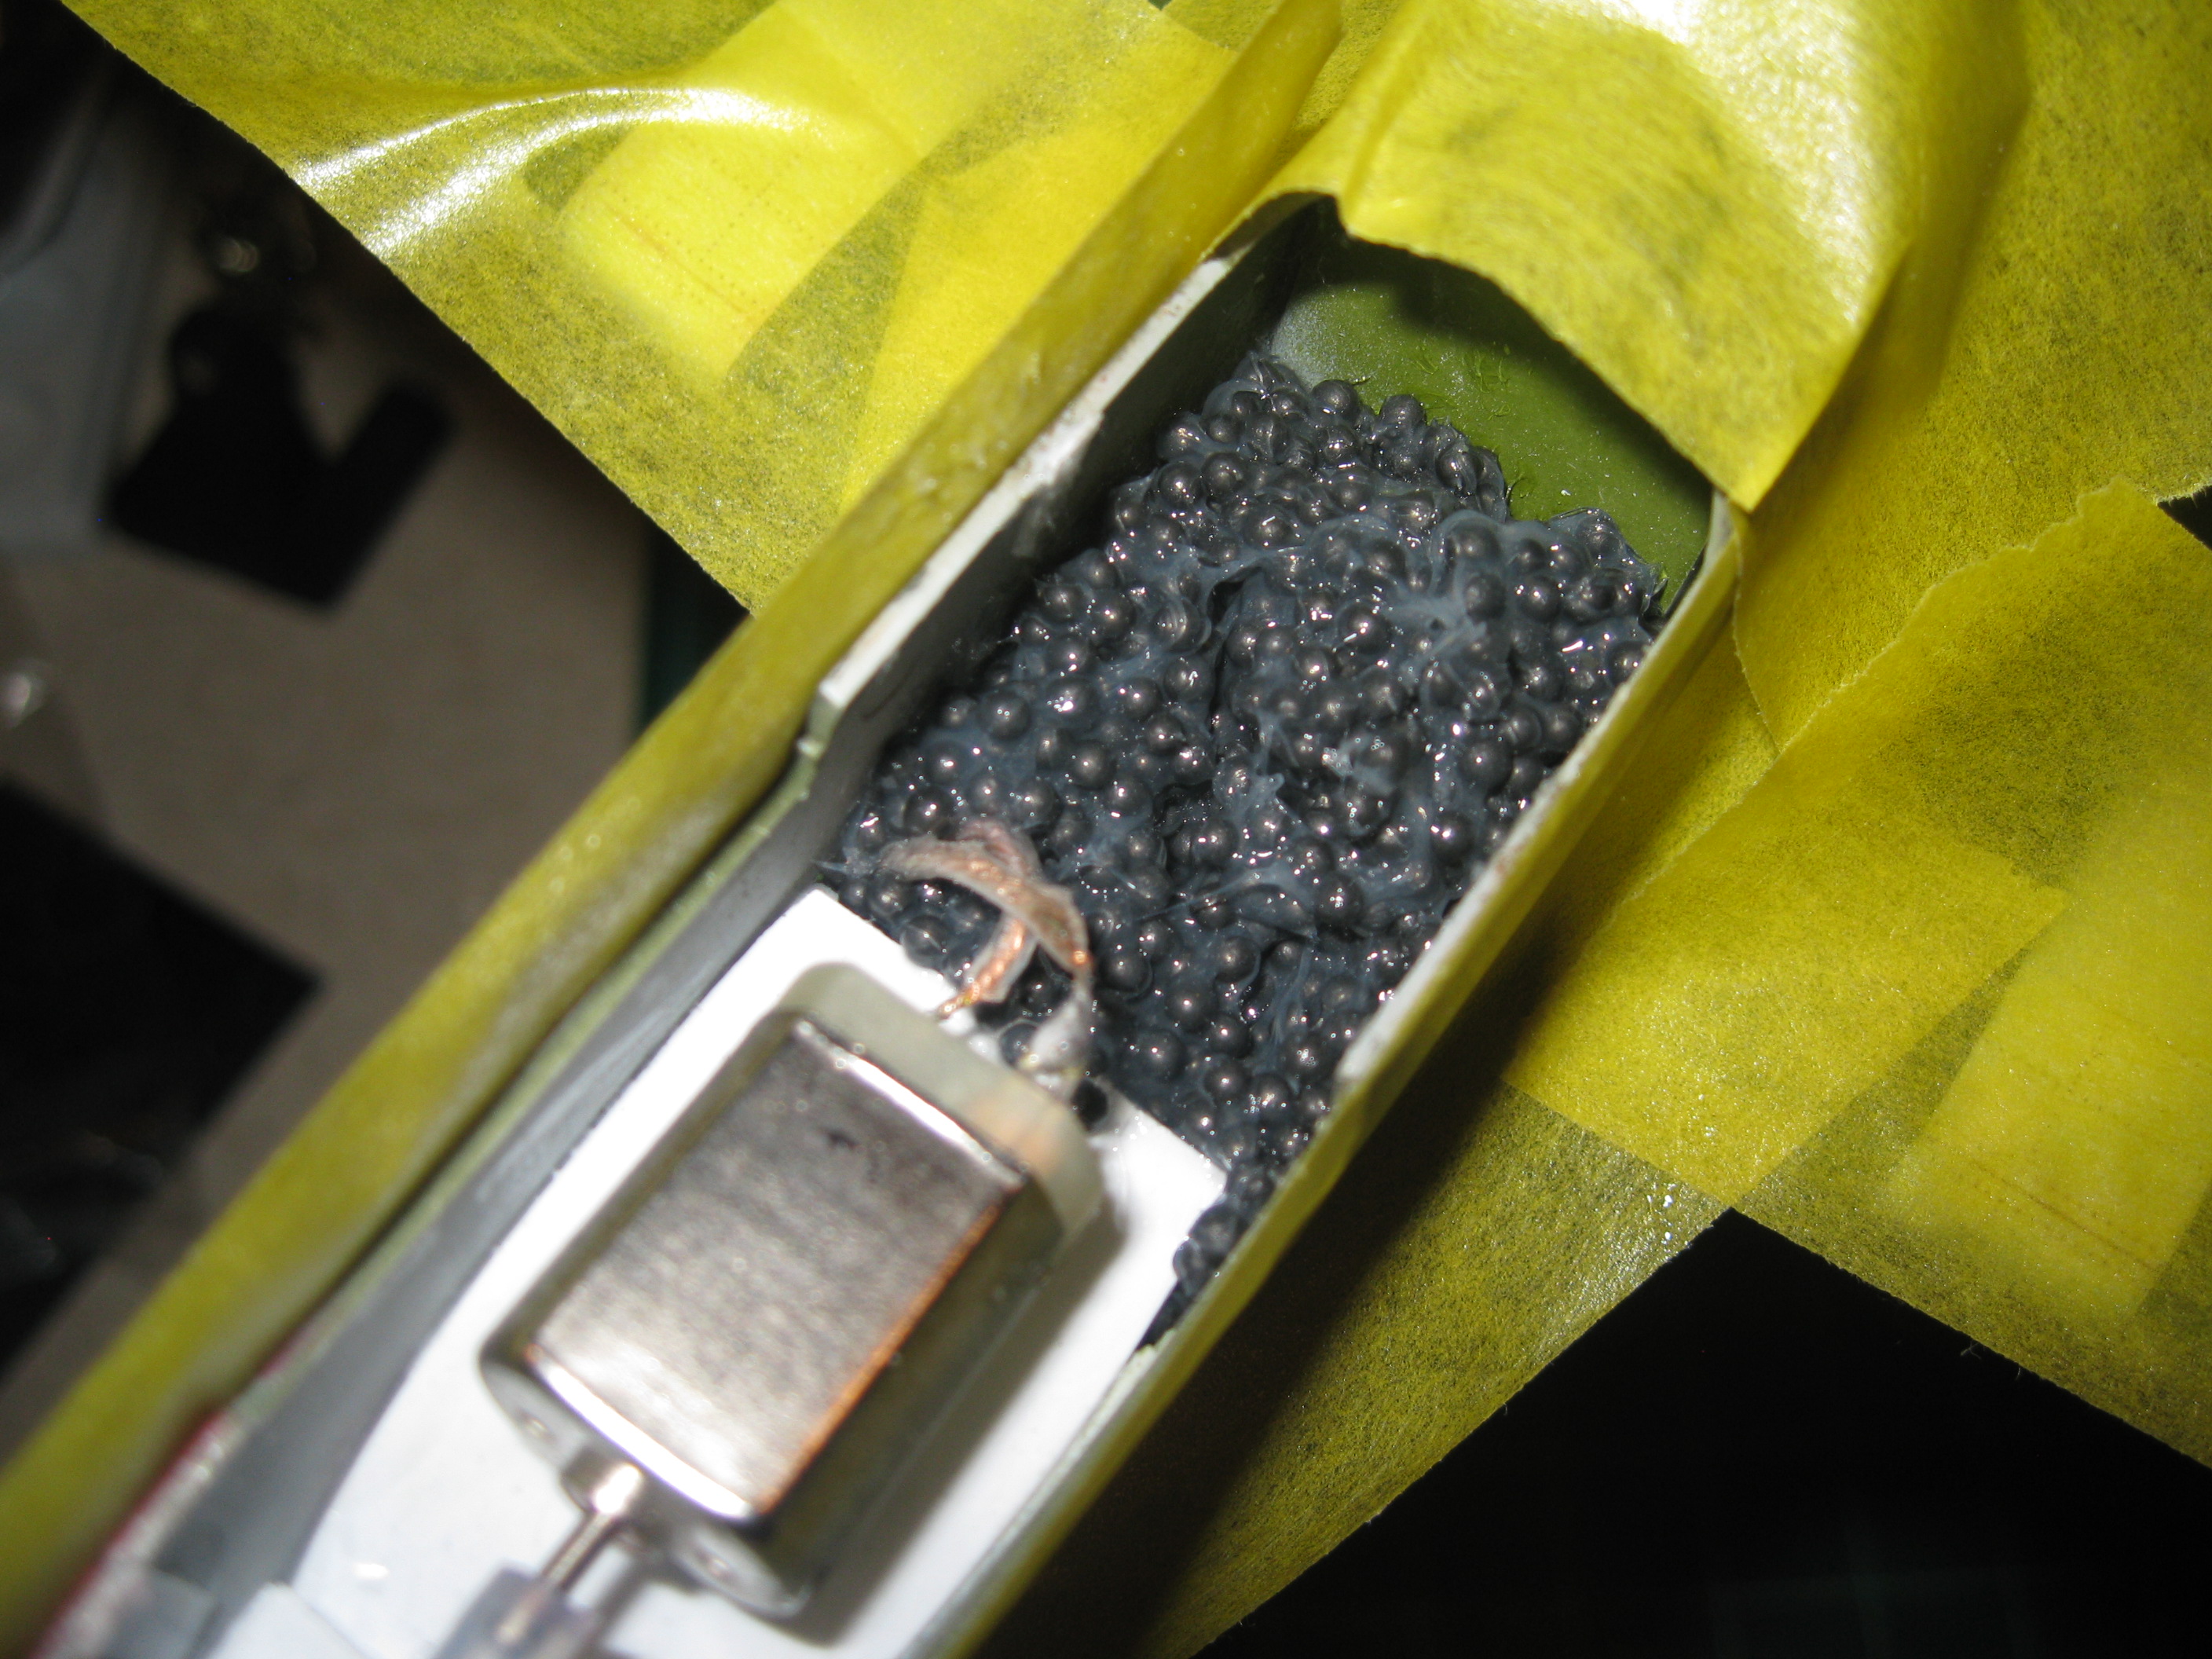
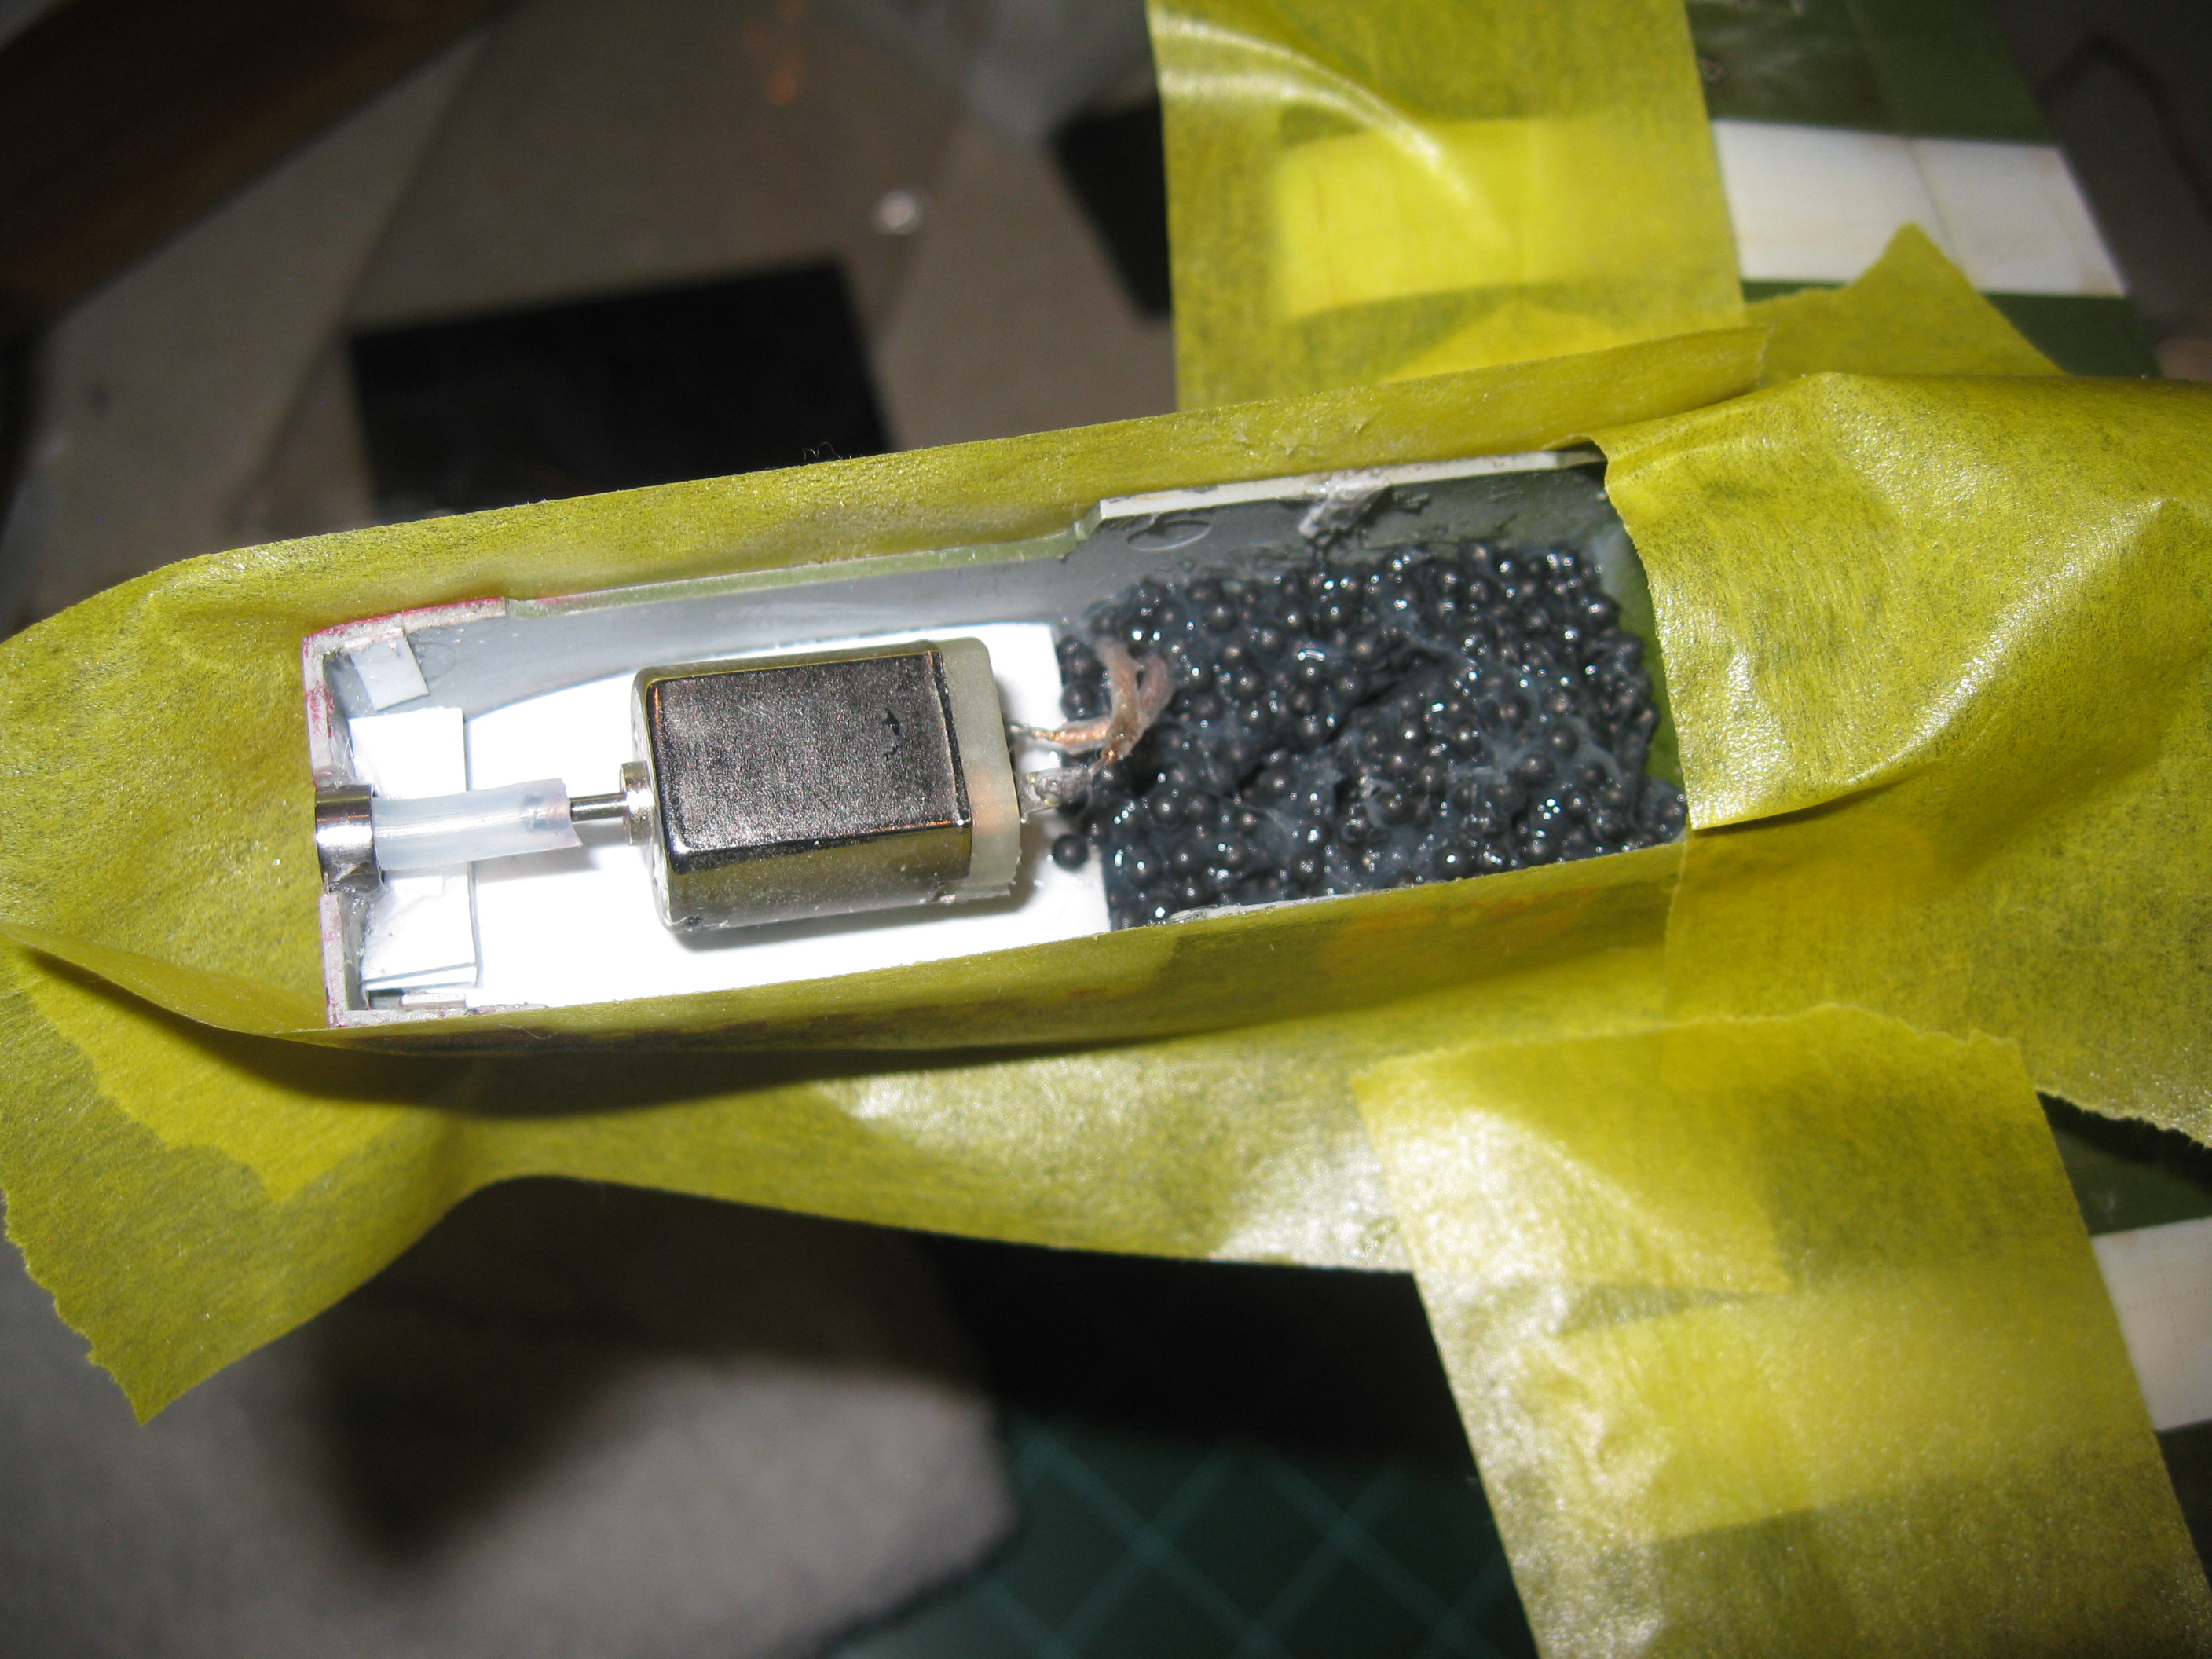
I did a test run of the motor and the plane vibrated in a very distracting manner. I realized that spinning props need nose weight as much as tricycle geared planes. I could not get to the nose any more so I mixed lead shot with silicone and poured it in just aft of the motor. I then added more silicone on top of it and a little around the motor. My hope was that the lead would give it enough mass to resist movement and the silicone would absorb the vibrations. It ended up working very well. Next time I will plan better for this step.
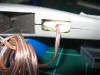
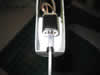
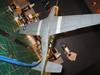
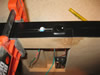
Soldering the final wires required a special, nerve wracking maneuver.
|
|
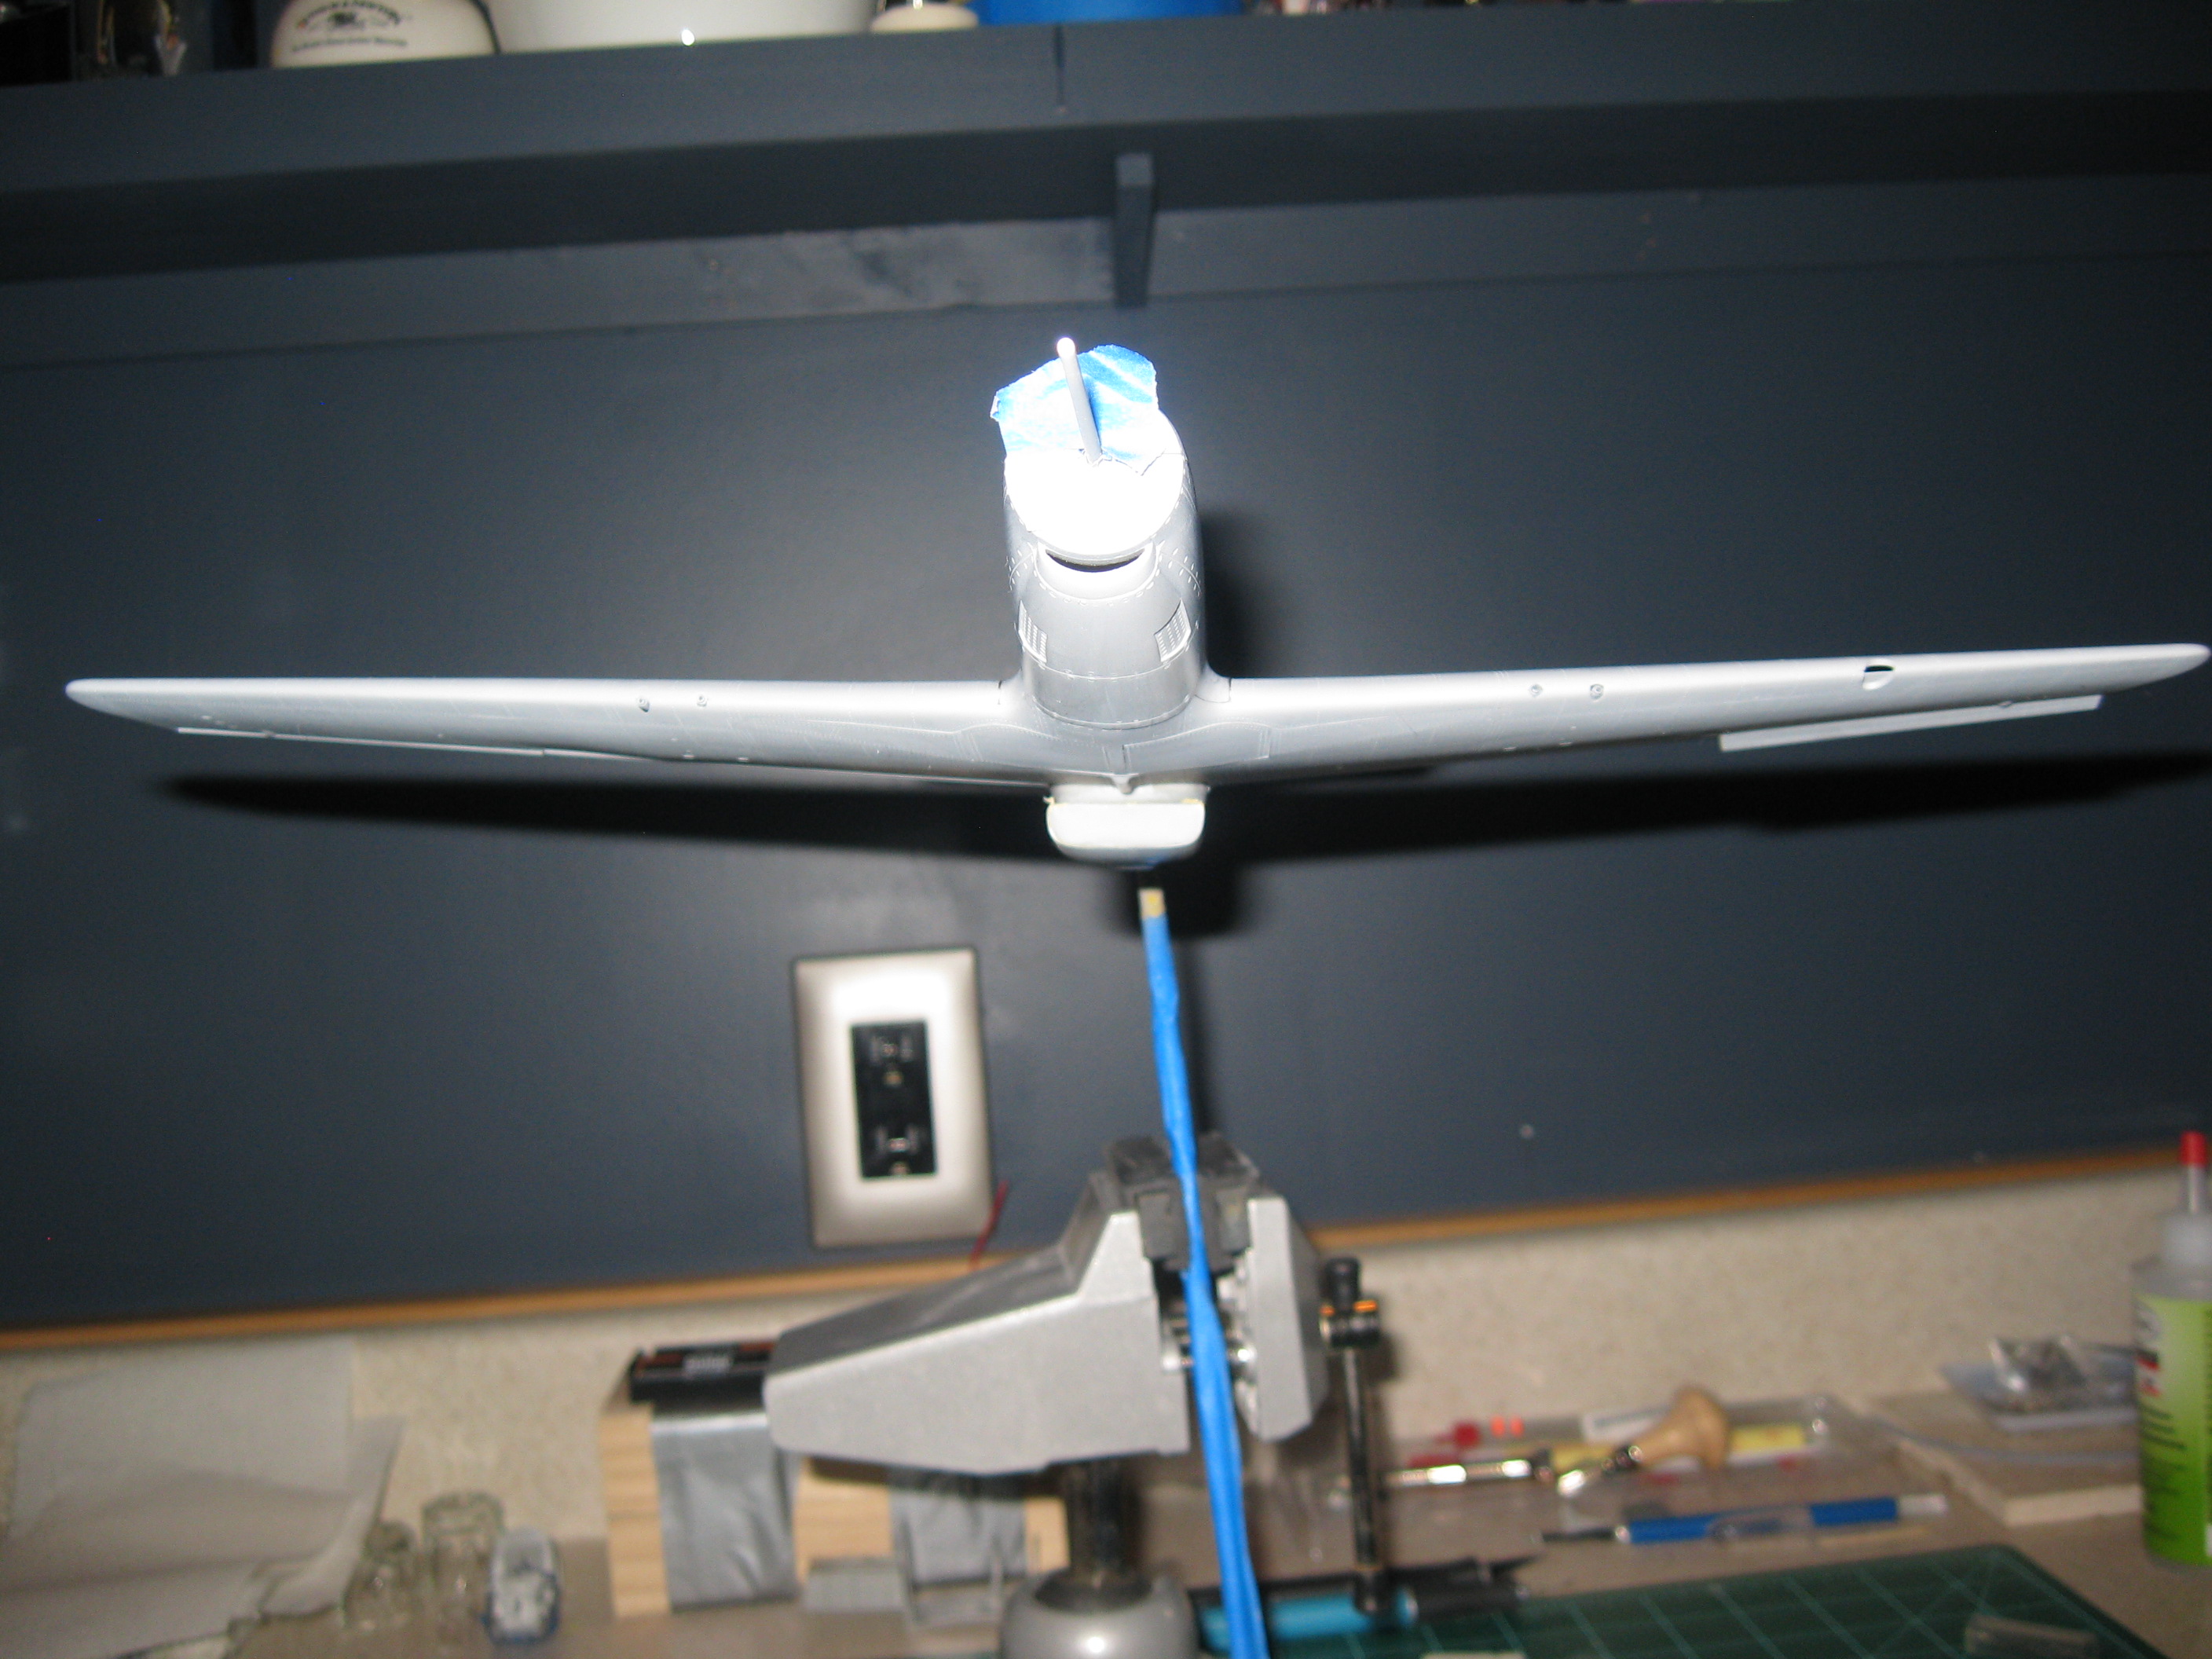
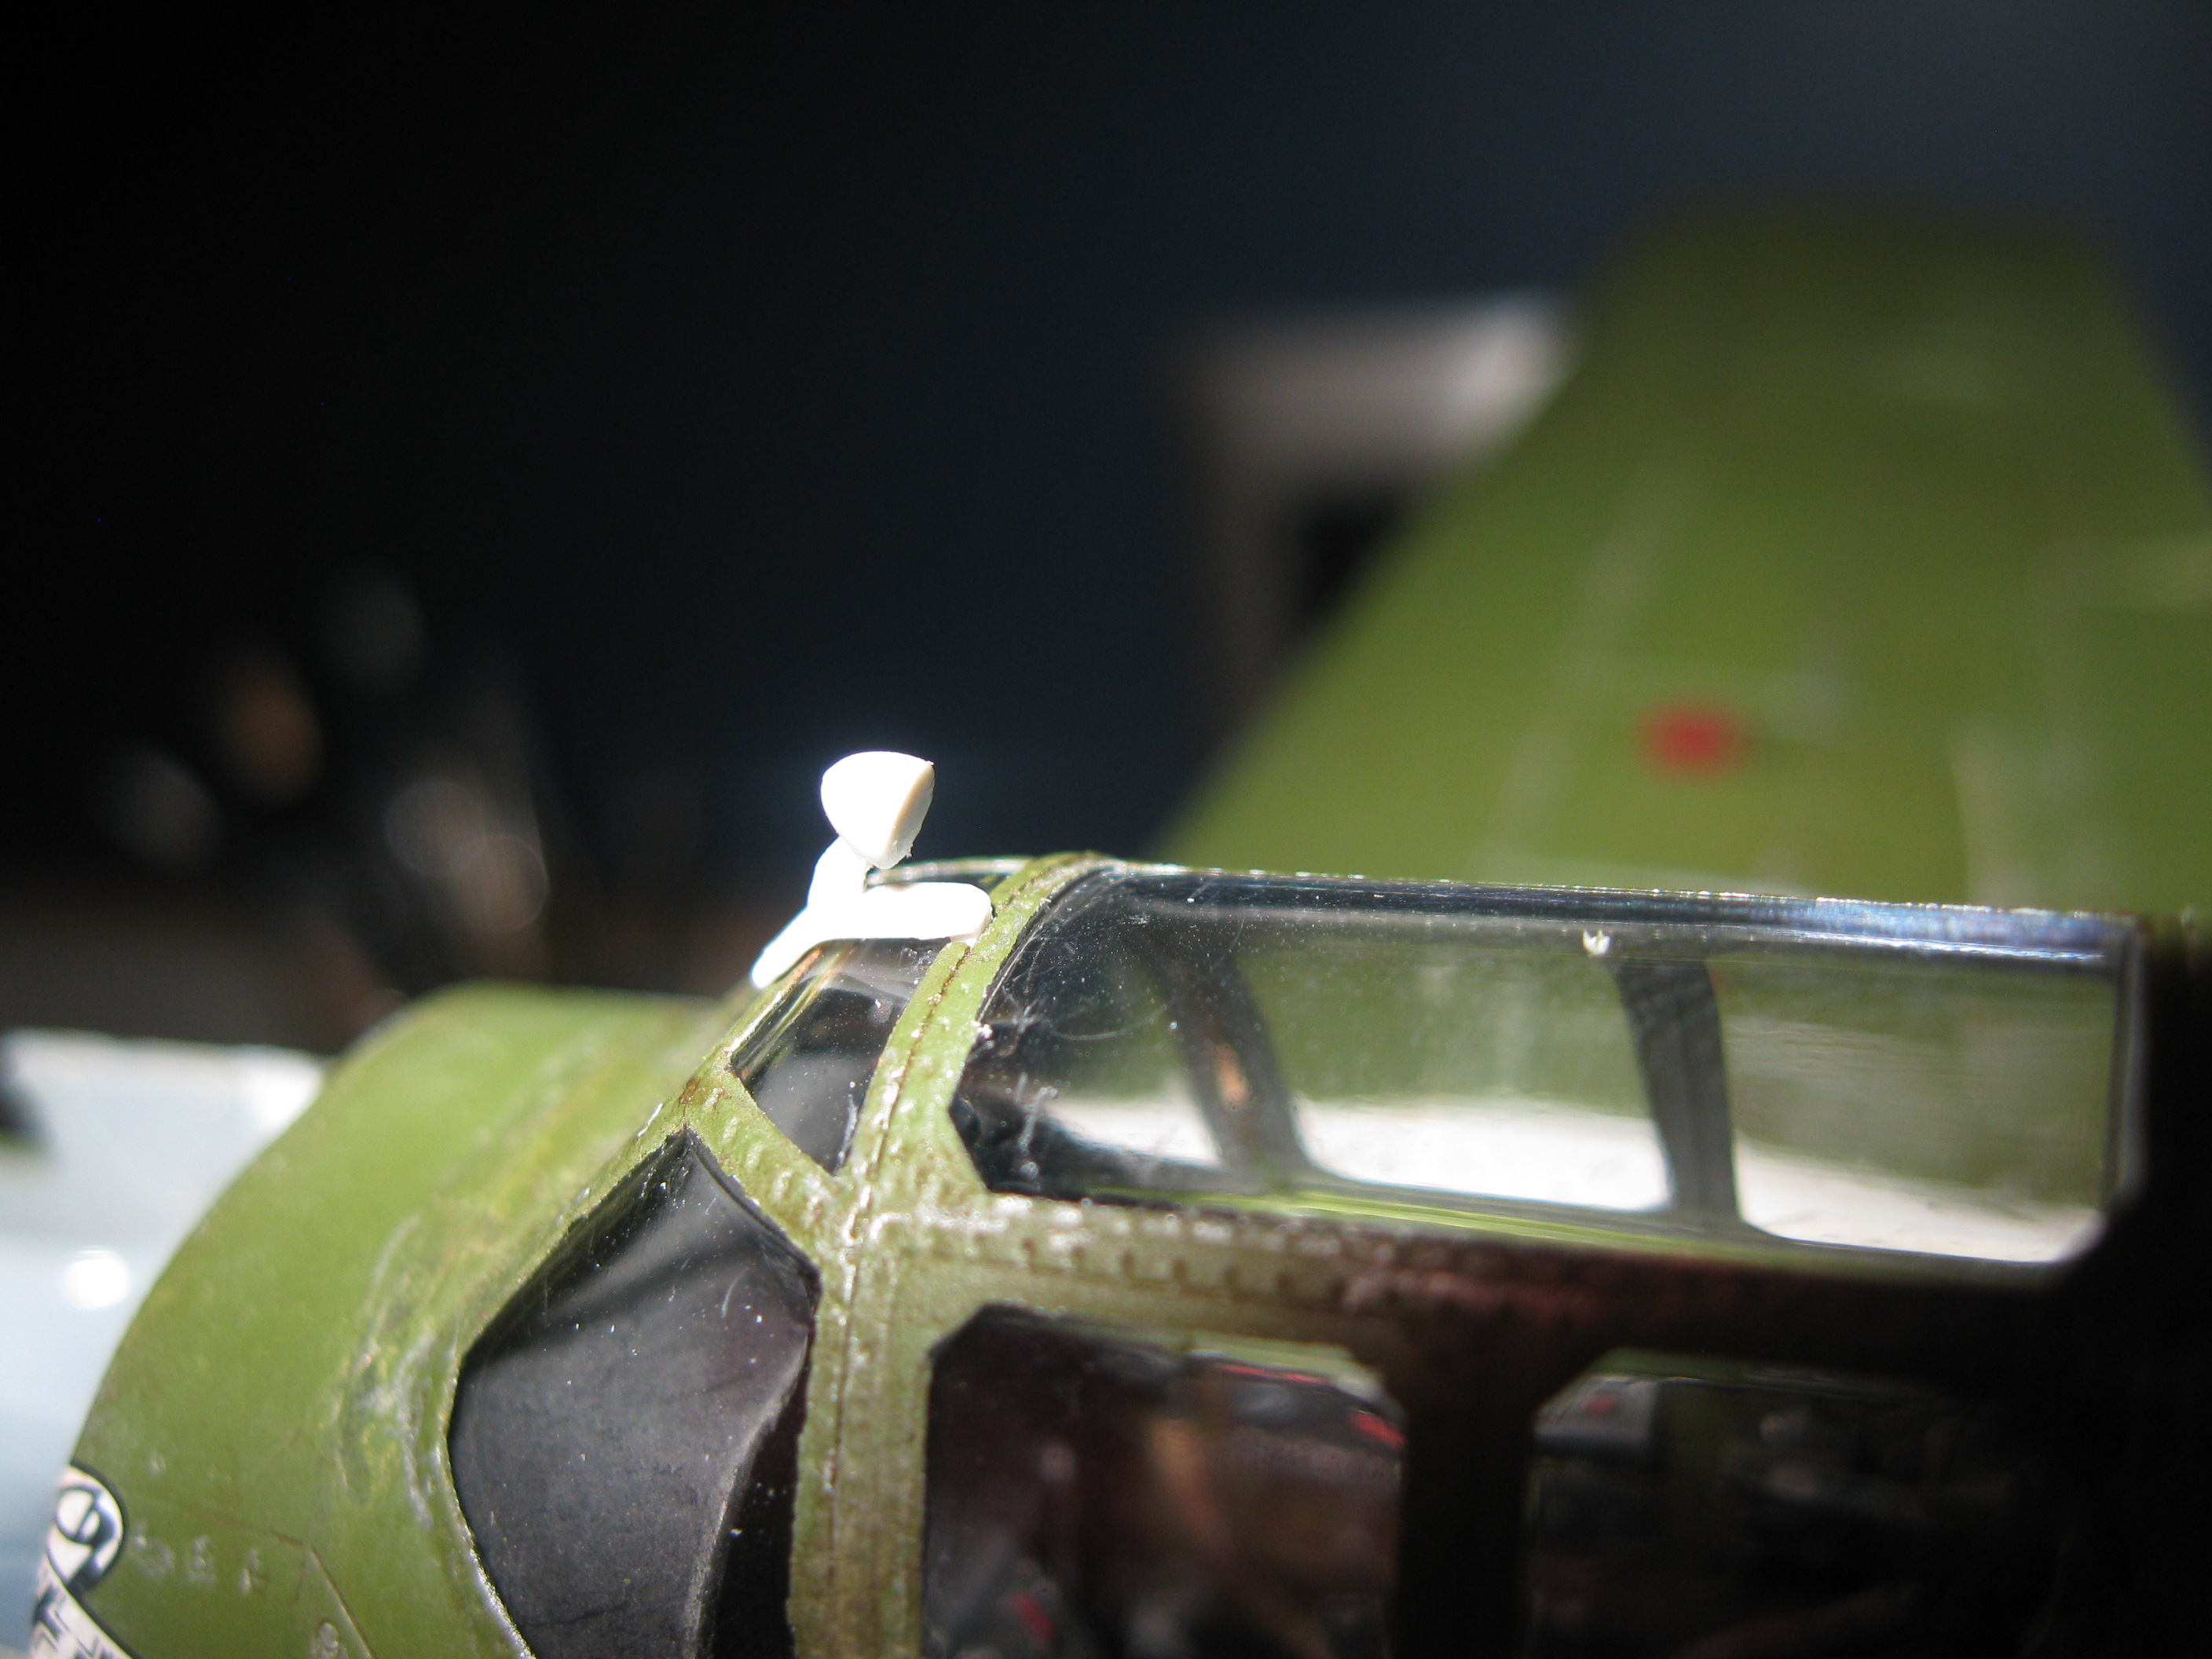
One interesting thing
| |
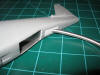
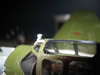
I had a few minor parts to add like the pitot tube and antenna mast and the rear view mirrors. There is apparently quite a debate among the rivet counters about whether the mirrors were round or square. Well, apparently they could be either since the crews stole the mirrors off of local cars and attached them to the aircraft. I was about to glue the part in place when I decided to check my references again, just to see if it would be square or round. It turns out that Shangri-la did not have the contraband mirror attached so I am safe from the abuse of amateur historians.
|
|
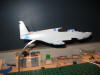
And that's it. You can see the finished pictures here.
HOME - PAGE 2
|